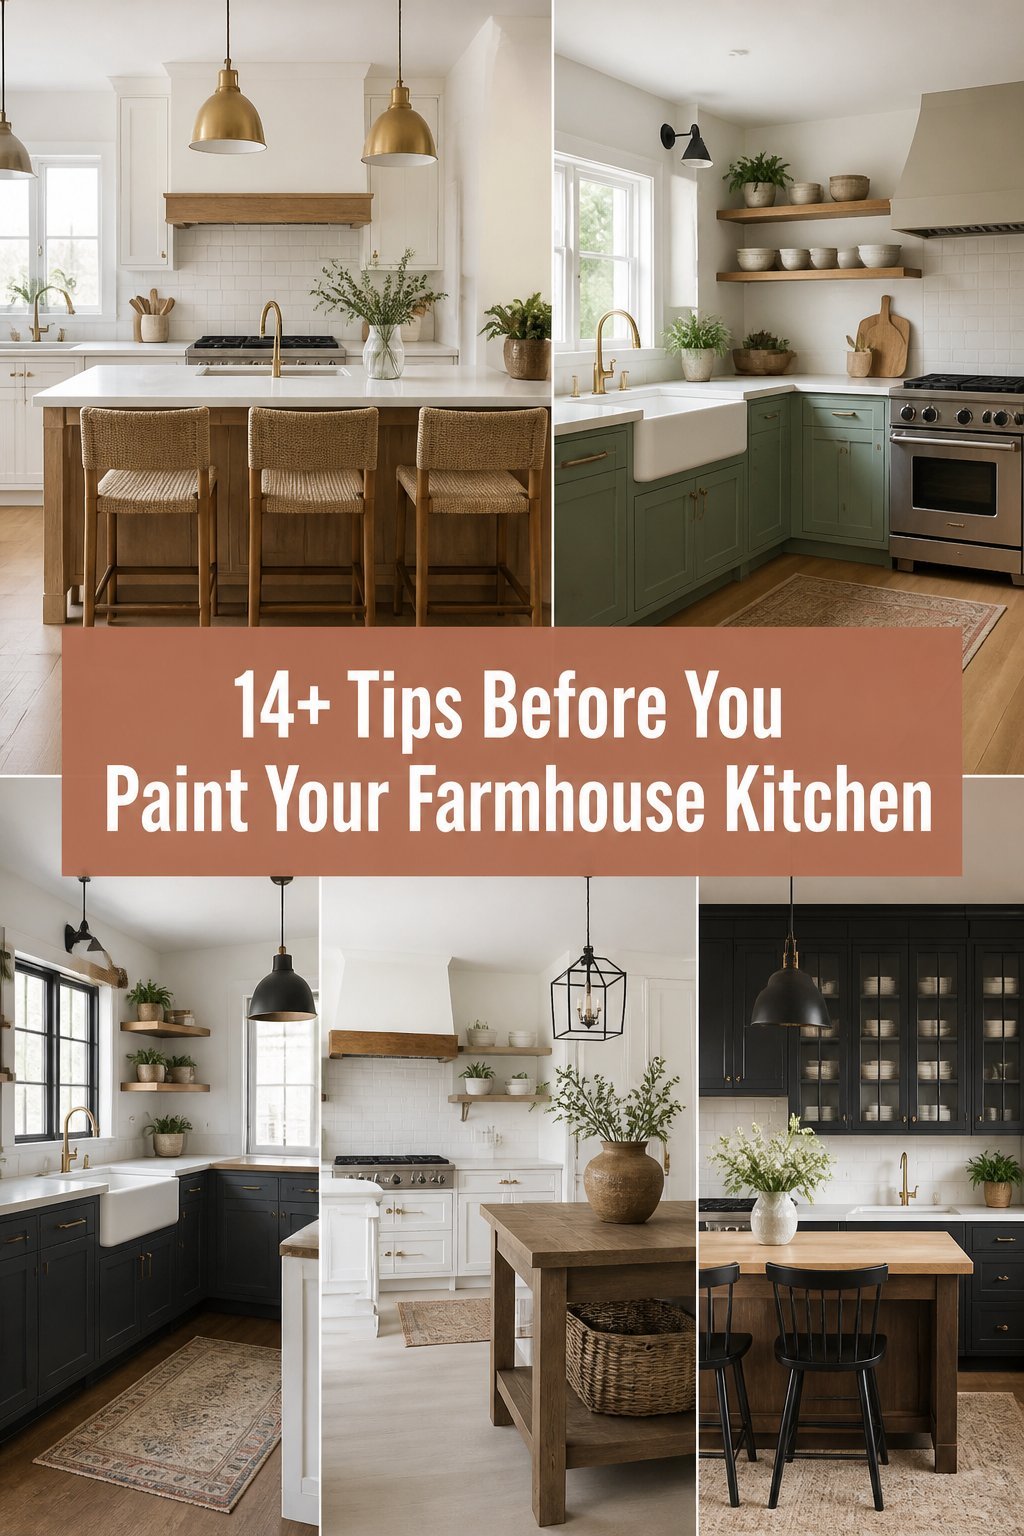
The wrong paint can hide charm instead of showing it off. A little prep can make your farmhouse kitchen feel warm, fresh, and full of character.
1. Clear Out the Kitchen and See the Space Fresh

Start by taking everything off the counters, shelves, and walls. When the room is bare, you can see the real shape of the kitchen and notice what needs help.
This step also makes the whole job feel easier because you are not working around clutter. It helps you spot old nail holes, grease spots, and areas where the wall color looks uneven. If you enjoy a cozy farmhouse look, you can plan where open shelves, a vintage sign, or a simple plate rack will go before the paint starts.
2. Pick a Color That Fits the Light

Paint can look soft and creamy in one kitchen and cold in another. Natural light, lamp light, and even the color of your floors can change how the shade looks.
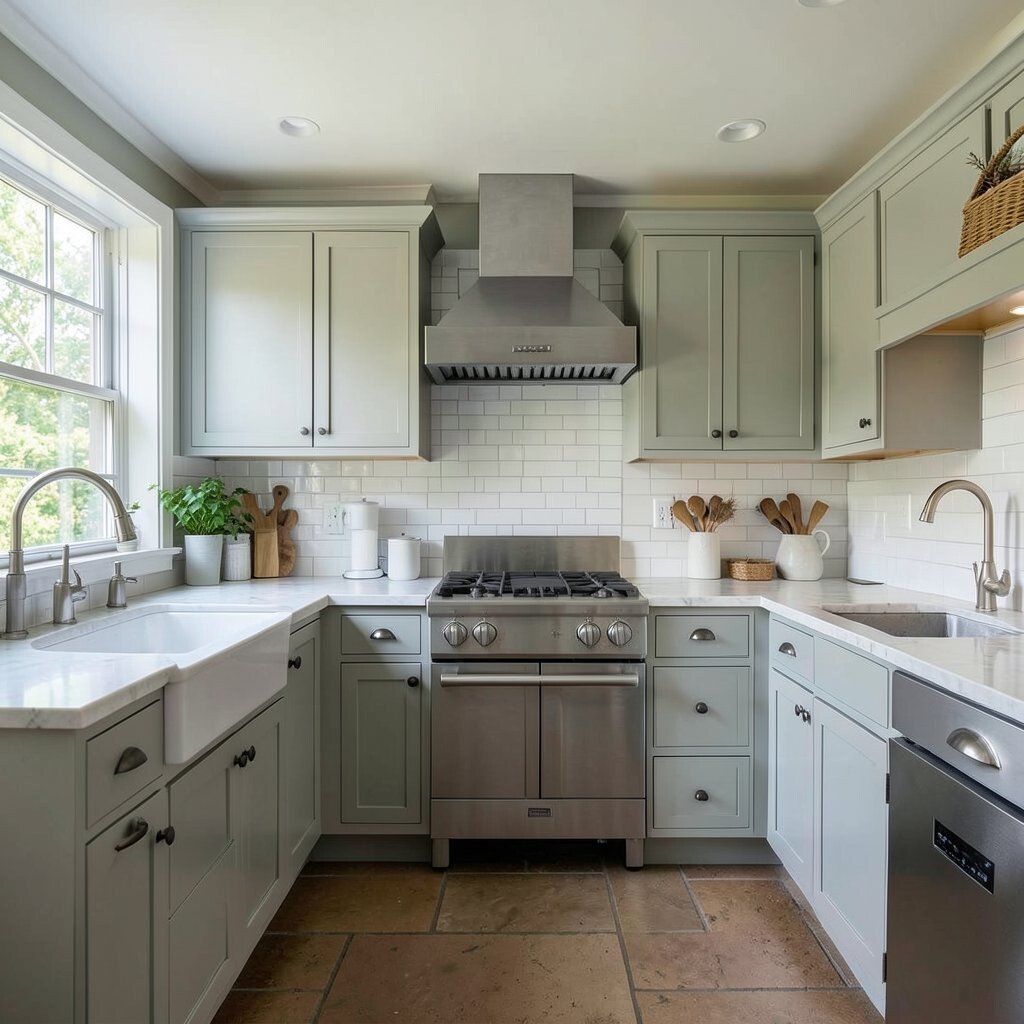
Try a few sample swatches on more than one wall. Check them in the morning, afternoon, and evening so you can see the full effect. Warm whites, muted sage, dusty blue, and soft clay tones are popular right now because they feel calm and homey.
Think about your own style too, since a farmhouse kitchen should feel personal. If you love a brighter space, a clean white may work best, while a deeper green can bring in a richer, old-country feel. Buying samples first costs a little more up front, but it can save you from repainting the whole room later.
3. Decide Which Parts Need Paint and Which Should Stay the Same
Not every surface in the kitchen needs the same treatment. Cabinets, trim, walls, and ceiling each play a different role in the finished look.
Some farmhouse kitchens shine with painted cabinets and soft walls, while others look best with wood trim left natural. You can also keep a few worn details on purpose, like an old beam or beadboard section, to add charm. This kind of choice gives the room more personality and keeps it from feeling flat.
Make a simple plan before you buy supplies so you do not waste money on extra gallons. If your budget is tight, focus on the biggest visual change first, like cabinets or the main wall area. A smart plan helps the kitchen feel finished without turning the project into a huge expense.
4. Check the Walls for Damage and Rough Spots

Run your hands over the walls and look closely for cracks, dents, and peeling areas. Farmhouse kitchens often have small flaws that show up more once the old paint is removed or sanded.
Fixing these spots before painting gives you a smoother, cleaner finish. It also helps the new color last longer, which is a big win in a room that gets used every day. If your kitchen has a lot of texture, you can choose to keep some of it for a rustic look instead of making everything perfectly smooth.
5. Clean Away Grease and Grime

Kitchens collect cooking oil, dust, and sticky bits that paint does not like. Even a wall that looks clean may have a thin film that can stop fresh paint from sticking well.
Wipe the surfaces with warm water and a gentle cleaner, then let everything dry fully. Pay extra attention near the stove, sink, and cabinet handles, since those spots usually get the most buildup. A cleaner surface helps the paint go on evenly and keeps the finish looking bright.
This is also a good time to think about the kind of finish you want. In busy kitchens, many people choose washable paint because it is easier to care for. That can be a smart choice if you want your farmhouse style to look pretty and still handle real life.
6. Remove or Cover Hardware and Fixtures

Take off cabinet knobs, pulls, switch plates, and anything else that could get in the way. If you cannot remove a piece, cover it well so paint does not land where it should not.
This small job can make the whole project look neater and more professional. It also saves time later because you will not have to scrape dried paint off tiny edges. If you want a more personal touch, this is a great moment to think about new hardware in black metal, aged brass, or matte nickel.
Those finishes are popular in farmhouse kitchens because they feel simple and strong. A new handle style can make even plain painted cabinets feel special. Just keep your budget in mind, since hardware can add up fast if you are changing a lot of pieces.
7. Protect Floors, Counters, and Nearby Rooms
Paint splatters can land farther than you expect, especially in a busy kitchen with tight corners. Cover floors, counters, and nearby furniture before the first brush touches the wall.
Use drop cloths, painter’s tape, and old sheets if needed. This keeps your wood floors, tile, and table tops safe from drips and dust. A tidy work area also makes the whole job feel calmer and more in control.
For a farmhouse kitchen, this step matters because many rooms have pretty but delicate finishes like worn wood or handmade tile. Protecting those features keeps the charm intact. It may cost a little to buy good coverings, but that is cheaper than fixing a paint stain on a favorite floor.
8. Choose the Right Paint Finish
The finish matters just as much as the color. Flat paint hides flaws, while satin and semi-gloss are easier to wipe clean.
For kitchens, many people like a soft sheen because it feels neat without looking too shiny. Cabinets often need a tougher finish than walls, especially if little hands open them all day. A farmhouse kitchen usually looks best when the finish feels smooth and practical, not fancy or plastic-looking.
You can also use finish to add a bit of personality. A slightly different sheen on trim and cabinets can create gentle contrast and make the room look layered. If you are trying to keep costs down, choose one high-quality paint that works well for the main surfaces instead of buying several cheaper ones.
9. Test Paint Samples on Real Surfaces

Small paint chips can fool you, so put samples right on the wall or a cabinet door. The color may look softer, deeper, or greener once it is inside your kitchen.
Try at least a few options and live with them for a couple of days. See how they look next to your counters, floors, and curtains. This helps you avoid a color that fights with the rest of the room and keeps the final look more balanced.
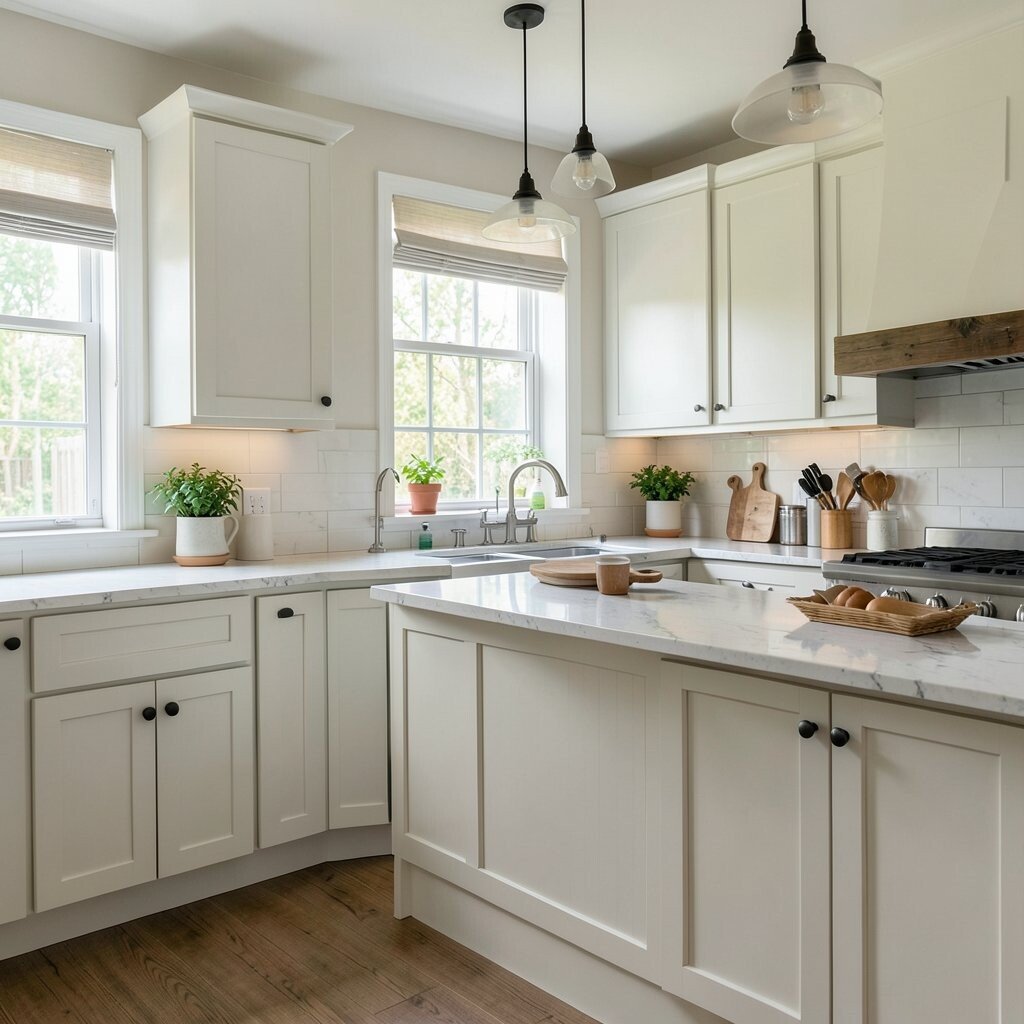
If you want a unique farmhouse feel, compare a warm white with a muted color and see which one feels more like home. Some kitchens look lovely with a gentle cream, while others need a little color to feel alive. Sample paint is a small cost that can protect a much bigger paint job.
It can also help you notice how the room changes through the day. Morning light may make a color feel crisp, while evening light can make it softer. That kind of test is one of the best ways to make sure your choice stays beautiful all day long.
10. Plan the Order of Work Before You Start
A good painting plan saves time and stress. Decide if you will paint the ceiling, walls, trim, or cabinets first so you are not guessing in the middle of the job.
Most people work from top to bottom so drips do not ruin finished areas. It also helps to know where you will store dishes, tools, and food while the room is partly closed off. A clear order makes the project feel easier and helps you finish with less mess.
You can make the process fit your home life too. If your kitchen is the heart of the house, you may need to paint in small sections so meals can still happen. That kind of flexible plan is especially helpful for families who want a pretty kitchen without turning life upside down.
11. Gather the Right Tools and Supplies

Good tools can make the work smoother and the finish cleaner. Brushes, rollers, trays, tape, sandpaper, caulk, and primer all have a place in a solid paint job.
Cheap tools may leave brush marks or shed fibers into the paint. Spending a little more on a few key items can give you a much nicer result. If you like a handmade farmhouse look, the right brush can help you keep soft edges and a gentle, cozy feel.
It is smart to buy only what you need, though, so the project does not cost more than planned. Make a list before you shop and check what you already have at home. That simple habit can save both money and time.
12. Fix Gaps with Caulk and Fill Holes

Small gaps around trim, cabinets, and windows can make a painted kitchen look unfinished. Filling them before painting gives the room a smoother and more polished look.
Use caulk for skinny cracks and filler for nail holes or dents. Once everything dries, sand it lightly so the surface feels even. These tiny repairs may not seem exciting, but they can make a big difference in how the final paint job looks.
This step is also great for adding a custom touch. A neat line of trim or a clean cabinet edge can make simple farmhouse details stand out more clearly. If you are trying to keep the room charming instead of perfect, just repair the main problem spots and leave a little natural character in place.
That balance is part of what makes farmhouse style feel so warm. It should look cared for, not stiff. A few thoughtful fixes can keep the room friendly and lived-in while still looking fresh.
13. Sand Surfaces for Better Paint Grip

Paint sticks better when the surface has a little bite. Light sanding helps remove shine and gives the new coat a better place to hold on.
You do not need to sand every inch hard. A gentle pass is often enough for cabinets, trim, and older walls with glossy paint. This step also smooths out tiny bumps so the room feels more finished when you step back and look at it.
If your farmhouse kitchen has old wood or a vintage cabinet set, sanding can bring out its best side. It can also help you keep some of the natural grain showing if that is part of your style. The cost is low, but the payoff is big because the paint will look better and last longer.
14. Think About How the Kitchen Will Feel After Painting
Paint changes more than color. It changes mood, brightness, and the way your kitchen fits daily life.
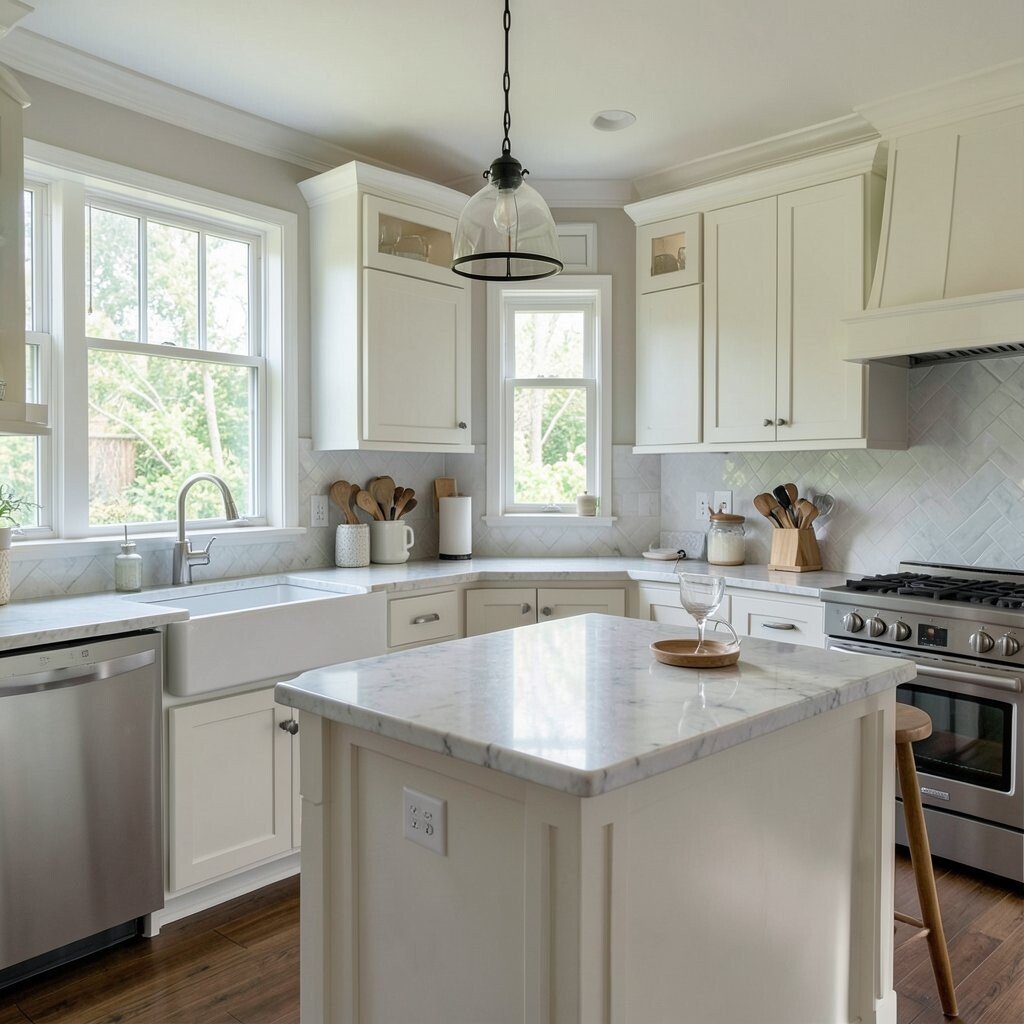
Picture the room with your table, curtains, dishes, and wall art back in place. A soft cream can make a small kitchen feel airy, while a deep olive can give it a rich, cozy glow. This is the time to shape the room so it feels like your own, not just a photo on a wall.
Current farmhouse style often mixes old and new, so you might pair fresh paint with vintage stools, woven baskets, or simple black lighting. That blend keeps the room from feeling too themed or too plain. If you want a unique look, choose one detail that feels personal, like a favorite color pulled from a family quilt or a dish set you love.
15. Set Up a Realistic Painting Schedule
Good paint work takes time, even in a small kitchen. Plan for drying time, touch-ups, and the chance that a wall may need one more coat.
Rushing can lead to streaks, smudges, and stress. A simple schedule helps you know when to paint, when to wait, and when to put things back. It also keeps the project from taking over your whole week.
Think about the best time for your home and your budget. If you can only work on weekends, break the job into parts and keep your supplies ready between sessions. That kind of plan makes the project easier to finish and helps your farmhouse kitchen end up looking calm, bright, and well cared for.