That glossy look you love starts with the right seal. With a few careful steps, your granite can stay bright for years.
And yes, you can do it in a way that fits your home, your budget, and your daily routine. Let’s start building that shine with smart choices and simple habits.
-
1. Inspect Your Granite for the Best Seal Match
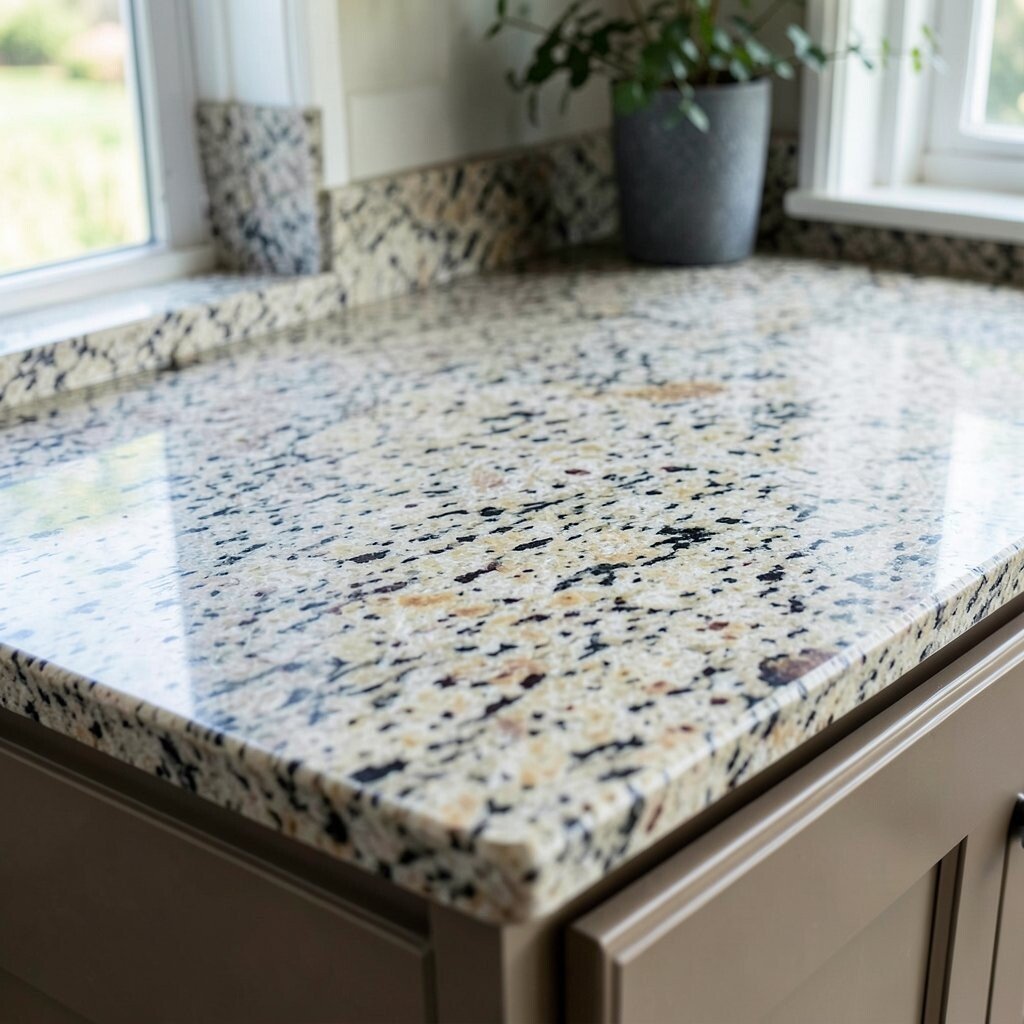
Inspect Your Granite for the Best Seal Match Before buying anything, look closely at your countertop. Check for dull spots, tiny pits, or areas that look darker than the rest.
Run your hand over the surface and notice how it feels. If water sits on top without sinking, that can mean some protection already exists. If it soaks in quickly, you likely need sealing soon. Also look for previous stains or etching marks that might need extra attention.
As you inspect, take a few photos in bright light. This helps you compare the “before” look to your “after” shine later. It also keeps you from guessing about which areas improved. A careful check is a small effort that pays off big in the final finish.
-
2. Choose the Right Type of Granite Sealer
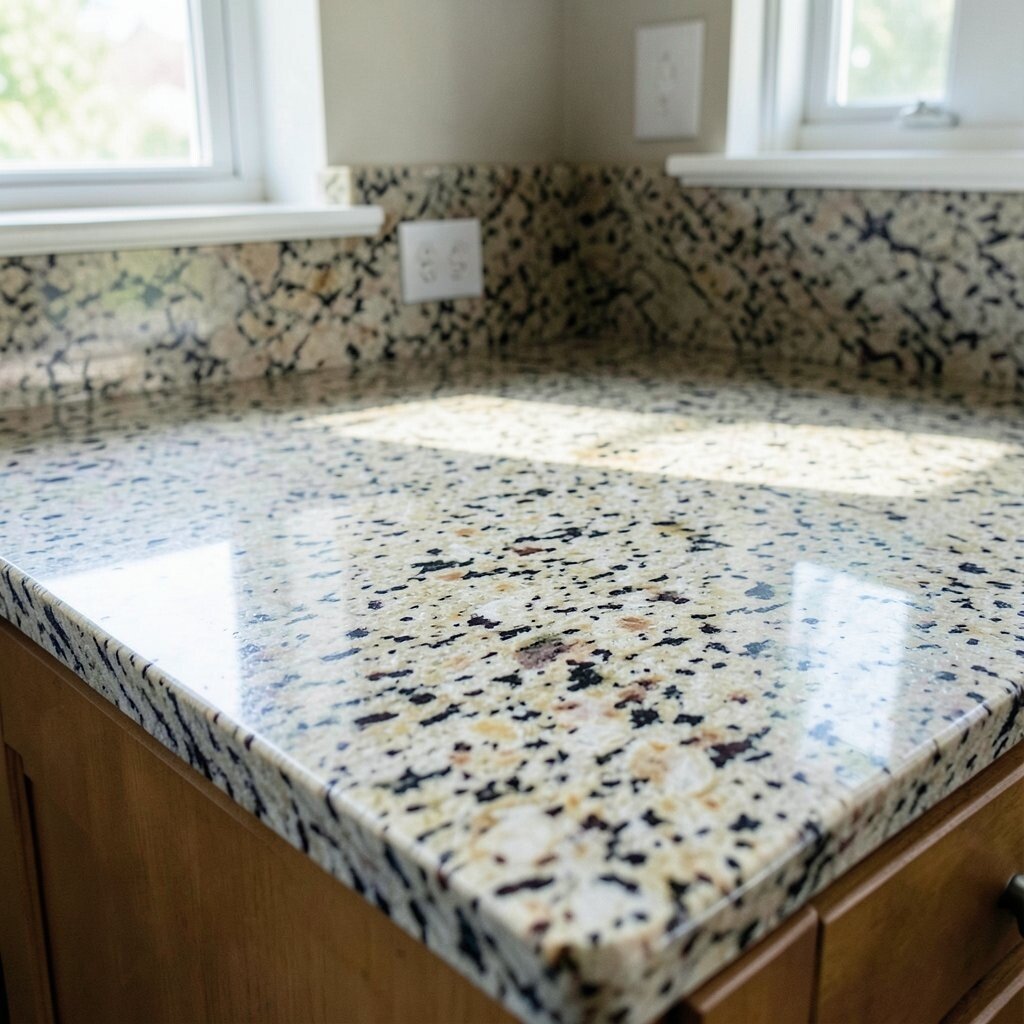
Choose the Right Type of Granite Sealer Your granite’s shine depends on the sealer you pick. Some sealers create a richer, darker look while others keep things more natural.
Look for products made for natural stone, not generic cleaners. Many people choose penetrating sealers because they sink into the stone and help protect it from spills. Others prefer topical sealers for a more noticeable sheen, but those can wear differently over time. Reading labels for granite, marble, and stone is important because each product works in a different way.
If you want a “wet stone” look, choose a sealer that advertises that finish. If you want a soft, clean shine, pick one that offers low-gloss protection. Cost can vary a lot, so compare size and coverage rates on the bottle. A slightly pricier sealer can still be the better value if it covers more square feet.
-
3. Clean the Surface Until It Feels Completely Clear
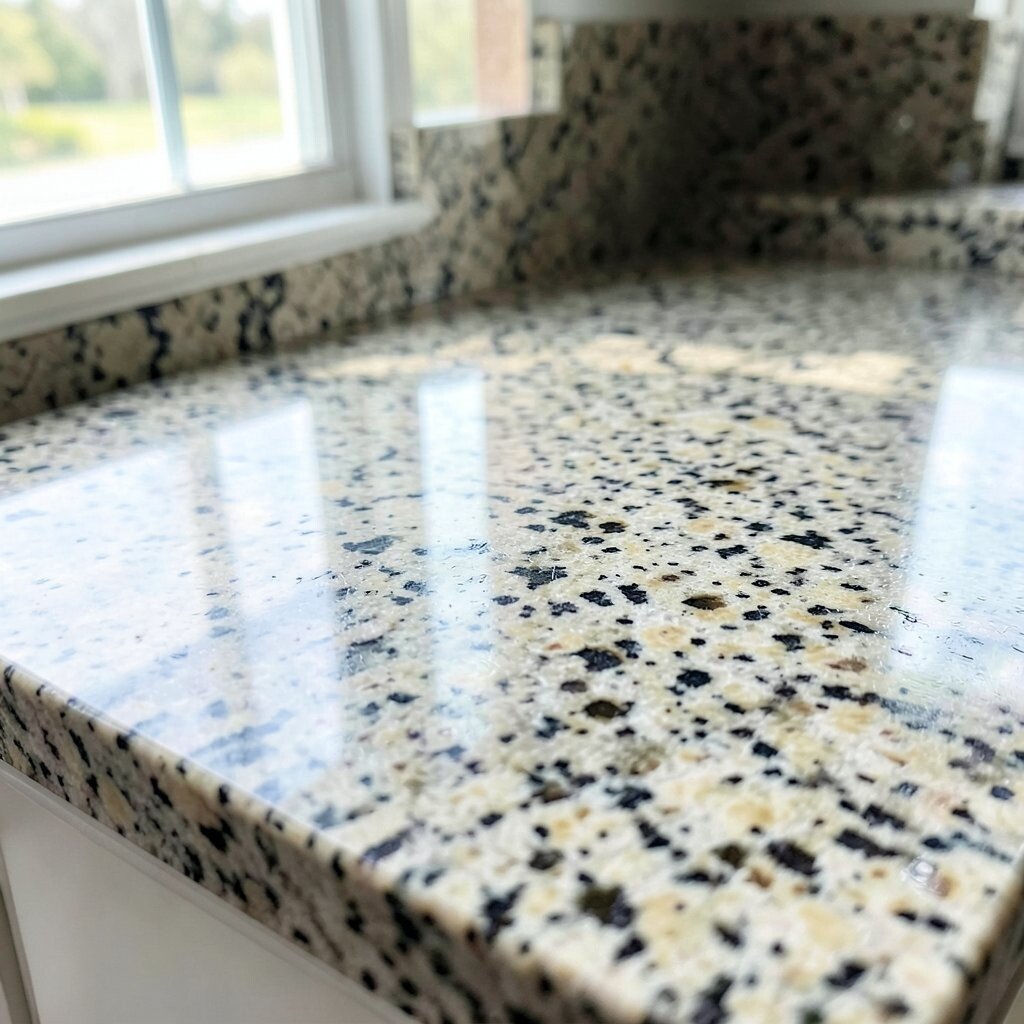
Clean the Surface Until It Feels Completely Clear Sealing works best on a countertop that is truly clean. If there’s grease or soap film, the sealer can’t bond well.
Wash with a gentle stone-safe cleaner and warm water. Rinse well and then dry with a clean microfiber cloth. Avoid harsh chemicals that can leave residue or change the stone’s finish. Let the counter dry fully before you apply anything.
Once it’s dry, wipe again with a dry cloth to catch any dust. If you smell strong cleaning products, give it more time to air out. A spotless surface helps the sealer soak in evenly, which gives you a smooth, even shine. This step might feel slow, but it prevents sticky surprises later.
For personalization, you can clean in sections so you don’t re-dirty the area. For example, seal one side of the kitchen at a time. That keeps your process calm and manageable.
-
4. Test on a Small Hidden Spot First
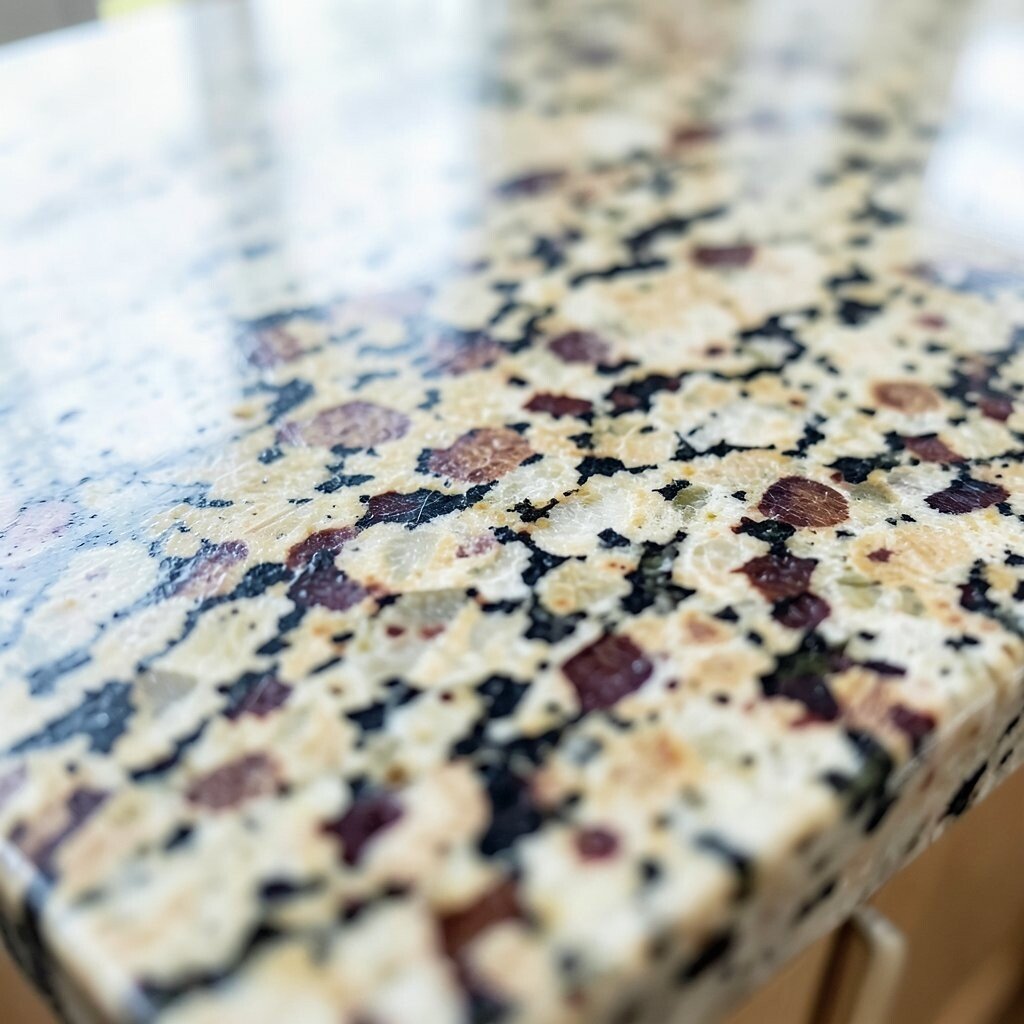
Test on a Small Hidden Spot First Even the best sealer can look different on different stones. That’s why a test spot is like a mini “preview” for your countertop.
Pick a spot under an edge, near the backsplash, or behind a coffee station. Apply a small amount and follow the label timing. Wait for it to dry, then check how the color looks in both bright and dim light. You want to see whether the shine matches what you hoped for.
If the test spot looks too dark, you may want a different sealer or a lighter application. If it looks perfect, you can continue with confidence. This is also a smart chance to check for streaking. If you notice streaks, you know you need a different wiping method.
-
5. Protect the Surrounding Areas Like You Mean It
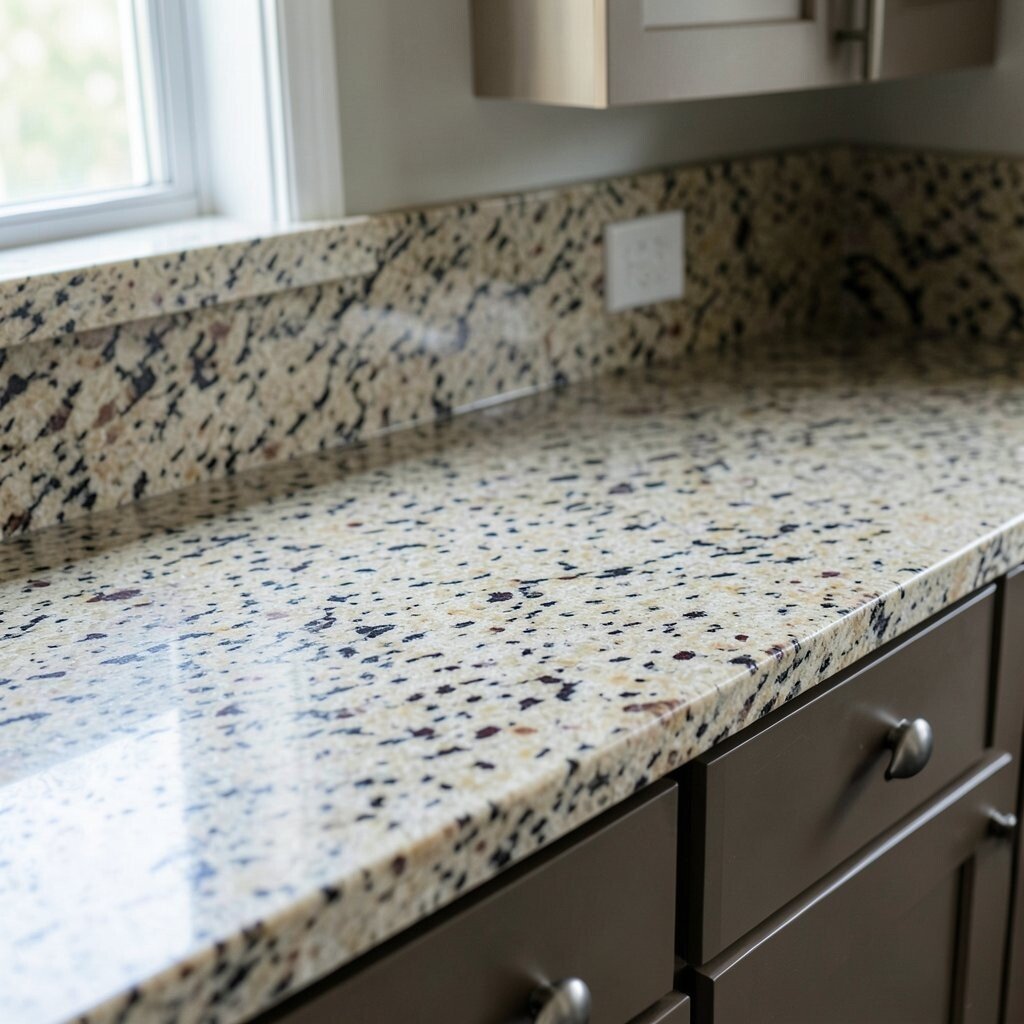
Protect the Surrounding Areas Like You Mean It Sealer can be messy, and it loves to travel on damp hands and cloth edges. So protect your kitchen before you start.
Cover the sink area, the backsplash, and the floor with painter’s tape and paper. Put down a drop cloth so you don’t worry about drips. If you have wooden cabinets nearby, keep the sealer from touching them. Wipe any accidental contact right away with a clean, slightly damp cloth.
This careful prep keeps your countertop looking sharp, not smeared. It also helps you work faster because you won’t have to pause constantly. For a personal touch, choose a tidy “sealing zone” with all tools ready. That way you can focus on applying evenly and smoothly.
-
6. Apply the Sealer Evenly With the Right Tools
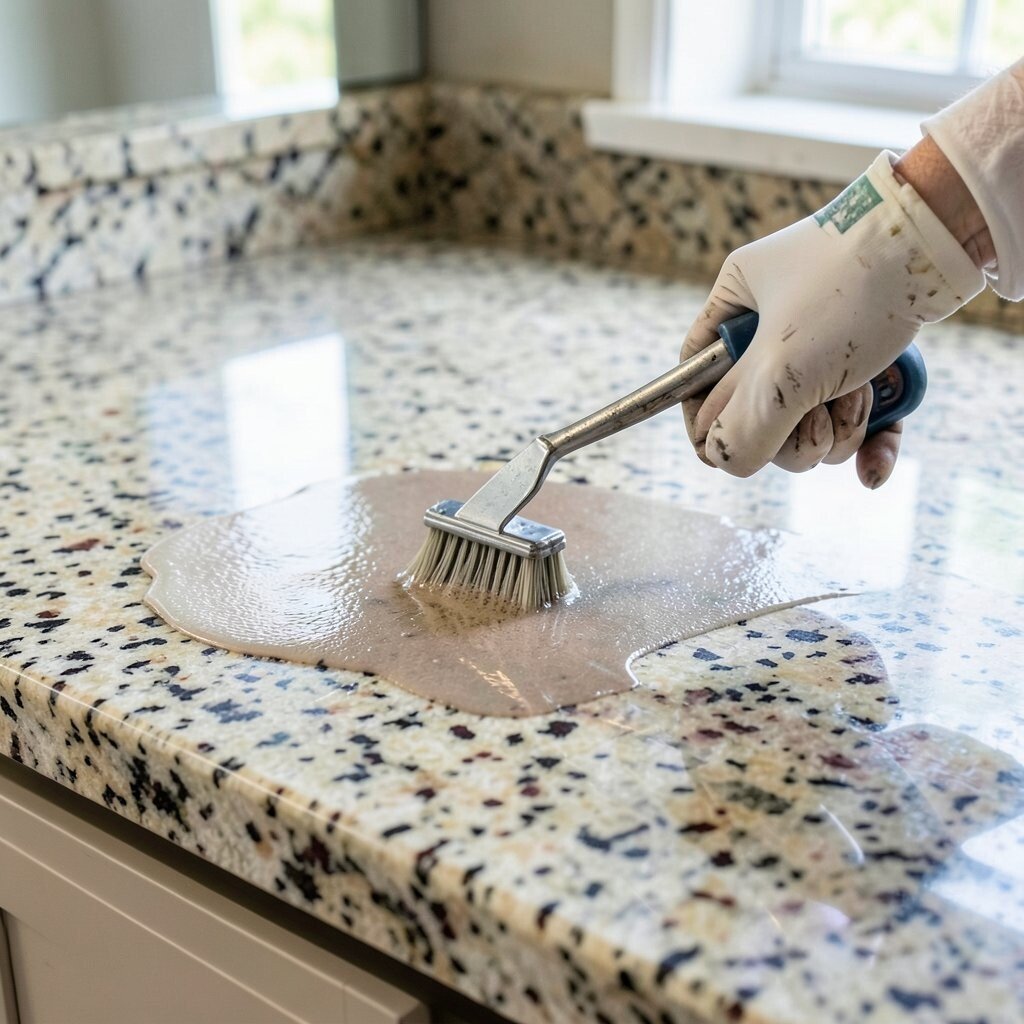
Apply the Sealer Evenly With the Right Tools Application is where the shine begins. Use a clean microfiber cloth or a foam applicator pad for smooth coverage.
Work in small sections and keep a steady rhythm. Pour a little onto the cloth, not directly onto the counter, to avoid puddles. Apply a thin, even layer and follow the product instructions for contact time. If the label says to let it soak, don’t rush to wipe it off.
As you apply, watch for a consistent wet look across the stone. Granite often shows tiny swirls and speckles, and the sealer should cover them all. If you see dry patches, go back and add a bit more. Uneven application can cause dull areas that look different from the rest.
-
7. Give It Time to Soak In (But Don’t Let It Sit Forever)
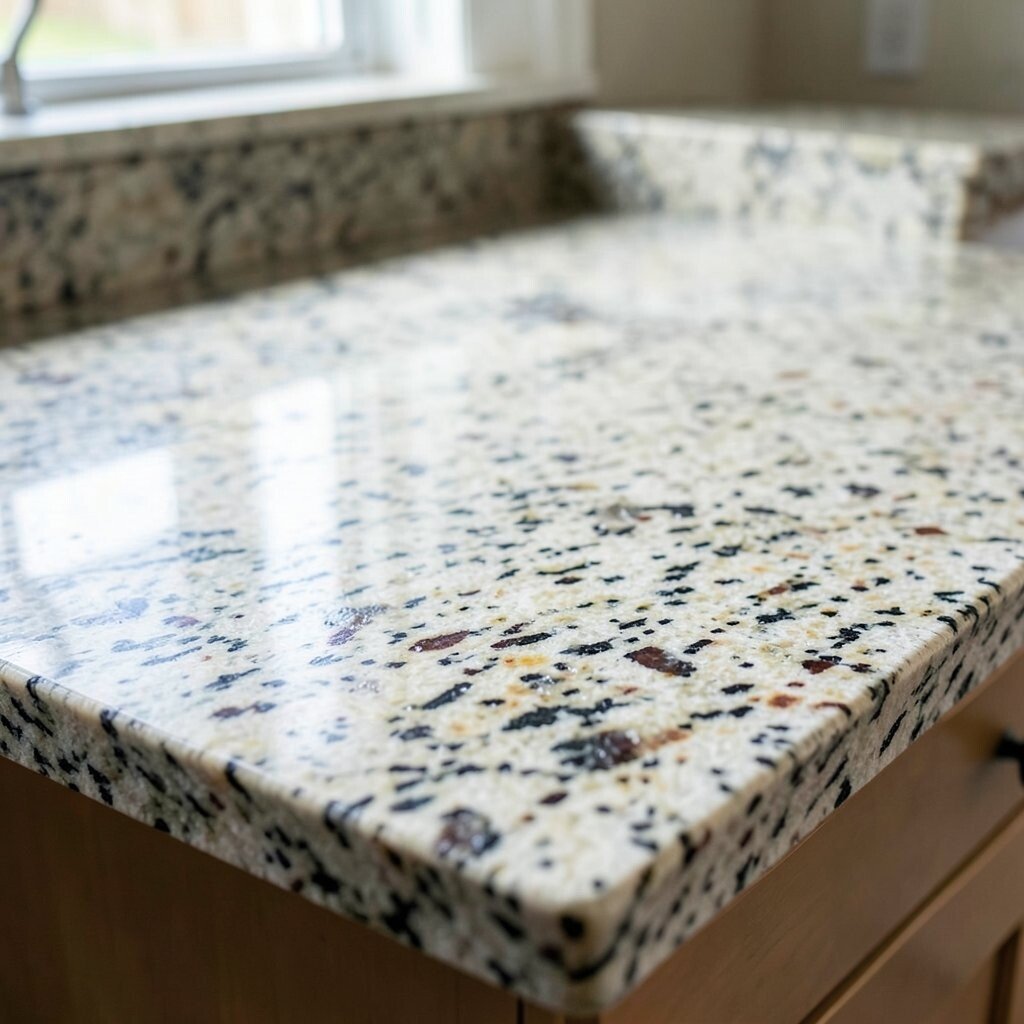
Give It Time to Soak In (But Don’t Let It Sit Forever) Most penetrating sealers need time to soak into the stone. This is how they create protection from everyday spills.
Check the label for the exact timing and stick close to it. Too little time can mean weaker protection. Too much time can lead to excess on the surface, which you then have to remove carefully. When you respect the timing, the finish usually looks more balanced.
During the soak, keep the area clear of foot traffic and spray from cleaning. Granite can look slightly darker when wet, and that change is part of what makes the stone pop. But the goal is not permanent wetness; the goal is long-lasting guard coverage. After the soak window, wipe off the extra as directed.
-
8. Wipe Off Excess for a Clean, No-Streak Look
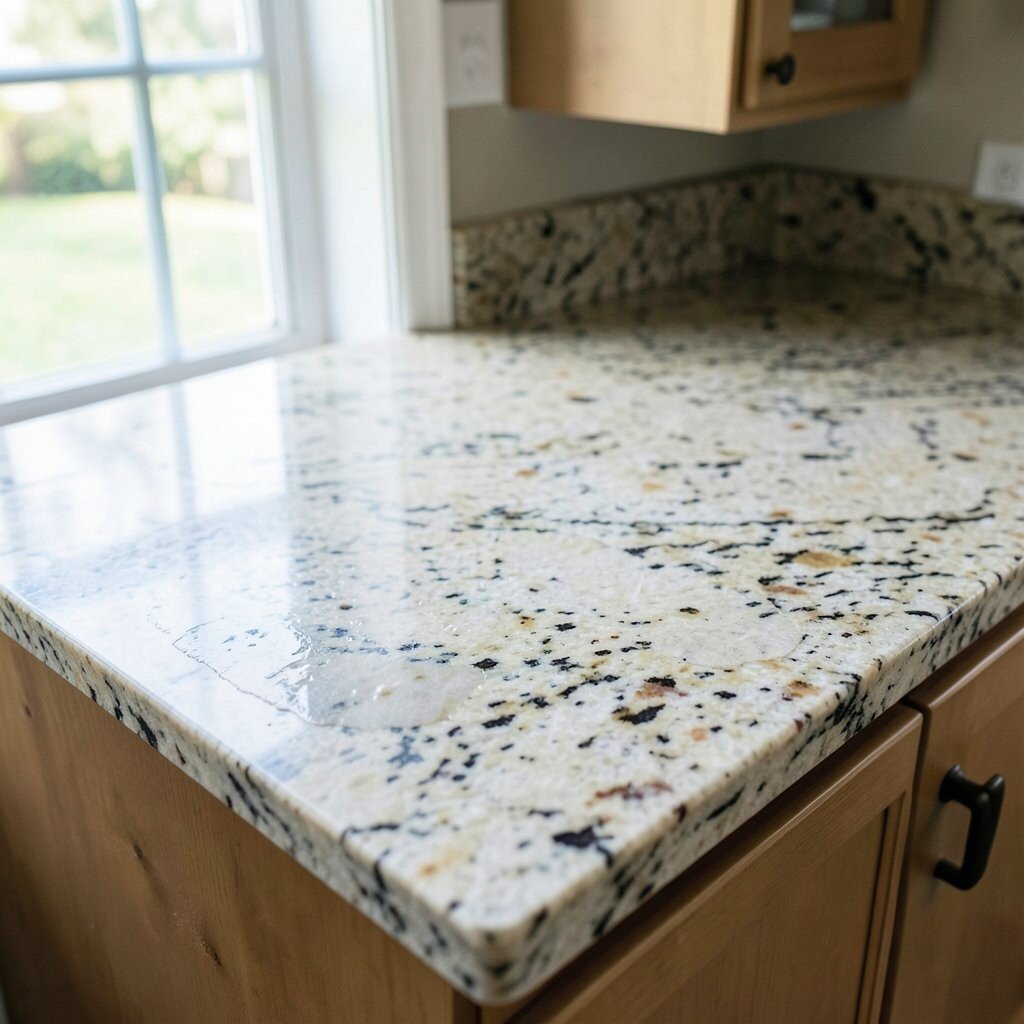
Wipe Off Excess for a Clean, No-Streak Look After the sealer sits, wipe away what the stone didn’t absorb. This prevents a cloudy film that can dull your shine.
Use a dry microfiber cloth and wipe gently in one direction. Then use a second clean cloth to buff lightly. If your sealer requires a “dry buff,” do it once the surface feels tack-free. Avoid soaking the counter with extra product while wiping.
Look at the countertop from different angles. Tilt the light from a nearby lamp and you’ll spot streaks more easily. If streaks appear, it usually means too much product stayed on top. A good wipe-and-buff helps the shine look even and tidy.
For personalization, you can adjust how shiny you want the surface by how you buff. A light buff often keeps a natural look, while a fuller buff can raise the gloss. Just don’t overwork until the stone dries completely if the label warns against it.
-
9. Let the Countertop Cure Before Using It
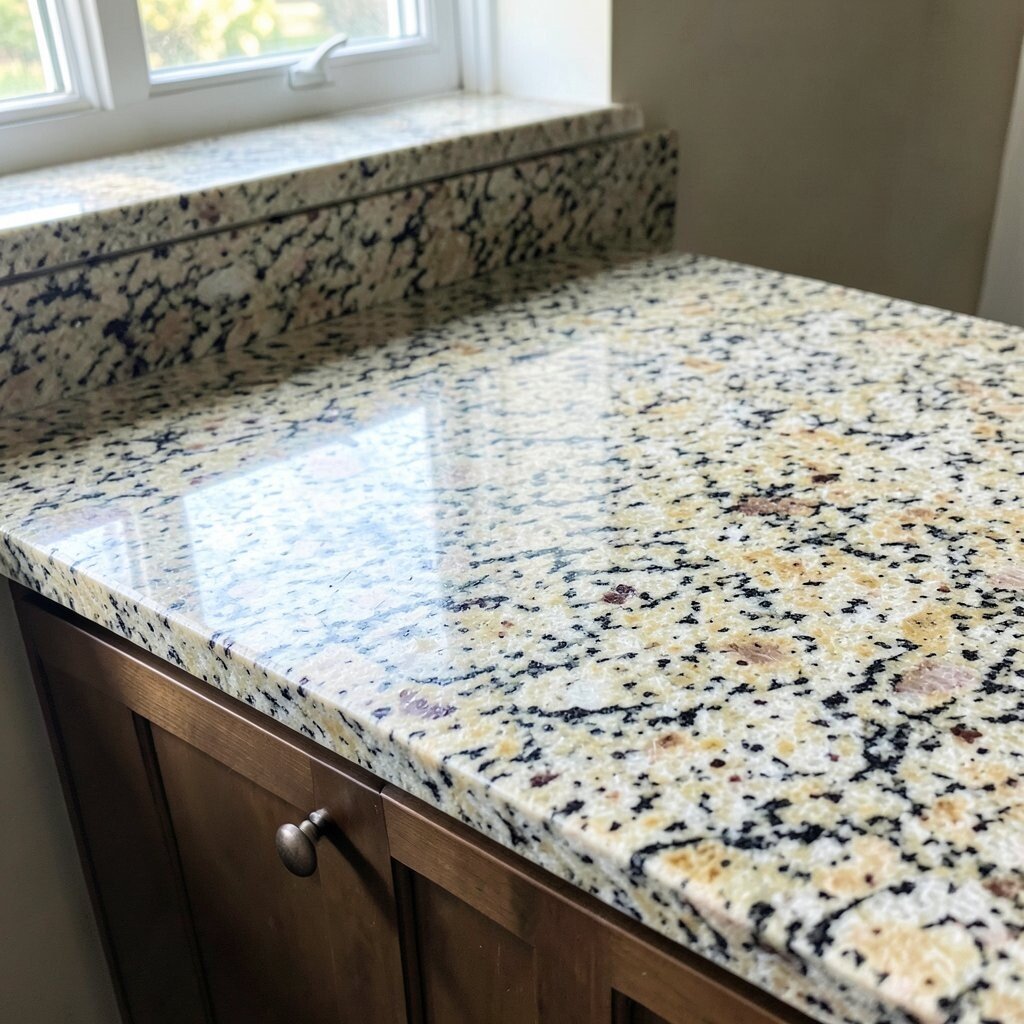
Let the Countertop Cure Before Using It Curing is the quiet step that makes everything last. Even if the surface looks dry, protection may not be ready yet.
Keep the countertop dry and avoid placing items on it during the recommended cure time. That means no food prep, no water splashes, and no plants with dripping soil. Try to plan around your routine so the kitchen still feels smooth. If you must use the kitchen, cover the counter with a protective board only if the label says it’s safe.
While curing, keep the air moving with a fan if allowed by the product. Good airflow helps the sealer finish forming its protection. This careful wait also reduces the chance of smudges or fingerprints. When you finally return to normal life, your shine should look more even and calm.
Cost-wise, the cure time is “free” but it saves you from redoing work. Reapplying is usually more expensive than waiting. So treat curing as part of the investment.
-
10. Use a Simple Water Test to Confirm Sealing
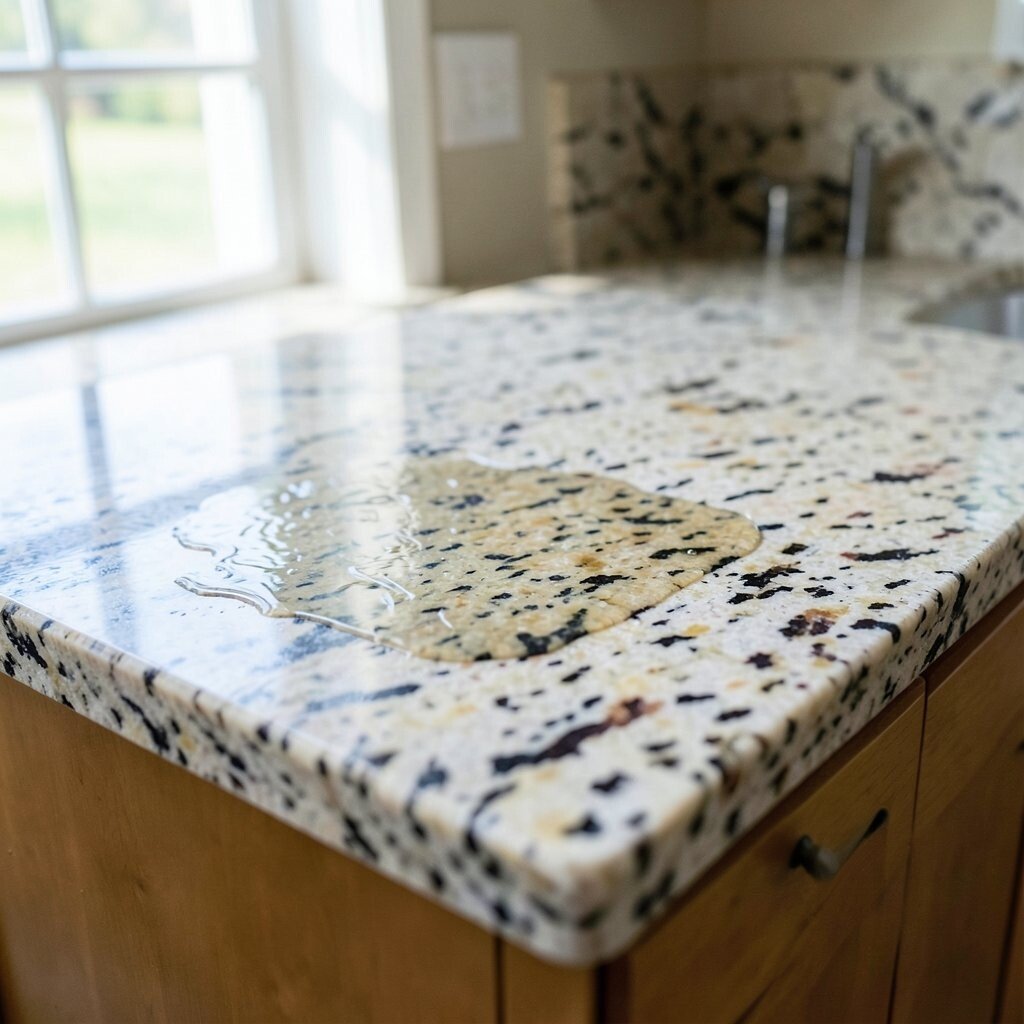
Use a Simple Water Test to Confirm Sealing You can confirm how well your sealing worked with a quick water test. It’s an easy check that makes you feel confident.
After curing, put a few drops of water on the surface. Watch how they behave over several minutes. If water beads up and doesn’t soak in right away, your seal is doing its job. If it spreads quickly, you may need another coat or a different sealer.
Do the test in two or three areas, because granite is not always identical everywhere. Some stones have more pores in certain patterns. If you notice a weak spot, you can target that section next time. For a personalized routine, mark tested areas with small tape notes so you don’t lose track.
-
11. Match Your Shine Level to Your Lifestyle
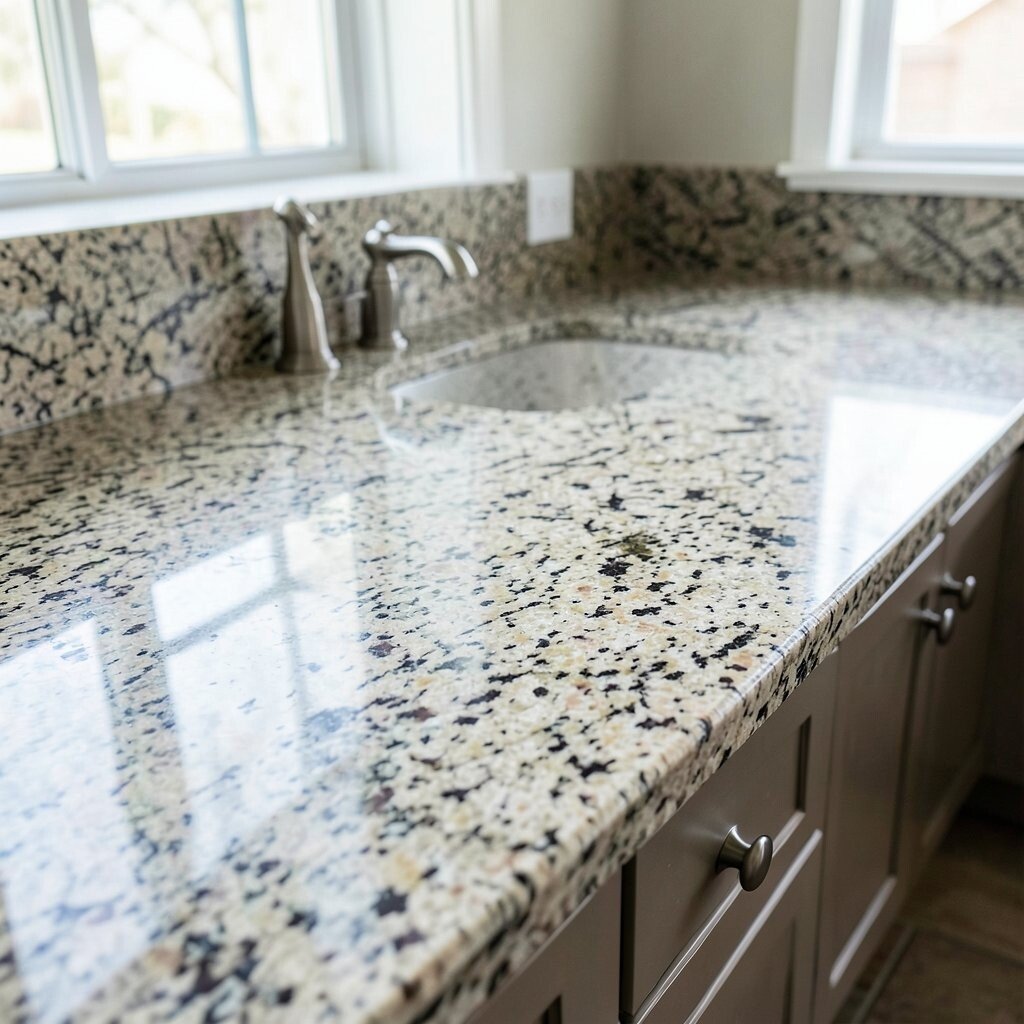
Match Your Shine Level to Your Lifestyle Not every home needs the same level of gloss. Think about how you use your kitchen each day.
If you cook often, you might want a finish that hides small water spots. A low-gloss look can still shine while being more forgiving. If you prefer a bold “wow” look, choose a finish that boosts color and contrast. Either way, sealing should make daily life easier.
Families with kids often want durability first, while design lovers might want a more dramatic shine. You can personalize by selecting an finish that fits your vibe. Pair it with tidy cleaning habits so your shine stays bright. When you match finish to lifestyle, you avoid frustration and keep the counter looking great.
-
12. Plan a Maintenance Schedule for Ongoing Protection
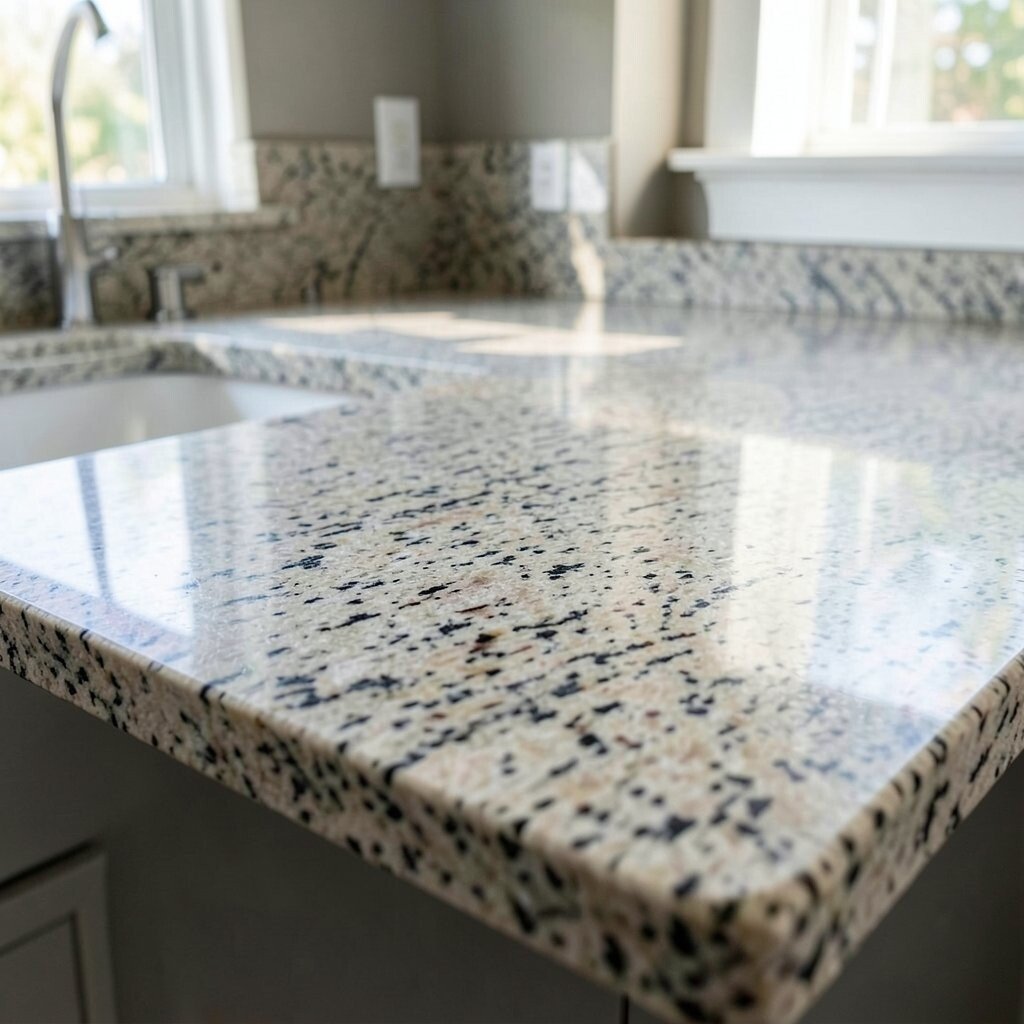
Plan a Maintenance Schedule for Ongoing Protection Sealed granite isn’t sealed forever. Like shoes or a raincoat, it needs periodic care.
Use the water test again after some months to see how protection holds up. Many homeowners reseal when the test starts failing or when stains become easier to absorb. If you notice more darkening from spills, that can be a hint too. Try to schedule resealing when you can clean the kitchen slowly.
For costs, resealing is usually cheaper than fixing stains or replacing damaged stone. Keeping a small note in your home calendar helps you stay ahead. You can also shop for multi-pack deals when they match your counter’s needs. If you’re using a high-quality sealer, the interval may be longer.
-
13. Avoid Common Sealing Mistakes That Dull Granite
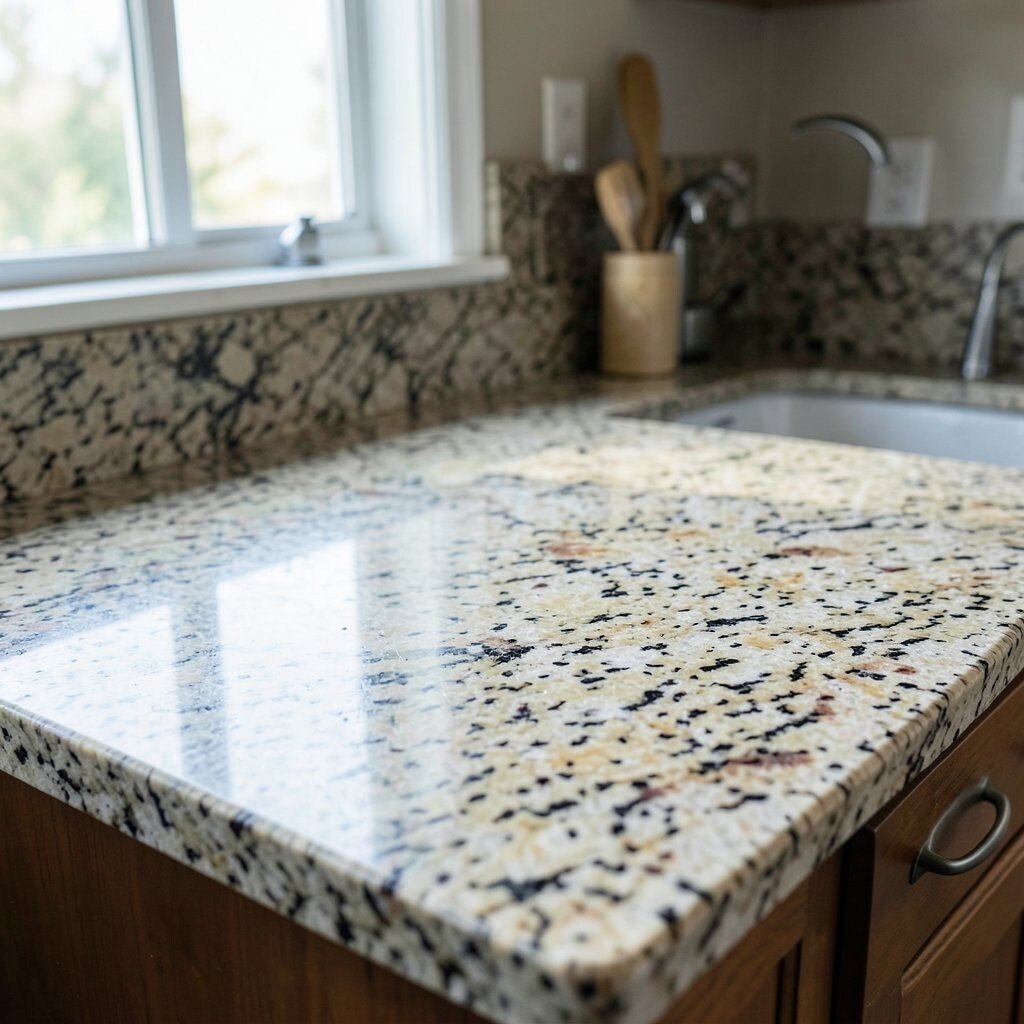
Avoid Common Sealing Mistakes That Dull Granite Some mistakes are so common they feel invisible. But they can rob granite of that bright, fresh shine.
Never seal over wet stone or over residue from cleaners. Grease and dust act like barriers, stopping the sealer from bonding. Also avoid letting excess pool on the surface, because that can leave a film. Another mistake is using the wrong cloth, like old towels that shed lint and create tiny streak marks.
If you see milky haze after application, it may be residue that needs better wiping. Sometimes gentle buffing helps; other times, you may need a different sealer. And don’t rush the cure time. Rushing can trap moisture under the finish and cause uneven results.
-
14. Enhance Your Finish With Layering and Light Buffing
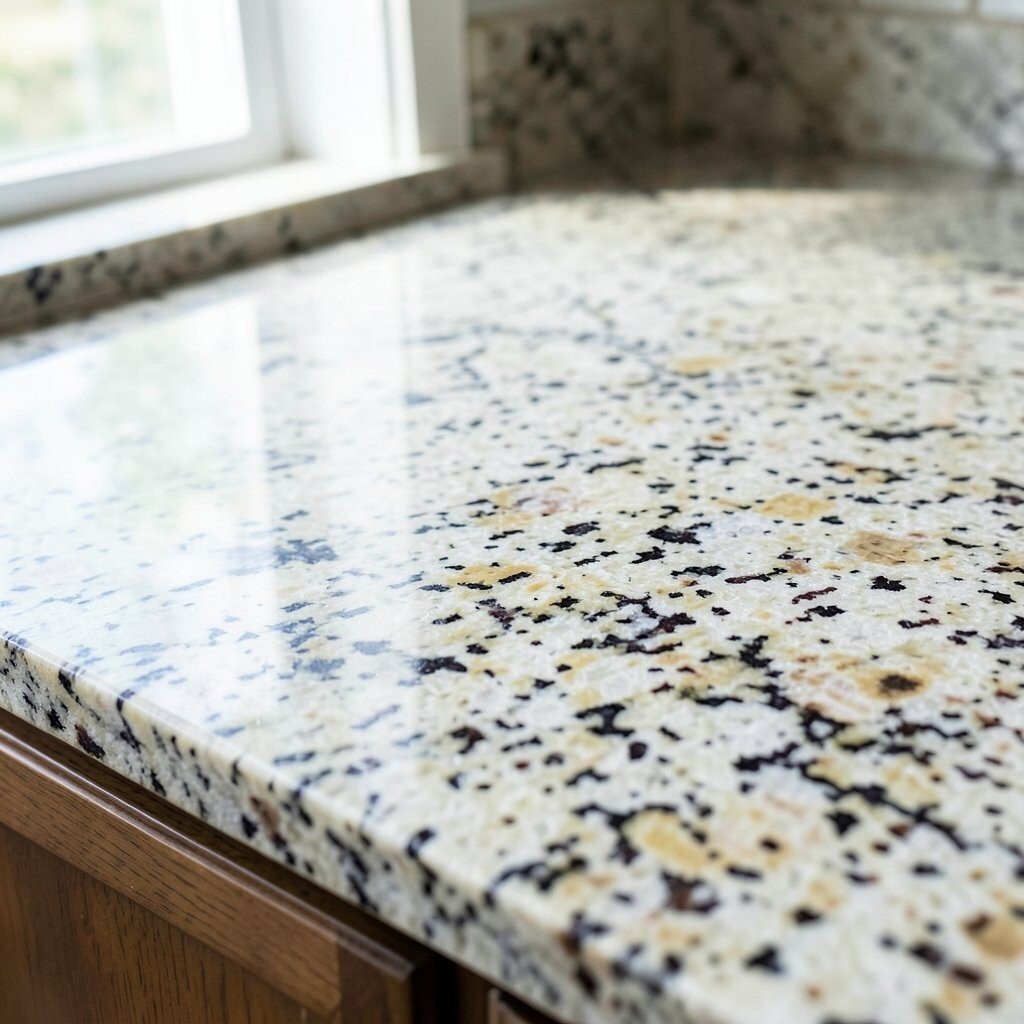
Enhance Your Finish With Layering and Light Buffing Some sealers allow repeat coats, and layering can deepen shine. The trick is to add coats in a controlled, patient way.
If the label allows multiple coats, wait for the recommended time between layers. Use the same even application technique each time. After each coat, wipe and buff so the surface stays clean, not sticky. This is where your countertop can move from “protected” to “beautiful.”
As the shine builds, granite patterns often look richer. Flecks can glow more, and veins may feel more defined. For personalization, you can stop after the first coat if you want a natural look. Or you can add a second coat if you love a stronger gloss. Always keep the process consistent so the result looks intentional.
-
15. Protect Against Future Stains With Everyday Habits
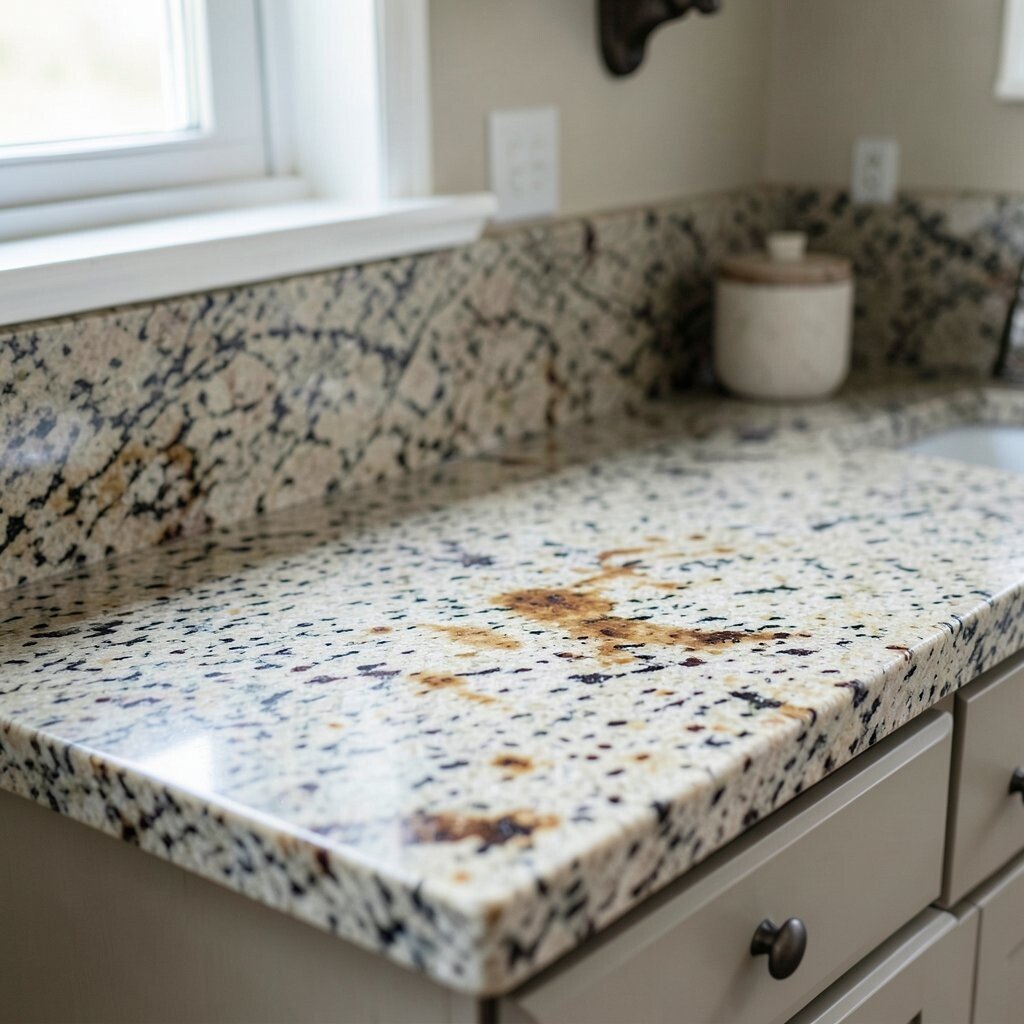
Protect Against Future Stains With Everyday Habits The best shine is the one that stays clean. Daily habits help your sealed granite resist spots and dulling.
Wipe spills quickly, especially acidic stuff like citrus and vinegar. Use coasters under glasses and avoid leaving wet bottles on the stone. For hot items, use trivets so heat doesn’t cause stress. Even sealed granite can be tested by repeated abuse over time.
For cleaning, use a stone-safe cleaner and avoid products with strong waxes or acids. A simple microfiber cloth goes a long way for routine dust and smudges. If you want a consistent shine, make it a habit to buff dry after cleaning. This creates a clean look without building up residue.
It’s also a good moment to personalize: add a small drying rack near the sink or use a dedicated “stone cleaning” kit. When your routine supports your seal, your countertop keeps its glow.
-
16. Compare DIY vs. Pro Sealing Based on Your Counter Size
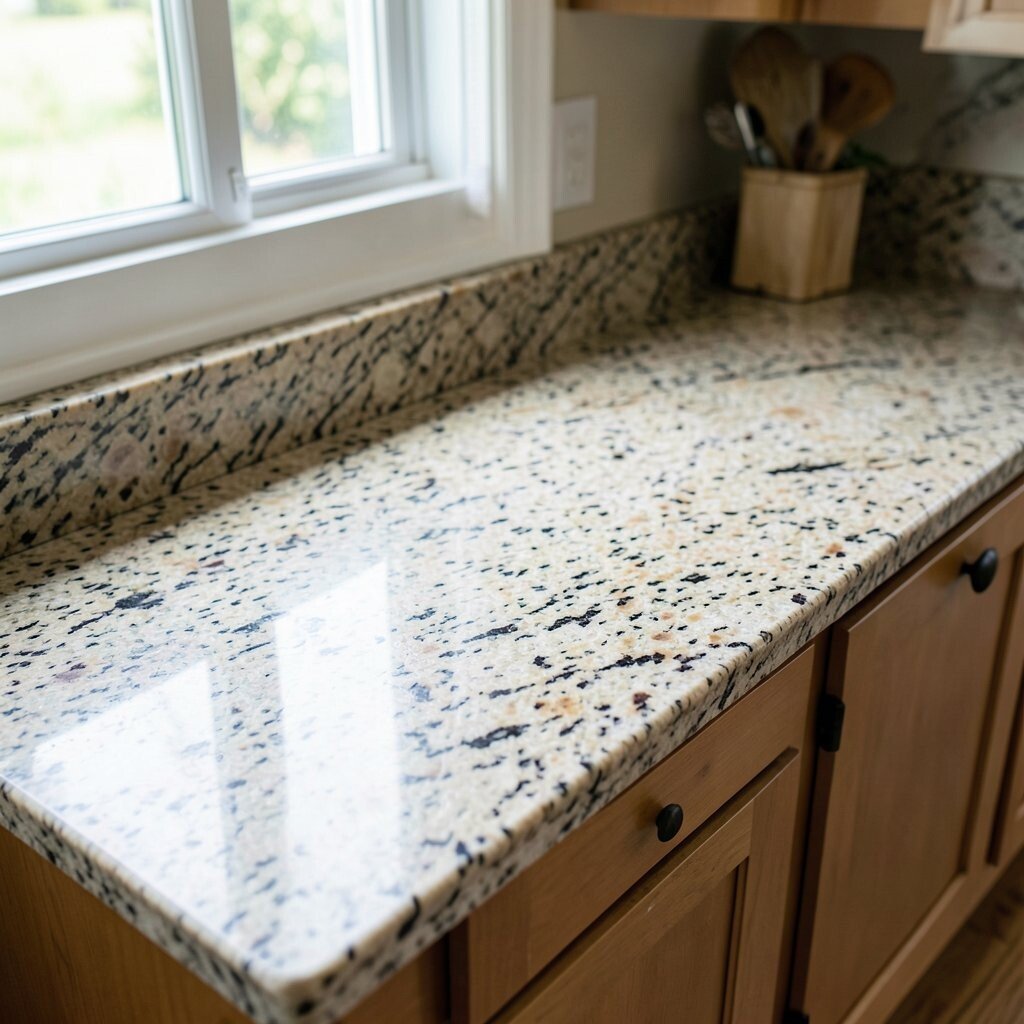
Compare DIY vs. Pro Sealing Based on Your Counter Size There’s a proud feeling in sealing your own countertop. DIY can be cheaper, and you get to control every step.
Still, it may make sense to hire a pro if your countertop is large, has many cutouts, or you’re busy with other projects. Professionals can also help if the stone has tough stain history or if multiple surfaces need matching protection. When you compare costs, look at the price of sealer, cloths, tape, and cleaners against labor fees. Sometimes DIY wins, and sometimes pros save time and reduce risk.
For uniqueness, you can combine both approaches. For example, you might DIY the prep and pro sealing for hard-to-reach areas. Or you can do a test spot yourself, then decide if you want professional help. Either way, the goal stays the same: a bright, even finish that looks great in your space.