
Your kitchen can look brand-new without spending like crazy. A few smart DIY choices can make your daily routine feel nicer and brighter.
-
1) Paint the Inside of a Cabinet for Instant Cheer
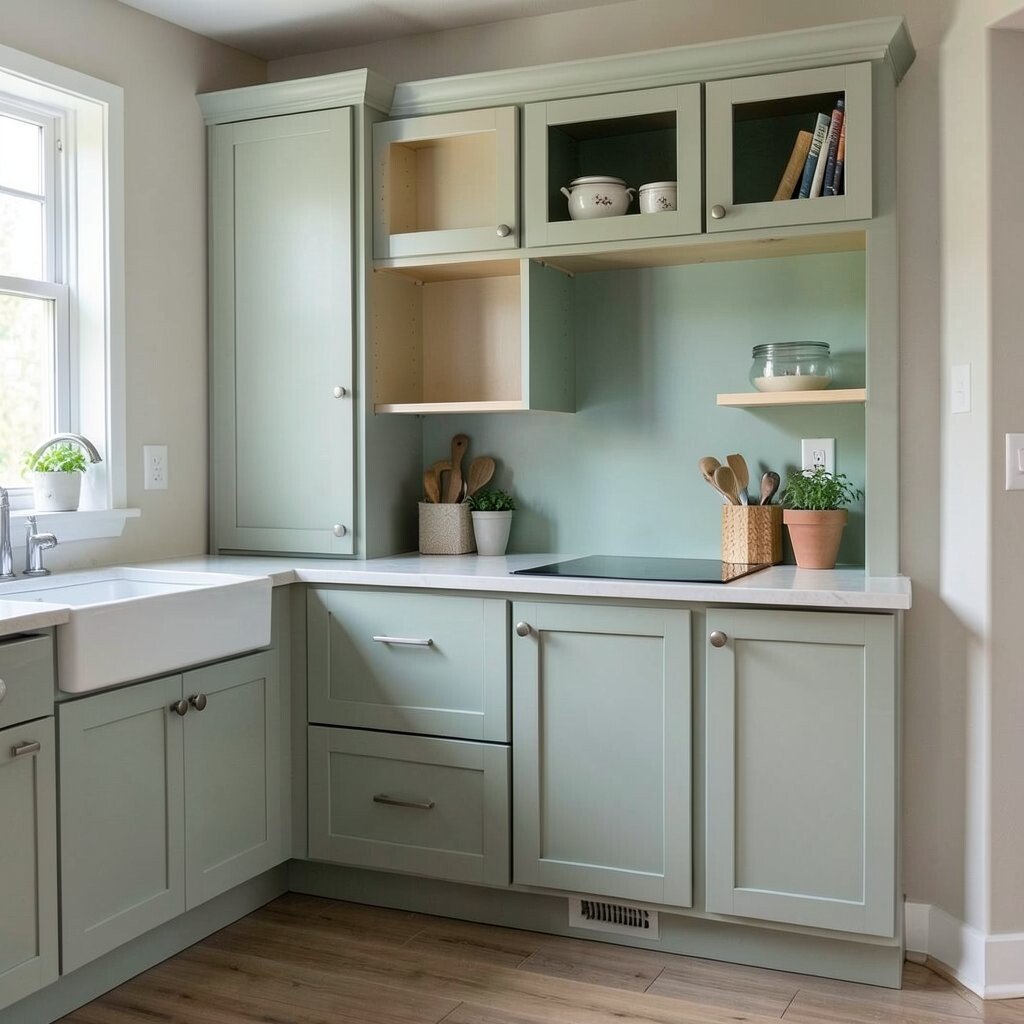
) Paint the Inside of a Cabinet for Instant Cheer Pick a cabinet you use every day. Then picture a fresh color glowing inside when you open the door.
Use a durable cabinet paint or a bonding primer first. Choose a shade that matches your kitchen mood, like warm cream, soft sage, or even a bold navy accent. After it dries, add a small top coat for easier cleaning and a longer life.
For a simple trend, lean toward matte finishes and muted tones. Use painter’s tape carefully along the edges so you get clean lines. If you want it to feel personal, paint a tiny border pattern behind the shelves and keep the rest simple.
-
2) Build a Fold-Down Cutting Board Shelf
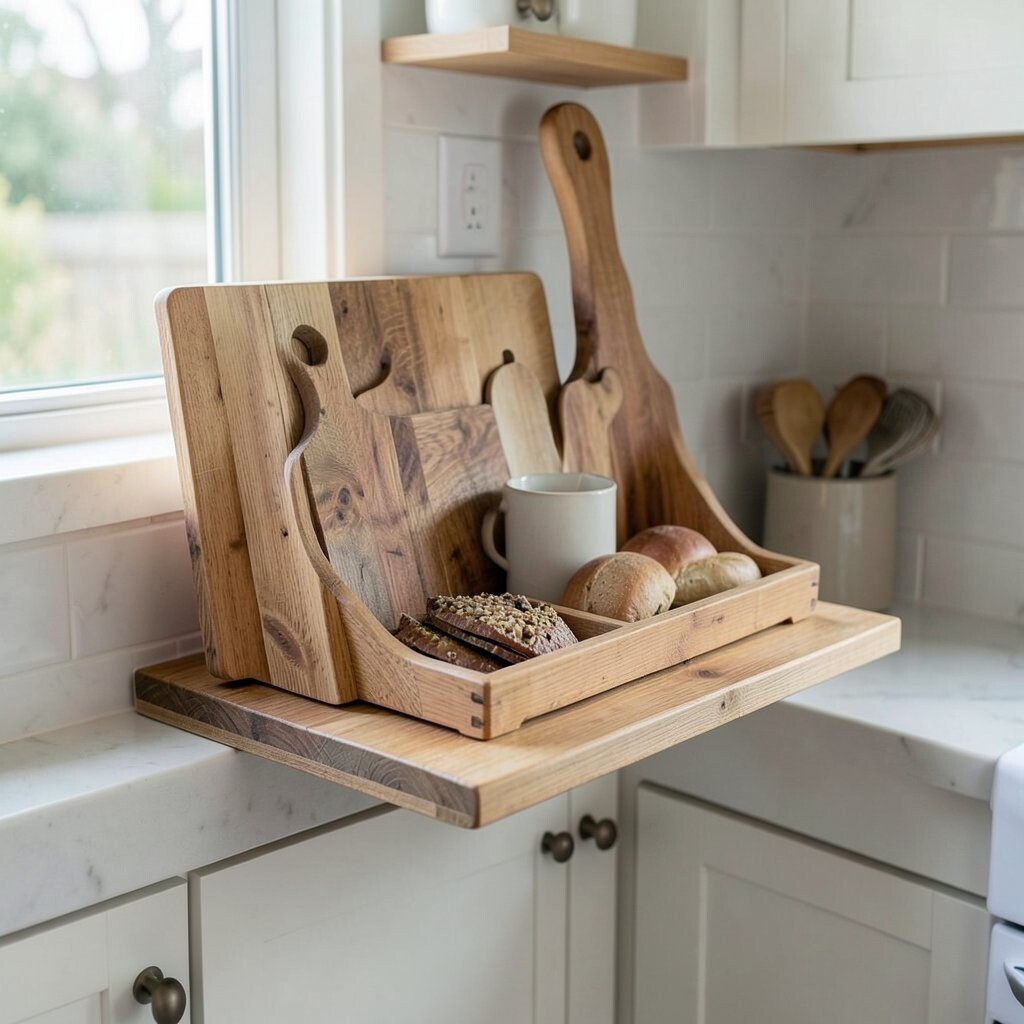
) Build a Fold-Down Cutting Board Shelf Think about the space beside your counter that feels stuck and unused. A fold-down board can turn that empty spot into helpful prep space.
Use a strong wood board, sturdy hinges, and simple wall brackets. Mount it at a comfortable height, so it folds out when you cook and folds back when you clean. This helps keep counters clearer and can reduce clutter while you chop, slice, and plate.
To make it unique, sand the board smooth and seal it with food-safe mineral oil. Add a small hanging hook for a towel or utensil brush. Keep costs down by checking for offcuts at a local hardware store and using hardware you already own.
-
3) Create a Budget-Friendly Spice Drawer Organizer
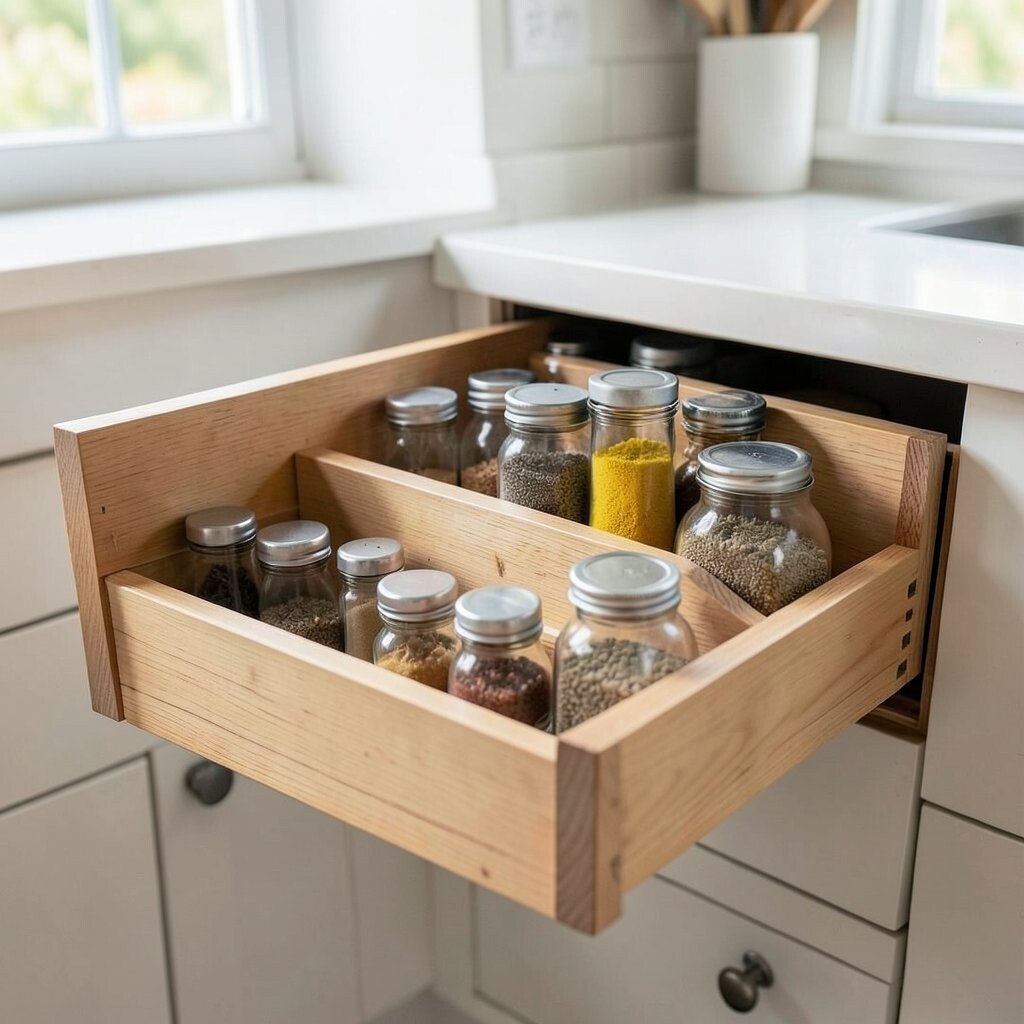
) Create a Budget-Friendly Spice Drawer Organizer Imagine a drawer where every spice jar looks easy to grab. Labels in neat lines can make cooking feel faster and calmer.
Use foam board, drawer dividers, or even repurposed cardboard covered with contact paper. Measure your jars first, then cut spaces that fit snugly so nothing slides around. This cuts down on wasted time and helps you spot flavors quickly.
For personalization, print your own label cards in a fun font and update them as your favorites change. A current style trend is using clean, minimal labels with matching colors. If you have a drawer that runs shallow, keep jars aligned and use vertical dividers for tighter storage.
-
4) Make a Chalkboard Recipe Stand from a Scrap Board
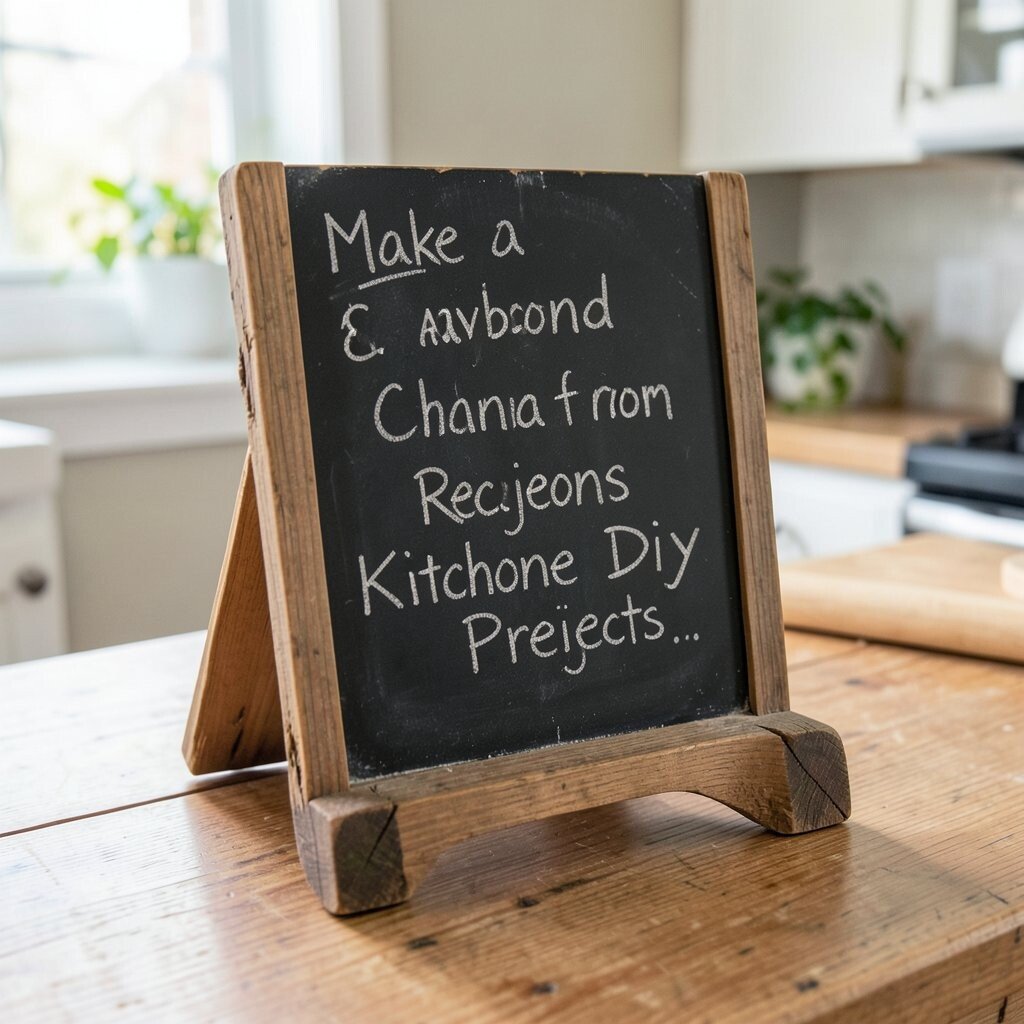
) Make a Chalkboard Recipe Stand from a Scrap Board Picture a small board where you can write meals you love. Every time you glance at it, you feel ready to cook.
Start with a scrap piece of wood or an old picture frame backing. Paint it with chalkboard paint, then screw on two small feet or a simple stand. This gives you a clear spot for recipes, grocery reminders, or even a weekly dinner theme.
To keep things trendy, use bold handwriting and add colored chalk dots for categories like “quick” or “family favorite.” Personalize it by writing your own nicknames for dishes or adding a cute border. Cost stays low because scrap materials and leftover paint work perfectly.
-
5) Upgrade Your Sink Area with a No-Sew Dish Towel Ladder
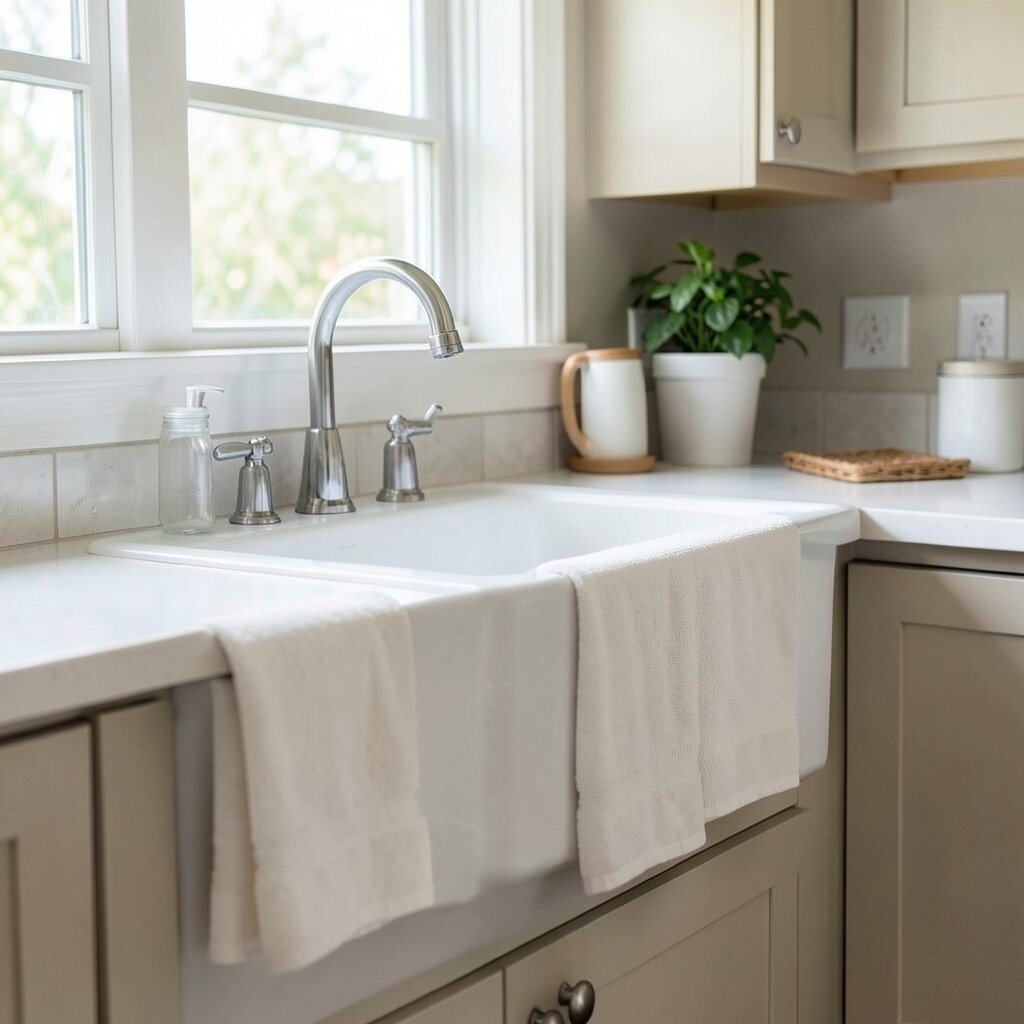
) Upgrade Your Sink Area with a No-Sew Dish Towel Ladder Look at the wall near your sink and notice how towels always end up on chairs or hooks. A small towel ladder can fix that problem with style.
Use two dowels, wooden strips, or even sturdy branches from a craft store. Tie or clip clothespin-style bars across the frame, then hang it on wall anchors. This keeps towels dry, makes them easy to reach, and saves counter space.
For personalization, choose towels that match your backsplash or pick a seasonal color. A current kitchen trend is mixing simple wood with soft fabric tones. Keep it affordable by using thrifted frames and repainting them in a matching color.
-
6) Turn Old Jars into a Countertop Storage Set
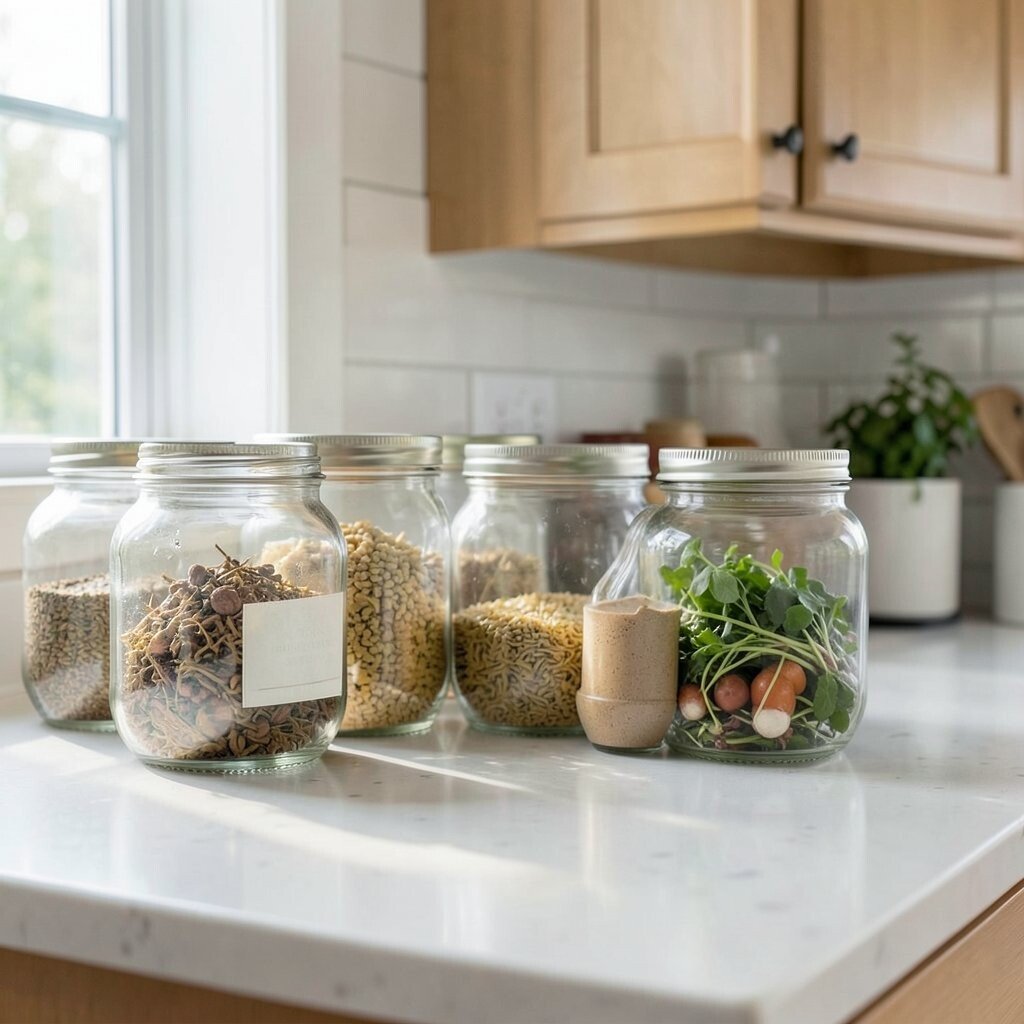
) Turn Old Jars into a Countertop Storage Set Do you have jars that just sit in a cabinet? Give them a new job so your pantry looks tidy from the moment you walk in.
Clean and dry the jars, then add matching lids and labels. Use for dry goods like rice, pasta, tea, or baking bits. Clear containers also help you see what you need, so you waste less time searching.
For a unique touch, wrap a thin ribbon around each lid and tie it in small bows. Try a matching label color scheme for a clean, modern look. If you want to keep it extra budget-friendly, grab jars from sauce, pickles, or thrift shops and use your existing pantry items to fill them.
-
7) Make a Magnetic Knife Strip with a Wood Backing
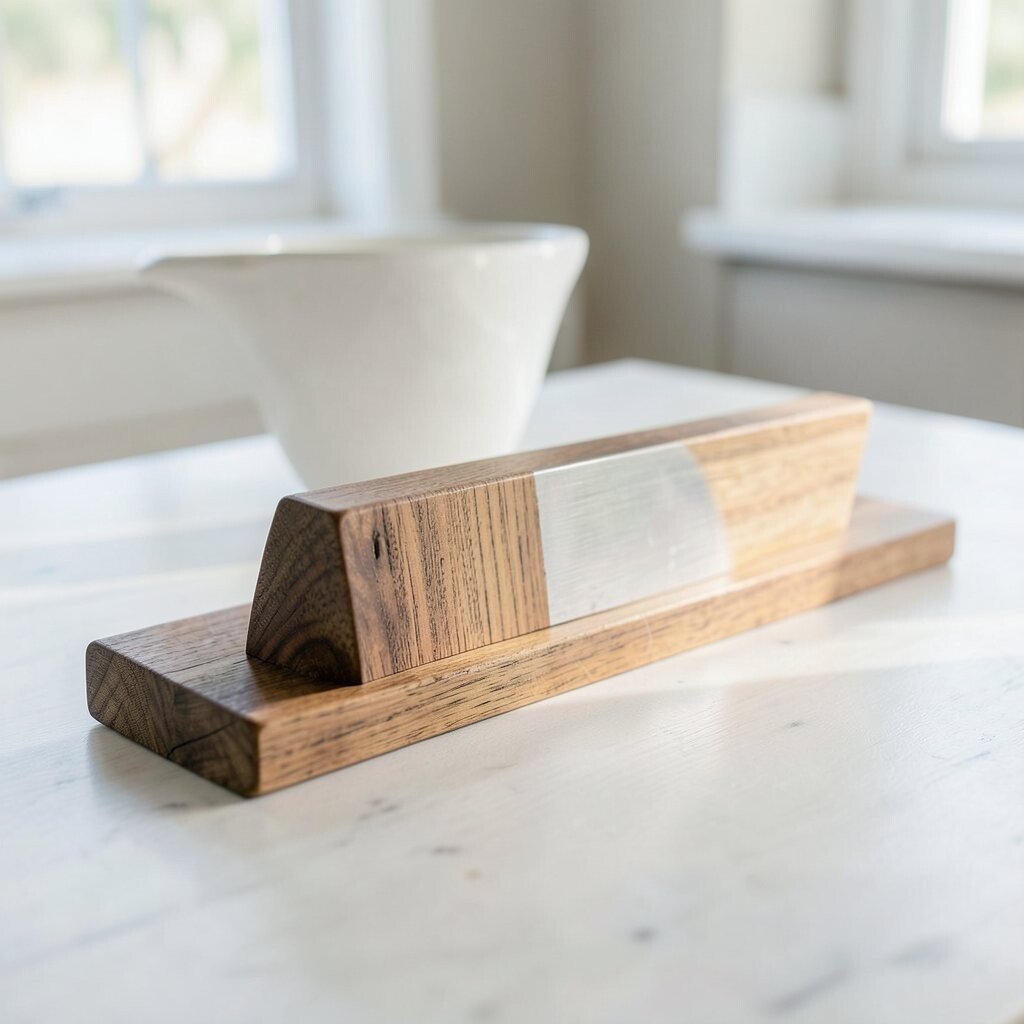
) Make a Magnetic Knife Strip with a Wood Backing Knives look better when they’re not jammed in a drawer. A magnetic strip can also save you time during meal prep.
Mount a strong magnetic bar to a piece of wood that fits your wall. Seal the wood with a clear coat, then anchor it securely into studs or strong wall hardware. This keeps blades visible, reduces clutter, and helps protect the edges from dulling.
To personalize, choose wood with an interesting grain pattern and stain it to match your cabinets. A current trend is mixing natural wood with simple black hardware. Keep costs down by using a small bar and only buying what’s necessary, then reusing wood scraps for the backing.
-
8) Add a DIY Pegboard Coffee Corner
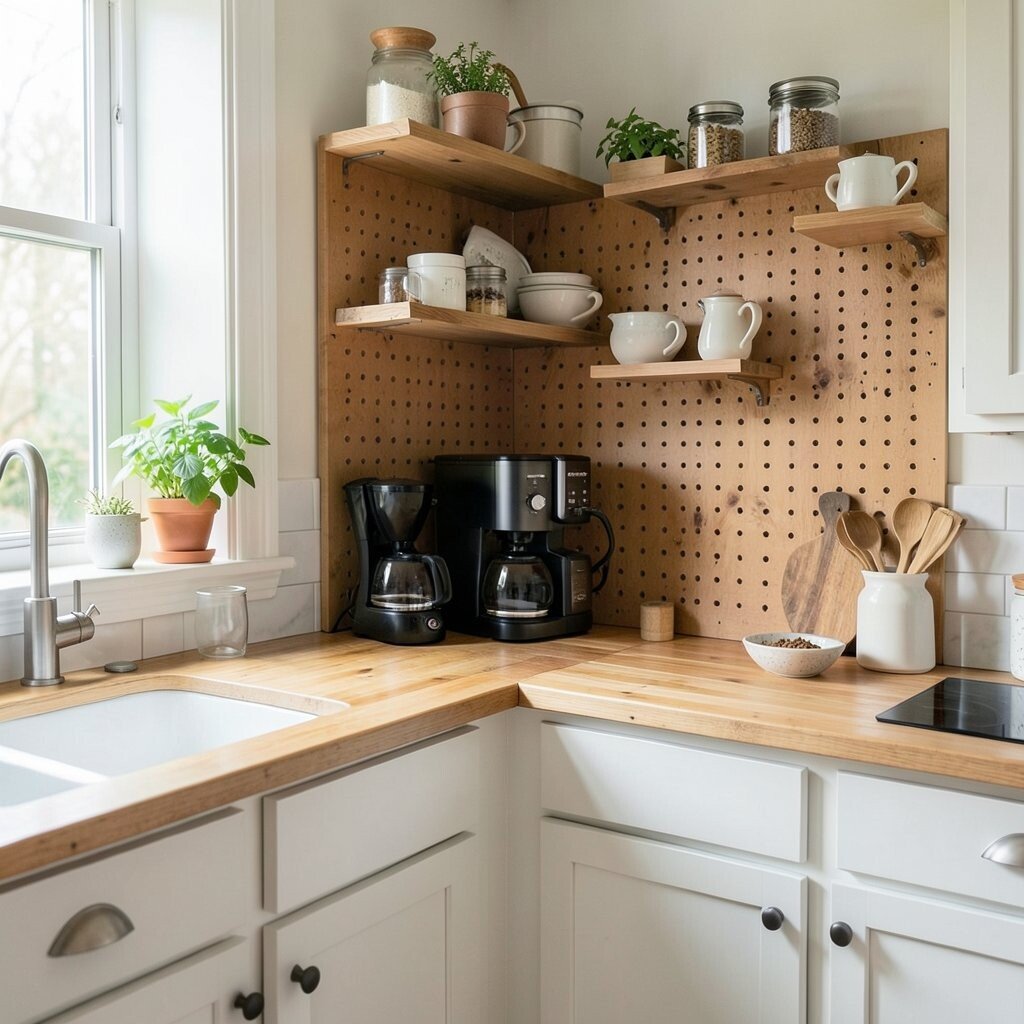
) Add a DIY Pegboard Coffee Corner When your coffee tools sit in multiple cabinets, your morning feels harder. A pegboard can gather everything into one tidy zone.
Paint a pegboard to match the room and attach it near a coffee station. Add hooks for mugs, small shelves for pods, and clips for bags. This helps you grab what you need in seconds and makes the area feel cozy.
For uniqueness, mix hanging accessories like mini baskets and a small sign. Use clear acrylic or simple labels so everything looks organized. If you want to stay on trend, keep the colors calm and use a neutral board with small pops of color in labels.
Cost wise, pegboards come in many budgets, and you can start with a small section. Use leftover hooks and rails from past projects if you have them. Over time, you can expand the layout as your collection grows.
-
9) Create a “Spill-Ready” Trash and Recycling Bin Cover
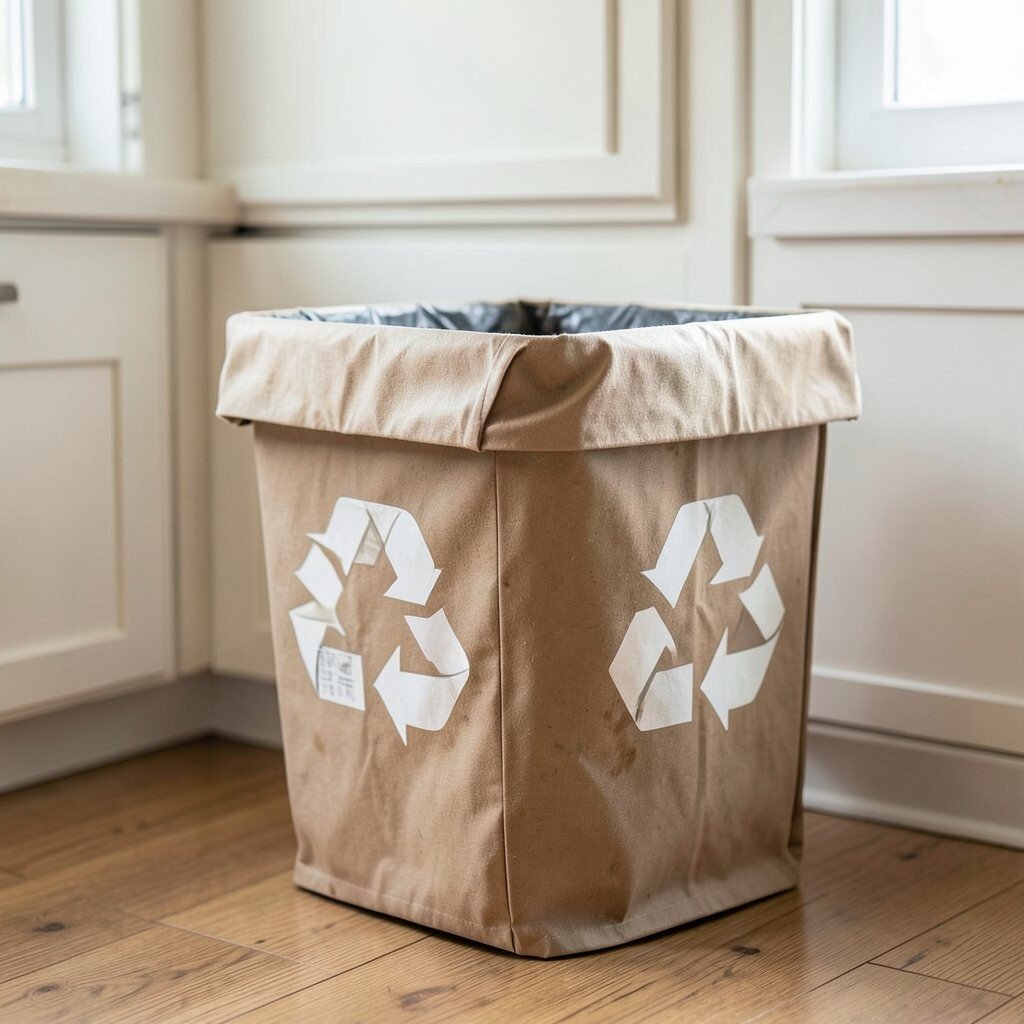
) Create a “Spill-Ready” Trash and Recycling Bin Cover Bins can look messy even when you’re doing your best. A cover can hide the visual clutter and keep things neat.
Use plywood panels or a pre-cut wood box and add hinges or a simple door. Leave gaps for airflow and make sure you can lift the top easily for trash changes. This gives you a cleaner look and helps you keep the area tidy during busy weeks.
Personalize it with a small chalk panel for notes, like “rinse first” or “new bags.” A style trend is using warm wood tones and simple hardware instead of bright plastic. To manage costs, use what you already have and focus on one piece at a time rather than building a huge enclosure.
-
10) Weatherproof Your Pantry Shelves with Contact Paper
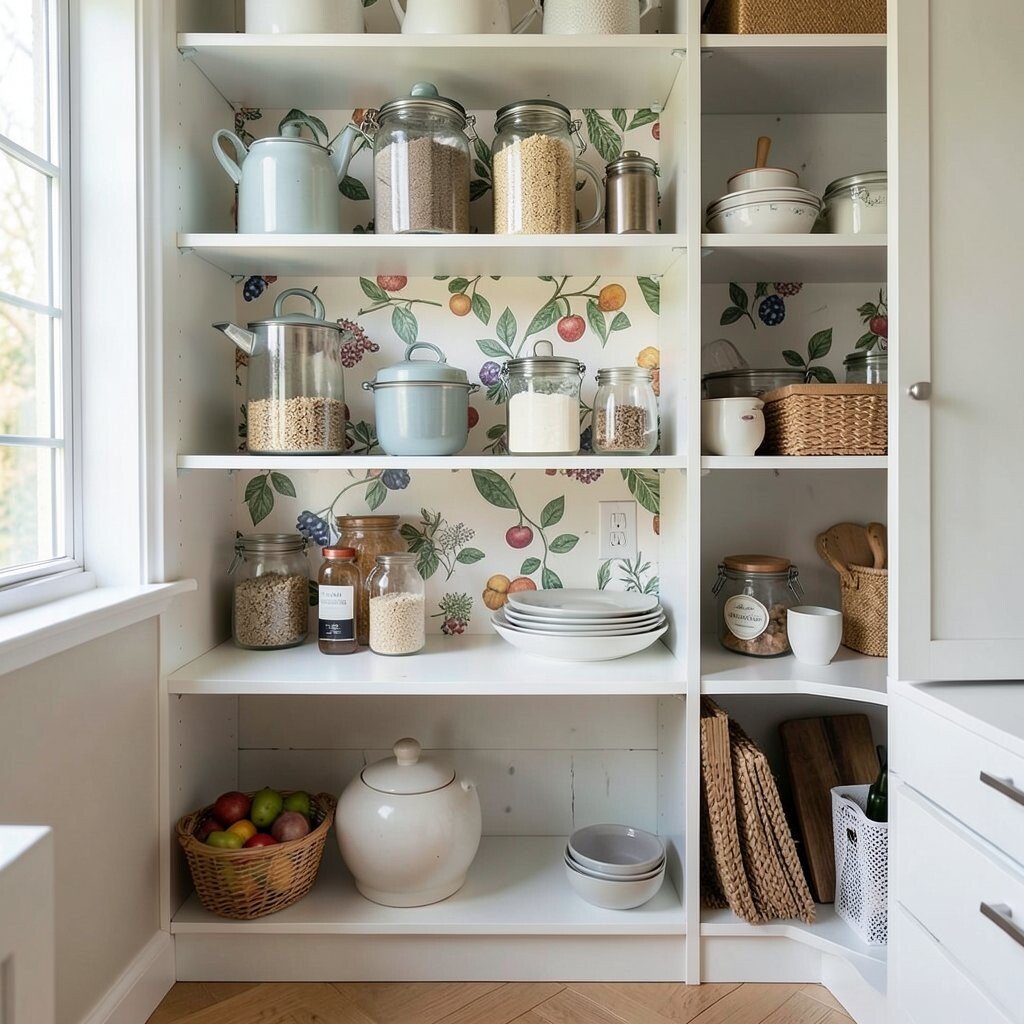
) Weatherproof Your Pantry Shelves with Contact Paper Sticky shelves can make jars slide or labels peel. A smooth new layer can keep everything in place and look fresh.
Clean the shelves well, then measure and cut contact paper to fit. Choose a durable pattern like marble-look vinyl or a simple matte finish. This protects the surface and makes spills easier to wipe up.
For personalization, match the pattern to your kitchen accents, like subtle gray for modern homes or warm beige for cozy spaces. This also helps with current trends, because people love clean, simple “designed” storage areas. When it comes to cost, contact paper is usually cheaper than full shelf replacements, and you can change it whenever you want.
-
11) Make a Drawer Divider for Utensils Using PVC or Wood Strips
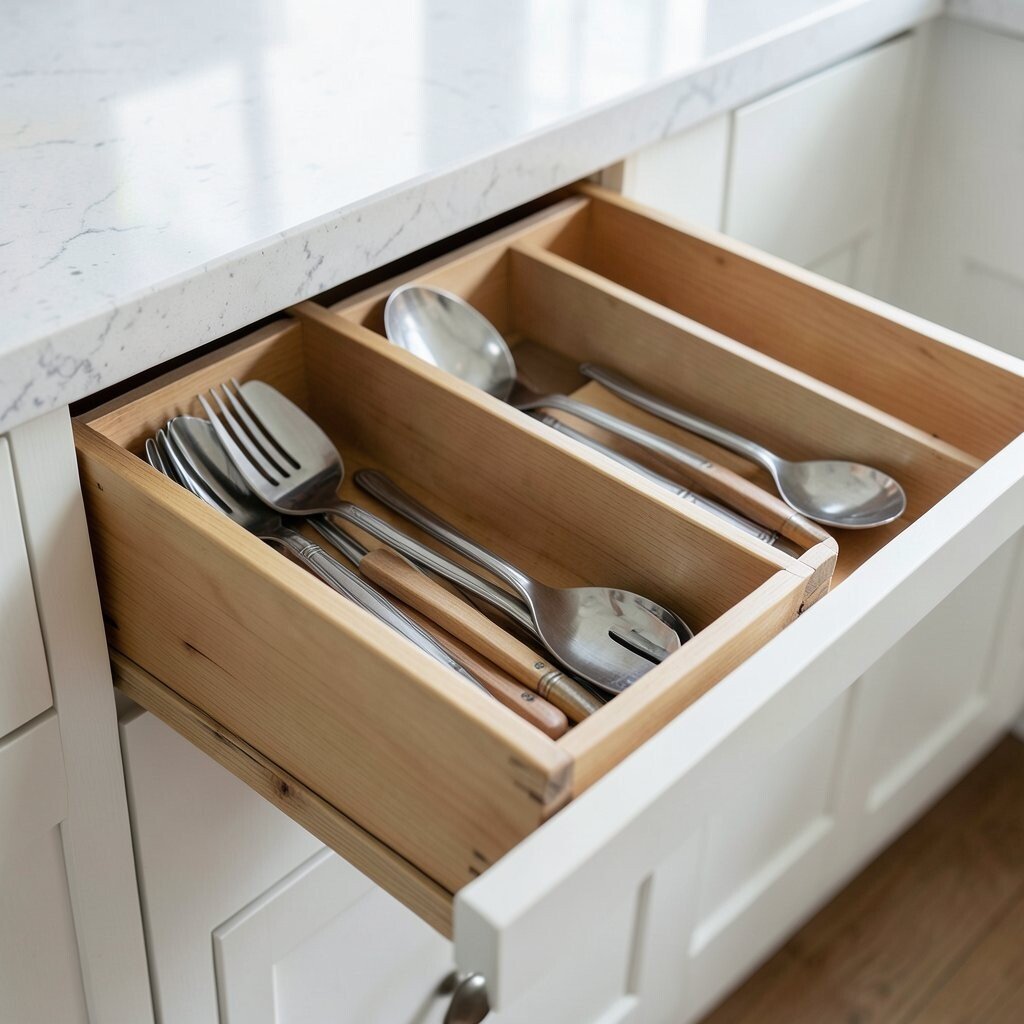
) Make a Drawer Divider for Utensils Using PVC or Wood Strips Utensils can end up mixed up like a messy puzzle. With dividers, every spoon and fork has a clear spot.
Measure your drawer width and cut strips of wood, thin PVC, or even sturdy plastic. Make spaces for forks, knives, spoons, and small tools. Dividers help prevent clutter and reduce digging, which makes cooking feel smoother.
For a unique look, stain or paint dividers so they match your cabinet color. Add a small label tab for “everyday,” “serving,” and “holiday” sets. Keep costs low by using offcuts from a hardware store and adjusting sizes to your exact drawer.
-
12) Build a Simple Counter Ledge for a Cutting Board and Tools
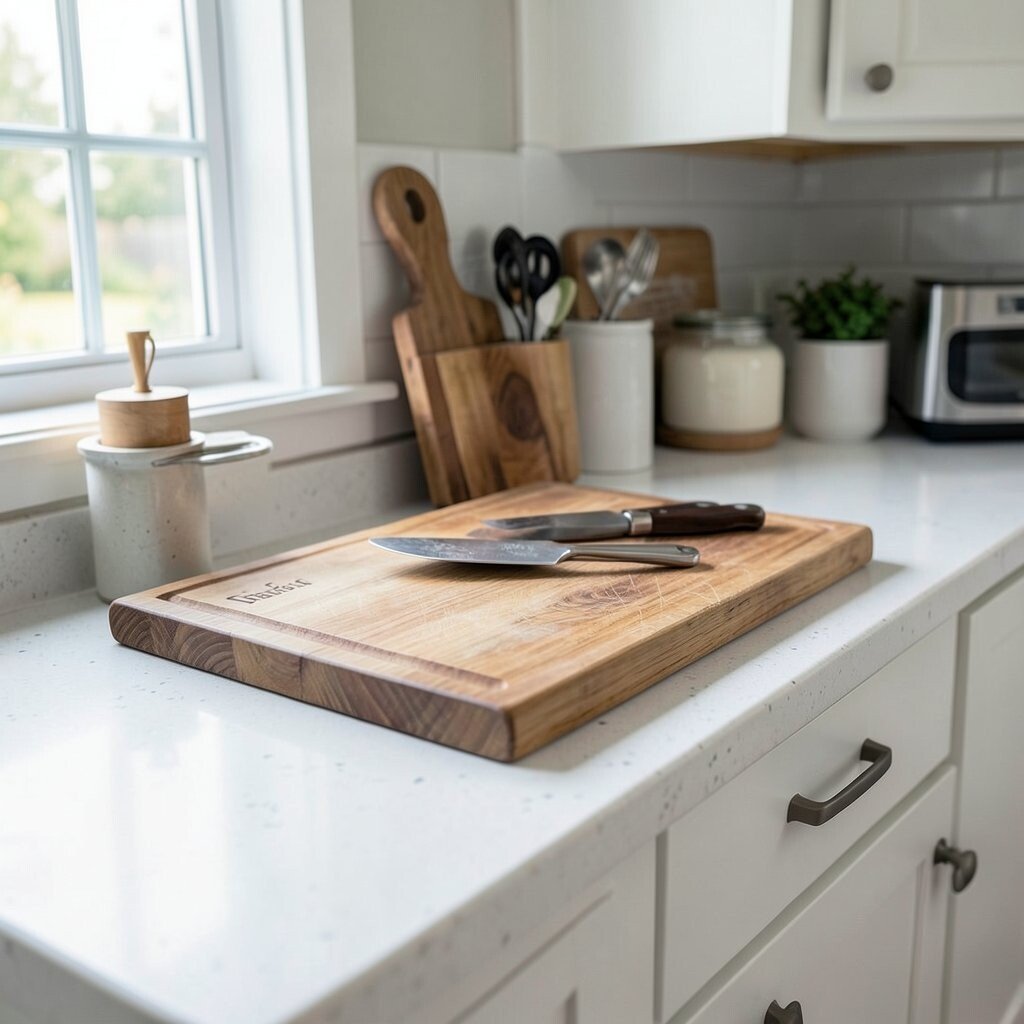
) Build a Simple Counter Ledge for a Cutting Board and Tools Sometimes you need a home for items that don’t fit neatly. A ledge can act like a mini landing spot for daily tools.
Create a shelf line just above or beside your counter so you can set down cutting boards, a utensil jar, or a spice tray. Use sturdy brackets and add a flat wood strip sized for your space. This gives you a handy staging area and makes meal prep less chaotic.
Personalize with a removable tray so you can switch items when you cook different meals. A trend you’ll see often is “layered” countertops with neat, repeatable zones. For cost, use short brackets and scrap wood, then paint everything one color for a finished look.
-
13) Refinish a Table or Small Cart to Use as a Kitchen Island Helper
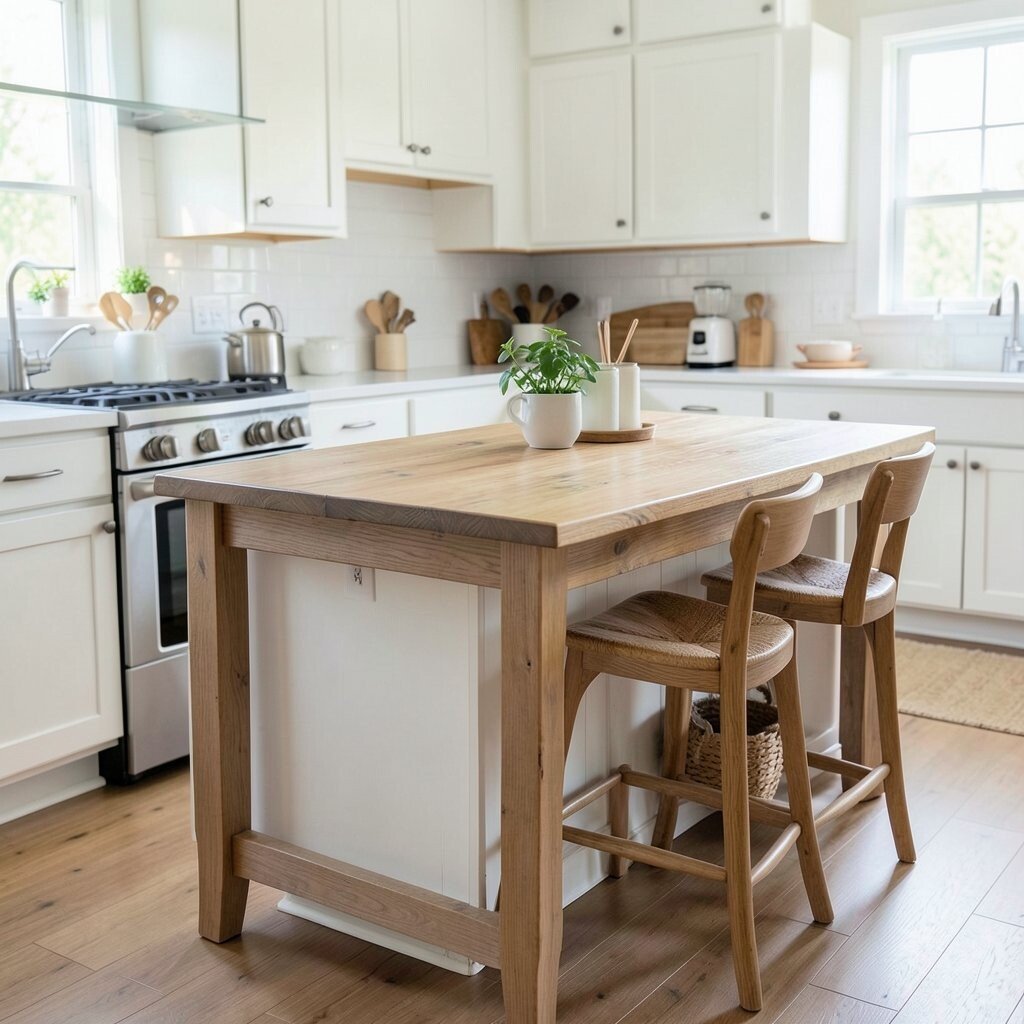
) Refinish a Table or Small Cart to Use as a Kitchen Island Helper Old furniture can feel tired, but it can also become your kitchen’s best helper. A refreshed cart or table brings extra surface space right where you need it.
Sand lightly, wipe clean, and then paint or stain. Add casters if you want easy movement around the kitchen. This helps you store bowls, prep dough, or set out snacks during gatherings.
To personalize, add a top tray for oils and spices or a row of hooks on the side for towels. A current style trend is mixing painted bases with natural wood tops. Keep the cost friendly by shopping thrift stores or resale apps for items with strong frames and then doing the finishing work yourself.
Try keeping the color palette consistent with cabinets or floors so it looks like it belongs. Even a small cart can make your kitchen feel more organized and more fun to use.
-
14) Add Under-Cabinet LED Lights with a DIY Switch Setup
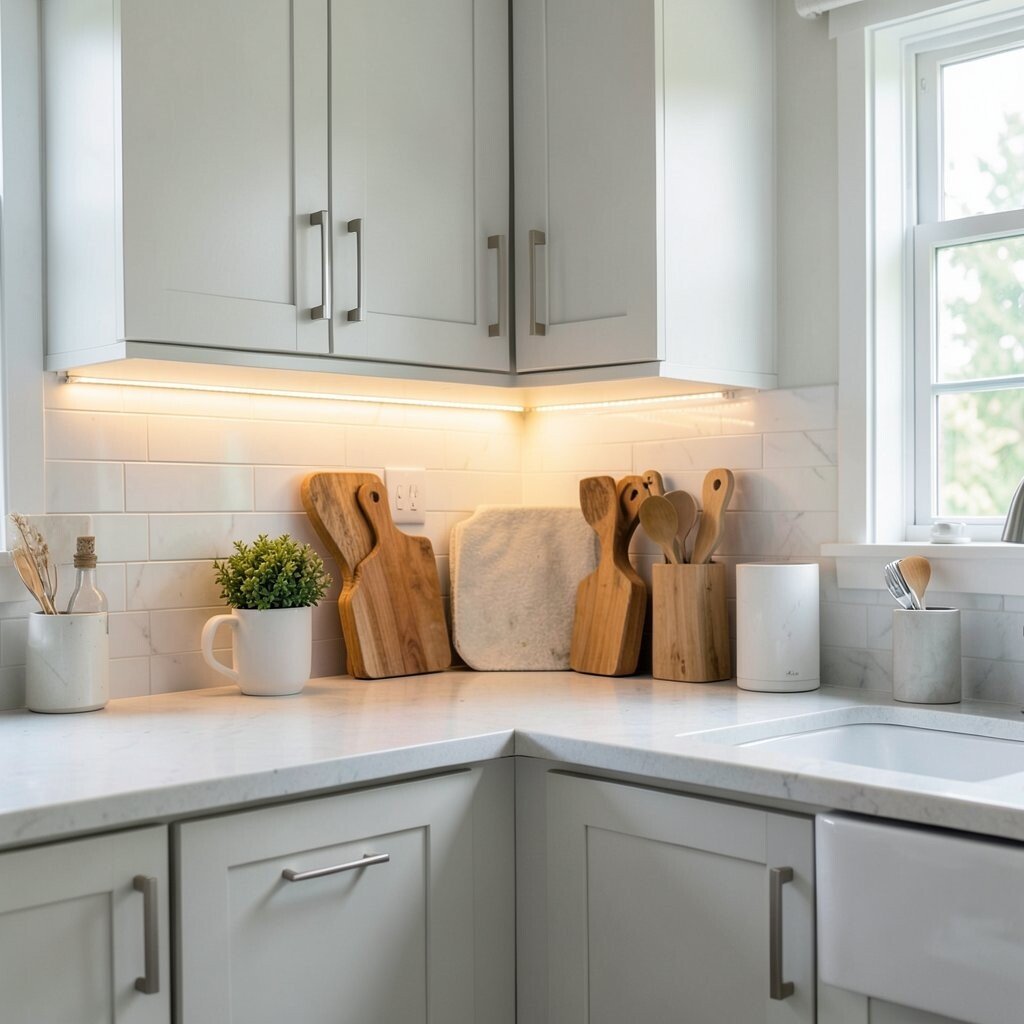
) Add Under-Cabinet LED Lights with a DIY Switch Setup Dark corners make tasks feel harder. Good lighting can make chopping and cleaning look easier and nicer.
Use LED strip lights that plug in or use an adhesive mount under your cabinets. Add a simple switch or tap controller so you can turn them on without hunting for cords. This boosts visibility for counters and reduces the need to use harsh overhead lights.
For personalization, choose warm white for a cozy feel or cooler light for a crisp look. A trend right now is “glow zones” where lighting highlights work areas. Cost considerations are important, so start with a small strip and measure carefully to avoid wasted purchases.
-
15) Make a DIY Pantry Door Organizer with Clear Pouches
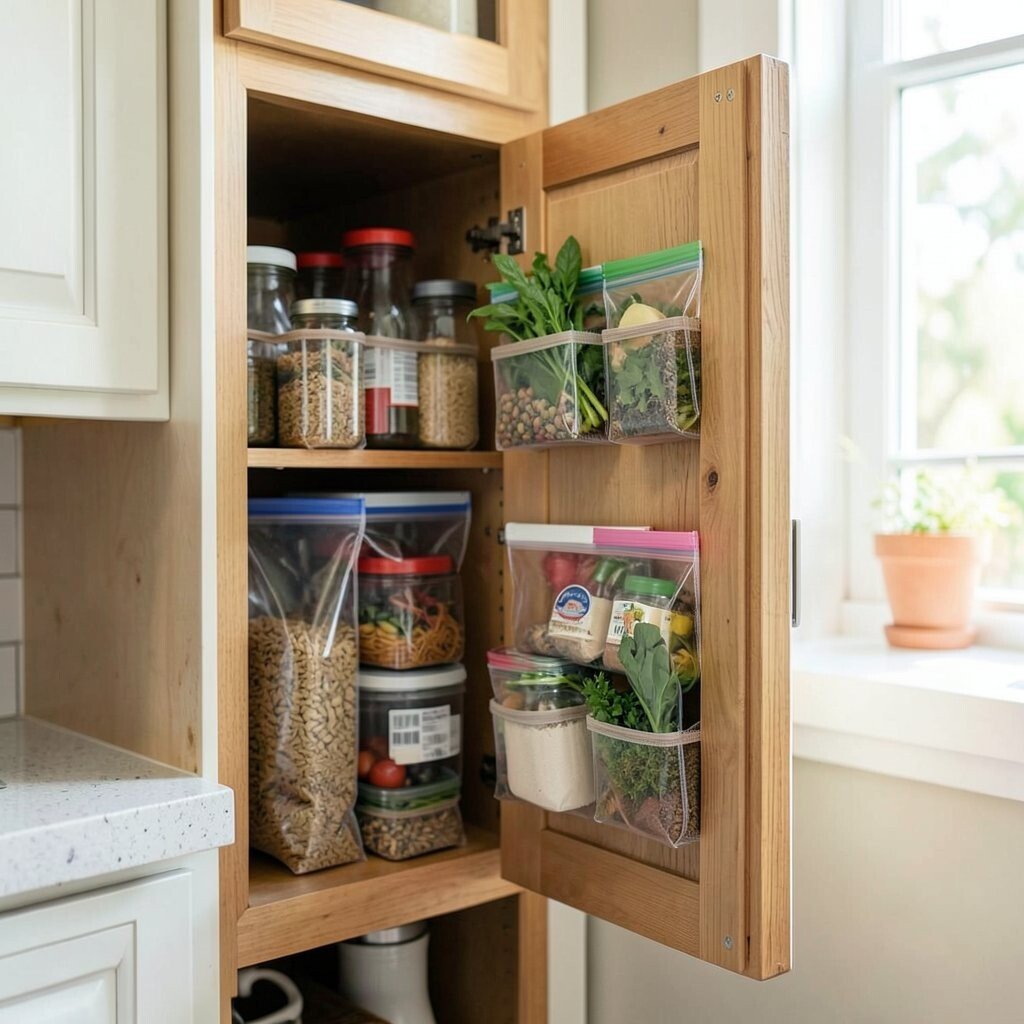
) Make a DIY Pantry Door Organizer with Clear Pouches Pantry doors often waste space. Turning that door into storage can add order without adding extra furniture.
Use clear pouches, small fabric pockets, or magnetic holders to hold snacks, wraps, or small bags. Mount them where you can reach comfortably, and keep heavier items on lower sections. This helps you grab what you need fast and keeps the main shelves calmer.
To personalize, label each pocket with your own system, like “tea,” “breakfast,” or “movie night.” Clear storage is a popular trend because it looks neat and lets you see stock quickly. Keep costs low by reusing plastic organizers you already own or choosing affordable clear pouch sets.
-
16) Create a Reusable Cleaning Caddy from a Repurposed Container
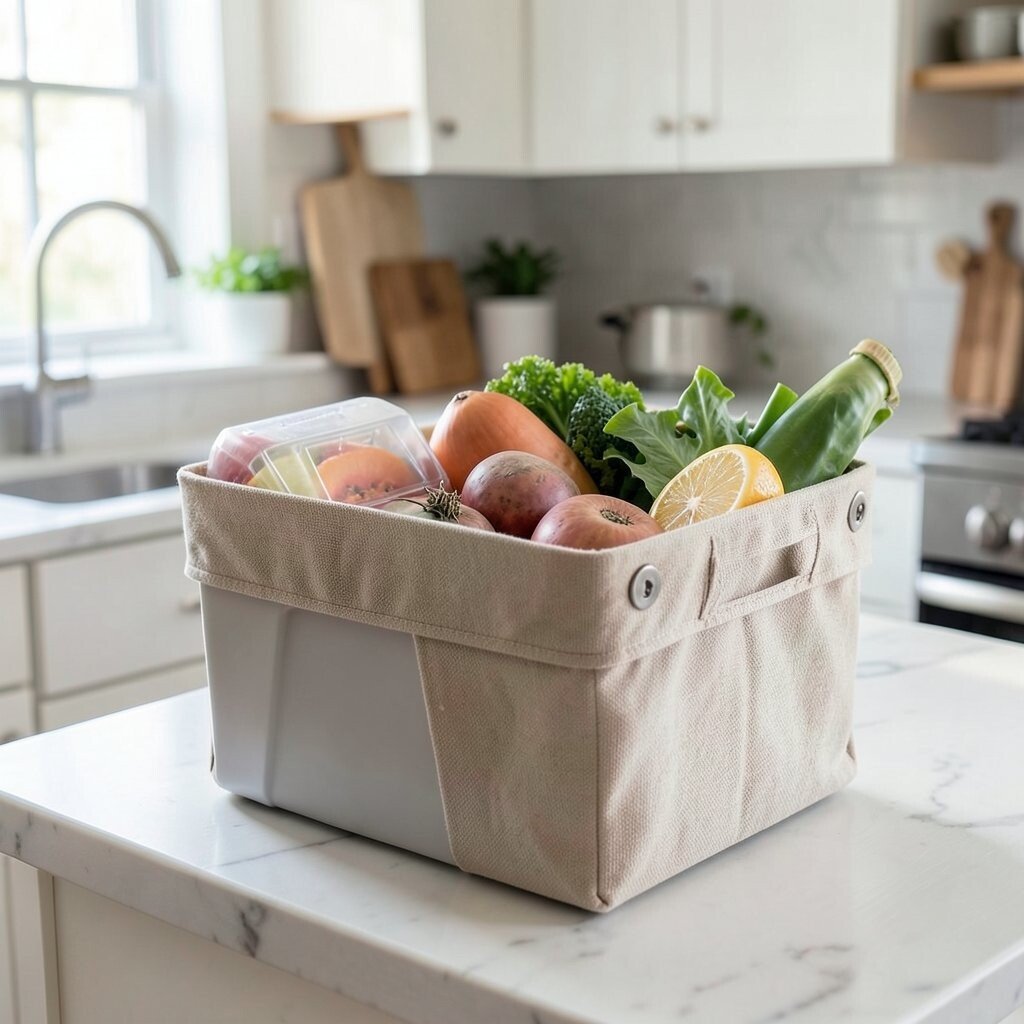
) Create a Reusable Cleaning Caddy from a Repurposed Container Cleaning supplies can take over every cabinet door. A reusable caddy keeps them in one spot so your kitchen stays ready.
Pick a sturdy container, like a plastic bin, small tote, or even a repurposed organizer box. Add compartments for dish soap, scrub pads, and a spray bottle. This makes it easy to grab what you need after cooking and helps your tools stay in good condition.
For personalization, paint or cover the container with a pattern you love, then add a small tag for “daily wipe” or “deep clean.” A current trend is simple matching labels and color-coded tools for quick routines. Cost stays reasonable because you’re using items you can find cheaply, then upgrading with paint, tape, or labels.