
Bold color can make even a small kitchen feel like a street corner gallery. A mural backdrop gives your everyday cooking space a story.
When you pair art with practical DIY upgrades, the whole room starts to feel more you.
-
1. Brick-Style Clay Tile Mural Frame
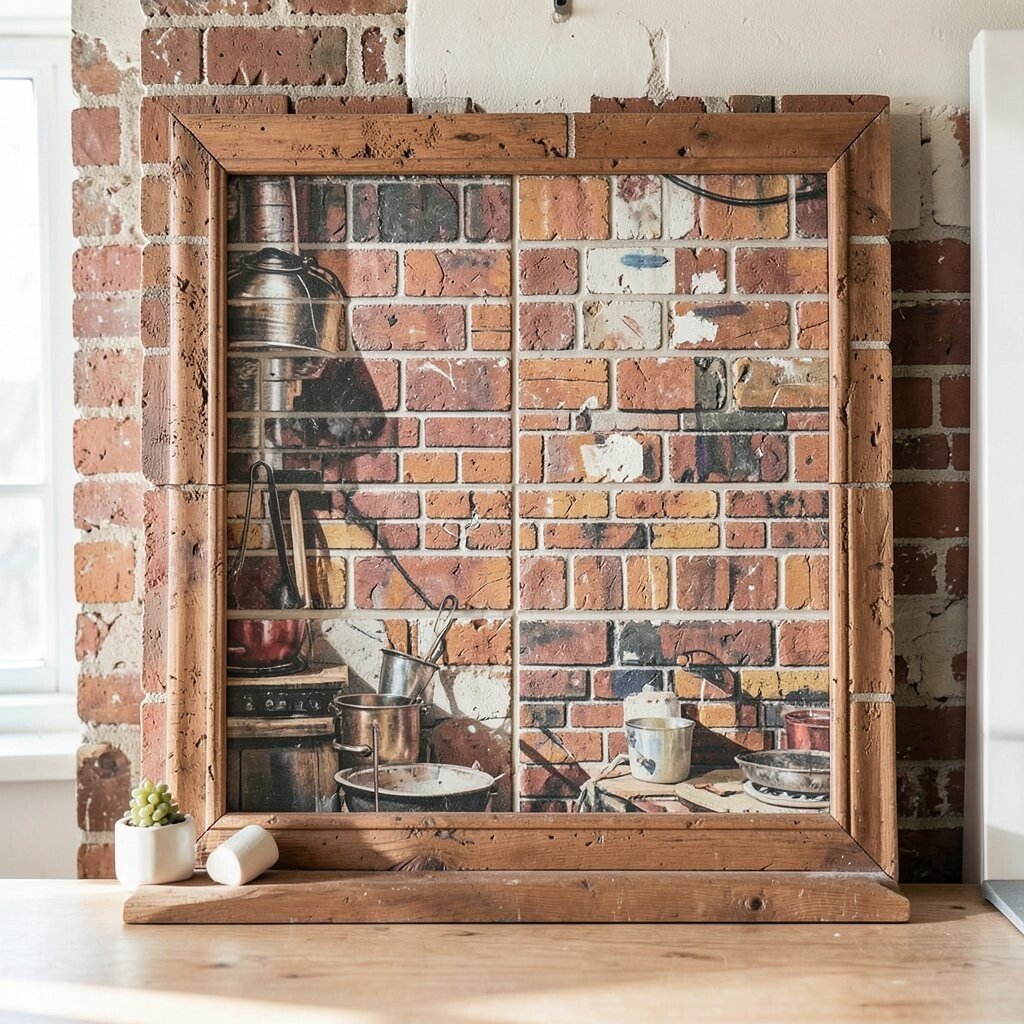
Brick-Style Clay Tile Mural Frame Imagine a mural backdrop bordered by mini brick tiles that look hand-laid. It makes your kitchen feel warm and textured, even when the rest stays simple.
This DIY adds visual depth and makes the mural look intentional, like it’s part of a bigger wall design. You also get an easy “landing spot” for floating shelves or a small utensil rail. For best results, measure your mural area first and plan a clean border so paint lines never look wobbly.
Use matte, budget-friendly tile or peel-and-stick textured panels that mimic brick. Paint the grout lines with a light stain or diluted acrylic so it doesn’t look too dark. If you cook often, choose a tile finish that wipes clean and won’t chip near the sink.
Personalize by picking brick colors that match your cabinets: warm terracotta, cool gray, or even a soft black accent. A neat tip is to place a narrow ledge at the bottom so you can add a few plants or cookbooks like a mini display. Costs stay manageable because you’re framing, not covering the whole wall.
-
2. Stencil “Street Sign” Pantry Door Artwork
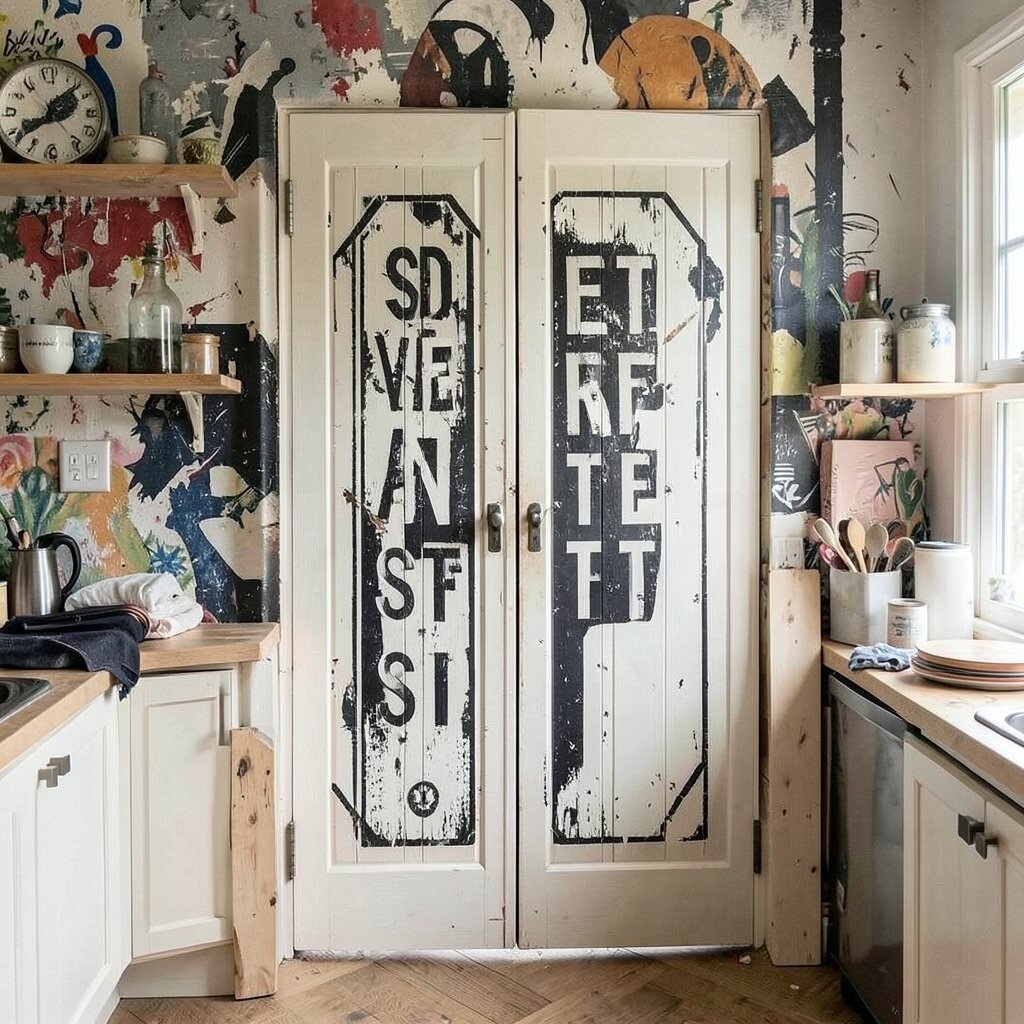
Stencil “Street Sign” Pantry Door Artwork Turn a pantry door into a playful street sign scene that sits right beside your mural. The contrast feels fun, like the room is full of little secrets.
This idea gives you a clear focal point without needing a huge budget. It’s also easy to refresh later if you change your kitchen color theme. Pick a stencil style that matches your mural mood, like bold arrows, tiny icons, or block letters.
Start with painter’s tape to outline a neat rectangle where your sign will go. Use a primer made for cabinets, then apply your stencil paint in two thin coats for smooth edges. Seal with a kitchen-safe clear coat so fingerprints and splashes won’t ruin it.
-
3. Chalkboard Strip for Daily Recipes and Measurements
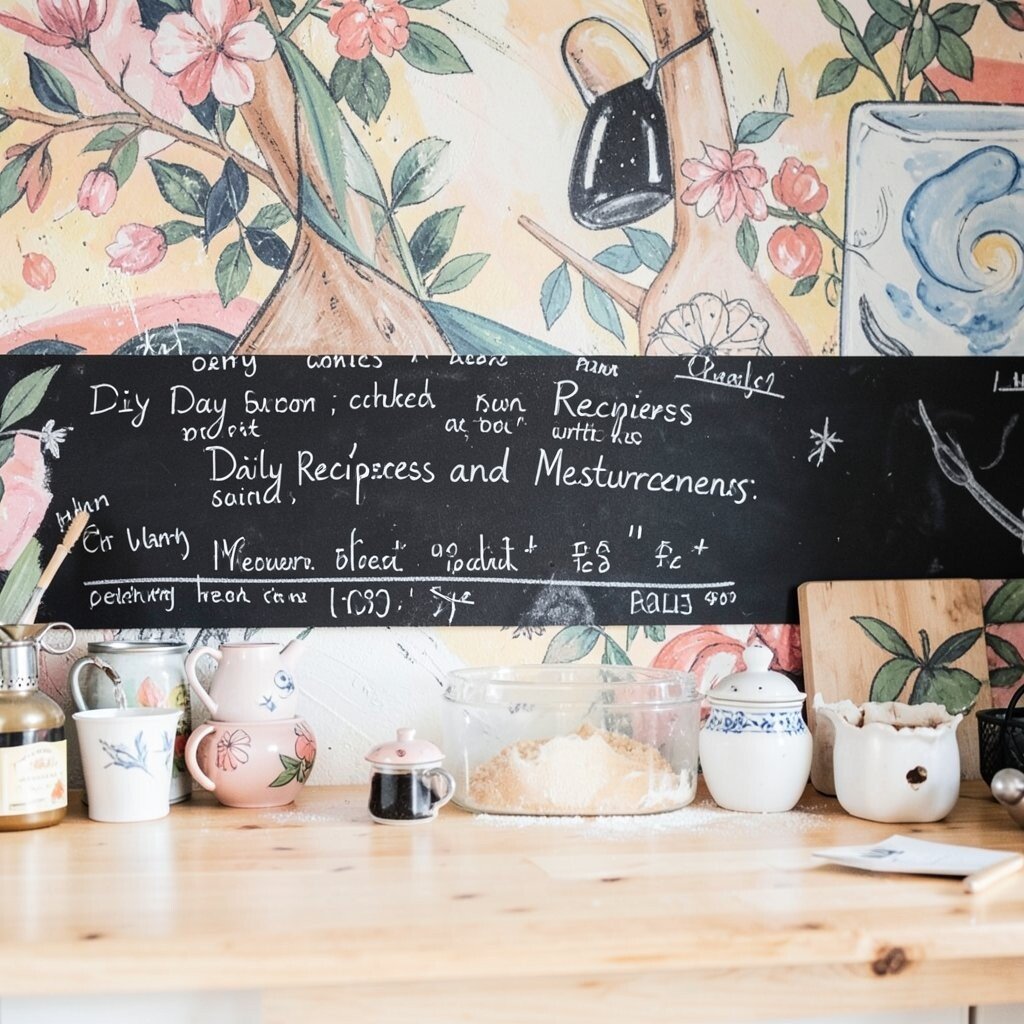
Chalkboard Strip for Daily Recipes and Measurements Add a chalkboard strip under the mural so your kitchen feels like a creative workspace. It’s perfect for jotting down recipes while you cook.
This DIY makes the mural backdrop more useful, not just pretty. You can write grocery lists, meal plans, or even “what’s for dinner tonight” in big friendly letters. A chalkboard also helps you keep the space tidy because notes have a home.
Choose a small strip for a budget-friendly start, then expand if it becomes your favorite spot. Use removable chalkboard paint or an adhesive chalkboard panel if you want less mess. Personalize with measurements in your own style, like “two scoops,” “one pinch,” or “stir until shiny.”
For durability, clean often and avoid wet wiping too aggressively. If you love modern urban vibes, use white chalk markers instead of standard chalk for sharper contrast. Pair it with a magnetic kitchen tool holder to keep everything close.
-
4. Spray-Painted Gallery Ledge for Plant Pots and Cups
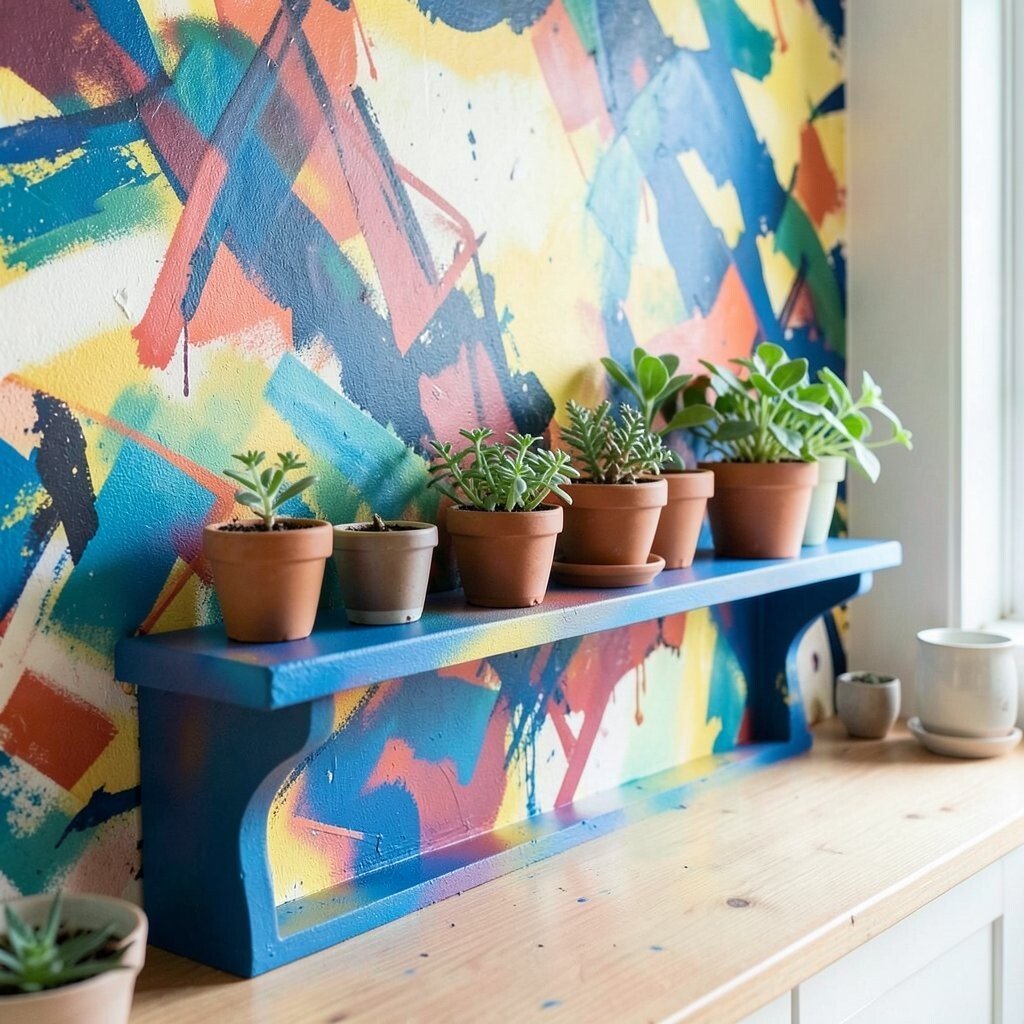
Spray-Painted Gallery Ledge for Plant Pots and Cups Create a slim gallery ledge that floats near the mural and holds small plants. When the mural provides color, the ledge acts like a stage for your everyday items.
This upgrade boosts storage and saves counter space, which is a big win in busy kitchens. You can also swap out items by season, keeping the look fresh without repainting the wall. For safety, anchor brackets into wall studs when you can, and use a level so the shelf stays straight.
Choose a wood ledge, then spray paint it in matte black, warm brass, or soft white. Add a thin felt pad under pots to prevent scratching. Personalize by grouping items in threes, mixing heights, and using matching planters for a clean urban feel.
-
5. Tile-Pattern Backsplash Above the Mural “Art Window”
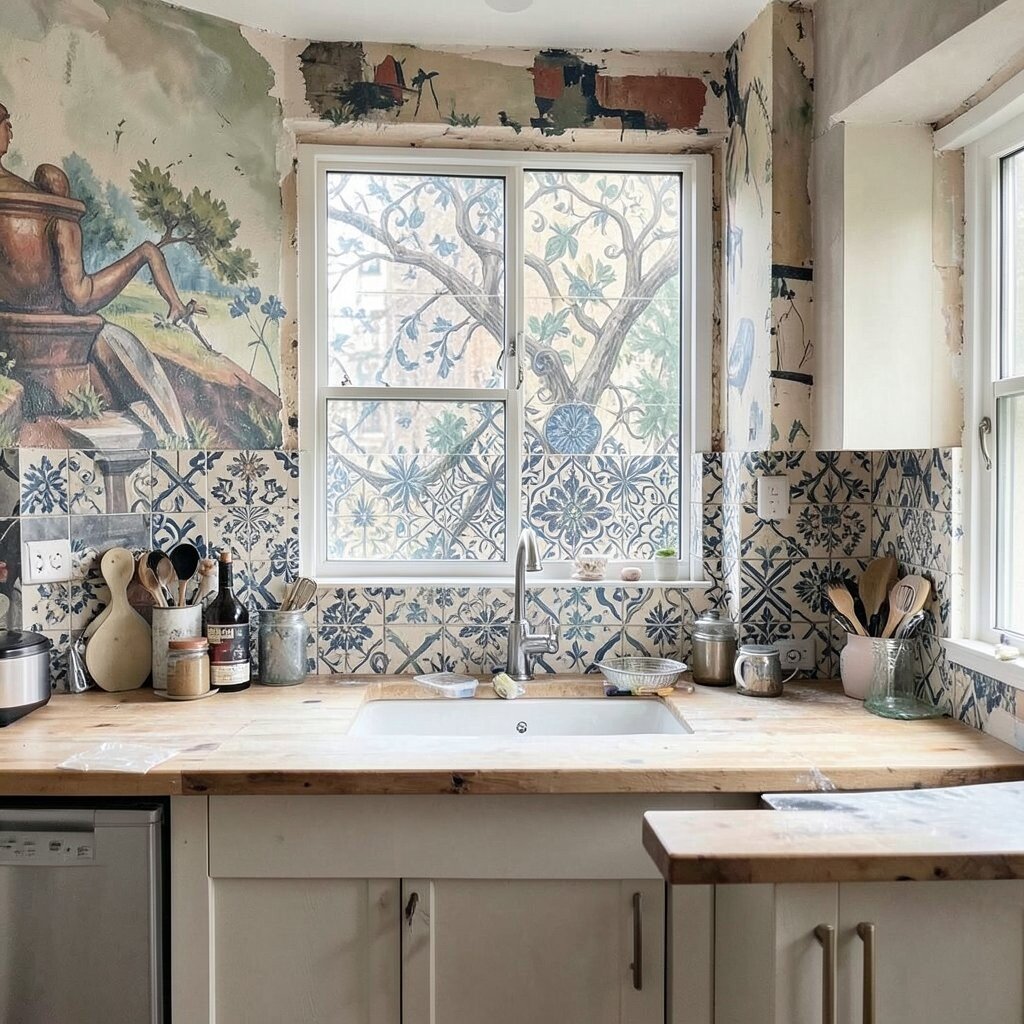
Tile-Pattern Backsplash Above the Mural “Art Window” Give your mural backdrop a matching “art window” by adding a small tile-pattern section around it. Think of it like a frame that catches the eye every time you turn to cook.
This is a great way to make the mural look built-in. The benefit is clear: you add splash protection where you need it, especially near cooking zones. Choose a simple geometric tile pattern so it doesn’t fight with the mural colors.
Use peel-and-stick backsplash panels for a budget-friendly option that installs fast. Seal the edges with a clear caulk to help keep moisture away. Personalize with a single accent color tile that matches a detail in your mural, like teal, coral, or deep green.
-
6. Upcycled Cutting Board Wall Display With Names and Dates
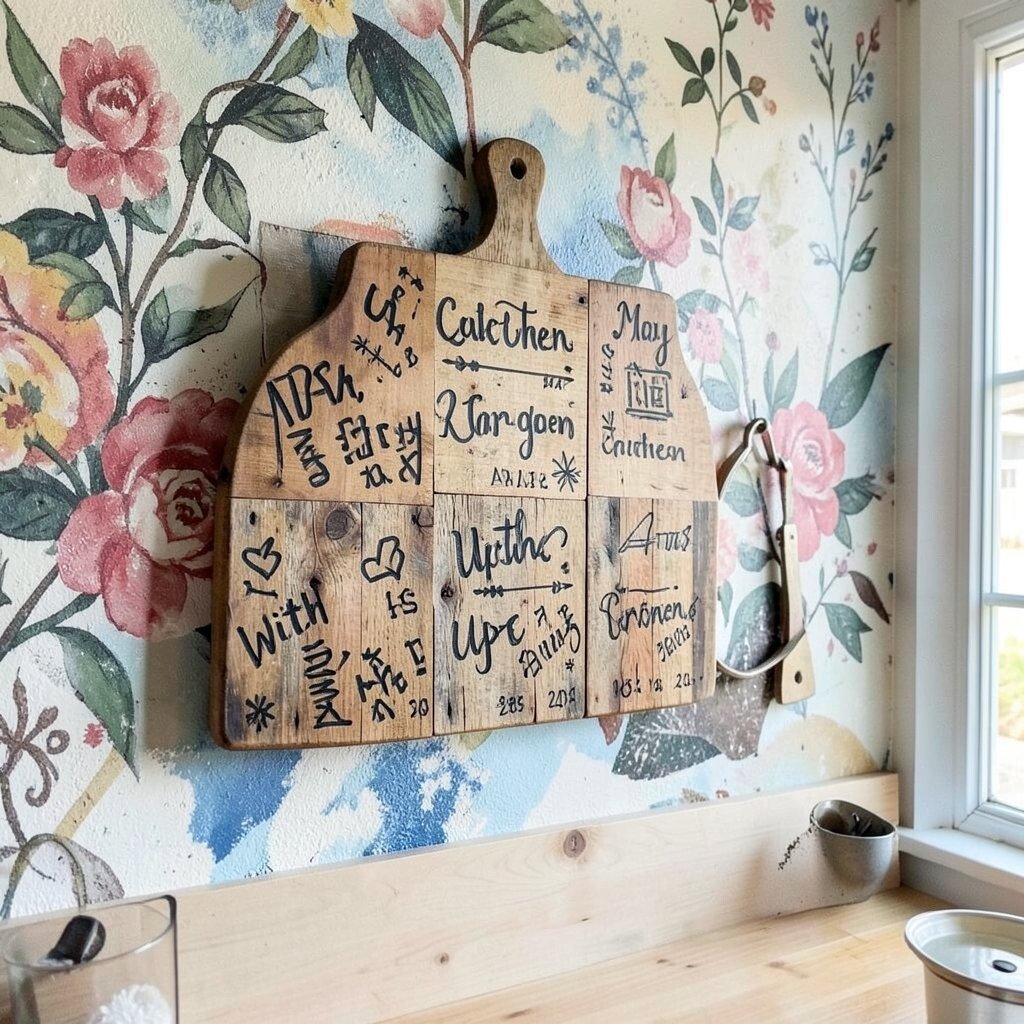
Upcycled Cutting Board Wall Display With Names and Dates Hang upcycled cutting boards along the mural wall like a rotating art collection. Each board becomes a small story, especially when you add names or dates.
This DIY is useful and cute, because the boards can be used or shown. It also helps you organize tools, since you can hang frequently used boards near the prep zone. To keep it looking neat, vary heights but keep the board edges facing the same direction.
Sand lightly, wipe clean, and add a food-safe finish if the board is unfinished. Then paint tiny labels or write a date in a clean font style. Costs stay low when you buy secondhand boards or use old ones you already own.
Try a personalization theme like “family recipes,” “weeknight meals,” or “city memories” that match your mural. A tip: use strong hooks and leave enough spacing so boards don’t rub together. For an urban vibe, add one board with a stencil of a subway line or skyline outline.
-
7. Fabric-Covered Counter Stool Backrest Using Mural Colors
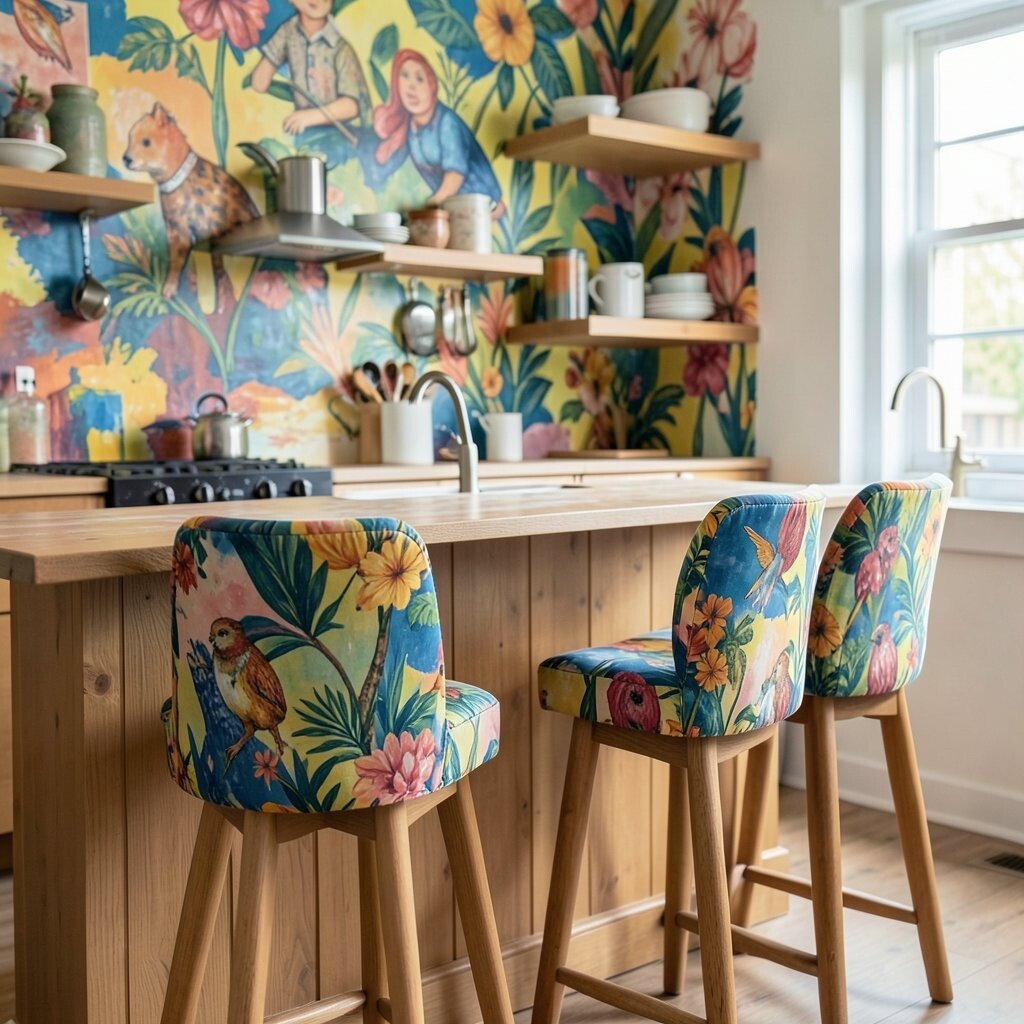
Fabric-Covered Counter Stool Backrest Using Mural Colors Reupholster a bar stool or chair back with fabric colors that echo your mural. The room feels coordinated, like every part was designed on purpose.
This idea brings softness to an otherwise bold wall design. It can also make your kitchen feel more comfortable, especially if you stand and cook a lot. Pick indoor upholstery fabric that’s easy to wipe or spot-clean.
Use spray adhesive and a basic foam layer to make a smooth, cushy look. Personalize with a small patch or stitched line that matches a mural icon. When you choose colors already present in the mural, you avoid spending on extra paint supplies.
-
8. Neon-Inspired “Doorway” Mirror With a Painted Border
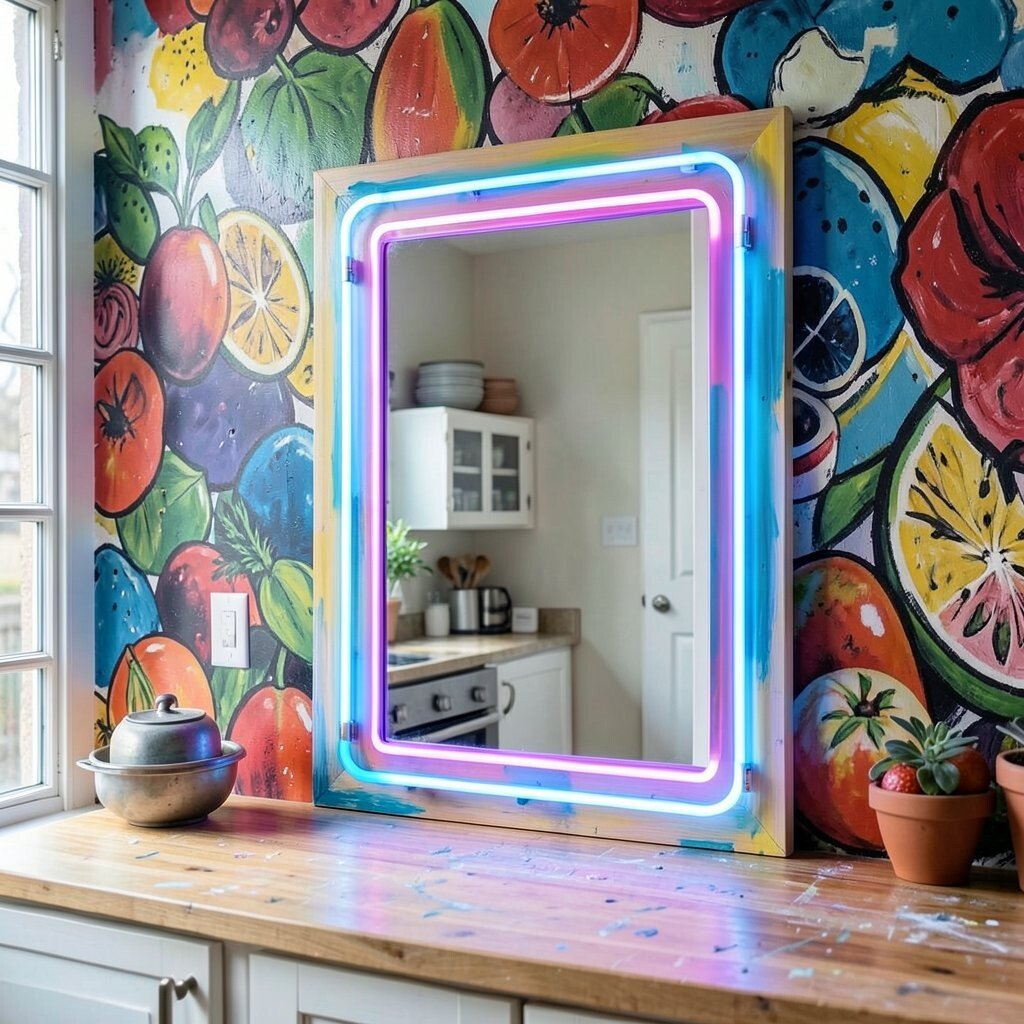
Neon-Inspired “Doorway” Mirror With a Painted Border Add a mirror that looks like an urban doorway, with a bright painted border. The mural backdrop will reflect in the glass and feel extra lively.
This DIY can make a small kitchen look bigger because mirrors bounce light around. You also get a stylish spot to check your hands before serving. Keep the design simple so the mirror feels like a cool accent, not a clutter magnet.
Use a thrifted mirror frame and paint it in a neon-inspired shade like electric blue or bright lime. For a budget-friendly glow effect, layer one base color and then add a lighter highlight line around the edges. Personalize by matching the border shade to one highlight color in your mural.
Hang it securely with the right hardware for your wall type. A tip is to test placement with painter’s tape first, so the mural reflection sits exactly where you want it. This upgrade feels unique because your mural becomes part of the mirror art.
-
9. Mason Jar Organizer With Painted Label Bands
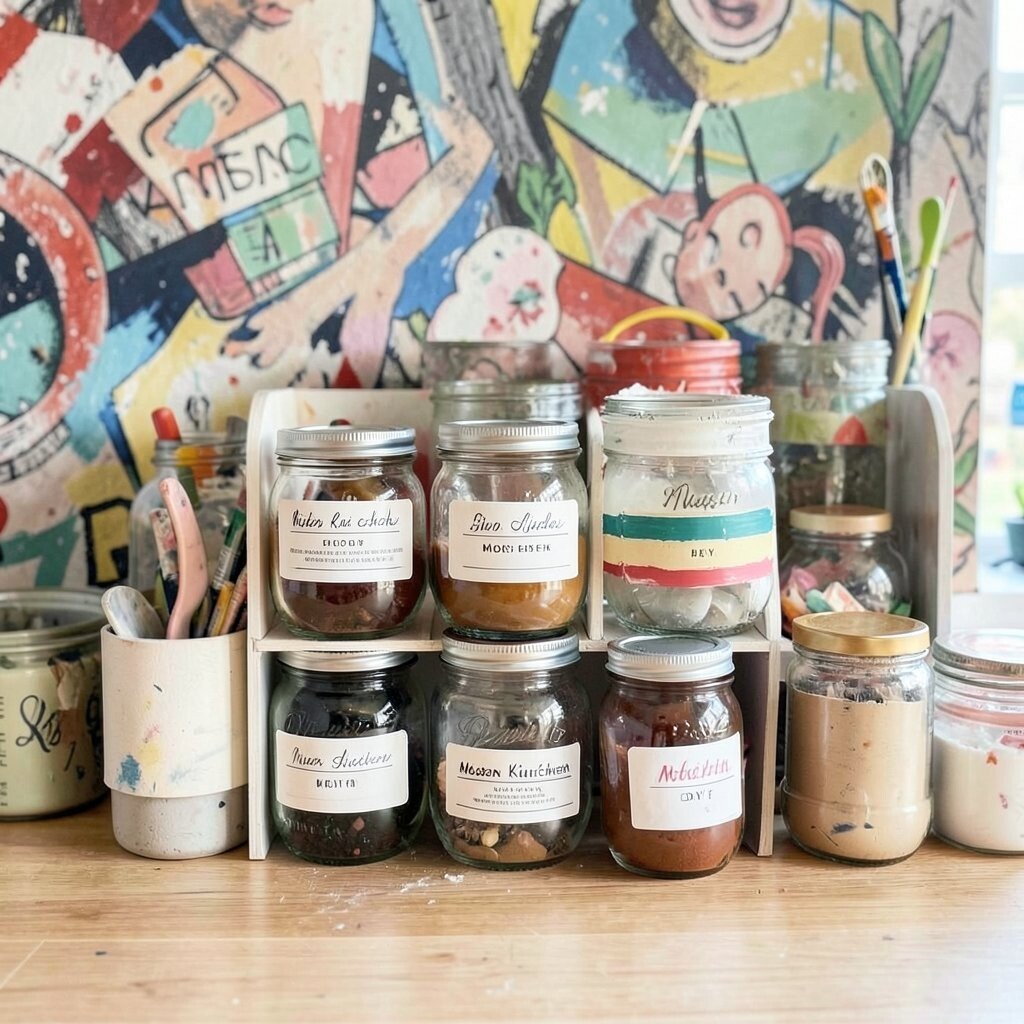
Mason Jar Organizer With Painted Label Bands Turn mason jars into a neat organizer row with painted label bands. The mural backdrop makes the jars feel like part of a street market display.
This DIY helps you keep counters calmer and makes ingredients easier to grab. You can store utensils, tea bags, coffee pods, or even small snack packs. Choose bands that match your mural palette, so everything looks like a team.
Wipe jars well, then paint bands with acrylic craft paint. Seal with a clear top coat so labels don’t smear when you clean the shelf. Personalize with words you actually use, like “spice,” “toppings,” or “baking basics.”
Cost stays friendly if you reuse jars you already have. For a trend-forward look, use limited-color labels and vary the jar sizes. Add small wooden spoons or label tags to make it feel hand-crafted.
-
10. Color-Blocked Range Hood Cover or Shelf Panel
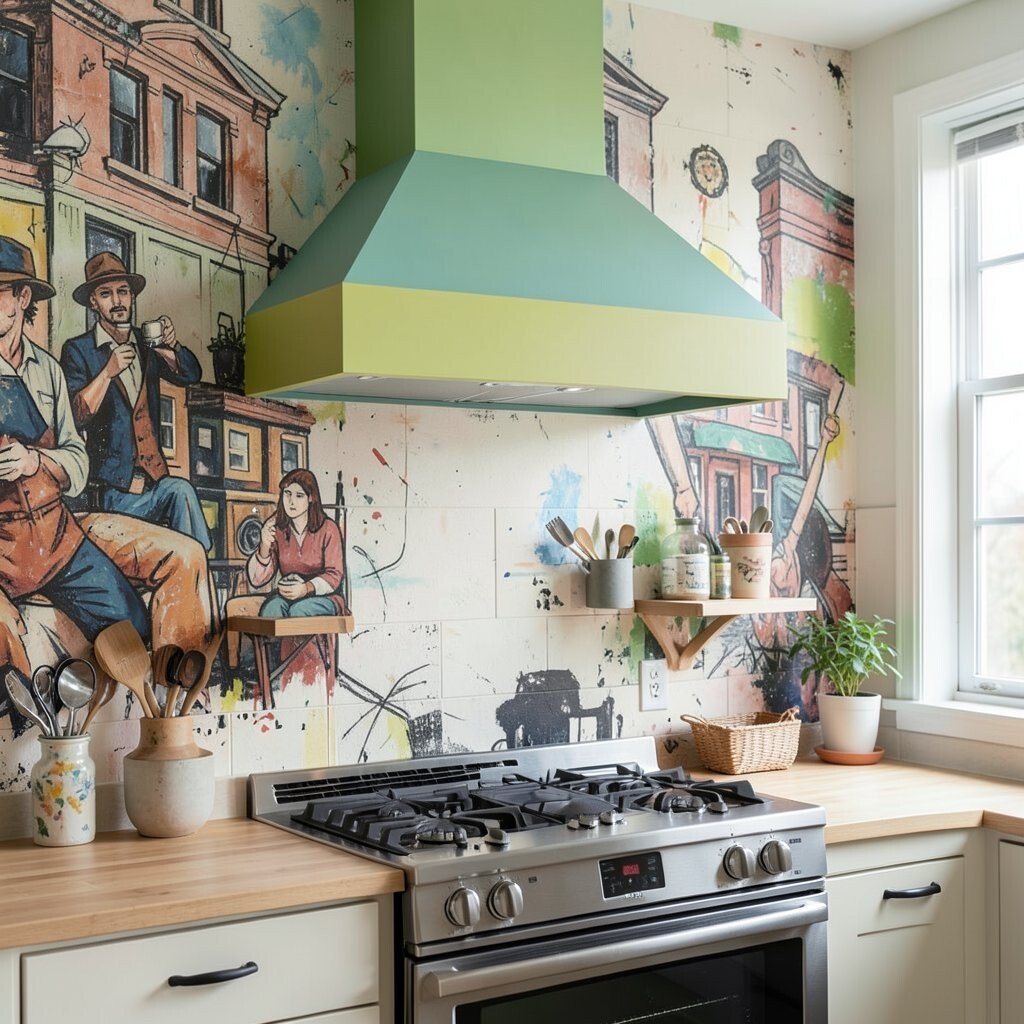
Color-Blocked Range Hood Cover or Shelf Panel Paint a range hood cover or nearby shelf panel with color blocks inspired by the mural. It gives your kitchen a bold “urban layout” look right away.
The benefit is big: color blocking hides small wall marks and makes the mural feel organized. You’ll also get a clean background for hanging cookware or small decor. Pick a few colors from the mural and keep the shapes simple so the design stays modern.
Use painter’s tape to create straight lines, then paint in thin coats. For durability near heat, choose a heat-safe enamel or cabinet paint. Personalize by adding a thin stripe that repeats a mural accent, like a diagonal slash or dot pattern.
If cost is tight, cover only a portion of the panel and keep the rest minimal. This is also a great renter-friendly option if you use removable panel paint on a detachable board.
-
11. Washi Tape “Window Frames” for a Fake Urban Look
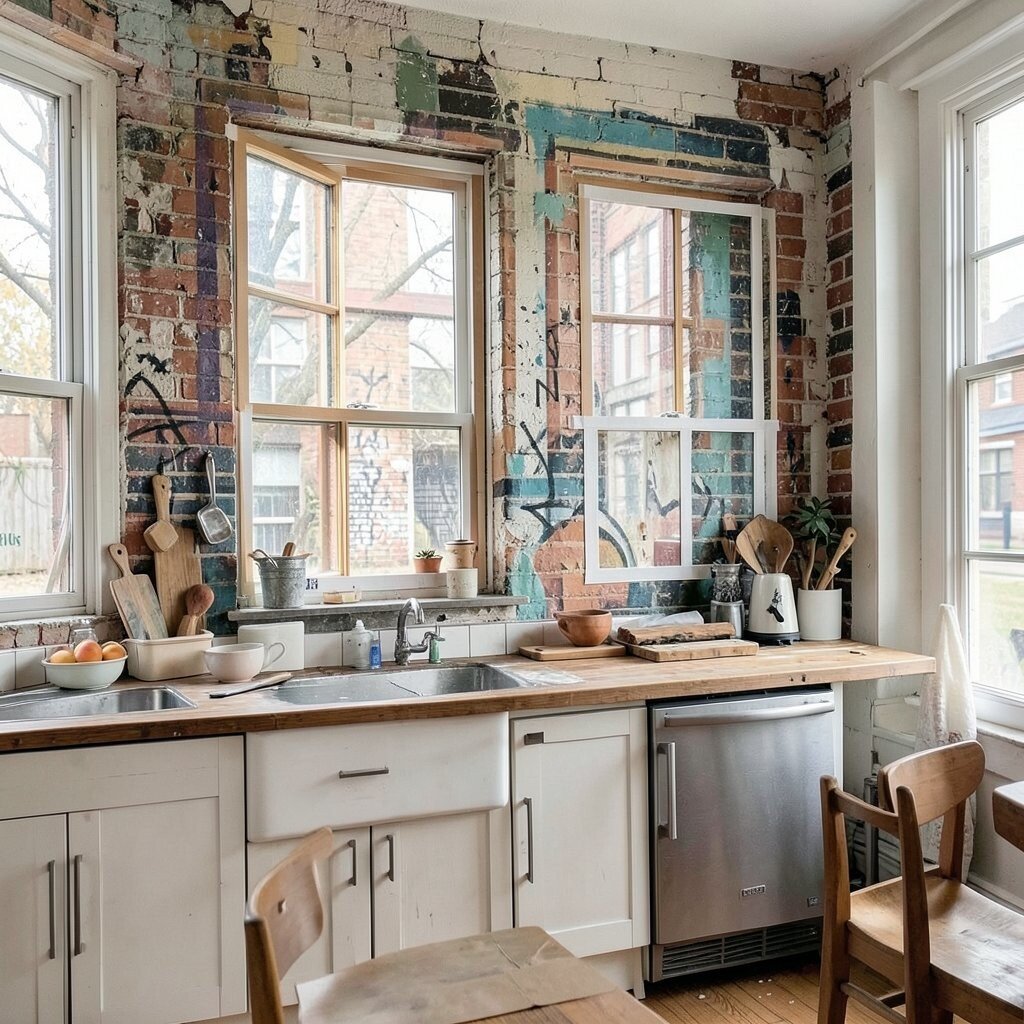
Washi Tape “Window Frames” for a Fake Urban Look Create a “window frame” effect on a smooth wall area using wide washi tape. Place it near your mural so the scene feels bigger and more designed.
This DIY is budget-friendly and fast, and it works even if you can’t drill holes. You also get a playful urban vibe because it looks like stylized city architecture. Use tape that matches your mural colors or pick a metallic tape for a modern pop.
Outline a rectangle, then add small tape details like corner ticks or tiny “street” lines. Personalize by changing the tape layout for holidays or seasons. A tip: press the tape edges firmly to prevent lifting, especially near steam.
-
12. Refinished Metal Hooks With Hanging Mug Names
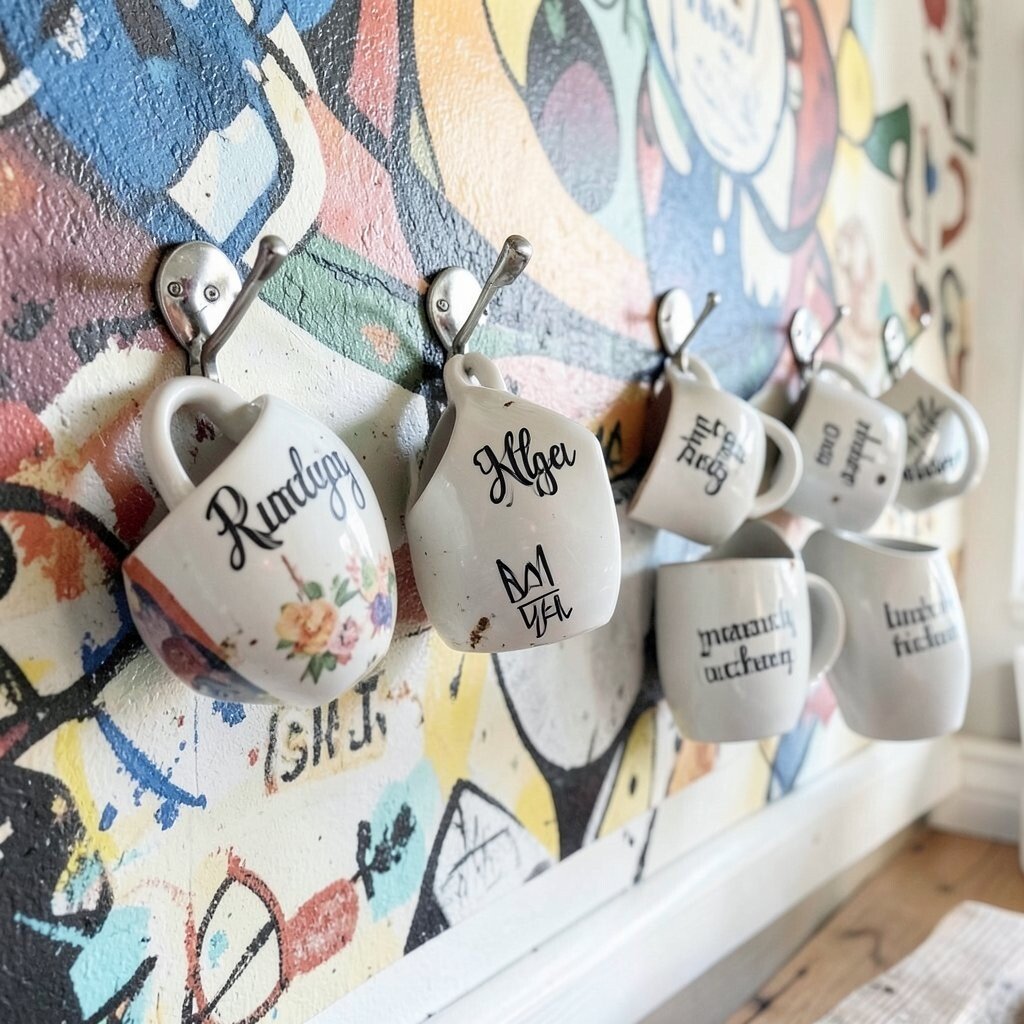
Refinished Metal Hooks With Hanging Mug Names Refinish old metal hooks and hang mugs with simple name tags. The mural backdrop gives the hanging mug row a gallery vibe.
This DIY makes daily routines easier because mugs are always where you expect them. It also frees cabinet space and keeps your counter clear. Uniqueness comes from the names and tiny tag art that matches your kitchen personality.
Sand rusty hooks, then spray paint with a durable metal coating. Add hooks in a straight line, then attach small tags to cup handles using twine or mini clips. Personalize with family names, favorite cities, or a “morning crew” theme.
-
13. Painted Map Runner and Corner “Street Market” Display
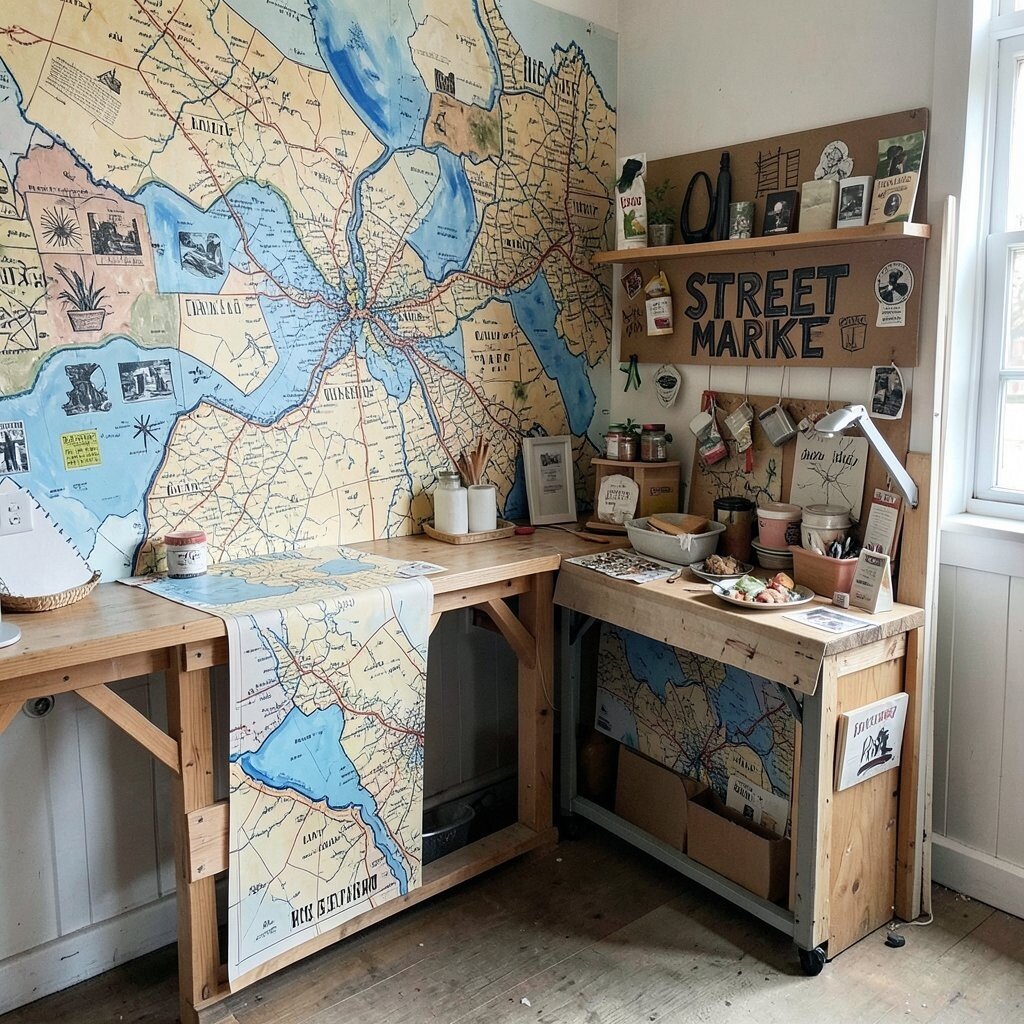
Painted Map Runner and Corner “Street Market” Display Lay down a painted floor runner style using stencil work and a removable finish. Pair it with a corner display that feels like a street market near the mural.
This idea makes your kitchen feel like it has a destination, not just a room. It also guides foot traffic and adds interest under your kitchen view. Choose a map motif or skyline silhouette stencil that matches your mural theme.
For safety, use a washable, low-slip finish and test on a small hidden area first. Keep colors muted enough that they don’t clash with the mural. Personalize with a tiny “you are here” style marker in a color pulled from the mural.
Add a street market display with a basket of citrus, a jar of wooden spoons, and one framed print or postcard. Costs can stay lower if you use a leftover runner base or paint only a corner section. This feels trendy because “layered textures” and “city motifs” are popular right now.
-
14. DIY Statement Light Fixture Shade With Mural Matching Colors
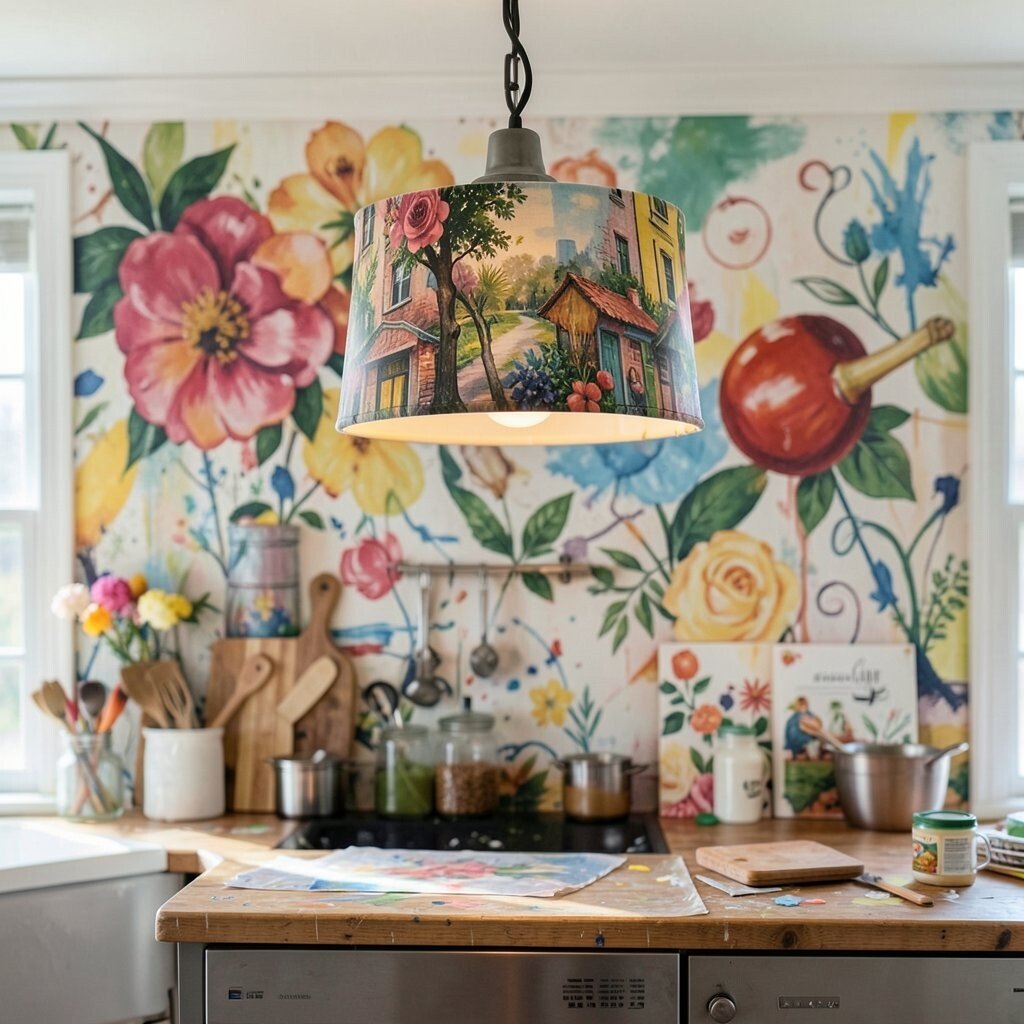
DIY Statement Light Fixture Shade With Mural Matching Colors Build or customize a light fixture shade with colors that echo the mural. When the light turns on, your mural backdrop feels even more alive.
Good lighting helps your kitchen look warmer and makes colors look richer. It also adds a fancy touch without paying for a brand-new fixture. Choose materials that handle heat safely and keep the wiring work safe by following product instructions.
If you’re making a shade, use a lightweight frame and a fabric liner or paper panels that won’t block too much light. Paint or tint the panels with acrylic that won’t easily fade. Personalize the pattern with small city symbols, like tiny dots, mini lines, or a repeating mural color accent.
For cost control, try using a thrifted shade frame and update it instead of starting from scratch. A tip is to test color intensity by turning the light on in the evening, because warm bulbs change how paint looks. This project is unique because it connects your mural to the “glow” of the room, making it feel like one artwork system.