
Small appliances can look busy even when you use them often. With smart storage and a few handy DIY tricks, your kitchen garage can feel calm and neat.
-
1) Pegboard Tool Wall for Appliance Cords and Accessories

) Pegboard Tool Wall for Appliance Cords and Accessories If you have a blank wall in your kitchen garage, a pegboard is a great start. Hang hooks and little baskets so cords, spatulas, whisks, and attachments stay visible.
Pick a pegboard size that fits your space and mounting holes. Use labels under the hooks with a simple marker so each item goes back in the right spot. This helps you grab what you need without digging through bins.
For a cozy, modern look, paint the pegboard a soft matte color that matches your cabinets. Add a few clear acrylic cup holders for small parts like blender lids and whisk guards. You’ll love how quick cleanup becomes.
-
2) Magnetic Spice-and-Parts Strip for Small Appliance Hardware
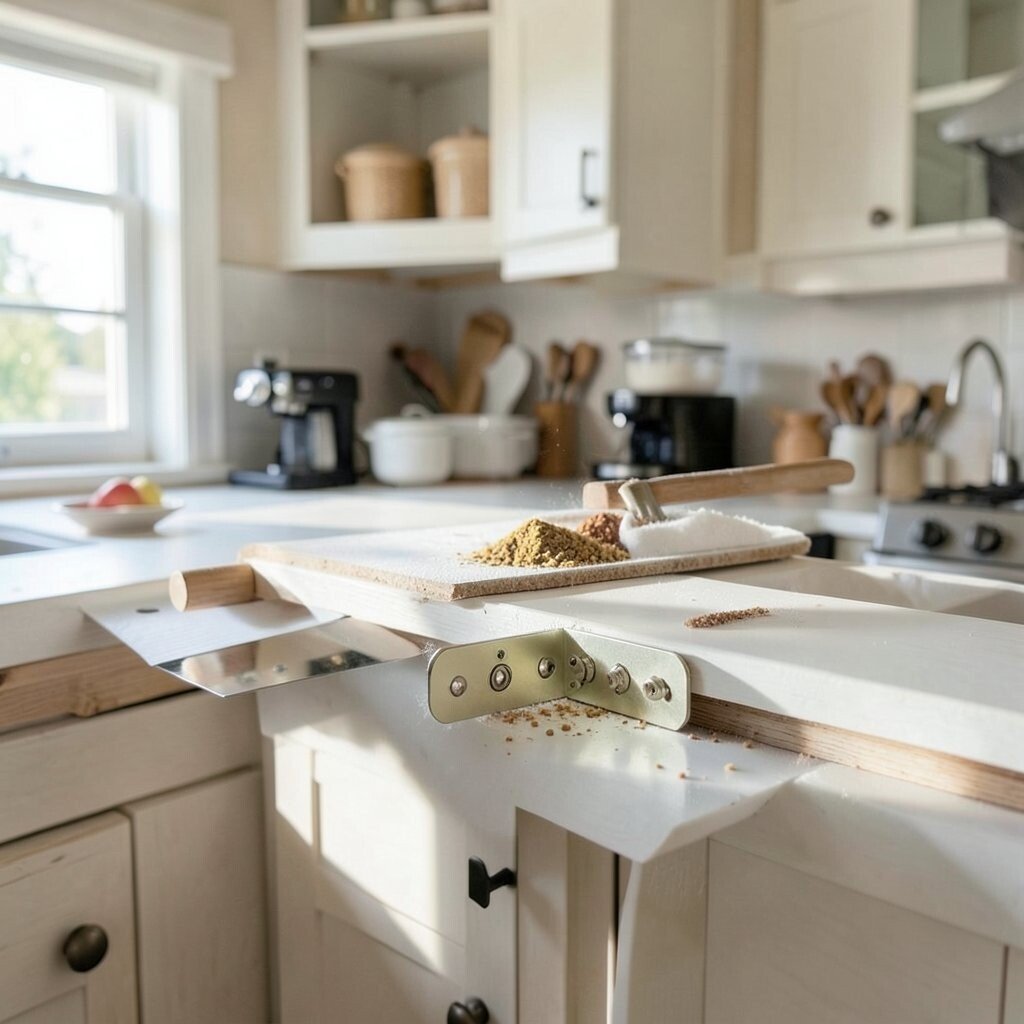
) Magnetic Spice-and-Parts Strip for Small Appliance Hardware Some appliance pieces love to vanish, like extra blades and tiny screws. A magnetic strip makes them easy to find and easy to put away.
Mount a strip near your countertop zone and add small magnetic dishes or bars. Group parts by appliance type so your food processor parts don’t mix with the toaster’s spare pieces.
Choose magnets that hold well but don’t scratch shiny parts. Try adding a strip of painter’s tape while you plan, then mark your final positions. This is a low-cost upgrade with a big payoff.
-
3) DIY Vertical Drawer Inserts for Blenders, Mixers, and Stand Attachments

) DIY Vertical Drawer Inserts for Blenders, Mixers, and Stand Attachments Instead of stacking appliances and hoping they fit, build vertical inserts. Think of them like mini shelves inside your garage cabinet.
Cut scrap plywood or use affordable foam board to create snug channels for bases and attachments. Add a thin rubber liner so devices don’t slide around. This keeps your gear from getting scratched and helps you keep a clean floor.
Trace each appliance base and measure the height of lids and cords before cutting. Then personalize with painted sections, like “morning drinks” or “baking day.” This is perfect for people who like order but also want fun style.
For cost control, use leftover wood and only buy hardware where you need it. Current trends often include vertical storage and “zoned” spaces, and this idea matches that vibe. You’ll spend less time hunting and more time cooking.
-
4) Under-Shelf Charging Station with Cable Clips
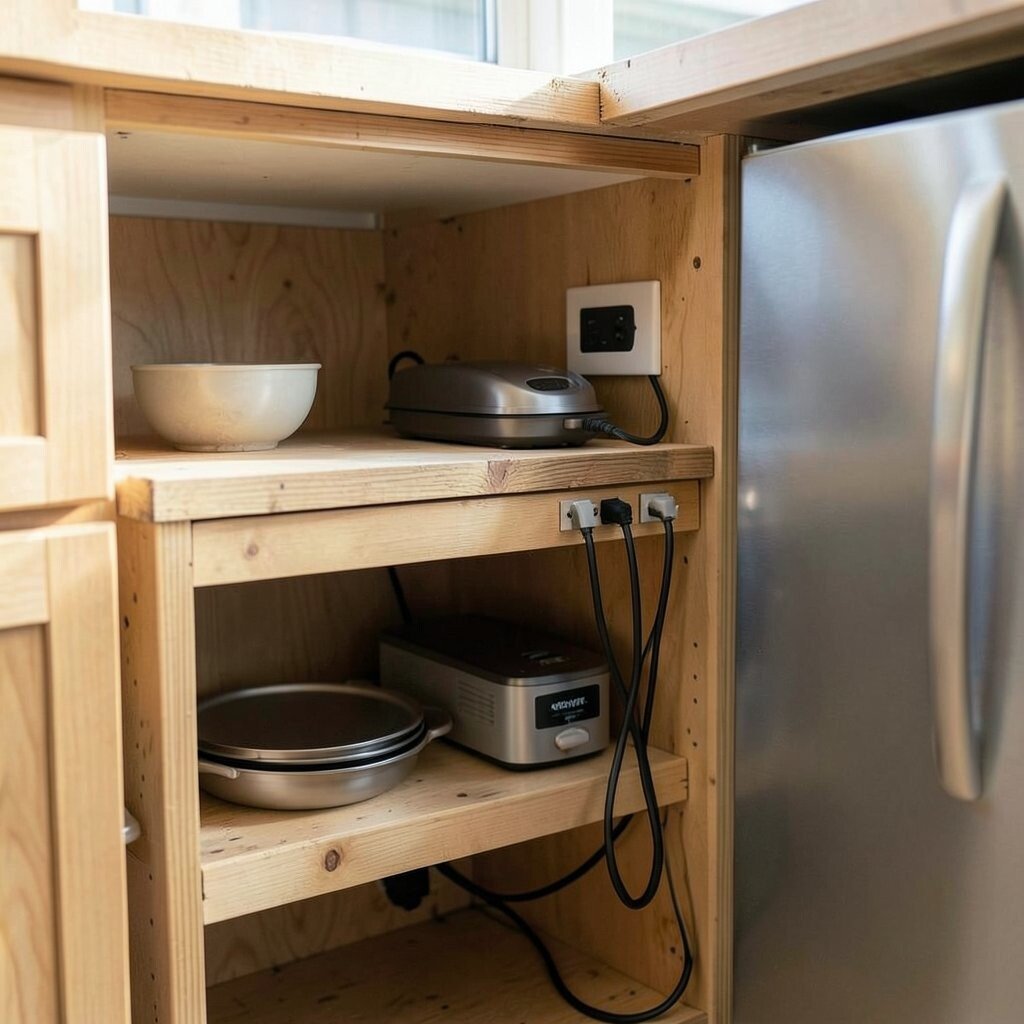
) Under-Shelf Charging Station with Cable Clips Charging cables can turn into a knotty mess fast. An under-shelf station keeps cords tidy and ready for the next use.
Mount a power strip on the underside of a cabinet and attach cord clips along the shelf edge. When you store appliances, guide each cord into a clip so it hangs neatly.
Add a small label card or mini color dot system for each plug. Safety is smart here, so keep cords away from heat and make sure connections stay secure.
You can use simple items like adhesive cable clips or screw-in guides, depending on your wall and cabinet type. This is a practical trend in many kitchens because charging and storage happen in one place.
-
5) Clear Bin “Lid Catchers” for Toaster, Air Fryer, and Blender Accessories
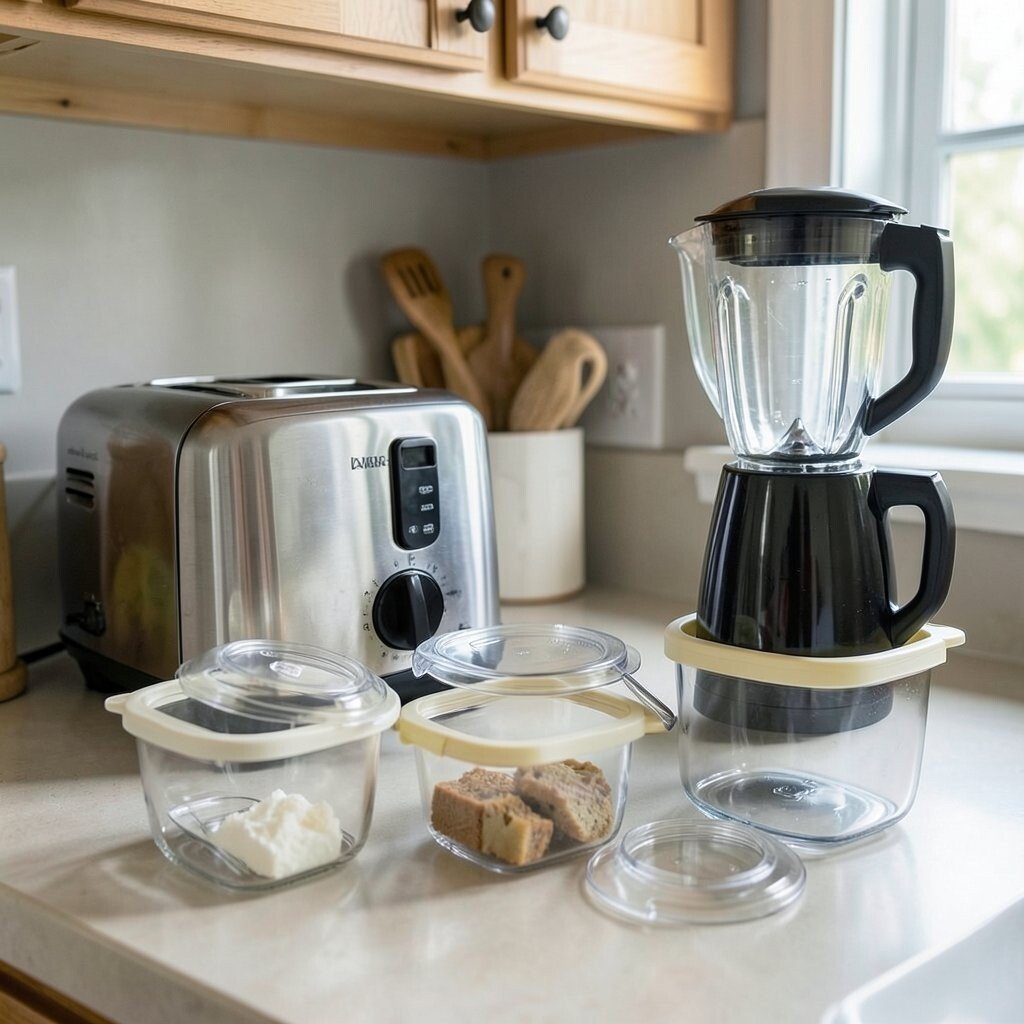
) Clear Bin “Lid Catchers” for Toaster, Air Fryer, and Blender Accessories Clear bins make it easy to see what you own without opening every container. Add a lid-catching system so lids and cups don’t roll away when you’re in a hurry.
Use shallow clear organizers for small items like measuring cups, filters, and extra baskets. Then place a simple magnetic or hinged “catch” piece so lids stay with their appliance.
Choose bins that match your height space so nothing turns into a tall tower. Add a washable label so your storage stays readable even after cleaning. This helps you stay consistent, which is the real secret to long-term organization.
-
6) DIY Appliance Cover Rack with Fabric Dust Shields

) DIY Appliance Cover Rack with Fabric Dust Shields Many appliances gather dust when they sit for weeks. A fabric cover rack makes your garage look neat while protecting your tools.
Build a simple frame with a rail and hang breathable fabric covers. You can sew pockets for manuals, recipe cards, or spare filters so everything stays together.
Pick colors that match your kitchen, like warm beige, soft gray, or a fun muted pattern. When your items are protected, you’ll feel less tempted to move them into random spots. That means your space stays calm.
-
7) Rolling Shelf Cart for Seasonal Appliances and Party Tools
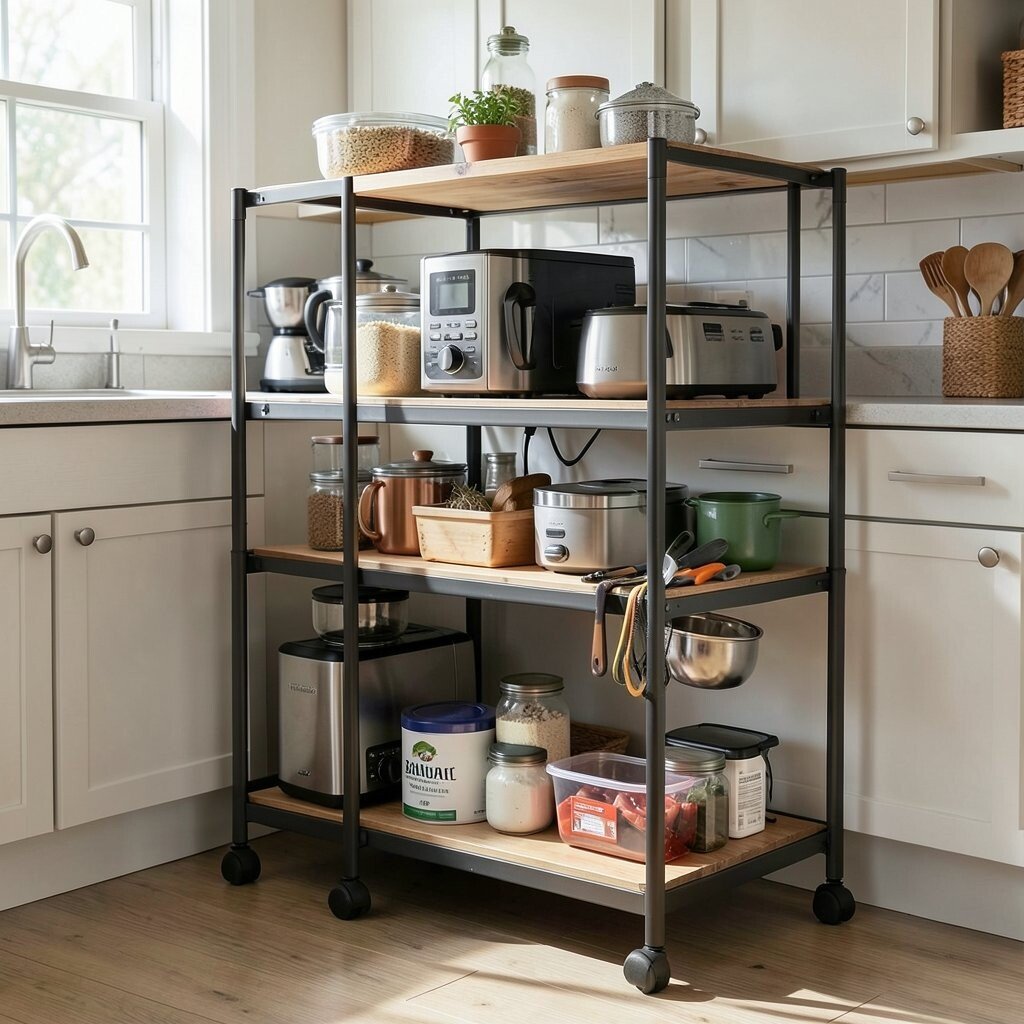
) Rolling Shelf Cart for Seasonal Appliances and Party Tools If you use some appliances only sometimes, a rolling cart keeps them ready without crowding your everyday space. A small cart can hold an electric kettle, waffle maker, or mini mixer for events.
Use sturdy shelves and add drawer-style bins for accessories. Put heavier tools on the lower shelf and lighter ones above, so moving feels easy.
Choose wheels that glide well on your floor type, especially if you have tiles. For a unique look, paint the cart in a color you love and add small “season” labels. This matches today’s trend of flexible storage that adapts to busy schedules.
-
8) Custom Label Station with Color-Coded Tag System

) Custom Label Station with Color-Coded Tag System Nothing helps organization like clear labels that you enjoy seeing. A label station keeps your storage system consistent for every appliance and every accessory.
Create a small “label corner” in your kitchen garage: a label maker, sticker rolls, and a pen in a small holder. Use color tags for categories like baking, drinks, and quick meals.
When you label, include both the appliance and the part name, so anyone in your home understands the system. Keep a few extra labels in the same spot so you never run out mid-project.
This simple setup costs little, but it saves tons of time. It also supports a popular style trend: tidy surfaces with readable organization. Your garage will feel like a real workspace instead of a storage closet.
-
9) DIY Heat-Safe Wall Hooks for Air Fryer Baskets and Trivets

) DIY Heat-Safe Wall Hooks for Air Fryer Baskets and Trivets Air fryer baskets and hot tools can be tricky to store safely. A heat-safe wall hook setup helps you hang hot accessories and keep counters clear.
Use heat-resistant hooks or mount hooks with a metal backing plate behind them. Add small hangers for trivets, oven mitts, and extra racks that often end up in odd places.
For personalization, arrange hooks in a neat row like a tool line. Add a mini sign that says “after cooking” so you remember where items go. This helps your kitchen work faster, and it looks great too.
-
10) Stackable Shelf Cubes for Compact Appliances and Storage Baskets
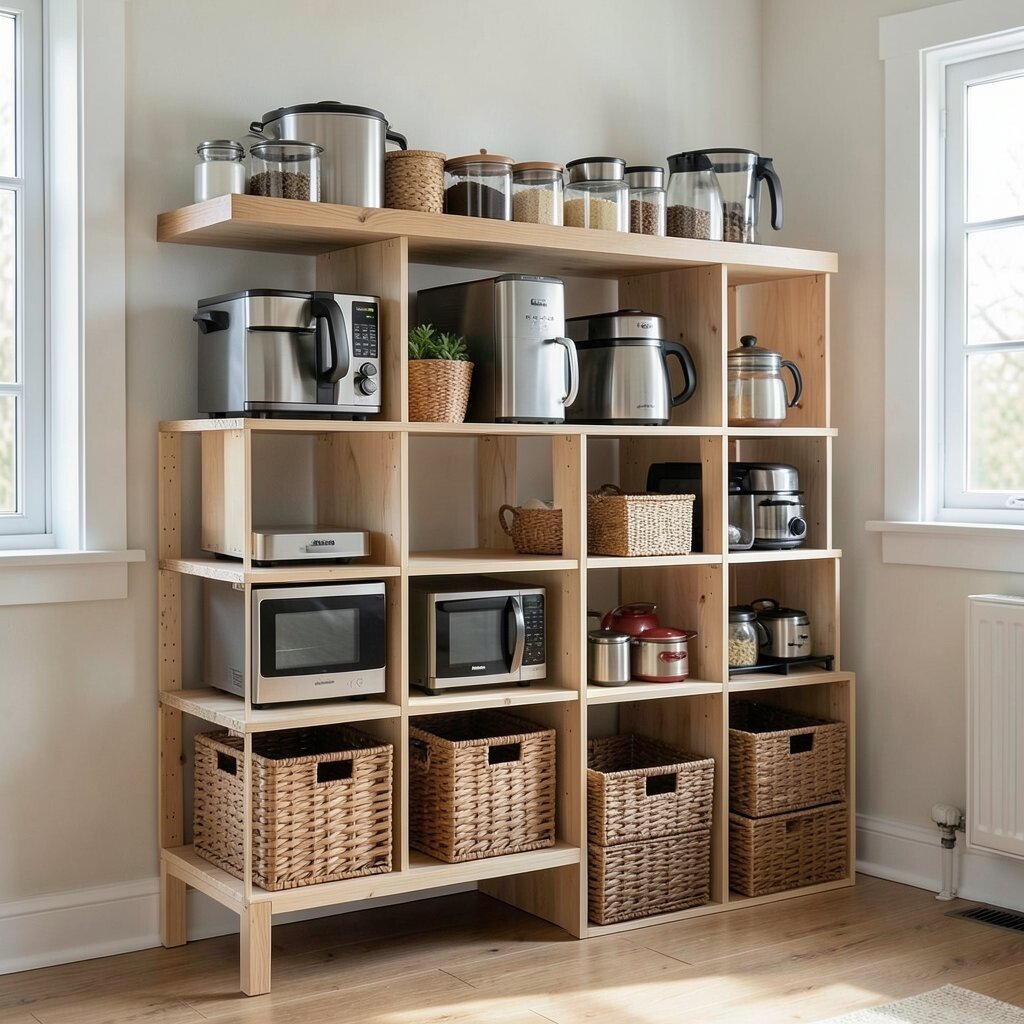
) Stackable Shelf Cubes for Compact Appliances and Storage Baskets Stackable cubes are a quick way to build an organized “appliance wall” without complicated carpentry. You can fit them in corners, inside garage cabinets, or along the back wall.
Pick cubes that match your appliance sizes and add baskets for cords, manuals, and small attachments. When cubes are modular, you can rearrange them as your kitchen needs change.
Try a mix of open cubbies for frequently used appliances and closed spaces for less-used items. Add handles to baskets so lifting feels easy for kids and adults. This is a budget-friendly way to build a trending, tidy look.
To keep things from looking cluttered, limit the number of items on the open shelves. The rest can live in matching baskets so everything stays hidden until it’s time to cook. That simple choice makes the whole space feel calmer.
-
11) DIY “Appliance Home Zones” Using Removable Shelf Dividers
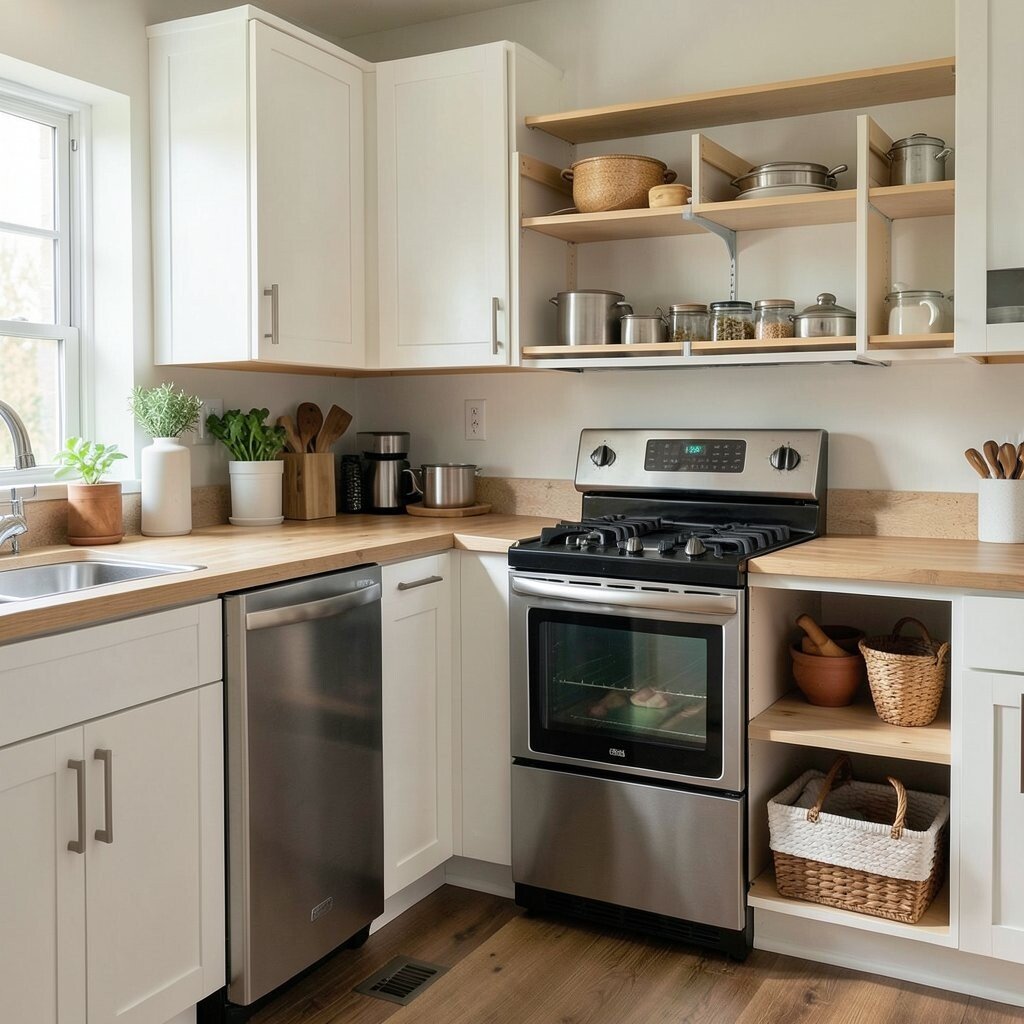
) DIY “Appliance Home Zones” Using Removable Shelf Dividers When storage feels random, appliances tend to drift into new spots. Creating home zones helps each tool stay where it belongs.
Install removable shelf dividers so you can adjust them as your collection changes. Use foam board, thin wood strips, or store-bought dividers that clip in place.
Design zones by use: “everyday breakfast,” “weeknight cooking,” and “baking tools.” Add small visual cues like a printed cupcake icon for baking items. This kind of personalization is fun and makes the system easier to follow.
-
12) Fold-Down Countertop Appliance Stand with Locking Hooks

) Fold-Down Countertop Appliance Stand with Locking Hooks If your kitchen garage doubles as a small workspace, a fold-down stand can save space. It gives you a clear place for a blender or mixer while still keeping surfaces open.
Build a fold-down shelf from a sturdy board and use brackets that lock in place. Add locking hooks below so cords stay straight and appliances can be secured with straps or bands.
When it’s closed, the stand looks neat and flat, like a built-in feature. Choose a finish that matches your garage shelves, like light wood stain or a clean paint coat. The benefit is huge: fewer clutter piles and faster setups.
Keep cost reasonable by using basic hardware and focusing on strong mounting points. This idea fits a current trend in kitchens: smart, flexible furniture that reduces counter mess. You’ll love how easy it is to use the appliance and return it to a “home” right away.