Some art ideas feel like sparks that land right in your hands. Each form below can help you make something honest, bold, and yours.
1. Line Weaving With Thread and Paper
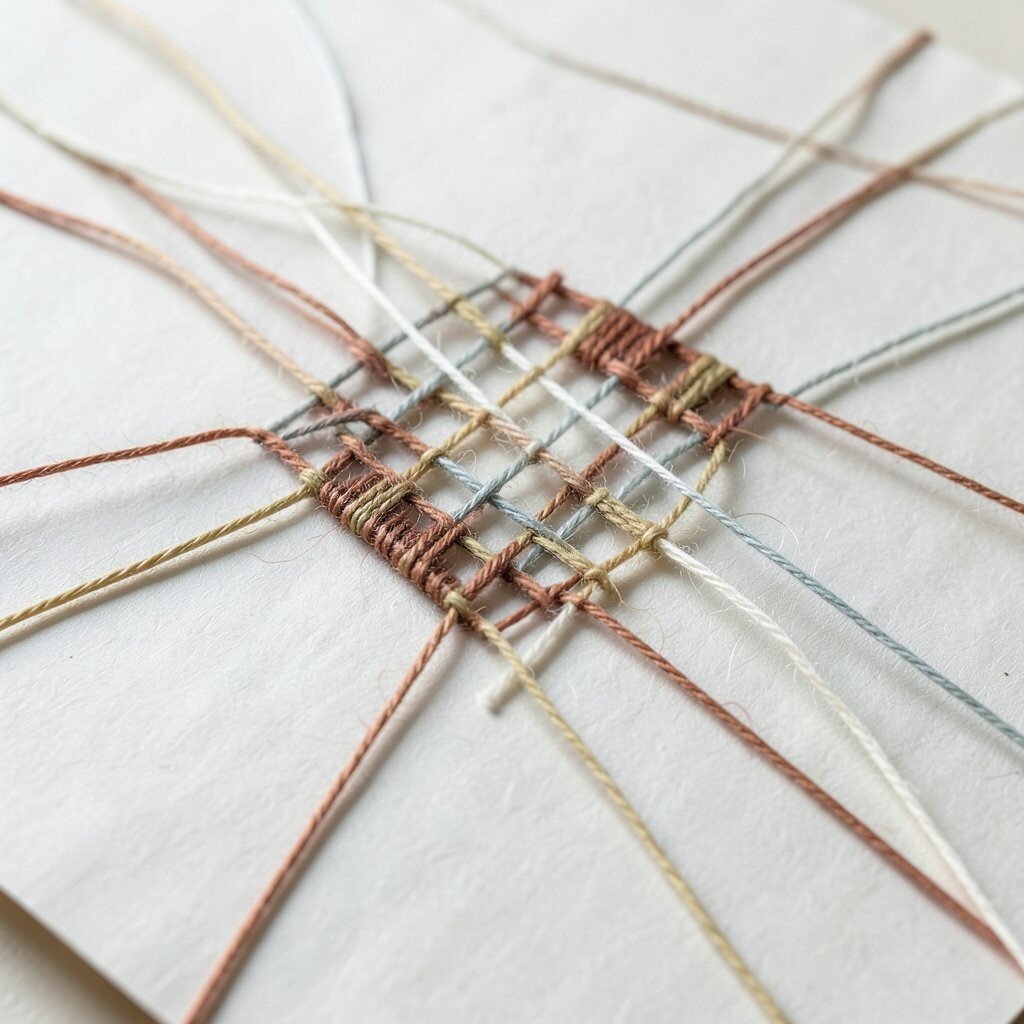
Start with thick paper or cardboard and draw paths using a pencil. Then weave colored thread across the lines like a tiny bridge in the sky.
Pick one or two colors for calm pieces, or go wild with many colors for cheerful chaos. You can also attach small scraps of tape to guide the thread so it turns smoothly. This makes your brain feel playful, and viewers often notice the raised texture right away.
2. Watercolor Gradients With a “Mist Map”
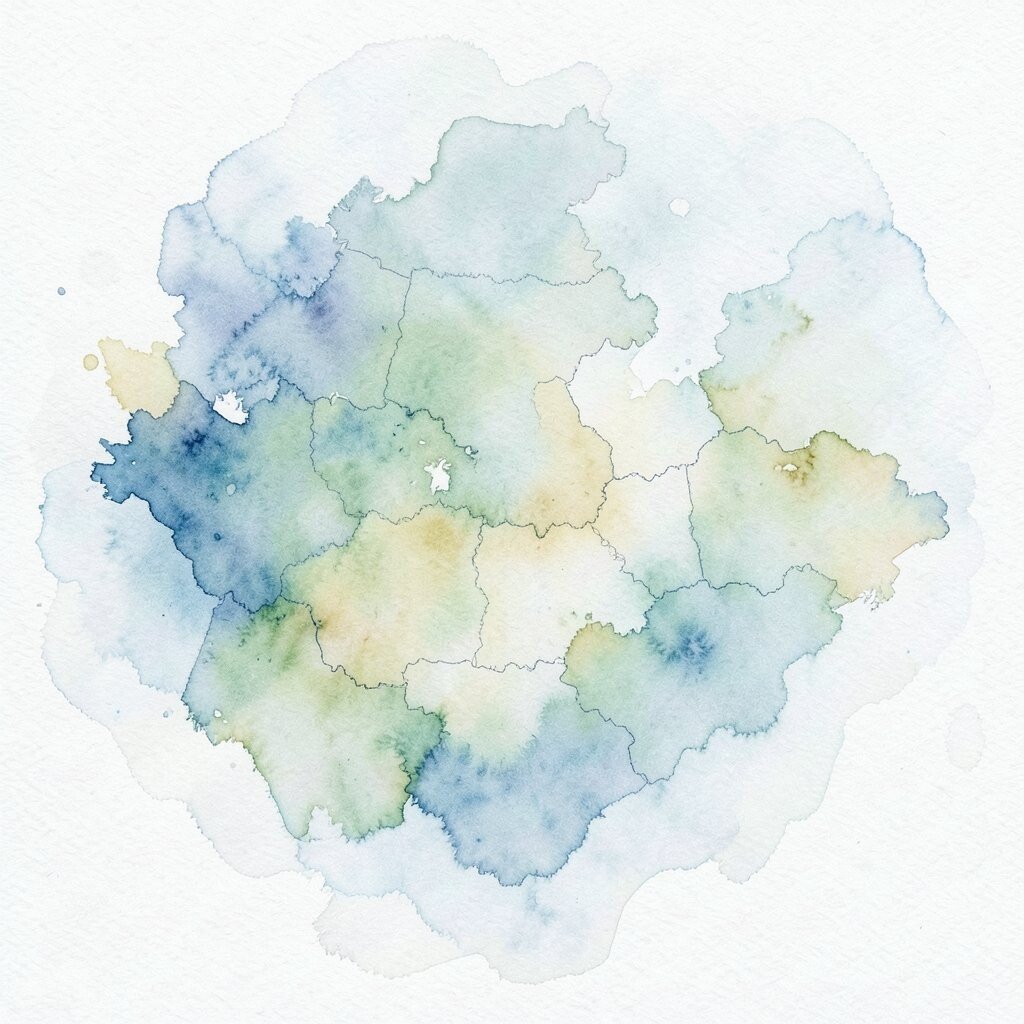
Lay down wet paint in soft bands and think of each band as a weather mood. After that, add water in slow drips so the colors fade like sunrise clouds.
Try a “mist map” idea by drawing faint outlines of hills or trees before painting. The gradient helps your scene breathe, even if your drawing skills are still growing. A big benefit is how forgiving watercolor can be when mistakes happen.
For personalization, paint a gradient based on a place you love: beach blues, forest greens, or city grays. If you want low cost, use student-grade watercolor and a simple sponge. A current trend is pairing watercolor backgrounds with neat ink drawings on top, like stickers made of light.
3. Collage With Fabric Fragments and Pen Marks
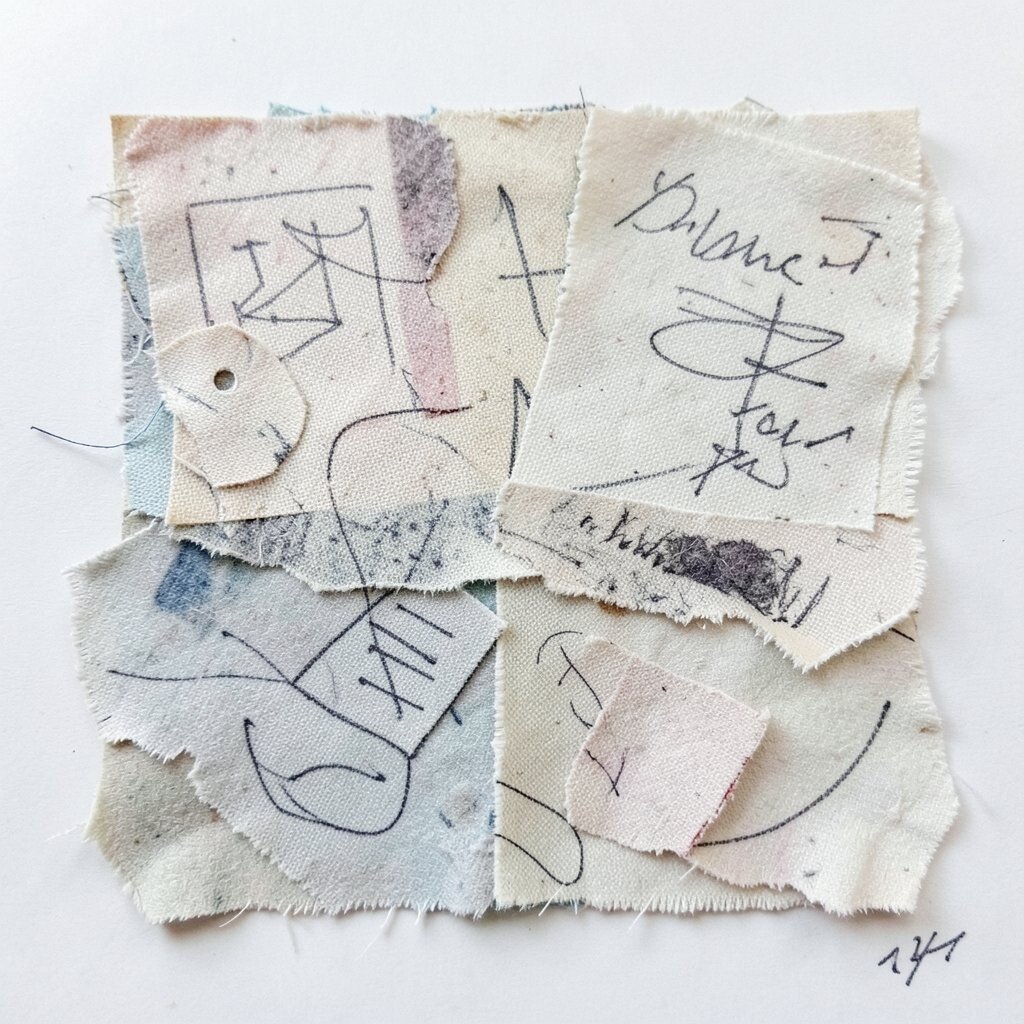
Gather fabric scraps, old shirts, or thrifted cloth. Tear them into shapes, then glue them onto paper like building blocks for a soft story.
Next, add pen marks around the fabric pieces so the whole page feels connected. Doodles, arrows, and tiny symbols can make the texture look even richer. This form is unique because it mixes touch and sight in one artwork.
Choose glue that works well on paper and try a matte finish so the surface stays calm. Personalize it by choosing fabric colors that match your mood or a memory. Cost is flexible too: you can use scraps for almost nothing.
Many people now share “quiet collage” work online, where fabric, muted colors, and careful stitching look gentle and modern. You can copy that style by keeping the palette small and adding a few bold pen lines.
4. Monoprint With a Kitchen Tool
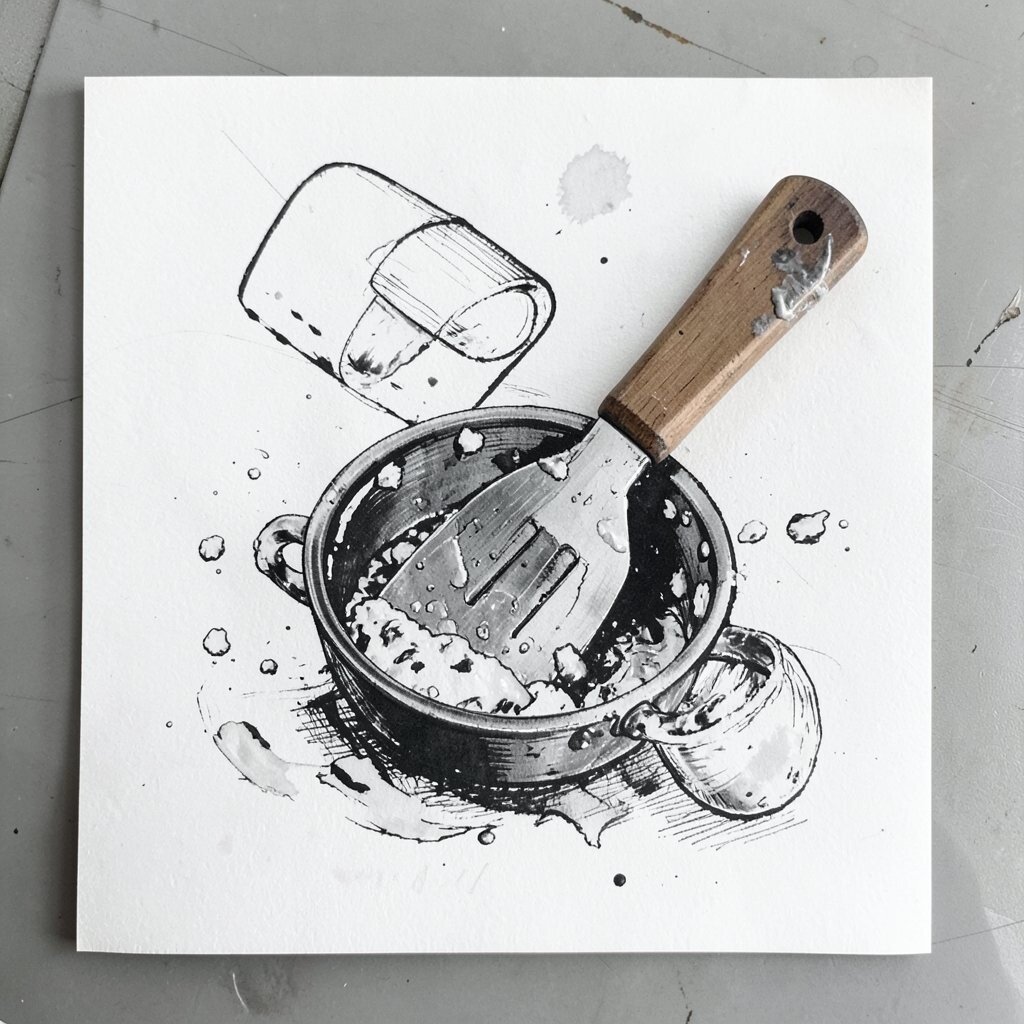
Spread a thin layer of paint onto a smooth surface, like a plastic tray or flat plate. Then press a tool such as a spoon, comb, or potato masher into the paint.
Lift it gently onto paper to create one special print that you can’t exactly repeat. This is a great benefit for beginners because every try makes a new outcome. It is also unique because everyday objects create patterns that feel unexpected.
5. Shadow Portraits Using Everyday Lighting

Place a small object or your hand near a lamp and trace the shadow on paper. Make it a portrait by adjusting the pose until the silhouette feels right.
Then add highlights and shading with charcoal, crayon, or soft pencil. The benefit is that you practice values without needing perfect anatomy. Your artwork becomes personal because your lighting and angle are unique to you.
For tips, use a sheet of paper that can handle smudging and keep the lamp steady. Personalize by turning your shadow into an animal, a superhero mask, or a friendly monster. Cost stays low since most people already have a lamp and basic drawing tools.
6. Stop-Motion Drawing With Paper Layers
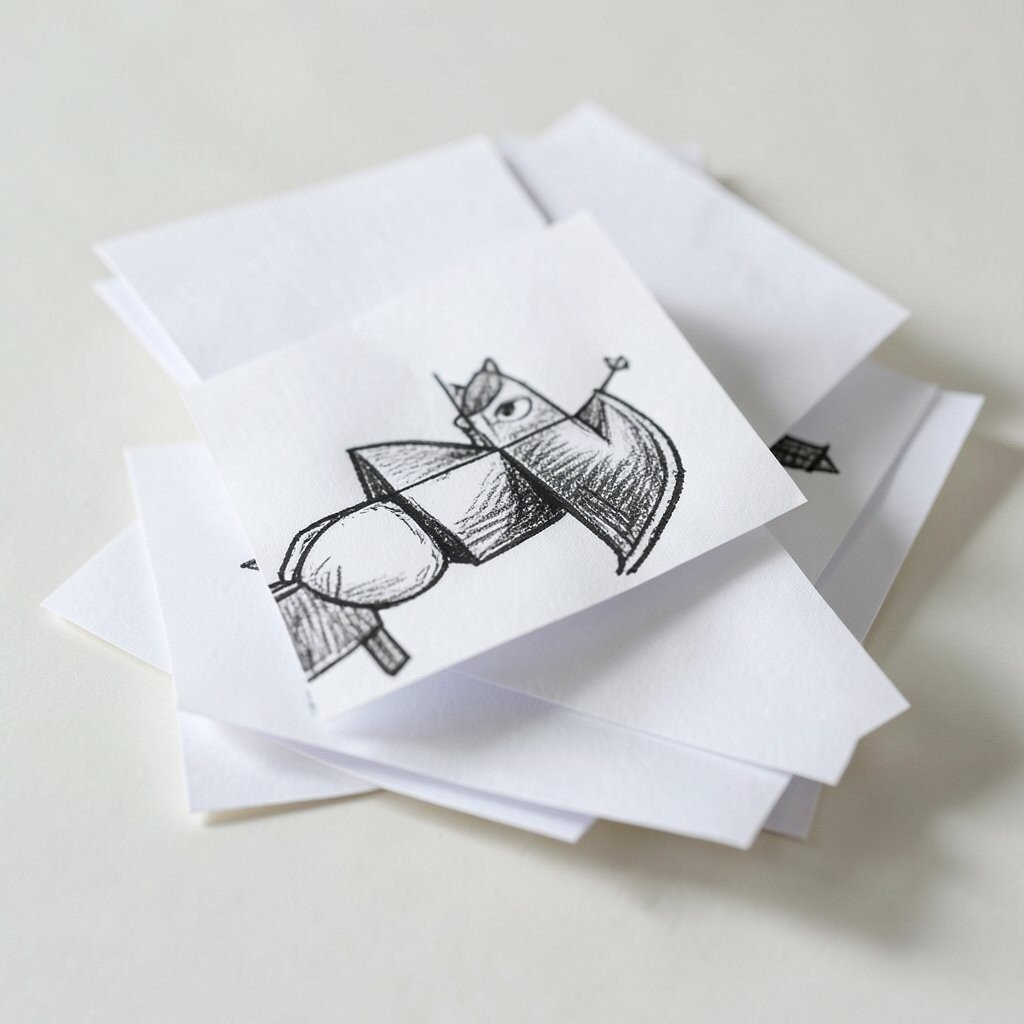
Cut simple shapes from paper, like a leaf, a face, or a small robot. Place them in layers and take a photo, then move them slightly and take another.
You can make the “motion” feel smooth by changing only a tiny part each step. The benefit is that your art starts telling a story, not just sitting still. This form is unique because it mixes drawing, planning, and timing.
Try personalization by using characters that match your interests—pets, space scenes, or fantasy plants. For tips, keep a steady background and number your paper pieces so you don’t lose track. If you want to spend less, use your phone camera and free editing apps.
7. Botanical Prints With Leaf Pressing and Ink
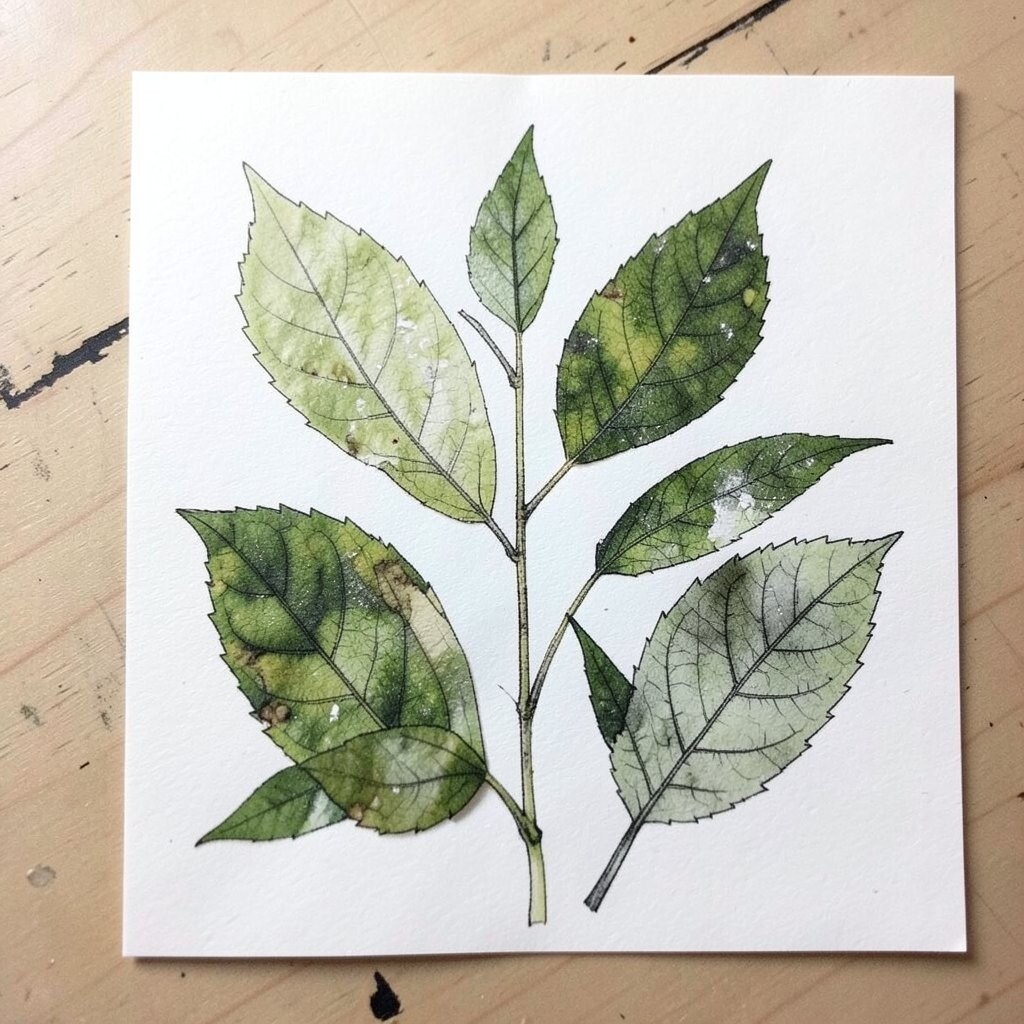
Press leaves inside a book for a day or two until they flatten. Then place the leaf on paper and rub ink or graphite over it so the veins appear.
This form helps you slow down and notice details you usually miss. The benefit is that you get natural textures without expensive equipment. It is unique because each leaf leaves a different signature.
For personalization, build a “year garden” by collecting leaves from different seasons. You can also color the edges lightly for a stained look. Cost is low, especially if you already have paper, pencil, and basic ink.
Right now, lots of people are sharing handmade nature textures in mixed media posts. You can follow that trend by combining botanical prints with a few bold quotes or simple lines.
8. Intuitive Painting With One Rule
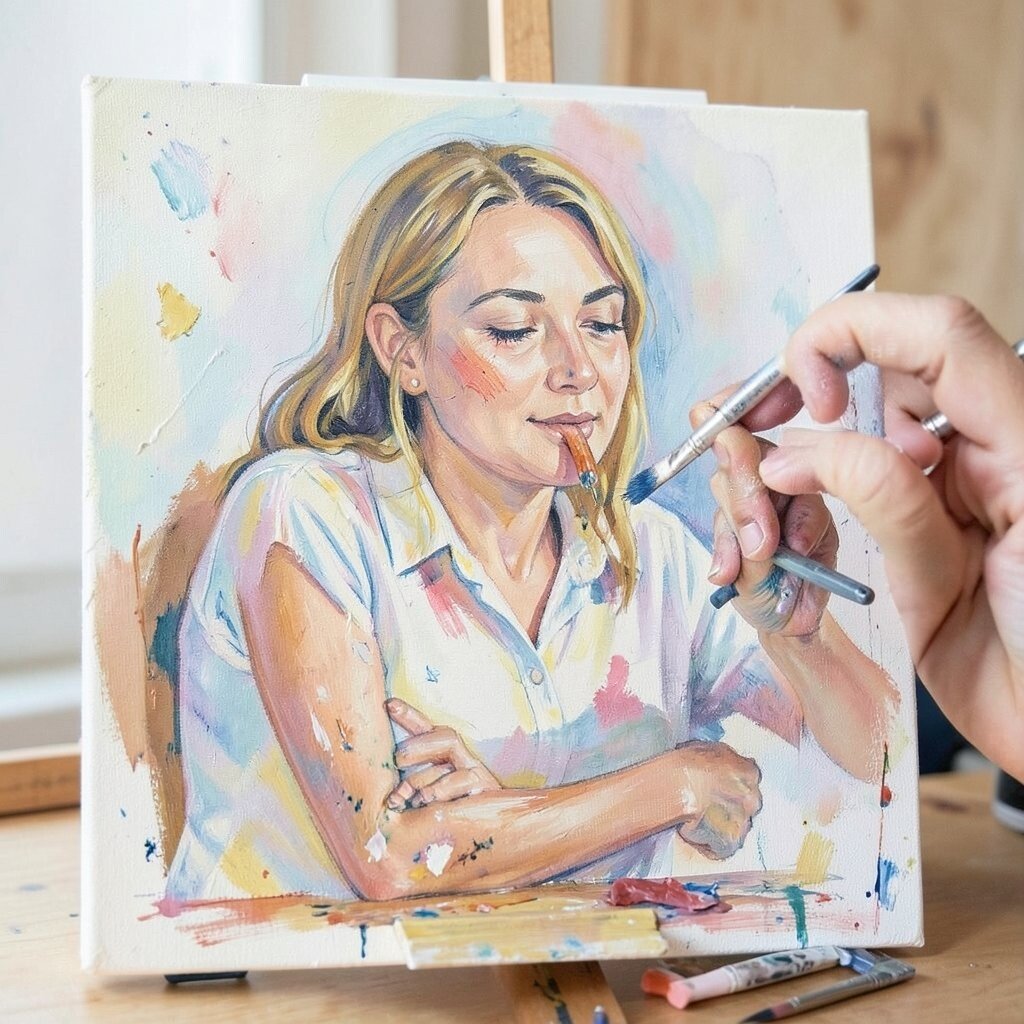
Choose one simple rule like “only curves” or “use the same three colors.” Then paint without planning every detail, letting shapes appear as you move.
The benefit is that you practice creative confidence. Your piece becomes unique because the rule turns your focus into a gentle challenge. You’ll also notice how your hand reacts when you stop overthinking.
For tips, set a timer for a short session and keep your tools ready. Personalize the rule by linking it to your life—paint “calm” as slow swirls or “energy” as sharp zigzags. You can spend little by using student paint, cheap brushes, and any paper that holds color.
9. Zentangle-Style Tiles With Tiny Motifs
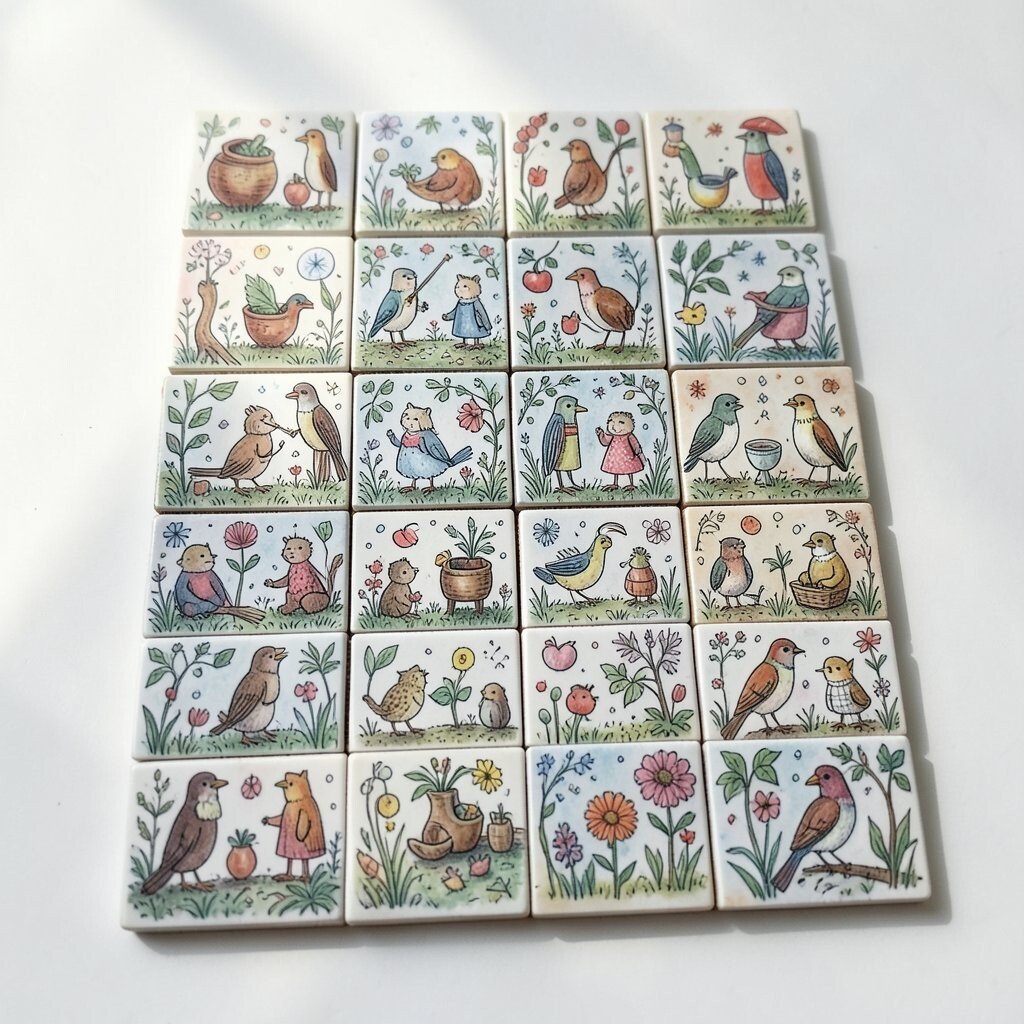
Draw a grid of small boxes and fill each one with a tiny repeating pattern. Use simple ink lines for strength and clarity, and let each tile feel like a mini world.
Switch between patterns such as dots, waves, and leaf shapes to keep it interesting. This benefit is steady focus, which can calm your mind fast. It is also unique because the final page becomes a collection of your personal symbols.
Try personalization by adding your own initials as a hidden shape inside one tile. For tips, start with light pencil placement so you don’t feel rushed. Cost considerations are easy because you can use a pen, paper, and maybe one marker.
10. Perspective Collage With Cutout “Buildings”
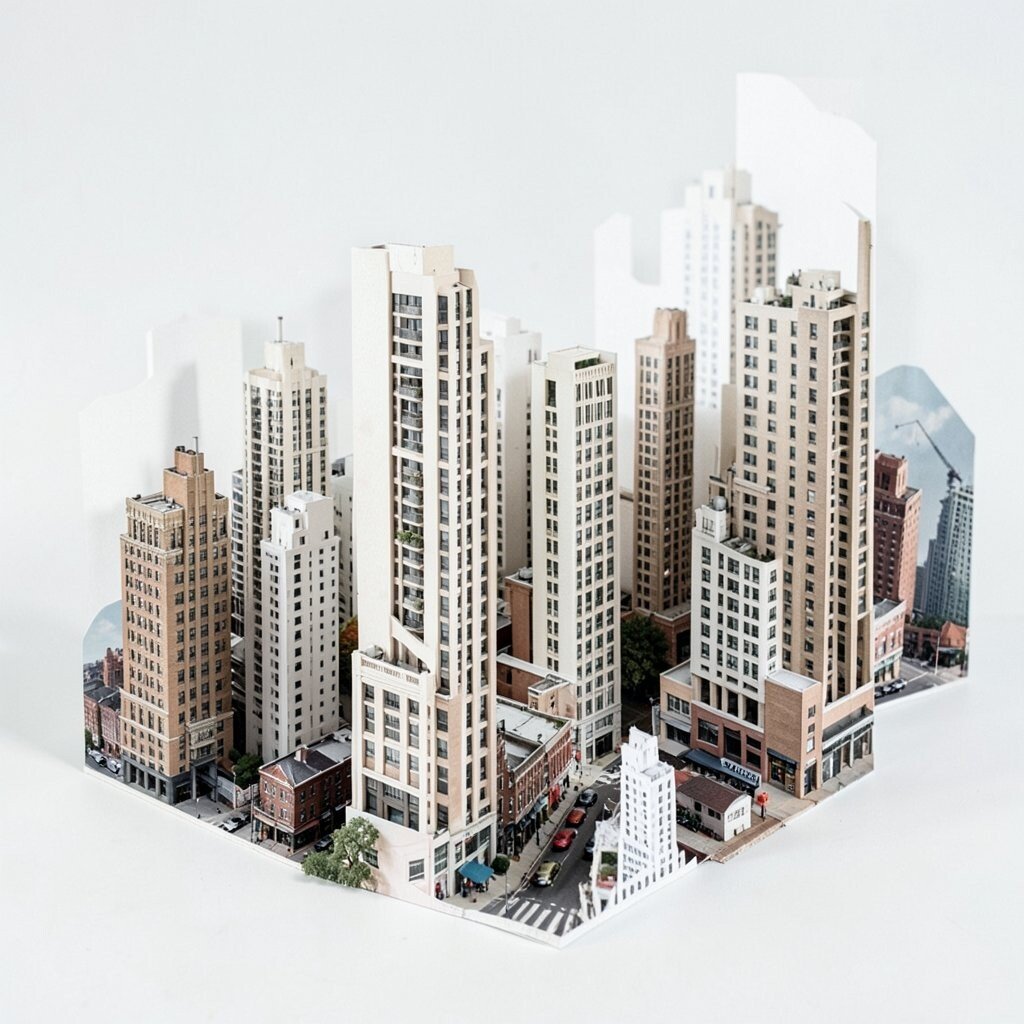
Cut paper strips and shapes that look like buildings, bridges, or rooftops. Then arrange them on a base sheet using a single vanishing point.
Add a few lines for depth, and color parts lightly so the space feels real. The benefit is that you learn perspective in a fun way without needing complicated sketches. This form is unique because it turns architecture into paper play.
11. Clay Coil Textures Without a Full Sculpture
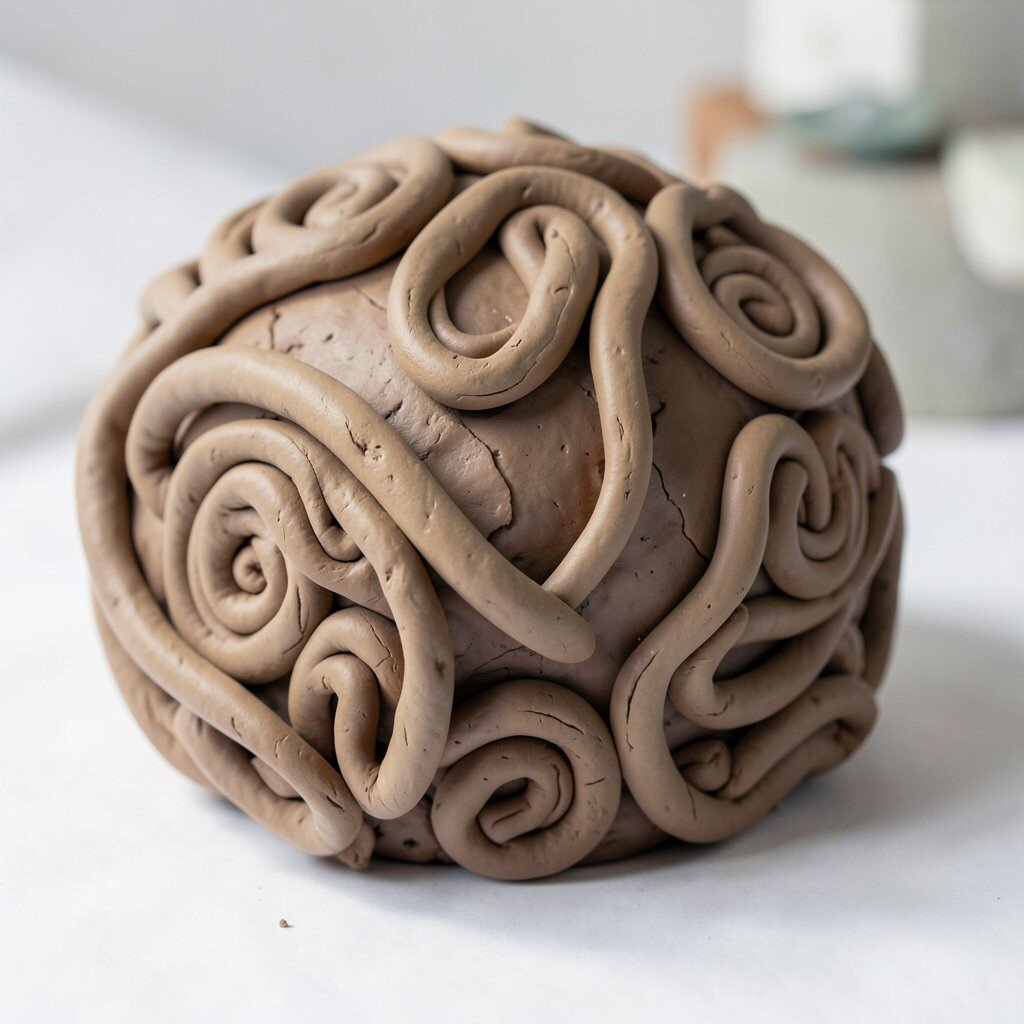
Roll “snake” coils from air-dry clay or soft modeling clay. Press them into loops on a flat board to create texture walls and patterns.
You don’t need to build a whole statue, so it’s less pressure. The benefit is tactile satisfaction, and you’ll enjoy how light catches the ridges. This form is unique because the shape and texture are the main stars.
For tips, smooth edges lightly with a damp finger and keep coils consistent in thickness. Personalize by pressing leaves, buttons, or string into the surface for extra marks. Cost is manageable since air-dry clay is usually affordable and you can use a small amount.
12. Acrylic Pour With a Simple “Ribbon” Technique
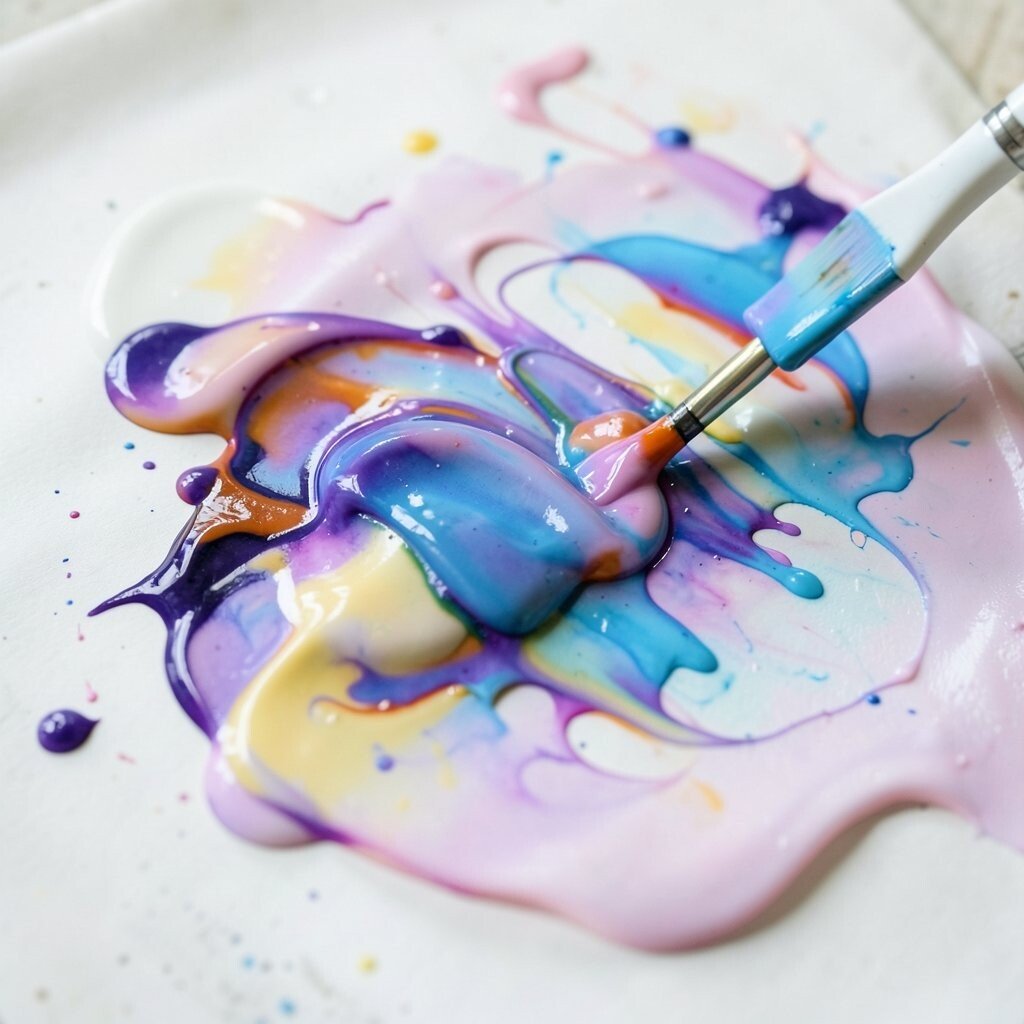
Mix acrylic paint with a bit of medium so it flows smoothly. Tilt a canvas, then pour a thin ribbon of color that drifts across the surface.
The benefit of this technique is dramatic visual energy with minimal drawing. Each pour is unique, like a fingerprint made of color. If you want to make it personal, choose colors that match your room or your favorite outfit tones.
For tips, protect your space with cardboard or a washable mat. Cost can rise depending on paint and pouring medium, but you can use basic craft acrylics and still get results. A current trend is “controlled chaos,” where artists guide the flow with small tools instead of letting it run freely.
13. Ink Resist With Wax Crayon and Watercolor
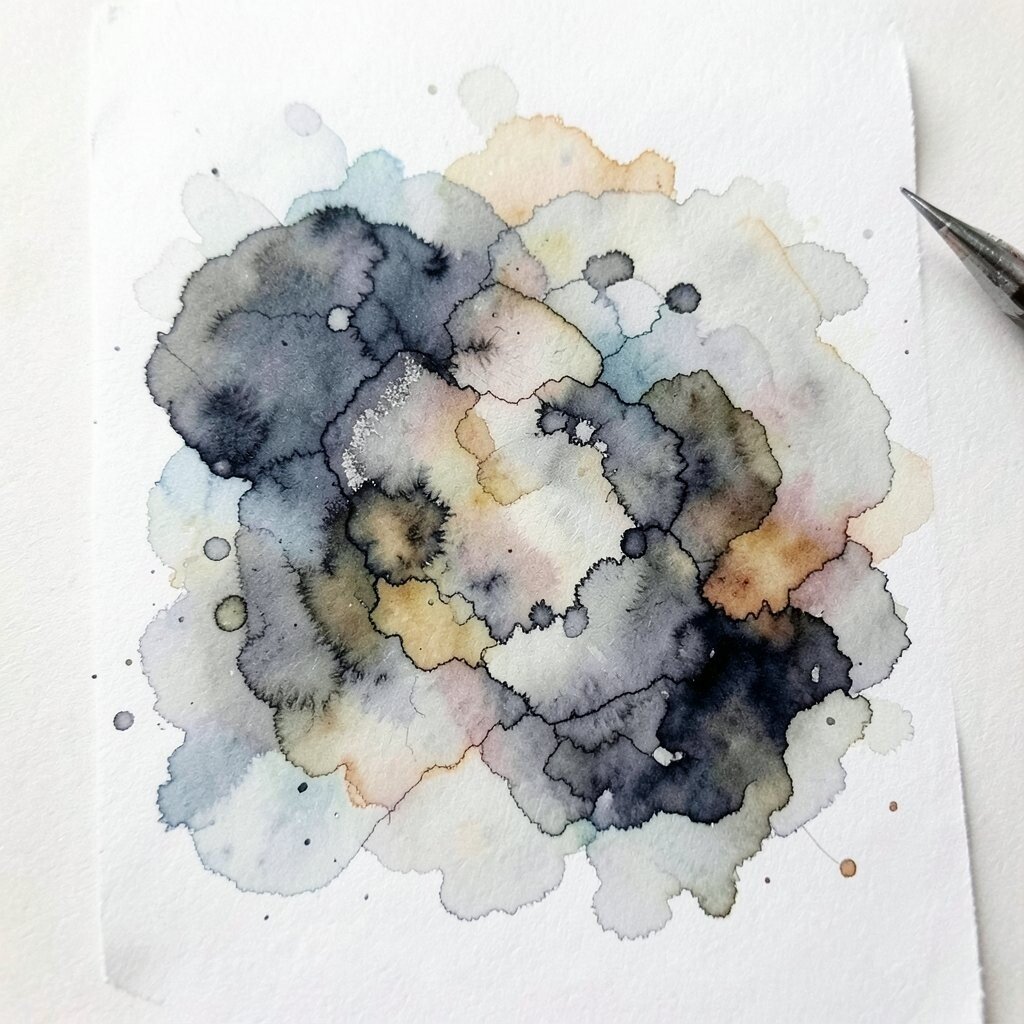
Draw your design with a wax crayon on watercolor paper. Then paint over it with watercolor so the crayon areas resist the pigment.
This form makes your lines pop like tiny sparks. The benefit is clarity because the resist creates crisp shapes even for beginners. It is unique because the method separates your marks into light and color zones.
For personalization, use symbols that mean something to you: stars, names, pets, or lucky objects. Tips include using a wet-on-wet wash for dreamy backgrounds and pressing the crayon firmly. Cost is low since wax crayons are cheap and easy to find.
If you want a current vibe, try bold black ink outlines around the resist shapes for a modern, graphic look.
14. Rhythm Drawing With Metronome Beats
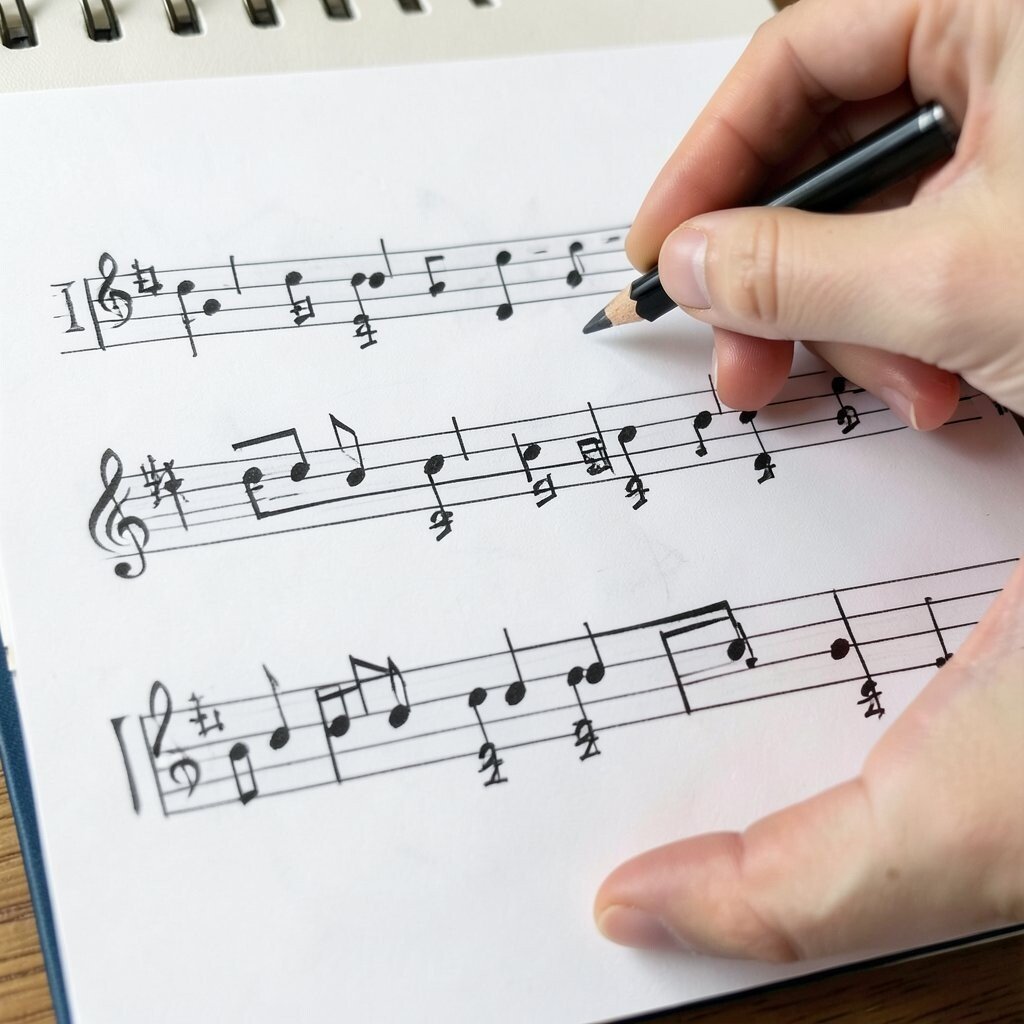
Turn on a steady beat, or tap a rhythm on your desk. Draw shapes that match the tempo—fast marks for quick beats and slow curves for longer beats.
Even a simple audio beat can guide your hand and reduce blank-page fear. The benefit is that your art becomes playful and alive, like music you can see. This form is unique because the “sound” becomes the invisible sketch plan.
15. Photo Transfer on Paper With Gel Medium
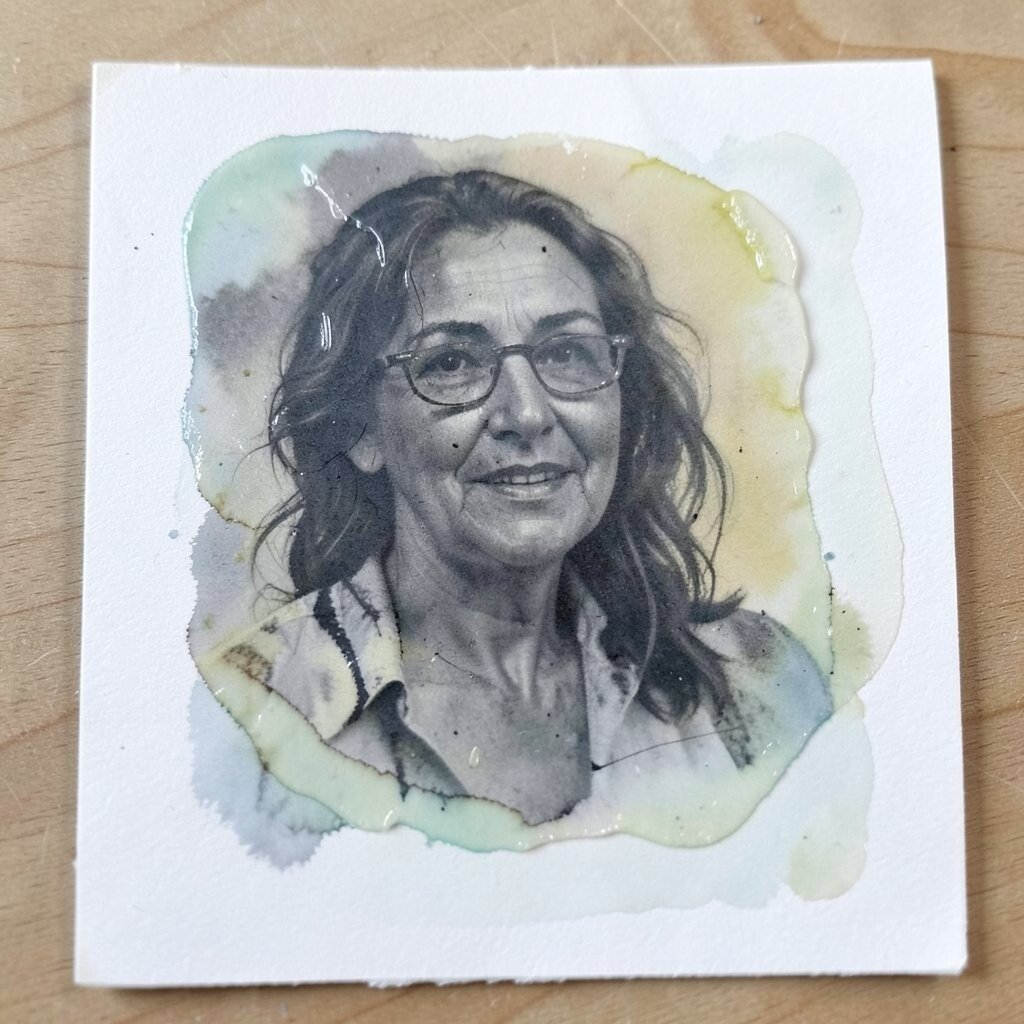
Select a favorite photo and print it in a way that works for transfer. Then use gel medium to coat the image side, press it gently, and peel it back.
As the photo transfers, your artwork gains a ghostly layer. The benefit is sentimental depth because real faces, places, or textures show through your art. This form is unique because it mixes realism with your own painting style.
For tips, test on scrap paper first so you understand how quickly your materials release. Personalize by painting over the transferred areas with soft colors to match your theme. Cost can be higher because gel medium is a specialty item, but you can buy a small size to start.
A trend you’ll notice online is “memory collage,” where transferred images blend into watercolor skies or painterly backgrounds. You can lean into that by adding gentle brush strokes around the transfer.
16. Relief Printing With Foam Plates and Sponges
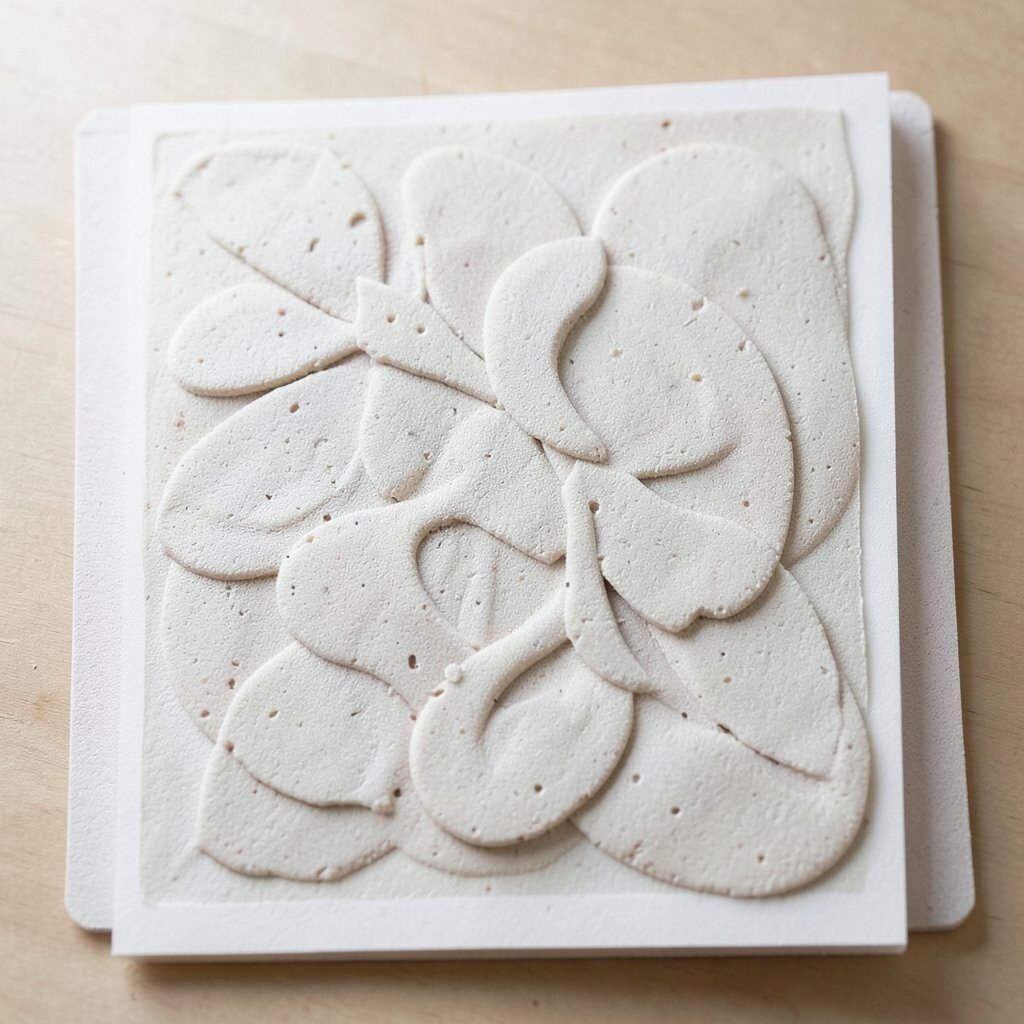
Cut shapes into a foam plate to create raised areas. Then ink it lightly and press it onto paper like stamping a story.
You can build a repeating pattern or make one strong hero print by using different ink colors. The benefit is clear results and repeatable style, even if you’re new. It is unique because foam texture creates natural edges that feel handmade.
17. “One Color Only” Poster With Strong Shapes
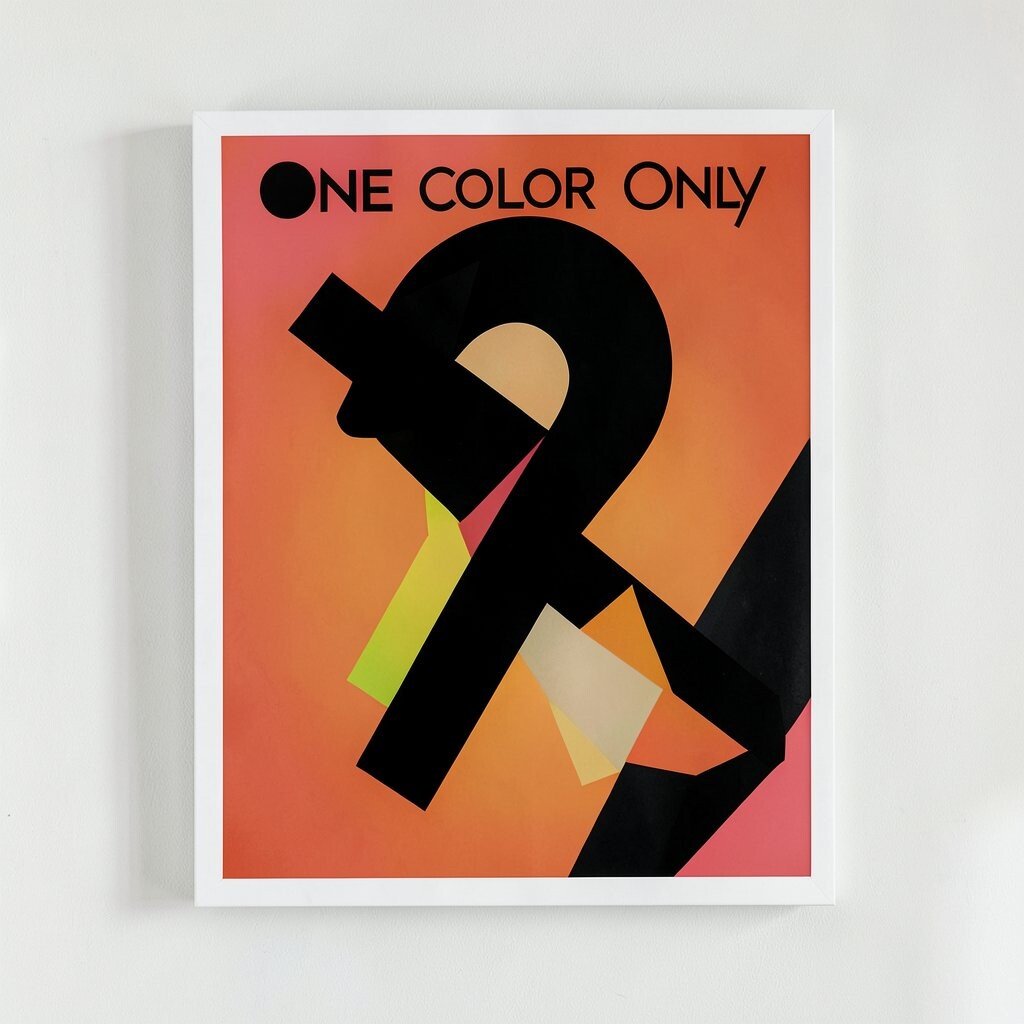
Pick one color of paint, marker, or ink and commit to it. Draw big shapes first, then add smaller details using only shades of that same color.
This form helps your eye focus on contrast, not complexity. The benefit is confidence, because simple palettes can still feel powerful. It is unique because the final piece looks like design, poster art, and expression all at once.
For personalization, choose the color that matches your energy—deep blue for calm, bright yellow for courage. Tips include using different pressures to make darker and lighter tones without adding new colors. Cost is usually low since one tool and one color can go far.
If you want a current trend, aim for bold shapes and clean edges like modern graphic posters you see in street art styles.
18. String Art With Nails and a Cardboard Back
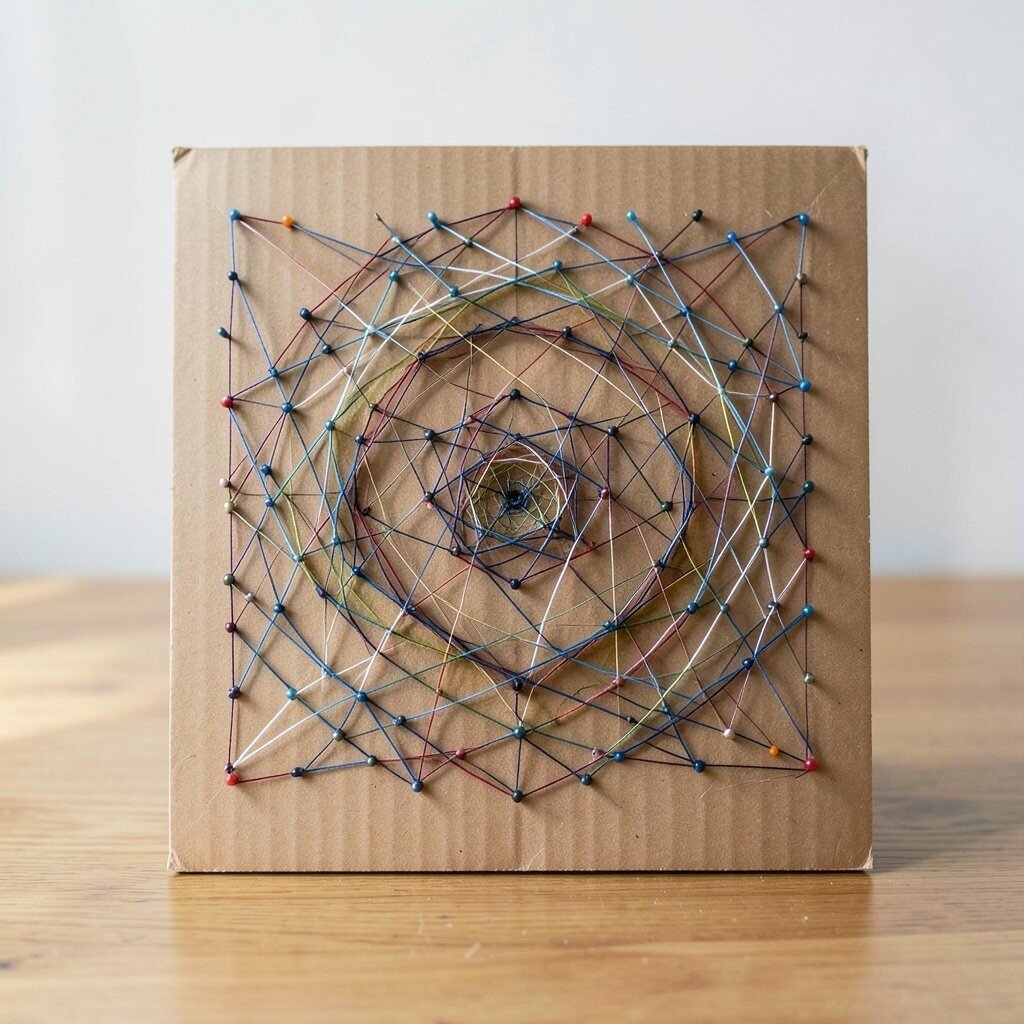
Hammer nails into a cork board or sturdy cardboard outline. Then tie string from nail to nail to create arcs, waves, and geometric patterns.
Changing string direction creates unique shapes and surprising curves. The benefit is that the finished piece looks like a drawing made of light and lines. It is unique because you can “draw” with motion by guiding the string around the nails.
For tips, plan your path with a pencil sketch first so you don’t run out of string or space. Personalize with a symbol like a heart, a moon, or a map route. Cost considerations are friendly because nails, string, and boards can be inexpensive, and you can reuse materials.
Right now, many people share string art in home decor posts because it looks cozy and modern. You can match that trend by choosing neutral string colors or adding one bold accent.
19. Pastel “Scrape and Reveal” on Textured Paper
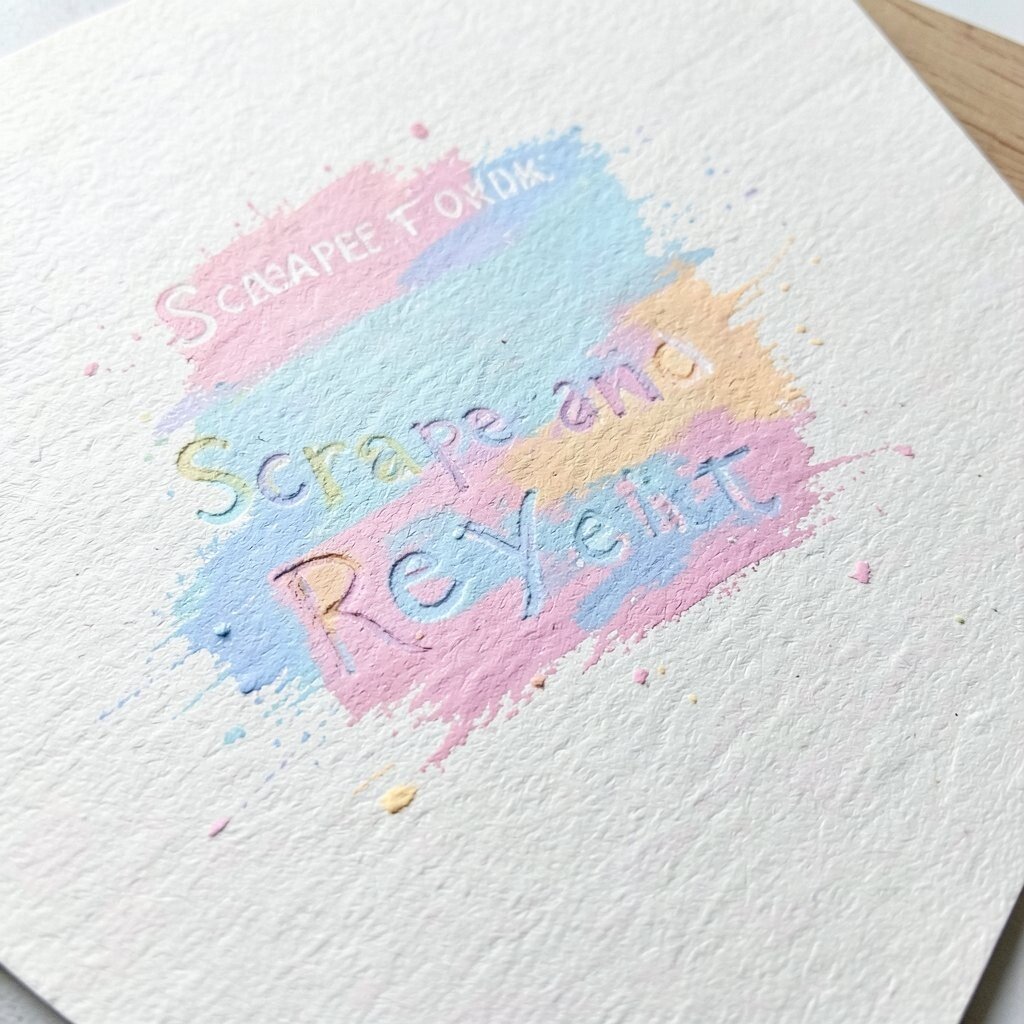
Color over textured paper with soft pastels until the surface feels covered. Then gently scrape parts with a plastic card or craft tool to reveal lighter layers.
The benefit is instant surprise—your image appears as you remove pastel. This form is unique because it works like reverse drawing, where erasing becomes creating. You’ll also enjoy how the texture makes the marks look naturally aged.
20. Mural-Style Mark Making on a Large Sheet
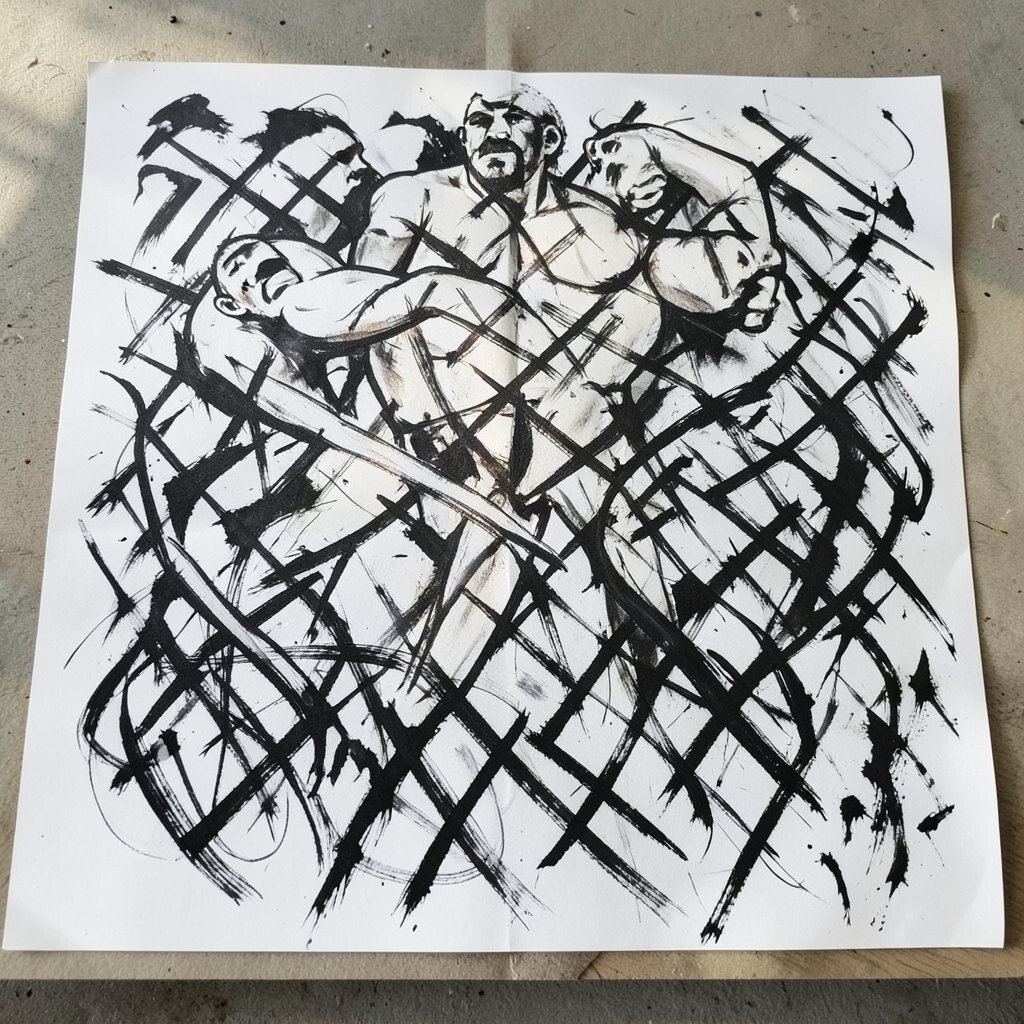
Use a big sheet of paper or taped-together pages and make broad marks like you’re painting a wall. Add layers of scribbles, circles, and shapes until the page feels full but not messy.
You can keep it personal by choosing a theme such as “ocean movement,” “city lights,” or “forest energy.” The benefit is space to breathe, which helps your creativity feel less trapped. This form is unique because it supports big gestures and can turn into a powerful visual diary.
For tips, use washable markers or acrylic paint sticks and keep a few reference images nearby. Cost is manageable since big sheets can be reused and markers are often affordable. A current trend is “large gesture art,” where artists share sweeping mark making videos and emphasize rhythm over perfection.
21. Mixed Media “Comic Page” With Hand-Built Panels
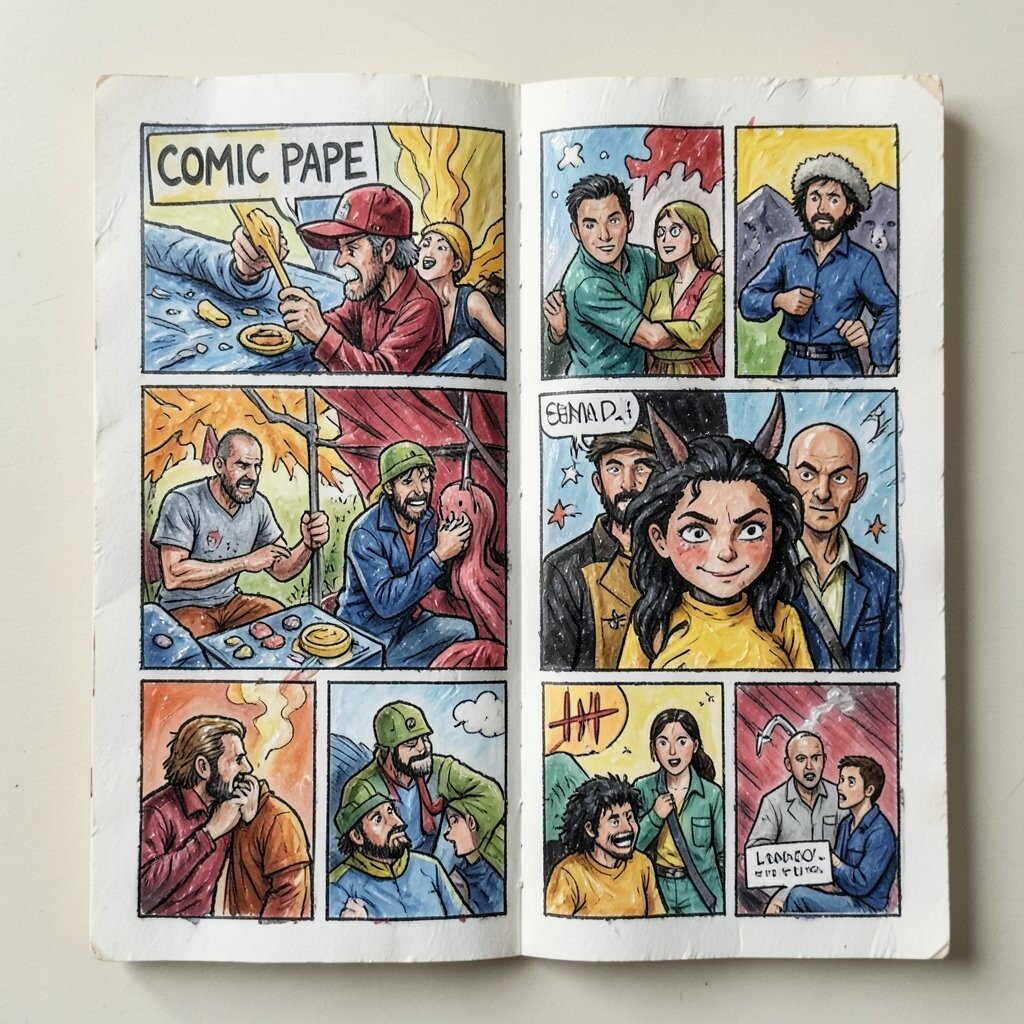
Draw comic panels on paper, but don’t just rely on lines. Add collage pieces, tape, painted textures, and tiny writing to build a scene that feels layered.
Use visual description by showing emotions through color choices, sound words, and dramatic shadows. The benefit is storytelling, which makes your art feel alive even if you’re drawing simple characters. This form is unique because it combines design, illustration, and texture in one page.
For personalization, write a short caption that fits your life: a joke, a dream, or a moment you want to remember. Tips include sealing layers with matte glue or a light spray to protect the page. Cost considerations are easy because you can use scraps, old packaging, and basic art tools.