
Your kitchen floor takes a daily hit from spills, footprints, and busy cooking smells. A little cleaning care can make it look bright and new again.
-
1. Start with a quick sweep and a clear plan
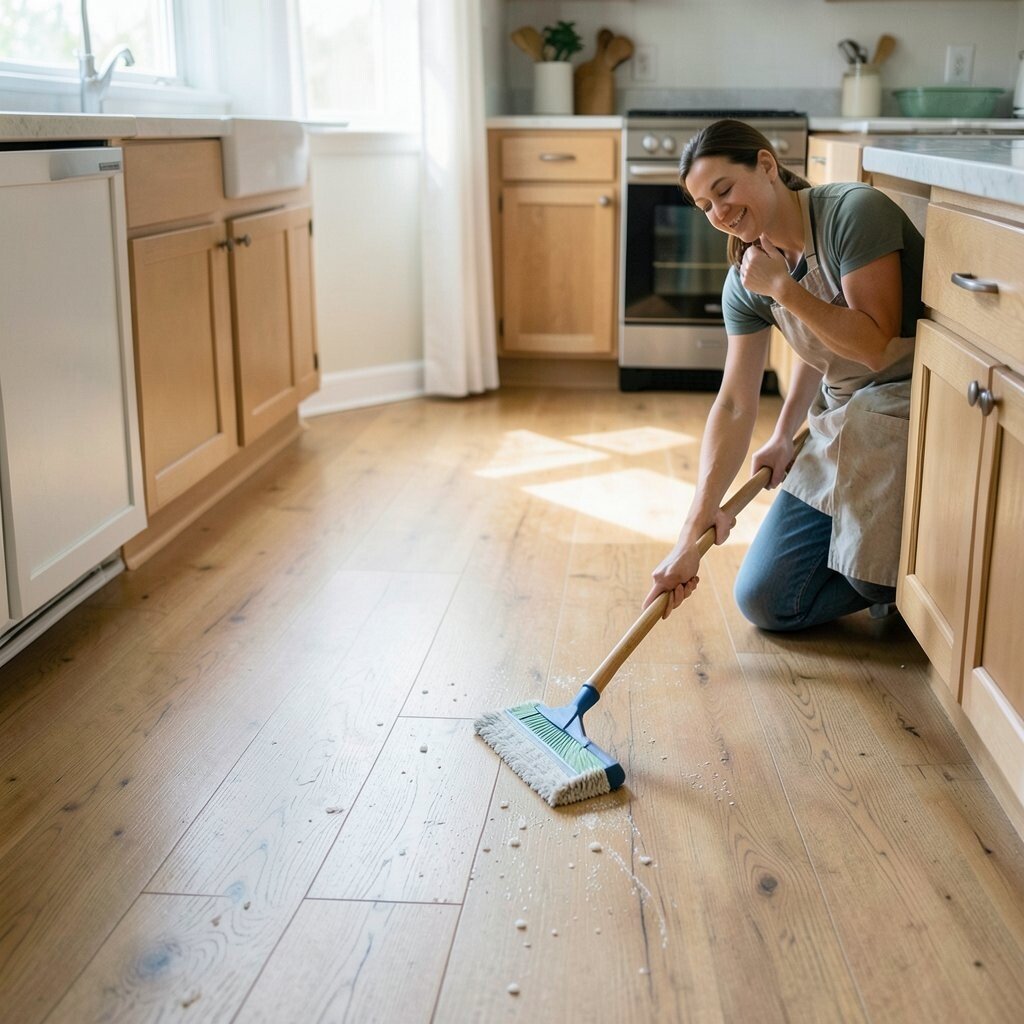
Start with a quick sweep and a clear plan First, sweep up crumbs, dust, and dry grit with a soft broom. Then take a quick look so you know where the spots and dull areas are.
Clean floors work best when you don’t push dirt around. After sweeping, check high-traffic spots like the path near the sink and stove. This simple step helps cleaners do their job faster and with less scrubbing.
-
2. Use the right cleaner for your floor type
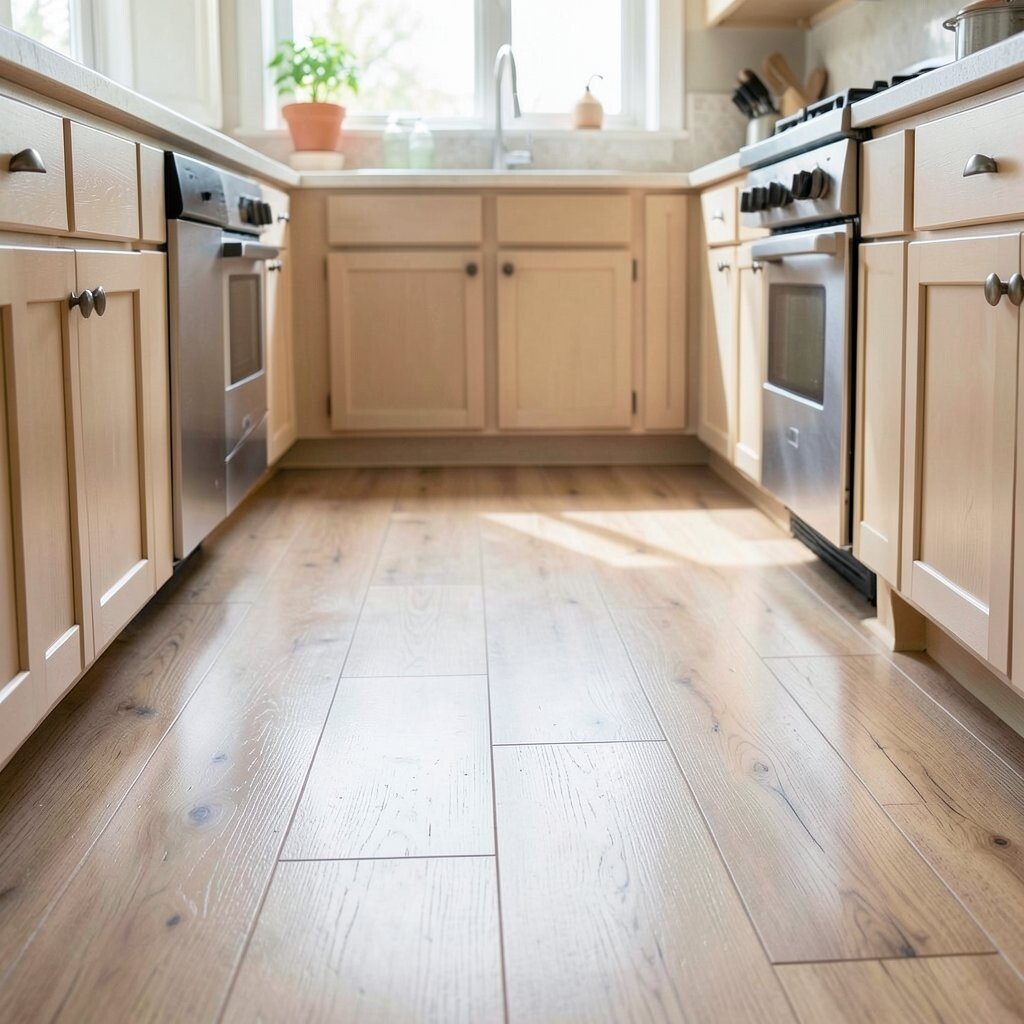
Use the right cleaner for your floor type Choose products that match your flooring material, like tile, vinyl, laminate, hardwood, or stone. A cleaner that is safe for one surface might damage another.
For example, stone needs pH-neutral solutions, while many vinyl floors like gentle cleaners and warm water. If you’re unsure, test a small hidden area first. This keeps your finish looking smooth and even.
Pay attention to labels that mention streaking, wax, or “all-purpose” use. Those details can save time and help you avoid a cloudy look. Picking the right cleaner is a smart cost move because it prevents repeat work.
-
3. Make a simple cleaning routine that fits your kitchen
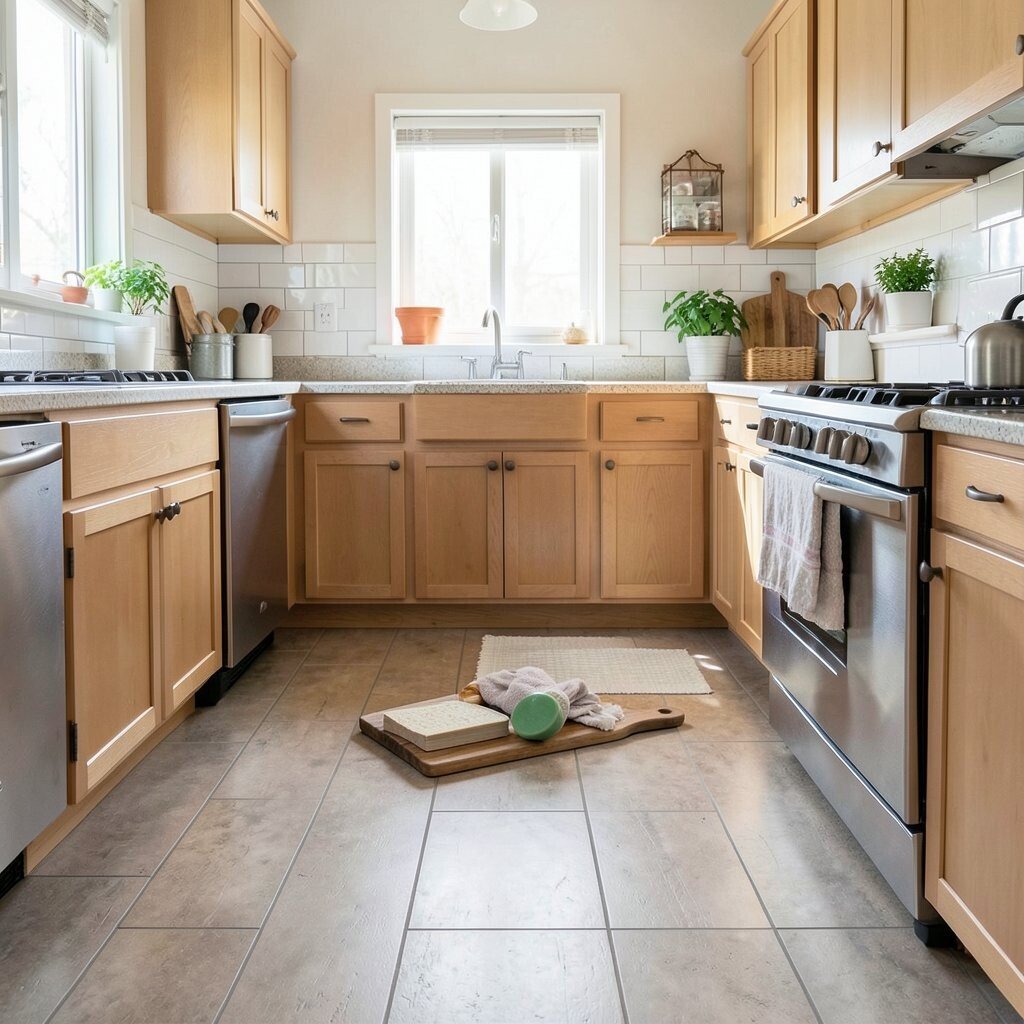
Make a simple cleaning routine that fits your kitchen Pick a routine that matches your cooking schedule, not just your mood. Even a short routine can keep floors from building up grime.
Try a daily habit: sweep or vacuum, then do a light mop when the floor feels tacky or sticky. For deeper cleaning, set a weekly time that feels realistic. You will notice less dullness and fewer stubborn stains.
Personalize it by timing your clean when the kitchen is quiet, like mid-morning. If you use the kitchen after dinner, mop earlier so the floor can dry before guests arrive. This helps keep shoes from tracking new marks onto a damp surface.
Many people also switch to microfiber pads because they lift dirt well. That can be a small upfront cost that pays off in better results. It also feels nice because your floors look cleaner with less effort.
-
4. Pre-treat spills before you mop
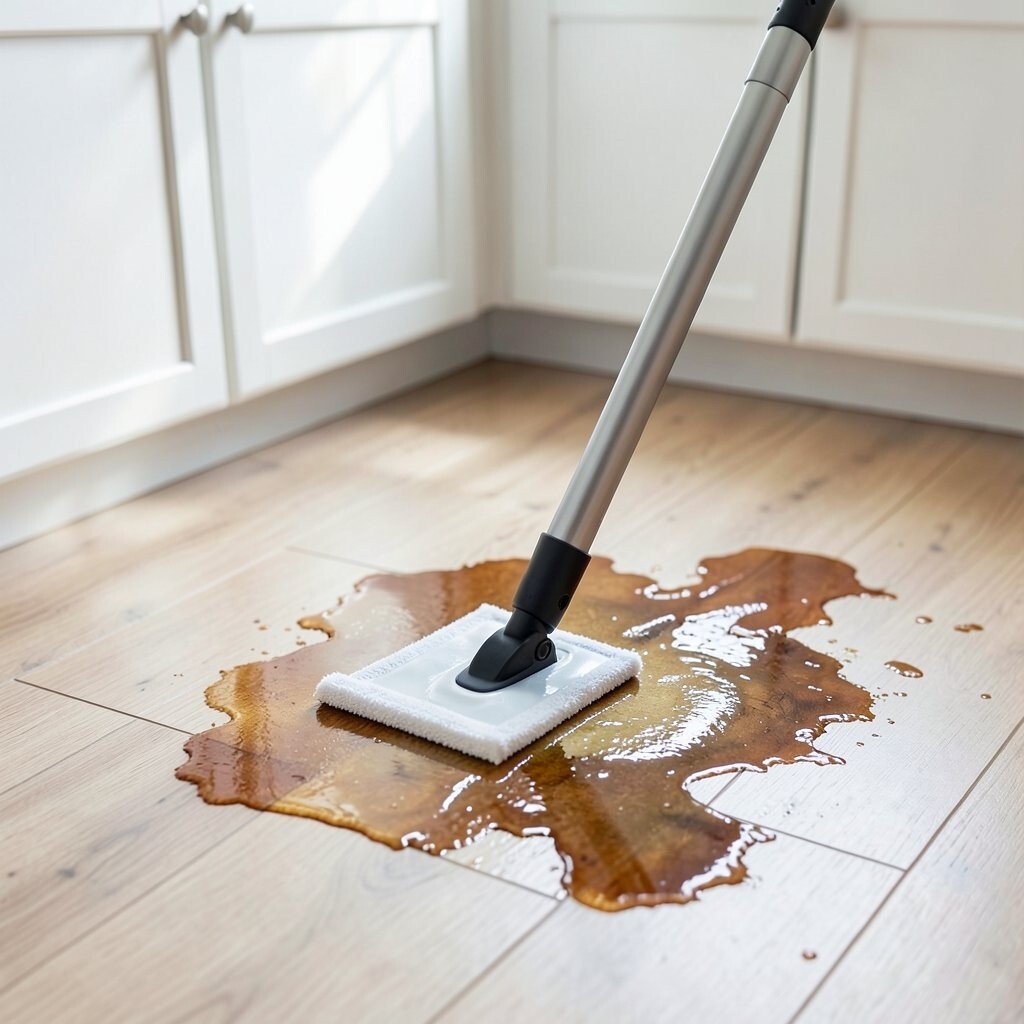
Pre-treat spills before you mop When something lands on the floor, blot first and treat it right away. Grease and juice can soak in, making a stubborn ring later.
Use a soft cloth and a small amount of cleaner, then let it sit for a minute. Scrub gently only where needed, and then wipe clean. This careful approach protects the surface and keeps your floor looking even and fresh.
-
5. Learn the “less water” trick for mopping
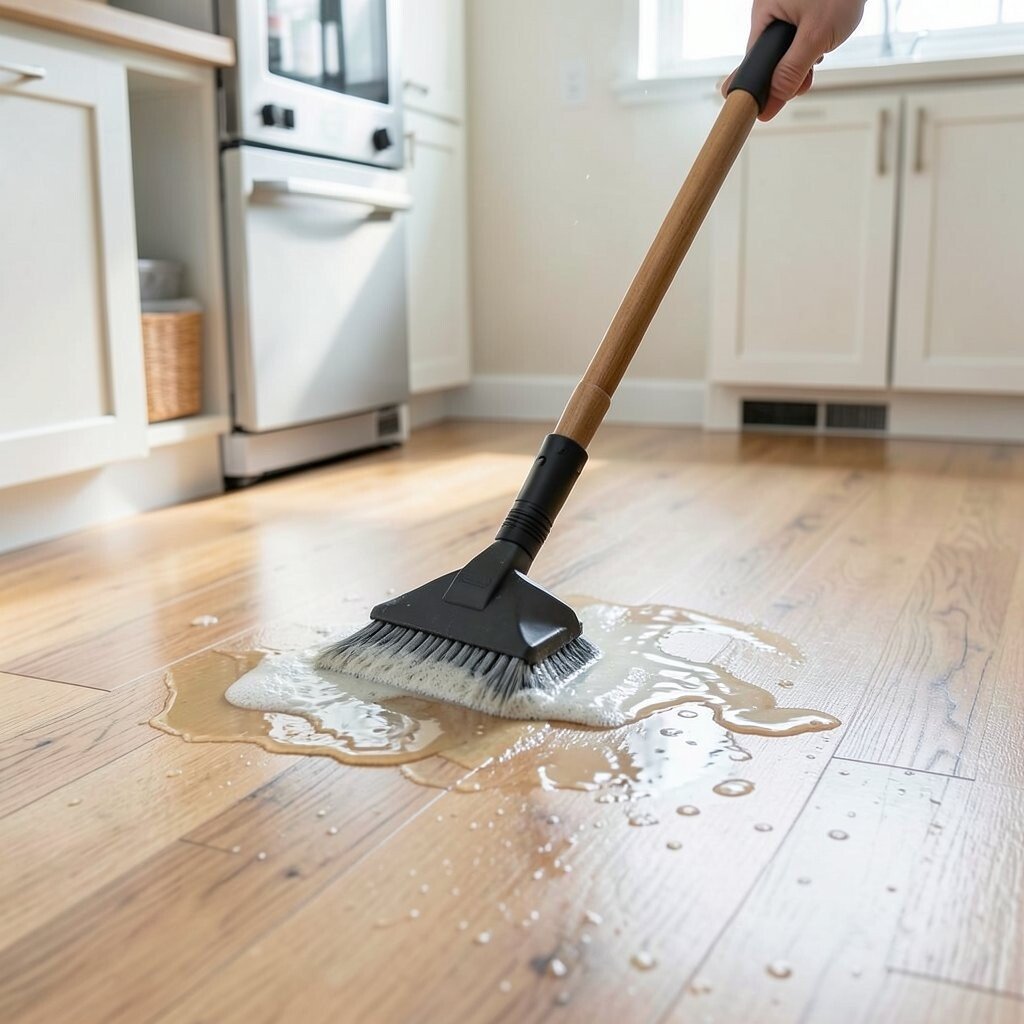
Learn the “less water” trick for mopping For most kitchens, too much water is the enemy. A wet mop can leave puddles that dry into spots.
Squeeze out your mop head so it is damp, not dripping. Work in small sections, and change the water when it turns dirty. This makes your floor look clearer and brighter instead of dull.
You can also use a two-bucket method: one for cleaning and one for rinsing. It sounds fancy, but it helps avoid dirty water residue. If you want a budget friendly option, reuse a second clean bucket for the rinse step.
-
6. Refresh tile grout with gentle scrubbing
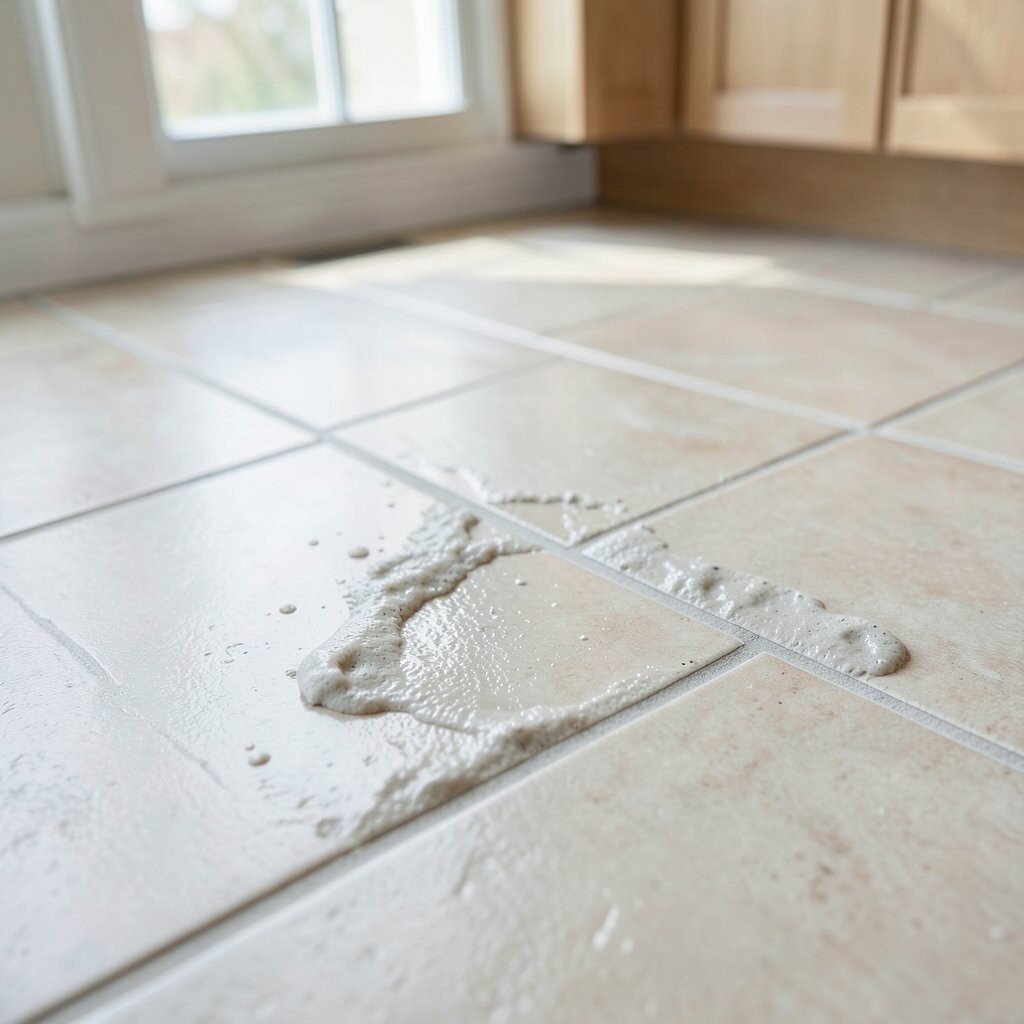
Refresh tile grout with gentle scrubbing Tile floors can look amazing, but grout lines often hold onto grime. You may notice them looking gray or shadowy even when the tiles seem clean.
Use a small brush, mild cleaner, and warm water to target grout lines. Work slowly so you don’t scratch the grout surface. This brings back that crisp contrast between tiles.
For a trend-friendly look, many homeowners focus on “clean lines.” When grout looks brighter, the whole floor seems updated. Costs can stay low if you use simple supplies and avoid harsh chemicals.
-
7. Lift grease with a degreasing strategy
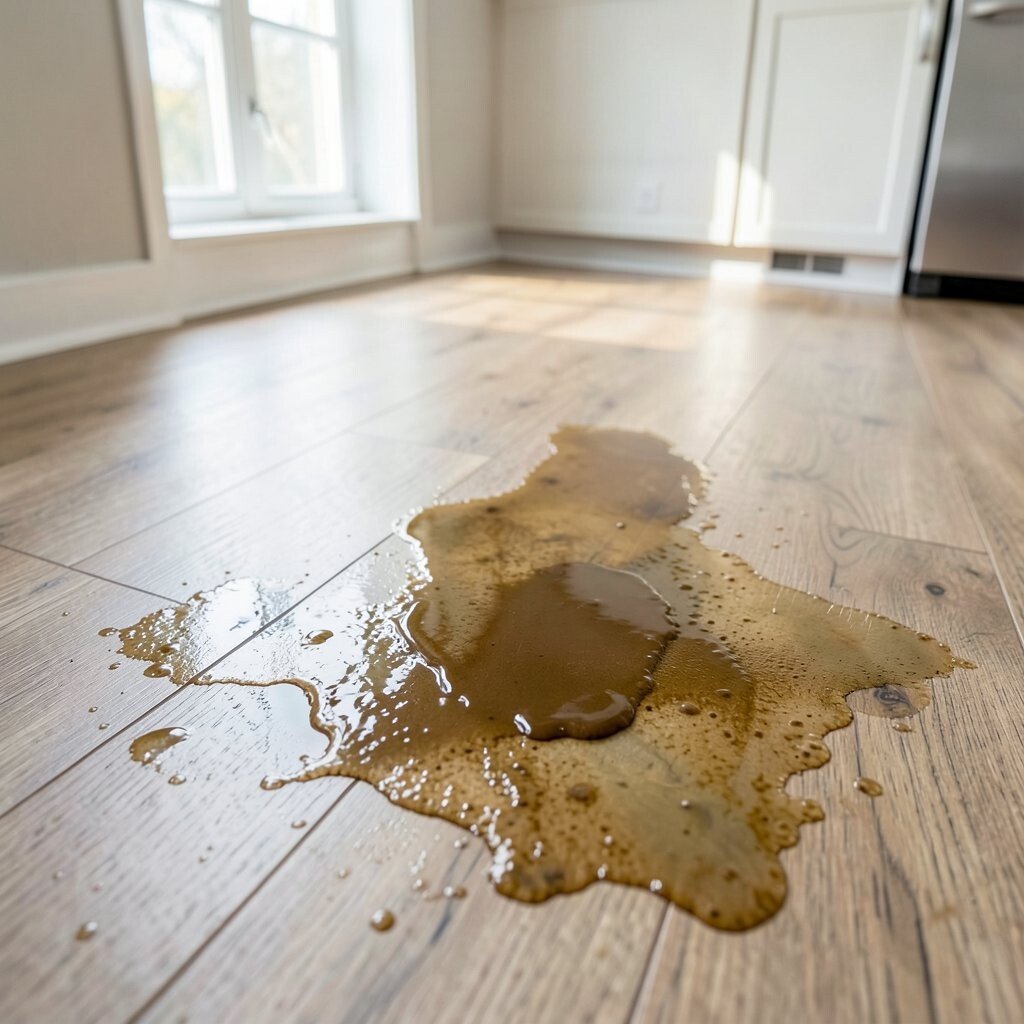
Lift grease with a degreasing strategy Kitchen floors near the stove can gather a thin layer of grease. It might feel slick, and it can make dust stick faster.
Start with warm water and a cleaner made for grease. Apply it to the problem area, wait a moment, then wipe or lightly scrub. You’ll often see a visible shift from dull to clear.
To personalize your approach, keep a small stain kit under the sink with a brush and microfiber cloth. That way, you don’t delay when a spill happens. While degreasers can cost a bit, using them only where needed helps you stay on budget.
-
8. Protect hardwood with the right moisture level
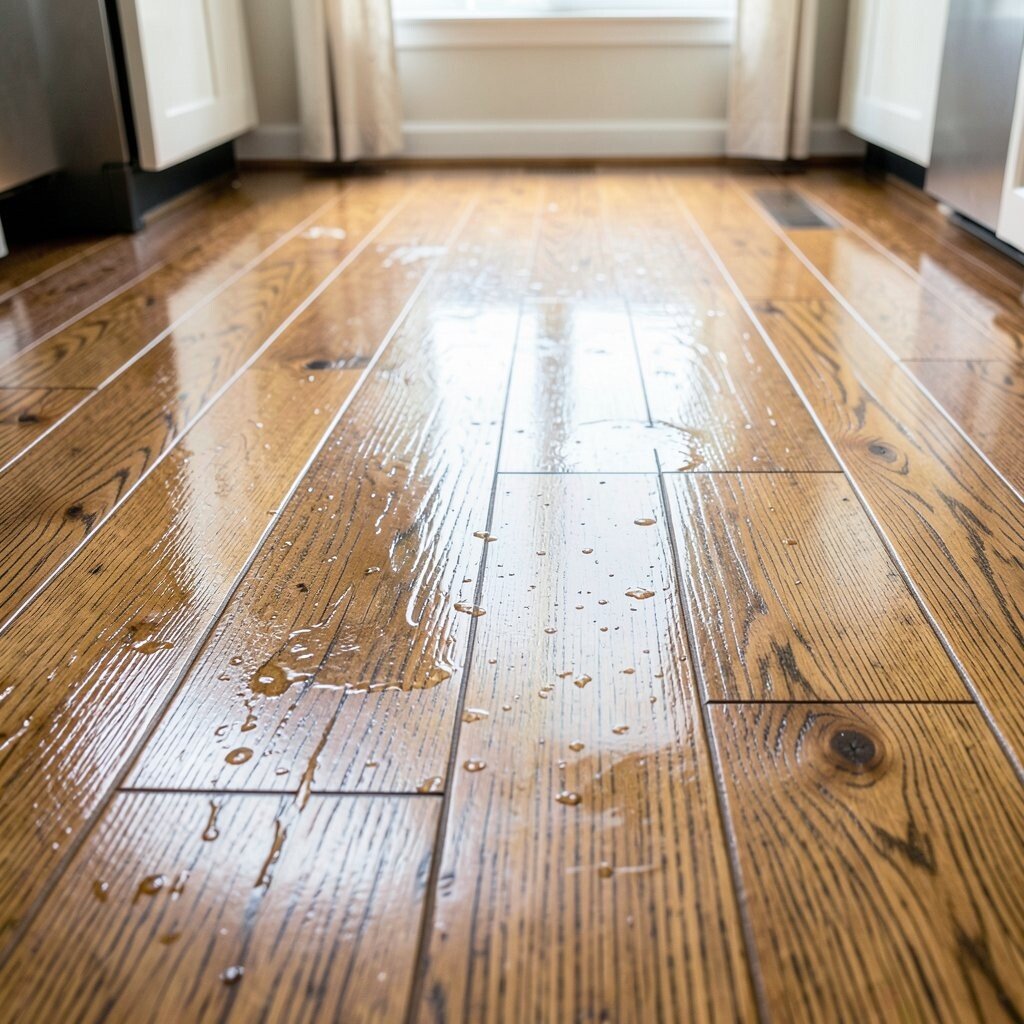
Protect hardwood with the right moisture level Wood floors need extra respect because too much water can harm the finish. You may notice tiny dull patches after mopping with heavy water.
Use a cleaner made for hardwood and a mop that controls moisture. Wipe with a microfiber cloth when you can, then buff dry right away. This keeps the wood looking warm and smooth instead of rough.
For personalization, add a small area rug near high-traffic cooking zones. It cuts down on wear and makes cleanup easier. Rug placement also fits current trends that mix style with function.
As a cost tip, replacing a damaged finish is far more expensive than using the correct cleaning method now. Your best savings come from careful moisture control and gentle products.
-
9. Make laminate shine without damage
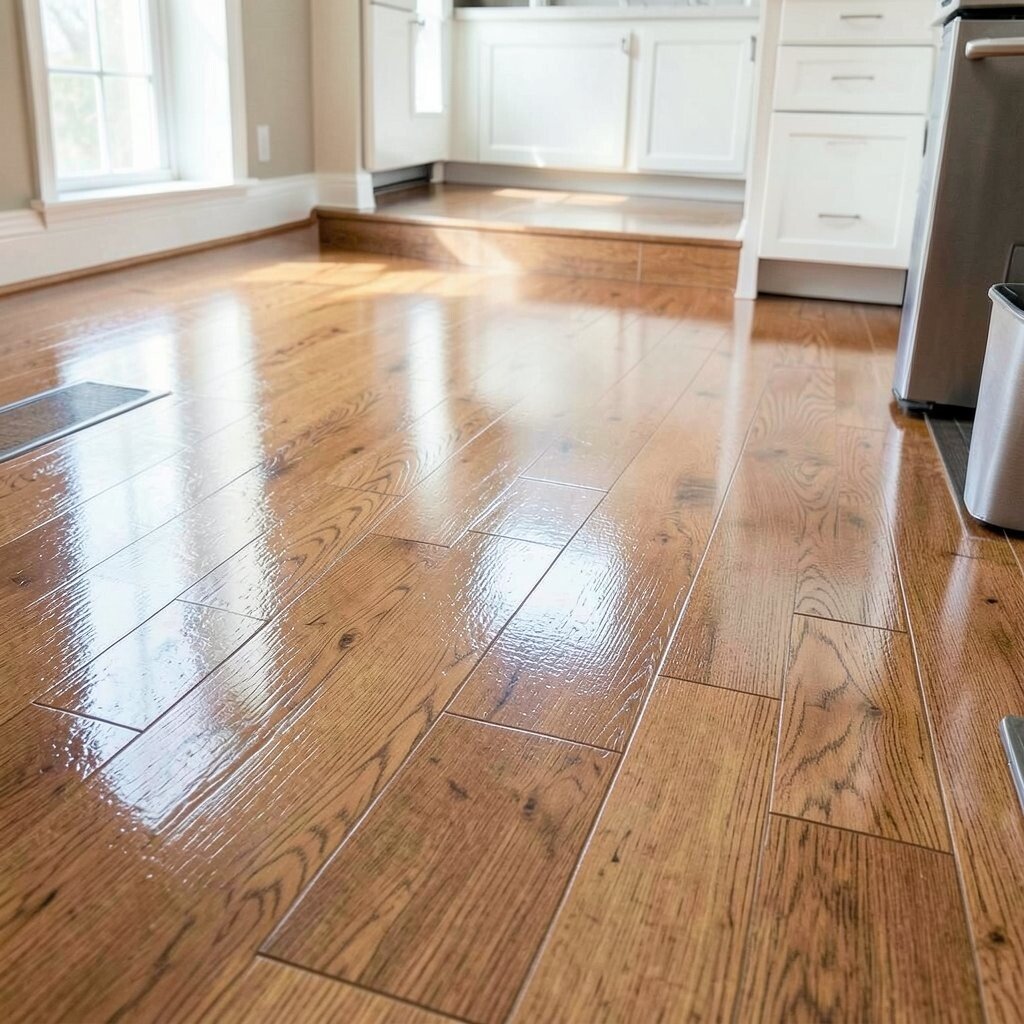
Make laminate shine without damage Laminate can look like wood, but it still needs gentle care. Scratches and sticky residue can make it look tired.
Use a laminate-safe cleaner and a slightly damp microfiber mop. Avoid soaking seams and edges, because water can creep into the layers. When you keep it dry and clean, the shine looks even across the whole room.
-
10. Use baking soda for tough spots—sparingly
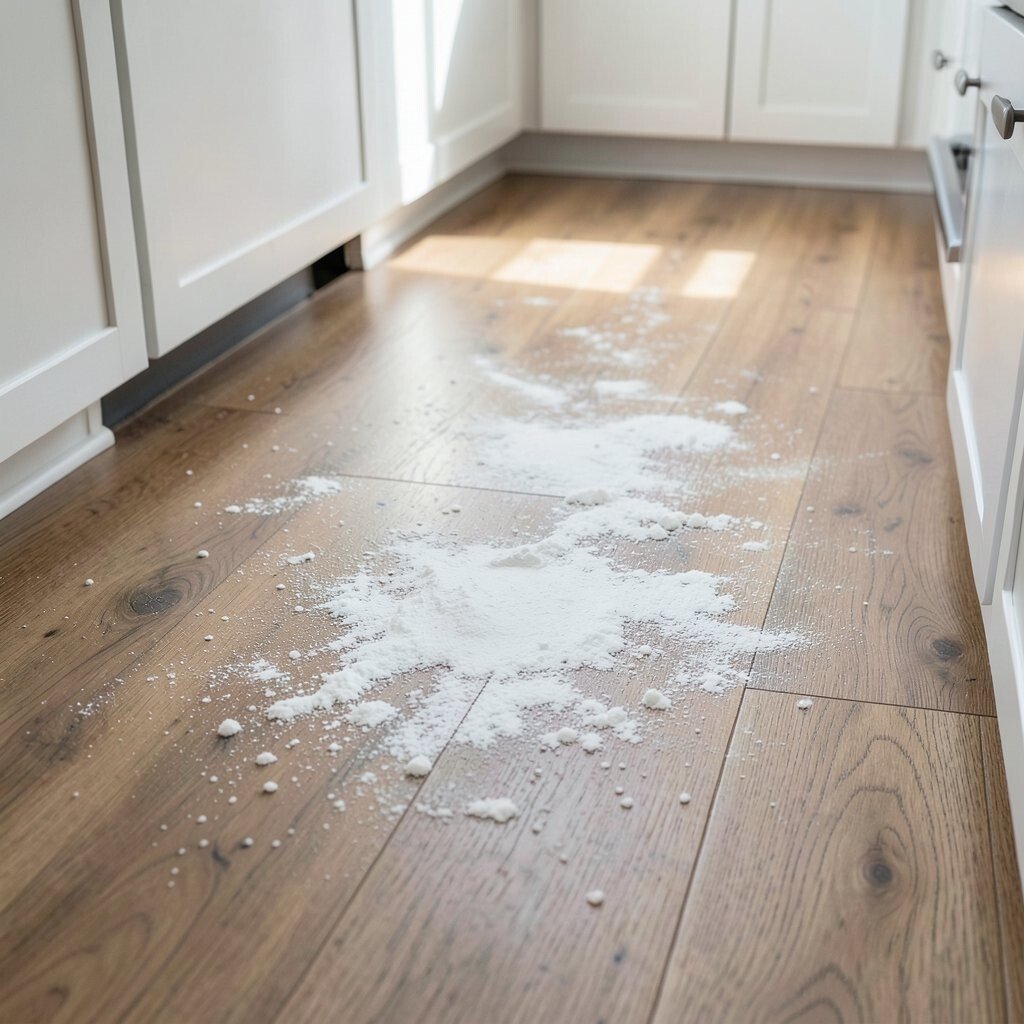
Use baking soda for tough spots—sparingly Baking soda can help with certain tough stains like dried splashes. It acts like a mild scrub while still being gentle in many cases.
Mix it into a paste with a little water, then apply to the stain and let it sit briefly. Gently rub with a soft cloth, then wipe away and dry. This helps the area look lighter and cleaner without heavy chemicals.
Be careful not to use it on delicate finishes too often. For personalization, keep a “spot treatment” routine so you only apply paste where you need it. This keeps costs down because you use small amounts rather than buying lots of different products.
-
11. Tackle vinyl floor scuffs the smart way
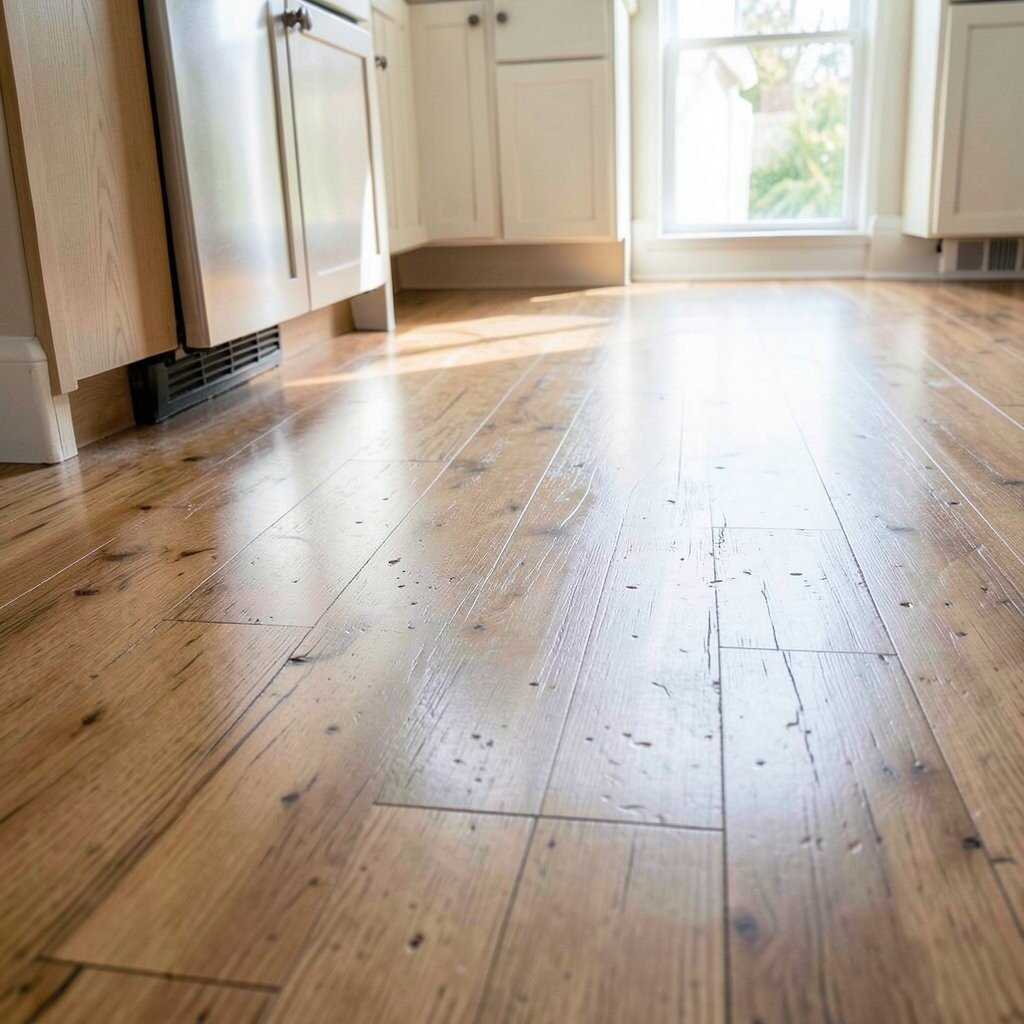
Tackle vinyl floor scuffs the smart way Vinyl floors can get scuffed, especially where chairs roll or where shoes land. Those marks can make the floor look less fresh even when it is clean.
Use a vinyl cleaner and a non-abrasive pad to lift scuffs without dulling the surface. For stubborn marks, try a gentle magic-eraser style sponge, but test first. The right approach makes scuffs fade and the shine return.
Many people also like a “quick wipe” method after cleaning. After mopping, do a final pass with a dry microfiber cloth to reduce streaks. That small habit helps the floor look tidy and bright, which is a common current goal in modern homes.
-
12. Control streaks with a final buff
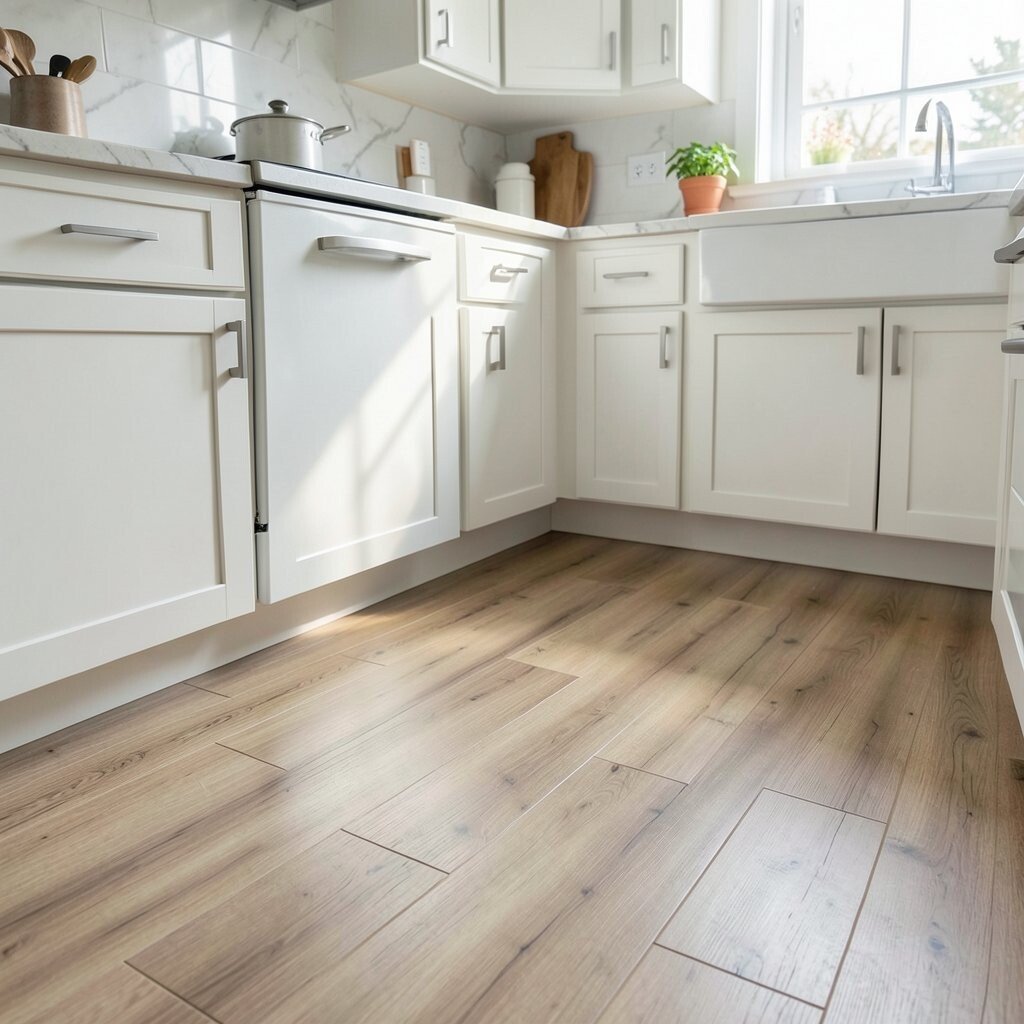
Control streaks with a final buff If your floor looks clean but still shows lines, streaks are the issue. They often happen when soap residue stays behind.
After mopping, wipe the surface with a fresh microfiber cloth in the direction of the plank or tile. You can also use clean water for a quick rinse, then buff dry. This gives a crisp, polished look that feels brand new.
To personalize, choose a cloth color that helps you see dirt and streaks. For cost, microfiber is usually reusable for a long time, which makes it an easy win. The payoff is big because your floor looks clearer and smoother.
-
13. Deal with sticky residue from cleaners and spills
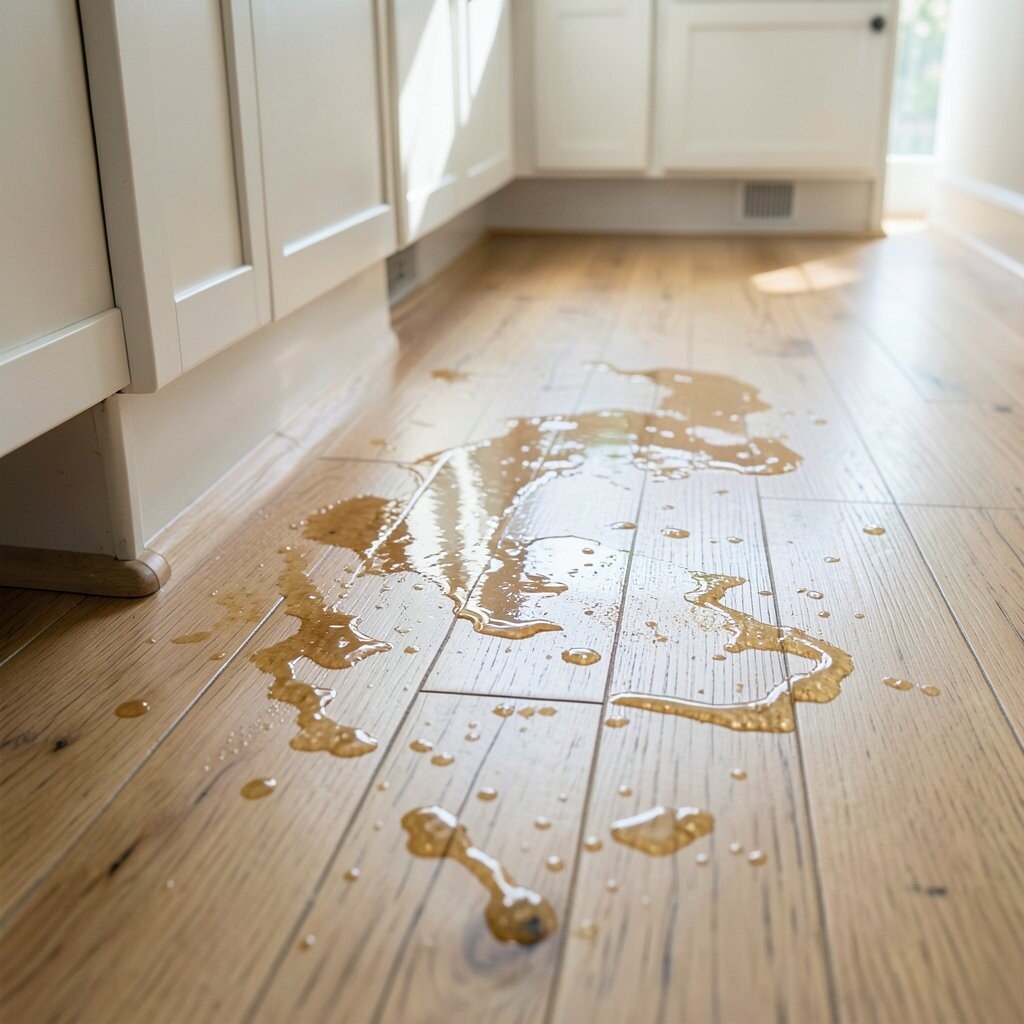
Deal with sticky residue from cleaners and spills Sticky floors can happen after too much cleaner or after sticky food dries. You might notice shoes dragging or dust clinging in a corner.
Start by warm rinsing the area with clean water, then wipe dry. If it remains sticky, use a small amount of the right floor cleaner and scrub gently. Finish with a dry buff so the surface feels smooth.
For personalization, store a small spray bottle in the kitchen for quick fixes. That makes it easy to handle a sticky spot in minutes. It’s budget smart too because you avoid replacing pads and buying new floors.
This method also fits current home trends that focus on low-waste, practical maintenance. You’re using what you already have and getting fast results.
-
14. Address pet tracks and muddy footprints quickly
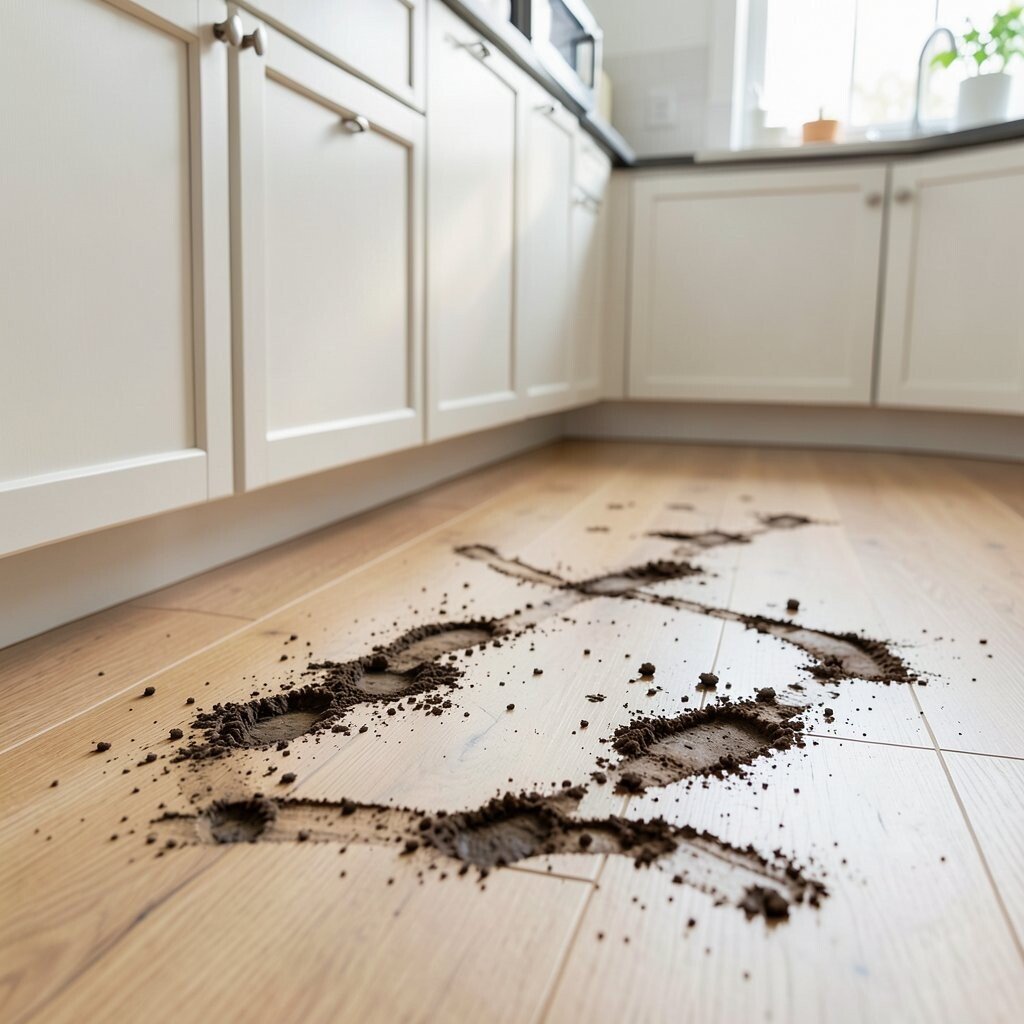
Address pet tracks and muddy footprints quickly Pets and muddy paws can leave smudges that are hard to ignore. Even clean floors can look gray when tracks build up.
Use a damp microfiber cloth to pick up marks first, then wash the area with gentle cleaner. Work from the outer edge toward the center so the mess doesn’t spread. Dry it well to prevent a cloudy film.
-
15. Try a steam-safe method when it fits your floor
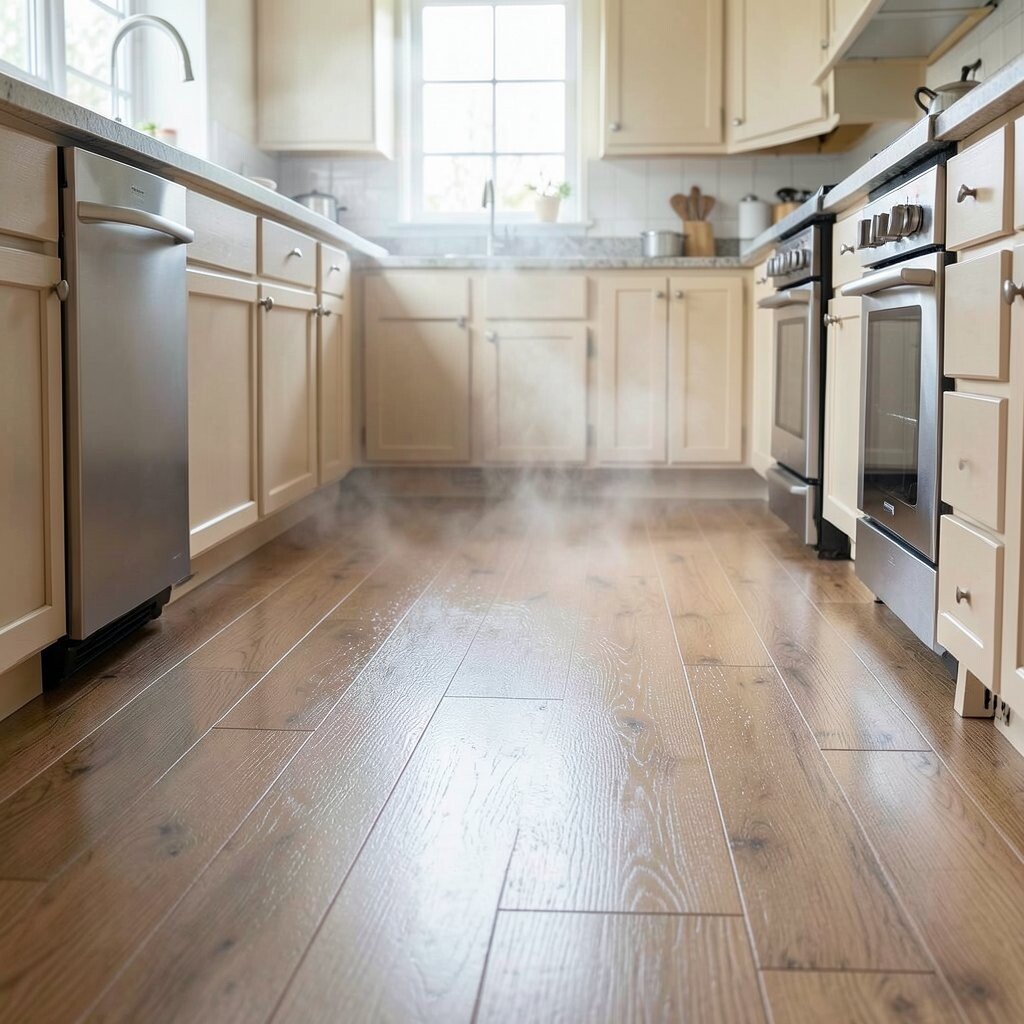
Try a steam-safe method when it fits your floor Steam can loosen dirt and grime, but only for floors that allow it. Some surfaces can warp or dull with too much heat.
If your flooring manufacturer approves steam, use a low setting and keep the steam moving. Wipe afterward with a microfiber cloth to pull up loosened residue. Your floor can look brighter because grime lifts without heavy chemicals.
For personalization, use steam mostly in high-traffic zones like near the sink. This can reduce the need for extra cleaning products. Costs depend on whether you already own a steam cleaner, so consider it when planning your supplies.
-
16. Remove scum from glassy surfaces and shine layers
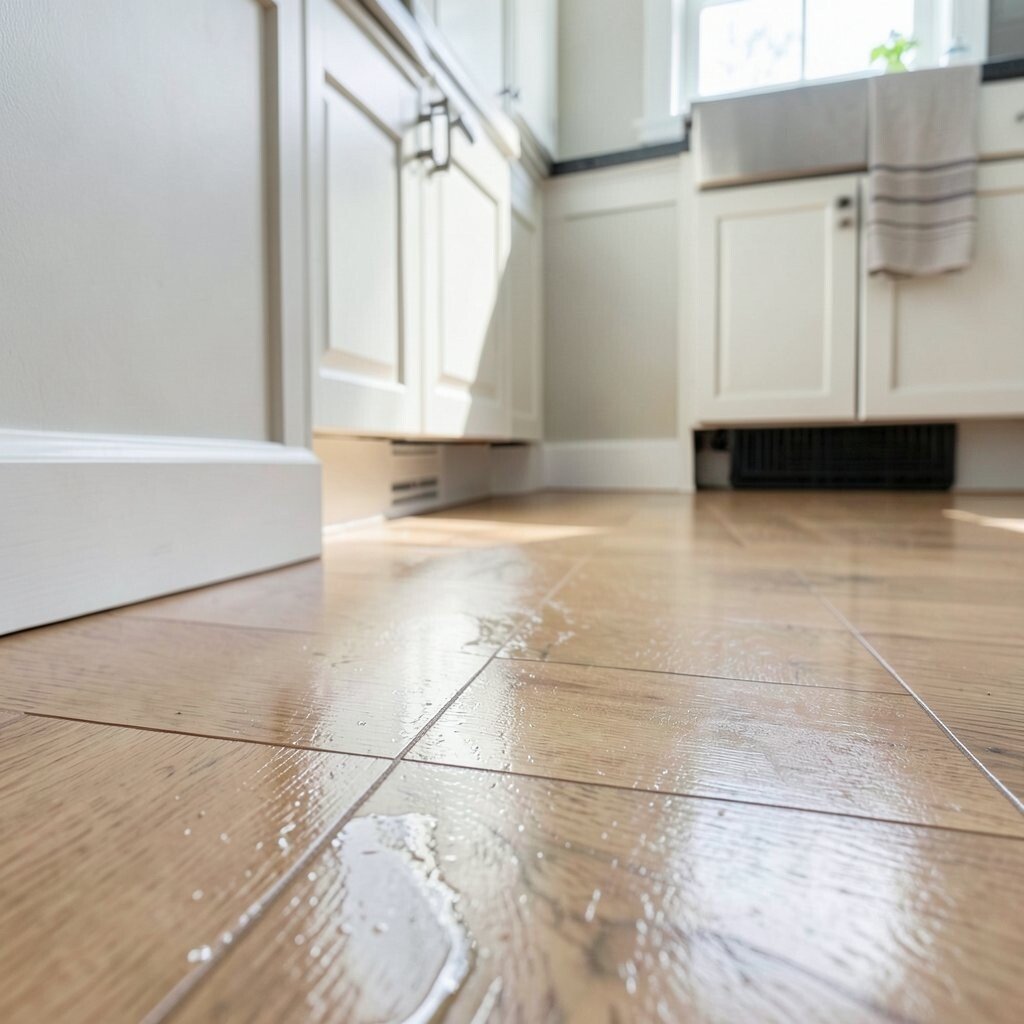
Remove scum from glassy surfaces and shine layers Some floors collect a dull scum layer, especially near mop-overlap areas. You might see a hazy look that doesn’t improve with regular cleaning.
Use a cleaner designed to cut residue and follow the label directions carefully. For many kitchens, gentle repetition beats strong scrubbing. When scum clears, the floor color looks more even and true.
To personalize, compare how the floor looks in natural light after cleaning. If one zone stays hazy, treat that zone again and rinse more thoroughly. This gives you control without overspending.
-
17. Refresh grout seals to keep stains from returning
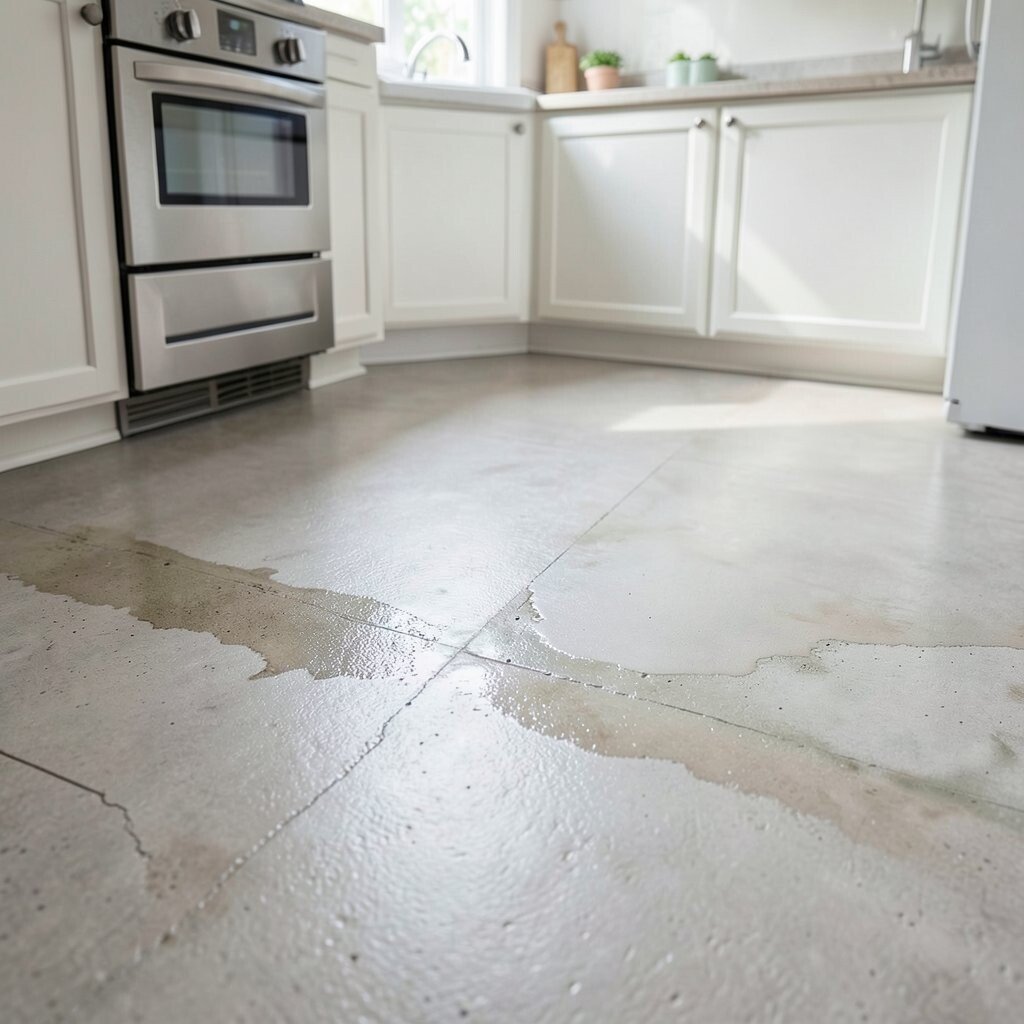
Refresh grout seals to keep stains from returning If your tile has grout that stains easily, sealing can help. Sealed grout resists spills and makes future cleanups faster.
Clean grout well first, let it dry fully, and then apply a grout sealer if it’s recommended for your type. Use even strokes so coverage looks consistent. This can make your floor look sharper because grout lines stay cleaner longer.
Current trends show more people caring about maintenance, not just quick wipes. Sealing fits that idea because it reduces long-term effort. Costs vary by brand, but planning one careful application can save money over time.
-
18. Plan for season changes and humidity
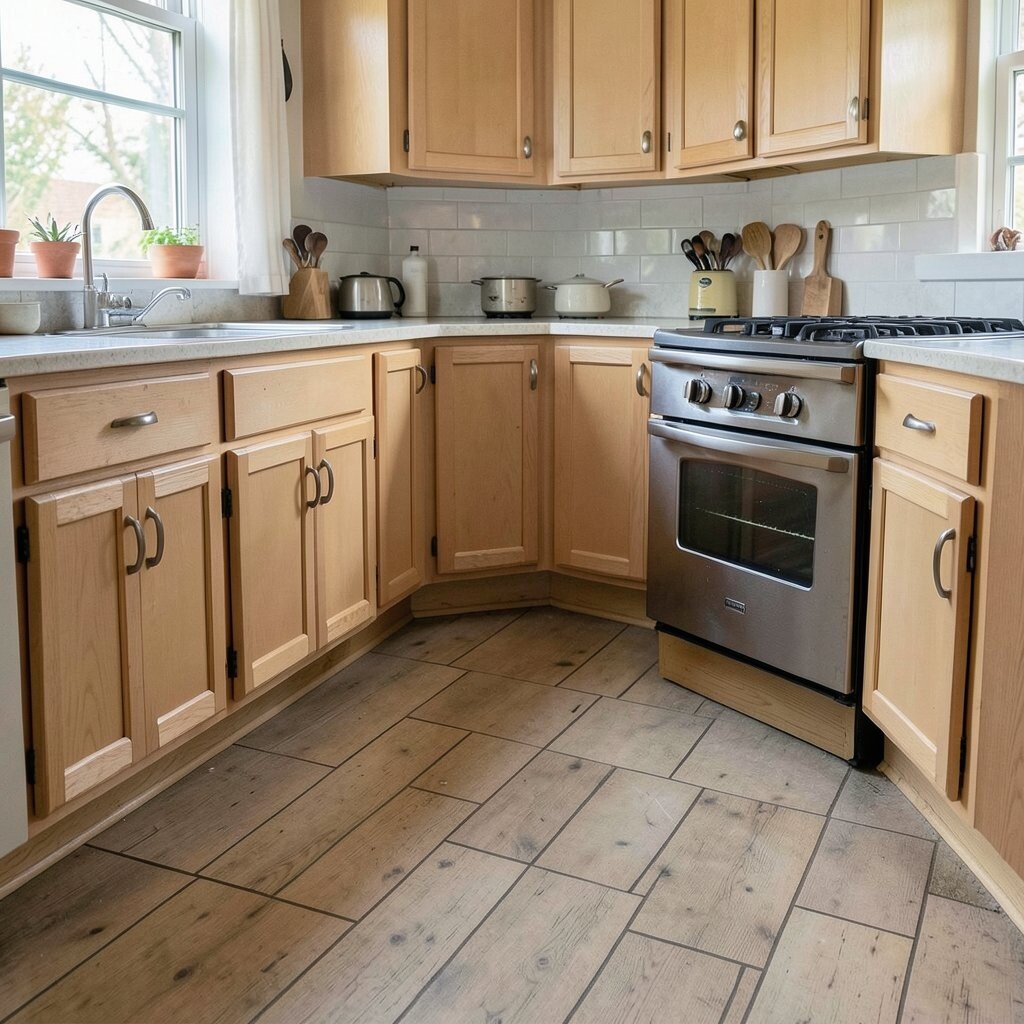
Plan for season changes and humidity Season shifts can affect how floors hold dirt and how they dry. In humid months, floors can feel slightly sticky or take longer to dry.
Adjust your drying time by using fans or opening windows when possible. If you live in a dry climate, you may notice dust clinging more easily, so sweeping and vacuuming become more important. A little planning helps your floor stay fresh year-round.
Personalize your routine by adding a “season reset” day where you deep clean and check corners. That includes under chairs, edges by the baseboards, and around appliance feet. It’s also a budget-friendly move because it prevents buildup that later requires expensive repairs.
When you keep floors dry and clean, your kitchen feels calmer and brighter every time you walk in.
-
19. Clean in the direction of the grain or pattern
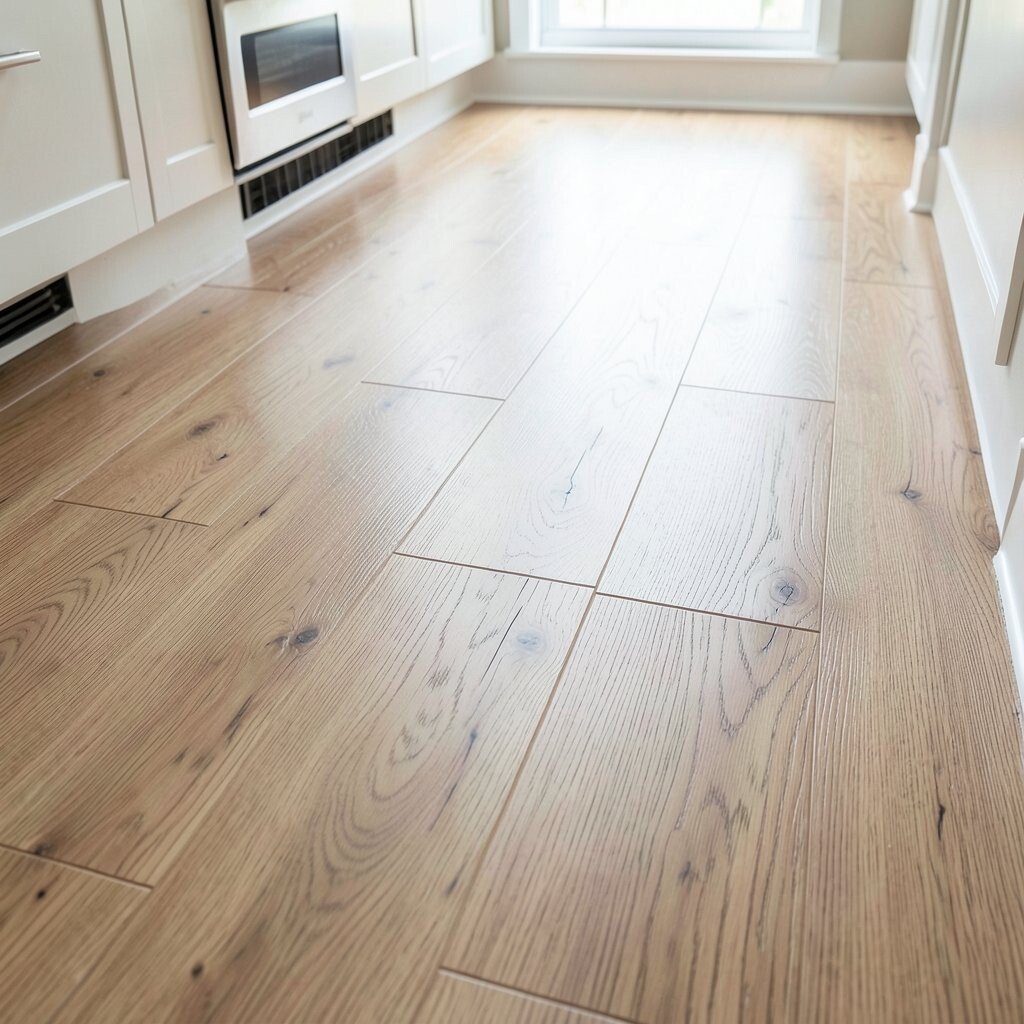
Clean in the direction of the grain or pattern Cleaning with the floor’s natural lines helps avoid visible streaks. It also reduces the chance of pushing dirt into seams.
For wood-like planks, mop along the grain. For tile, keep your strokes consistent and avoid circling in one spot. This makes the floor look neat and helps you see progress as you go.
-
20. Use absorbent mats and smart placement for fewer stains
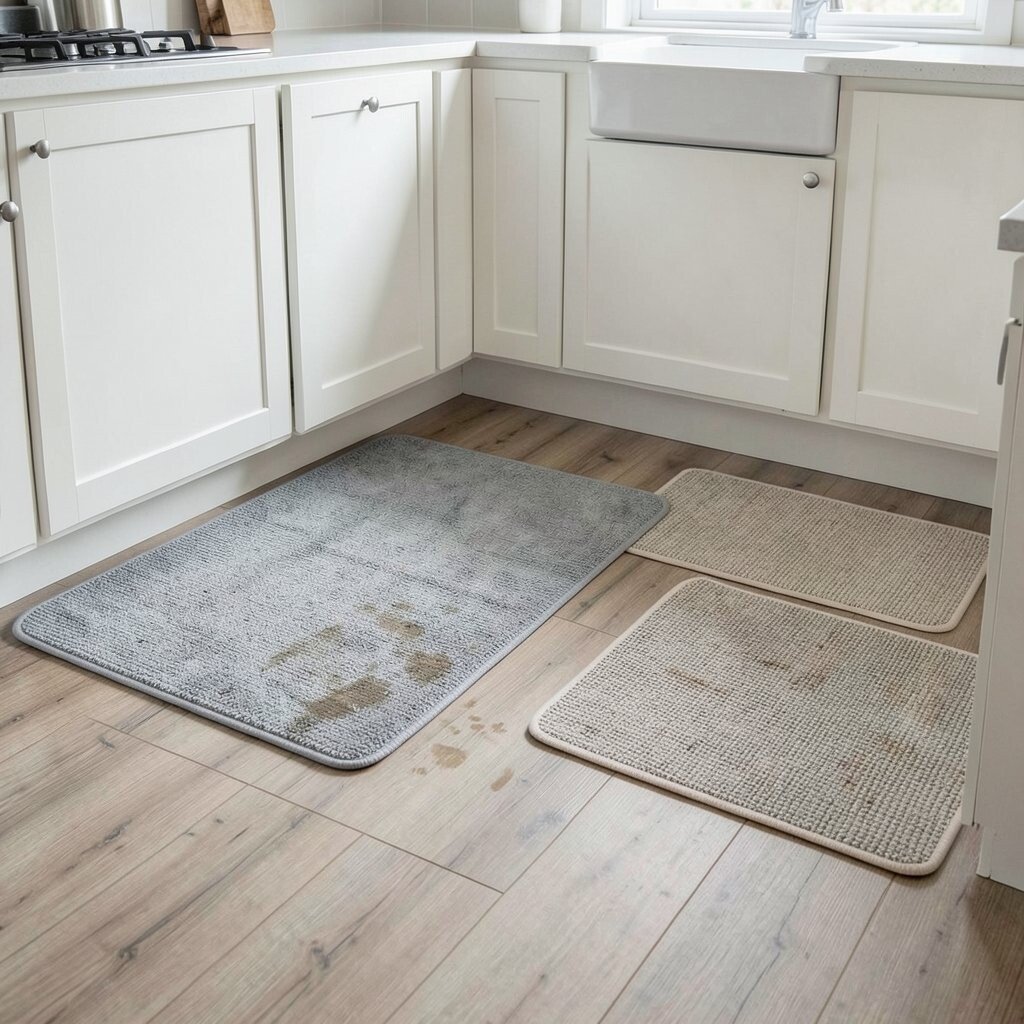
Use absorbent mats and smart placement for fewer stains One of the easiest ways to keep floors fresh is to stop mess before it spreads. Mats near the sink and stove catch drips and crumbs.
Choose mats that are easy to clean, and shake or wash them often. Make sure the mat backing is safe for your floor type so it doesn’t stain or damage the surface. This keeps your kitchen looking tidy without constant deep cleaning.
Personalize it with colors that match your kitchen theme. Many current kitchens use warm, textured mats that look good and still work hard. This can be a moderate cost, but it often reduces how often you need strong cleaners and extra scrubbing.
-
21. Finish with a careful inspection and tiny touch-ups
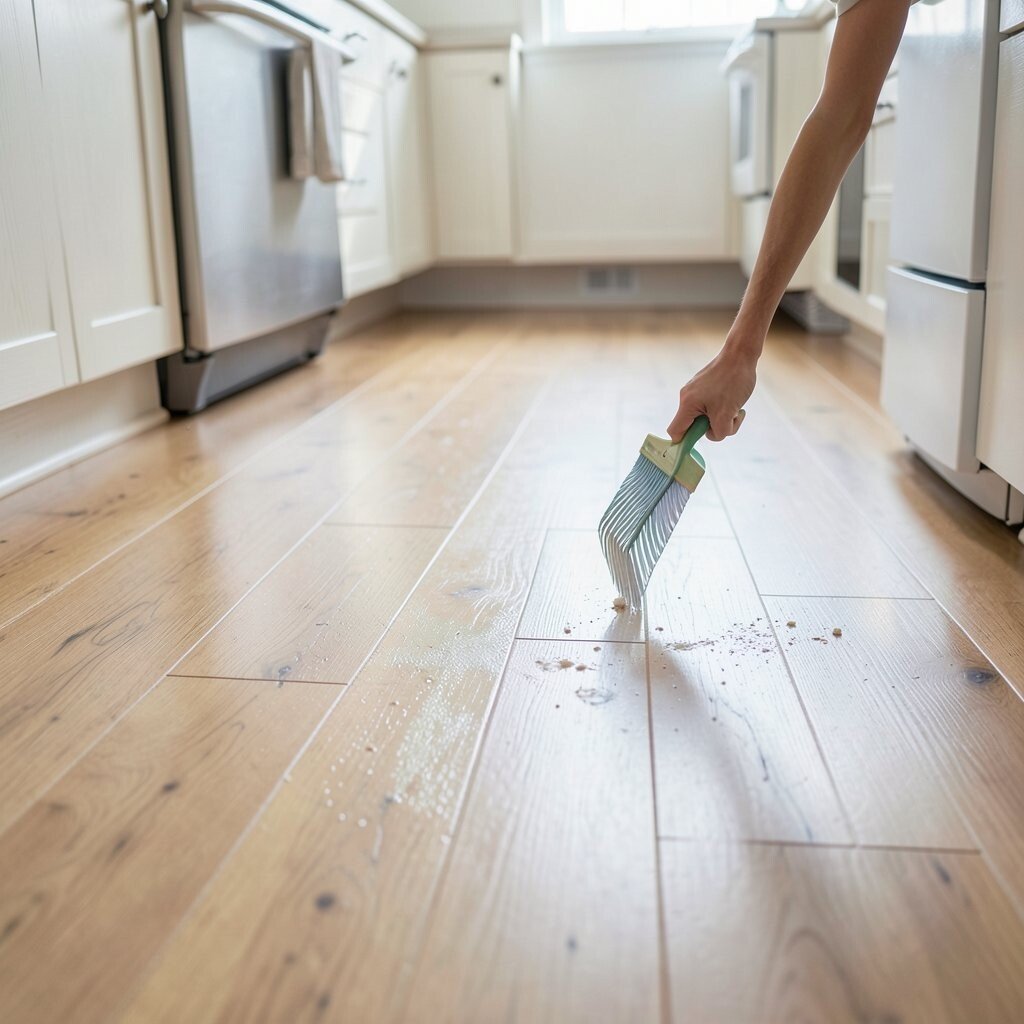
Finish with a careful inspection and tiny touch-ups After cleaning, do a slow walk-through and check the spots that catch light. Look for dull patches, leftover grout haze, and edges near cabinets.
Use a small cloth for quick touch-ups where needed, like wiping a corner that missed the mop. If you see a mark that won’t lift, treat it as a specific stain instead of repeating whole-floor cleaning. This keeps your time focused and your budget under control.
For personalization, take a photo after your cleaning so you can compare next time. It’s a fun way to see improvement and stay motivated. When your floors look consistent, the whole kitchen feels fresh and welcoming.