
Your kitchen makeover can look amazing in photos and still miss the mark in real life. Tiny DIY mistakes can turn “fresh and cozy” into “why is this happening?”
The good news is that most problems are easy to prevent with a little planning and smart habits.
-
1. Painting Without Cleaning Like You Mean It
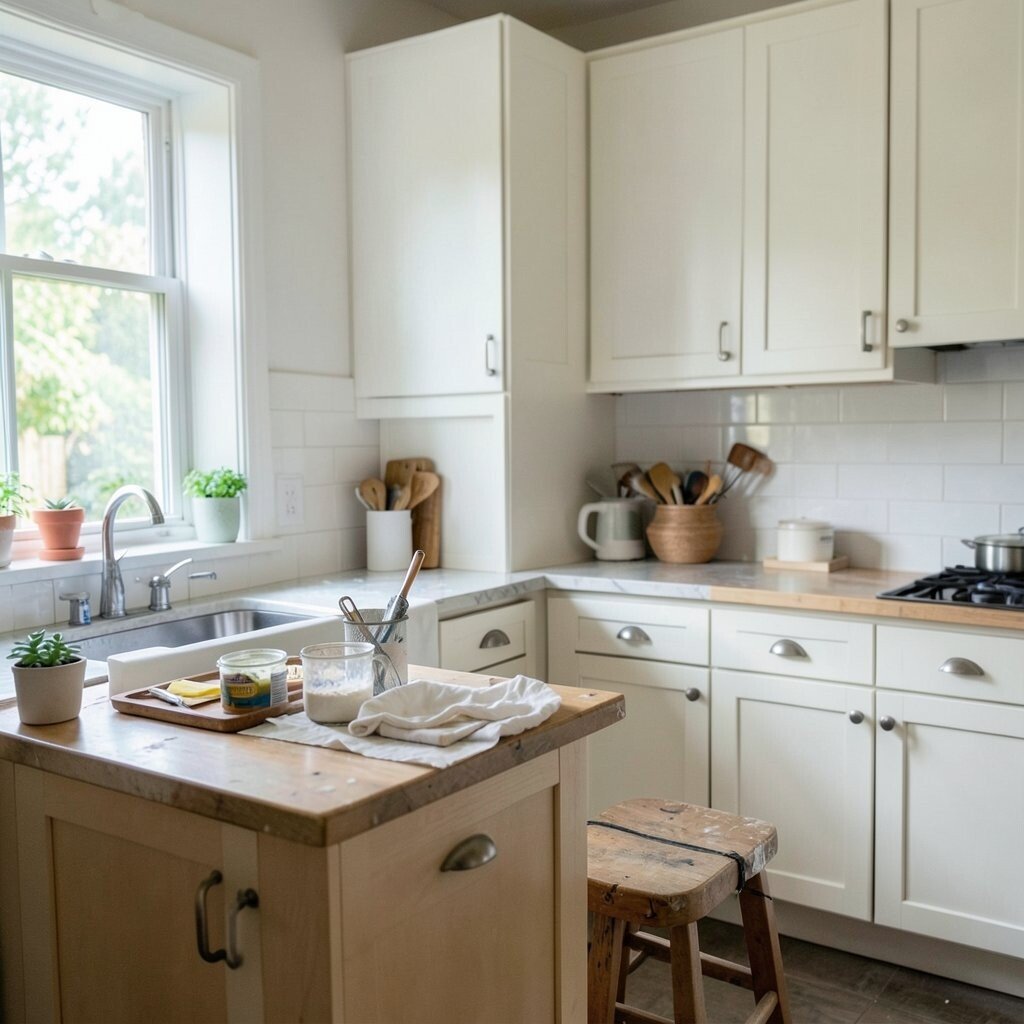
Painting Without Cleaning Like You Mean It You scrub the countertop, but you skip the spots where grease sticks. The wall behind the stove can look dull and feel sticky even after a quick wipe.
Then the paint goes on smooth for a minute, and later it starts peeling in little curls. This blunder wastes time and money because you end up buying more paint and doing the job again.
Use a degreaser meant for kitchens, then rinse and let everything dry fully. For best results, lightly sand glossy areas so the new finish has something to grab.
If you love customization, paint one cabinet door with a small test patch in the exact lighting where you cook. When it cures, you’ll know it will hold up before you commit to the full set.
-
2. Skipping Primer Because “It Looks Fine”

Skipping Primer Because “It Looks Fine” Primer is the quiet hero. It helps uneven surfaces and stains behave, so the final color stays true.
Without primer, your bright color may look washed out, or old stains can peek through like a surprise ghost. Even if the paint looks okay at first, it can fail faster in humid kitchen air.
Pick primer based on the surface: bonding primer for tricky spots, stain-blocking primer for dark stains, and mildew-resistant options for damp areas. This helps you get a cleaner look, fewer touch-ups, and a longer-lasting finish.
To save money, do this in two stages: prime the worst areas first, then do a small topcoat test so you can choose the right number of coats. If you’re going for a trendy matte look, confirm the primer is compatible with matte paints.
Also, keep in mind that some primers cost more, but they can prevent rework, which is usually the most expensive part.
-
3. Measuring Once and Guessing the Rest

Measuring Once and Guessing the Rest You cut a shelf board, mount it, and then stare at the gap. The space looks bigger than it did in your head, and it feels awkward every time you reach for items.
DIY projects often have tiny “surprise” differences: baseboard thickness, cabinet frames that aren’t perfectly square, and tiles that add height. A small error can make hardware misalign, and that’s frustrating.
Measure twice, but also measure for reality. Check width at both ends, measure height at several points, and confirm that pipes or outlets won’t get in the way.
If you want a personalization twist, design your shelves with a mix of heights, like one space for cookbooks and another for oils. Use a scrap piece to mock up the layout before you cut the real material.
For cost, create a “use what you already own” plan by shopping your garage first. Many people waste money because they buy new boards when smaller offcuts could work with a smart layout.
One more trend tip: people are styling shelves like open “mini pantries” with labels and matching containers. Accurate measurements help your containers look neat instead of cramped.
-
4. Using the Wrong Caulk for the Job

Using the Wrong Caulk for the Job Some caulk looks great at first, then cracks along the seams. You might notice a thin line forming near the sink or backsplash, and it can catch crumbs and water.
That happens when the caulk doesn’t match the surface or doesn’t handle kitchen moisture. The benefit of using the right one is simple: it seals better and stays cleaner for longer.
Choose caulk based on where it goes—kitchen and bath caulk for wet zones, paintable caulk for interior edges, and silicone when you need extra waterproof power. Smooth it with a damp finger or a caulk tool so the line stays even.
For personalization, match the caulk color to grout color or paint it after it cures. This makes the seam look intentional, not patched.
-
5. Over-Tightening Screws and Stripping Everything
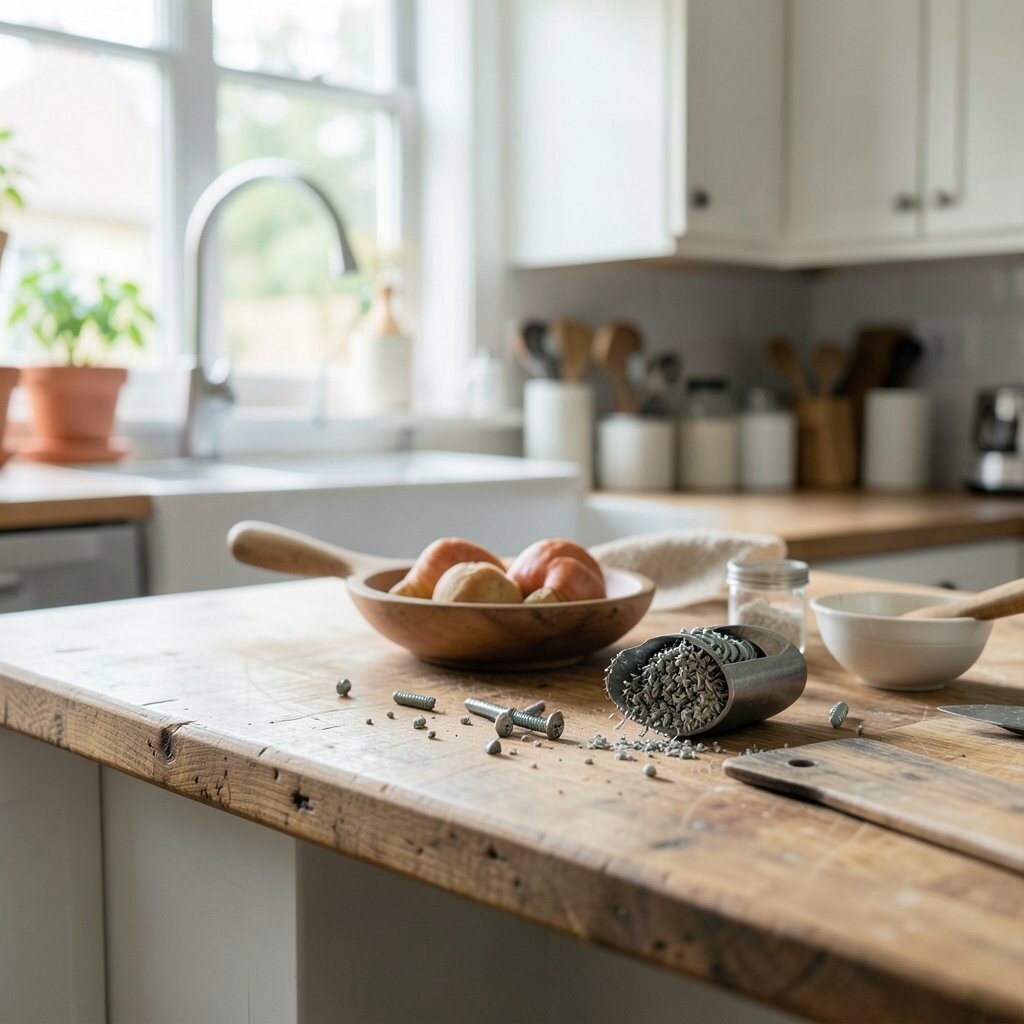
Over-Tightening Screws and Stripping Everything You tighten one screw and think, “That’s secure.” A moment later, the screw won’t bite, and the hole looks chewed up.
Stripped screws can turn a simple cabinet fix into a bigger repair. It also makes doors hang unevenly, which makes the whole kitchen feel “off” even when everything else looks nice.
Use the right screwdriver or drill bit, and stop as soon as the screw feels snug. If you hit resistance, back out and reposition instead of forcing it.
For repairs, use toothpicks or a wooden dowel dipped in wood glue to refill a stripped hole. Let it cure, then re-drill carefully and reinstall the hardware.
When you upgrade hardware, remember the current trend: consistent finishes. Matching knobs and pulls across cabinets makes your kitchen look styled, but only if they’re installed straight.
Cost-wise, small mistakes add up fast, so go slow and save yourself from buying extra replacement parts.
-
6. Building Storage Without Checking How You Actually Use the Kitchen
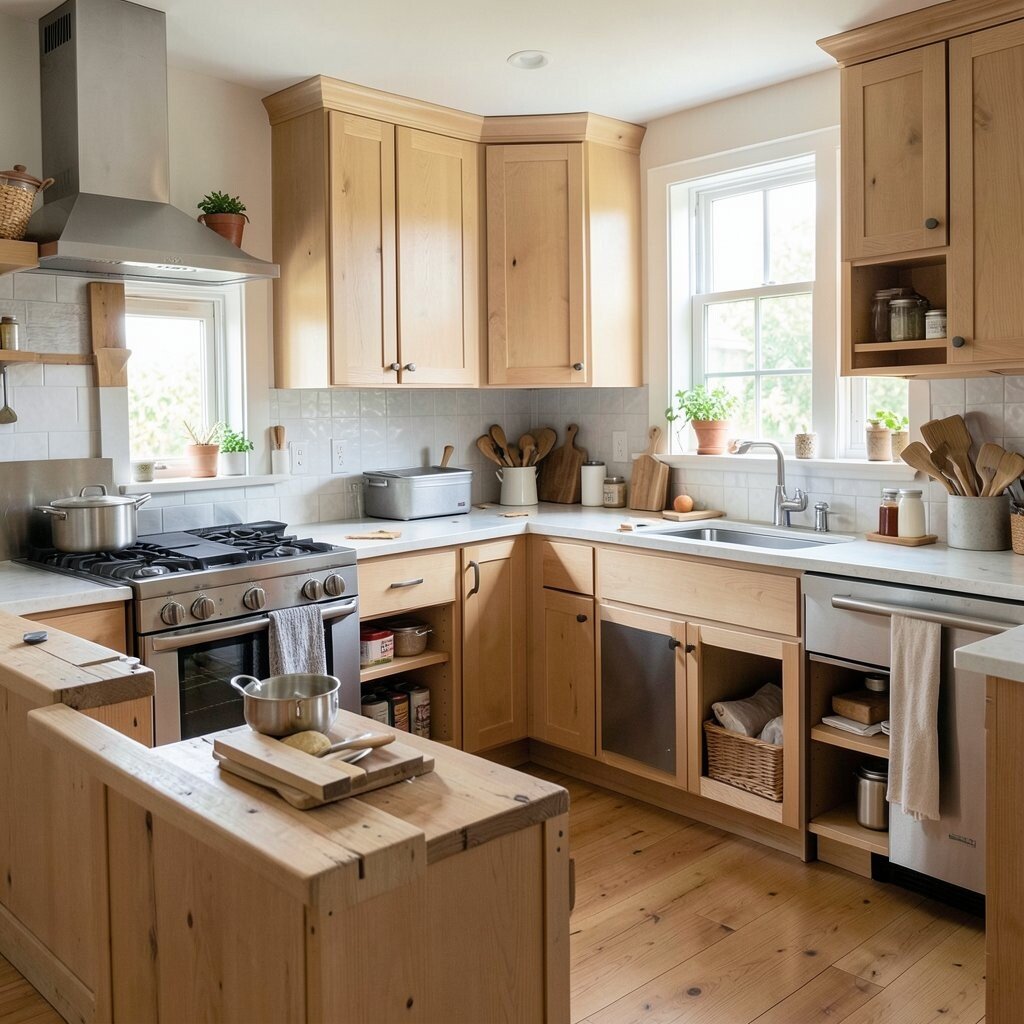
Building Storage Without Checking How You Actually Use the Kitchen You install a beautiful organizer that looks tidy and modern. Then you realize your most-used items don’t fit the spots you picked.
That’s the blunder: organizing based on imagination instead of daily habits. The benefit of doing it right is that cooking feels easier and messes stay smaller.
Track what you reach for during a typical day. Put daily tools in easy zones—front and at comfortable heights—and save deep back areas for rarely used items.
If you love personalization, design “habit stations,” like a coffee area with a clear path from pods to mug to kettle. You can even label bins with simple icons for quick scanning.
To manage cost, start with one drawer or one cabinet first. A small upgrade gives instant results and helps you learn what layout works before you spend on the whole kitchen.
-
7. Ignoring Ventilation While Working With Paint or Adhesives
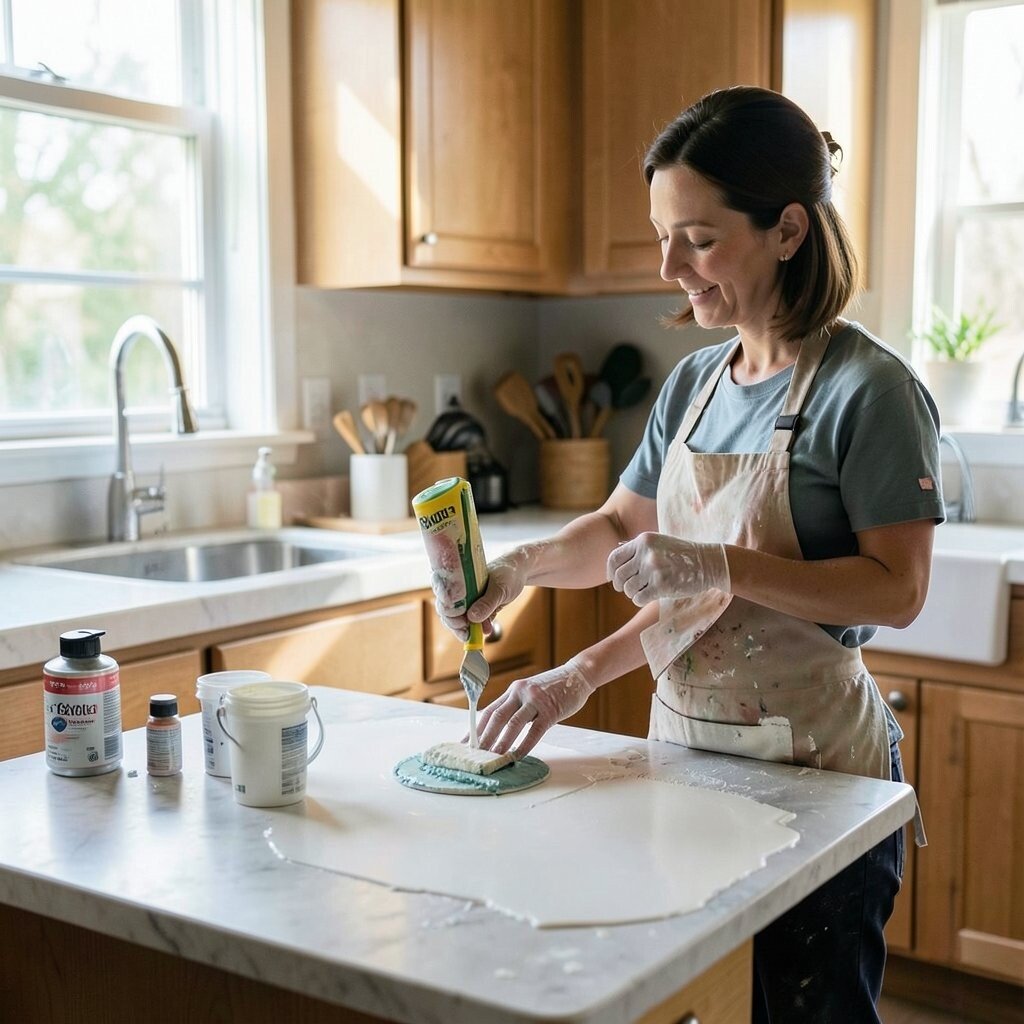
Ignoring Ventilation While Working With Paint or Adhesives You open a window, but the air still feels heavy. The fumes cling to the room, and your work area stays uncomfortable while you try to focus.
Many DIY products need proper airflow to cure safely and evenly. Without it, you might notice stronger odor for longer and a finish that doesn’t dry the way you expected.
Use ventilation fans if you have them, and run a fan that blows air out while another source brings fresh air in. Take breaks so you can work safely and keep your energy steady.
For a better finish, follow temperature and humidity guidelines on the can. That simple step helps paint and adhesives cure correctly, which boosts durability.
Current trend note: people love “warm kitchen glow” with under-cabinet lights, but if you install new lights while the paint is still curing, you might trap moisture. Plan your order so the room dries first, then add the cozy lighting.
-
8. Tiling With No Spacers and No Patience
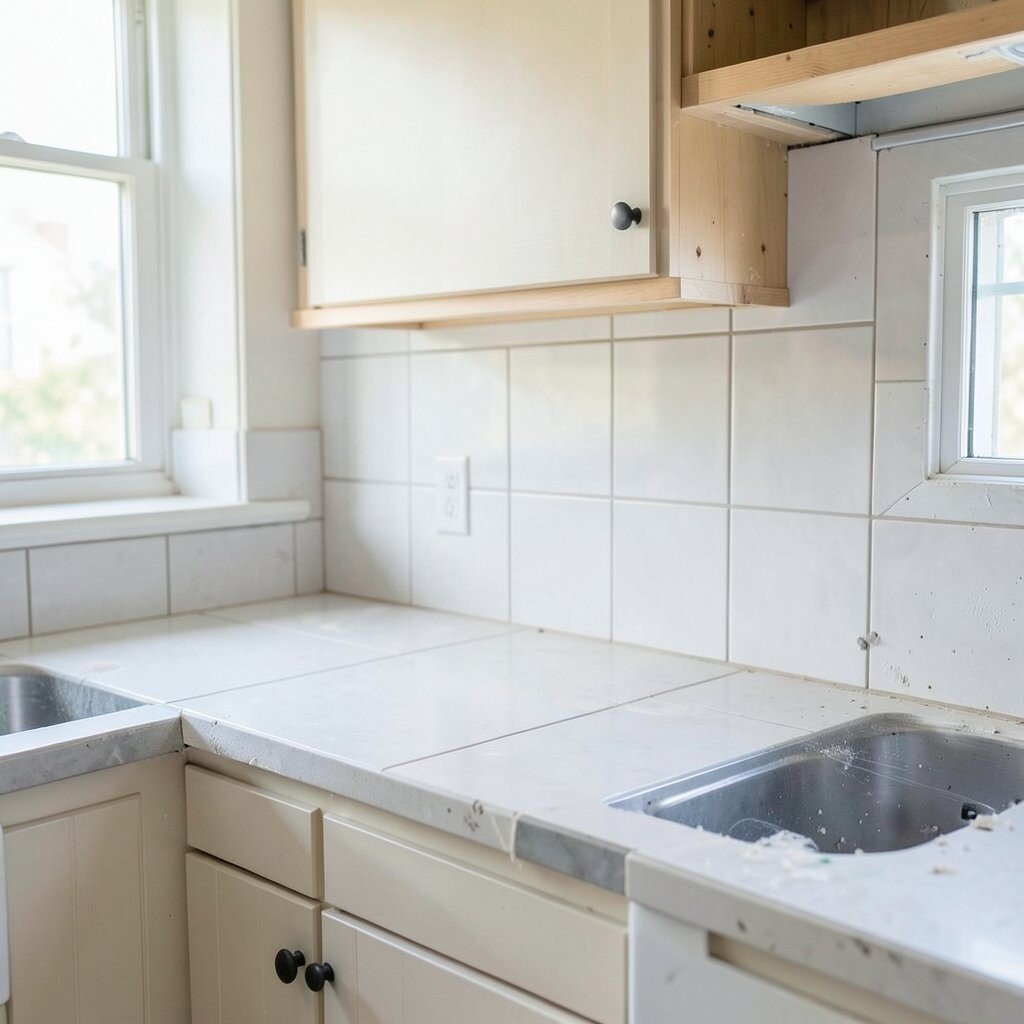
Tiling With No Spacers and No Patience The tiles look great at the start, then the lines get wavy. When you step back, the pattern feels uneven, like it’s gently drifting to one side.
That happens when spacers are missing or when you rush while setting tiles. A messy layout makes cleaning harder and can lead to uneven edges that look worse over time.
Use spacers, check level often, and keep lines consistent by stepping back frequently. Dry-fit a section first so you can see how cuts will look along edges.
For personalization, consider a small accent strip in a bold color or a subtle herringbone pattern in a limited area. Just remember that the trend should serve the layout, not fight it.
-
9. Cutting Counter or Backsplash Edges Without a Plan
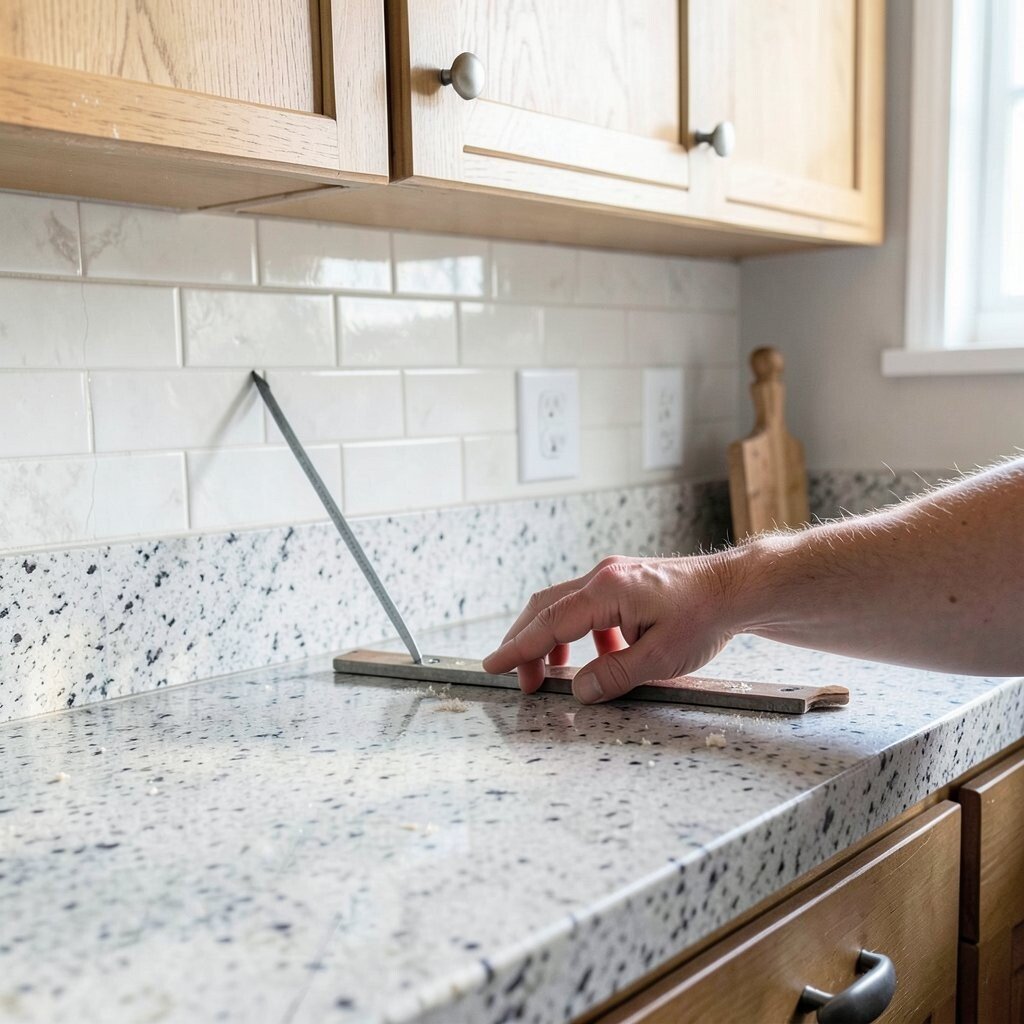
Cutting Counter or Backsplash Edges Without a Plan You measure the opening, then cut and hope it fits. The edge looks jagged, and the trim doesn’t meet the wall smoothly.
Once a cut is wrong, you can’t undo it, and cost jumps quickly. A poor fit also affects sealing, which matters around sinks, outlets, and backsplash edges.
Start with the finished plan: include grout lines, caulk lines, and trim thickness. Make a paper or cardboard template first, and test it against the wall before cutting anything permanent.
If you want a unique style, add a simple edge molding or a small reveal line so the surface looks “finished” like a showroom. That tiny detail can make DIY work look custom.
For cost control, use higher-quality materials only where they’re visible most, like the exposed edges, and choose more budget-friendly options for hidden backs or under-shelf sections.
-
10. Gluing Everything Together Without Knowing the Surface
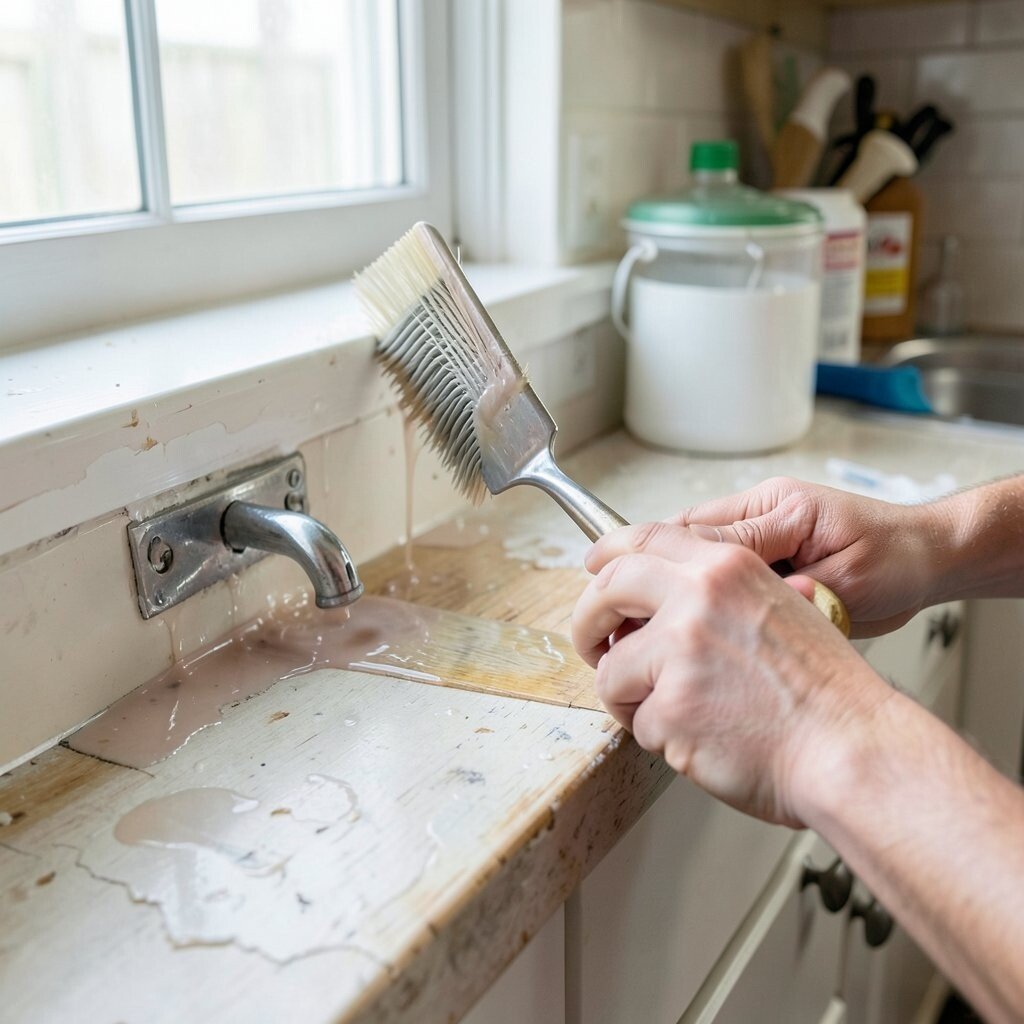
Gluing Everything Together Without Knowing the Surface You press the new panel in place and walk away. Later it peels, and you can see uneven spots where glue didn’t bond well.
Adhesives work differently on wood, glossy paint, laminate, drywall, and tile. If you use the wrong type, the look won’t last even if the piece looks great today.
Check the product label for the exact surfaces it bonds to. Clean the wall with the right cleaner, let it dry, and then apply adhesive using the recommended pattern.
For personalization, consider removable or repositionable options for items like backsplash art strips or shelf brackets. If you like changing styles often, you’ll enjoy swapping looks without heavy repairs.
-
11. Buying One-Time Tools and Ending Up With a Mess
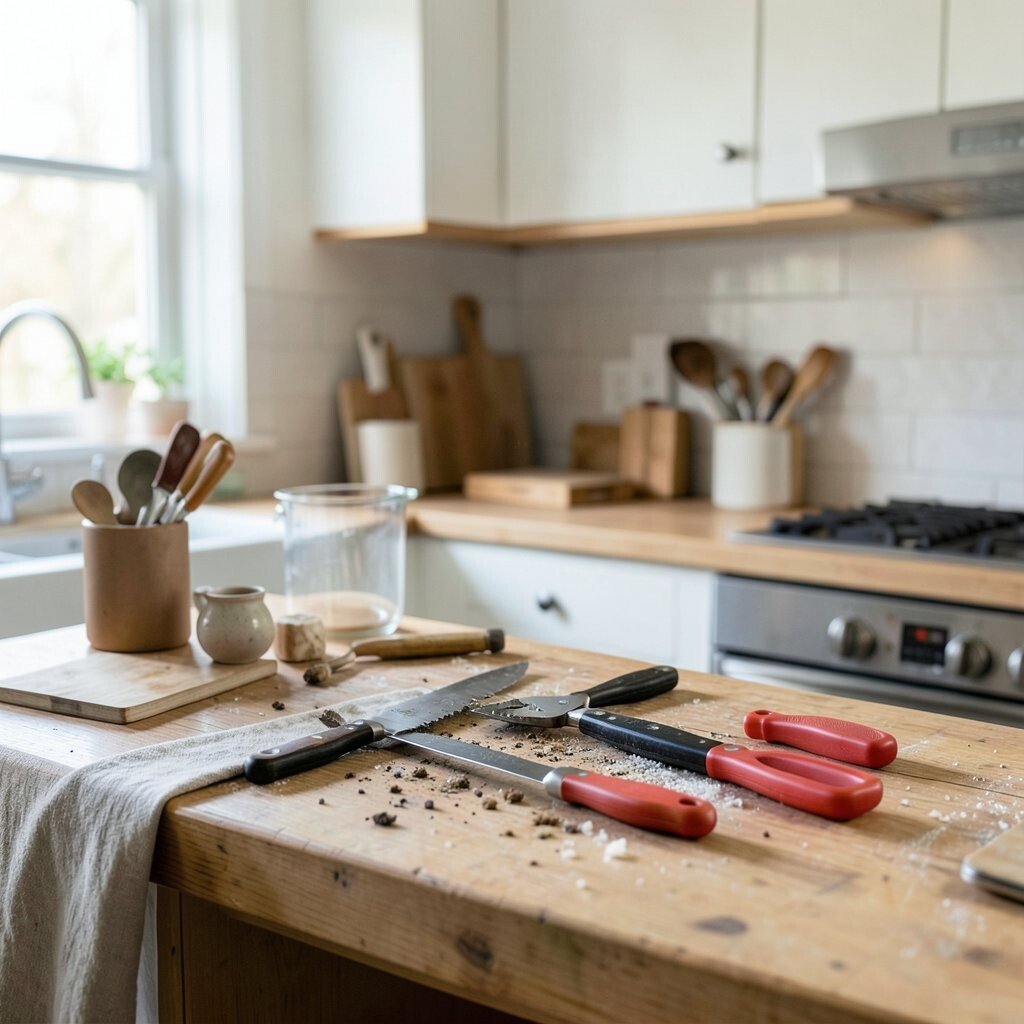
Buying One-Time Tools and Ending Up With a Mess You grab a cheap brush or a random roller and start painting. The finish looks streaky, and the texture shows every little mistake.
Low-quality tools can ruin a great color choice. Your effort feels wasted, and you spend more time trying to fix what the tool caused in the first place.
Instead, match tools to the job. Use the right brush for corners, a roller for large areas, and clean supplies for consistent coverage.
If you want a cost-friendly approach, borrow tools from friends or local tool libraries when possible. Many DIYers underestimate how much a good roller cover or a proper sanding block can improve the result.
Personal touch idea: keep one “signature brush” you only use for your kitchen touch-ups. That way your future refreshes stay neat and quick.
-
12. Overlooking Electrical Safety With DIY Upgrades
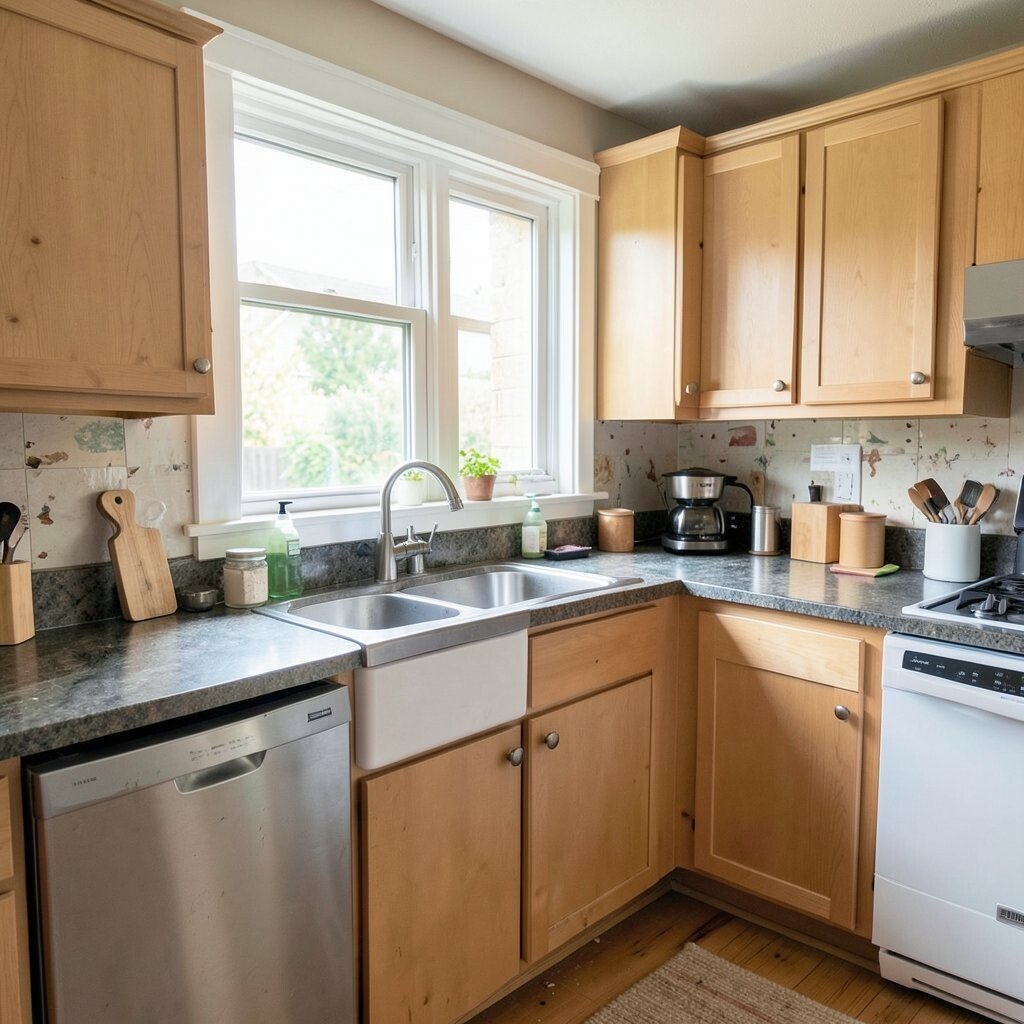
Overlooking Electrical Safety With DIY Upgrades You install a new light, and it looks bright and stylish. Then the switch feels loose, or the light flickers when you cook and move around.
Electrical DIY mistakes can be dangerous, and they can also damage your appliances or wiring. The benefit of doing it safely is peace of mind and steady performance every day.
Turn off power at the breaker and confirm it’s off before touching any wiring. Use proper connectors and follow instructions closely, and if you’re unsure, hire a licensed electrician.
For personalization, choose modern lighting that fits the vibe you want, like warm under-cabinet strips or a sleek pendant over a breakfast spot. Just remember that lighting upgrades look best when the wall and backsplash finishes are already cured.
Cost tip: spending on safe parts upfront is cheaper than replacing wiring later. Also, check if your project qualifies for rebates or energy-saving incentives where you live.
-
13. Not Planning for the Weight of Shelves and Hanging Items
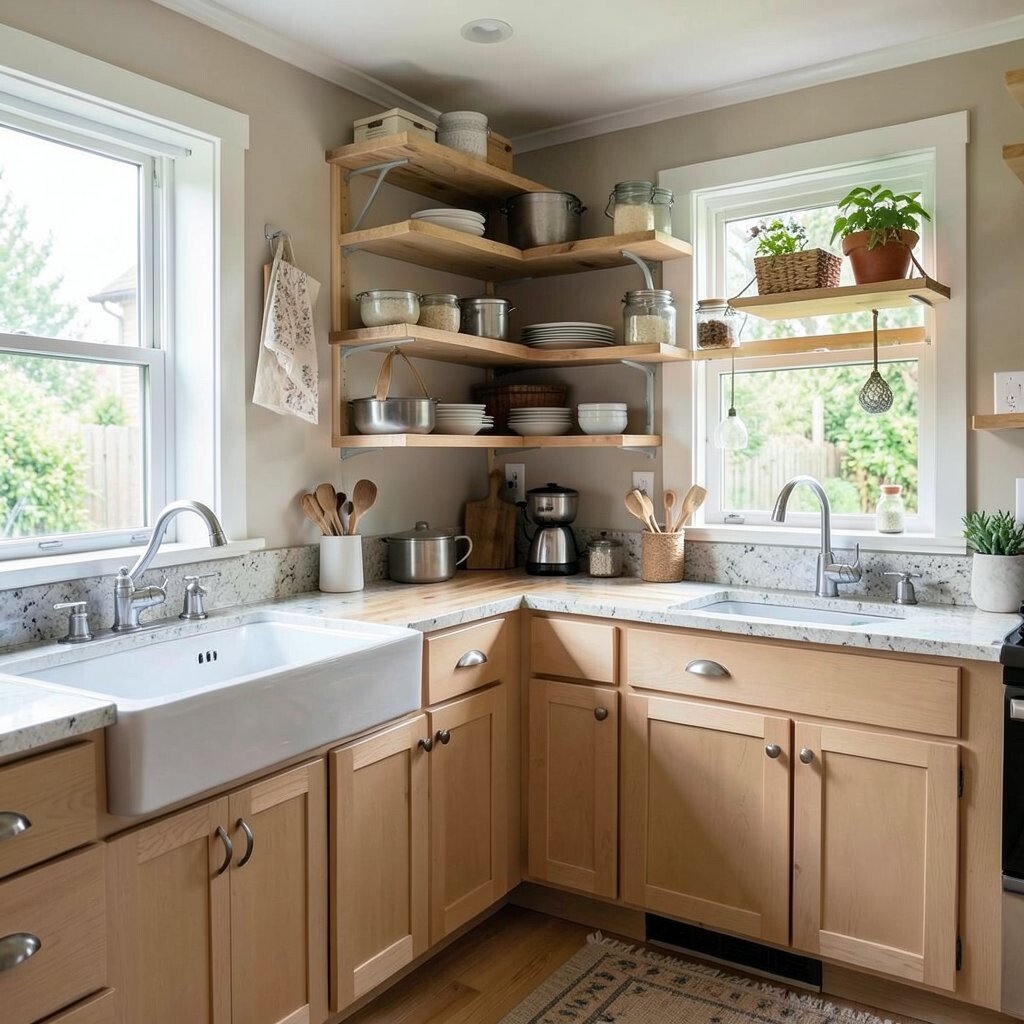
Not Planning for the Weight of Shelves and Hanging Items Your shelf holds boxes for a day, then starts to sag. You notice small cracks in the wall area and feel worried every time you load groceries.
This happens when brackets aren’t rated for the weight or when anchors are used in the wrong place. The good news is that correct mounting keeps your kitchen looking confident and safe.
Find studs when possible, use the right anchors for your wall type, and consider the heaviest item you plan to store. Add up what a shelf needs to hold, including glass jars that can surprise you with their weight.
Personalization idea: create a “display shelf” for items that match your color scheme, like matching canisters or a collection of mugs. It will look great, but only if it’s installed securely.
For cost, buy hardware once instead of upgrading twice. The right brackets and mounts cost less than repairing holes or replacing a falling shelf.
-
14. Finishing Too Soon and Ignoring Cure Time
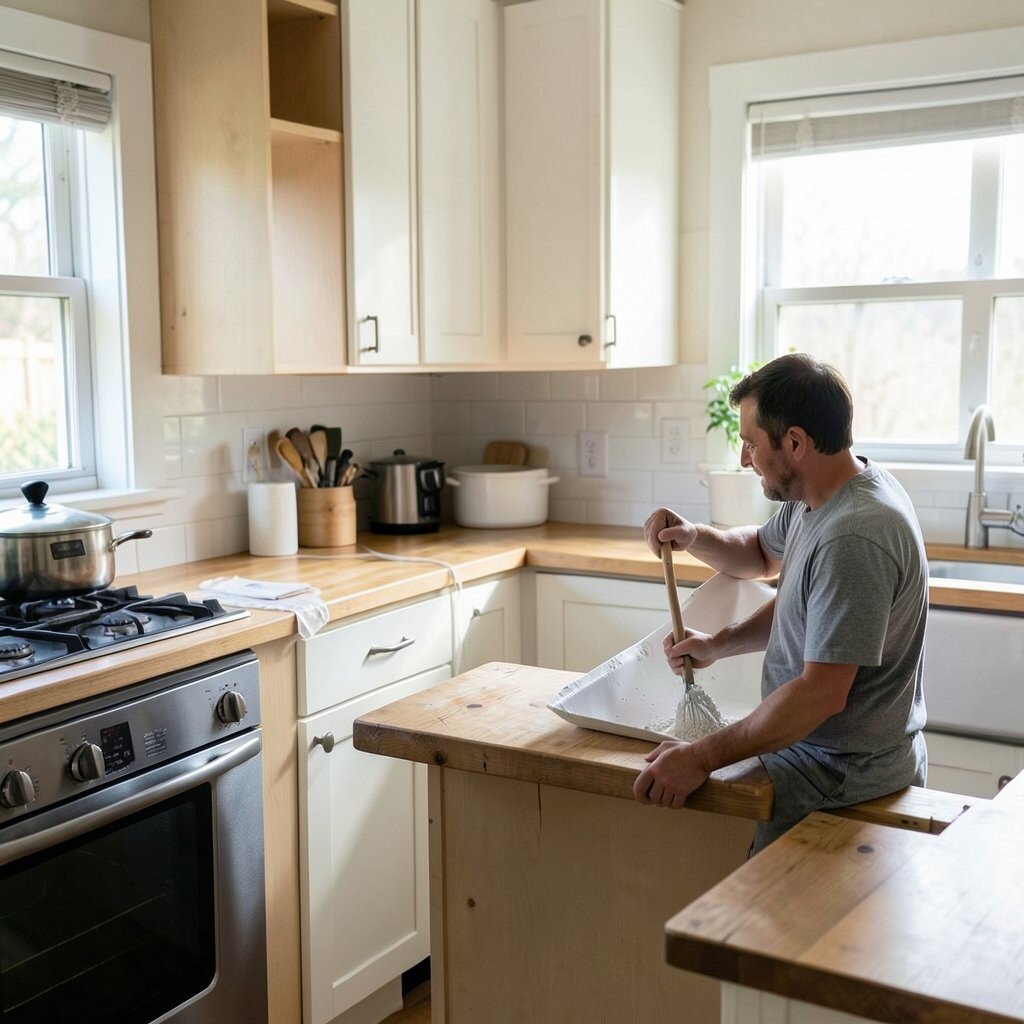
Finishing Too Soon and Ignoring Cure Time You finish the last coat, and the kitchen looks fresh. But you wipe it down too early, cook on it, or lean things against it before it fully sets.
Finishes need time to cure, not just time to dry. If you rush, you can end up with dents, sticky spots, or marks that won’t come off.
Read the cure timeline on labels, and plan your project around real life. If you’re using the space daily, set up a temporary “kitchen camp” with dishes and tools elsewhere.
For personalization, you can still enjoy the makeover by decorating after the finish is ready. Try adding a new towel set, a patterned runner, or a small plant near a window to match the new style.