Empty jars can look plain, but your kitchen doesn’t have to be. A few fun tweaks can make them feel like part of your home’s style.
Decorative jars are an easy DIY win because they hold useful things and also make the counter look tidy. Below are many ideas you can start with supplies you already have, or grab cheaply from a craft store.
-
1. Painted Lid Match-Up Jars
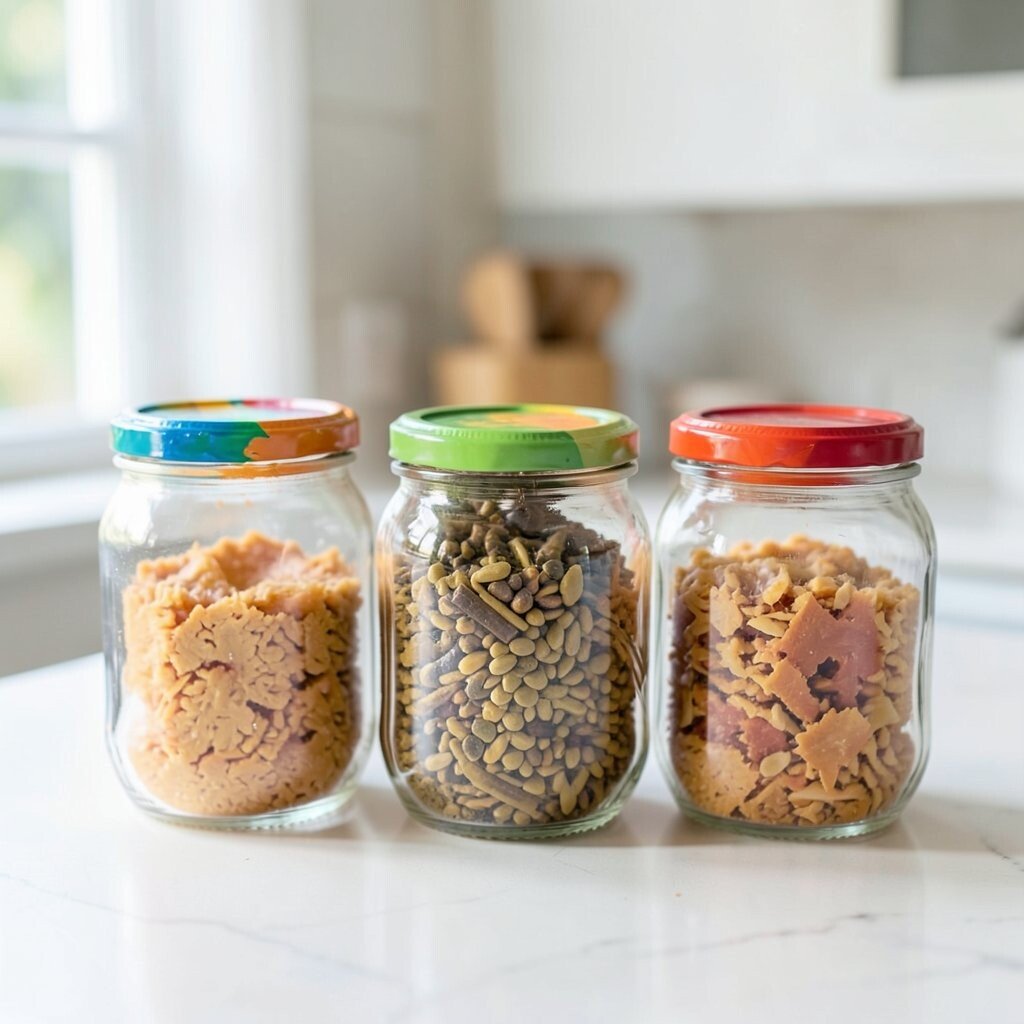
Painted Lid Match-Up Jars Pick jars you already own and give the lids a fresh coat of paint. Choose one bright color family so the whole set looks planned.
When the lids match your kitchen accents, everything looks cleaner and more coordinated. You can label each jar with simple vinyl dots or painter’s tape tags. For personalization, paint a tiny symbol on one lid, like a star for sugar or a leaf for tea. Keep costs low by using leftover paint and a basic foam brush, and aim for thin coats so the paint doesn’t drip.
-
2. Chalkboard Spice Jar Labels
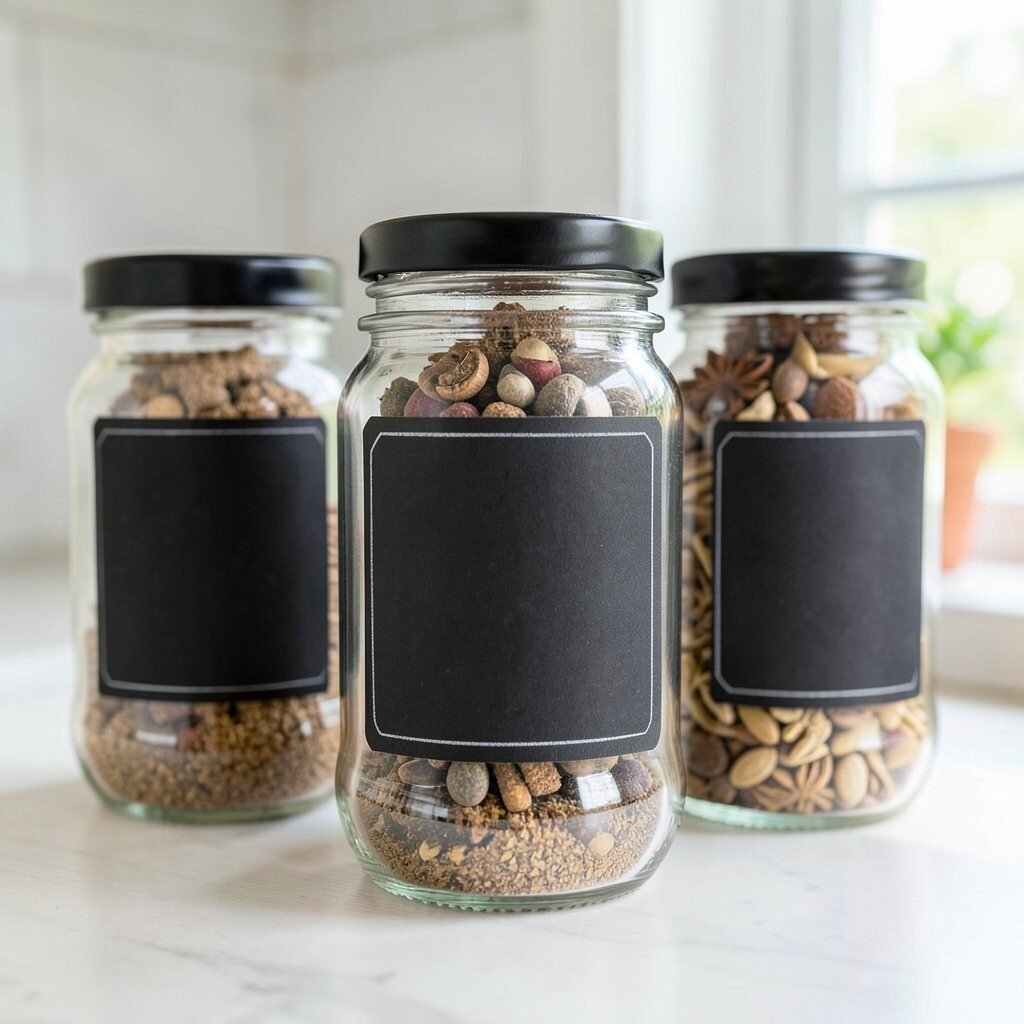
Chalkboard Spice Jar Labels Wrap the jar lids or fronts with chalkboard tape for an instant menu look. Then write the spice name in neat block letters.
This style is great because you can change labels later without starting over. Add a small color dot near the writing so each jar has its own “spot” on the shelf. To save money, use store-brand chalkboard tape or cut chalkboard sheet stickers into small rectangles.
Right now, handwritten label decor is a big trend, and it fits both modern and cozy kitchens. For uniqueness, try a mix of short names and icons, like “cinnamon” plus a cinnamon stick doodle. Use a soft cloth to wipe labels clean, so your jars stay pretty even when you cook a lot.
-
3. Twine + Button Front Charm Jars
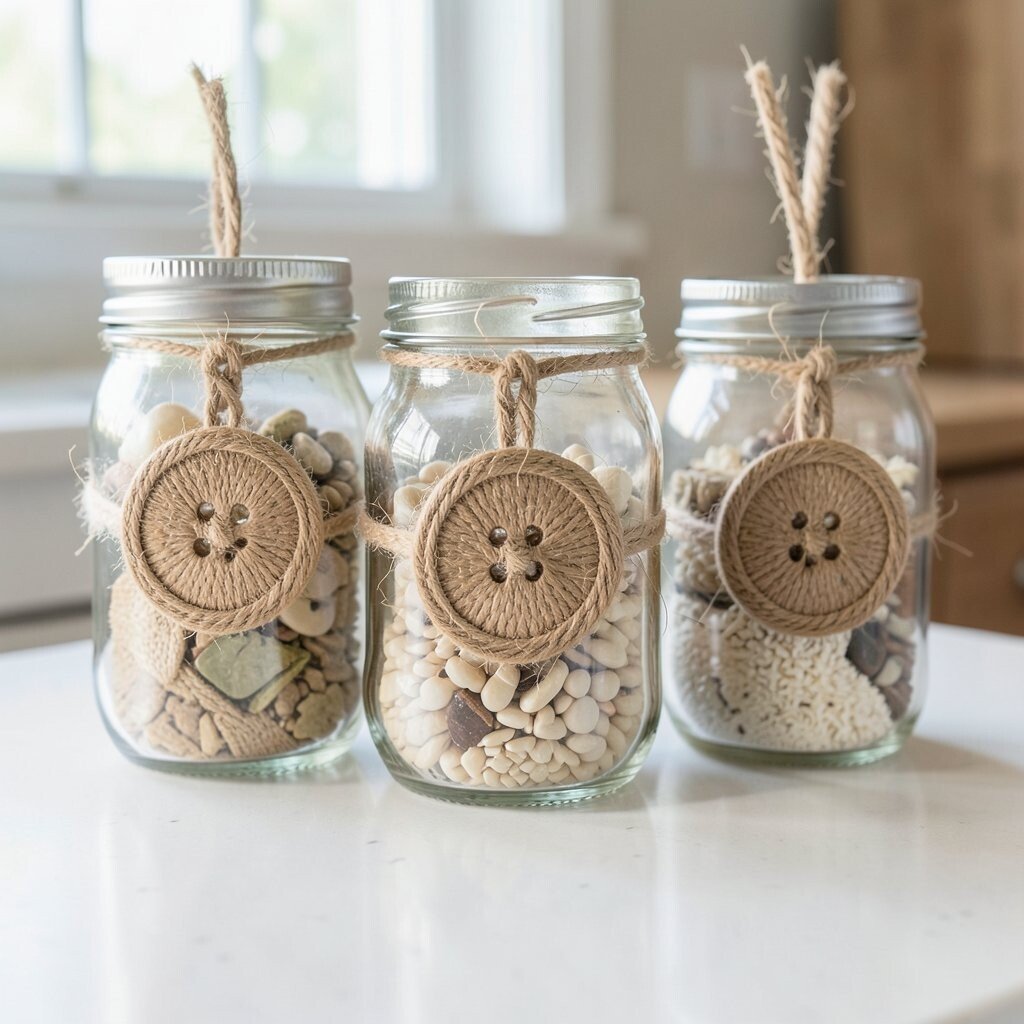
Twine + Button Front Charm Jars Glue a strip of twine around the jar and add one button like it’s a little necklace. Choose buttons with different shapes so each jar looks special.
This makes the jar look warm and homemade, not store-bought. Twine hides small imperfections and gives texture even when the jar is plain. Try adding a tiny tag that says what’s inside, like “cookies” or “coffee beans,” for an easy personalization touch.
If you want it to feel extra clean, tie the twine tight and hot-glue the ends under the label area. For cost, buttons can be cheap at craft stores, and twine is often sold in small bundles. Keep your jars in a matching style by sticking to the same twine color across your set.
In kitchens that lean rustic or farmhouse, this kind of texture is very popular. Make it your own by mixing button colors with your kitchen towel colors. Your countertop will look like it belongs in a cozy storybook.
-
4. Marbled Paint Pour Jars
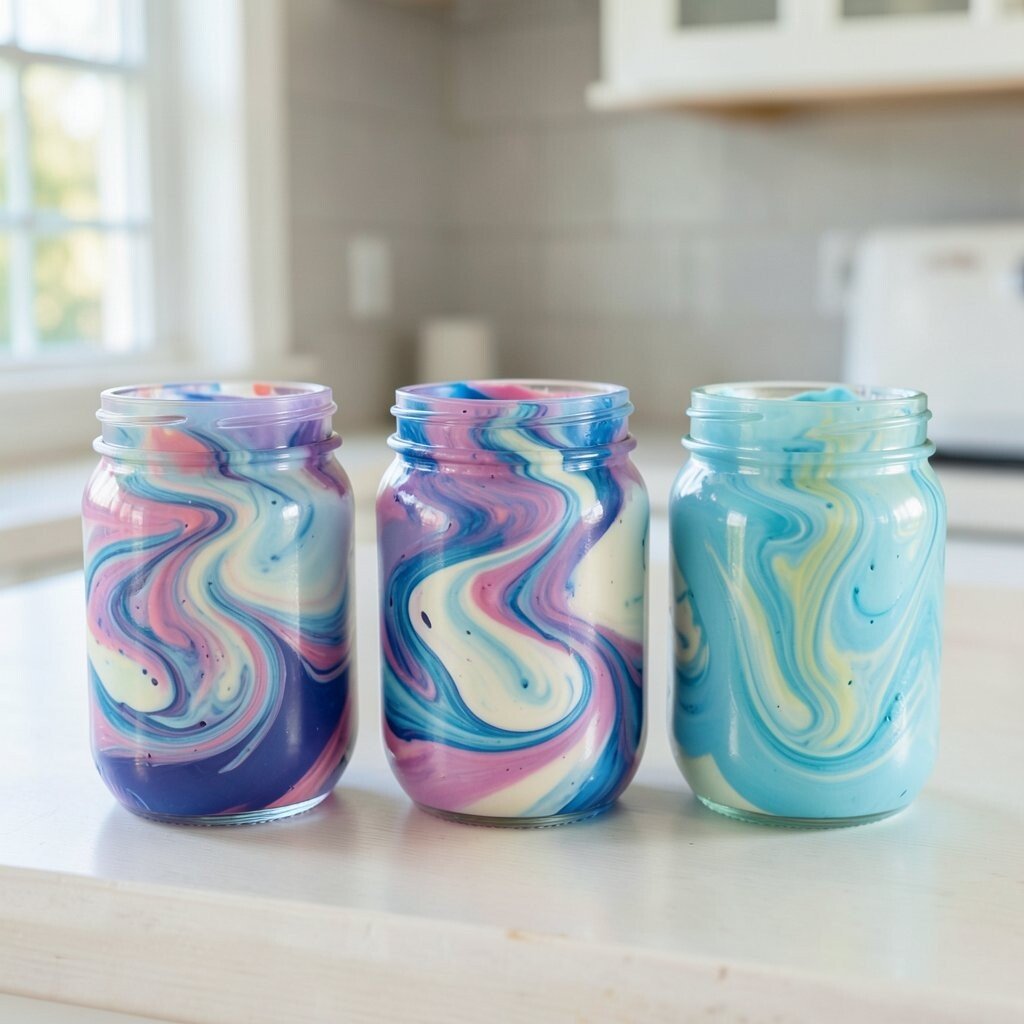
Marbled Paint Pour Jars Use watered-down acrylic paint and a simple marbling technique to create swirls on the glass. You can pour a small amount onto the jar surface and move it gently with a stick.
This looks fancy and modern, but it’s still DIY-friendly. For safety, let the paint fully cure and keep the inside dry if you’re storing dry goods. To control cost, reuse small containers and use craft paint you already have, then save your best jars for your most visible shelf.
-
5. Vintage Tea Bag Paper Decoupage
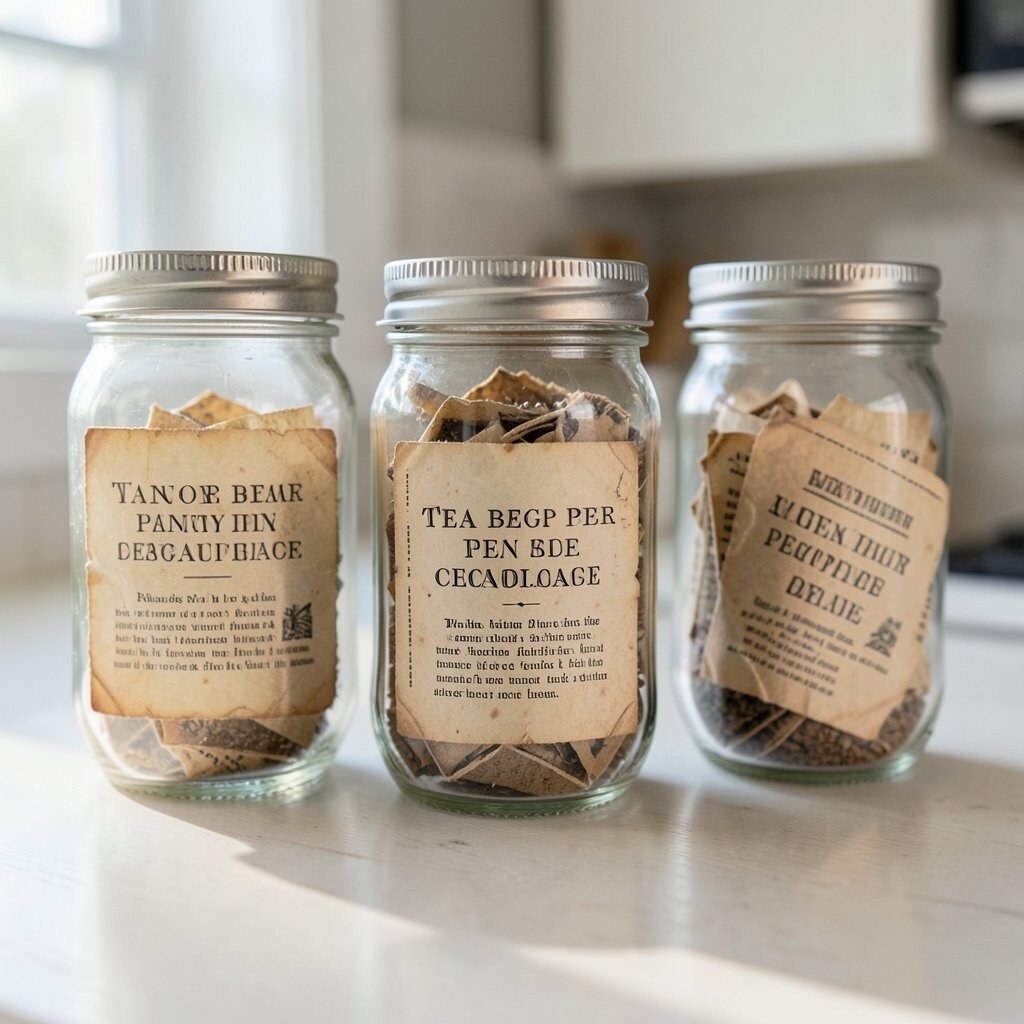
Vintage Tea Bag Paper Decoupage Decoupage thin paper pieces onto the jar for a soft, vintage look. You can tear paper, use scrapbook scraps, or even cut vintage-style prints.
Decoupage gives a layered surface that catches light and makes the jar feel collectible. For personalization, add tiny phrases like “sweet” or “spice,” or include a small floral corner that matches your decor. Seal it with a clear matte or glossy sealer so it lasts during everyday use.
This is a fun way to use what you have and keep costs low. Choose a theme, like herbs or flowers, to make the set feel cohesive. Right now, mixed-media and collage looks are trending, and this one looks great on open shelves.
-
6. Pantry Label Mason Jars With Stamp Ink
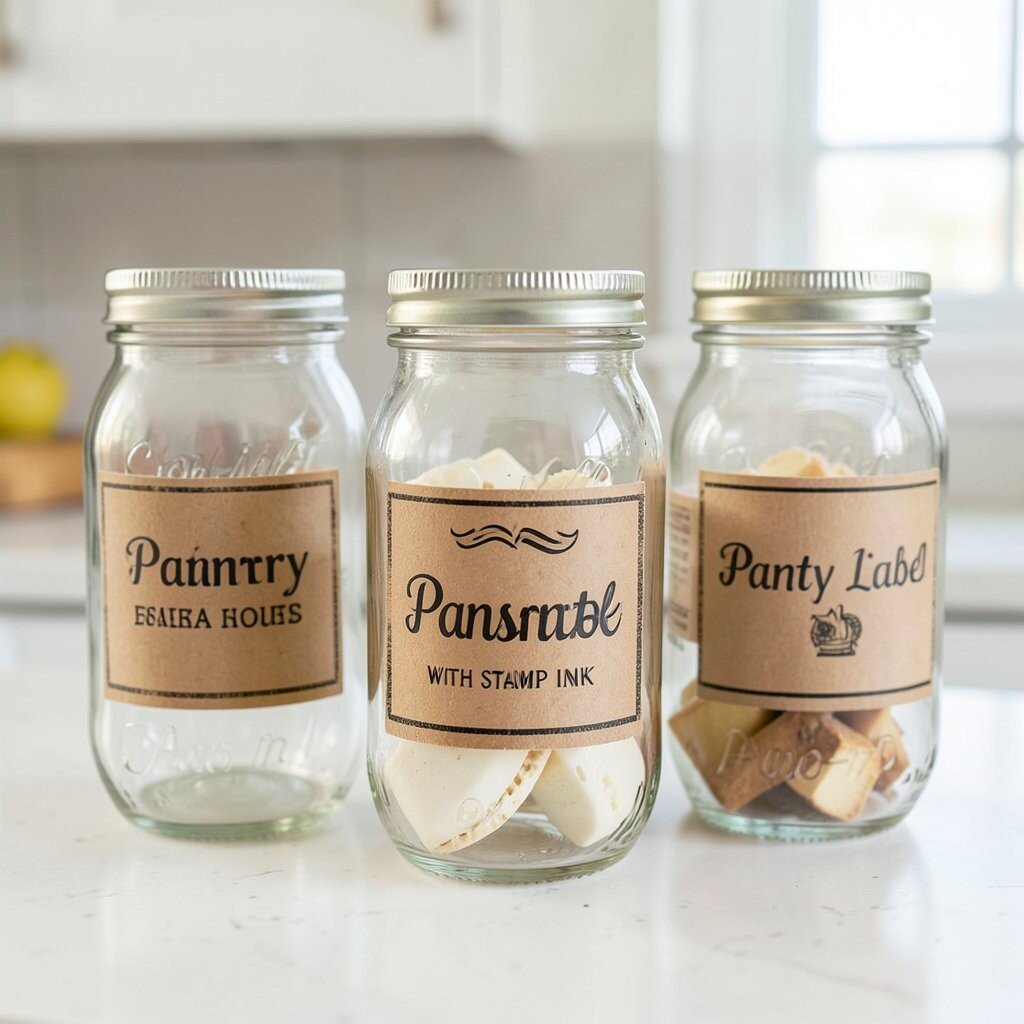
Pantry Label Mason Jars With Stamp Ink Turn plain jars into an “old shelf” vibe by using stamp-style ink and simple tags. Stamp words like “flour” or “beans” on cardstock and tuck them under a ribbon.
It gives your kitchen a neat, organized look while still feeling creative. If you want personalization, add a small initial on each label so the set feels like it’s yours. For cost, cardstock and ink pads are usually cheaper than printed label packs.
Open shelving and vintage-inspired pantry styling are popular right now. This technique works especially well because it looks consistent across different jar sizes. Keep the ink bold by pressing firmly and letting the tags dry before you assemble.
-
7. Lemon Peel Slices + Clear Gel Jars
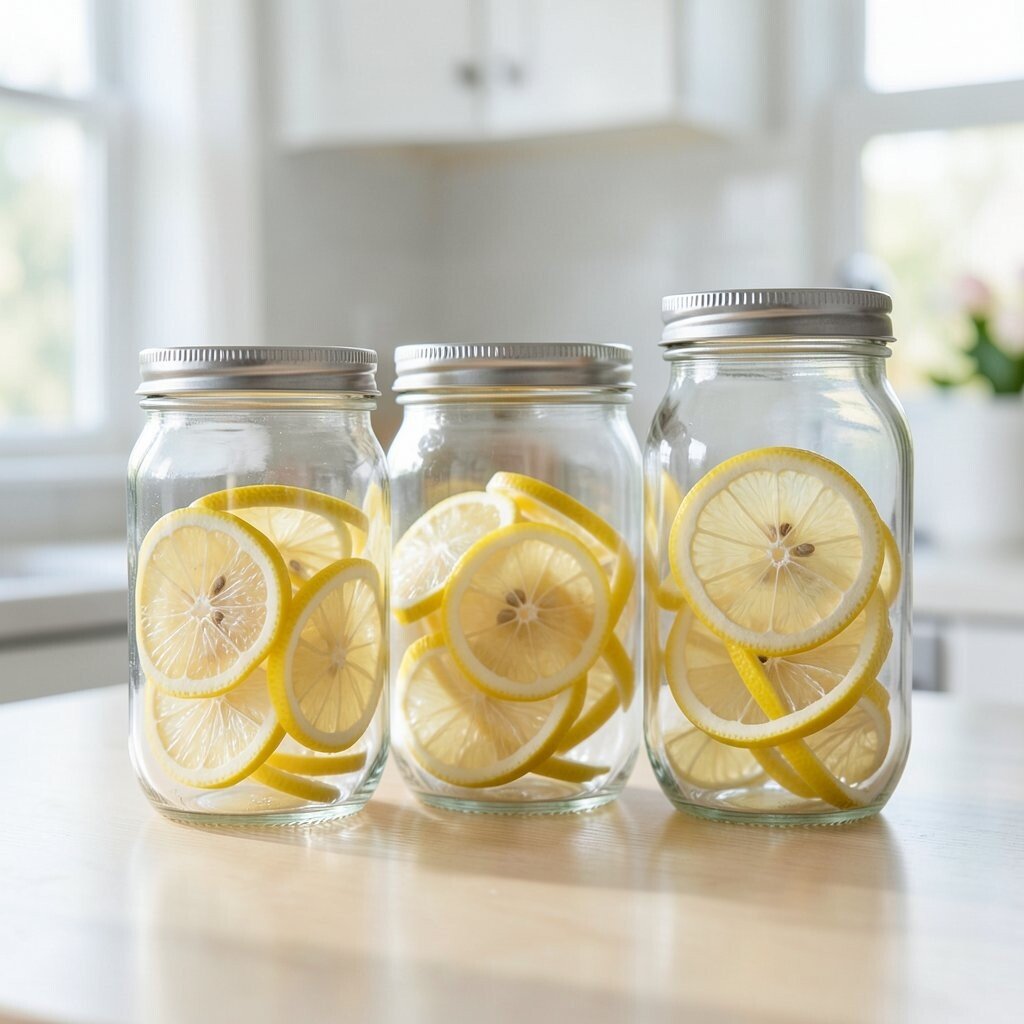
Lemon Peel Slices + Clear Gel Jars Create a bright, sunny jar by placing decorative citrus slices on the outside. Use a clear gel or decorative coating to protect the look.
This adds a cheerful color pop that makes your kitchen feel fresh. It also signals “clean and sunny” even when your counters are busy. For personalization, try oranges, limes, or even cinnamon sticks for warm fall vibes.
Because the jar is clear, you can also show what’s inside, like tea bags or baking supplies. Keep cost down by using dried citrus slices or craft-store replicas when you don’t want fresh items to spoil. The trend of natural-looking accents fits this idea perfectly, and it looks amazing near fruit bowls.
-
8. Sprig and Leaf Washi Tape Borders
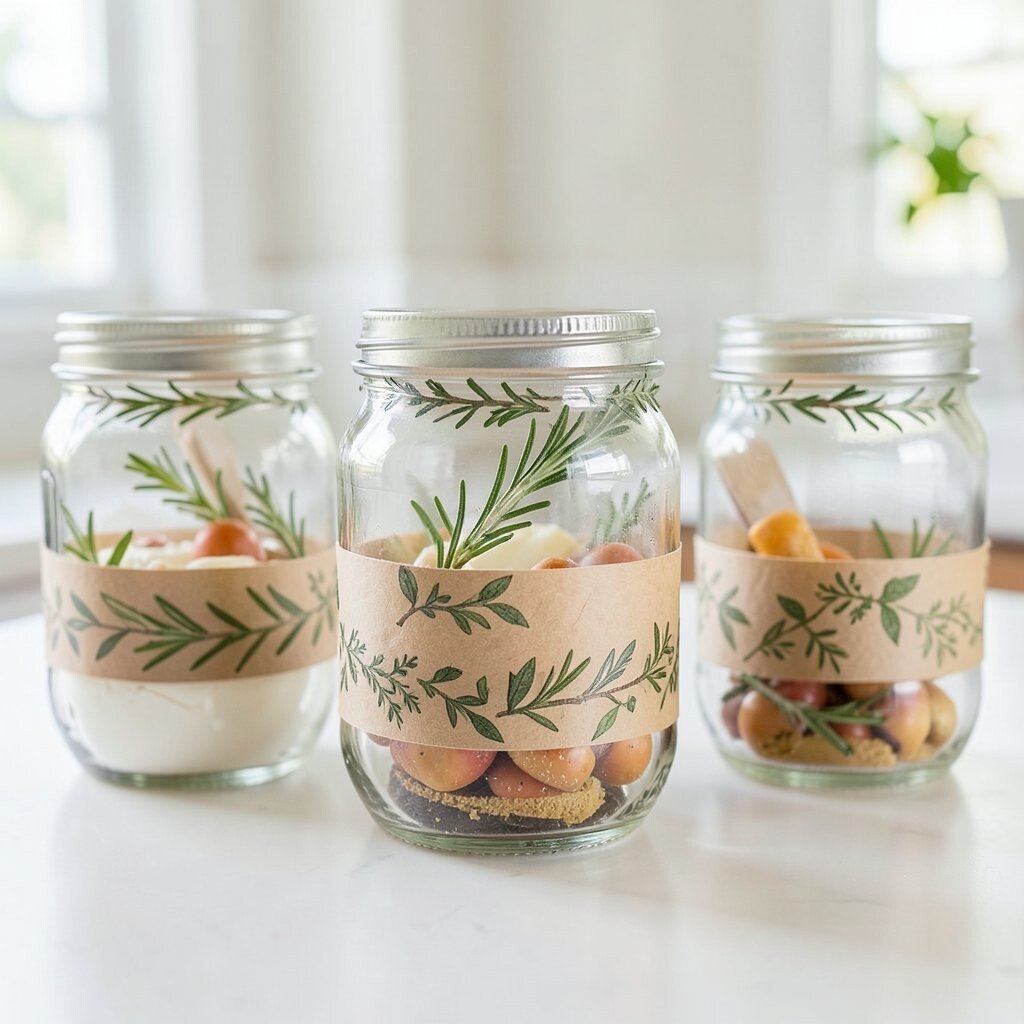
Sprig and Leaf Washi Tape Borders Use washi tape with leaf prints to make a neat border around the jar. Start with a thin line, then layer a second strip slightly above it.
This is one of the easiest ways to make jars look styled without lots of supplies. Washi tape sticks well, removes easily, and lets you change designs whenever you feel like it. For personalization, match the leaf colors to your dishes or tablecloth.
To keep the look tidy, press the tape down firmly and trim edges with small scissors. Costs stay low because washi tape can be used for many crafts. If you want uniqueness, mix two tape patterns, like tiny herbs with soft stripes, but keep the color palette the same.
Botanical decor keeps showing up in kitchen trends, and this method is a simple way to join in. Place these jars near plants or on a windowsill for extra charm. Your jars will feel like they belong in a fresh garden-themed home.
-
9. Ceramic Tile Mosaic Jar Edges
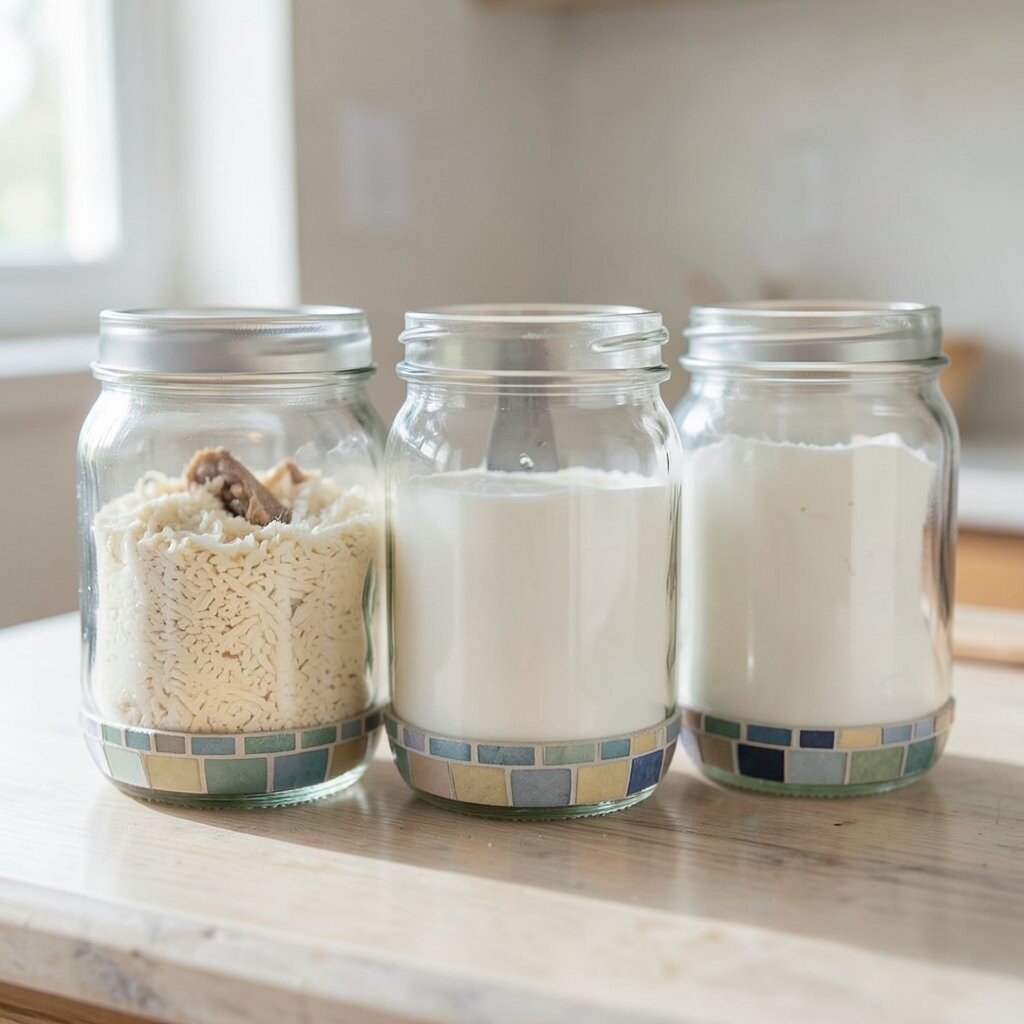
Ceramic Tile Mosaic Jar Edges Glue small tile pieces around the jar’s outer edge to form a mosaic rim. Choose tiny tiles in one color family so it looks smooth and classy.
The mosaic look adds sparkle and makes even a plain jar feel like decor. It’s also unique because no two tile layouts will be the same. For personalization, include a small tile pattern like a chevron arrow or a simple dot cluster for a signature touch.
-
10. Dip-Dyed Ombre Sugar Jars
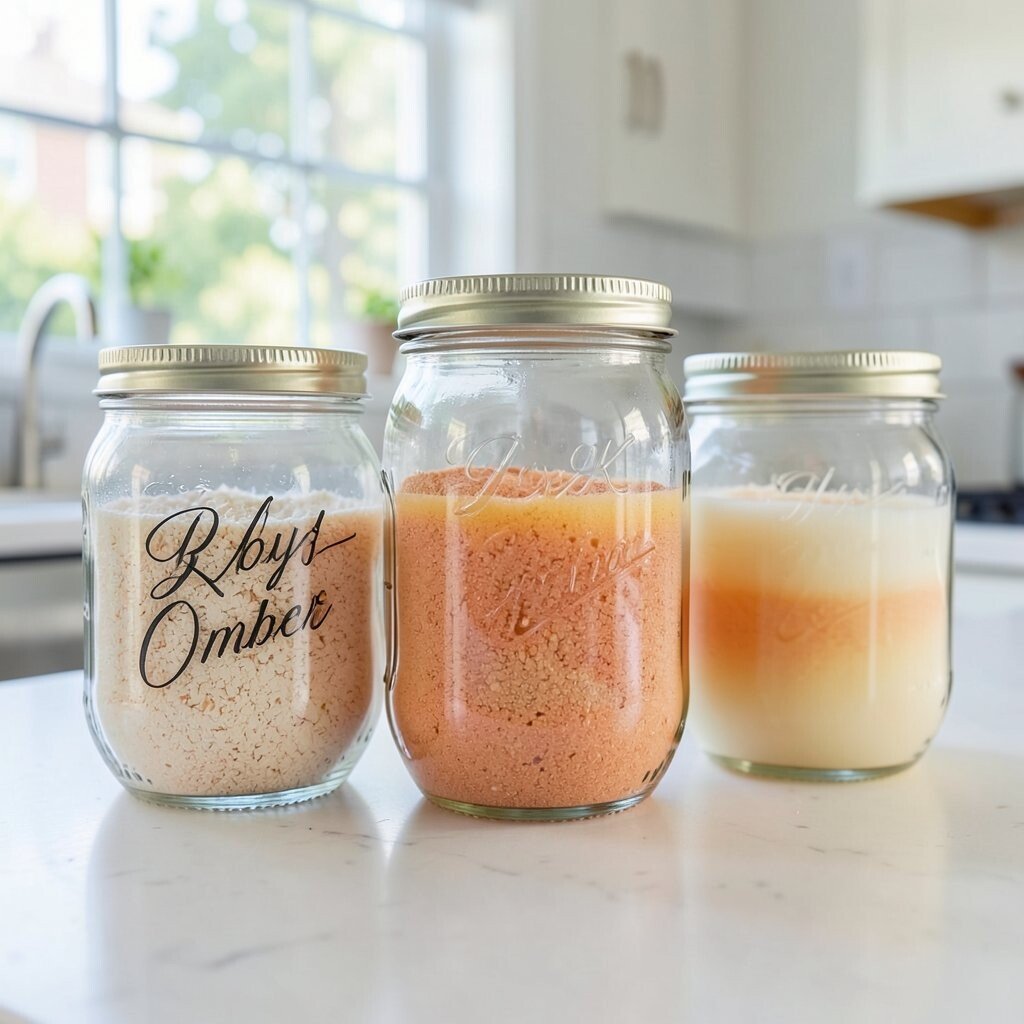
Dip-Dyed Ombre Sugar Jars Dip the bottom part of a jar into dye-friendly paint or craft stain to create an ombre effect. Blend colors slowly and wipe mistakes quickly for a smooth fade.
This style looks trendy and gives your shelves a “designed” feel. It’s perfect for sugars, salts, or baking mixes because it visually separates items. For cost considerations, use small amounts of dye and test on scrap glass first if you’re unsure.
Ombre decor is still popular, especially in kitchens that use soft colors. Personalize by choosing colors from your dishware, like powder blue or warm blush. When the jars match your cabinets or curtains, your whole kitchen looks calmer.
-
11. Fabric Ribbon Wrap Storage Jars
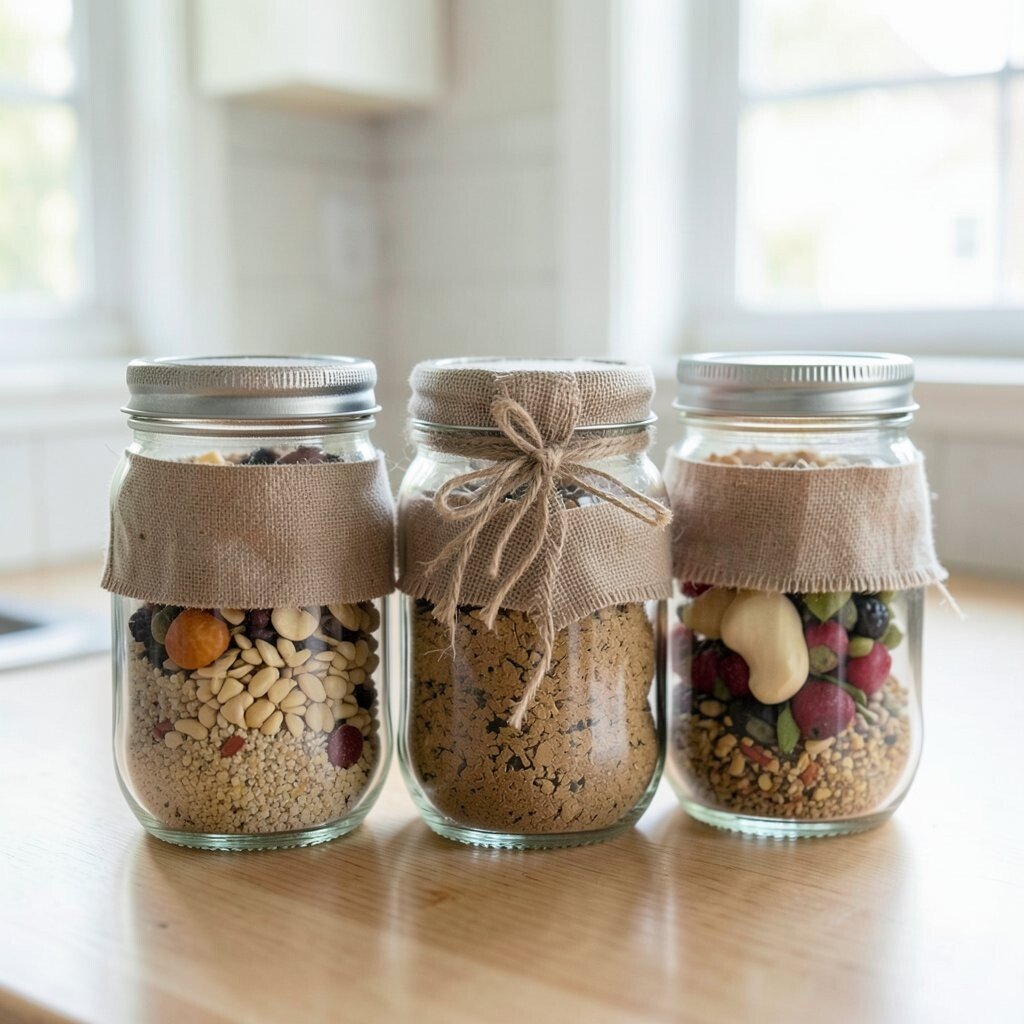
Fabric Ribbon Wrap Storage Jars Wrap fabric ribbon around the jar and secure it with glue or a neat knot. Pick ribbon colors that match your kitchen theme, like gingham, linen, or simple stripes.
Fabric adds a cozy touch and helps your jars look like decor, not just containers. Add a small charm, like a tiny wooden tag, to make each jar feel one-of-a-kind. For personalization, create seasonal sets by swapping ribbon patterns for spring flowers or winter snowflakes.
Keep costs low by using scrap fabric from old projects or clearance ribbon. This is especially helpful if you want a polished look without buying new materials. Right now, soft textile accents are trending, and fabric-wrapped jars fit that vibe perfectly.
-
12. Geometric Vinyl Cutout Jars
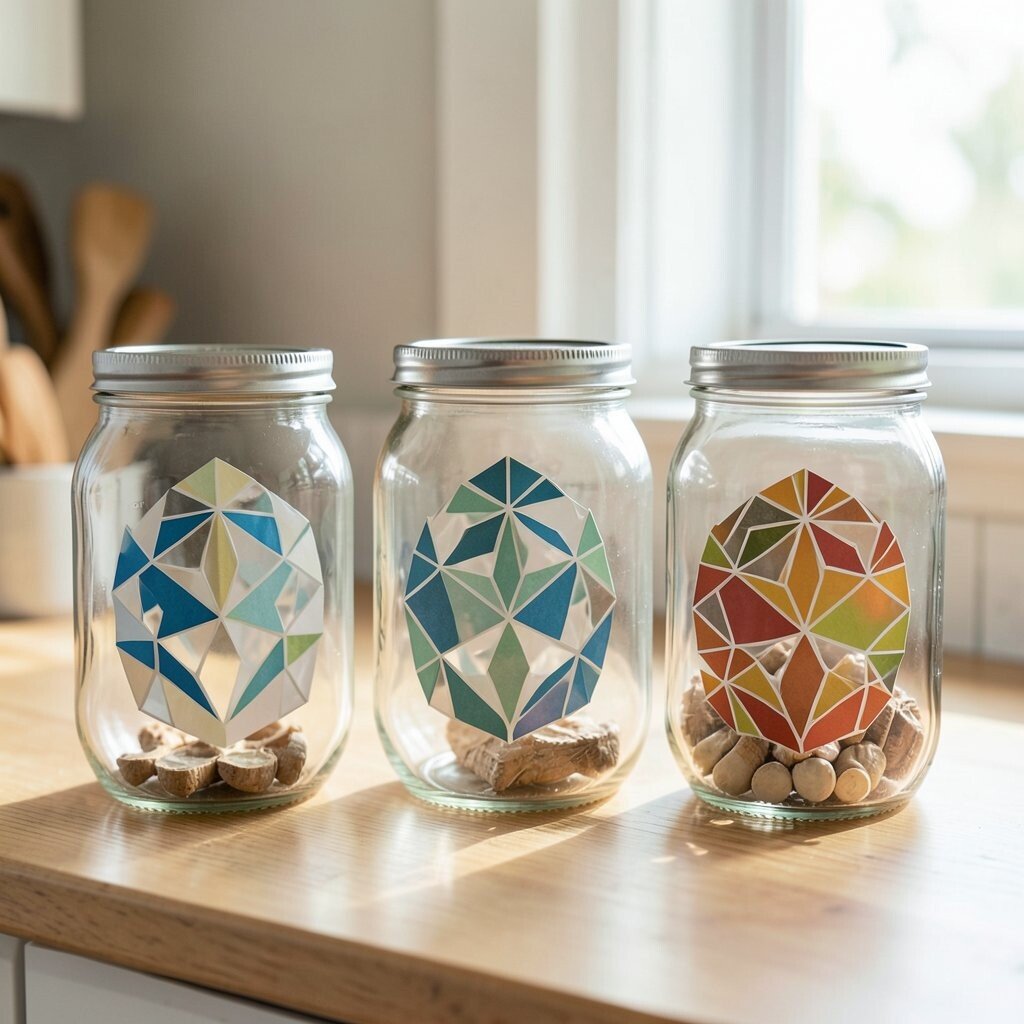
Geometric Vinyl Cutout Jars Apply vinyl cutouts like triangles, circles, or lines onto the jar. Use a strong label vinyl or craft vinyl so the pieces stay put.
This creates crisp shapes and a clean, modern look. It’s also easy to personalize because you can pick your own pattern and color. For cost, you can use vinyl scraps or even create temporary patterns with painter’s tape.
If you like a sleek kitchen style, this idea is a great fit. Try black and white for a modern feel, or go bright for a playful kitchen. This trend of geometric design keeps showing up in home decor, and your jars will look fresh and current.
-
13. Soda-Label Style Upcycled Jar Tags
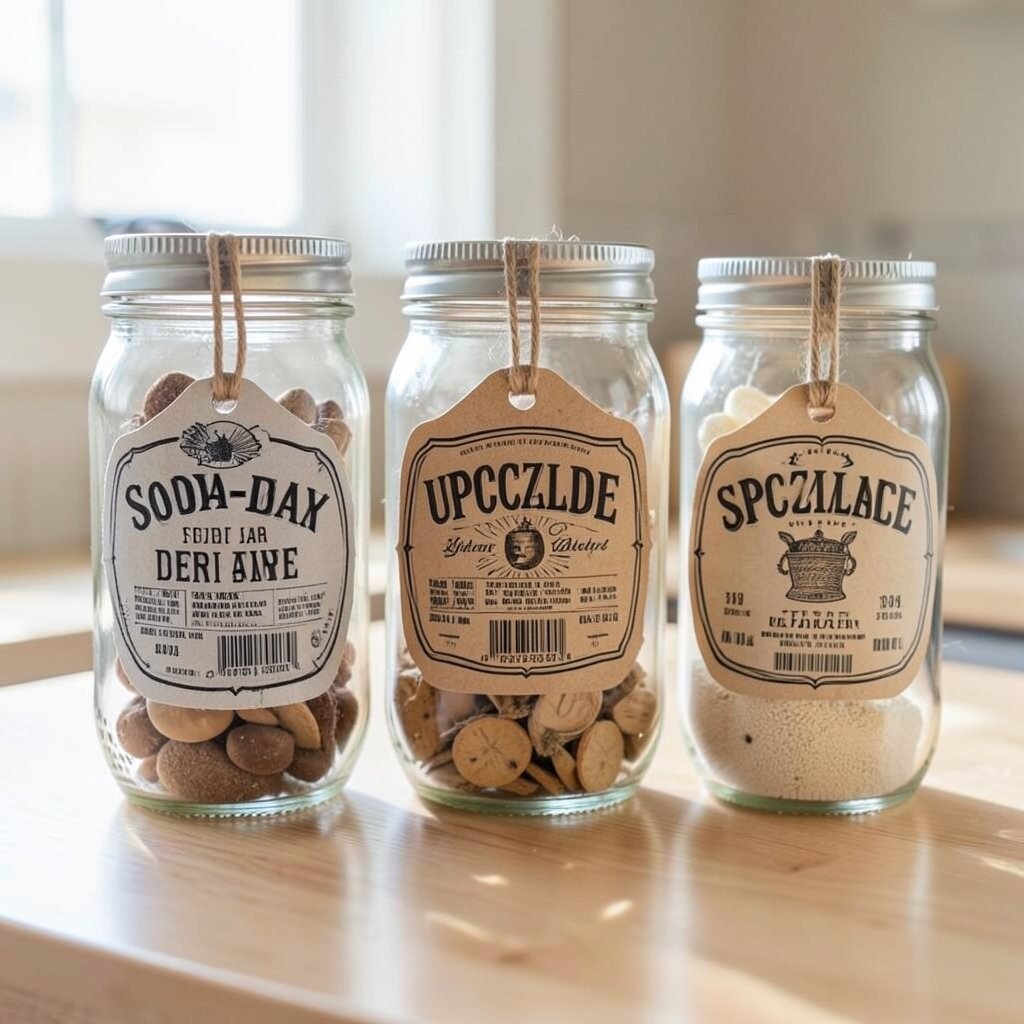
Soda-Label Style Upcycled Jar Tags Make jar labels that look like vintage product tags by using old paper prints. Cut label shapes, distress the edges, and add a simple border line.
This makes your jars feel like they’re from a fun little shop. It also helps you keep everything organized, especially when the kitchen gets busy. For personalization, create a “made by you” brand vibe by using your favorite name or a cute kitchen nickname.
To keep costs down, print your own label designs on inexpensive paper and reuse clean jar lids. Use clear tape on top if you want extra durability. If you want uniqueness, mix fonts, like a bold name with a small description underneath.
This idea matches current trends in retro packaging and upcycled decor. Place these jars on open shelves or a cart so the labels are easy to see. Your pantry will feel like a curated collection, not a storage area.
-
14. Coffee Bean and Cinnamon Ring Jars
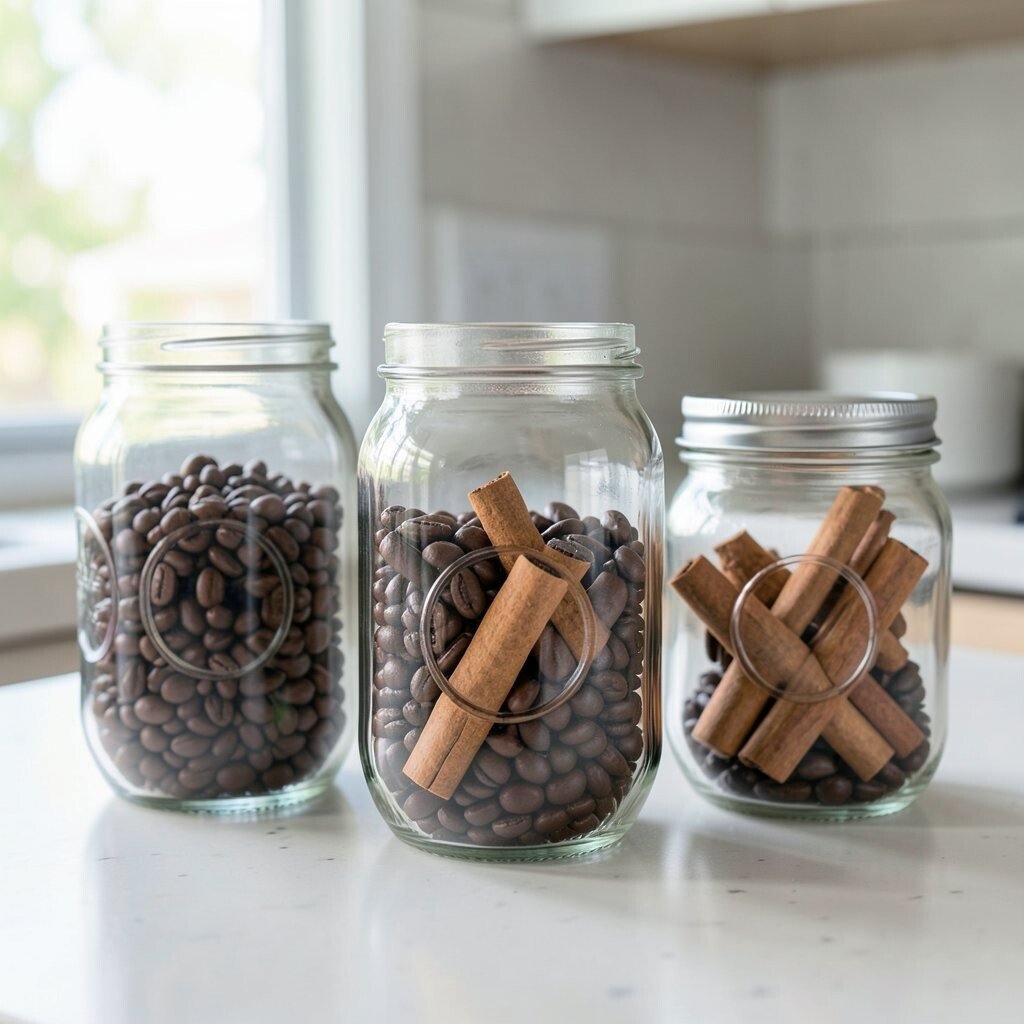
Coffee Bean and Cinnamon Ring Jars Glue coffee beans around the lid area and add cinnamon sticks for a warm ring. This looks amazing and smells cozy when you open your kitchen cabinets.
The benefit is double: your jars look charming and they also bring a kitchen aroma vibe. For personalization, arrange the beans in a spiral or make a simple border line. Keep cost in mind by using leftover beans from the bottom of your bag and cinnamon from your spice cupboard if it’s still fresh.
-
15. Ombre Glass Glitter Storage Jars
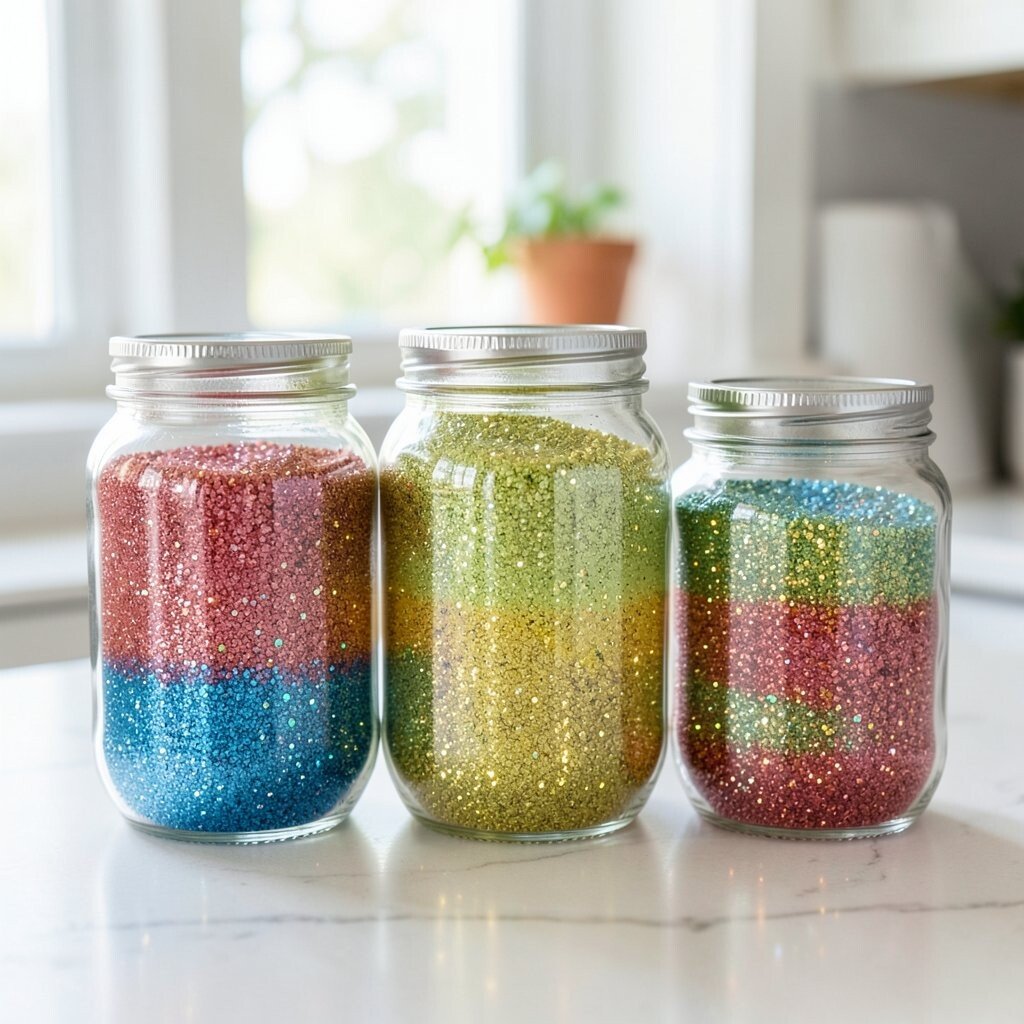
Ombre Glass Glitter Storage Jars Sprinkle craft glitter near the jar top for a soft sparkle look. Use clear craft glue or a glue pen lightly, then shake off extra glitter.
Glitter makes even simple jars feel special for entertaining or everyday use. It’s also easy to personalize by choosing glitter colors that match your kitchen lights and decor. If you want a calmer look, use translucent glitter; for bold style, choose a strong metallic shade.
For cost, craft glitter is often affordable, and a little goes a long way. The current trend toward “glow details” shows up in home decor, and this gives you that effect. Place these jars on a bright shelf where light can bounce off the sparkle.
-
16. Raised Parchment Paper Labels With Twine
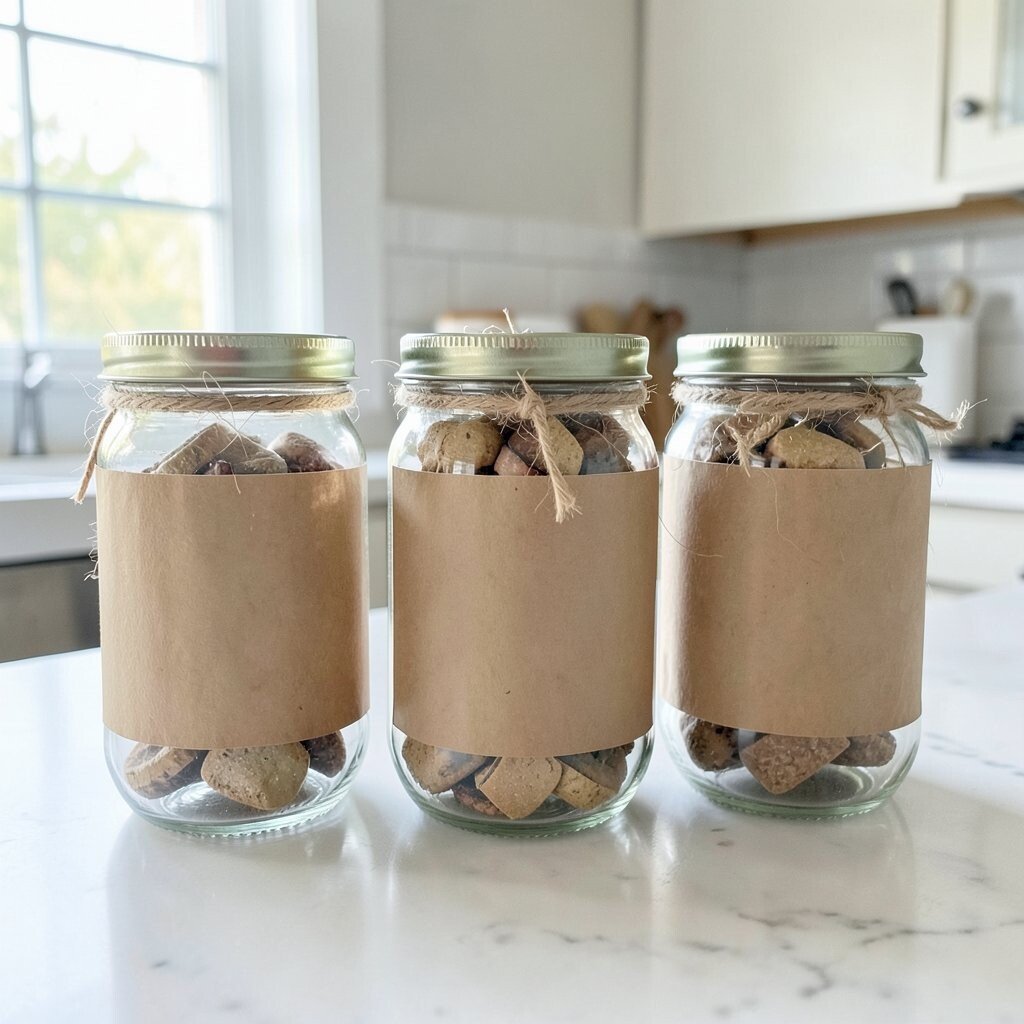
Raised Parchment Paper Labels With Twine Cut parchment-style paper into label shapes and fold the edges for a neat look. Tie each label to the jar with twine so it feels rustic and tidy.
This method is great because it looks fancy but uses simple materials. Personalize each label with handwriting, printed icons, or tiny doodles near the name. For cost, use inexpensive paper and reuse twine from earlier projects.
You’ll also get a practical benefit: labels look clear from a distance, so you grab the right jar quickly. Consider using different twine colors for different food categories, like blue for baking and green for tea. This also fits the trend of natural textures and handmade presentation in kitchens.
-
17. Spray Painted “Countertop Candy” Jars
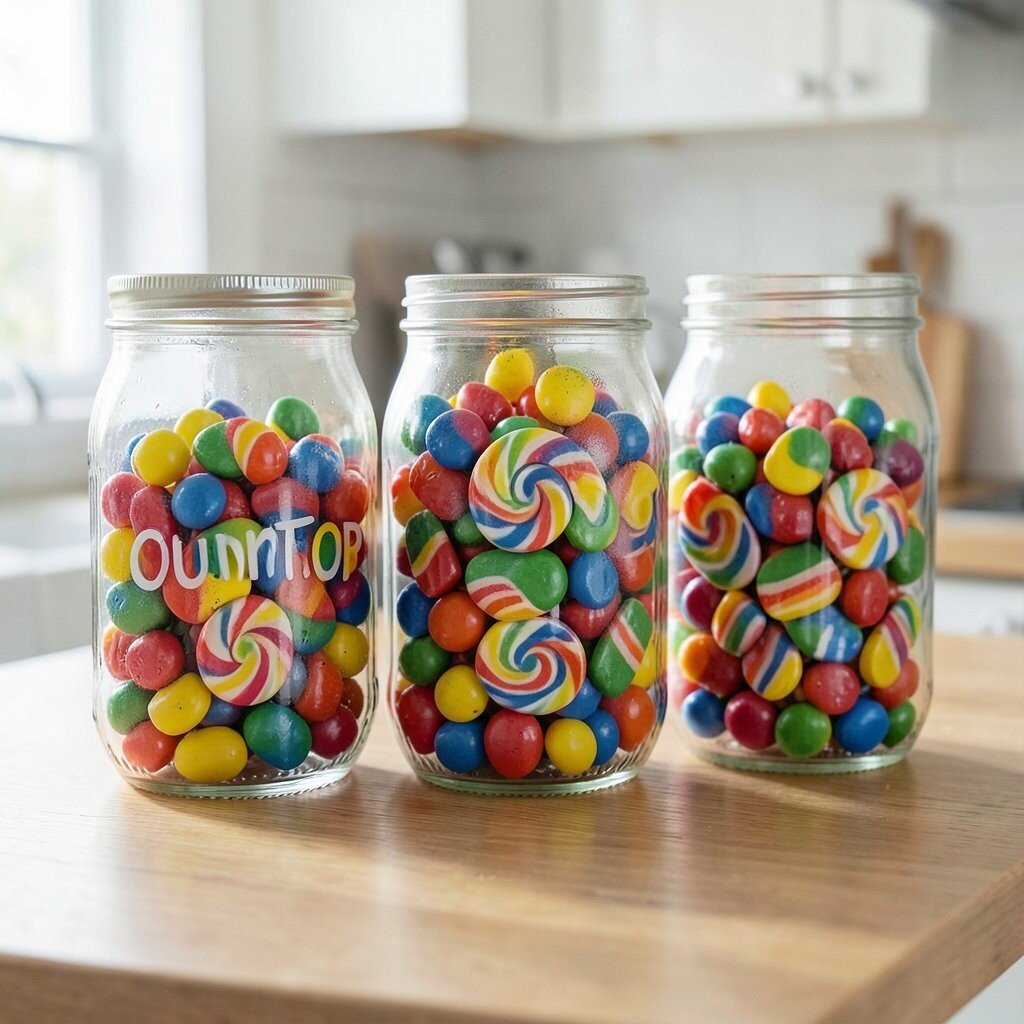
Spray Painted “Countertop Candy” Jars Spray paint jars in fun colors and add a glossy top coat if you want extra shine. Use light, even sprays so the paint looks smooth.
This gives you bold decorative jars that stand out on your counter or shelf. It’s also useful because you can assign colors to contents, like pink for candy, yellow for snacks, or teal for baking tools. For personalization, try a single stripe or a tiny heart decal on each jar for charm.
Cost can be controlled by painting only the jars you display most and using cheaper glass for the rest. This idea matches a current playful trend in home decor where kitchens look colorful and fun. Make it actionable by choosing two or three colors you already love and committing to them across the set.
-
18. Seed Packet Style Wrap Around Jars
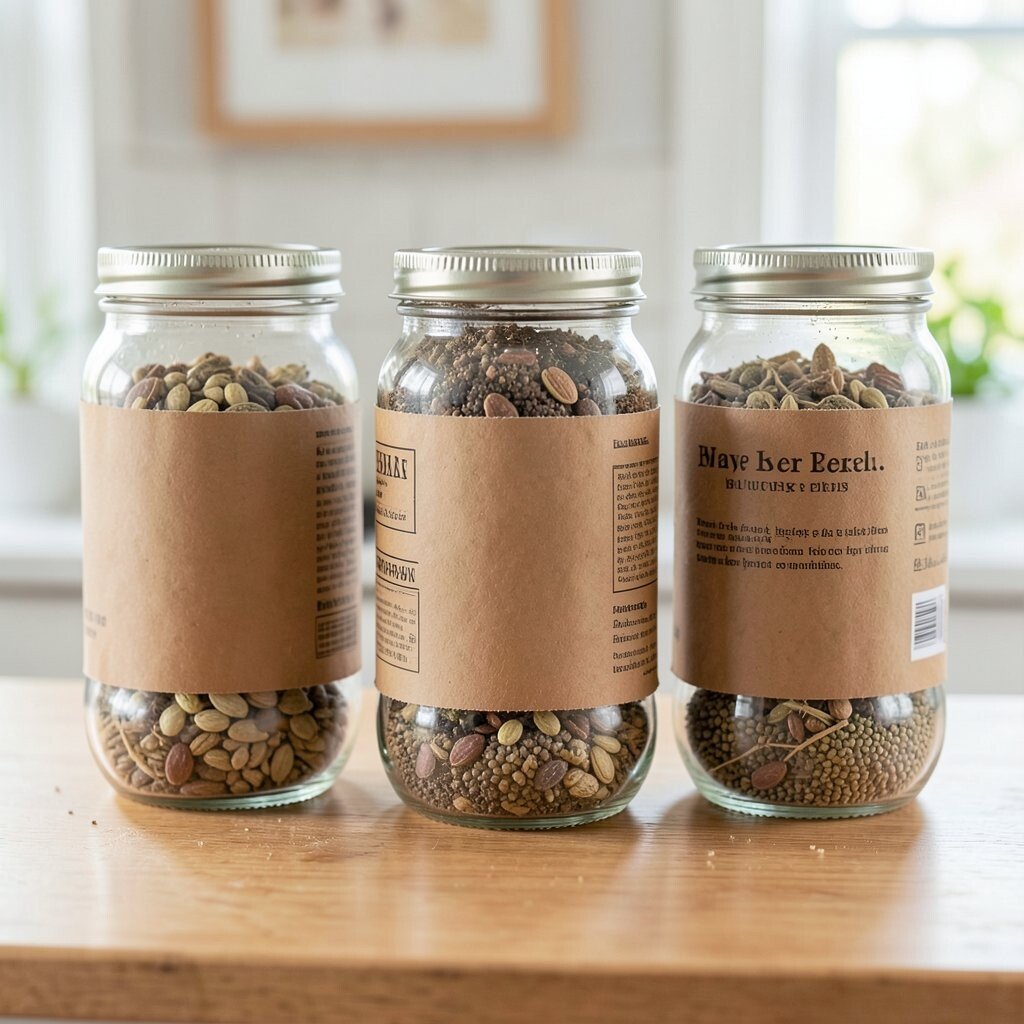
Seed Packet Style Wrap Around Jars Wrap jars with paper that looks like seed packets, including faux rows and tiny “planting” lines. Add a small string tie like you would see on a gift tag.
This style is wonderfully unique because it blends kitchen storage with garden charm. It also gives you a fun way to personalize jars for herb mixes, teas, or baking ingredients. For benefits, the wraps also hide small jar labels you may want to cover.
To keep costs low, use scrapbook paper or print your own seed packet design on regular paper. Protect the wrap with a clear spray sealer so it survives handling. If you like trend-forward decor, botanical-inspired kitchen items are still very popular, and this idea fits right in.
Try making a matching set for herbs, like basil, thyme, and rosemary. Then keep them on a spice shelf where guests can easily see the theme. Your kitchen will feel like it has a story, not just storage.
-
19. Clear Jar With Layered Colored Chalk Powder
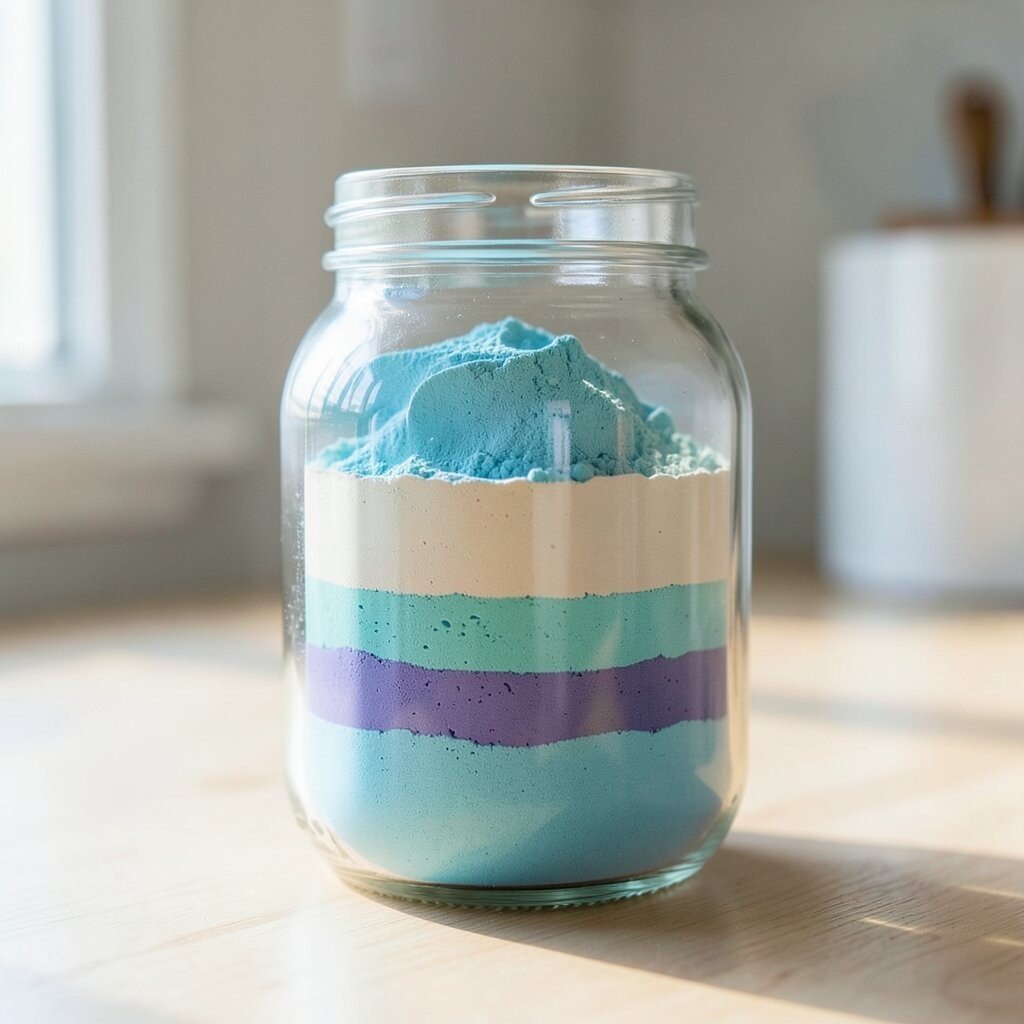
Clear Jar With Layered Colored Chalk Powder Make a decorative effect by layering colored chalk powder or pastel dust inside the jar. It looks like soft stripes and makes the jar feel like art.
This is a great benefit for clean organization because colors help you spot what’s what quickly. You can also keep it personal by choosing your favorite palette, like warm earth tones or cool sky shades. For cost, chalk powder is inexpensive, and you can use leftover sidewalk chalk if it’s safe and dry.
-
20. Upcycled Cookie Cutout Lid Medallions
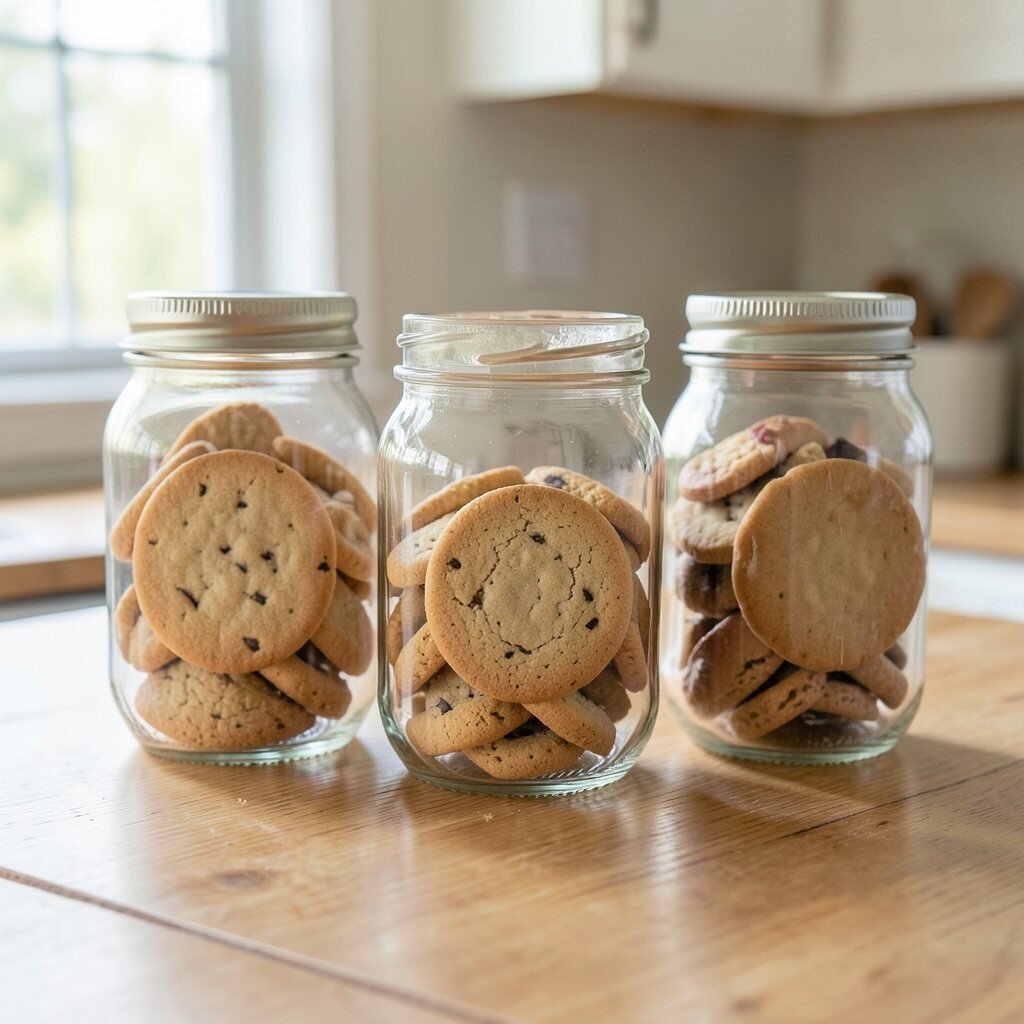
Upcycled Cookie Cutout Lid Medallions Glue small cookie cutouts onto the jar lid area to make a medallion. Paint the cutout a matching color and add a little “shine” with clear varnish.
This makes your jars look like sweet decor, even when you’re storing practical items. It’s unique because the shape adds a playful focal point, like stars, hearts, or flowers. For personalization, use your favorite cutout sizes and add a tiny label underneath the medallion with what’s inside.
Keep costs in check by using old cutouts or bargain packs from craft stores. This idea also matches a growing trend: mixing kitchen tools with home decor so everything feels cohesive. Place these jars in a spot where you can see them often, like near the coffee station or on a baking shelf.