
Small changes can make your kitchen feel brand new. You don’t need fancy tools to get big results.
-
1. Paint a plain cabinet knob for instant style
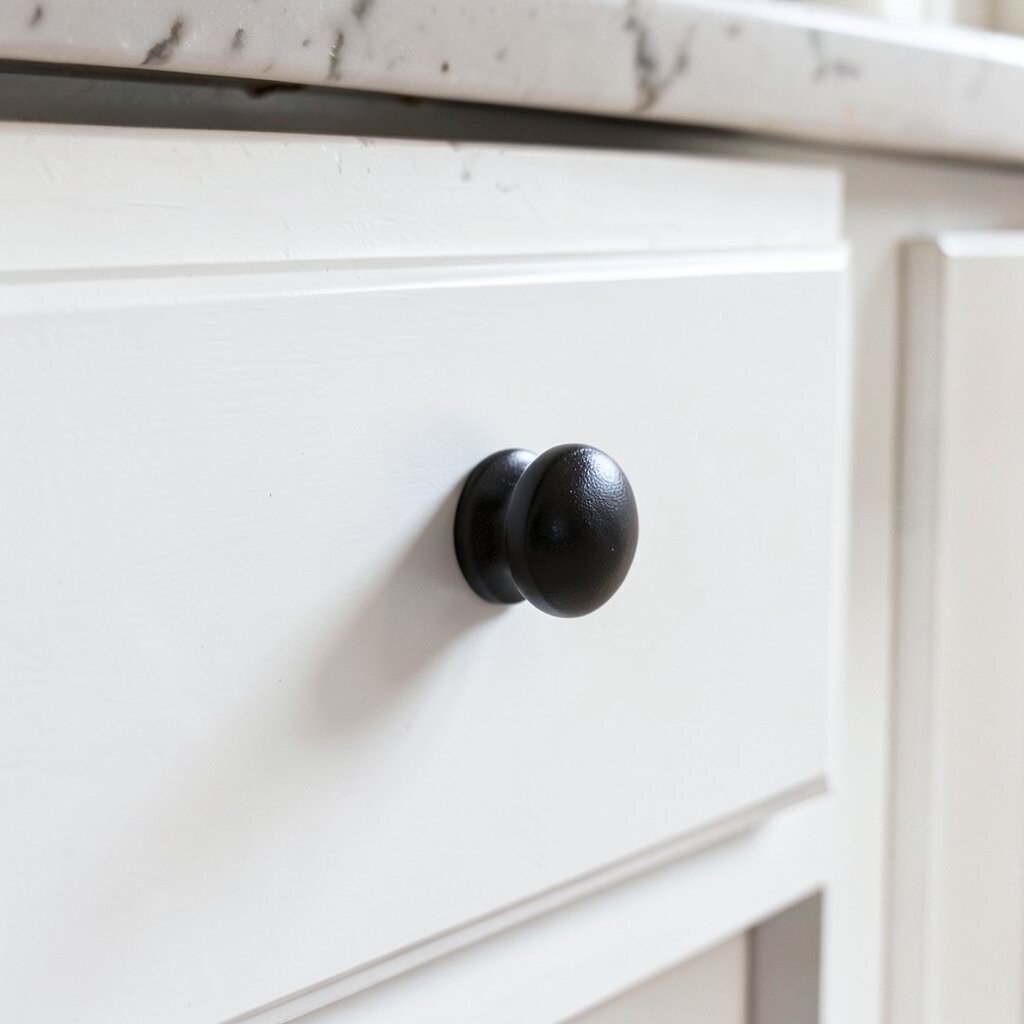
Paint a plain cabinet knob for instant style Grab a dull knob and give it a fresh color. A quick coat can make the whole cabinet front look sharper.
Choose a paint that sticks well to metal or plastic, then let it dry fully before touching it. You can match the knob color to a dish towel, a fruit bowl, or even a tile pattern.
For a neat look, tape around the edges and use short brush strokes. This is a budget-friendly way to add personality, and it feels like a mini upgrade instead of a big project.
-
2. Make a spice label set with chalk markers
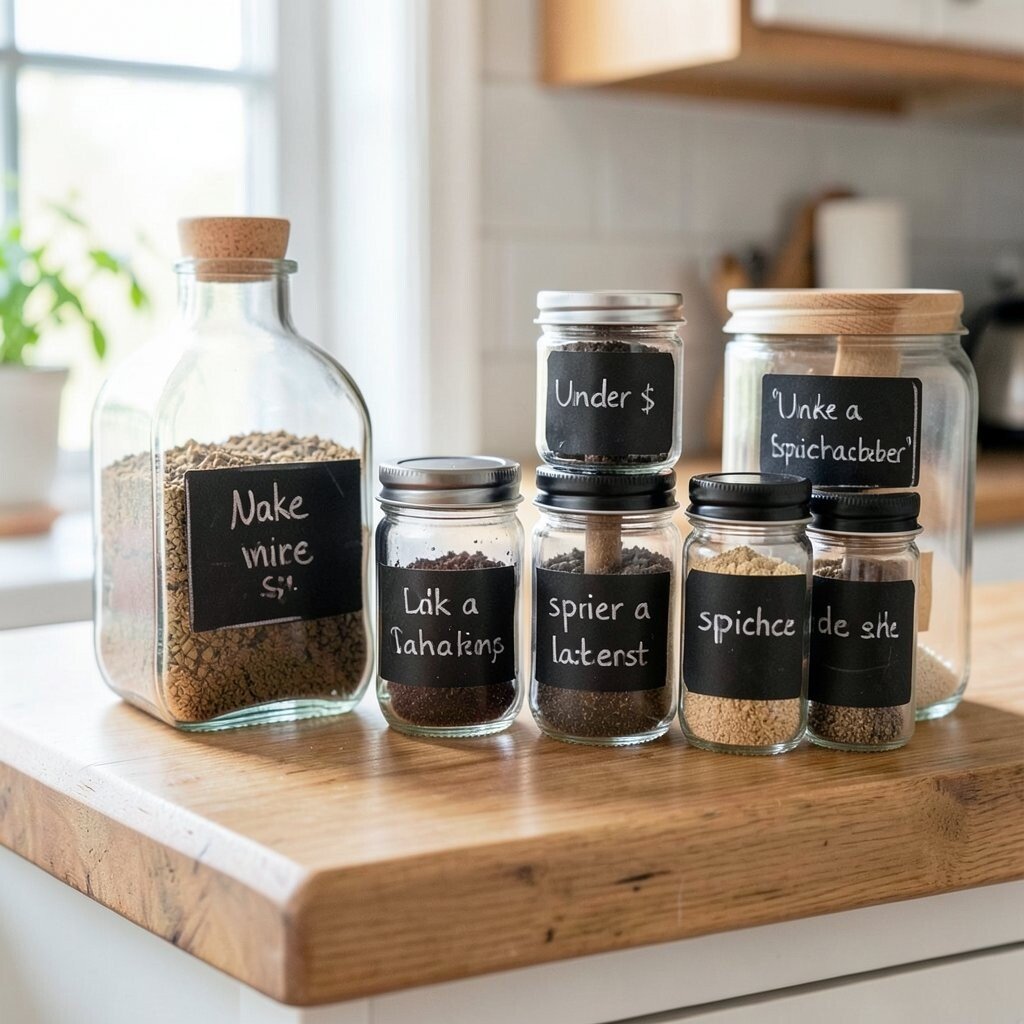
Make a spice label set with chalk markers Spices can look messy fast when jars aren’t labeled. Clean labels help you find what you need in seconds.
Cut small pieces of sticker paper or tape, then write spice names in clear handwriting. Add dates if you like, so older spices get used first.
For a trendier vibe, use one font style and keep colors simple. This also protects your counter from smudges because you can wipe labels off later if you change brands.
-
3. Turn a jar into a countertop utensil holder
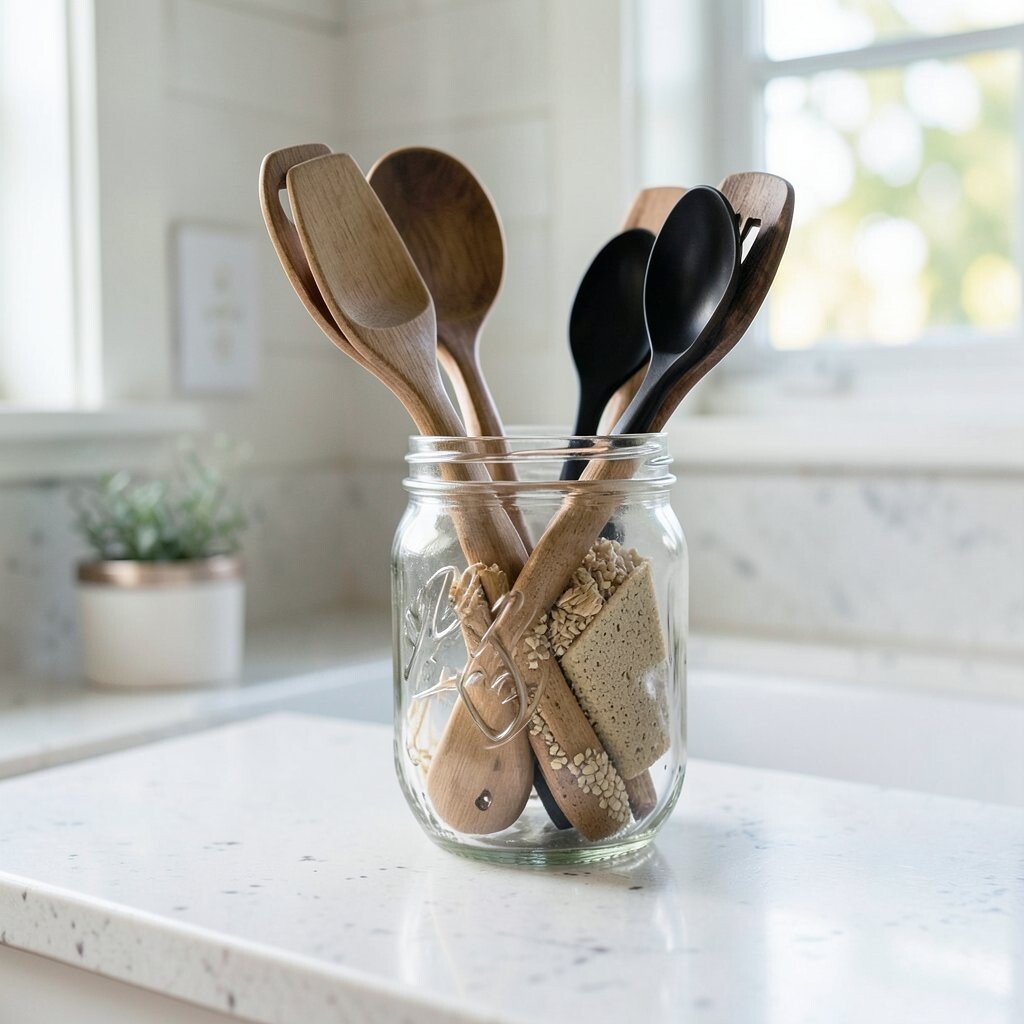
Turn a jar into a countertop utensil holder Old jars look sweet when they hold cooking tools. Think of wooden spoons, ladles, and spatulas standing up like little guests.
You can paint the jar, wrap it with twine, or cover it with patterned paper for a warm farmhouse feel. Use a thick glue or strong tape so the wrap doesn’t loosen when you wash tools.
This DIY helps you keep counters tidy and gives your cooking area a cozy look. For personalization, add a tiny tag that says “Spoons” or “Baking Tools.”
To control cost, use jars you already have from pantry items. If you need new materials, choose one style you love and repeat it across your jars.
-
4. Create a pegboard mini organizer for lids and wrap
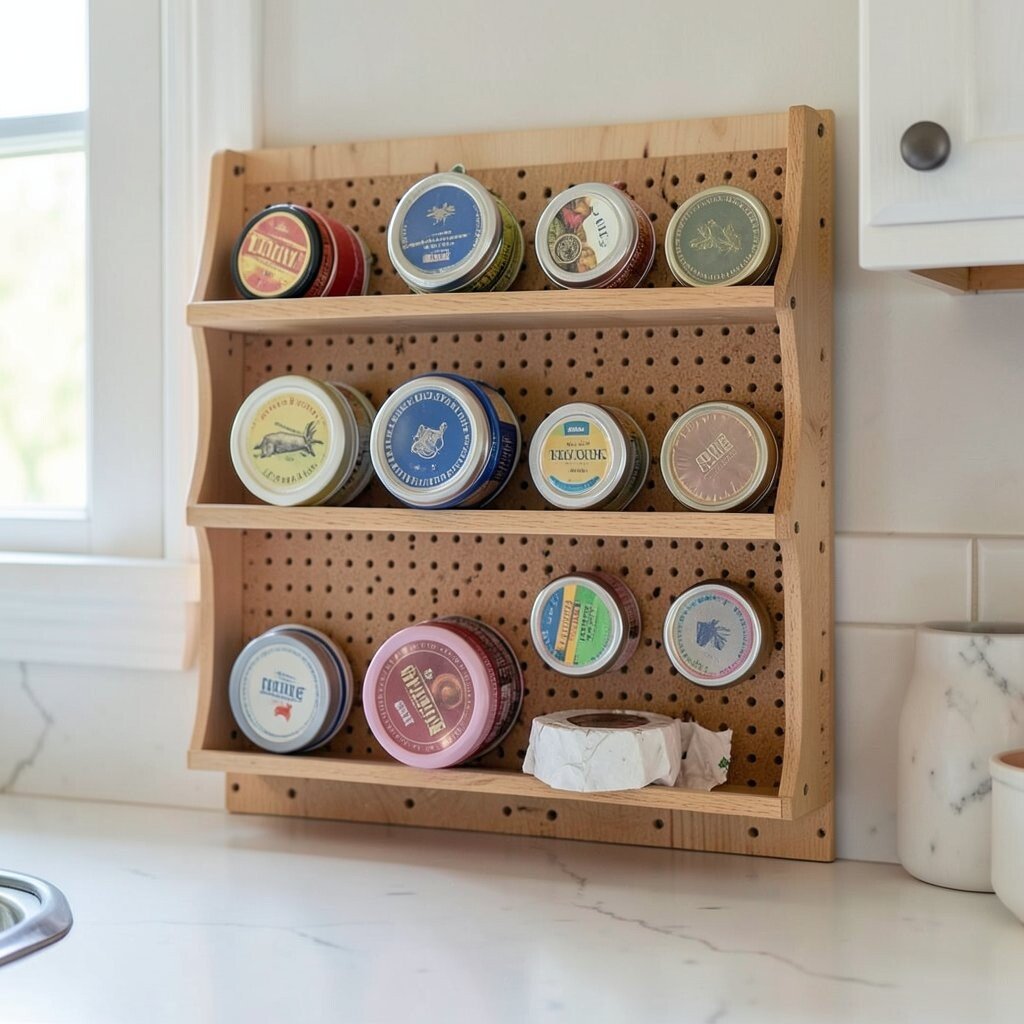
Create a pegboard mini organizer for lids and wrap Counter clutter often comes from lids, wrap, and random tools. A small pegboard panel can bring order without taking over your whole kitchen.
Use hooks and small baskets to hold items where you can grab them easily. Put wrap and foil at eye level, and slide lids into shallow trays so they don’t stack crooked.
-
5. Add a “wipe-friendly” backsplash tray for oils
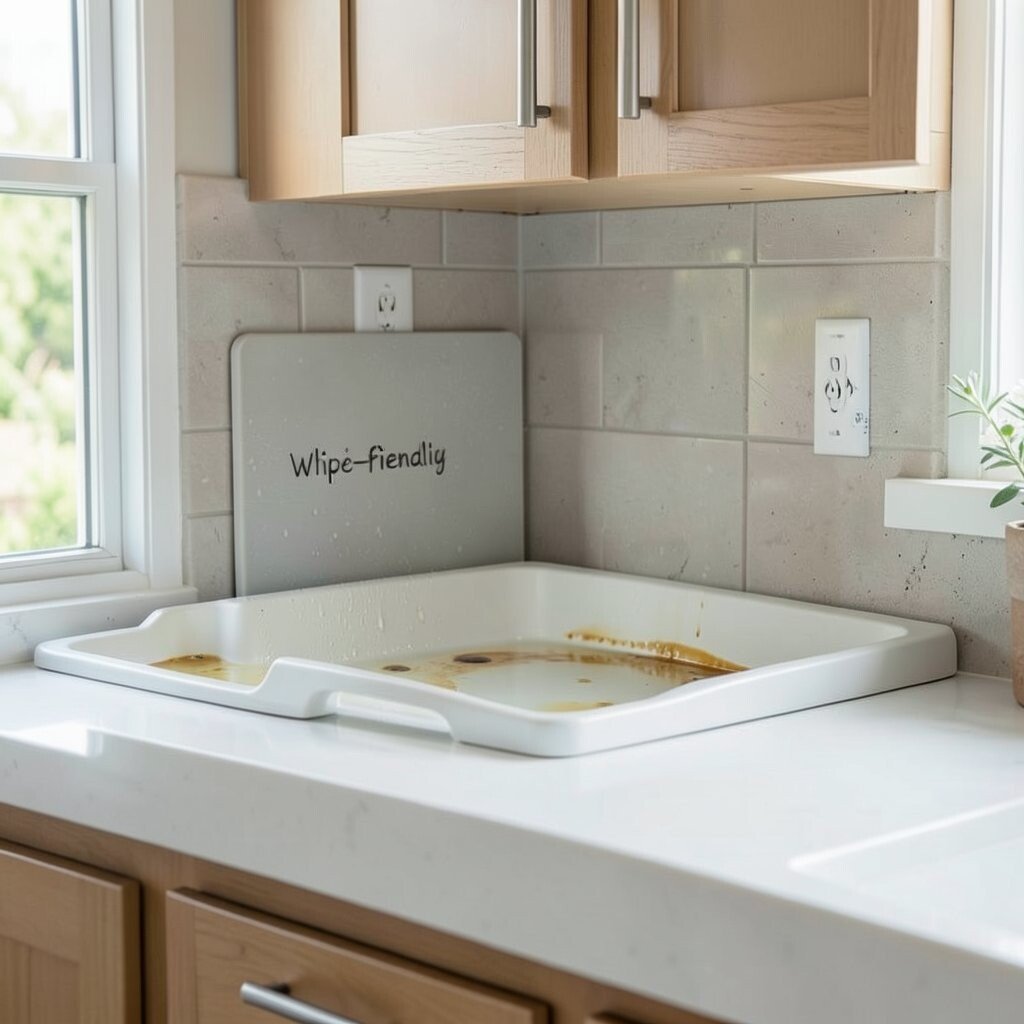
Add a “wipe-friendly” backsplash tray for oils When oil bottles sit loose, spills can become annoying stains. A tray catches drips and makes your prep space look clean.
Find a shallow tray and line it with contact paper or a simple mat that wipes easily. Keep your olive oil, vinegar, and any infusions in the same spot so cooking flows faster.
It’s a small upgrade that feels fancy, because everything looks styled on purpose. Personalize with bold contact paper patterns or a calm color that matches your current kitchen tones.
-
6. Build a no-drill paper towel holder stand
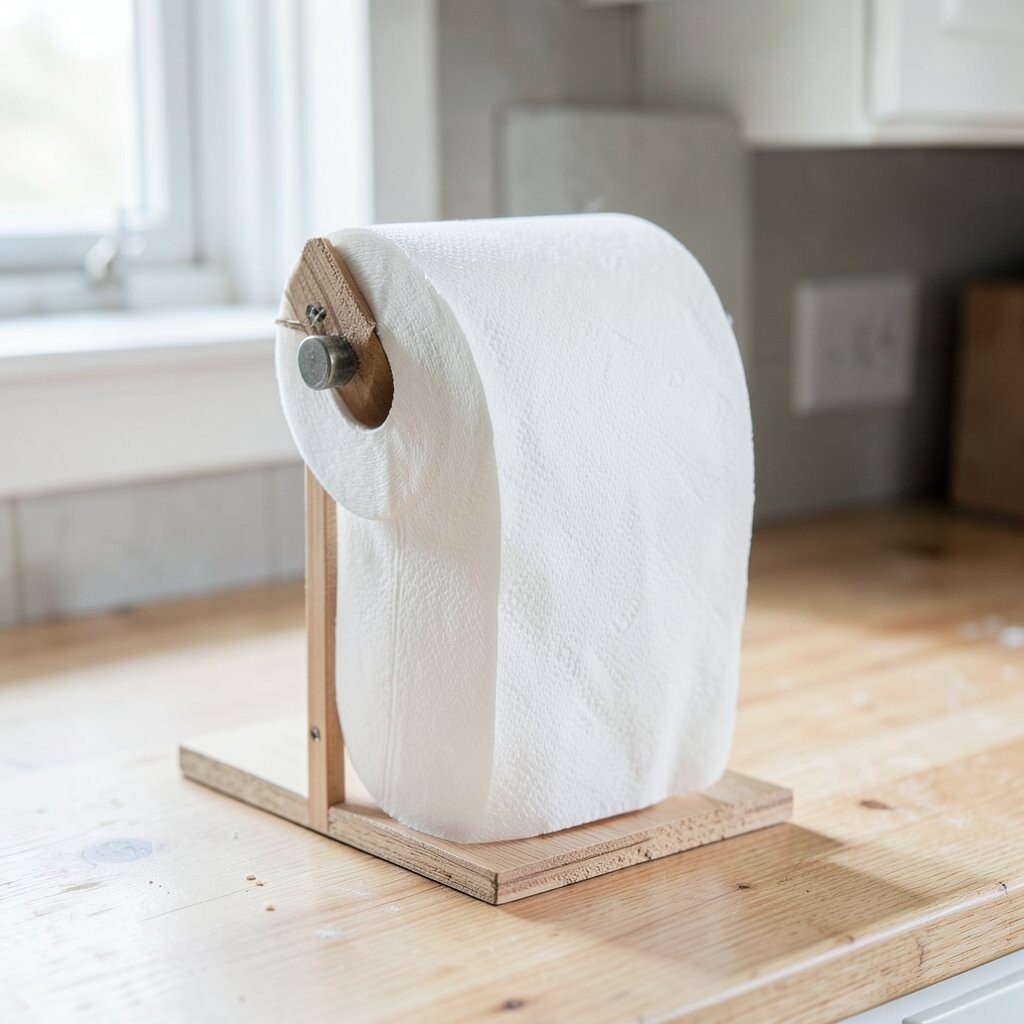
Build a no-drill paper towel holder stand Paper towels work harder when they’re easy to grab. A sturdy stand helps your roll stay put instead of sliding around.
Use scrap wood pieces, a base tray, or a repurposed bookshelf bracket. Secure parts with strong glue or screws you already own, and keep it stable on your counter.
For a trendy look, paint the wood in a matte color and sand the edges lightly. This DIY gives you a custom fit for your space while staying budget-friendly.
-
7. Make a fruit bowl “tray” from an old cutting board
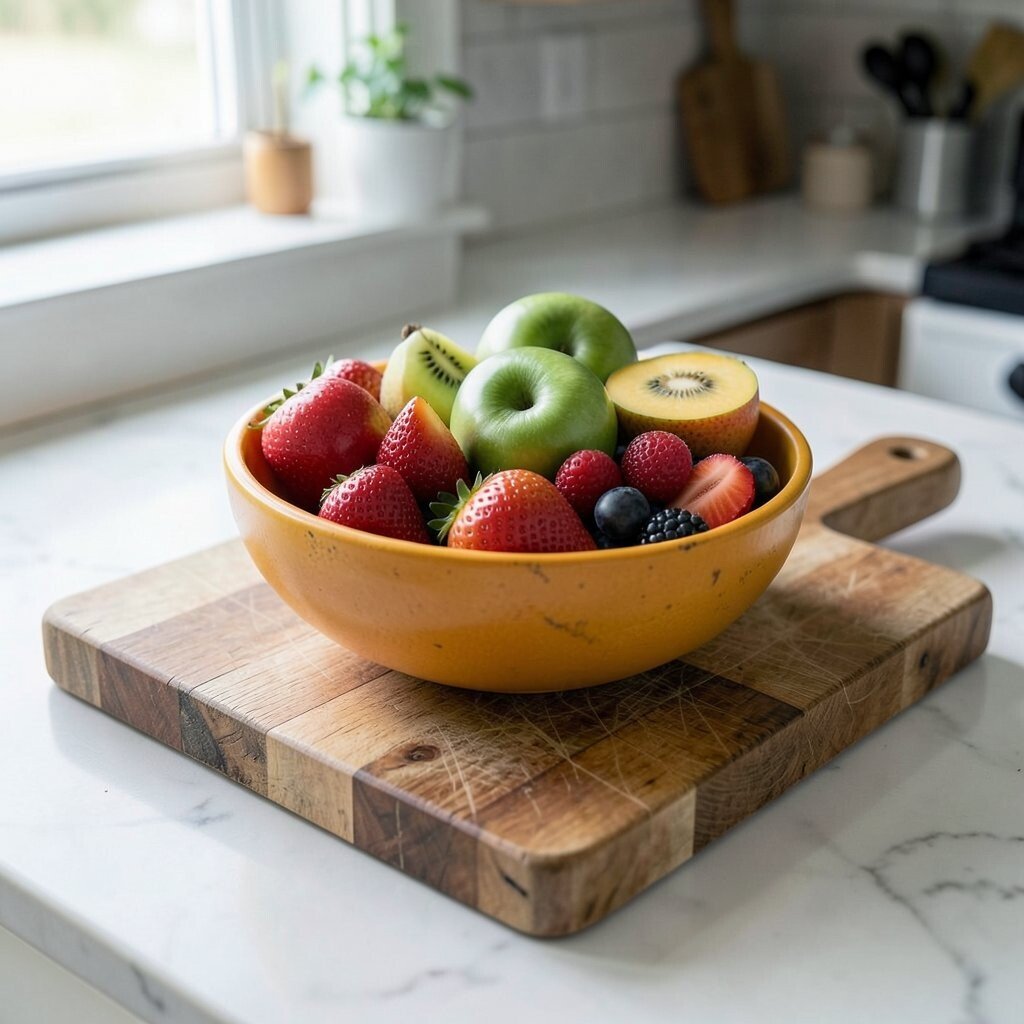
Make a fruit bowl “tray” from an old cutting board If your fruit always lands in the sink or on the counter, give it a home. A cutting board tray makes a simple landing spot for oranges, apples, or lemons.
Attach small feet or a folded towel underneath to keep it from sliding. You can also seal the board with food-safe oil so it handles daily use.
This idea is unique because it doubles as prep space when you’re done. Personalize the look by adding a hand-drawn border or a little sign with your favorite fruit.
-
8. Create a drawer divider system with cardboard and fabric
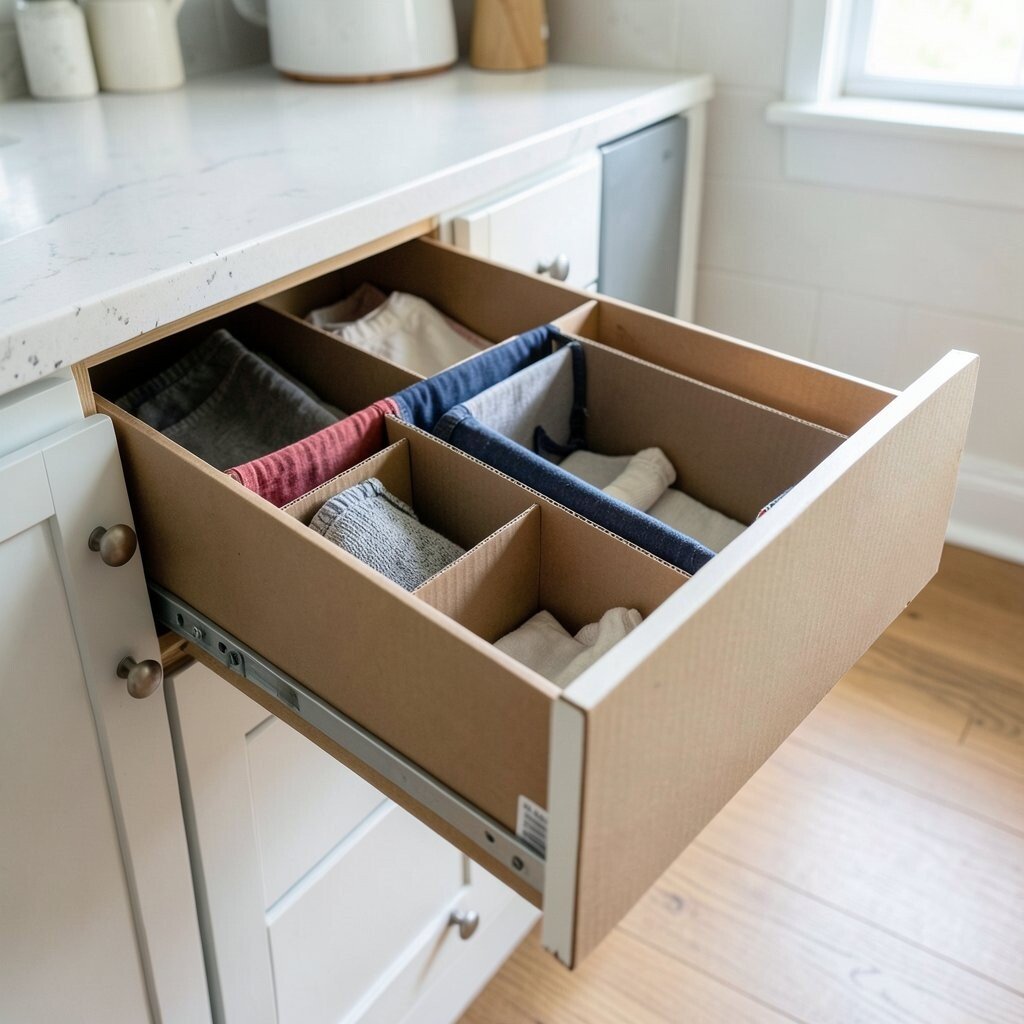
Create a drawer divider system with cardboard and fabric Utensils can tangle together and take forever to sort. Dividers make your drawer look neat and help you grab tools quickly.
Cut cardboard into sections, then wrap each divider with fabric or adhesive paper. Use strong glue or double-sided tape so the wrap doesn’t peel.
You can make dividers for measuring spoons, kitchen scissors, or even cookie cutters. The best benefit is that you can customize the sizes to match your drawer exactly.
To keep it under budget, use cereal boxes, shipping boxes, and fabric scraps. This also makes a fun craft night if you invite a friend.
-
9. Make a spice jar “rotation” rack using a magazine file
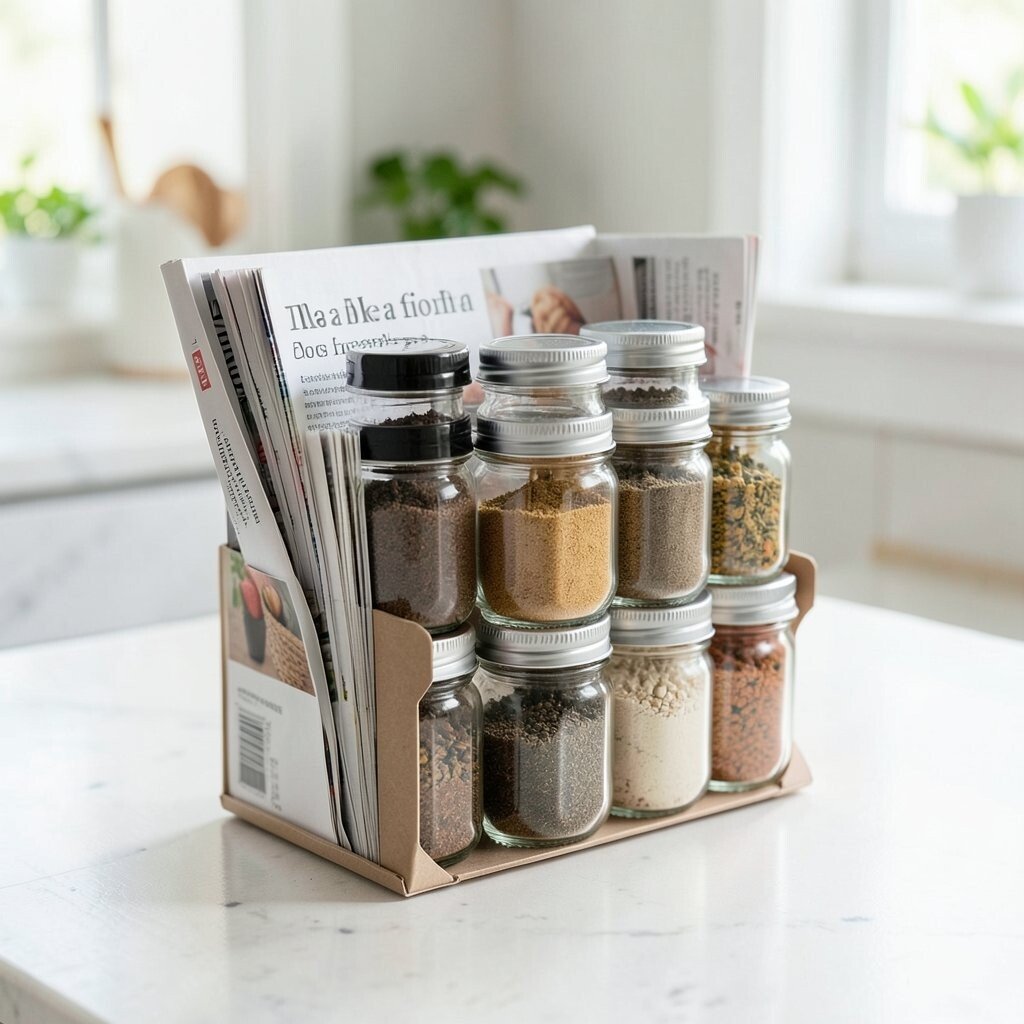
Make a spice jar “rotation” rack using a magazine file Spices can feel like a guessing game when jars sit in random stacks. A simple rack helps you see everything at once.
Try a magazine file or small organizer, then place jars so labels face out. Put the most-used spices in the front row, and place backup bottles behind.
-
10. Paint an old spoon rest for a cozy cooking vibe
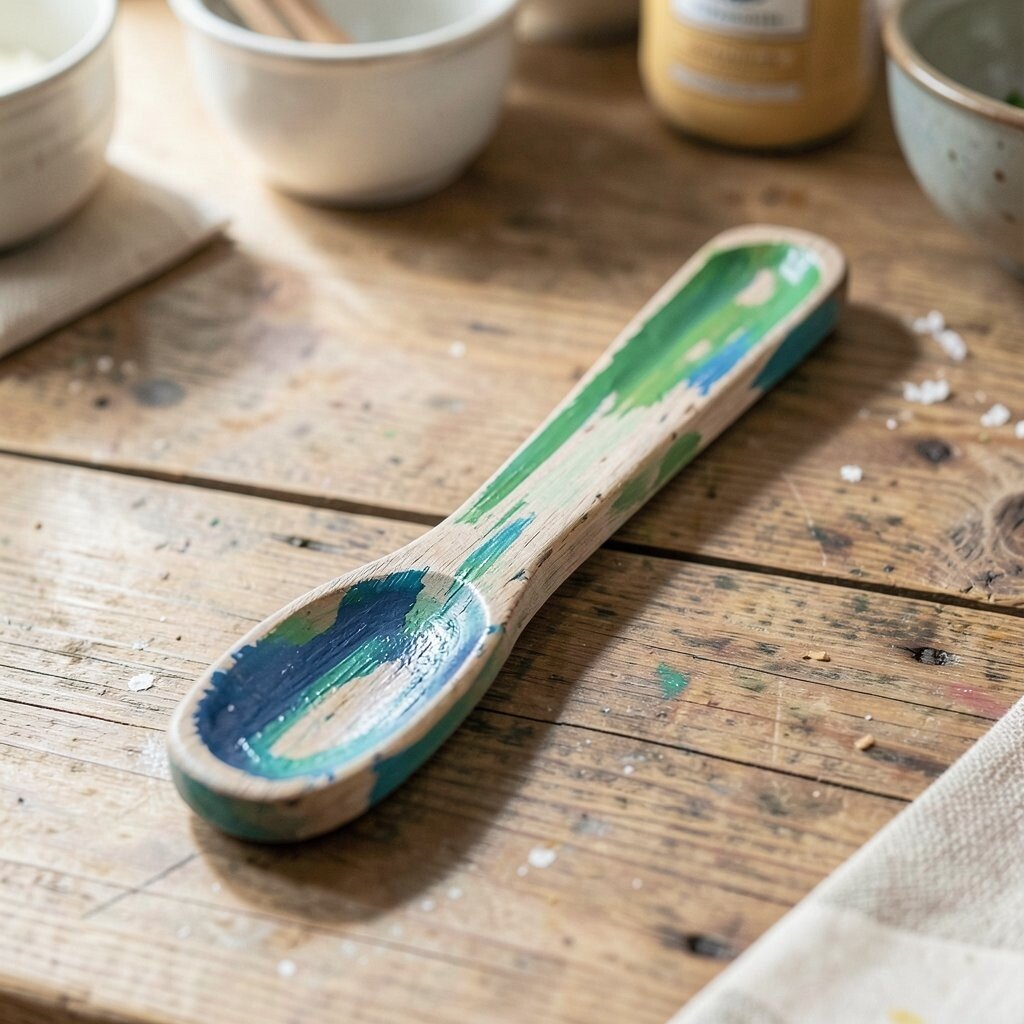
Paint an old spoon rest for a cozy cooking vibe Spoon rests are one of those small things that make cooking calmer. When your spoon has a proper spot, your counter stays cleaner.
Repurpose a ceramic dish, a flat piece of metal, or a worn spoon rest. Add a paint finish that feels food-safe, then seal it well and dry it fully.
For personalization, add a tiny kitchen quote or a simple icon like a chili pepper. This DIY is unique because it blends function with style.
-
11. Turn a cheap tray into an herb planter box
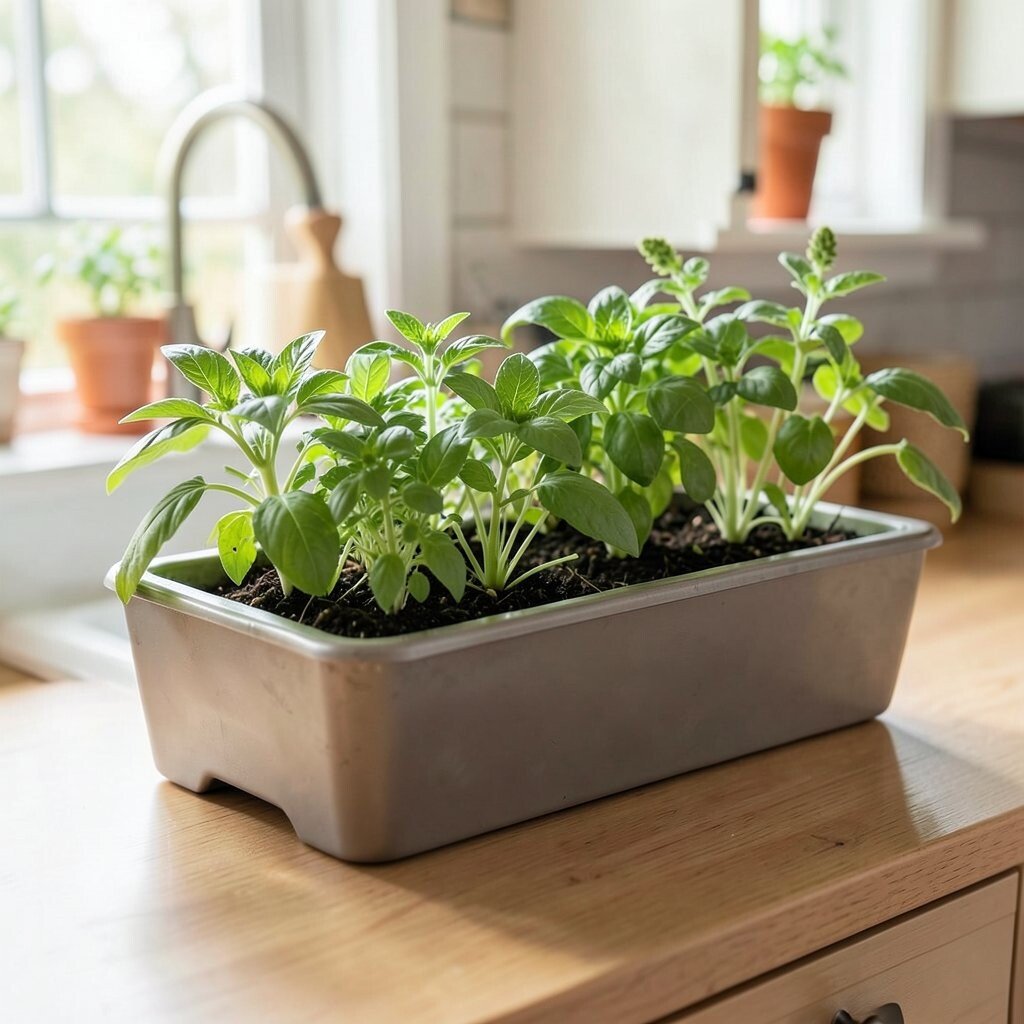
Turn a cheap tray into an herb planter box Fresh herbs make your kitchen smell amazing. You can bring that vibe indoors with a small planter box made from a tray.
Add soil, then plant basil, mint, or chives in separate sections if you can. Keep it near a window and rotate the planter so each herb grows evenly.
The benefit is real: you get fresh flavor without the high cost of store-bought herbs. For trends, many kitchens are leaning into “green corners,” so this fits right in.
-
12. Make a magnetic “knife checklist” for safer cooking
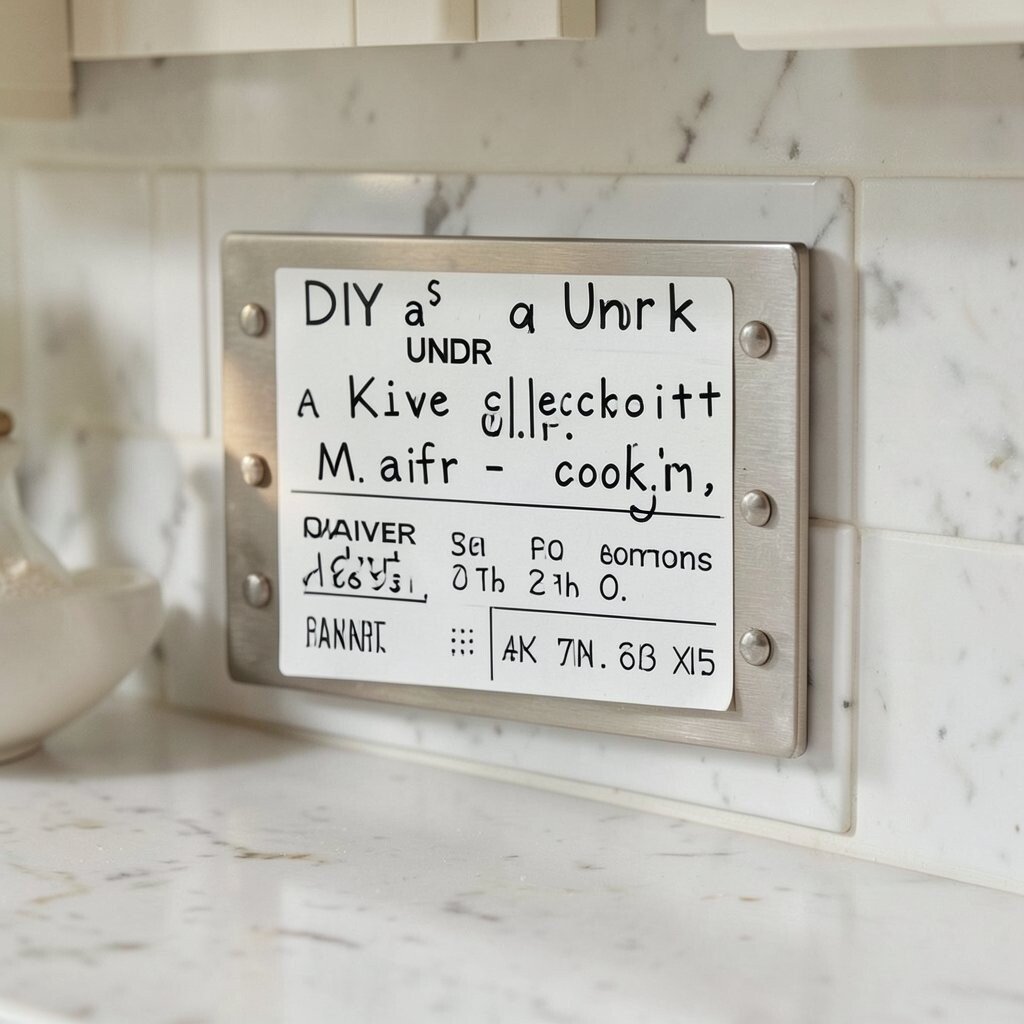
Make a magnetic “knife checklist” for safer cooking Nothing is worse than losing track of knives after cooking. A magnetic checklist helps you remember where they go.
Use a small metal sheet, then attach magnets or a simple card with moving markers. Put knife icons on paper so you can set a routine for before and after meals.
This is unique because it feels like a smart kitchen system, not just decoration. Personalize by adding your cooking schedule, like “Prep” and “Clean.”
-
13. Create a “match your theme” coffee filter organizer
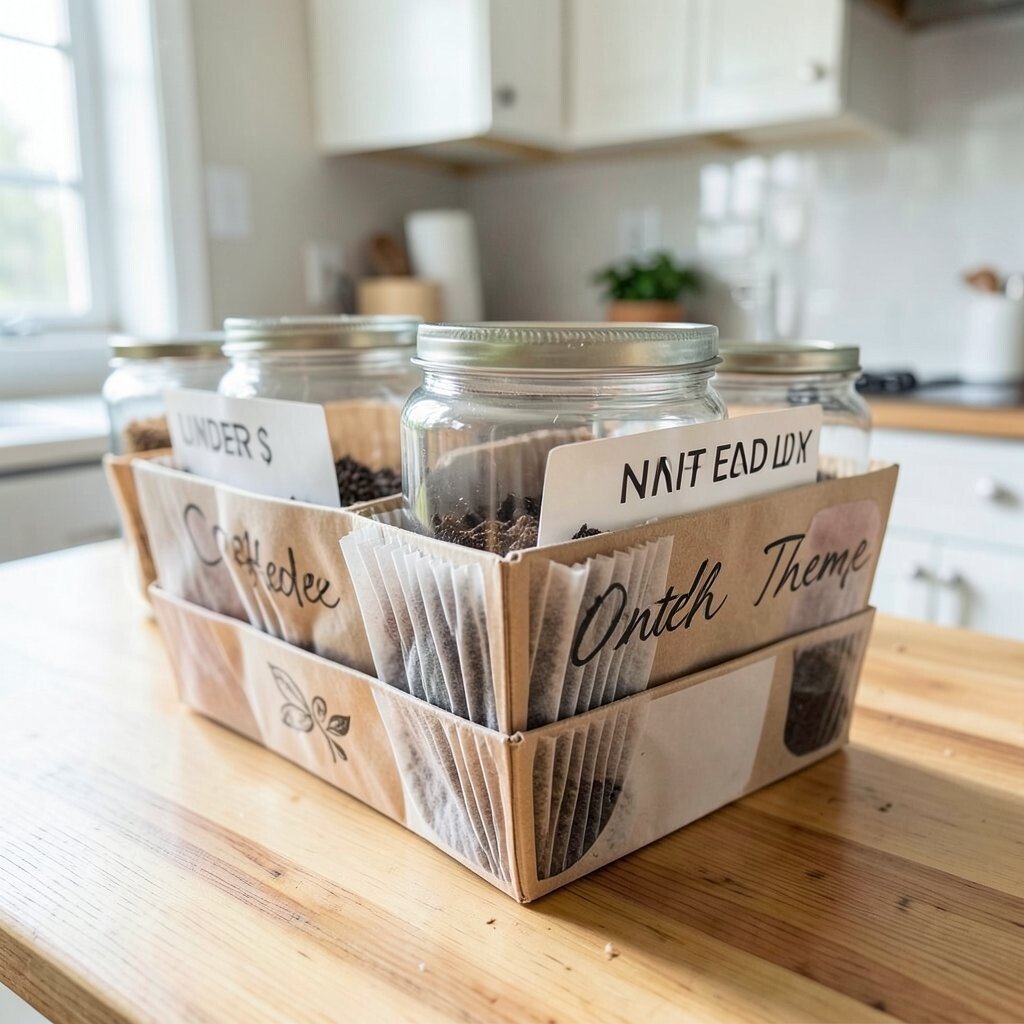
Create a “match your theme” coffee filter organizer Coffee filters can spread out across cabinets like little paper snowflakes. An organizer keeps them stacked and ready.
Repurpose a small canister, a tissue box, or a paper-covered container and label it clearly. Make sure the opening is wide enough to pull filters without tearing them.
This benefits your mornings because everything is easy to grab, even when you’re half awake. For personalization, pick colors that match your coffee mugs or your kitchen backsplash.
To keep costs low, use what you already have and focus your money on labels or a sealant. Small details like neat handwriting can make the whole piece look custom.
-
14. Build a counter charging station with a wooden tray
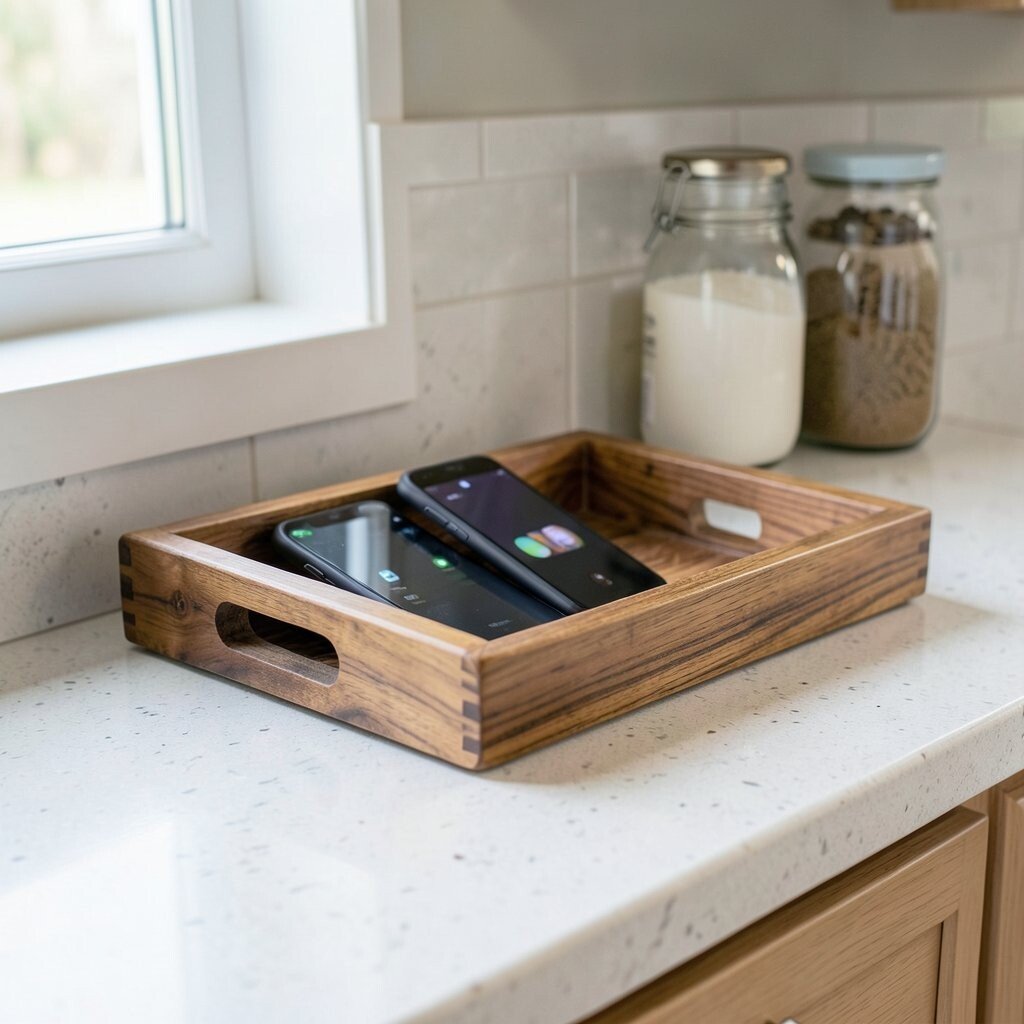
Build a counter charging station with a wooden tray Most kitchens have phones nearby during recipes, timers, and music. A charging station keeps cables from taking over your counter.
Use a wooden tray and add cord holes with a drill if you’re comfortable, or use a cable organizer if you’re not. Place a power strip inside so it looks hidden and tidy.
-
15. Make a removable oven mitt hooks with fabric ties
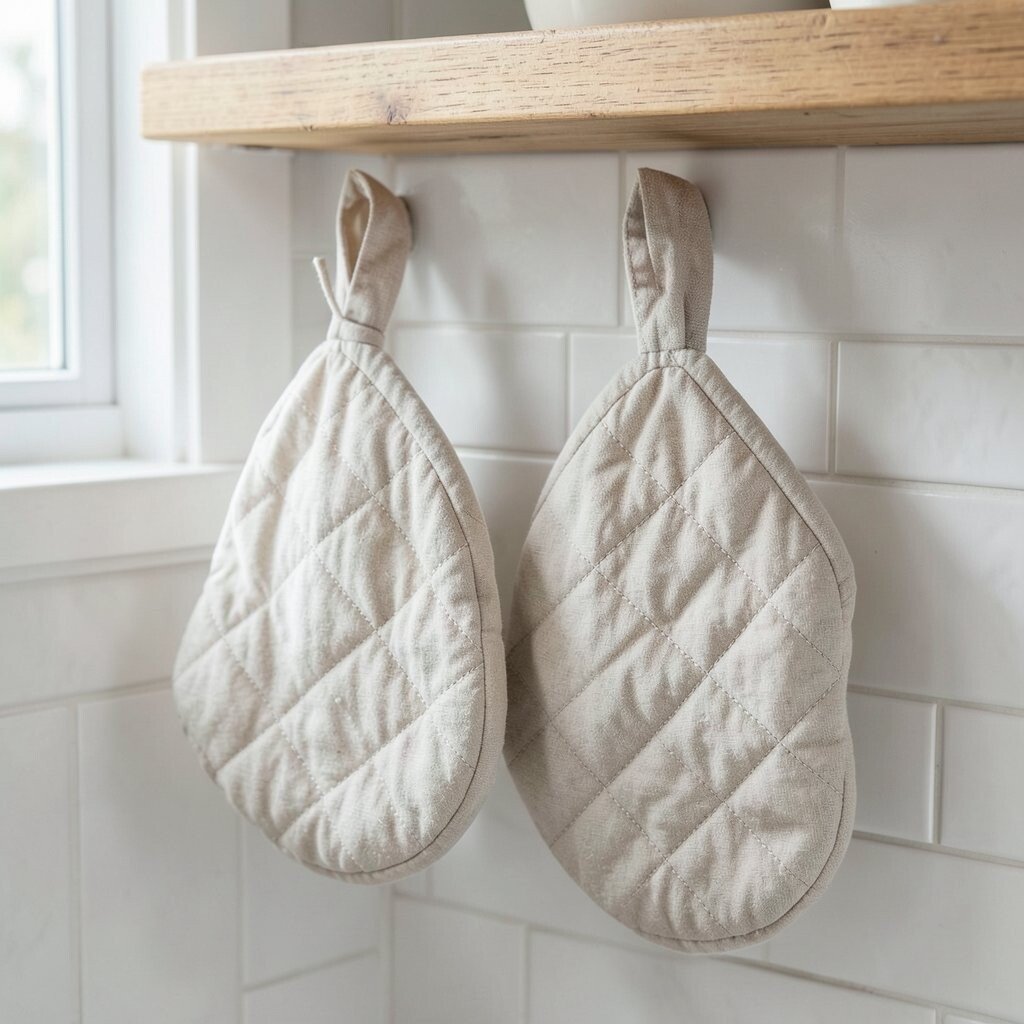
Make a removable oven mitt hooks with fabric ties Oven mitts disappear when you need them most. Hooks that are easy to set up make grabbing them quick.
Create simple hooks by using command strips, sturdy adhesive hooks, or a board you can place near your oven. Tie a ribbon or fabric loop to mitts so they hang in matching spots.
The benefit is safety and speed, because you stop searching when something’s hot. Personalize the look by using colors that match your oven handle covers or potholders.
-
16. Turn a shallow basket into a “snack station” for kids
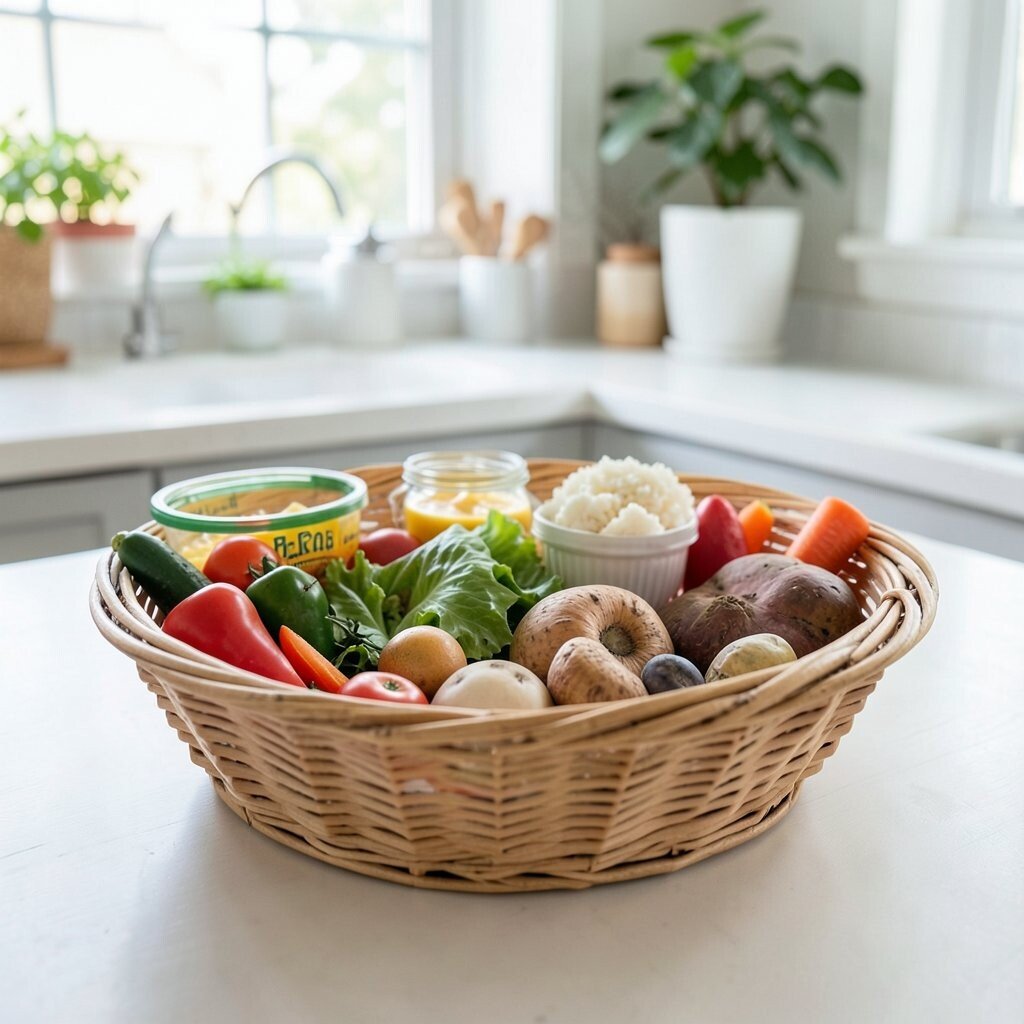
Turn a shallow basket into a “snack station” for kids A snack station can reduce kitchen mess during busy days. When snacks have one place, the rest of the counter stays calmer.
Pick a basket or small tray, then add dividers using cardboard strips wrapped in paper. Label sections like “Crackers,” “Fruit,” and “Treats” so everyone knows the rules.
This is unique because it makes your kitchen feel like a friendly hub. For cost, you can reuse baskets you already own and only buy a label pack if needed.
-
17. Paint a cutting board edge for a “gallery wall” look
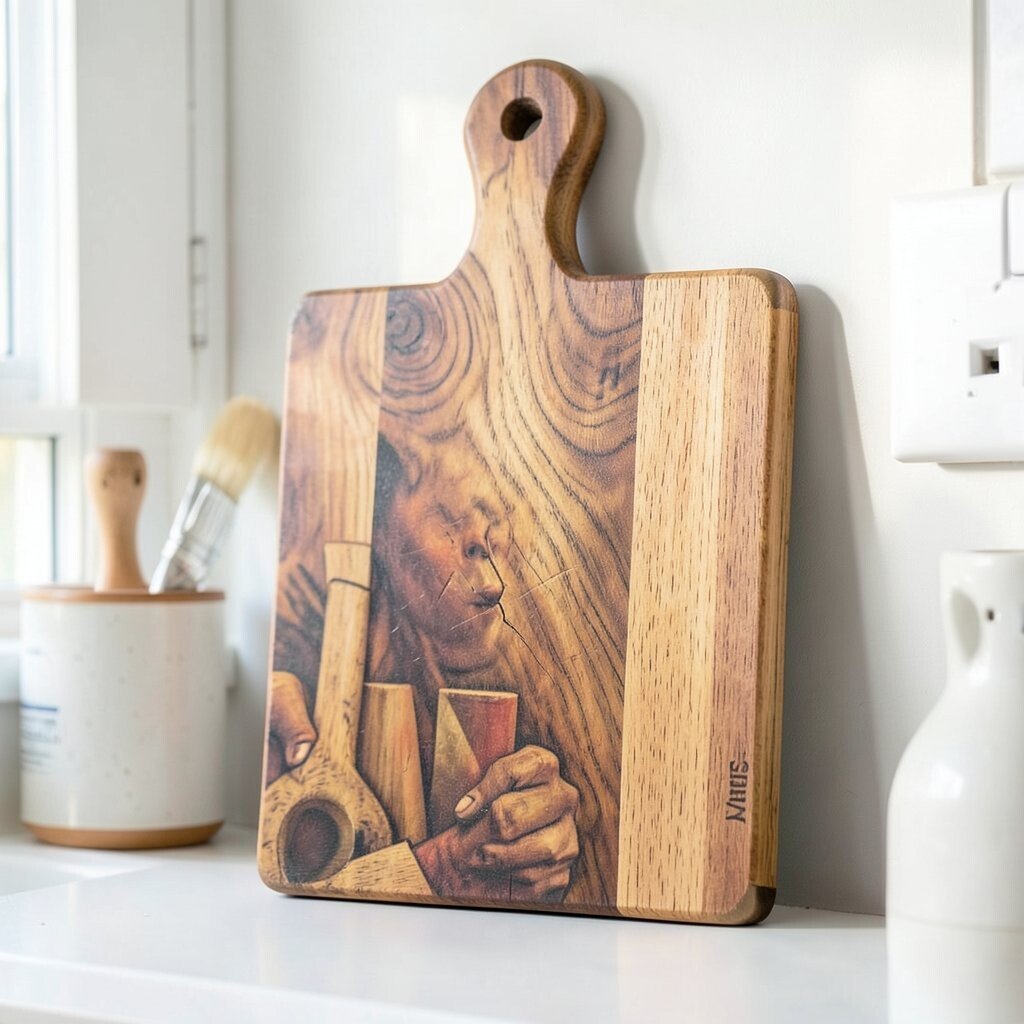
Paint a cutting board edge for a “gallery wall” look Cutting boards can look plain, even when you use them every day. A colorful edge can make them look like part of your decor.
Paint only the outer rim, then seal with a food-safe finish so it’s safe to handle. Use one color or mix two tones that match your kitchen style.
The benefit is that your boards look neat, and you don’t feel the need to hide them away. Personalize with small designs like dots, stripes, or simple herbs.
-
18. Make a “meal prep” organizer with small clipboards
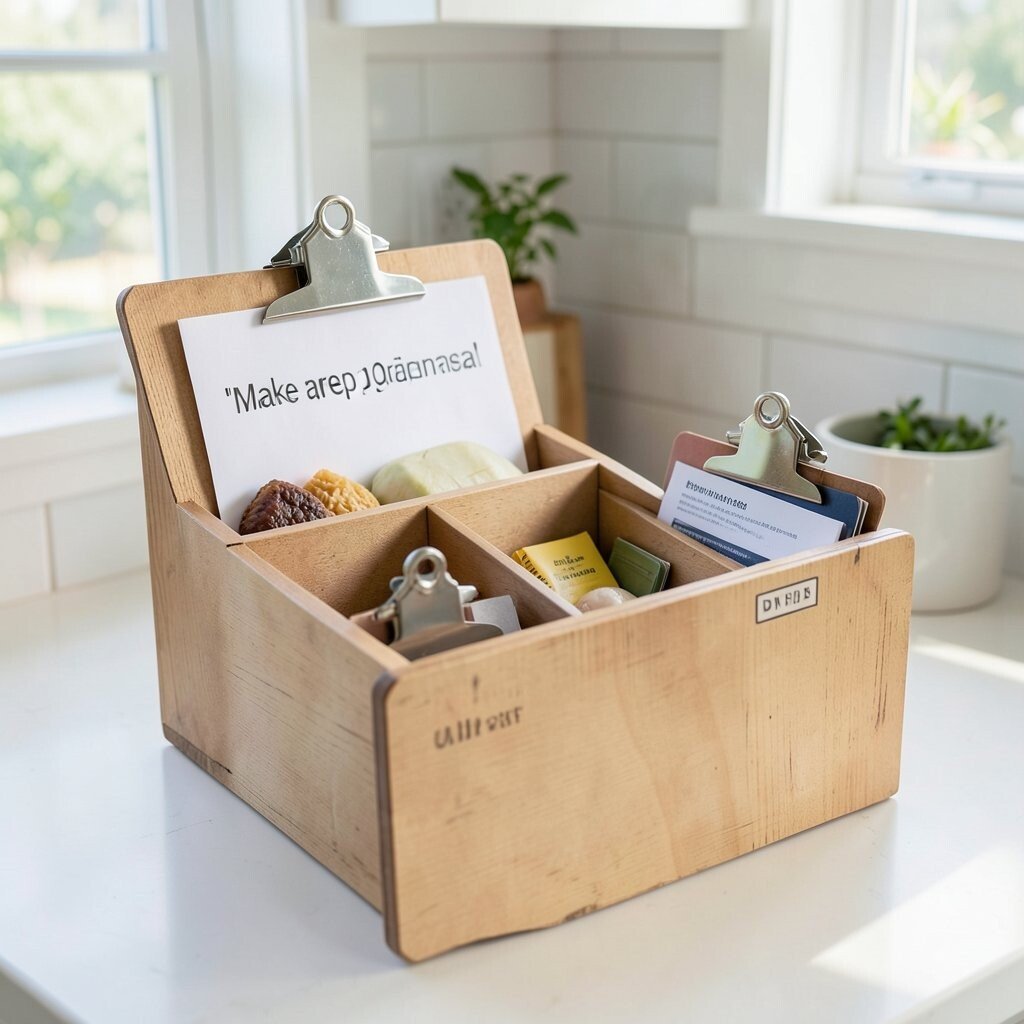
Make a “meal prep” organizer with small clipboards Meal planning goes smoother when your notes have a clear spot. A clip-on board system keeps recipes, grocery lists, and steps in one place.
Use small clipboards, binder rings, or even a folder with clear pockets. Add labels like “Tonight,” “Next,” and “Shopping” so your brain stays organized.
This DIY is unique because it blends planning with kitchen style. For personalization, decorate the folder cover with a pattern you love or a photo print you find calming.
If you want to keep costs low, use thrifted clipboards or repurpose old notebooks. You can also switch pages weekly without wasting money.
-
19. Create a towel and sponge “caddy” from a repurposed container
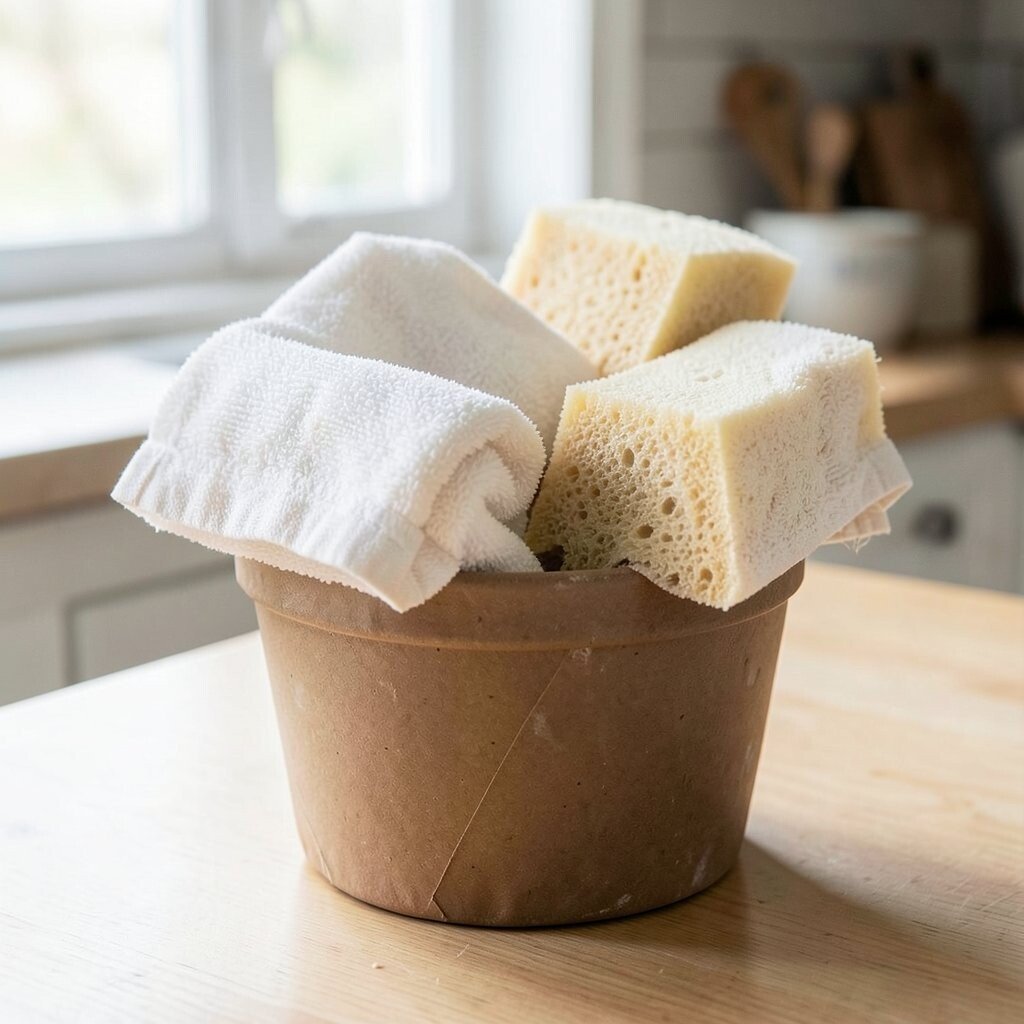
Create a towel and sponge “caddy” from a repurposed container Sponges and dish towels often pile up in a random corner. A caddy keeps everything together and makes the sink area look tidy.
Repurpose a cup set, a clean pasta sauce jar with holes, or a lidded container turned sideways. Add a small tray at the bottom to catch water, then place a towel folded behind it.
-
20. Make a magnetic recipe board with clothespins
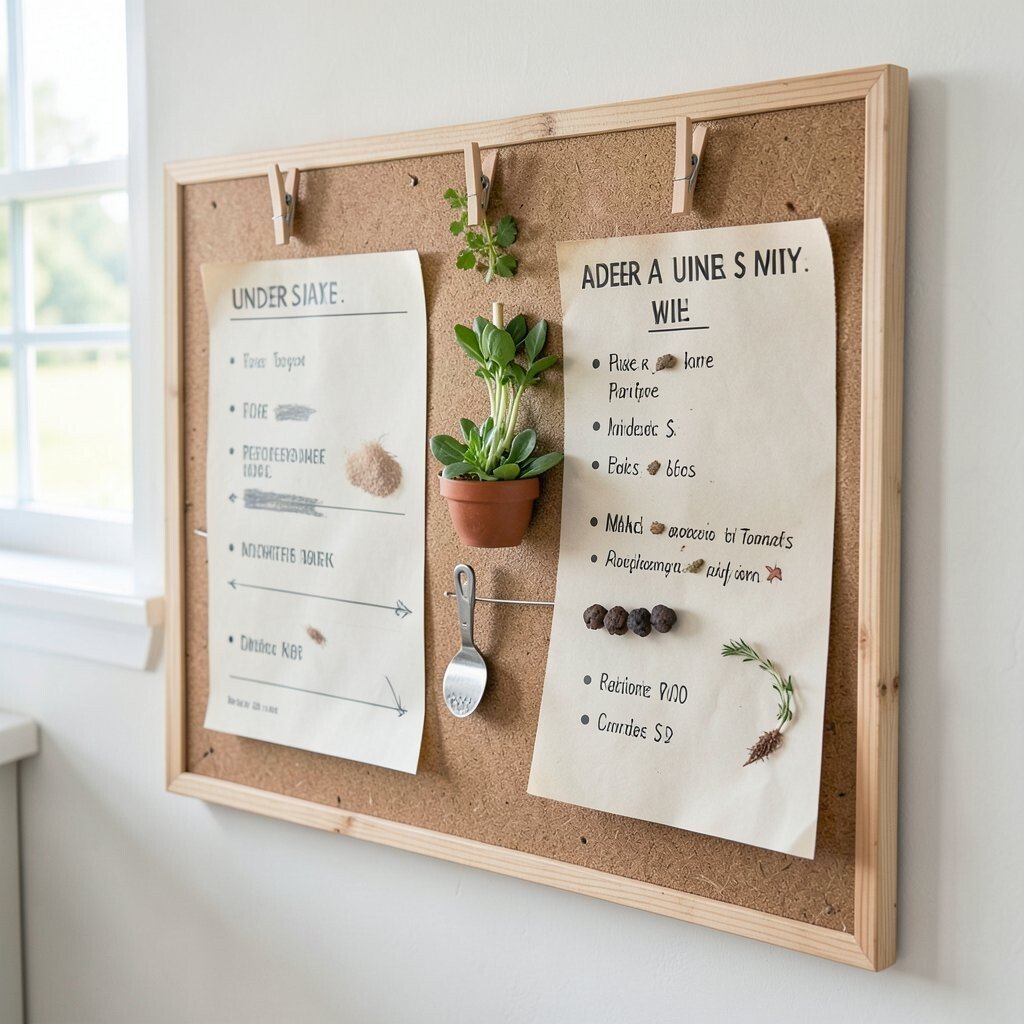
Make a magnetic recipe board with clothespins Cooking is easier when recipes are right in front of you. A magnetic board can hold cards where you can read them while you work.
Use a metal sheet, then attach clothespins or small clips for cards. Add a few magnets so you can hold ingredients lists or quick tips.
This idea feels unique because it mixes function with a craft look. Personalize it with colored card stock and a matching theme for your family’s favorite recipes.
-
21. Craft a DIY “steam-safe” label system for leftovers
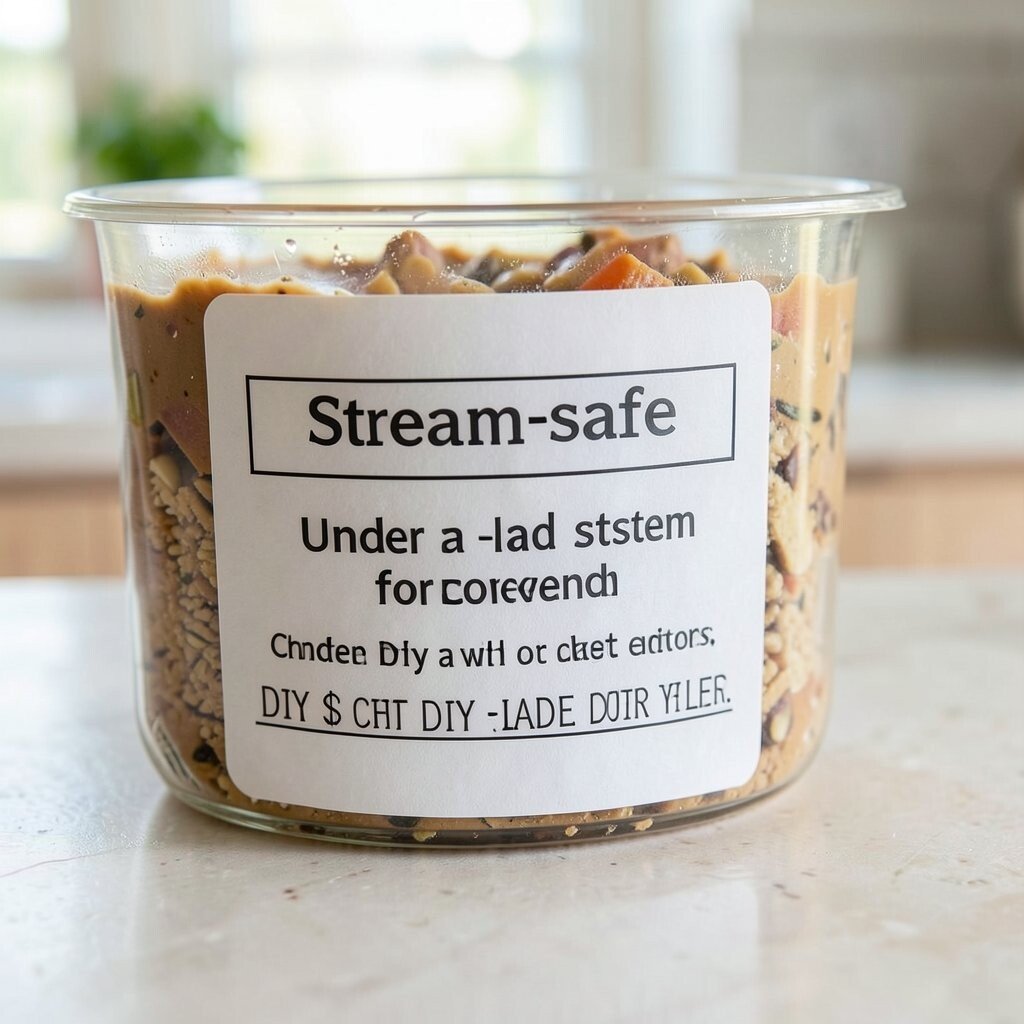
Craft a DIY “steam-safe” label system for leftovers Leftovers get confusing when dates are missing or labels fall off. A steady labeling system helps you use food before it’s too old.
Use labels designed for the fridge or write on tape that won’t peel quickly. Add a simple “day” and “what it is,” like “Chicken rice” or “Veg soup.”
The benefit is less waste and fewer guessing moments. For personalization, use different colors for each meal type so your kitchen routine looks organized at a glance.
To keep costs low, reuse clean jars and containers, and buy labels in bulk if you can. This matches current kitchen trends that focus on smarter, cleaner organization.