There’s something exciting about changing your kitchen with your own hands. But the bigger the plan, the more it pays to choose the right path for your home.
-
1. Paint Cabinets for a Fresh Look
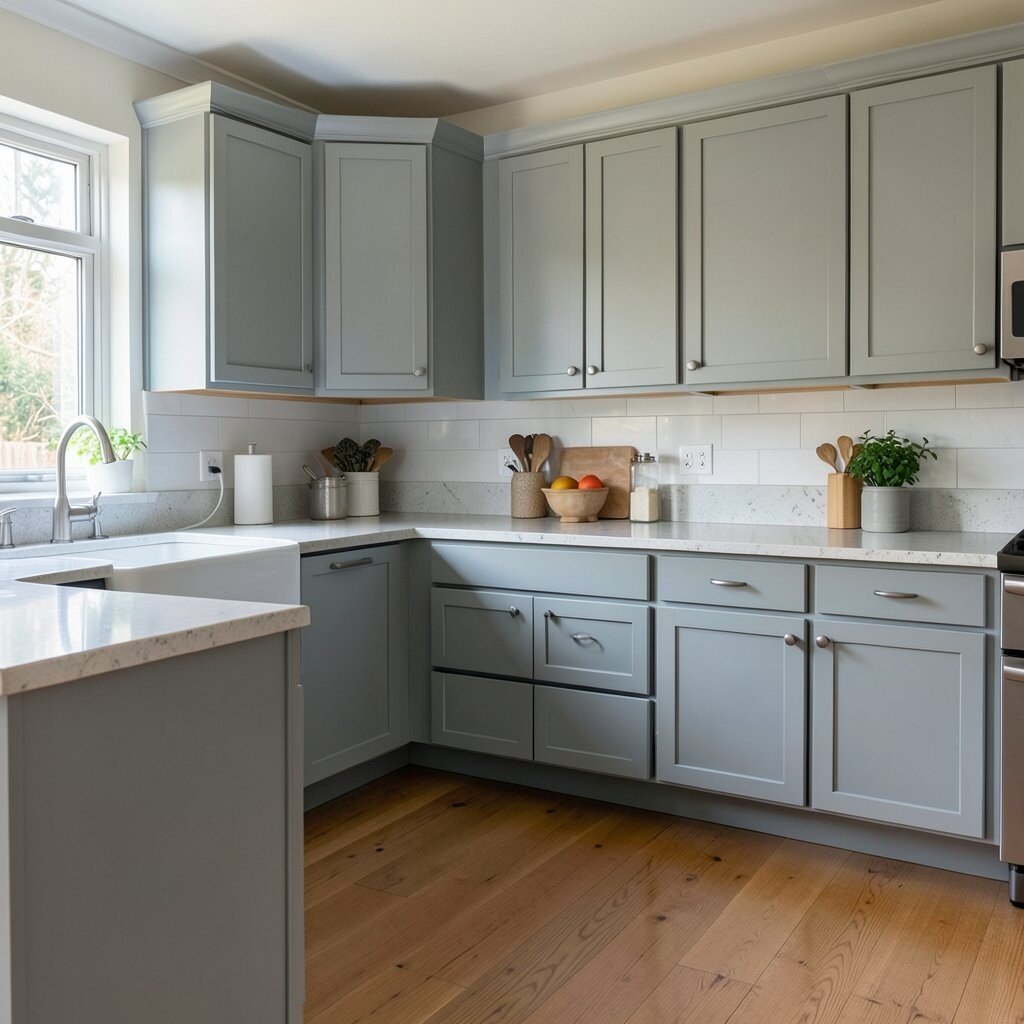
Paint Cabinets for a Fresh Look Imagine walking into your kitchen and seeing light colors that instantly feel cleaner. A DIY cabinet paint job can make old doors look brand new.
Choose a paint finish that matches your lifestyle, like satin for easy wiping. Use painter’s tape and remove hardware so lines look neat. For a modern touch, consider a two-tone idea: keep the base cabinets one color and the uppers another.
-
2. Swap Hardware for Big Impact
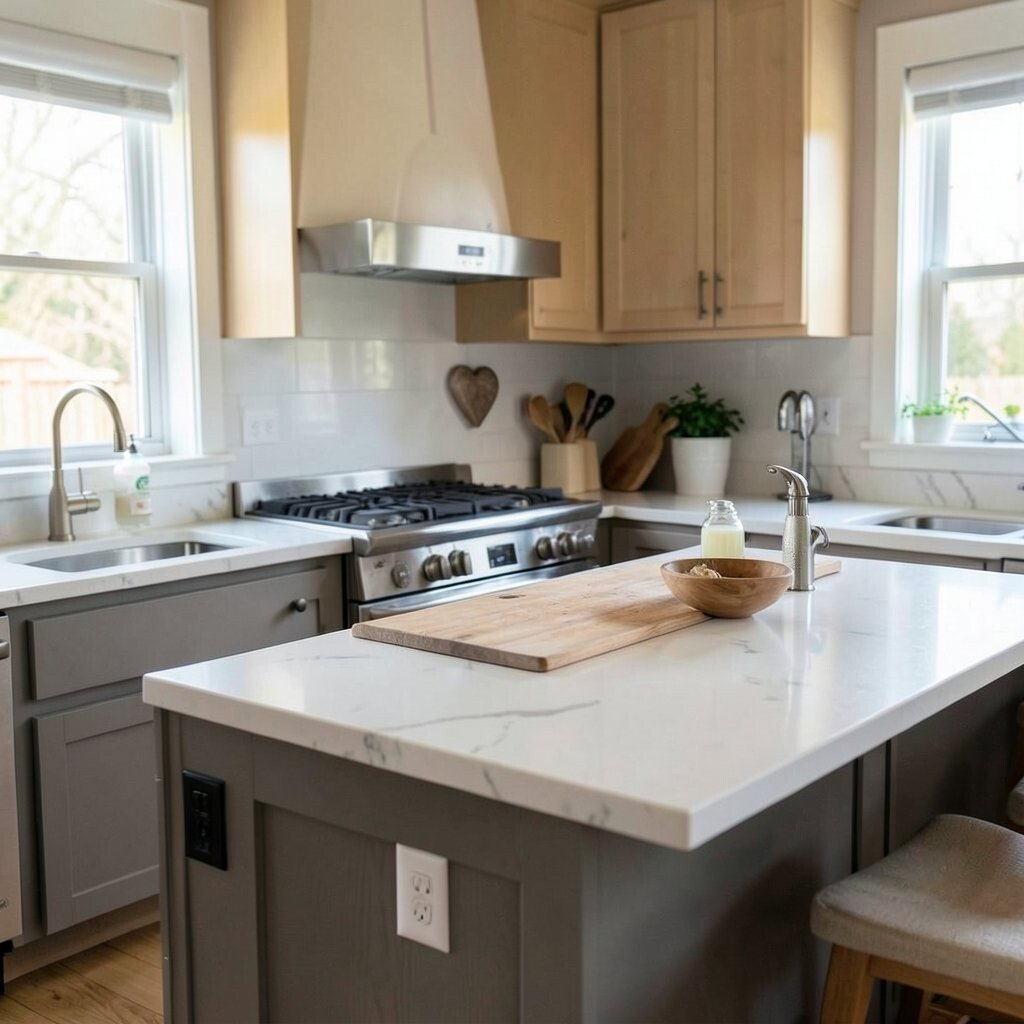
Swap Hardware for Big Impact Small changes can still feel huge when they catch your eye every day. New pulls and knobs can make your cabinets look intentional and stylish.
Pick hardware that matches your faucets or light fixtures to keep the room calm and coordinated. For a quick DIY win, measure screw spacing carefully and buy matching sets. If you love current trends, try matte black, brushed brass, or soft nickel tones.
Budget-friendly hardware usually costs less than new cabinets, and you can finish a room in a weekend. Personalize it by mixing shapes: modern bar pulls on drawers and round knobs on doors.
-
3. Upgrade Lighting with Under-Cabinet LEDs
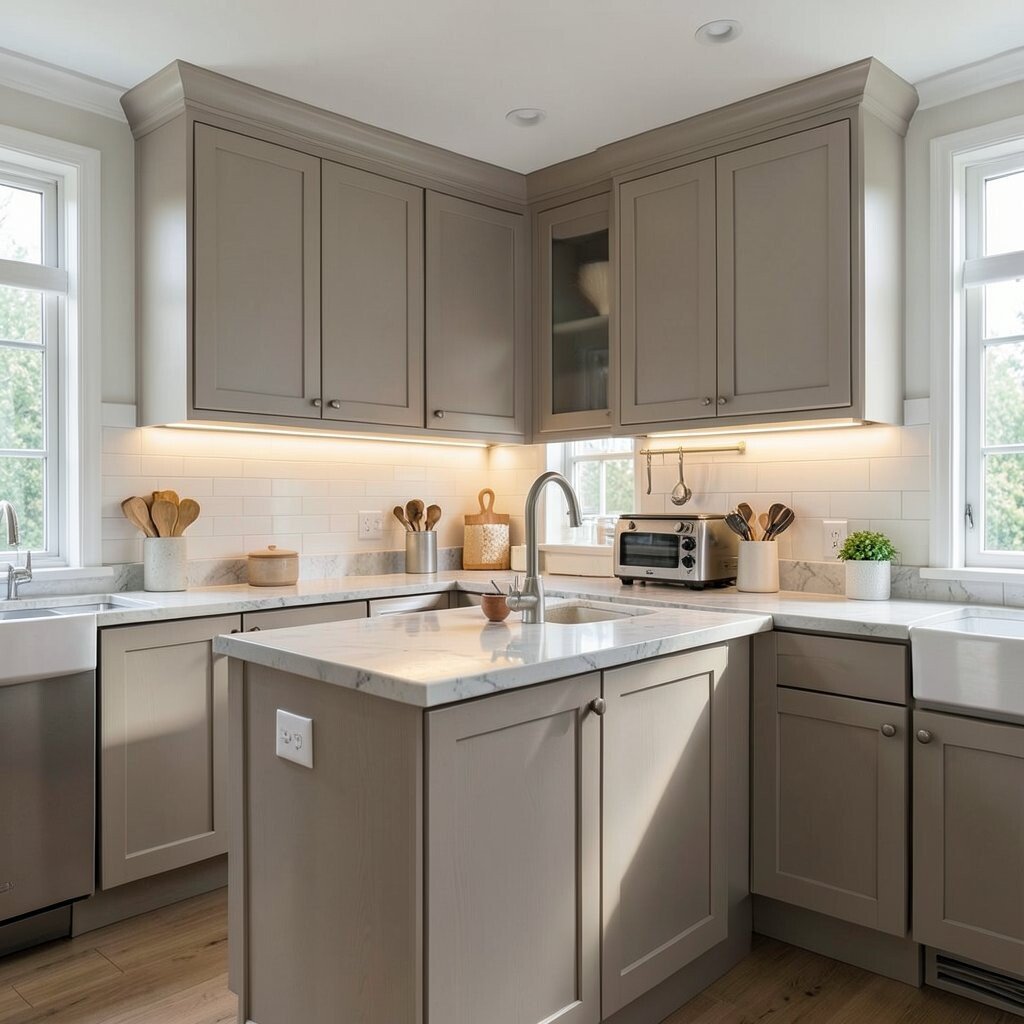
Upgrade Lighting with Under-Cabinet LEDs Your kitchen can look brighter even when nothing else changes. Under-cabinet LED strips create a warm glow on counters and make cooking feel easier.
This is a great mix of DIY and smart planning because wiring is simpler than full electrical work. Choose dimmable options so you can set a cozy mood in the evening. Add a light sensor if you want lights that feel effortless.
Look at how light hits different spots, like behind appliances and near sinks. If you rent, choose plug-in strips and use cable clips for neat lines. The cost is usually moderate, but it gives a “renovation feel” without tearing anything apart.
-
4. Resurface Countertops Instead of Replacing Them
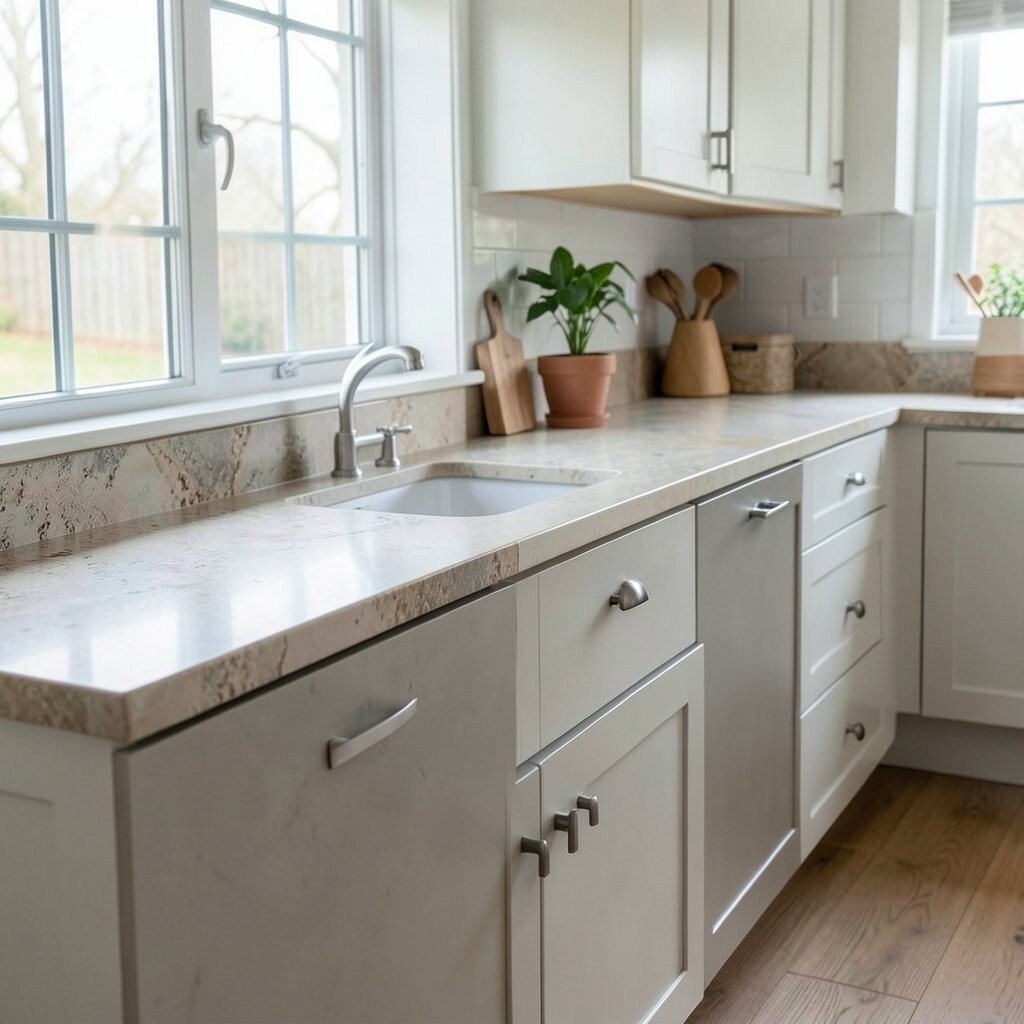
Resurface Countertops Instead of Replacing Them Sometimes your counters look tired, but the base is still solid. A resurfacing kit or professional epoxy can give them a smooth, refreshed finish.
Picture a counter that feels clean and crisp again, with fewer chips and dull spots. This method can be cheaper than full replacement and much less messy than a demolition project.
Pick a finish that matches your kitchen style, like warm concrete tones or subtle stone patterns. Ask about curing times so you can plan meals around drying. If you want personalization, add a color tint that suits your cabinet paint.
Always clean and prep carefully, because the top layer needs strong bonding. When done well, it can hold up nicely to daily use, especially when you use gentle cleaners.
-
5. Install a Backsplash Peel-and-Stick Upgrade
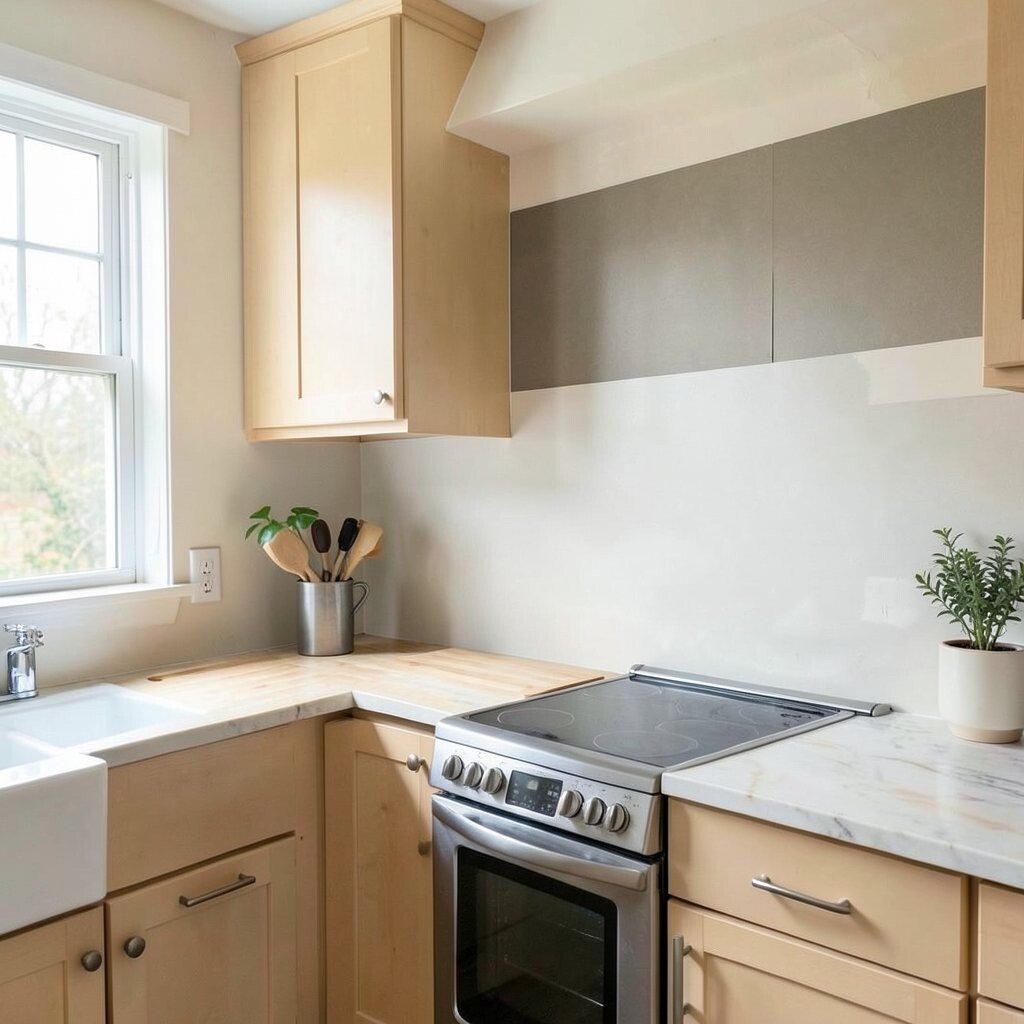
Install a Backsplash Peel-and-Stick Upgrade A backsplash can act like the “jewelry” of your kitchen. Peel-and-stick tiles let you get that stylish look without big labor.
Imagine glossy subway tiles catching light behind the stove. It instantly makes the whole wall feel organized and finished.
For best results, clean the wall really well and use a level as you place each piece. Choose grout-style patterns for the trendy, high-end effect. Budget-wise, peel-and-stick is often a lot less than traditional tile and it’s easy to update later.
-
6. Paint the Walls Instead of Redoing Everything
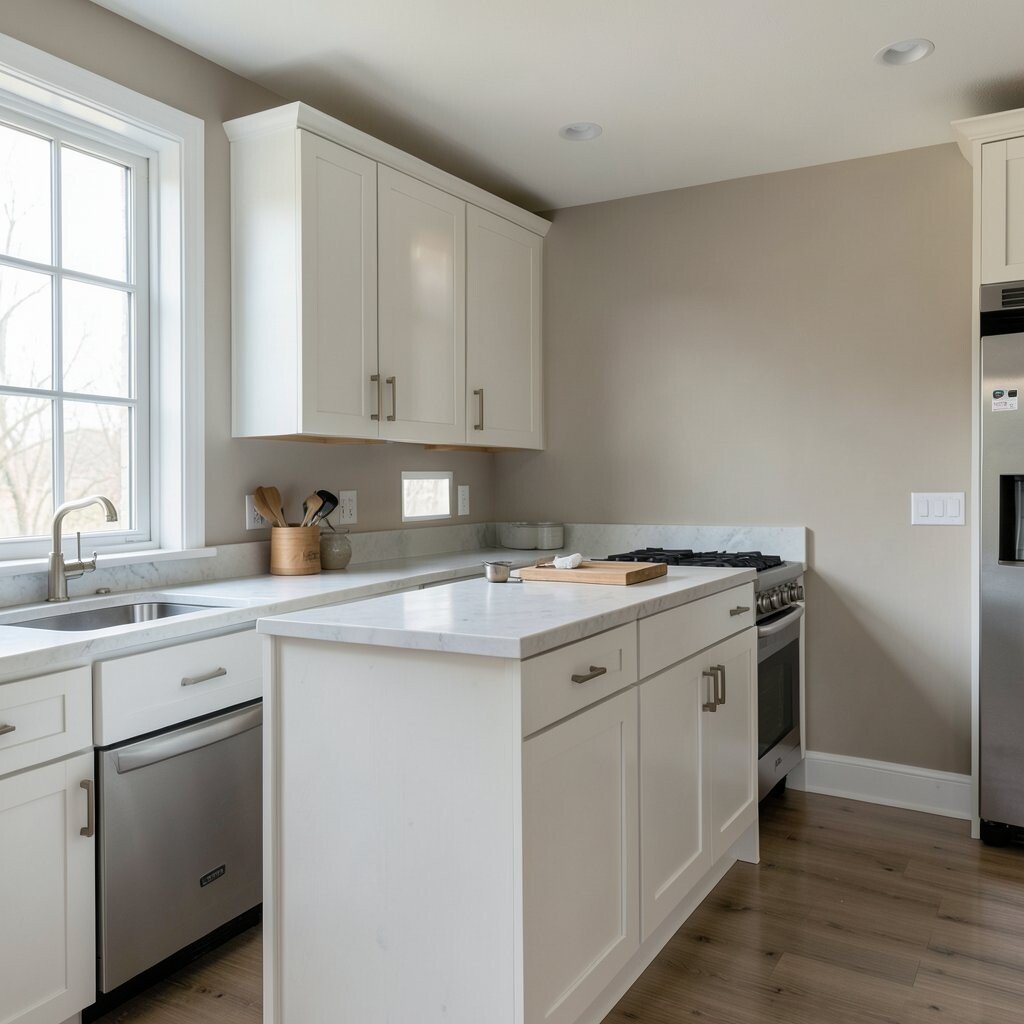
Paint the Walls Instead of Redoing Everything The fastest “reset” for a kitchen is often just a new wall color. When the shade is right, cabinets and floors start looking like they belong together.
Try warm whites, soft greige, or pale greens that feel calming. If your kitchen gets lots of sun, you can go slightly deeper without making it dark. Use a satin or eggshell finish because kitchens need surfaces that wipe clean.
For personalization, add a paint accent around the backsplash area or behind open shelving. Protect counters with drop cloths and take your time around edges. This DIY option is usually one of the lowest-cost upgrades, and the results can be dramatic.
-
7. Replace the Sink and Faucet as a Quick Renovation Win
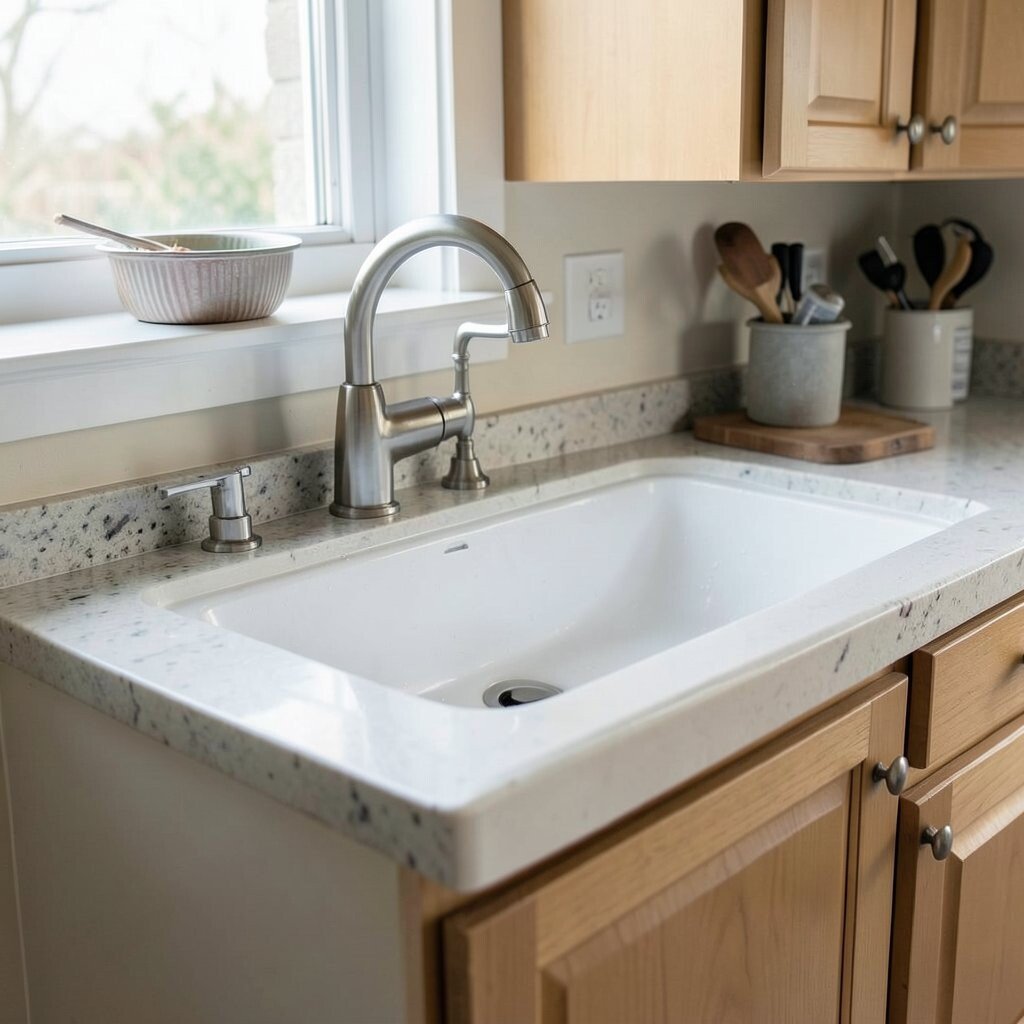
Replace the Sink and Faucet as a Quick Renovation Win Your sink area is where the kitchen’s daily work happens. When you upgrade the faucet and sink, it can change both the look and the feel of the whole room.
Picture a clean, modern faucet with a smooth spray and a sink that looks bright and fresh. A DIY-friendly swap can be done by careful homeowners with patience and basic tools.
Consider features people love right now, like pull-down sprayers and touchless options. Choose finishes that match your hardware so the room looks planned. Cost can vary a lot, so set a clear budget and compare styles before buying.
-
8. Convert Open Shelving with Smart Storage Bins
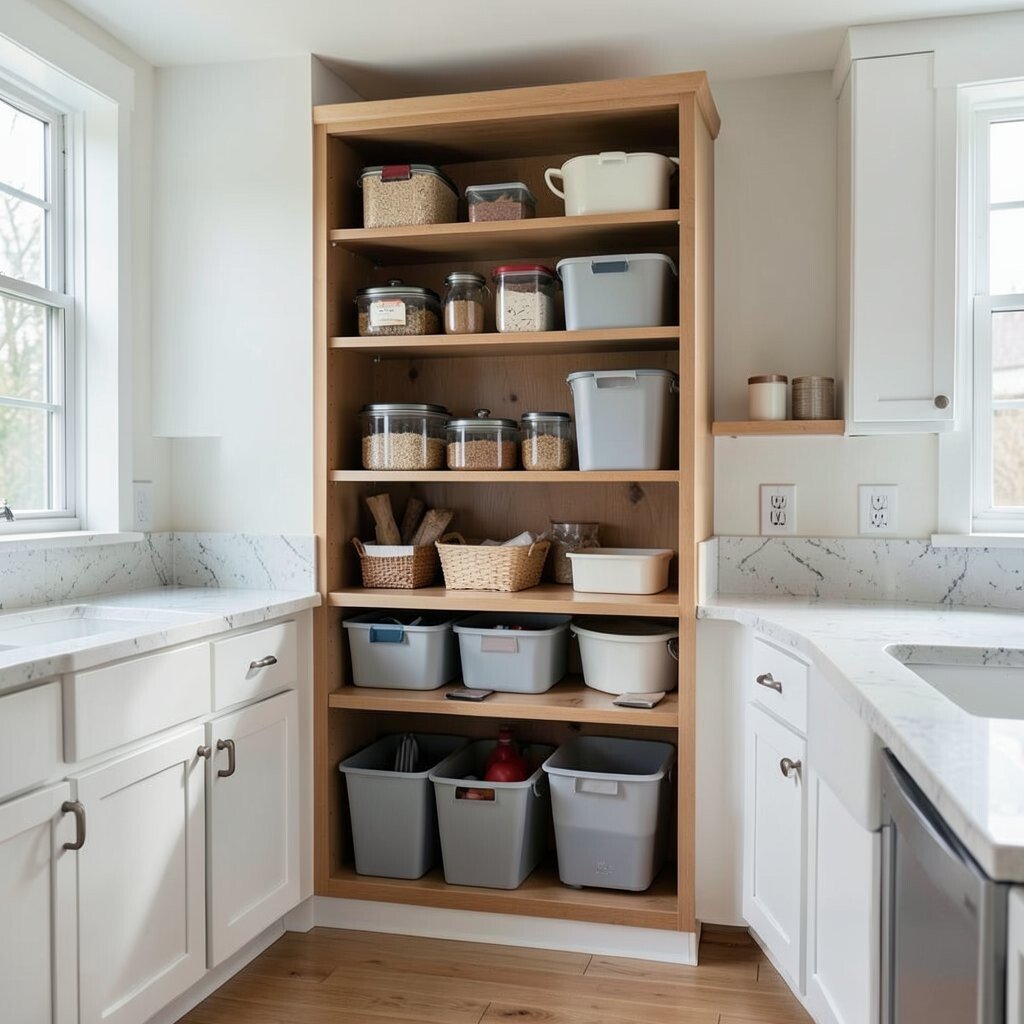
Convert Open Shelving with Smart Storage Bins Open shelving can make a kitchen feel airy and light. But it only looks good when everything has a place.
Start by visualizing how items will look on the shelves, like matching jars and stacked plates. Use matching baskets or clear bins to keep small things tidy. This is a fun way to personalize your kitchen without expensive carpentry.
If you have upper cabinets, you can remove doors and replace them with shelves, depending on your setup. That gives a “renovation vibe” while staying DIY-friendly. For cost control, keep the original shelf boards and add simple brackets.
Choose shelving materials that fit your style, like light wood for cozy spaces or black metal for modern looks. Add labels to bins if you want a kitchen that feels organized even when it’s busy.
-
9. Build a Custom Spice Drawer Insert
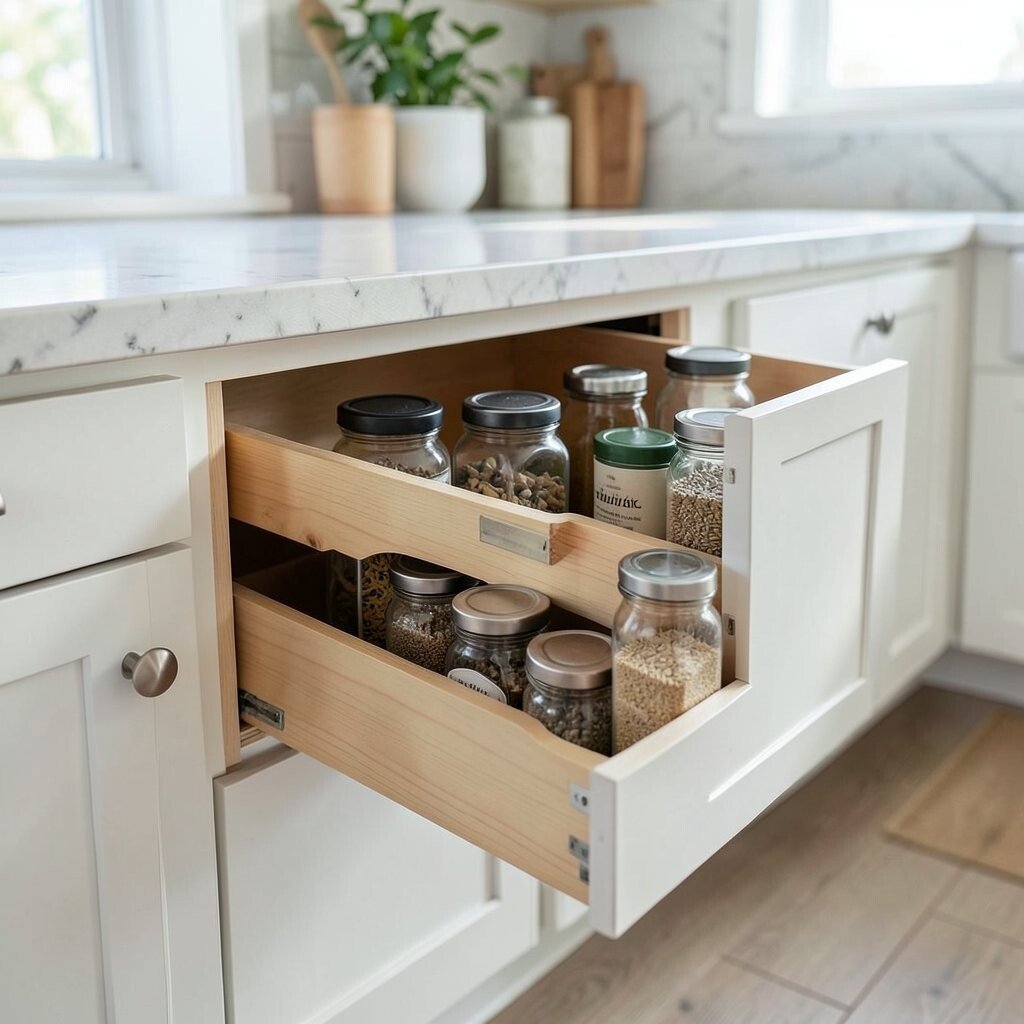
Build a Custom Spice Drawer Insert Spices that look messy can make the whole kitchen feel chaotic. A drawer insert gives you order, and it looks neat in pictures too.
Imagine sliding open a drawer and seeing spices in tidy rows, easy to grab while cooking. You can DIY this with wood, foam inserts, or modular organizers.
Measure your drawer width and plan for the jars you already own. Use small dividers so bottles don’t bump into each other. This kind of upgrade is unique because it’s made for your habits.
-
10. Update Floors with Peel-and-Stick Vinyl Planks
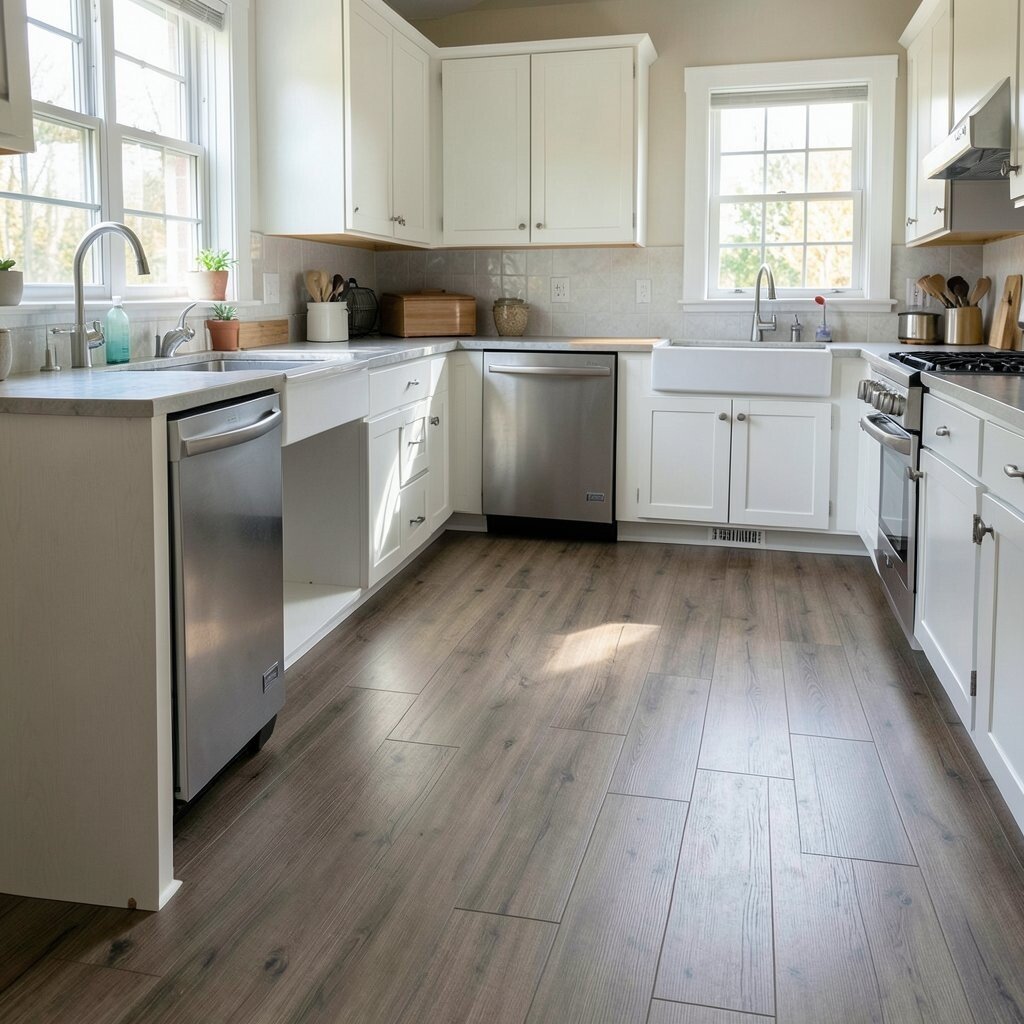
Update Floors with Peel-and-Stick Vinyl Planks Floors set the mood the moment you step in. Peel-and-stick vinyl planks can give your kitchen a fresh style without ripping up everything.
Picture a warm wood-look pattern under your feet, making the kitchen feel cozy and clean. It’s a popular trend because installation is simpler than many other flooring options.
For best results, prep the subfloor carefully and keep the room temperature stable. Use a quality underlayment if recommended. Cost is usually mid-range, and the project can often be done in a weekend.
-
11. Replace Flooring with Waterproof Options for Long-Term Comfort
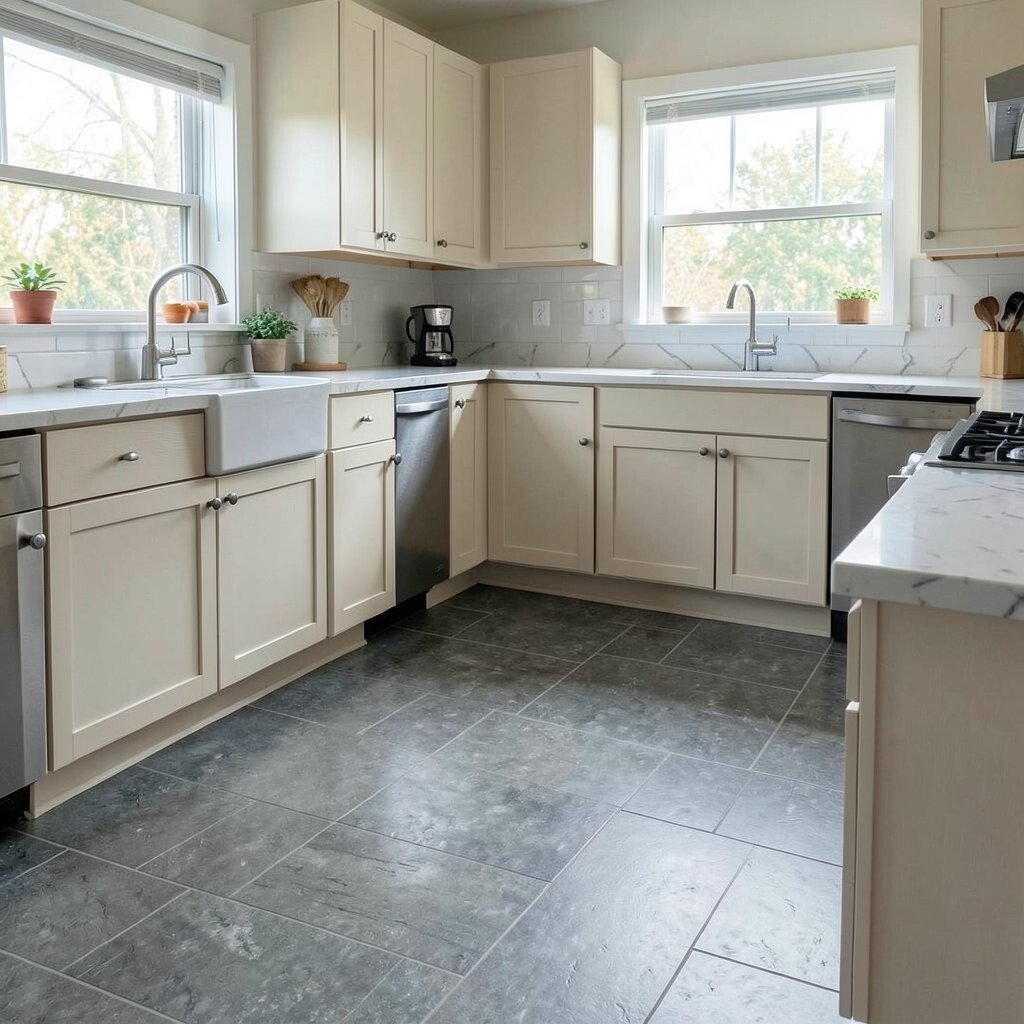
Replace Flooring with Waterproof Options for Long-Term Comfort If your kitchen gets lots of spills, waterproof flooring can be a smart upgrade. It helps you feel calm because messes are less stressful.
Think about luxury vinyl tile or waterproof laminate that looks like real wood. This can be a full renovation move, especially if you want a smoother, more permanent finish.
Consider your kitchen style, like farmhouse, modern, or classic, and pick a pattern that fits. Ask about wear layers so the surface can handle foot traffic and chair movement. While this can cost more than DIY planks, it can feel like a lasting upgrade that pays off every day.
-
12. Add a Kitchen Island or Rollout Prep Cart
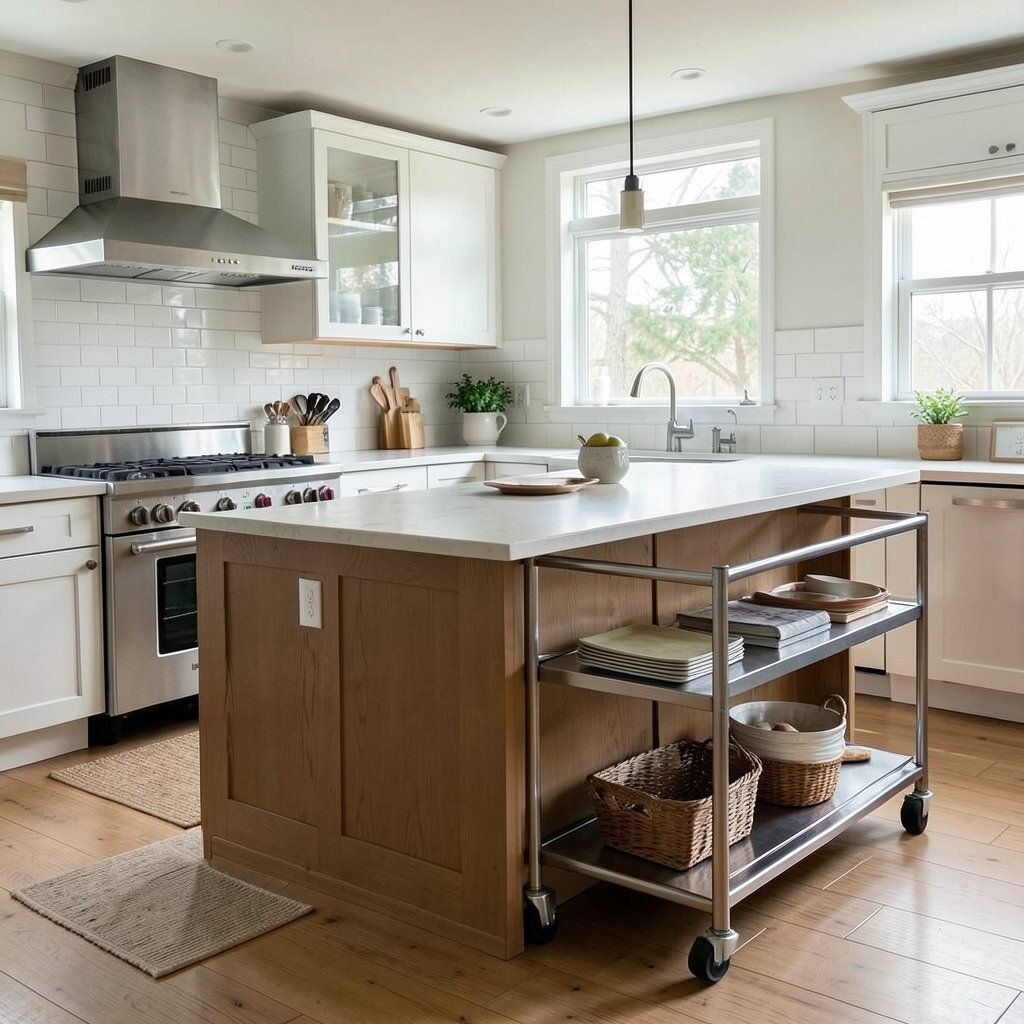
Add a Kitchen Island or Rollout Prep Cart Extra prep space makes cooking feel less stressful. An island or a rollout cart can give you that space without full demolition.
Imagine having a clean place for chopping, mixing, and plating while friends hang out nearby. A DIY option is often a rolling cart with a butcher-block top, which is easy to personalize.
For a bigger change, you can plan a built-in island, but that usually means more labor and cost. If you go bigger, talk to a contractor about plumbing and electrical needs. If you stay small, choose sturdy casters and add locking brakes for safety.
-
13. Upgrade Storage with Lazy Susans and Corner Pull-Outs
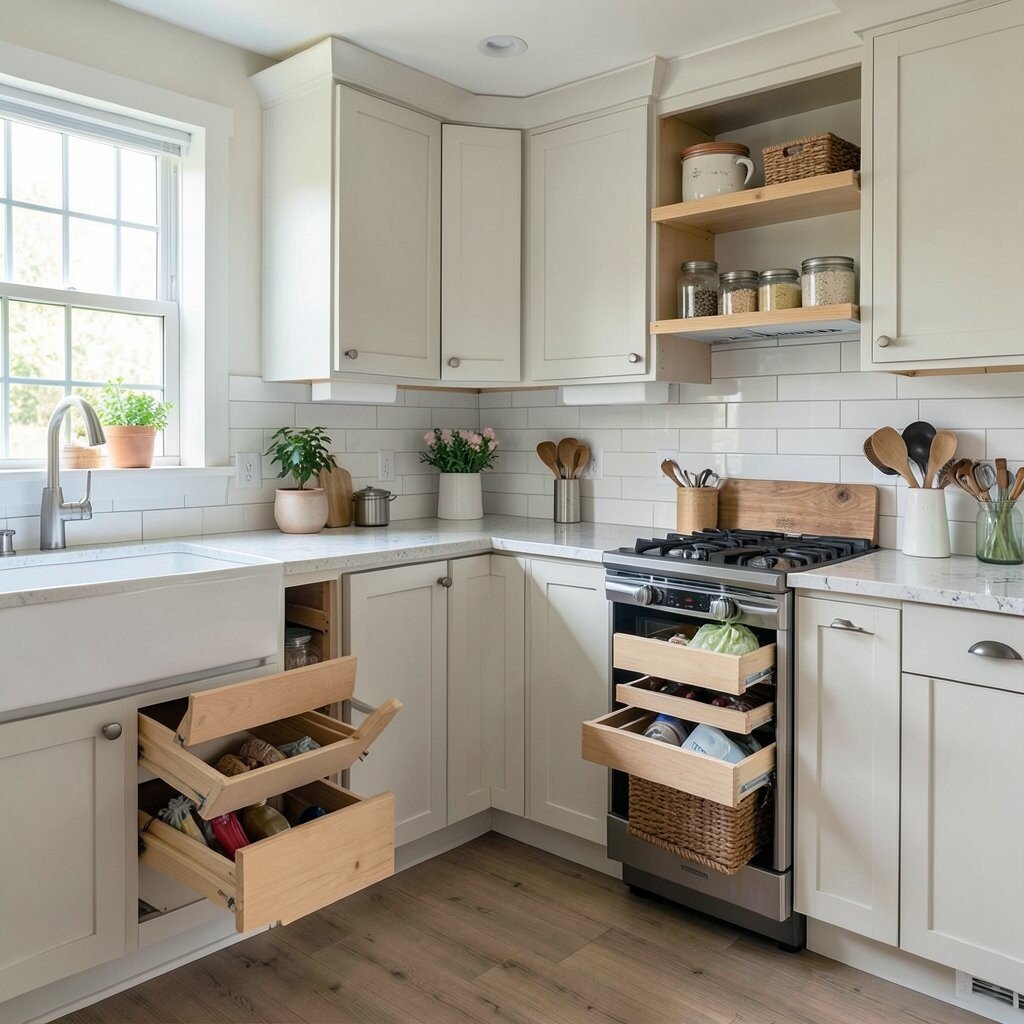
Upgrade Storage with Lazy Susans and Corner Pull-Outs Corner cabinets can feel like dead space. When you add lazy susans or pull-out organizers, you turn that awkward area into useful storage.
Picture reaching into the corner and finding what you need without digging through clutter. This is a unique upgrade because it improves daily function, not just the looks.
You can often install these organizers with basic tools and careful measuring. Measure the cabinet depth, door type, and hinge placement before ordering. Budget can range, so prioritize the corners that hold your most-used items.
If you want personalization, label the shelves by category, like baking, oils, and sauces. That small step makes the kitchen feel like it runs on autopilot.
-
14. Do a Full Cabinet Refacing or Replace Cabinets
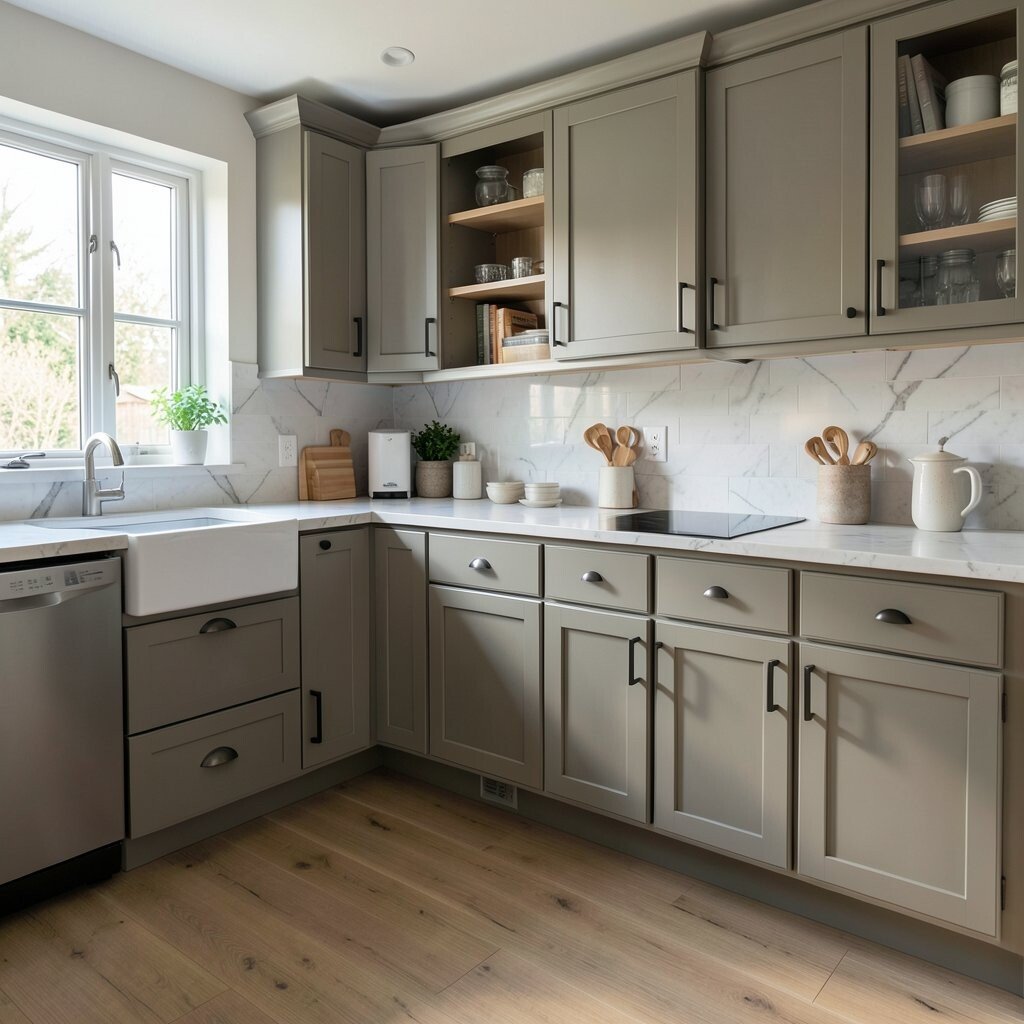
Do a Full Cabinet Refacing or Replace Cabinets Sometimes the best path is a full cabinet makeover. Refacing can keep the original cabinet boxes, while replacement swaps everything for a new layout.
Think about how new cabinets can frame the whole kitchen like a clean picture. Choosing the right door style, finish, and hardware makes the room feel modern or timeless.
If you want something trendy, look at flat-panel fronts, shaker variations, and warm wood tones. For personalization, plan a mix of open shelves, glass-front doors, and closed storage. Cost is usually higher than paint, but the difference can be dramatic and long-lasting.
When planning the layout, think about your workflow: where you prep, where you cook, and where you store. A pro can help with measurements, but you can still personalize with your own style choices and finishing details.
-
15. Add Smart Upgrades with a Full Renovation Plan
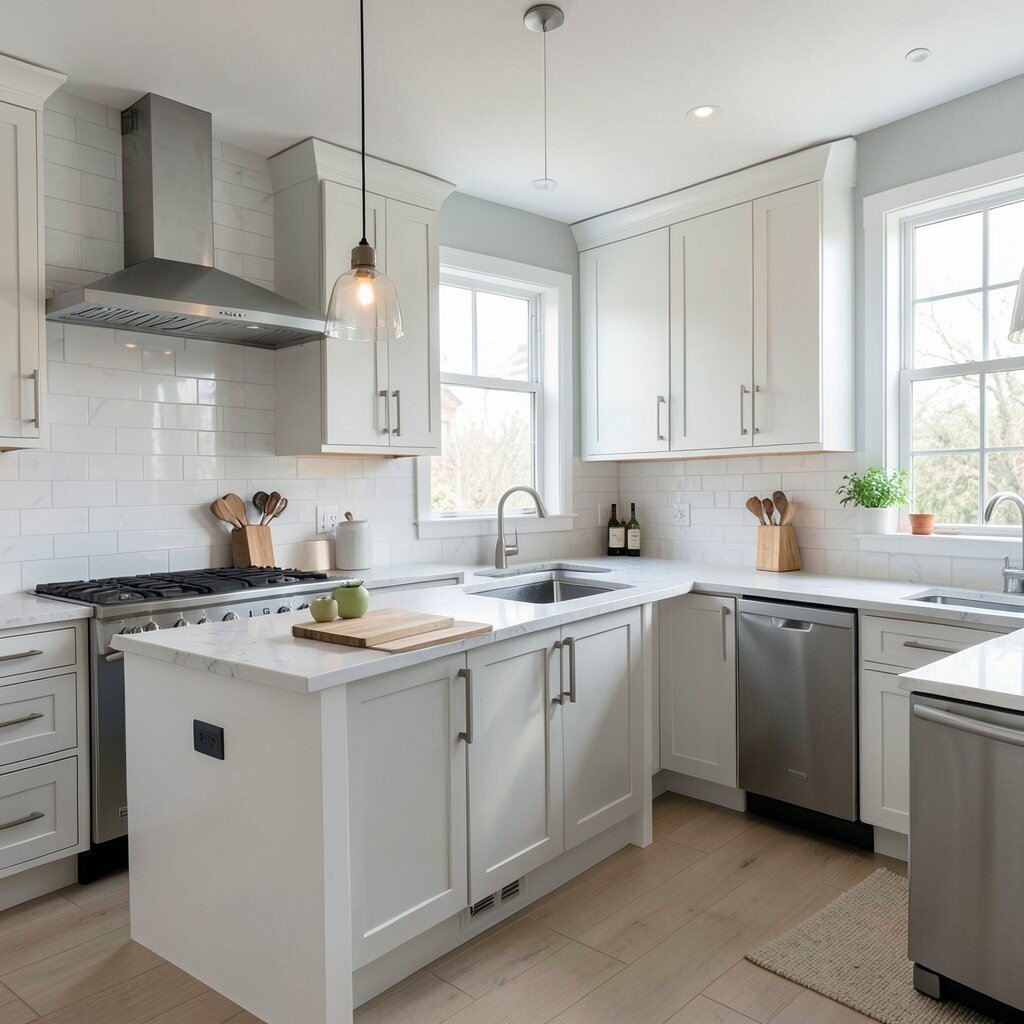
Add Smart Upgrades with a Full Renovation Plan Modern kitchens don’t just look better; they work smarter too. Smart upgrades can make tasks quicker, safer, and more fun.
Picture a voice-activated timer, a smart vent hood, or outlets that charge devices right at the counter. This is especially powerful when you plan a renovation, because wiring and placement can be done cleanly.
Consider smart sensors for under-sink leaks and motion lighting near storage. For a more budget-friendly approach, pick one feature first, like a smart thermostat for the home or a lighting controller. Personalize your tech by choosing what you’ll actually use every day.