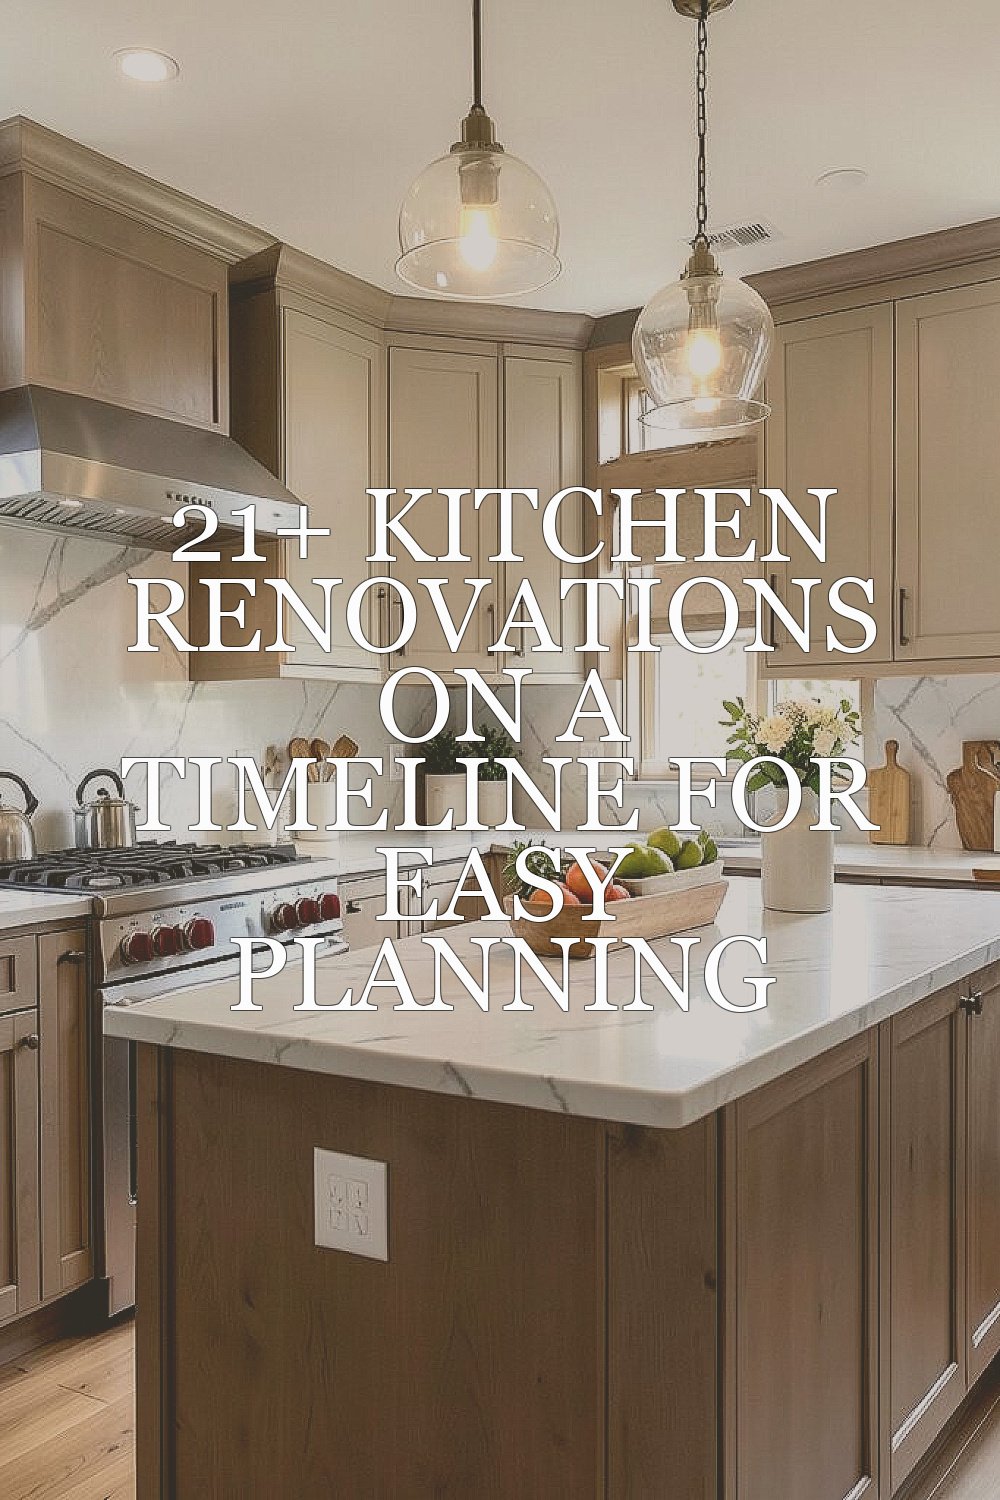
Something small can start the biggest kitchen glow-up. A clear plan makes every choice feel calmer and more fun.
A kitchen renovation is not only about looks. It is about better flow, safer cooking, easier cleaning, and a home that feels like “you.” Use the timeline below like a friendly roadmap. Each step includes what you may see in your own space, why it helps, and how to plan so costs stay more predictable.
-
1. Do a “today” walkthrough and measure like a detective

Do a “today” walkthrough and measure like a detective Start by walking your kitchen slowly and noticing what feels smooth and what feels stuck. Measure doors, windows, and the path from fridge to sink to stove so your plan fits real life.
Write down every problem you spot, like doors that hit, weak lighting, or cramped counter space. Take photos from a few angles so you can compare before and after. This step saves money later because you won’t redesign the same mistakes.
-
2. Set your goals and pick a style anchor
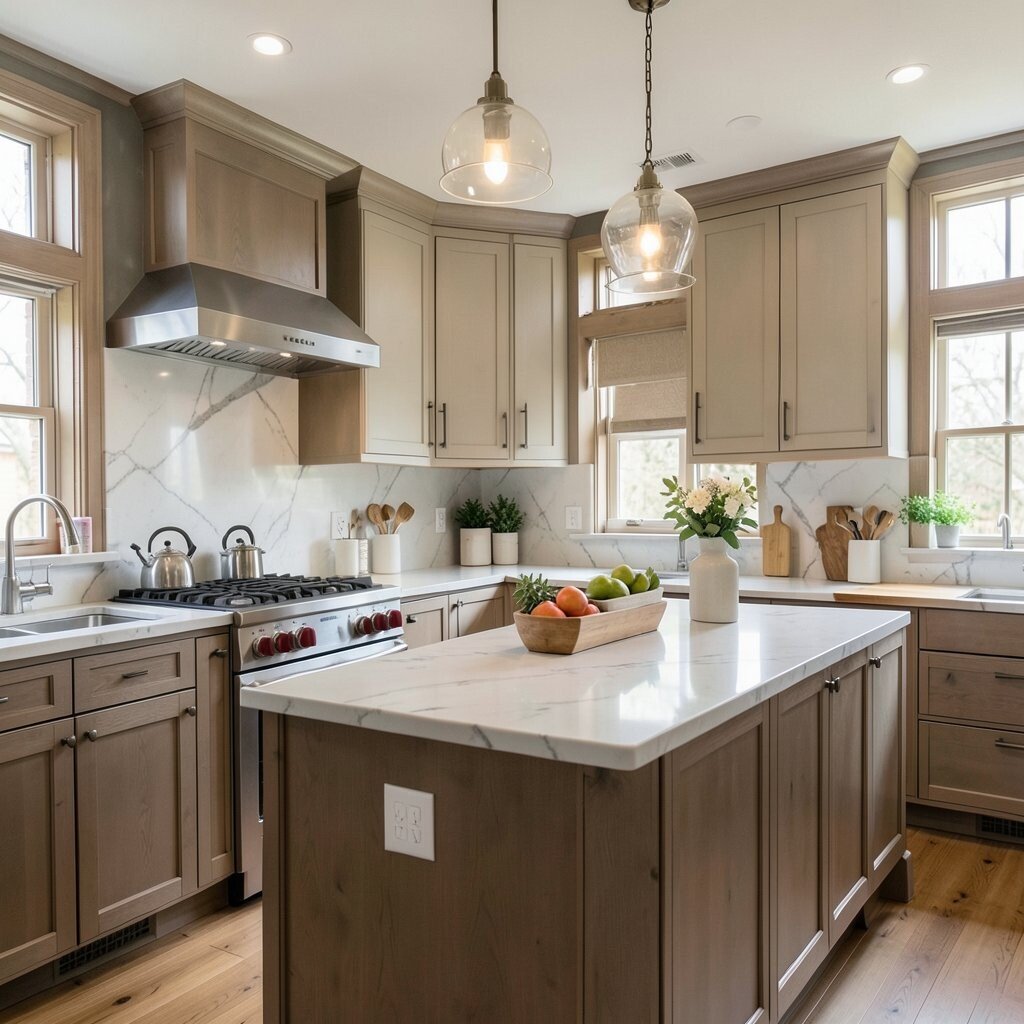
Set your goals and pick a style anchor Your kitchen should feel right the moment you step in. Choose a style anchor like warm modern, classic white and wood, or cozy farmhouse so decisions stay connected.
Look at hardware, cabinet color ideas, and backsplash patterns that you keep coming back to. When you pick early, you spend less time guessing. You also get a clearer budget because style choices guide material choices.
To personalize, match one “signature” detail, like a favorite cabinet color or a unique tile shape. That one choice can carry the whole kitchen. Think of it as your kitchen’s personality badge.
-
3. Create a priority list: must-haves, nice-to-haves, and wishful thinking

Create a priority list: must-haves, nice-to-haves, and wishful thinking Make two columns on paper and label them “must” and “later.” If you do not know your priorities yet, start with how you cook most days.
Maybe you need more storage, better task lighting, or a bigger workspace for chopping. Nice-to-haves could be fancy pull-out trays or decorative moldings. Keep wishful ideas for after the core layout feels right.
For cost planning, this list helps you spend on what changes daily life. You can also decide what to postpone without feeling guilty. A calm plan usually costs less than a rushed one.
Try a quick test: stand where you prep food and imagine walking with a pot in your hands. If the route feels tight, that becomes a must. If it feels fine, you can save budget for later upgrades.
-
4. Check your kitchen’s “work triangle” and layout flow
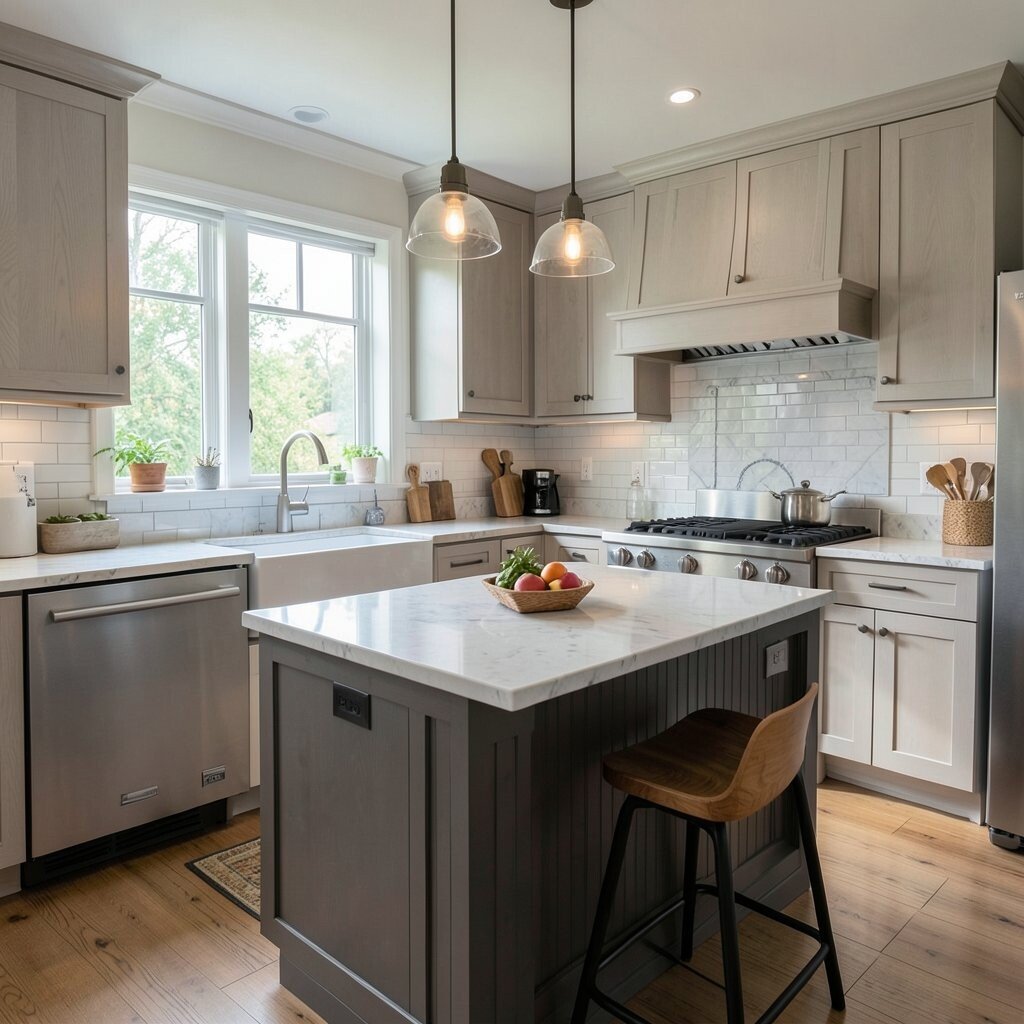
Check your kitchen’s “work triangle” and layout flow Good layout feels like effortless movement. You want the fridge, sink, and stove to support your routine instead of making you crisscross.
If you can, plan for a clear path and landing zones next to the sink and stove. Even small layout tweaks can improve safety and reduce clutter. When you keep the flow smooth, you will use your kitchen more, not less.
-
5. Budget your renovation range with a smart cushion
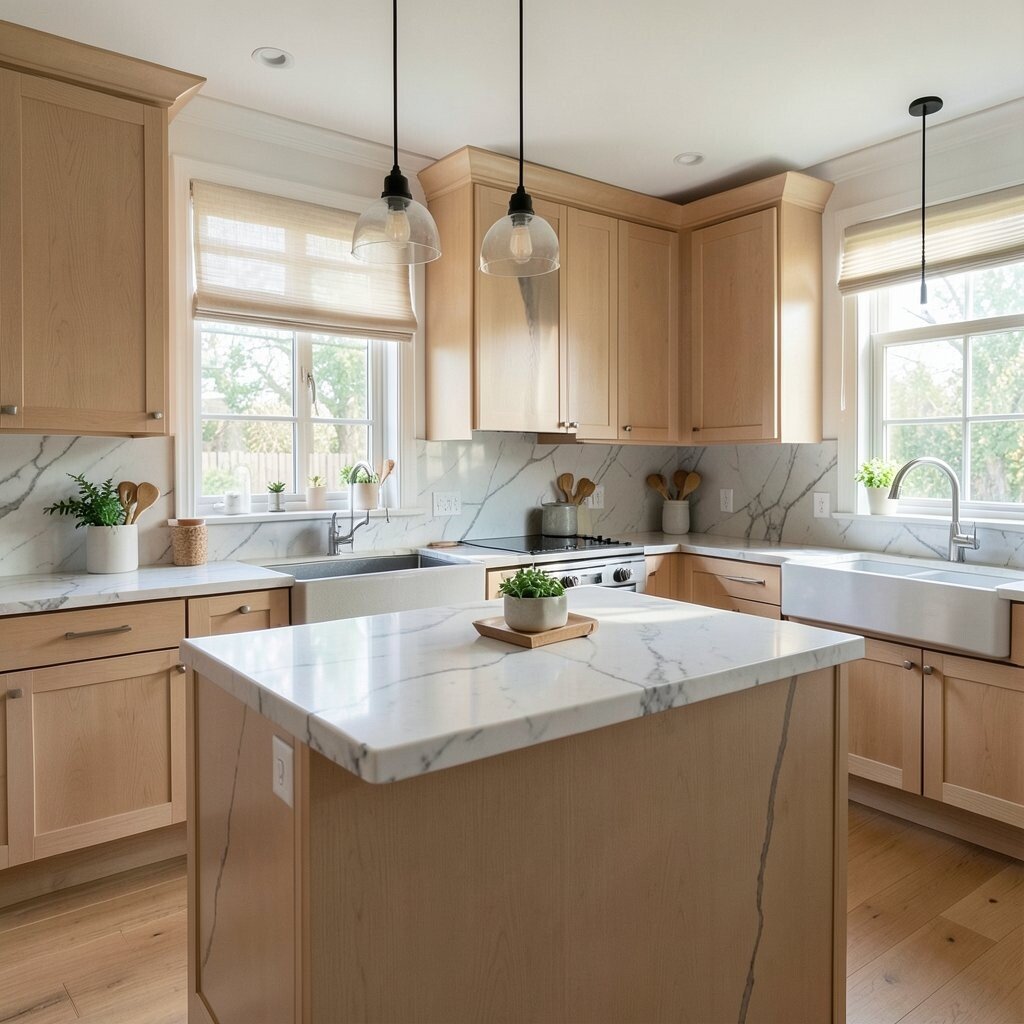
Budget your renovation range with a smart cushion Think of your budget like a travel pack: it needs essentials and a little extra room. Set a target for cabinets, counters, flooring, lighting, and labor, then add a cushion for surprises.
Older homes often hide wiring, plumbing, or floor issues under current finishes. A cushion keeps you from pausing mid-project. It also makes negotiations with contractors easier.
To stay realistic, ask for itemized estimates, not one big number. Compare at least two options and note what is included. When you know what “counts,” cost planning becomes less stressful.
-
6. Order sample boards for cabinets, paint, and finishes
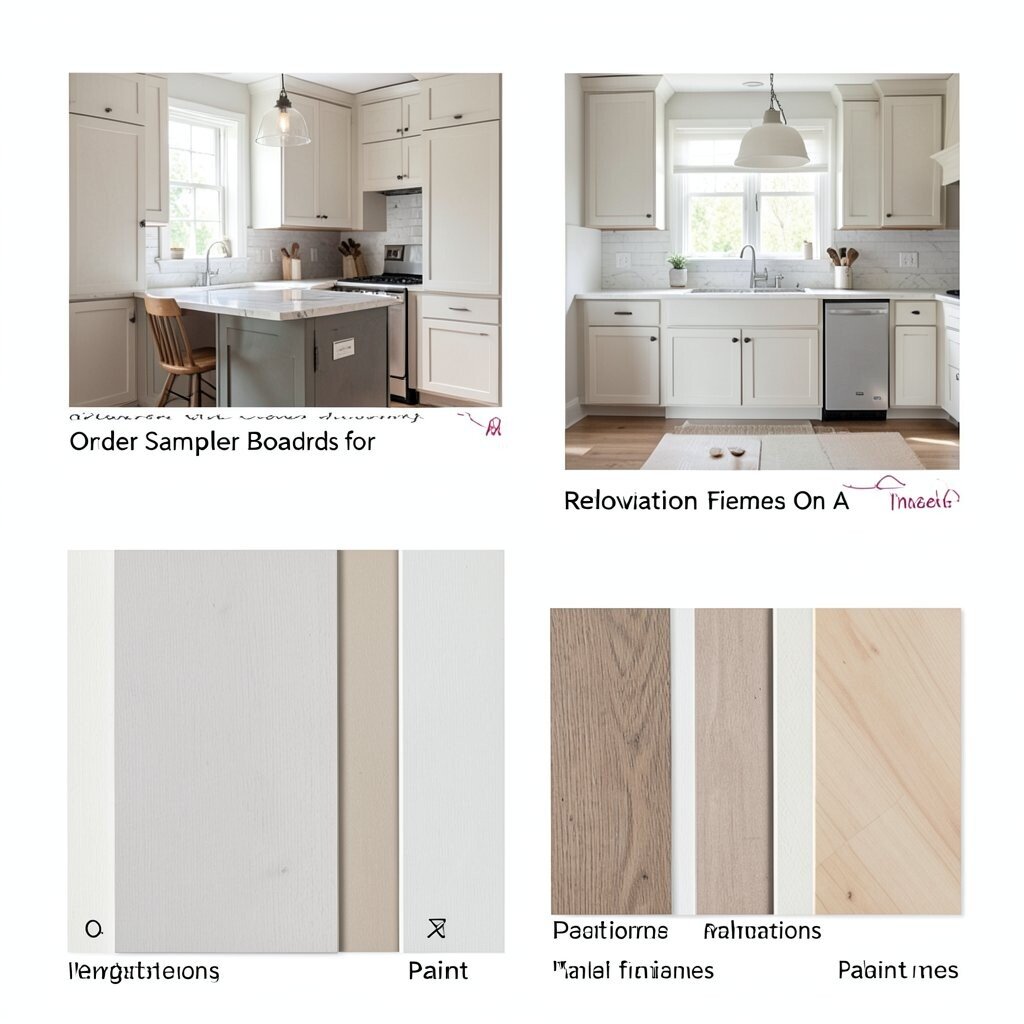
Order sample boards for cabinets, paint, and finishes Nothing beats seeing colors in your actual light. Get swatches for paint, cabinet samples, and countertop options so you can check how they look morning and evening.
Hold samples next to each other and pay attention to undertones, like warm beige or cool gray. If the combos look off now, they will look off later. This step helps prevent the most expensive kind of redo.
For personalization, choose one finish that feels special, like brass-toned fixtures or matte black hardware. Small details can make a simple kitchen feel custom. It is also a trend-friendly move because mixed metals keep showing up in modern designs.
-
7. Plan your lighting layers before you pick anything else

Plan your lighting layers before you pick anything else Great kitchens usually have three types of light working together. You want ceiling light for the whole room, task light for counters, and accent light for mood.
Picture bright, clean light over the sink and stove, with softer highlights near open shelving. Under-cabinet lighting helps you see food prep clearly. It also makes your finishes look richer.
Choose dimmers if you can, because your kitchen needs different light for cooking and relaxing. Check the fixture style to match your cabinet handles and faucet. Lighting planning early can prevent costly rework later.
-
8. Choose flooring with daily-life comfort in mind

Choose flooring with daily-life comfort in mind Your floor is the largest surface you touch every day. Pick something that matches how your family moves, drops items, and cleans up fast.
Kitchen flooring options include durable vinyl, water-resistant laminate, tile, and engineered wood. Visualize how your current cabinets and wall color will pair with your new floor shade. For cost considerations, tile can be gorgeous but may need more labor, while vinyl often costs less.
-
9. Update the sink area for instant “wow”
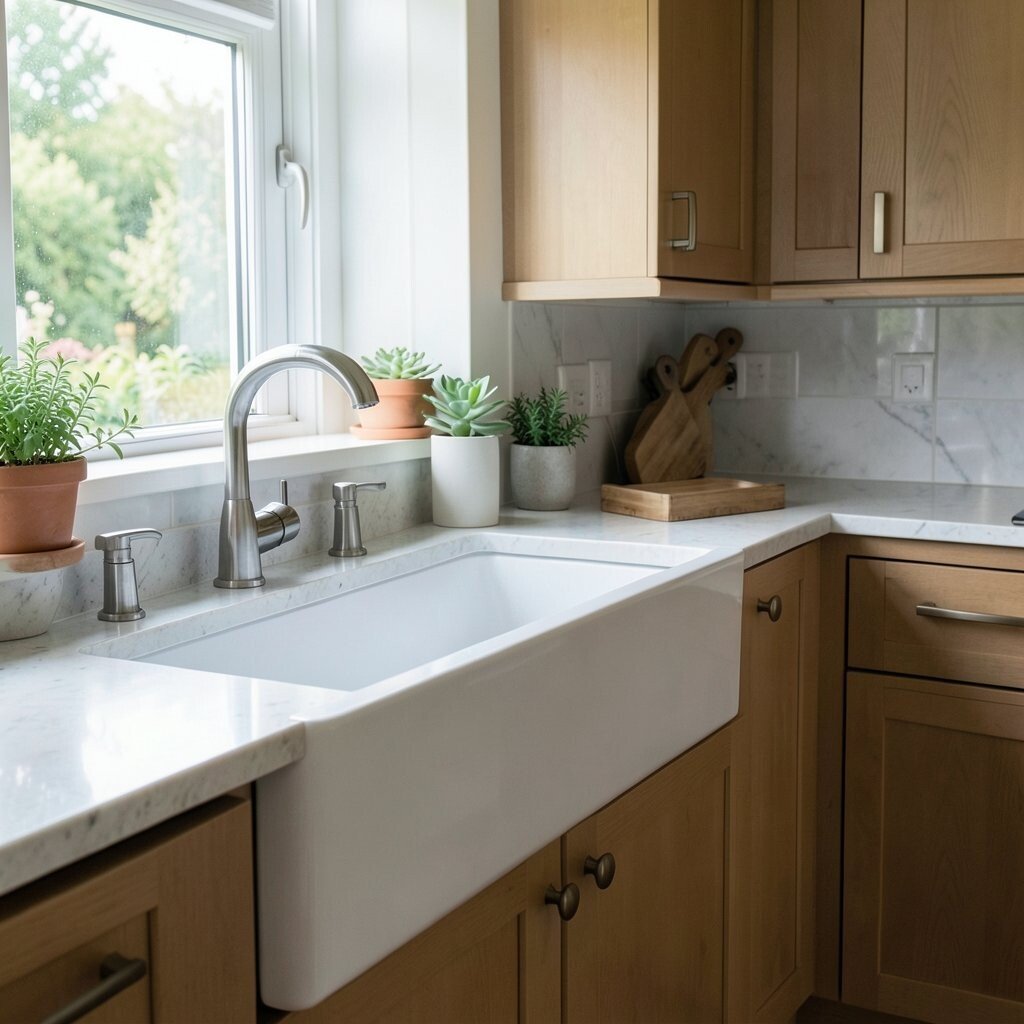
Update the sink area for instant “wow” The sink zone often becomes the visual center of the kitchen. Swapping to a modern faucet and adding a better drainboard look can make your space feel brand new.
Consider a deep sink for big pots and a faucet with a comfortable reach. If you add a soap dispenser and a matching sprayer, everything looks intentional. This is a uniqueness move that does not require full cabinet demolition.
Personalize with a stainless tone, black hardware vibe, or brushed gold look that matches your other finishes. You will benefit from easier rinsing and fewer splashes. Plan for plumbing work in your timeline so the install day is smooth.
-
10. Replace or refresh cabinet hardware first

Replace or refresh cabinet hardware first Hardware is like jewelry for your kitchen. Changing knobs and pulls can update the look quickly and often at a lower cost.
Try a new shape that fits your style anchor, such as sleek bar pulls for modern cabinets or classic knobs for traditional ones. You will notice a difference the moment you open a door. This step is also great for testing how you like a finish, like matte black or warm brass.
If your existing holes do not match, plan for plate covers or cabinet face changes. Measure carefully to avoid re-drilling mistakes. This small step can keep you excited while bigger renovations are ordered.
-
11. Paint cabinets or doors if you want big change without full replacement
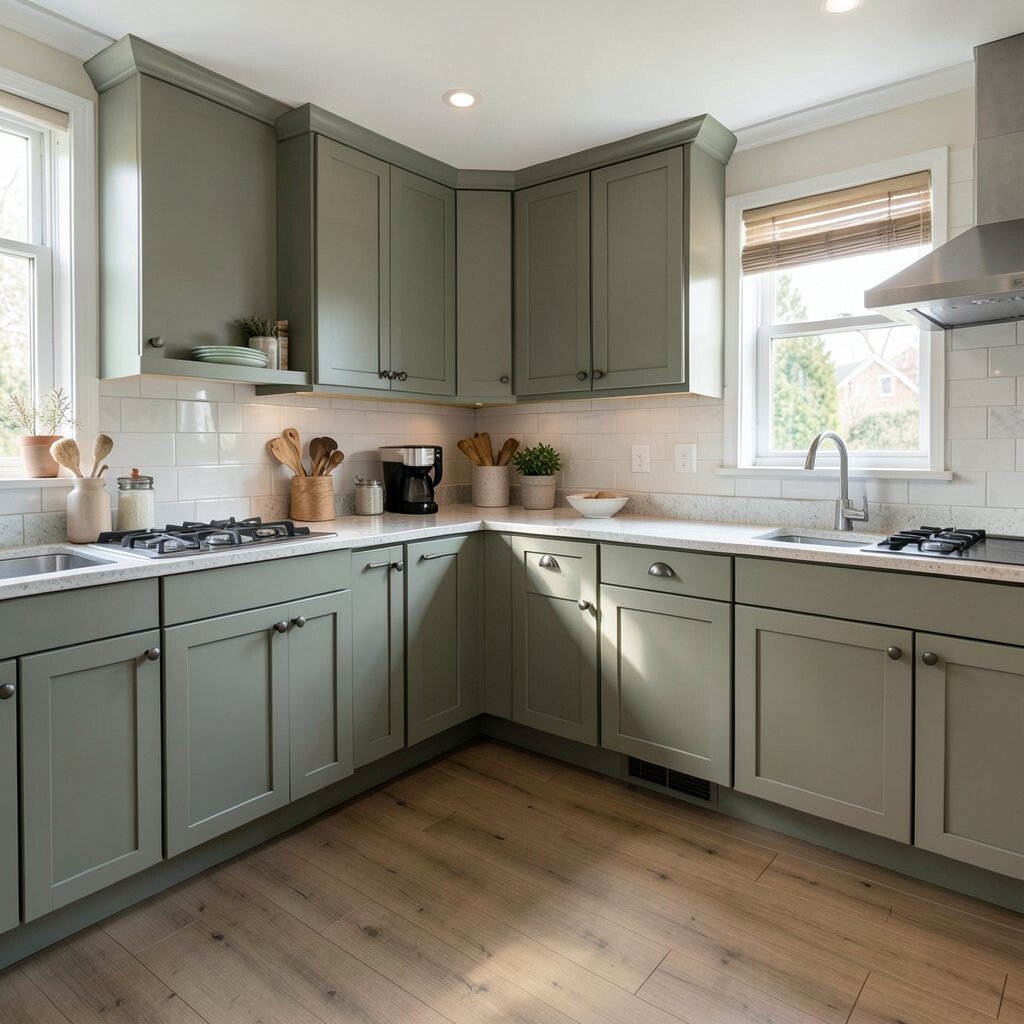
Paint cabinets or doors if you want big change without full replacement Painting can bring a tired kitchen back to life. Think of smooth doors, refreshed color, and crisp edges that look newly installed.
For trends, matte finishes and soft two-tone looks are popular right now. You might paint the lower cabinets a richer shade and keep the uppers lighter for balance. If you prefer warmer vibes, choose creamy whites with gentle undertones.
To personalize, add a subtle contrast on the island or use a color that matches your dining room. For cost considerations, painting is often less expensive than full cabinet replacement. The key is prep, so the paint sticks and lasts.
-
12. Plan countertop selection based on your lifestyle

Plan countertop selection based on your lifestyle Countertops are where you chop, spill, and set hot pans down. Choose a surface that matches your habits, not just your favorite photo.
Quartz is loved for its easy care, while granite offers natural sparkle and warmth. Butcher block adds cozy texture and feels great for casual cooking. For cost planning, quartz and granite vary by quality, and installation can affect the final number.
Picture the countertop edge too, like a simple straight edge or a softer profile. If you like clean lines, go for a minimal edge. If you want a softer feel, choose a rounded or eased edge that looks inviting.
Before ordering, ask about lead times because countertops often take longer than paint. Matching your backsplash later becomes easier when your countertop choice is settled early.
-
13. Add backsplash for texture, pattern, and color control

Add backsplash for texture, pattern, and color control A backsplash can make a plain kitchen feel like a magazine spread. Visualize tiles that glow behind the stove and a grout color that ties into your cabinetry.
For benefits, backsplash protects walls from splashes and makes cleaning easier. It also lets you add uniqueness without changing the whole layout. You can pick a pattern that feels calm, like small square tiles, or bold, like herringbone or a vertical rib.
Keep personalization simple by repeating a finish you already chose, like warm wood accents or brass-toned fixtures. When you choose earlier, you can coordinate grout undertones with your countertop color. That coordination can reduce stress and prevent “almost right” results.
-
14. Upgrade storage with pull-outs and better organizers
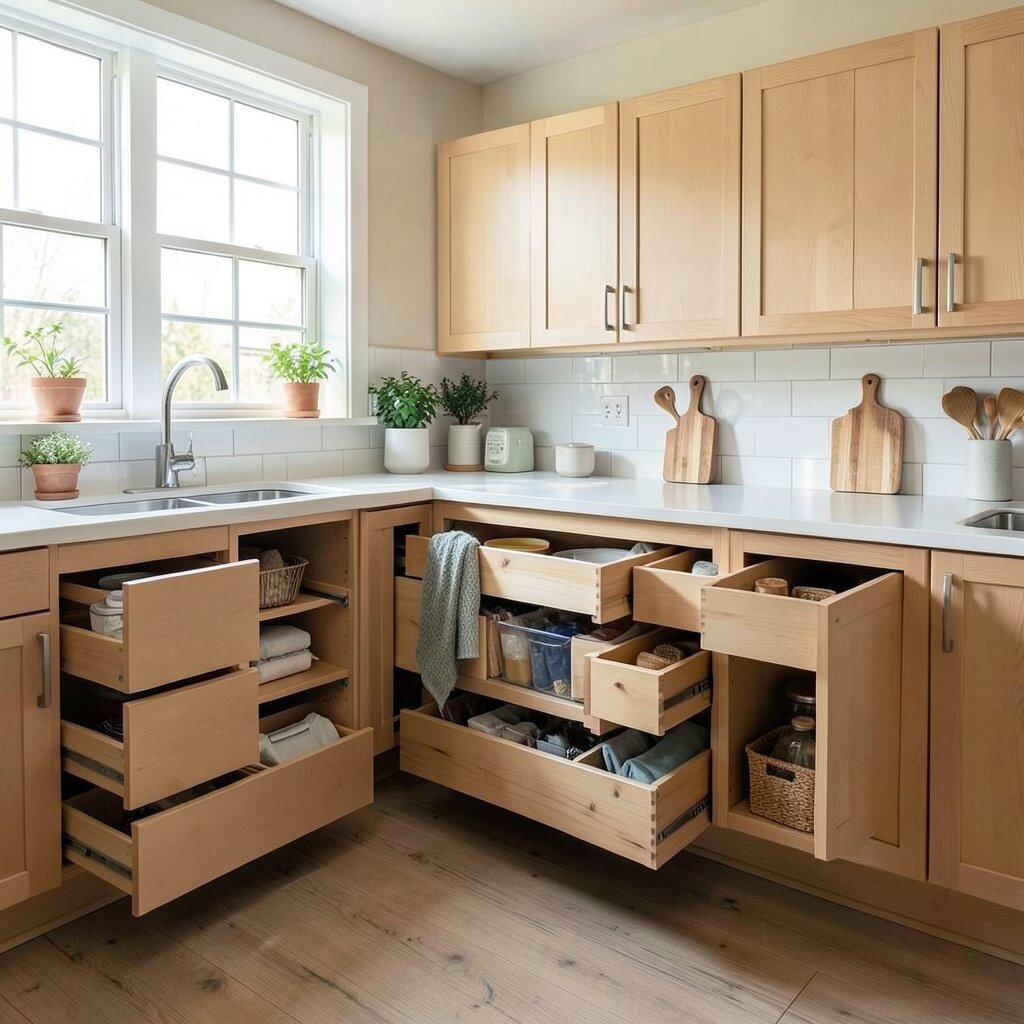
Upgrade storage with pull-outs and better organizers If your kitchen feels messy, the solution is often inside the cabinets. Pull-out shelves, lazy Susans, and drawer dividers help everything stay reachable.
Imagine spices lined in a tidy row, pots stacked with space to breathe, and baking sheets stored flat. This makes cooking faster because tools are easy to find. Storage upgrades can feel small, but the benefit is huge every single day.
For cost considerations, prioritize the cabinets you open most. Add pull-outs near the sink and stove first. If budget is tight, choose a few high-impact upgrades instead of doing everything at once.
-
15. Plan appliance upgrades with measurement checklists

Plan appliance upgrades with measurement checklists New appliances can change how your kitchen looks and performs. But first, confirm every opening size, venting requirement, and electrical outlet location.
Picture a matching set that fits the cabinet lines, with clean handles and a finish that suits your style. Built-in-looking appliances are popular, because they make the room feel smooth and custom. For personalization, choose a finish that matches your hardware vibe.
To avoid surprise costs, include delivery, installation, and any needed power or vent work. Ask about service plans if you plan to keep appliances for many years. When planning is careful, appliance upgrades feel like a win instead of a headache.
-
16. Replace windows or add treatments for better light control

Replace windows or add treatments for better light control Natural light makes kitchens feel bigger and warmer. But too much glare can also make it harder to see while cooking.
If you update windows, you may improve comfort and energy use. If windows are staying, add blinds, shades, or curtains that fit your privacy needs. Consider a style that matches your hardware and cabinet colors.
For benefits, good light control helps you read recipes without harsh shadows. It also protects finishes from too much sun exposure. This step often costs less than major structural changes.
To personalize, choose a fabric or shade color that echoes a backsplash tone. Even simple treatments can make the whole kitchen feel finished.
-
17. Rework outlets and add under-cabinet power

Rework outlets and add under-cabinet power Outlets are easy to ignore until you run out of space. When you plan power early, charging, using small appliances, and plugging in devices becomes effortless.
Visualize a tidy countertop with fewer cords, plus under-cabinet outlets near your prep zone. This reduces clutter and makes everyday cooking feel smoother. It also makes cleanup easier because you can keep counters clearer.
For cost considerations, adding new outlets may require electrical work. That work is usually cheaper when done before cabinets and countertops are installed. Make a list of what you use often, like a toaster, coffee maker, and blender.
-
18. Install a kitchen island or create one with smart functions
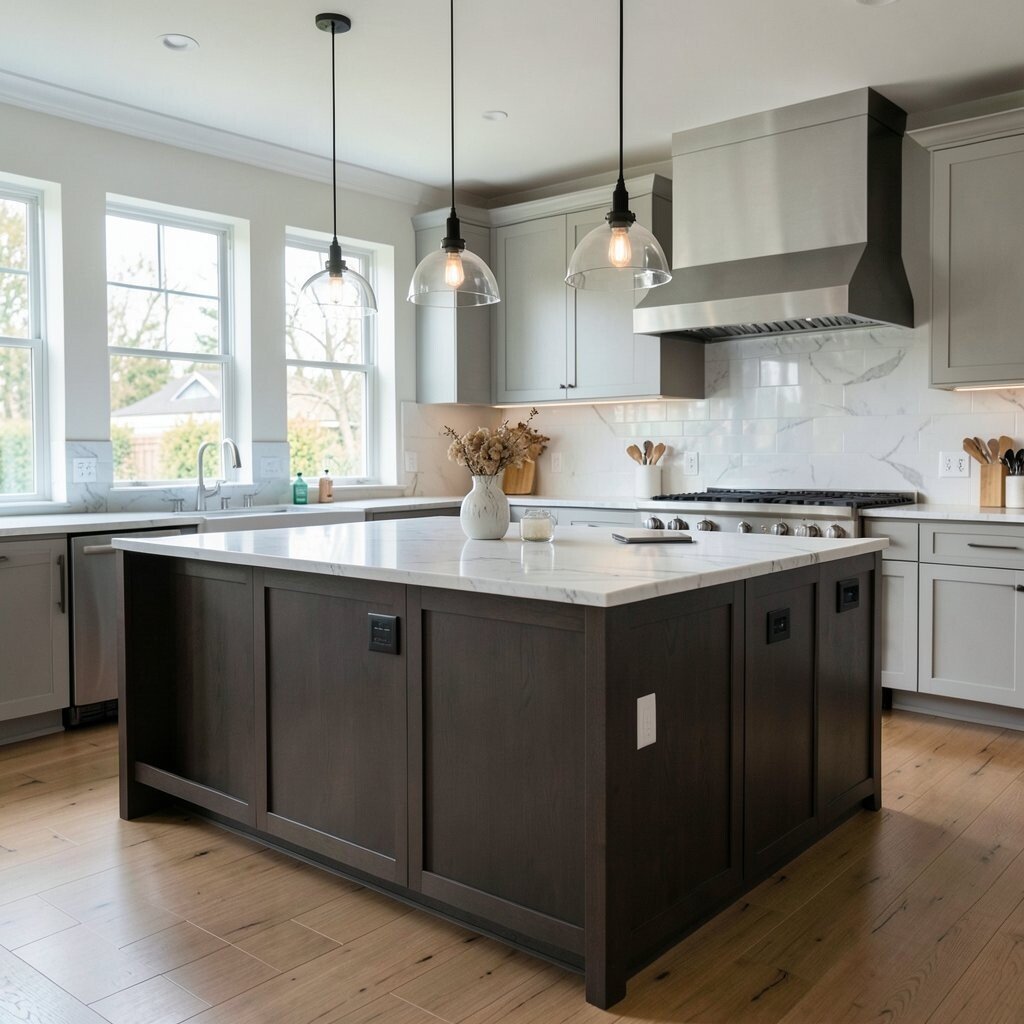
Install a kitchen island or create one with smart functions An island can add prep space and a place to gather. When it is designed well, it also improves storage and seating flow.
Picture a sturdy island with a waterfall countertop edge, deep drawers for cookware, and seating that pulls people in. For uniqueness, consider an island with open shelving on one side and closed cabinets on the other. Trends like mixed storage and bold lighting above the island keep coming back.
To personalize, choose pendant lights that match your faucet and cabinet hardware finishes. For cost planning, remember that an island may require plumbing or electrical work if you add a sink or outlets. Start by deciding what functions you truly need.
-
19. Refresh the pantry and add a clear organizing system
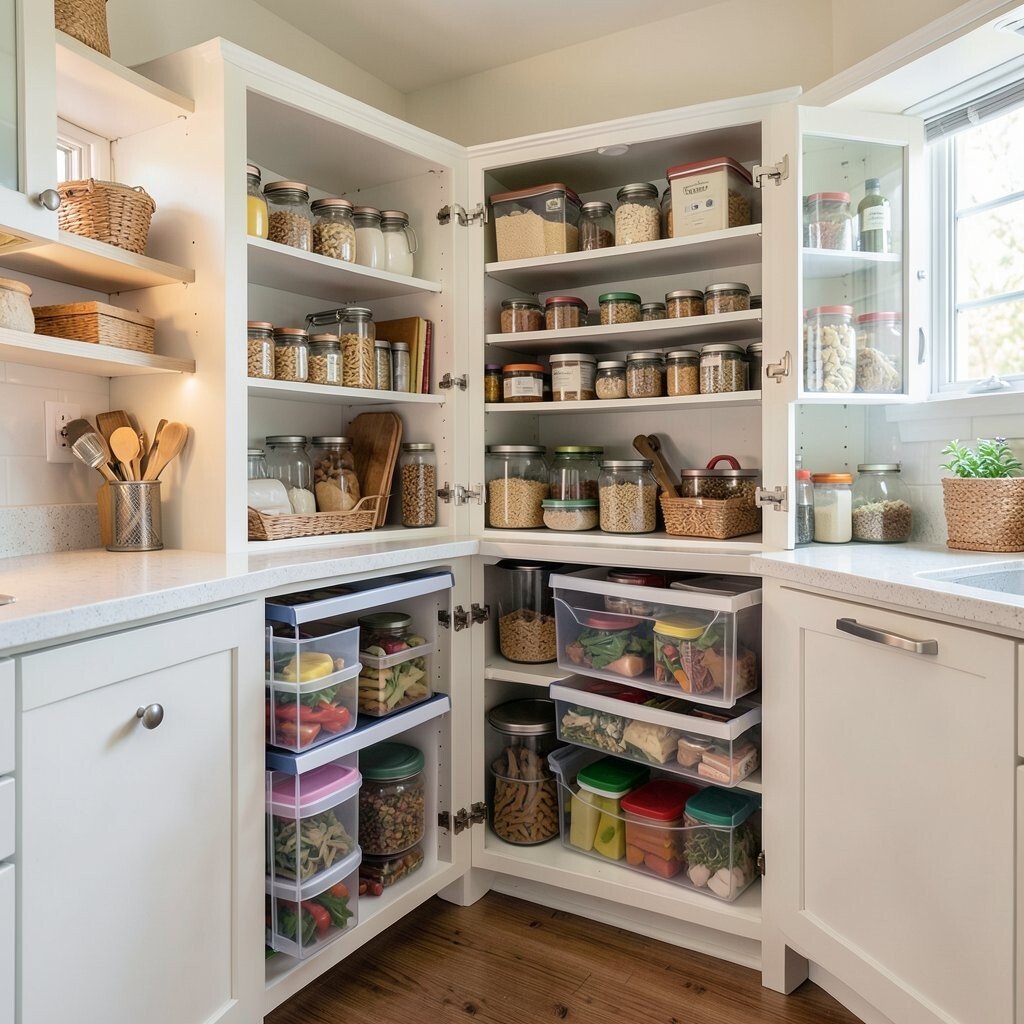
Refresh the pantry and add a clear organizing system A pantry makes cooking less stressful because ingredients stay visible and easy to reach. When it is set up well, you waste less food and buy more intentionally.
Visualize labeled bins, stackable shelves, and a spot for backup items like pasta and rice. You can also add a pull-down shelf for bulky bags. This creates benefits like faster meal prep and fewer last-minute store runs.
For personalization, match your organizers to your style, like natural wood, soft beige, or crisp white bins. If you like tech-friendly planning, keep a simple inventory list on your phone or a clipboard inside the door. Cost can stay controlled by starting with one zone and upgrading as you go.
-
20. Upgrade ventilation so cooking stays comfortable

Upgrade ventilation so cooking stays comfortable Good ventilation helps your kitchen stay fresh after cooking. It also reduces grease buildup and keeps the air from feeling heavy.
Choose a range hood sized correctly for your stove so performance matches your space. Visualize clean lines, a hood that matches your cabinet color, and filters that are easy to clean. This upgrade is unique because it often becomes a design feature above the cooktop.
For cost considerations, vented hoods may need ductwork, which can affect labor. If ducting is hard, ask about other options with a contractor. Either way, prioritize strong airflow because it protects your kitchen finishes over time.
-
21. Finish details: faucets, trim, and final paint touch-ups
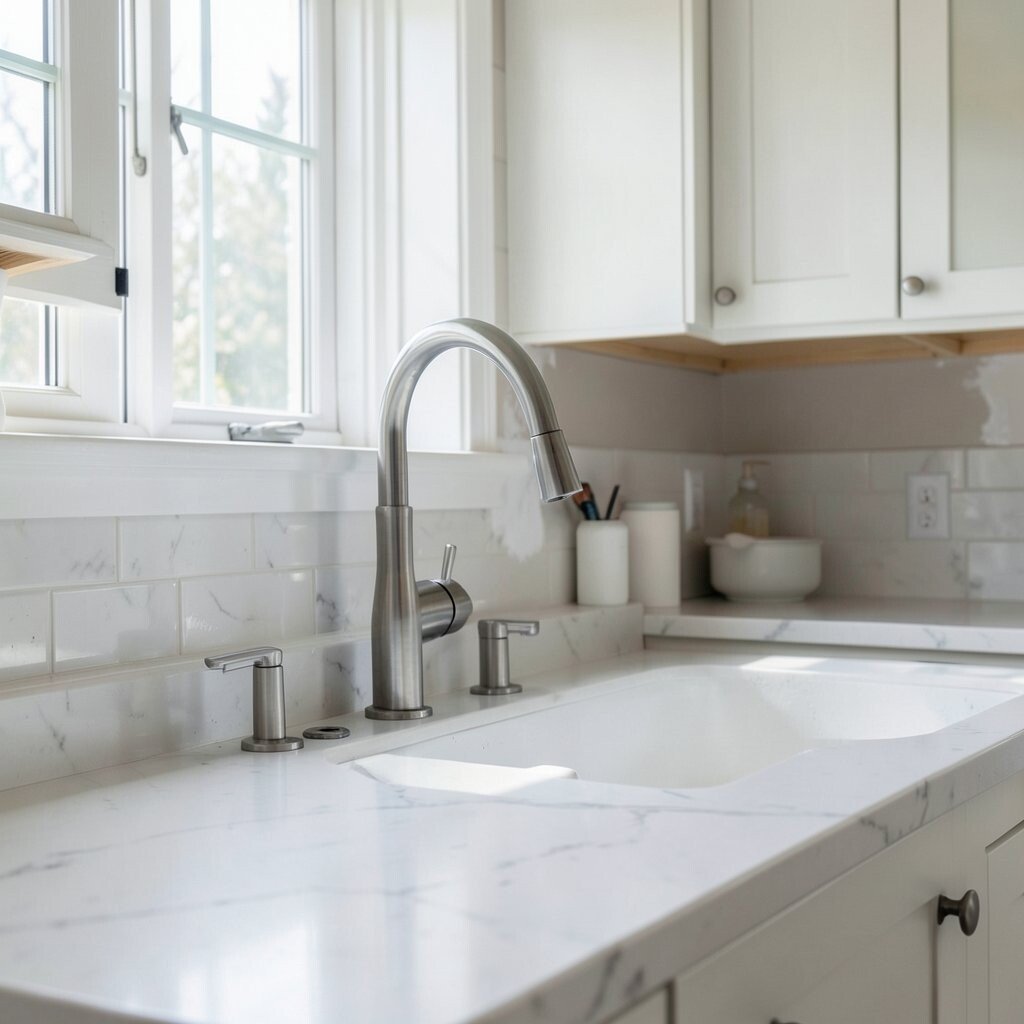
Finish details: faucets, trim, and final paint touch-ups After the big pieces are in, the kitchen starts to look “done.” Install your faucet carefully, check every handle alignment, and confirm water flow feels strong.
Pay attention to trim details like caulk lines, under-sink panels, and any edge gaps that need smoothing. These tiny fixes make the space look high-end. If your style includes warm wood accents, add final touches like a cabinet toe-kick color that matches your plan.
For personalization, add a small decorative accent that you can swap later, like a vase or a bowl on open shelving. This keeps the room from feeling too permanent. Before you call it finished, do a full check: drawers open, lighting works, and all surfaces are sealed where needed.
-
22. Do a finishing walk-through and make a “future maintenance” checklist

Do a finishing walk-through and make a “future maintenance” checklist A renovation feels even better when you plan how you will care for it. Walk through room by room with a notebook and confirm what was installed and what needs routine upkeep.
For example, learn your countertop’s care needs, check filter replacements for the hood, and review how to clean your new backsplash. Visualize the kitchen staying bright because you use the right products and do quick spot fixes early. This step protects your investment and keeps the style looking fresh.
Create a simple checklist you can reuse next season, like winter caulk checks or hardware tightening. Keep receipts, warranties, and installation notes in one folder. Cost-wise, small maintenance now can prevent expensive repairs later.