Light can make even a small kitchen feel wide and happy. A smart layout does the same thing, but it also makes daily cooking easier.
1. Sun-Forward Galley With Slim Storage
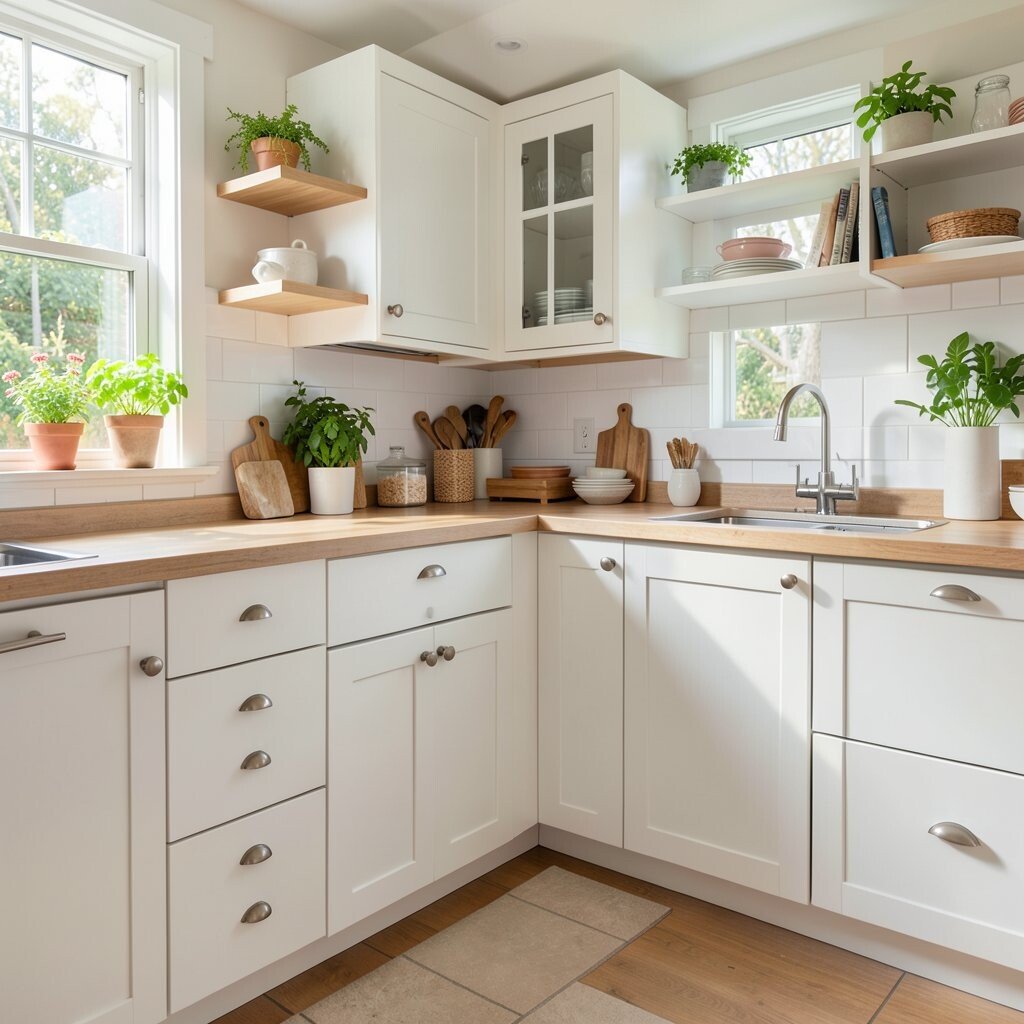
Face the longest counter toward the biggest window, so morning light lands on the work area. Keep the pathways clear with slim cabinets and tall, narrow shelves so the room feels airy.
Choose light-colored fronts like soft white, pale oak, or powdery gray to bounce daylight around. Add open shelving for everyday jars and colorful spices so the space looks lively even when it is tidy. For bright energy, place task lighting under the upper cabinets and aim it at the countertop, not the floor.
To personalize, group items by color—like a row of red mugs or matching canisters—so the kitchen looks styled, not cluttered. A practical tip is to store heavy items on lower drawers and keep lighter tools at eye level for quick grabs. If your kitchen feels tight, consider pull-out organizers so you do not have to dig into corners.
2. Bright L-Shape With a “Cook & Chat” Corner
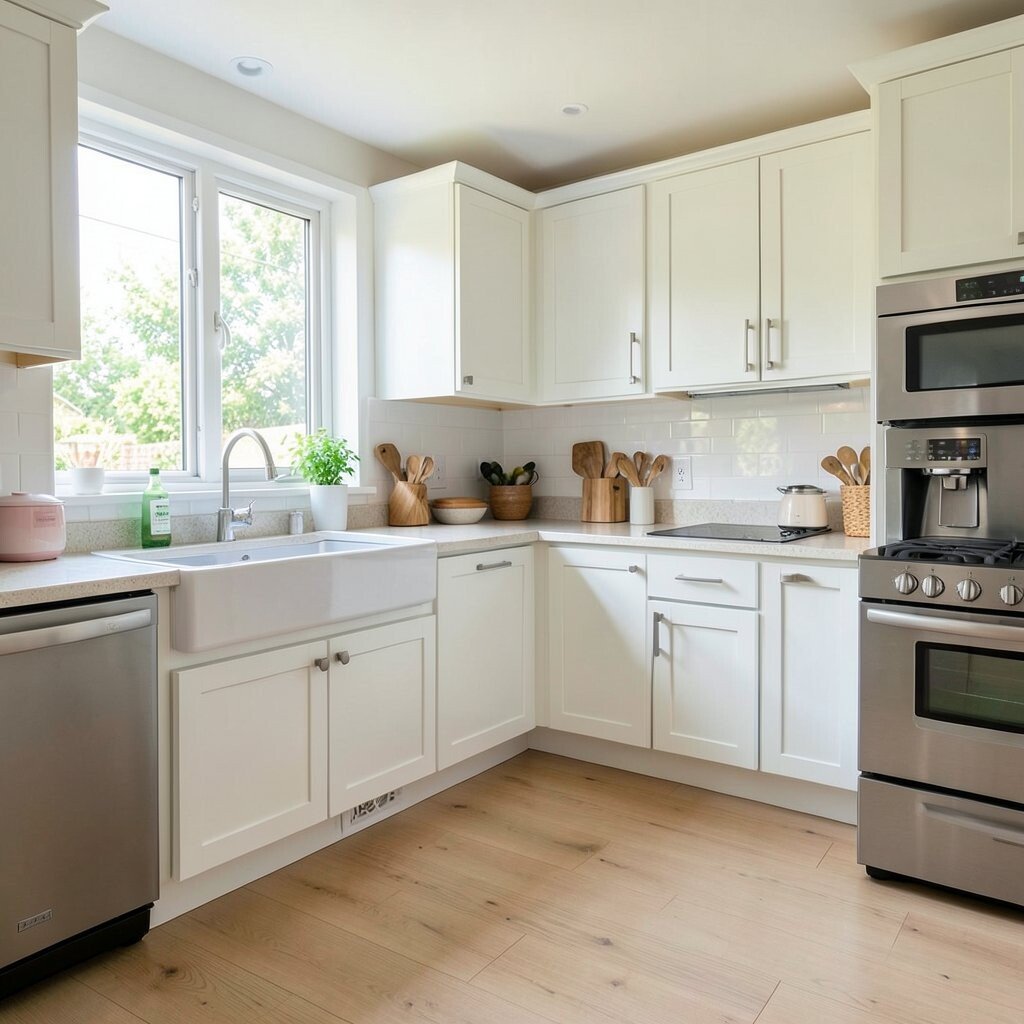
Build an L-shaped layout and leave a friendly corner open for a high-top chair or a small bench. When light hits this corner, it becomes the place where people naturally pause and talk.
Use a compact island cart or a narrow peninsula extension only if your space allows it, so the flow stays smooth. Add a bold backsplash tile or a warm wallpaper strip behind the sink to give the room a cheerful focal point.
For uniqueness, try a mix of cabinet tones—like white uppers with a medium wood base—so the kitchen feels layered. A budget-friendly idea is to swap cabinet hardware for brass or matte black pulls for an instant style upgrade. Keep the color palette simple so the brighter tones do not feel busy.
3. Window Seat Breakfast Nook With Storage Benches
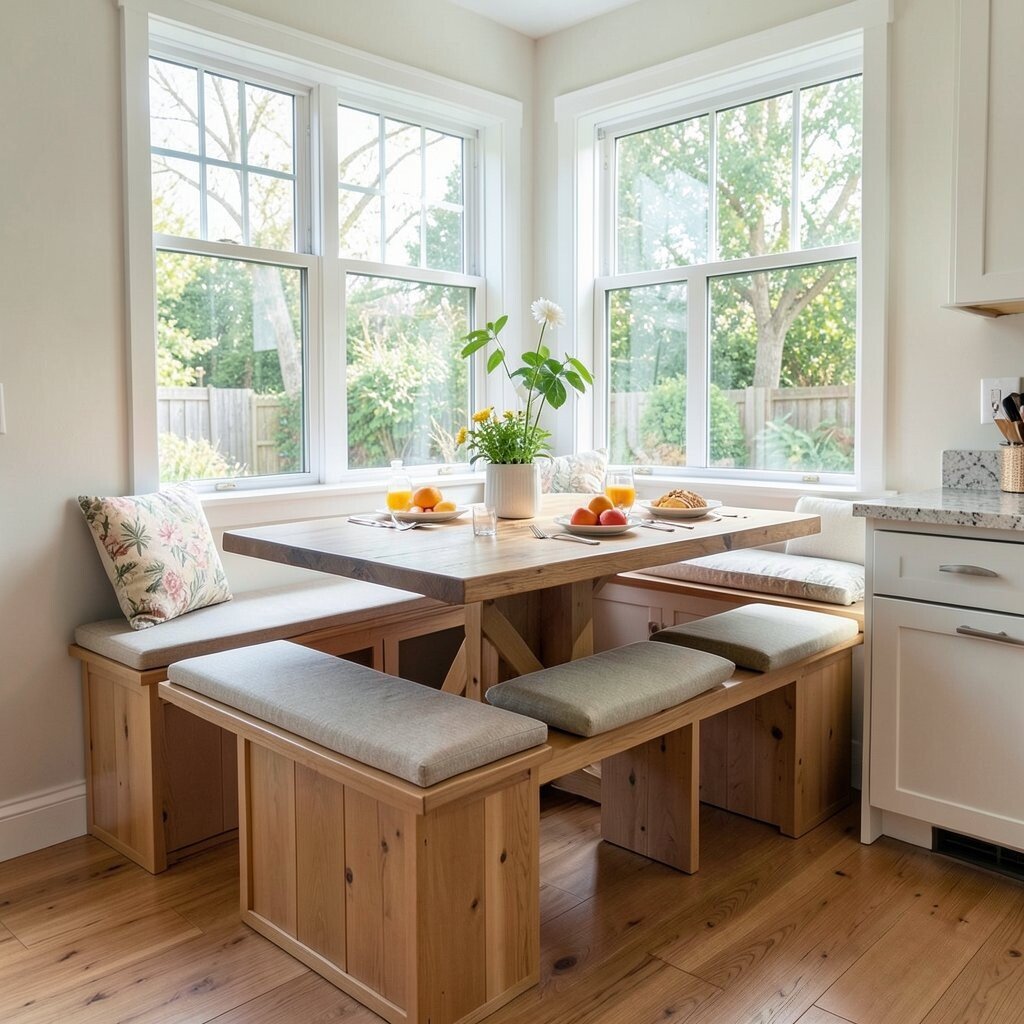
Turn the area under a window into a breakfast nook using a cushioned seat and side storage. Morning light plus a comfy spot makes the whole kitchen feel like a welcoming lounge.
Add storage benches with lift lids or drawers so the nook stays clean and useful. This arrangement helps because it gives you extra dining space without taking over the main cooking lanes.
To personalize, sew or choose cushion covers in cheerful patterns like tiny stripes or soft florals. If you like practical upgrades, install a small rail above the bench for hanging mugs, towels, or a mini plant shelf. For cost planning, you can find budget cushions and upholstery fabric and reuse frames you already own.
Current trend: cozy “banquette” seating is popular because it makes kitchens feel styled, not purely functional. Use a low table that matches your cabinet finish, and pick a warm lightbulb color so everything looks inviting.
4. U-Shaped Work Zone With a Clear Center Path
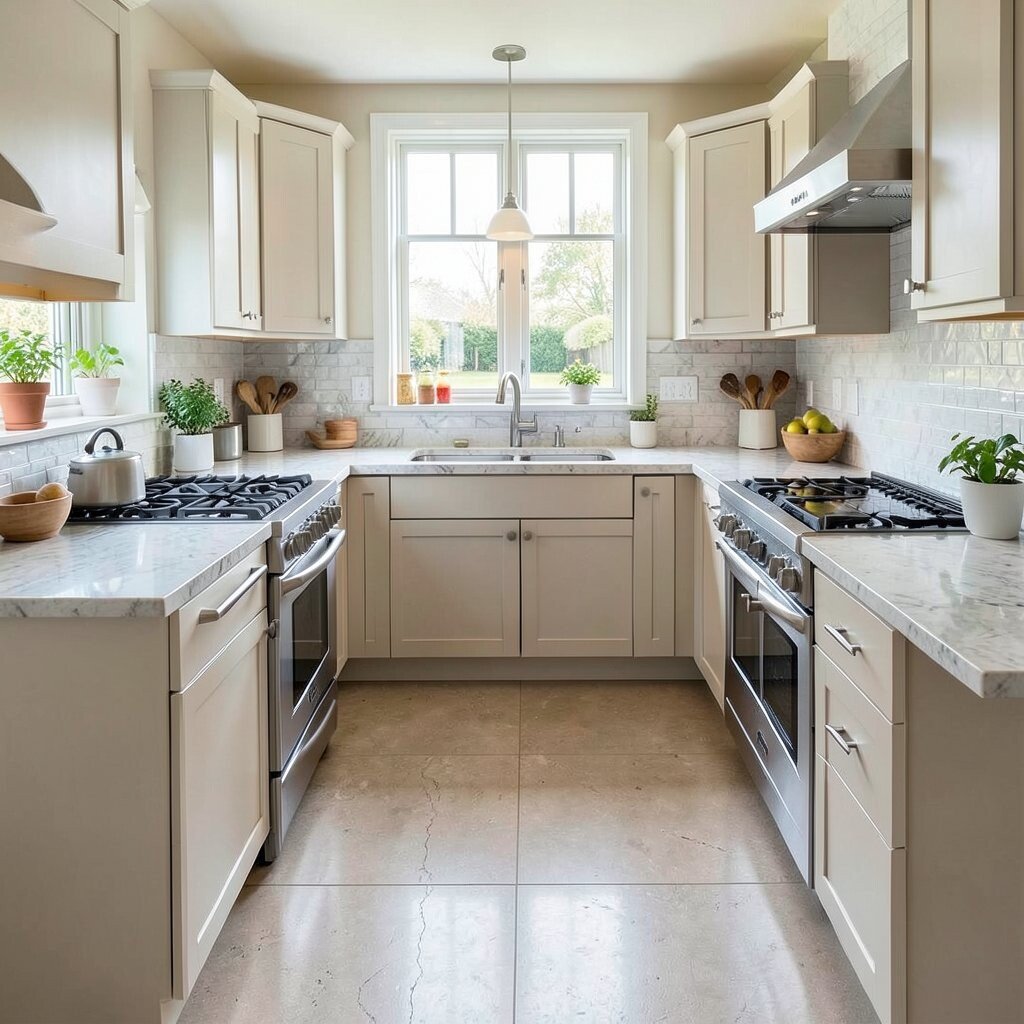
Arrange cabinets in a U shape and keep the middle open so you can move around without bumping into anything. This layout is great for bright kitchens because the center path becomes a light corridor from window to sink or stove.
Place the sink on one arm of the U, cooktop on the opposite arm, and keep prep space on the third side. Add a rolling cart for extra cutting or roasting space, which you can tuck away when guests arrive.
For uniqueness, line the back wall with a glass-front cabinet or a mix of open shelves so light travels farther. Tip: keep your counters near-empty most days, and store rarely used appliances in a pantry or cabinet stack.
Cost-wise, if replacing cabinets is too much, add peel-and-stick backsplash panels and upgrade lighting instead. Choose a white, off-white, or warm gray for walls, because these tones reflect light and make the U-shape feel friendly. Add a runner rug with a low pile to soften footsteps while still keeping the center area easy to walk through.
5. Floating Shelves and an Open Wall “Gallery” Setup
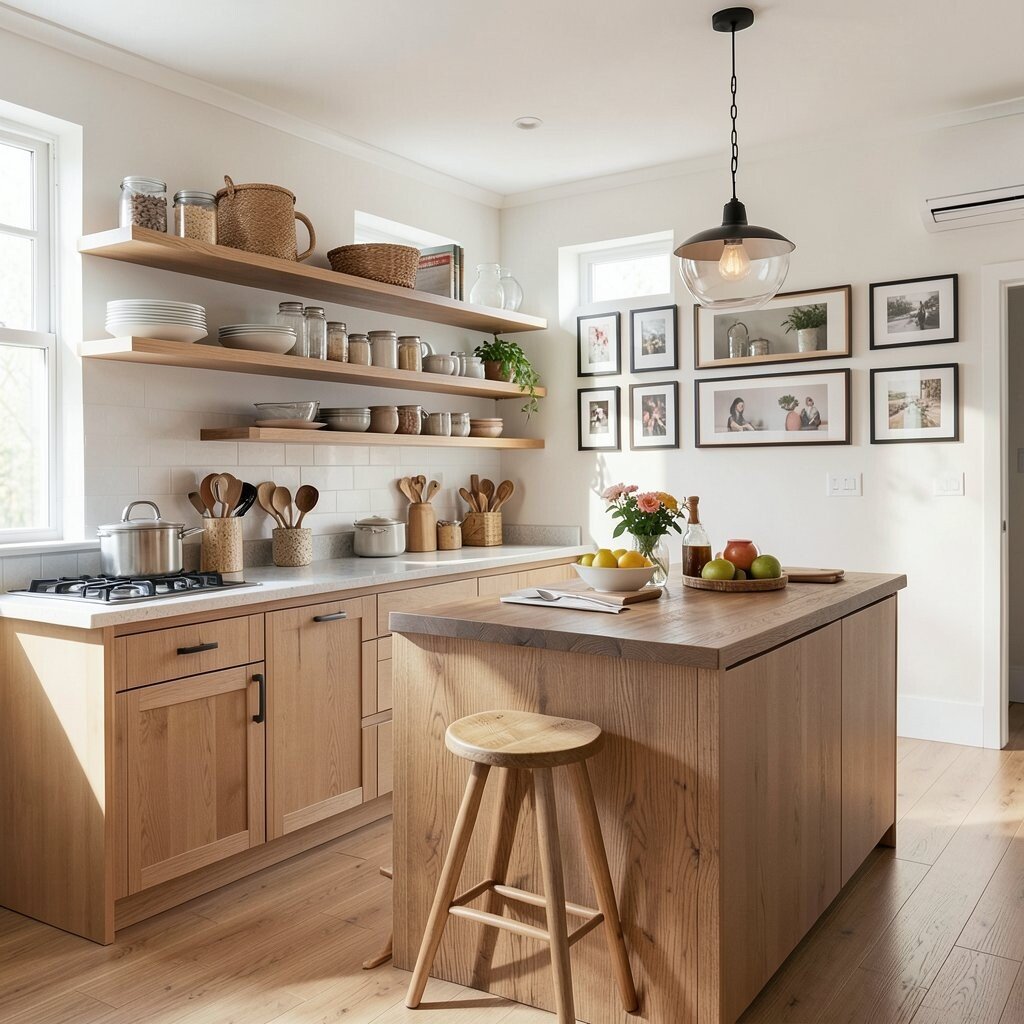
Use a blank wall and install floating shelves to show dishes, art plates, and colorful canisters. When the wall is open, it feels brighter because light can move across the space without interruption.
Keep shelves within easy reach so everyday cooking tools stay visible and convenient. This arrangement boosts motivation because you see ingredients and tools when you walk in, and cooking feels more fun.
For uniqueness, mix heights and add a small chalkboard menu or a framed recipe card display. Tip: use matching shelf supports or a consistent spacing so the look feels intentional. If you are watching costs, choose a single feature wall of open shelving rather than doing it throughout the whole kitchen.
6. Corner-Friendly “Larder Wall” With Pull-Out Pantries
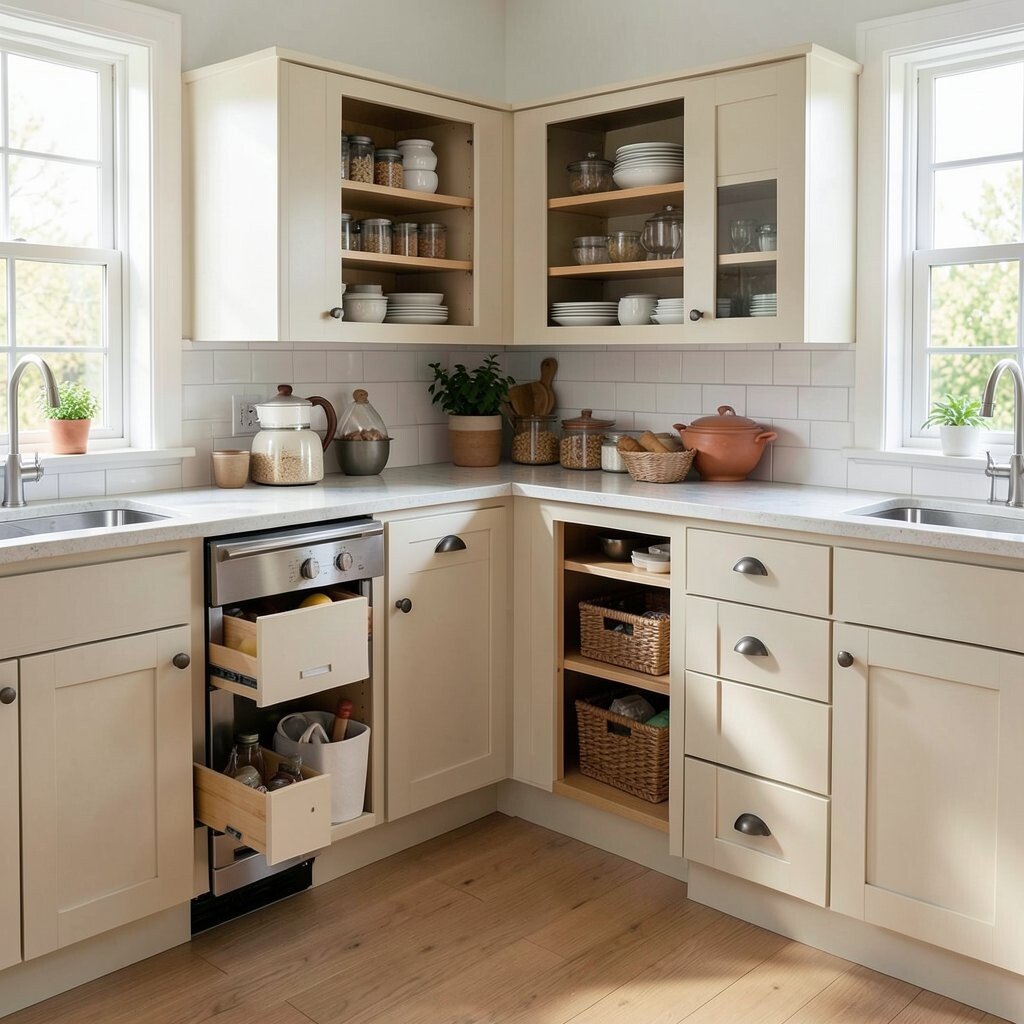
Create a larder wall in the corner by using pull-out pantry units that reach up and out. This helps brightness because corners often trap shadows, and pull-outs bring items forward into the light.
Choose light wood shelves or white interiors so everything looks clean and easy to find. When pantry items are organized, you waste less time hunting, and meals feel smoother from start to finish.
To personalize, label shelves with neat cards or small tags for grains, snacks, and baking supplies. Add a small basket area for seasonal extras like citrus in winter or berries in summer for a cheerful touch. If you want variety on a budget, start with one pull-out unit and add the rest later.
7. Island Layout With a Light-Color “Landing Zone”
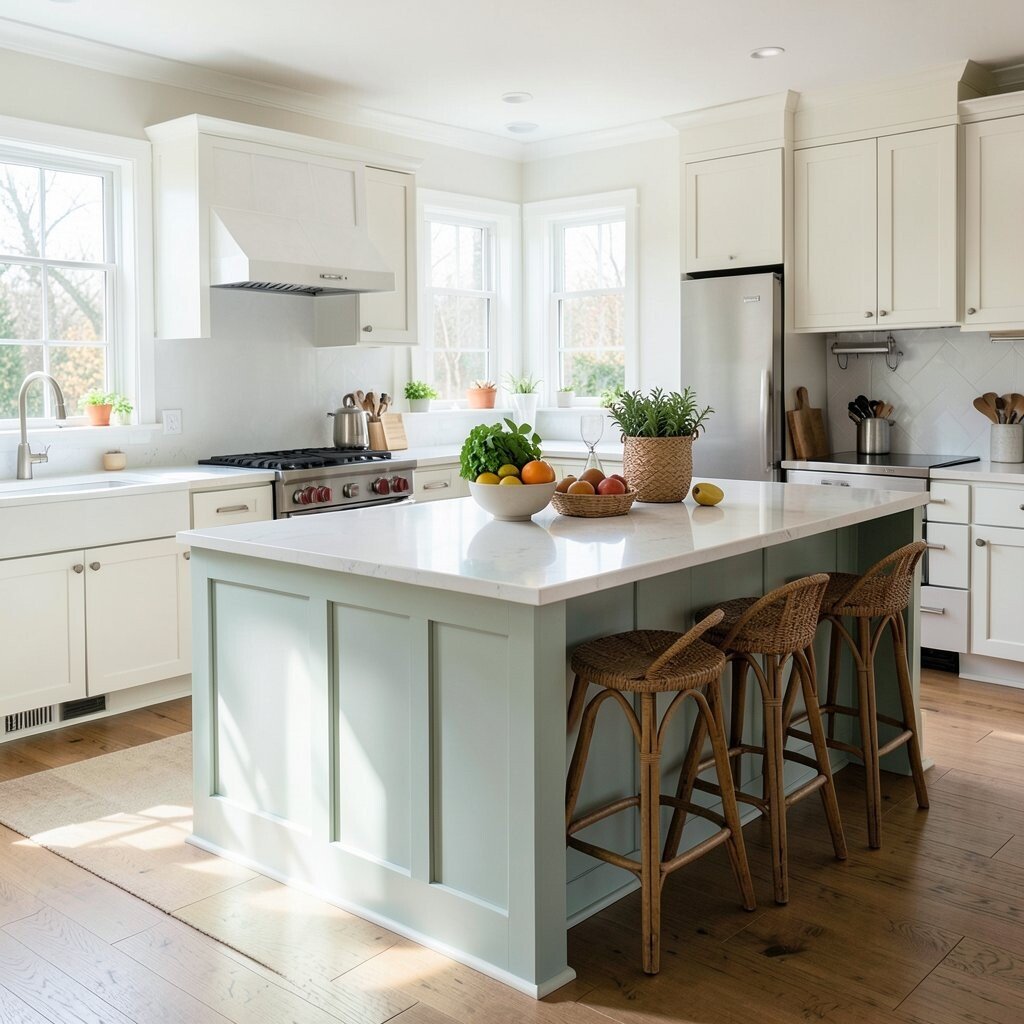
Place an island in the middle with a clear landing zone where coats, bags, or keys can sit neatly. Bright spaces feel calmer when a small spot has a job, and the kitchen stays ready for guests.
Use a light countertop finish like quartz in soft white or a pale stone look to reflect daylight. Keep stools in a lighter shade, and add a pendant light with a warm glow above the island so it feels like a sunny hub.
For uniqueness, paint one island cabinet section a gentle accent color like mint, butter yellow, or terracotta. Tip: store bulk items in the island drawers and keep only a few essentials on top so it stays uncluttered. Cost considerations: consider a durable but affordable laminate top, then upgrade the lighting and hardware for impact.
Current trend: islands are becoming more “multi-use,” with built-in charging stations and hidden storage. Add a shallow tray for countertop chargers and keep cables tucked away for a cleaner look.
8. Sink-First Layout With Under-Sink Shine and Window View
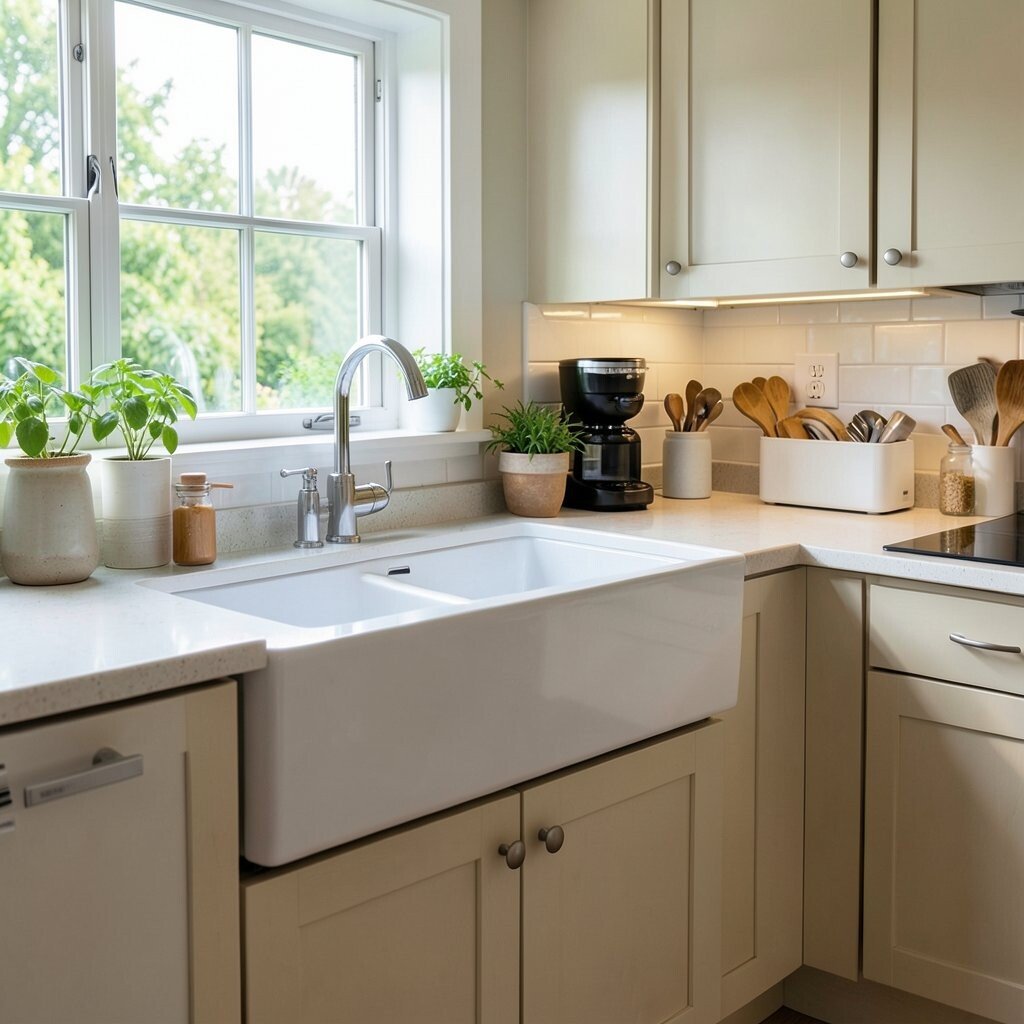
Put the sink where you can enjoy a window view, because watching the outdoors makes washing dishes feel less like a chore. Choose a bright wall paint so the reflection makes the sink area feel even more open.
Use organizers under the sink—like stacking bins and a pull-out tray—to prevent water clutter from taking over. A bright sink zone helps because it reduces mess spread to other countertops and keeps the kitchen looking polished.
To personalize, install a small shelf above the sink for a plant, a soap dispenser in a nice color, and a tidy sponge caddy. Pick a faucet finish that matches other hardware for a cohesive look. For cost, you can change the faucet and add new under-sink racks before you ever consider bigger renovations.
Tip: choose a flexible drying rack that fits around your sink shape so dishes dry faster and the counters stay clear. If you have hard water, a water-softening spray can help keep surfaces looking bright.
9. Two-Tone Counter and Cabinet Contrast With Warm Lighting
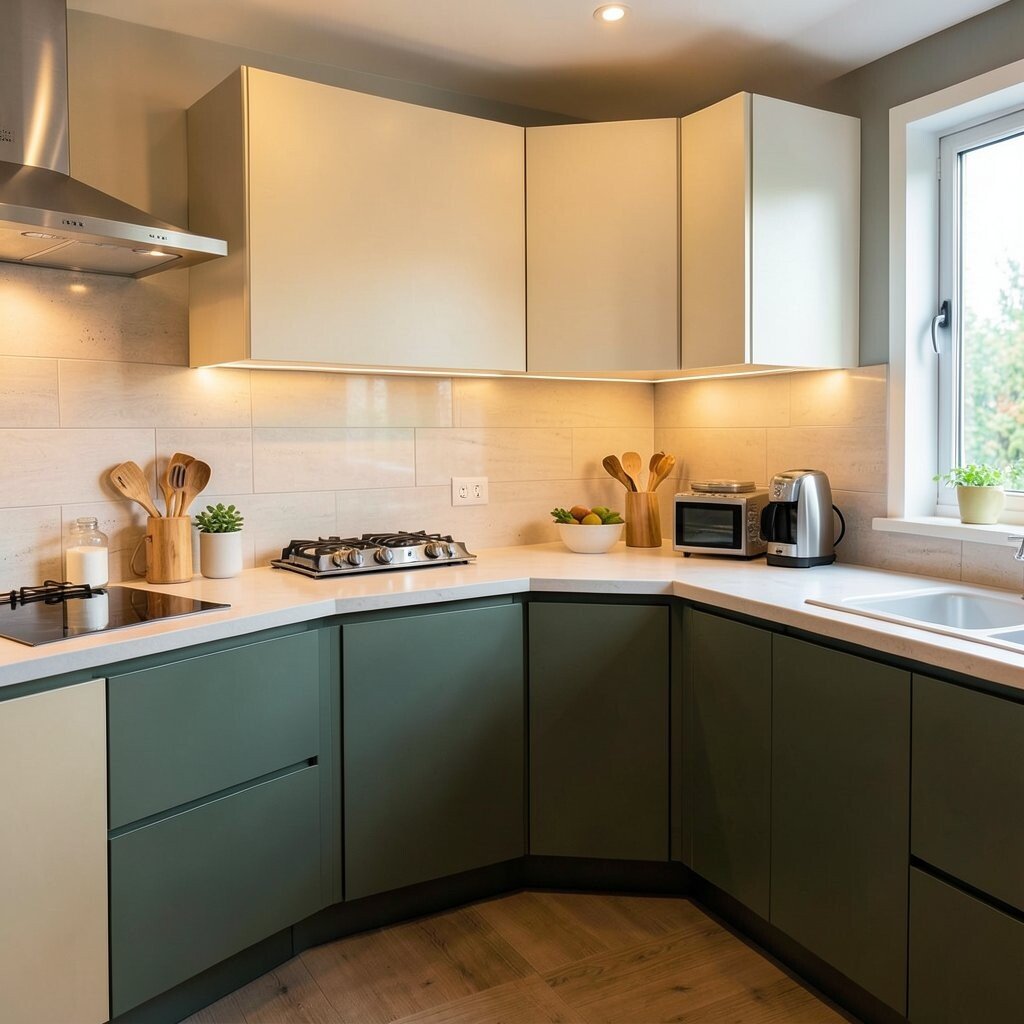
Use a light cabinet color and pair it with a slightly deeper countertop so the room looks sunlit but grounded. This contrast gives the eye a path, and your kitchen feels more complete.
Pick warm, bright bulbs that make metals and wood look rich, not dull. When lighting is warm and steady, your whole layout feels welcoming even on cloudy days.
For uniqueness, add a small stripe or a patterned runner that repeats a color from your backsplash. Tip: coordinate cabinet hardware with the faucet and lighting so everything looks like it belongs together. Cost considerations: you can get big visual impact by changing paint, light fixtures, and hardware first.
10. Pantry-Adjacent Prep Station With Pull-Out Cutting Board
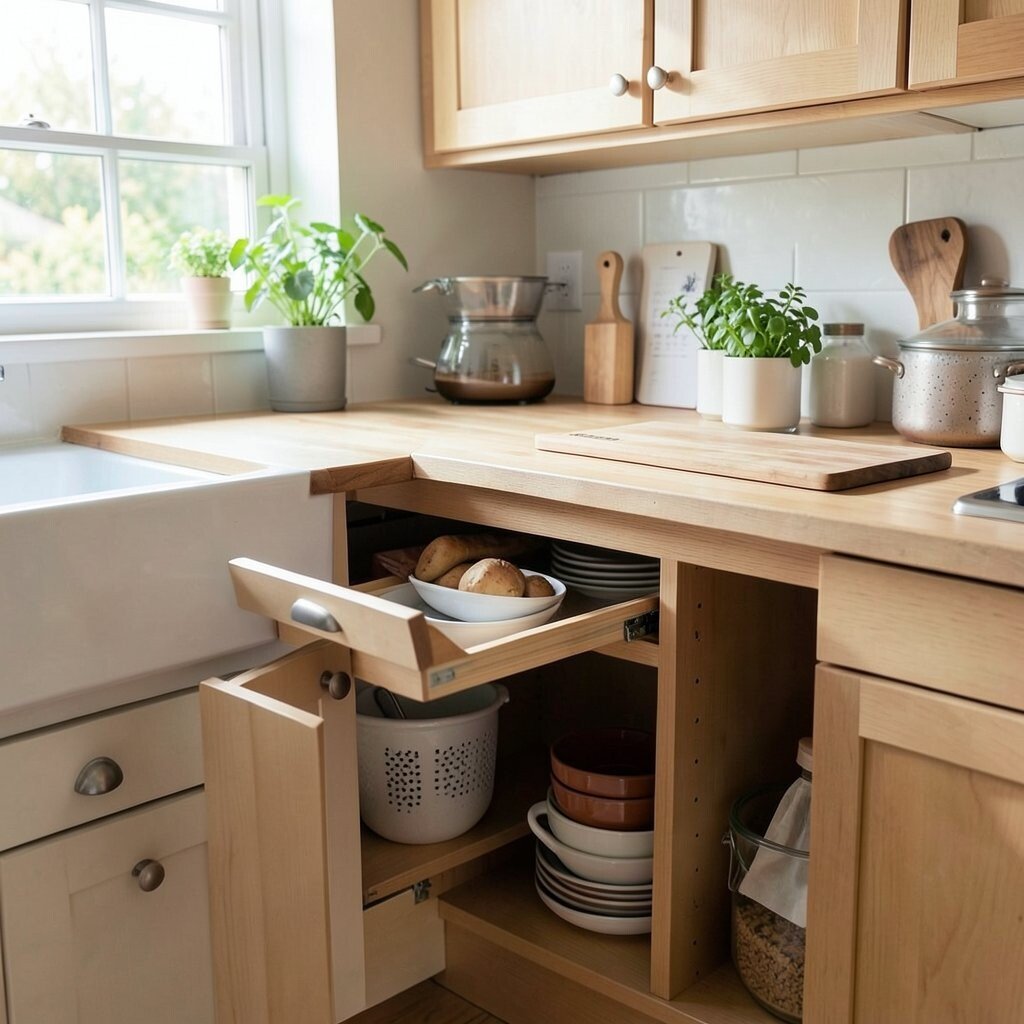
Place a prep station close to the pantry so moving ingredients takes fewer steps. When the pantry and counter are near each other, you spend less time walking and more time cooking.
Add a pull-out cutting board to keep the workspace ready without permanently losing counter space. Bright kitchens benefit from this because the main counter can stay light and clear when you are not actively slicing.
To personalize, add a spice drawer organizer so your favorite blends sit at the front. If you enjoy baking, include a dedicated tray spot for baking sheets to keep them from stacking in random cabinets. For cost planning, choose budget organizers first and upgrade to custom sizes only for the busiest drawers.
Current trend: “zone cooking” is popular, and this setup supports it perfectly—pantry for ingredients, prep for cutting, and stove for fast finishing. Keep a small canister for flour or sugar on the prep counter so it looks cozy and ready.
11. Pastel Accent Wall Behind the Stove With Open Shelving Below
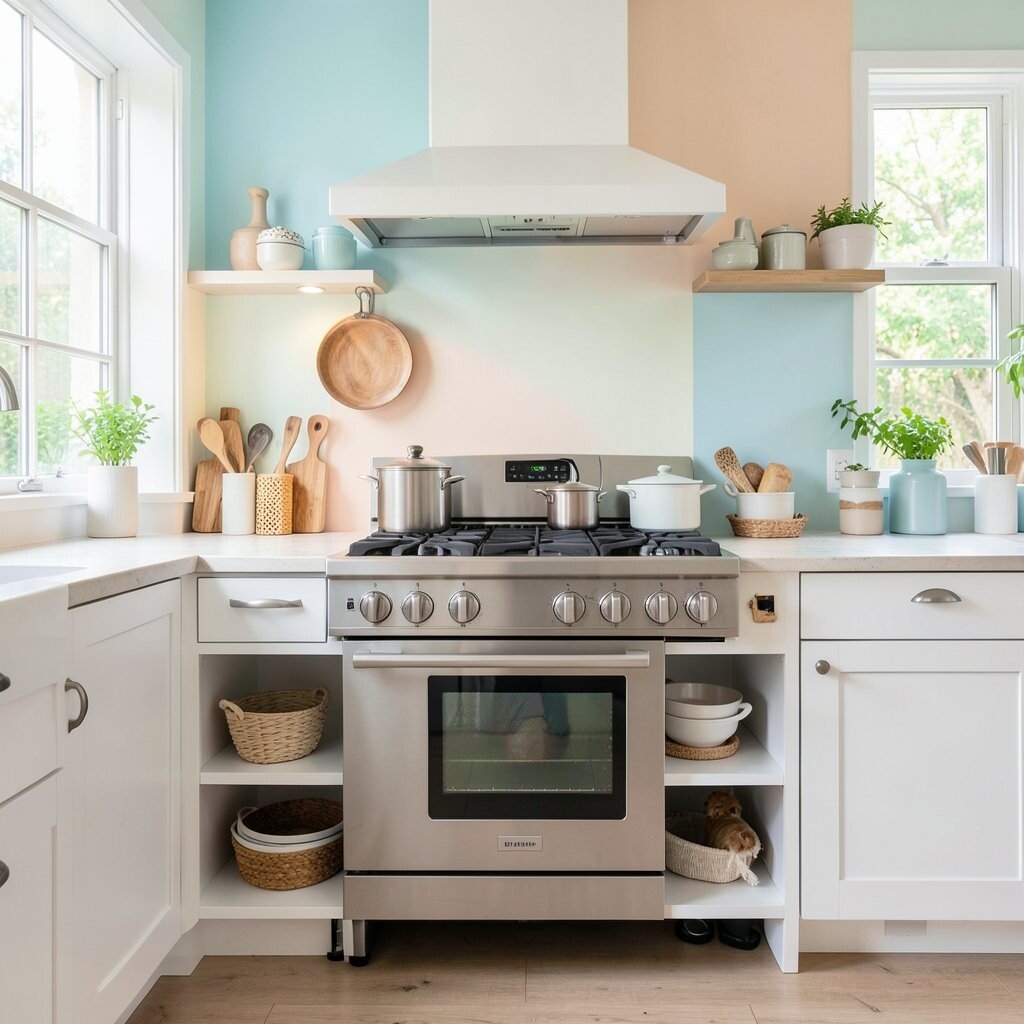
Paint the wall behind your stove in a soft pastel to create a cheerful backdrop for everyday meals. A bright color behind cooking makes the kitchen feel more lively without changing the whole layout.
Pair that wall with open shelves below for mugs, oils, and cookbooks so you can grab items quickly. This helps you cook faster because you do not need to open multiple cabinet doors.
For uniqueness, arrange shelves like a mini display with baskets, matching jars, and a small plant near eye level. Tip: use a consistent color for jar labels, like creamy tags or white labels, to keep it neat. Cost considerations: paint and shelves can be affordable, and you can keep cabinets as-is.
12. Coordinated Lighting Layers With a Reading Nook Corner
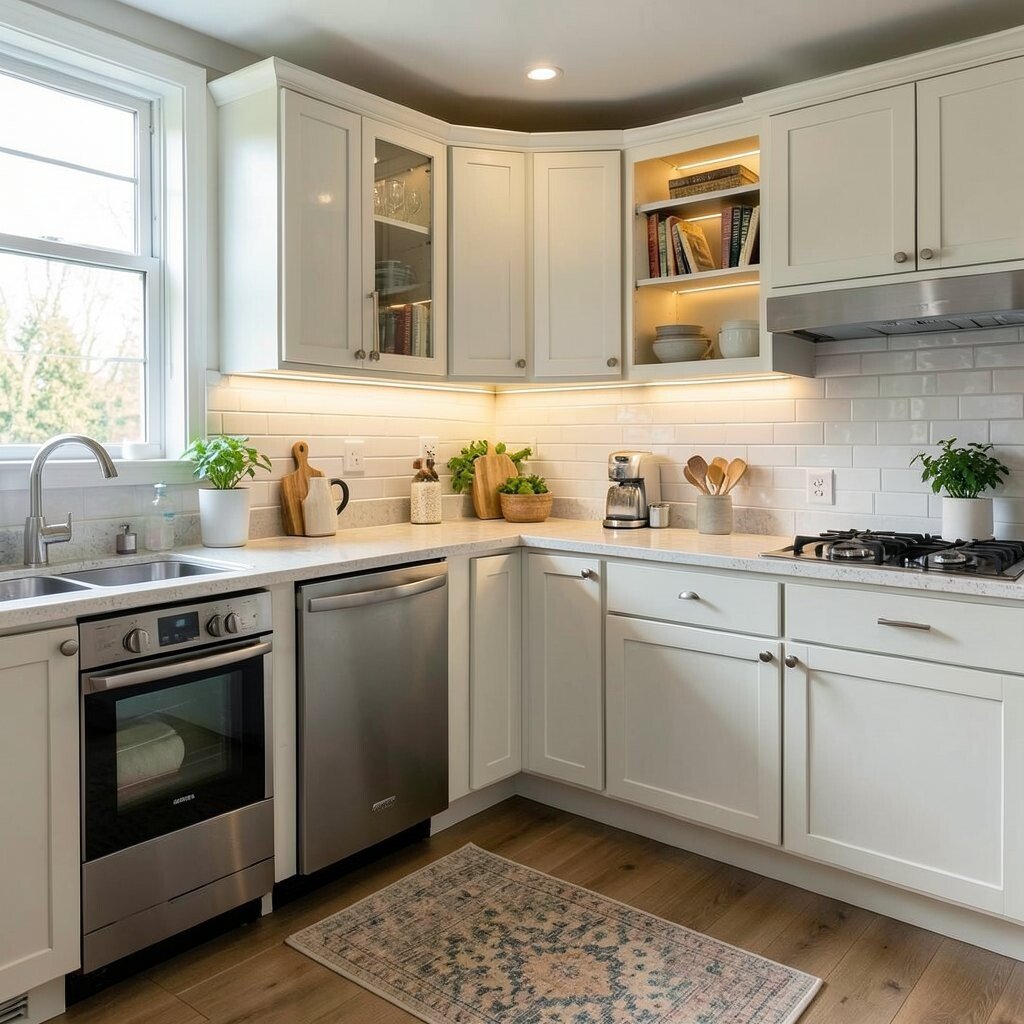
Use layered lighting—ceiling light, under-cabinet lights, and a warm corner lamp—to make brightness feel comfortable. When light comes from different angles, shadows soften and every corner looks more friendly.
Create a tiny reading nook in the kitchen with a comfy chair, a small side table, and a lamp that points away from cooking glare. This makes the kitchen feel lived-in and special, not just practical.
To personalize, add a tray for tea, a small vase, and a cookbook stand so the nook looks ready for slow mornings. Tip: choose a chair that fits the walkway, and keep the area clear so cooking remains safe and easy. Cost considerations: thrift chairs can be updated with new cushions and paint, which is often less expensive than buying new furniture.
13. Minimalist “Clear-Top” Strategy With Hidden Appliance Zones
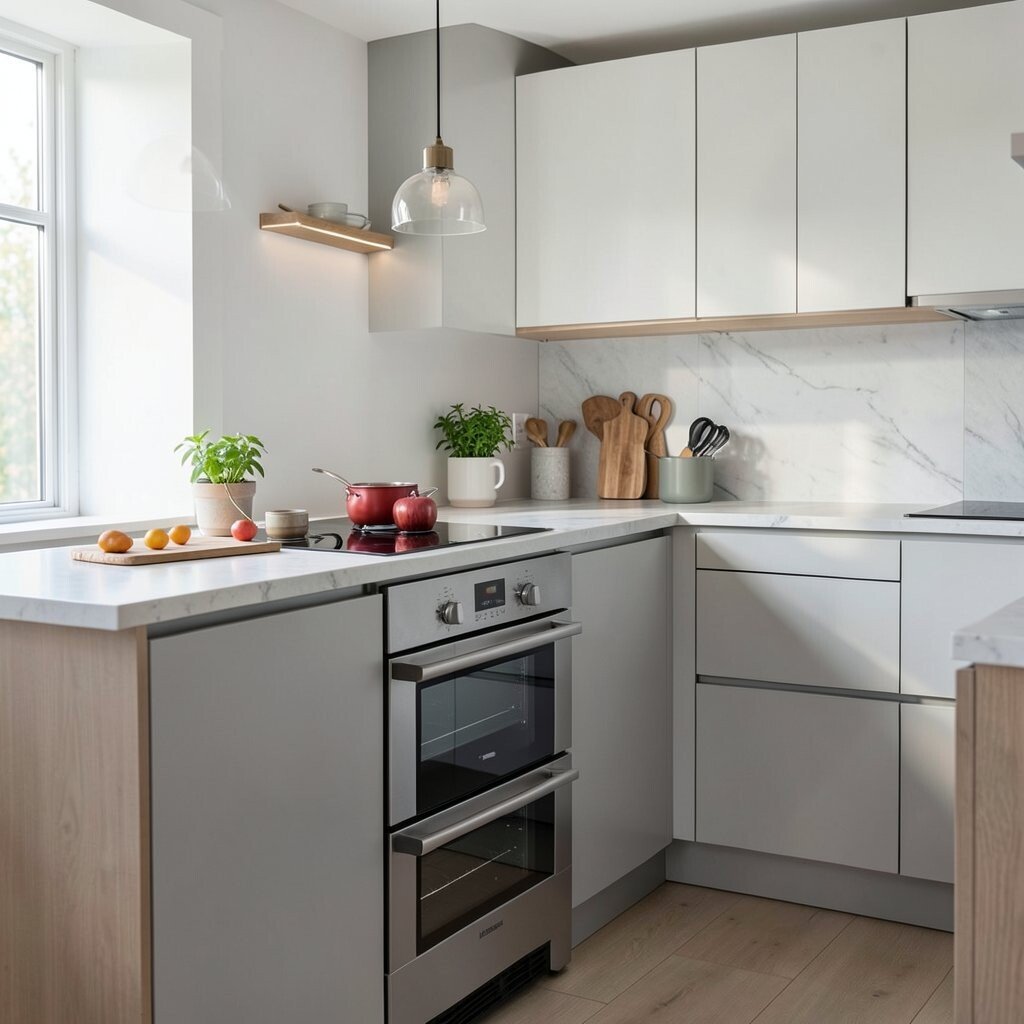
Set a rule: keep the countertop mostly clear and store appliances in hidden zones like appliance garages or cabinet pull-outs. Bright spaces feel brighter when the eye sees fewer visual piles.
Designate one “working tray” for daily items, like a cutting knife, a small bowl for fruit, or a spoon rest. This gives you a place for tools that keeps counters tidy while still making cooking feel easy.
For uniqueness, choose one charming exposed element—like a standout kettle, a bright utensil crock, or a hanging ladle—so the kitchen has personality without clutter. Tip: label cabinet shelves and rotate what is on display so the kitchen stays fresh. Cost considerations: you can start with a few organizers and a couple of cabinet inserts, then expand as needed.