Open spaces can feel bright and calm, but they can also feel messy fast. The trick is turning flow into a friendly system.
-
1) Create “zones” using low barriers, not walls
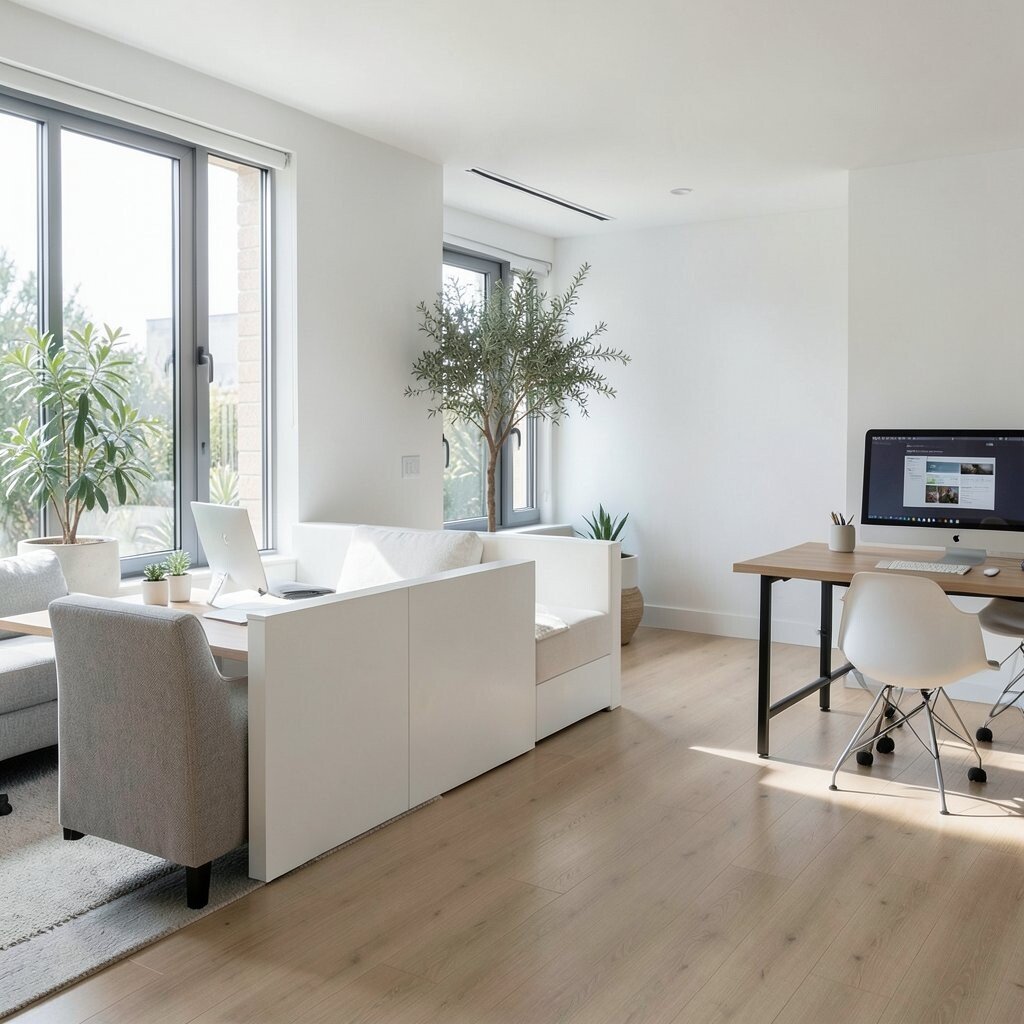
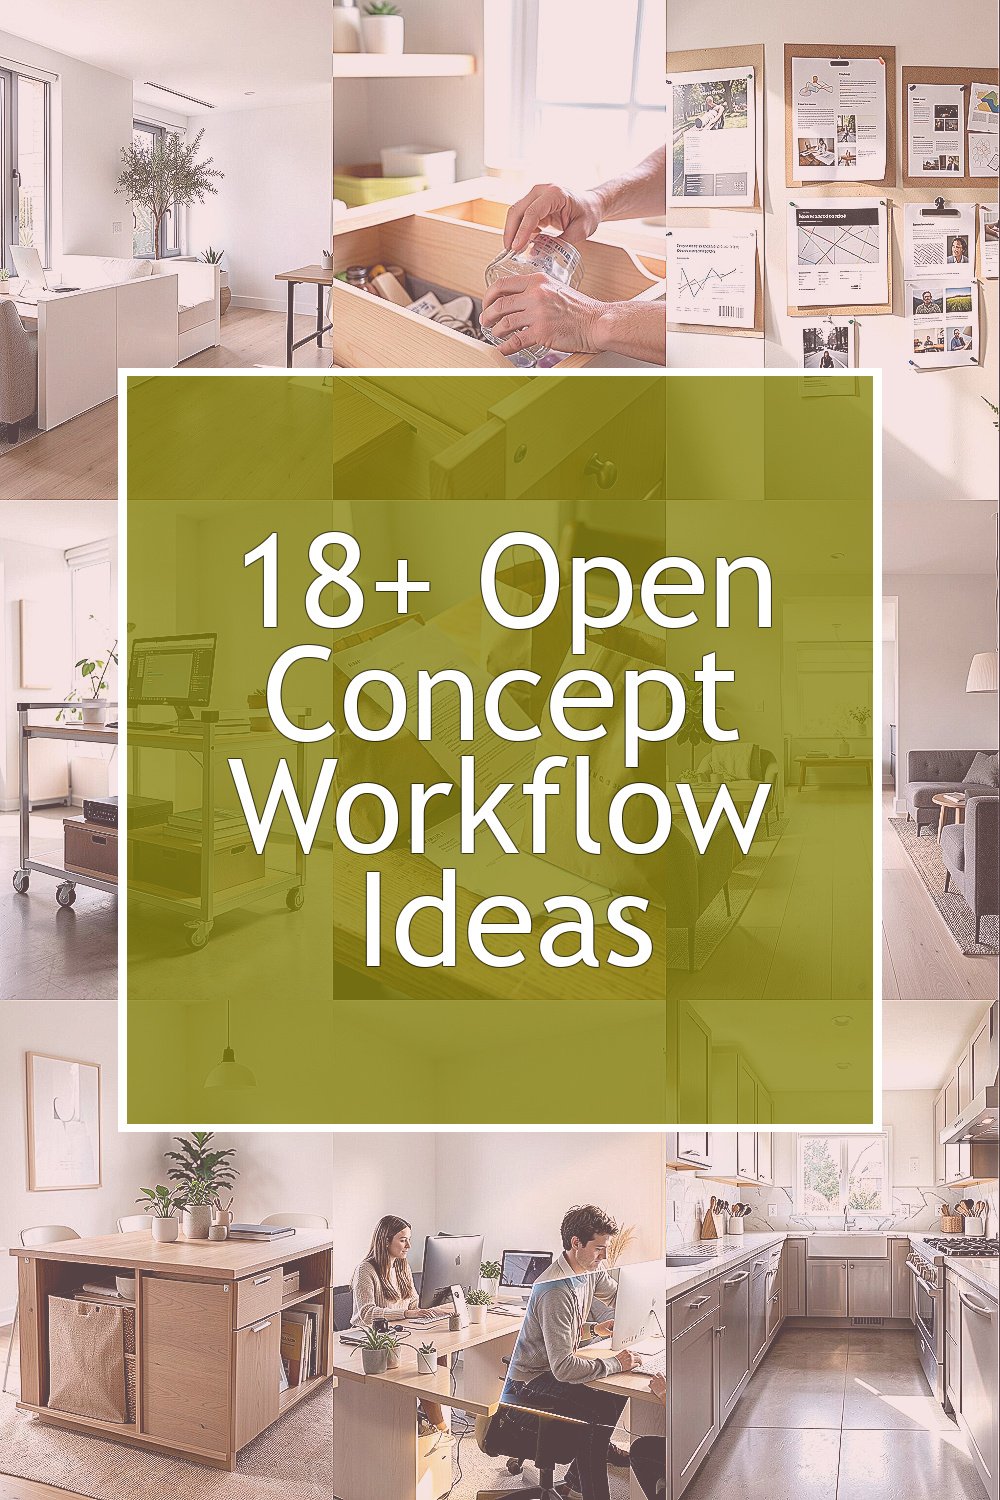
) Create “zones” using low barriers, not walls Picture your living area like a map with quiet neighborhoods. A tall bookcase, a sofa back, or a partial divider can mark where one job ends and another starts.
This helps you keep tasks separate without losing the open feel. You can place a reading chair near a divider and a workspace where it feels centered.
For best results, choose barriers that match your style and use them to guide people’s sight lines.
Try a soft-height option if you want light to keep moving across the room. -
2) Put storage where your hands naturally reach
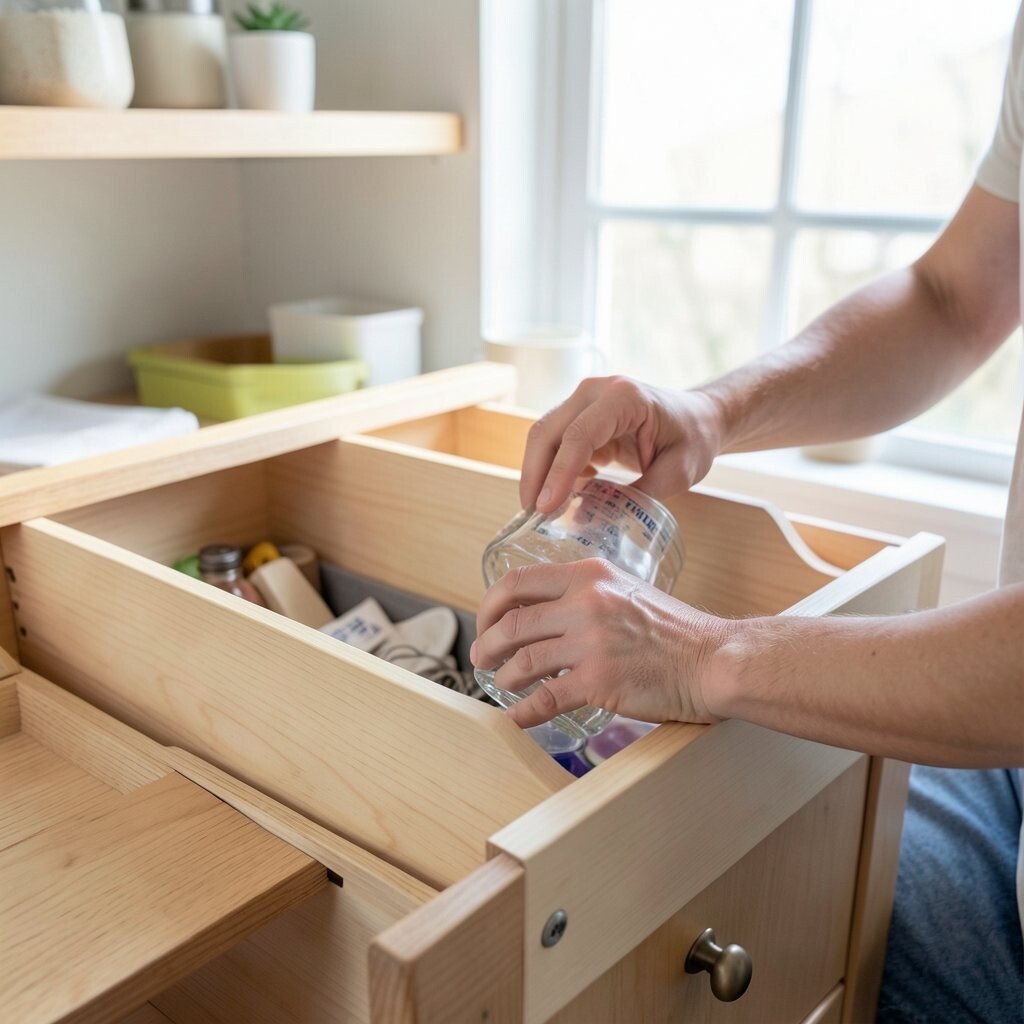
) Put storage where your hands naturally reach Imagine walking into your kitchen and grabbing what you need in one smooth motion. When storage is placed near your usual paths, you waste less time and keep counters clearer.
Use shelves, drawers, and labeled bins at “grab height” so items don’t hide in deep cabinets. Even small changes can make an open plan feel more organized.
For personalization, tailor zones to your routine: store coffee gear near your mug spot, and keep craft tools near your hobby chair.
Consider cost by starting with a few high-use categories first, like pantry staples or everyday papers.
A current trend is using matching open bins and woven baskets that look neat while staying easy to reach. -
3) Build a “station wall” that supports multiple tasks
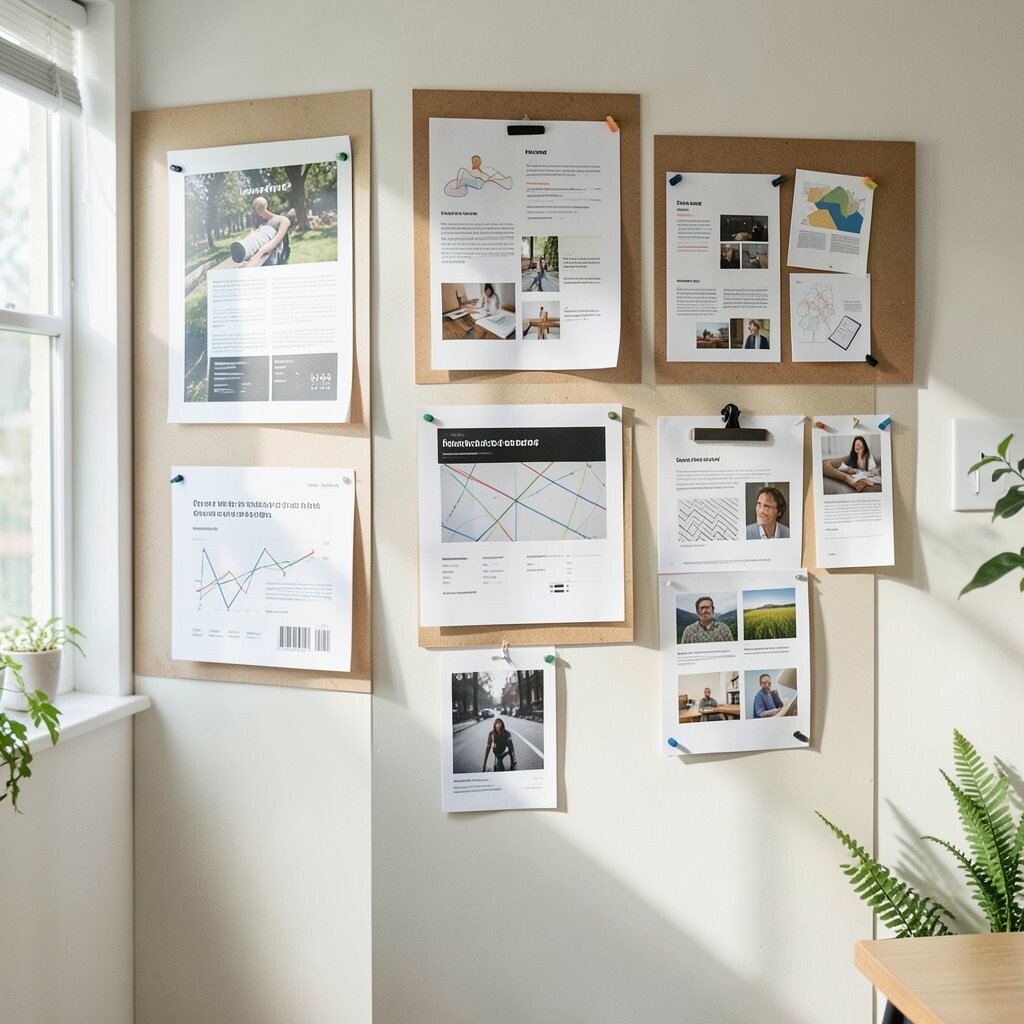
) Build a “station wall” that supports multiple tasks Think of one wall as your task hub instead of spreading supplies everywhere. A pegboard, rail system, or modular shelving turns one area into many mini stations.
You can hang cooking tools, store scissors, and line up cords for devices in the same visual area. This keeps your work flow tidy and makes it easy to switch from one job to another.
Add a small tray for “in-between” items like chargers, keys, and sticky notes so they don’t wander.To personalize, arrange items by how often you use them, with daily items at eye level. Use color-coded labels if your household likes quick sorting.
Cost-wise, a simple rail plus a few organizers can be cheaper than building new furniture. Many people are using pegboards right now because they look stylish and adapt over time.
-
4) Use a rolling cart as a moving “command center”
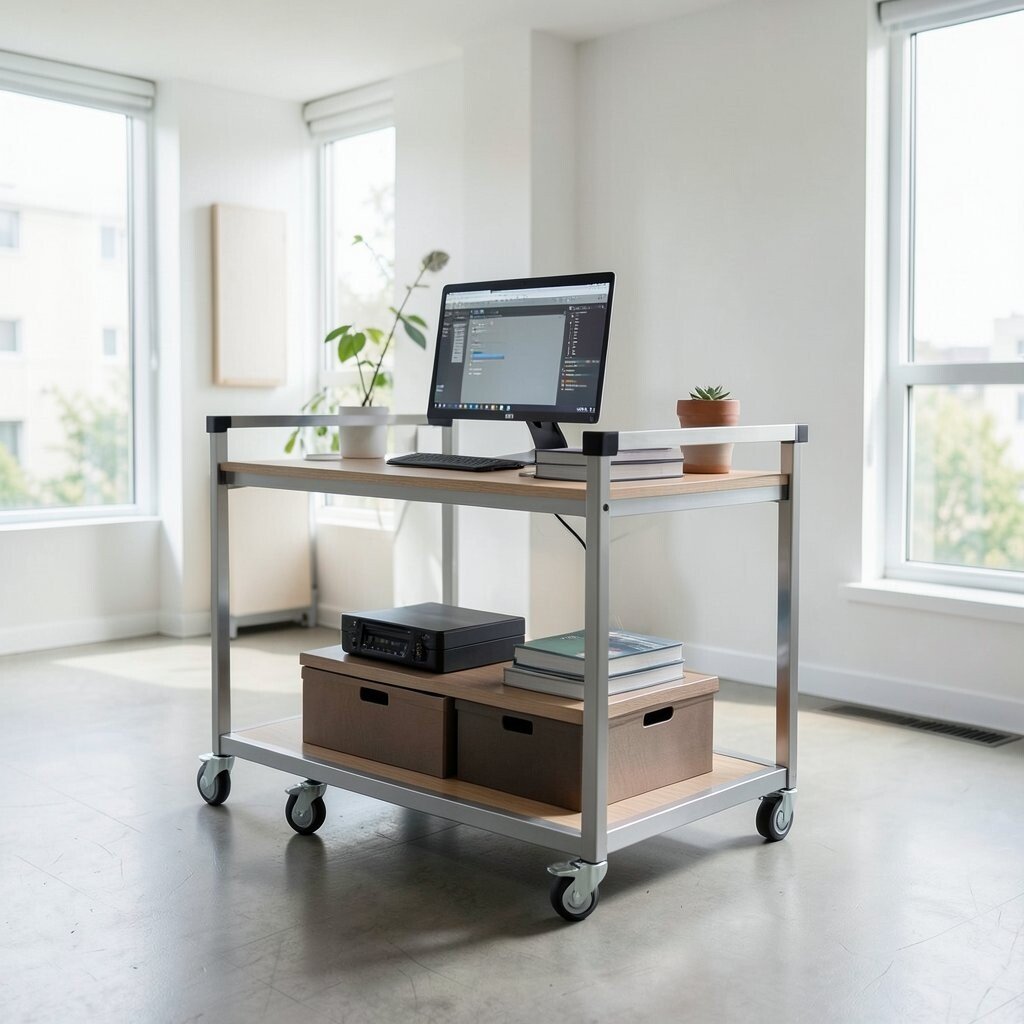
) Use a rolling cart as a moving “command center” Picture a slim cart that glides from living space to kitchen like it’s on a mission. It holds what you need for the next task so you don’t carry items across the room again and again.
Choose a cart with adjustable shelves so it can grow with you as your needs change.This is great in open layouts because it creates flexible order without permanent clutter. For a personal touch, paint it to match your decor or add small bins with labels.
If you’re watching cost, look for secondhand carts and update the finish with easy hardware or a fresh coat. -
5) Set one “landing spot” for mail, bags, and daily blur
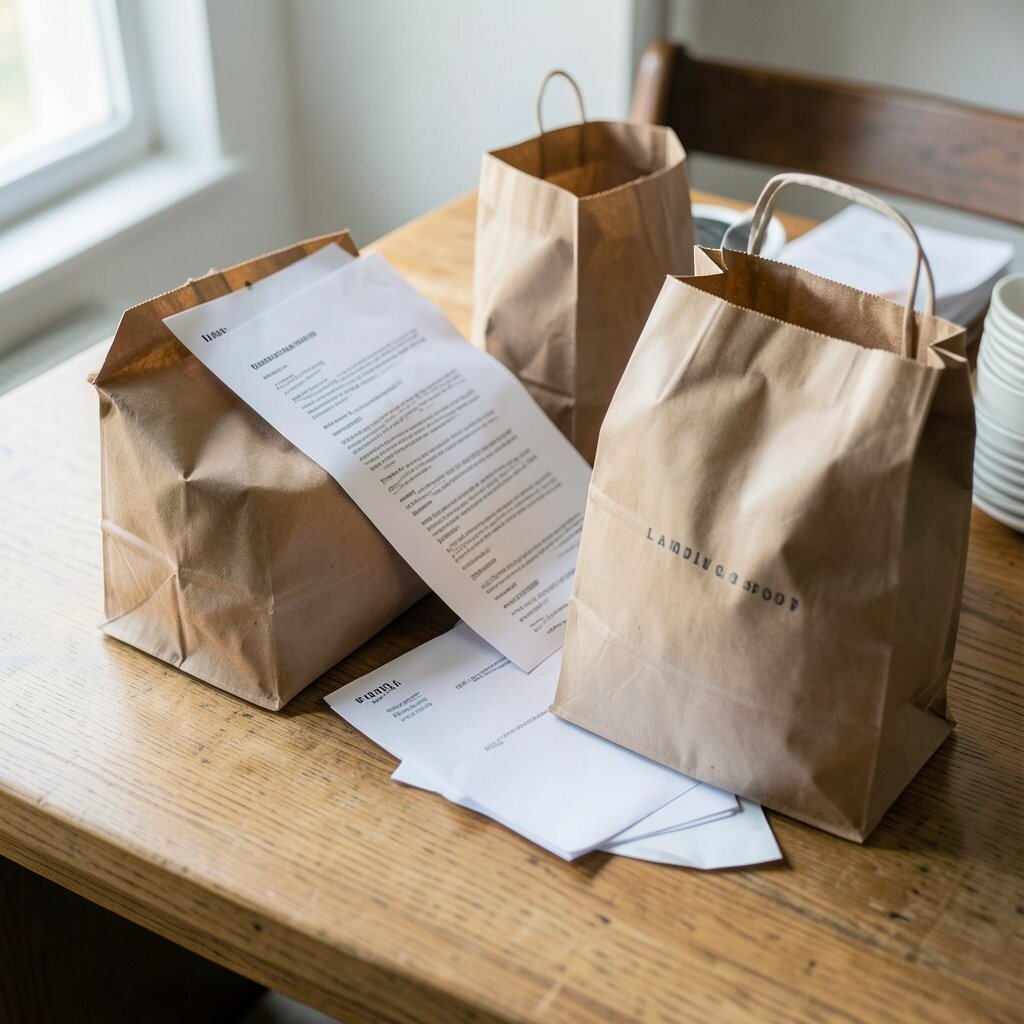
) Set one “landing spot” for mail, bags, and daily blur Imagine coming home and dropping everything in a calm, planned spot instead of tossing it onto a couch. A landing station keeps tiny messes from spreading through the whole open area.
Use a shallow console, a wall shelf, or a bench with a basket underneath for quick sorting.Benefits are bigger than they look: less searching, fewer piles, and calmer mornings. Add trays for mail, a hook row for bags, and a small catch-all for keys.
For personalization, include a “today” tray so you can move items only once. Current style trends favor simple, sculpted organizers that feel tidy but not stiff.
Cost stays friendly when you start with one entry organizer and expand later. -
6) Arrange furniture to create clear walking lanes
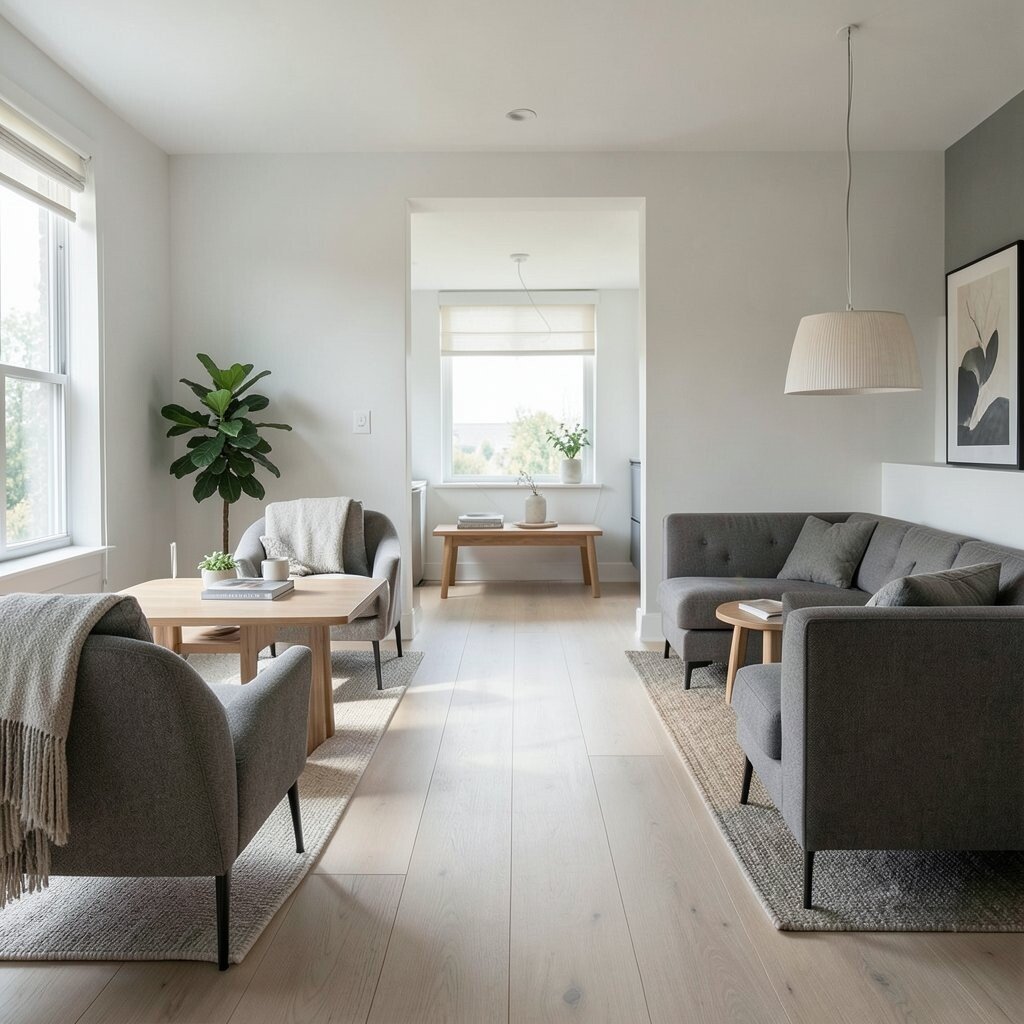
) Arrange furniture to create clear walking lanes Look at your room like you’re planning a game board. Leave wide, smooth lanes between seating and the kitchen so people can move without weaving.
Open concepts often hide traffic problems, especially around coffee tables. If you keep paths open, you reduce bumping, and your space feels more breathable.
Try moving your rug slightly to shape the lane, then test it by walking the route a few times.
This tip also helps kids and guests move safely during busy days. -
7) Choose a “shared centerpiece” that also works as storage
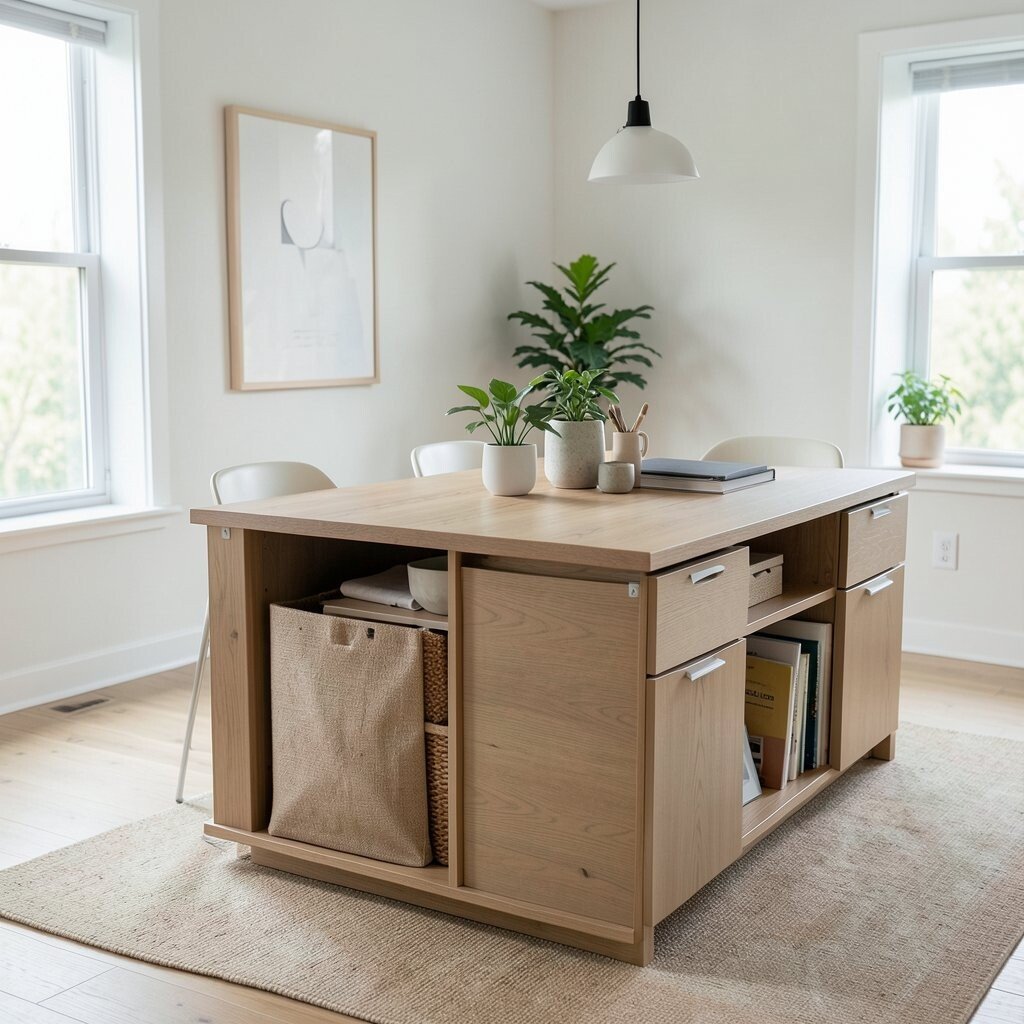
) Choose a “shared centerpiece” that also works as storage A coffee table can be more than a landing surface. When it has drawers, shelves, or lift-top features, it becomes both a focal point and a storage tool.
Visual balance matters in open plans, so pick one main piece that anchors the look. Then keep everyday items inside it so the whole room stays uncluttered.
For personalization, style the top with only one category at a time, like books or a small plant. If you want low cost, look for thrifted tables and add drawer organizers.
Right now, multi-use furniture is popular because it helps open spaces feel calm without constant cleanup. -
8) Use lighting layers to signal different activities
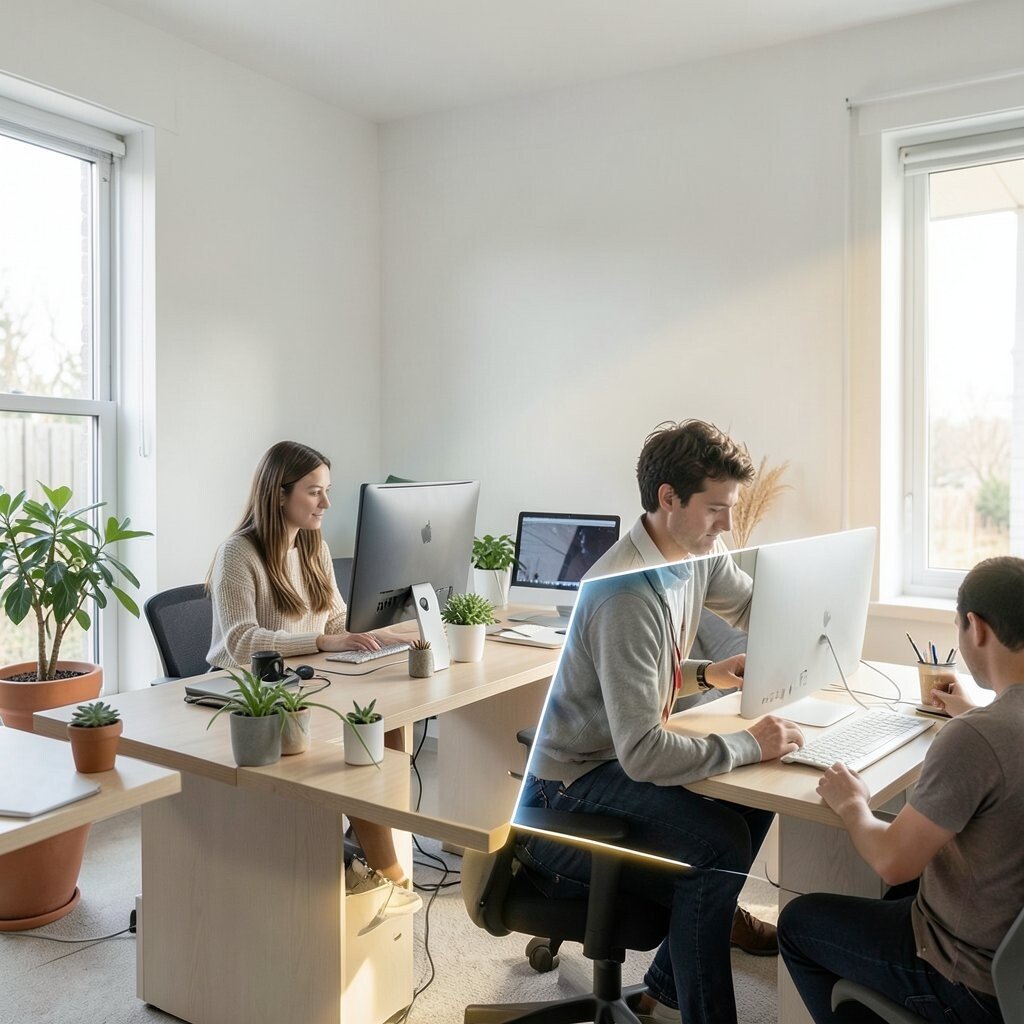
) Use lighting layers to signal different activities Think of light like a friendly guide that tells your eyes what to do next. Bright task light helps you read or cook, while softer lamps make the room feel cozy.
In an open plan, one overhead light can flatten everything into the same mood. Instead, mix ceiling light with floor lamps and warm table lighting.
You can position a lamp near a chair to create a mini “focus bubble” without adding walls.Personalize by choosing bulbs that match your comfort, like warmer tones for evenings and brighter tones for daytime.
Cost can stay manageable because you can upgrade bulbs first, then add fixtures later.A current trend is using dimmers and smart bulbs so you can set lighting scenes for work, dinner, and winding down.
That kind of control makes your open space feel intentional all day. -
9) Create a “prep-to-serve” path in the kitchen
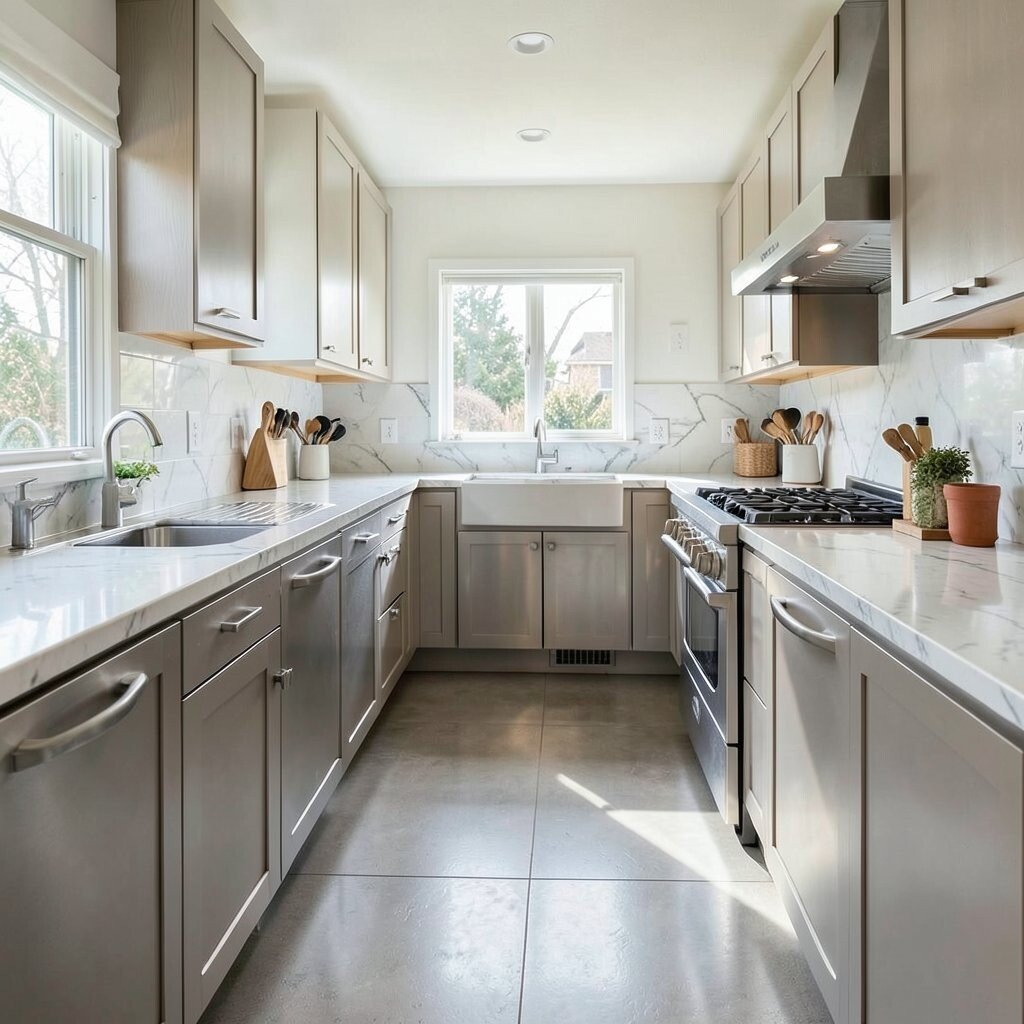
) Create a “prep-to-serve” path in the kitchen Imagine a smooth runway from groceries to cutting to cooking. When you set up a clear path, you move with less backtracking and fewer messes.
Keep your prep area near the stove or counter where you finish meals.Benefits show up fast: less clutter on the table and quicker cleanups. For personalization, add a magnetic strip for knives and keep a small container for spices you use most.
Cost-wise, focus on organizing tools you already need, like a few bins and one reliable tray. -
10) Set up a “quiet corner” even in the same big room
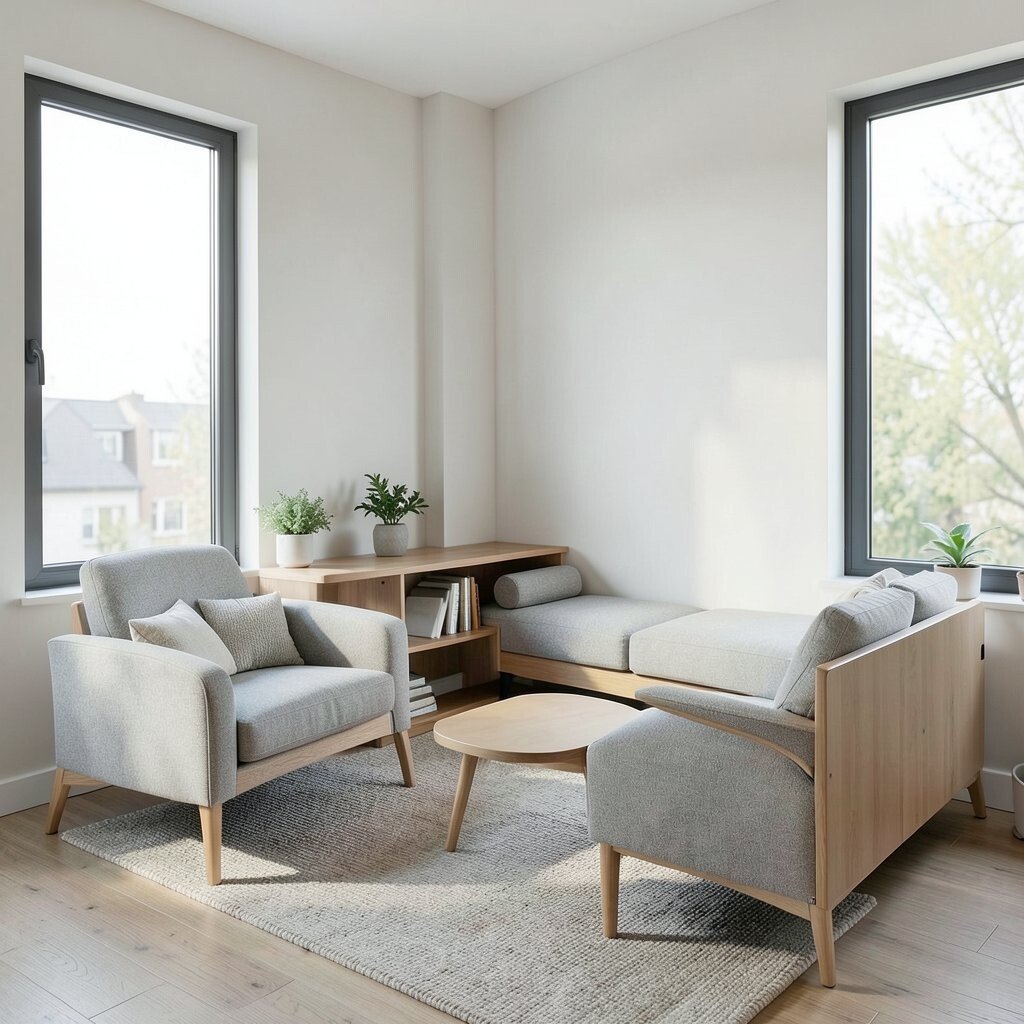
) Set up a “quiet corner” even in the same big room Picture a small nook that feels like a pause button in your open layout. A corner chair with a floor lamp and a side table can give you a calmer spot for reading or calls.
Use soft textures like a knit throw or a rug to make the area feel separate.This supports focus and reduces noise stress when the room is busy. To personalize, add a small shelf for favorite books and a storage basket for headphones.
If you’re thinking about cost, start with lighting and textiles first since they change the vibe quickly. A lot of people are leaning into “micro-zones” right now because they balance togetherness with personal breathing space.
-
11) Add a task tray system for quick resets
) Add a task tray system for quick resets Imagine doing a five-minute reset where everything moves back to place. A tray system helps because each task has a home base.
Use shallow trays for things like puzzles, kids’ art supplies, or laptop work. When you switch activities, you pick up the tray instead of scattering items across the room.
This makes open plans feel less chaotic during busy days.
Personalize the trays by matching colors or labeling them by person or purpose. -
12) Keep cables contained with a “cord garden” plan
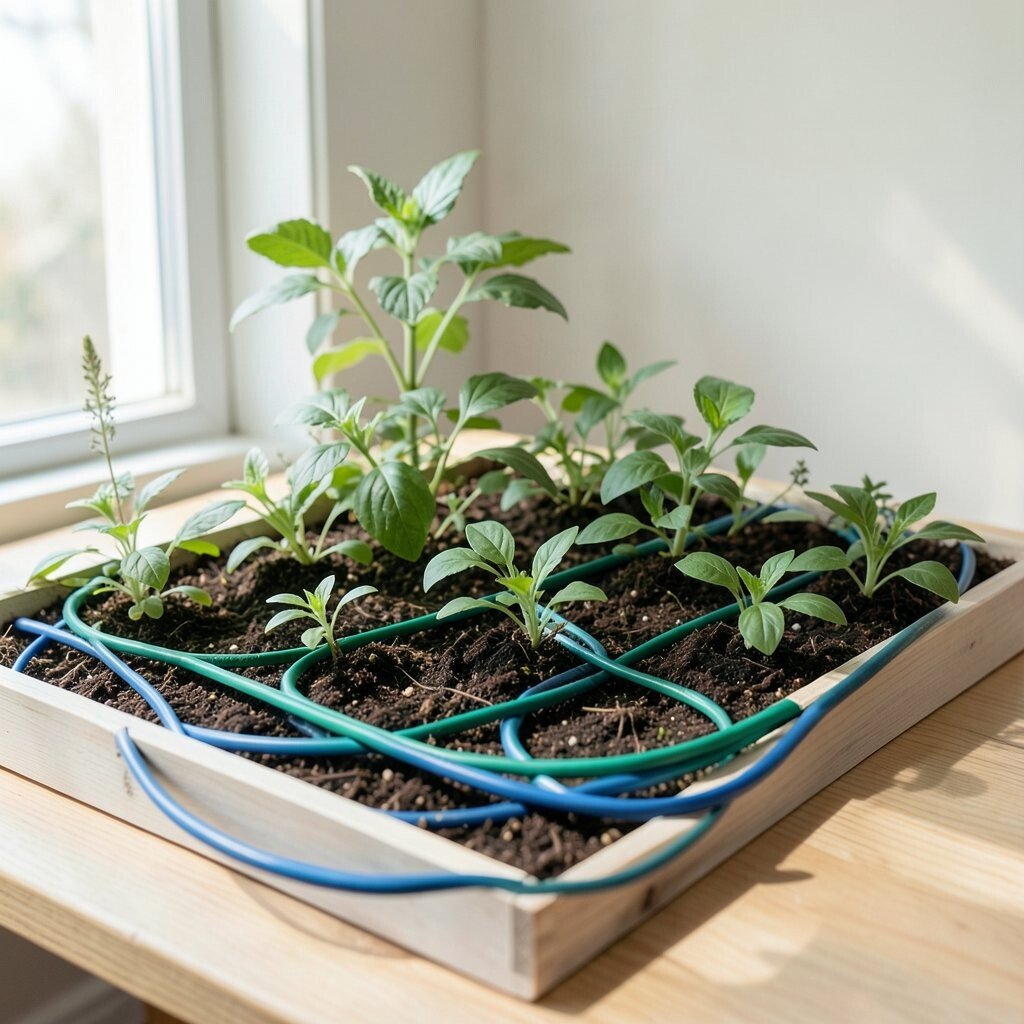
) Keep cables contained with a “cord garden” plan Visualize your open space with fewer unsightly wires. A cord garden uses cable clips, sleeves, and under-shelf routing so tech looks clean.
The benefit is big: no tangled cords on counters, and less time fixing things. Place power strips in a discreet box or inside a cabinet with a clear access panel.
For personalization, decide which devices live where and label outlets. If you want to control cost, start with cable ties and adhesive clips, which are usually inexpensive.
Current trends include hiding power strips inside furniture and using braided sleeves for a neat tech look. -
13) Use an open shelving “display rule” to prevent clutter
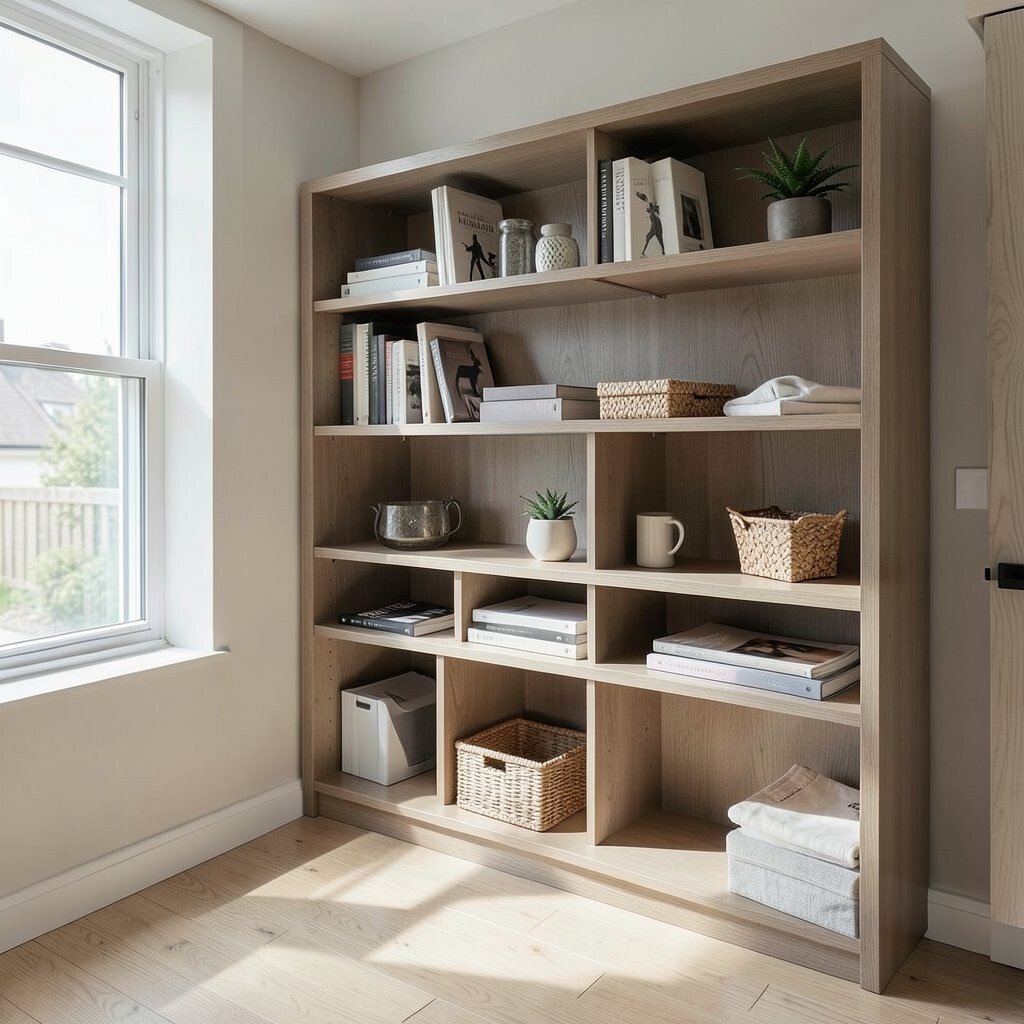
) Use an open shelving “display rule” to prevent clutter Open shelves can look amazing, but only if you give them a simple rule. Pick a display rhythm such as grouping items in threes or keeping a limited set on the front shelves.
This keeps the visual flow clean across the room. When your shelves look calm, the rest of the open concept feels calmer too.
Try placing everyday items behind doors and keeping only favorites on top.Personalize by choosing categories that make sense to you, like cookbooks, mugs, or art pieces. Use color-matched containers for hidden storage inside shelves.
Cost consideration: you can start with one shelf unit or even add small baskets to existing shelving.
This trend is growing because open shelving pairs well with minimal styling and warm, lived-in textures. -
14) Design a dining area that doubles as a work table
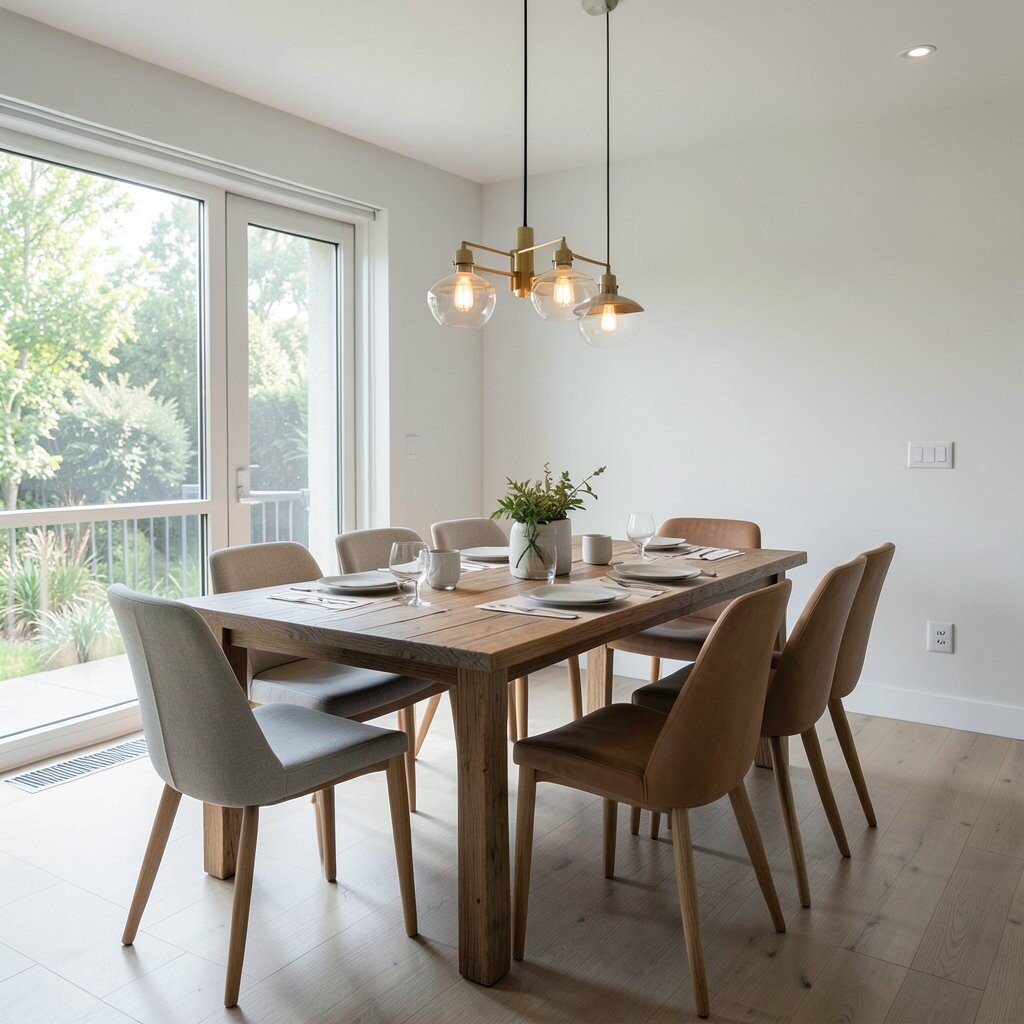
) Design a dining area that doubles as a work table Imagine setting up a dining table that also helps with homework, planning, or even meal prep. If you choose a sturdy table and comfortable seating, it becomes a daily workflow hub.
Add a tray for laptop accessories and a drawer organizer for pens and notebooks.Benefits include fewer “set-up and tear-down” moments. Personalize by using placemats as color-coded zones for work items versus meal items.
Cost can fit many budgets because you may only need organizers, not new furniture. -
15) Put frequently used items in “front-of-mind” locations
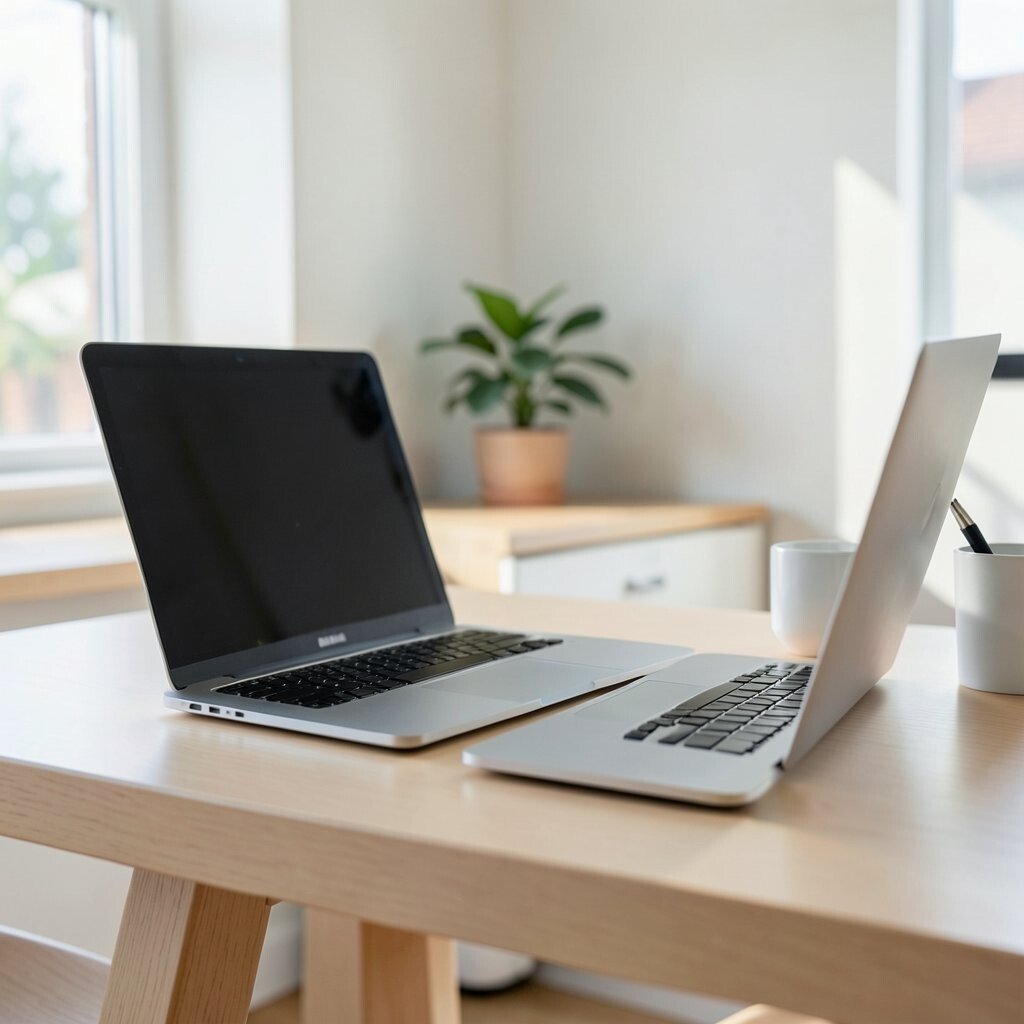
) Put frequently used items in “front-of-mind” locations Picture your day and ask what you touch most. When you store common items where you can see them, you use them more and you stop searching.
For example, keep a basket of charging cords near the outlet and place frequently grabbed snacks in clear containers.This supports better space use because you buy less duplicate stuff and keep surfaces clear. To personalize, arrange items by “morning use,” “evening use,” and “sometimes use.”
Cost is easier to manage if you choose one category at a time, like pantry or bathroom items. A current trend is using clear storage and labeled containers to create quick visual order in open spaces.
-
16) Use rugs like invisible dividers
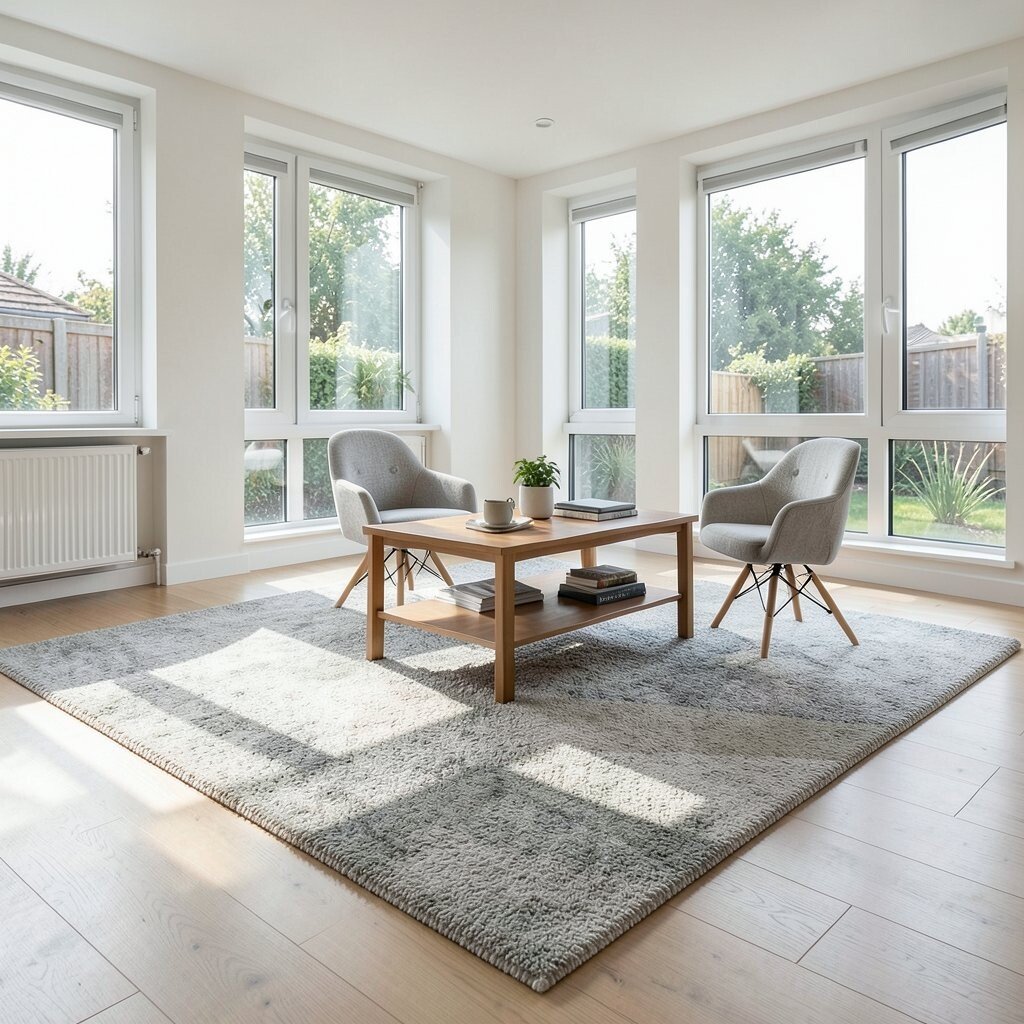
) Use rugs like invisible dividers Think of rugs as soft lines that guide your feet. One rug can define your seating area, while another can mark a work or lounge zone.
In open layouts, this trick makes different activities feel separate without physical walls. Make sure the rug size fits the furniture group so chairs don’t float awkwardly.
Personalize with patterns that match your style, like calm neutrals for a quiet look or bold shapes for energy.
Cost-wise, you can start with one rug in the biggest zone, then add more later. -
17) Add a “return path” for items that wander
) Add a “return path” for items that wander Imagine a small ritual where every item has a direction back to home. A return path is a simple setup that makes it easy to put things away right after you use them.
For instance, place a basket near the sofa for blankets and a hook near the entry for bags. When items have a clear route, surfaces stay calmer.
Personalize by tuning the return path to your routine, like “laundry goes here” and “mail goes there” the moment you walk in.
Cost consideration: baskets and hooks are usually cheaper than furniture and can be added quickly.
This fits a growing trend of “everyday systems” that reduce daily stress through small, visible homes for things. -
18) Use modular furniture that reconfigures with seasons
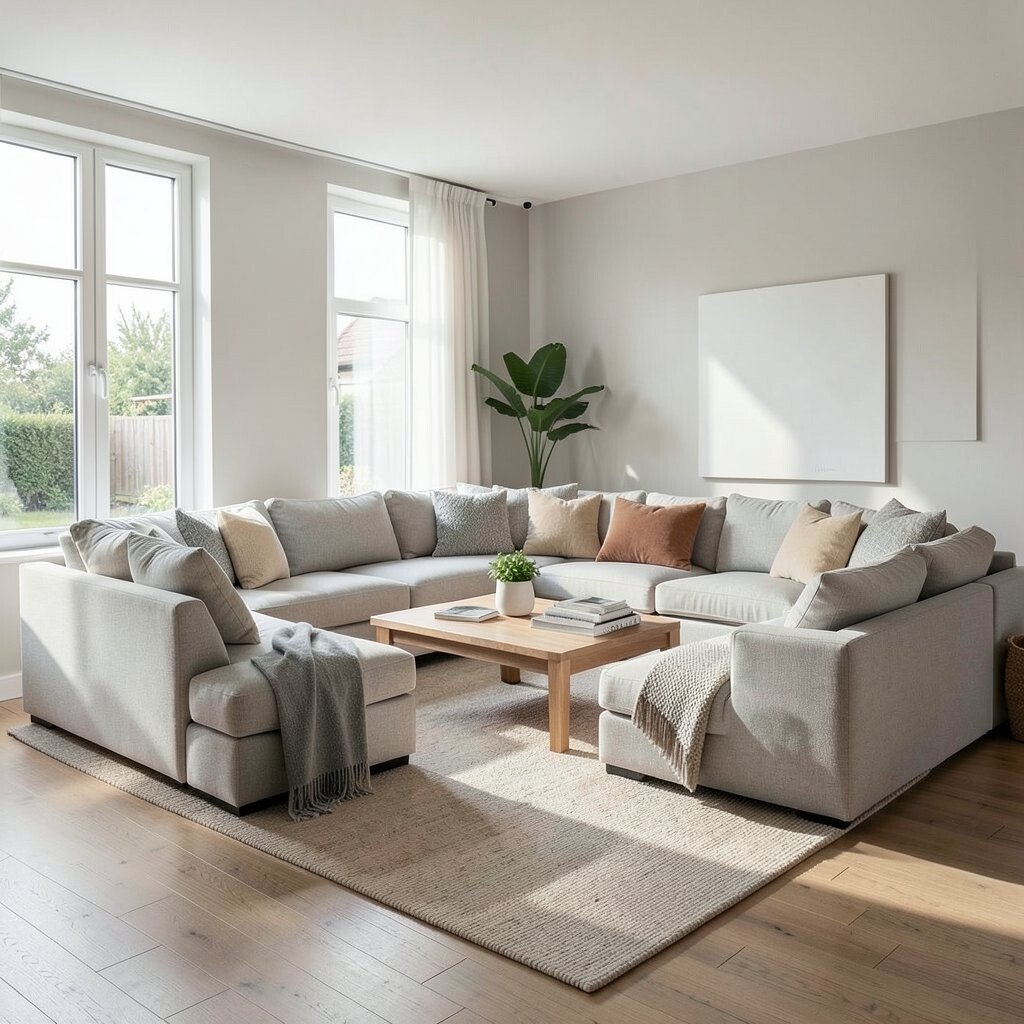
) Use modular furniture that reconfigures with seasons Picture your room changing like a playlist. Modular pieces such as stackable seats, movable side tables, or sections that rearrange help you shift the layout for different needs.
This keeps open concepts flexible when guests arrive or when you want more workspace. You can create a conversation layout in the evening and a brighter, open lane during the day.
Personalize by choosing covers in washable fabrics or colors that match seasonal decor.Cost can be managed by starting with one modular element, like a movable ottoman with storage. Then build around it as your budget allows.
Current trends favor mix-and-match furniture because it supports change without a full redesign.Tip: measure your clear lanes first so modules never block walkways. When pieces move easily, your open plan stays useful instead of stuck.
-
19) Set a weekly reset schedule with visible “home icons”
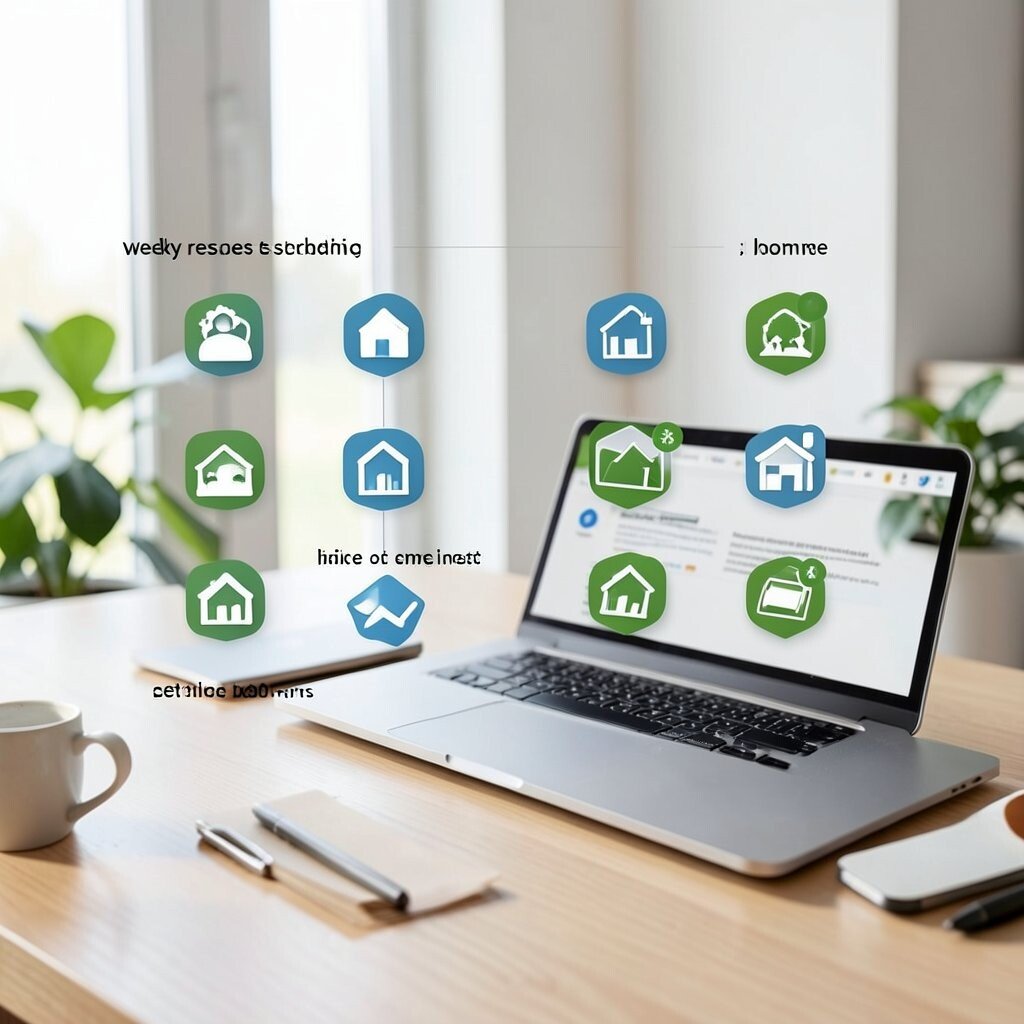
) Set a weekly reset schedule with visible “home icons” Imagine a simple weekly routine where the room gets re-sorted like it’s part of the week’s rhythm. “Home icons” are visual cues such as small labels, colored dots, or tiny signs that show where items go.
When the cues are visible, the whole household can participate without extra instructions.Benefits include fewer daily battles about clutter and a space that stays ready. Personalize the icons so they match your style, and keep them gentle rather than harsh.
Cost is low because labels and markers are inexpensive, and the biggest effort is simply setting the system once.