
Old cabinet doors have a quiet charm that new store art can’t match. When you repurpose them, your home starts to tell its own story.
Keep reading for art ideas you can actually make, with tips, personalization options, and smart cost thoughts along the way.
-
1. Painted “Garden Window” Door Panels

Painted “Garden Window” Door Panels Turn cabinet doors into little windows that feel like spring even in winter. Paint the door in a soft white or sage, then add a grid to look like panes.
Use thin craft wood strips or painter’s tape to sketch window lines before painting. Next, paint flowers, birds, or tiny vines in the panes so the whole door looks like it’s living. Finish with a clear topcoat so it survives dusting and normal home life.
Choose a style you love: cottage, farmhouse, or modern botanical. This installation is a win because it adds color without needing heavy furniture. It also uses materials you likely already have around the house.
For a personal touch, add a small date tag near the bottom or write a favorite quote in a neat script. If your door has raised molding, work with it by painting around the bumps so the texture shows. Budget-wise, paint and brushes are usually cheaper than buying framed wall art.
-
2. Gallery Wall From Mixed Door Shapes
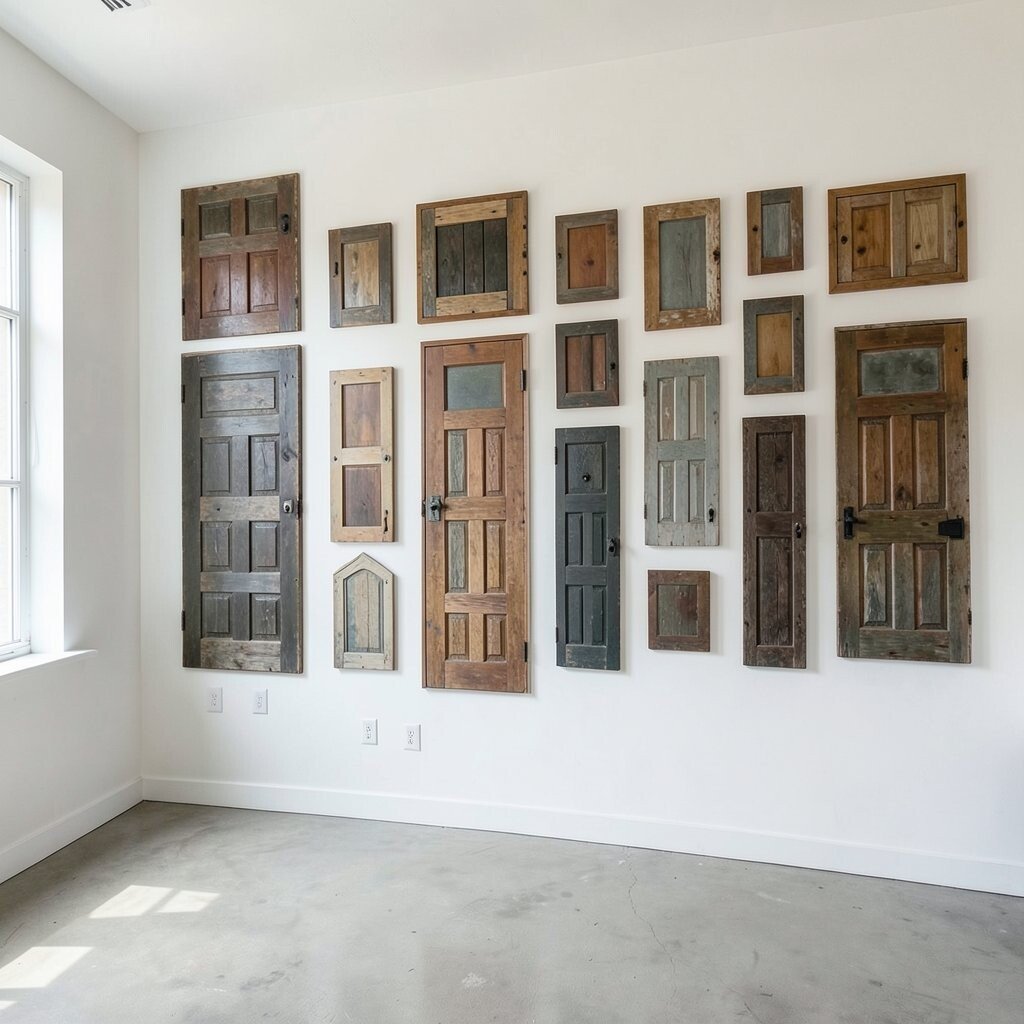
Gallery Wall From Mixed Door Shapes Make a gallery wall using cabinets doors of different sizes and shapes. Arrange them like a puzzle, then mount them so the edges almost touch.
Before you hang anything, lay the doors on the floor and try a few patterns with tape. When you pick the layout you like, lightly sand any rough spots and wipe off dust. Then add paint, stain, or collage paper to each door so the wall feels curated but still playful.
This works great for people who enjoy changing things up. You can swap one door later without feeling guilty, and that keeps the wall feeling fresh. It also fits current trends like “collected” decor that looks layered and lived-in.
Try a theme like “ocean calm” or “warm sunset.” Personalize by adding printed fabric swatches, map scraps, or handwritten letters tucked behind clear tape. Cost is usually lower than buying multiple matching frames, especially if you already have basic mounting supplies.
-
3. Decoupage Memories With Fabric and Paper

Decoupage Memories With Fabric and Paper Decoupage turns a plain cabinet door into a keepsake piece. Pick photos, sheet music, patterned napkins, or meaningful postcards to build a collage.
Cut pieces to fit the door panel and overlap them slightly for a layered look. Spread a thin layer of decoupage glue, lay the paper, and smooth out bubbles gently. Let it dry fully, then seal the surface with several light coats.
One of the best benefits is that you control the mood. You can make it bright and cheerful or soft and sentimental. The uniqueness comes from the specific memories you choose, not from generic prints.
For tips, use a foam brush for a smoother finish and wipe off glue that squeezes out at the edges. If the door has hardware holes, cover them with a small patch of paper or a decorative medallion. For cost, decoupage materials can be inexpensive, and you can use scraps instead of buying new supplies.
To match trends, consider mixing textures like fabric with vintage paper for a “tactile gallery” vibe. Personalize by adding a name, a date, or a tiny stitched border around the collage. Hang it in a hallway or above a console where it catches the light.
-
4. Stenciled Quotes With Distressed Finish
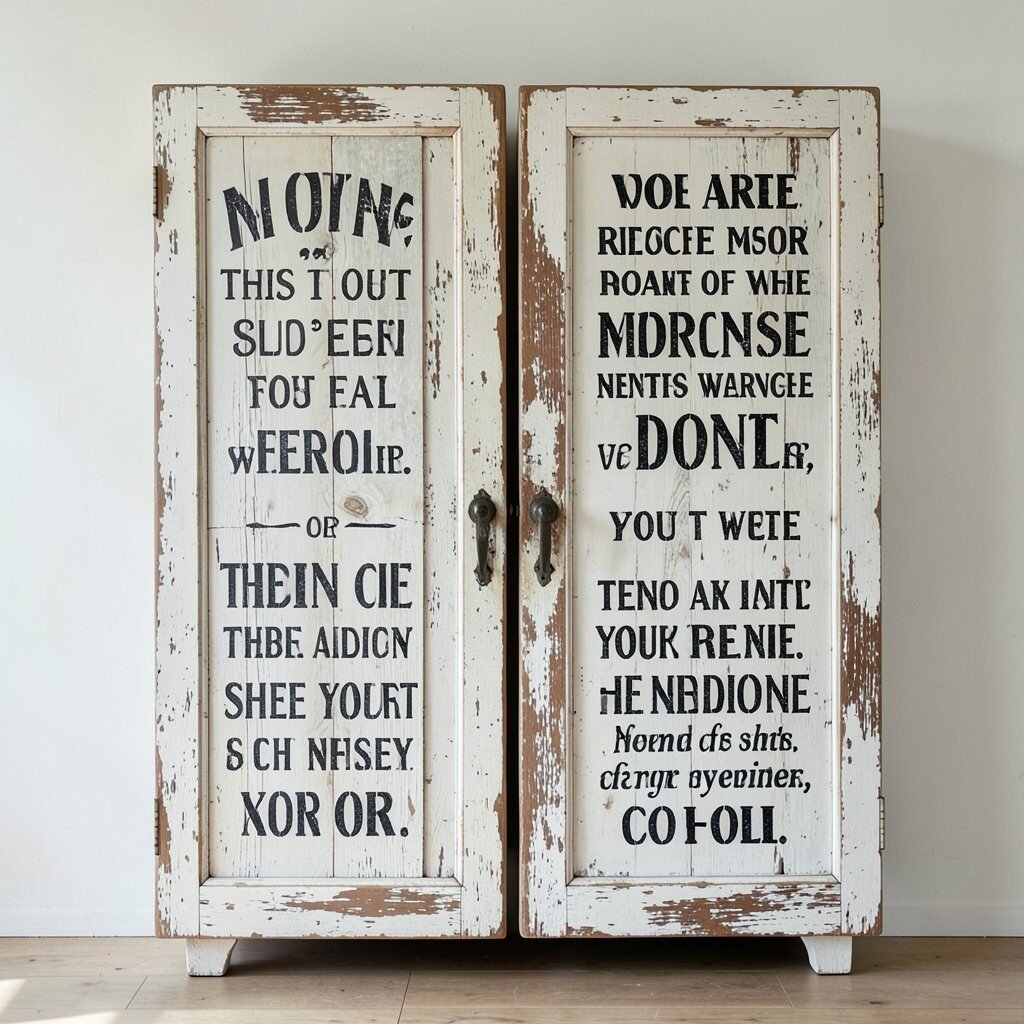
Stenciled Quotes With Distressed Finish Stenciled quotes look classy and cozy on cabinet doors. Start by painting the door in a neutral base like cream, clay, or slate gray.
Use letter stencils to paint your words, then sand lightly to create a worn, lived-in edge. Add a small accent like a star, leaf, or corner flourish so the text feels like part of a design.
This installation brings benefits right away: it adds personality and gives your space a clear theme. It’s also easy to adjust for different rooms by changing the quote style. For example, entryways love welcoming lines, while bedrooms feel better with calm and gentle words.
For personalization, include a family nickname, a lyric that means something, or a short promise like “home is here.” Current trends lean toward simple typography and slightly imperfect finishes, so distressed edges fit perfectly. Cost considerations are simple: stencils are the main purchase, and paint is usually something you can reuse on other projects.
-
5. Shadowbox Door With Botanical Pressings

Shadowbox Door With Botanical Pressings Turn a cabinet door into a shadowbox that holds pressed leaves and flowers. You can either build a shallow frame on the back or mount a clear sheet on the front.
Paint the door background first, then place your pressings in a balanced layout. Use small pieces of archival tape or glue dots so the botanicals stay flat. Add labels for extra charm, like “lavender” or “garden day,” if you like a museum feel.
Botanical installations are great because they add a natural calm to any room. They also last longer than fresh flowers when sealed properly. The uniqueness comes from the plants you actually collect and the way they vary from one press to another.
Tips: store pressed items in parchment before using them, and handle them gently since they can break. Try using a mix of greens, browns, and subtle blush tones for a modern look. Cost is usually budget-friendly because you can gather plants for free, and the key supplies are sealing spray and mounting materials.
For personalization, add a tiny line of handwriting near the bottom like “planted in spring” or the location you found them. Hang the shadowbox in a window area so light makes the textures pop.
-
6. Mosaic Door From Broken Tile Pieces
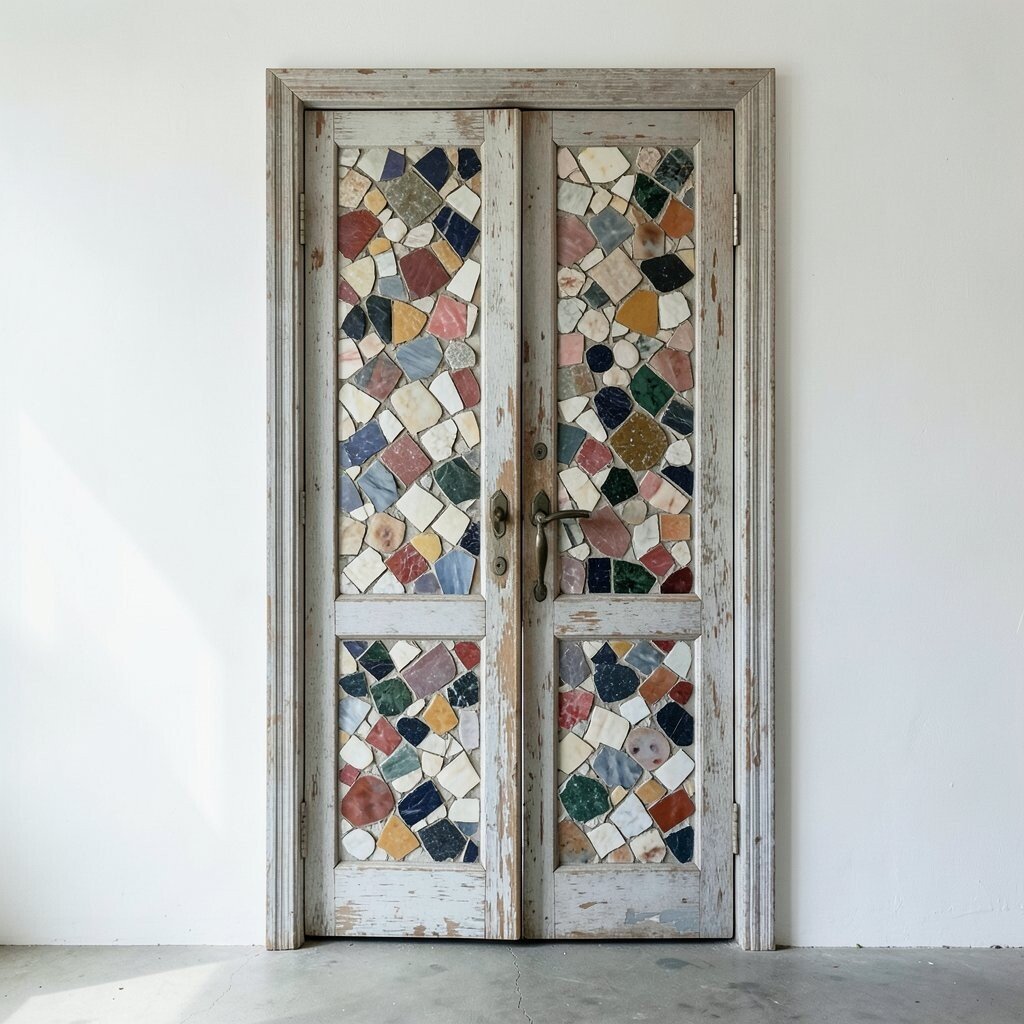
Mosaic Door From Broken Tile Pieces Mosaic art on cabinet doors looks bold and creative in a surprisingly welcoming way. Start by choosing a door with a sturdy surface and clean it well.
Break small tile pieces into varied shapes, then arrange them on the door like a pattern. Use a pencil to lightly mark your layout so the design stays smooth. Once you’re happy with the look, apply adhesive and press the tiles into place.
After the mosaic sets, apply grout to fill gaps and wipe away excess. Seal everything when the grout is dry so the surface is protected and easy to clean. The benefit here is durability, especially if you place it near a kitchen nook or entry spot.
Uniqueness is built in because every broken piece is one-of-a-kind. Tips: mix a few small accent tiles in shiny colors to catch light, but keep the rest calmer for balance. If you want a budget-friendly approach, shop for clearance tile or repurpose small leftover scraps from past projects.
-
7. Chalkboard Door for Weekly Family Notes

Chalkboard Door for Weekly Family Notes A chalkboard cabinet door can act like art and a communication tool. Paint the door with chalkboard paint and let it cure for the recommended time.
Then frame it with trim or leave the door edges natural for a rustic vibe. Write weekly menus, kid schedules, or doodles right on the board. Add a border using a stencil so it looks designed, not just temporary.
This idea is highly practical, which is one reason it feels irresistible. Instead of collecting magnets and sticky notes, you get one clear place for reminders. It also matches the trend toward “functional decor” where beauty and usefulness meet.
For personalization, draw small icons like a coffee cup for morning plans or a heart for family birthdays. Tips: use a soft eraser and keep chalk dust under control by wiping gently. Cost is usually reasonable since chalkboard paint can cover multiple projects.
To make it feel like art, add colored chalk accents such as gold-toned chalk or colored pastel chalk. Mount it at an eye-friendly height so everyone can enjoy it daily.
-
8. Fabric-Covered Door With Quilting Style Panels

Fabric-Covered Door With Quilting Style Panels Fabric-covered cabinet doors look cozy and rich, like small wall quilts. Pick fabric that matches your home color scheme, then cover the door panel like you’re wrapping a gift.
Use a staple gun or fabric adhesive to secure the edges on the back. Add a simple backing board if needed so the fabric stays smooth. Then, sew or tape on decorative trim to create a quilting pattern.
This installation brings warmth to rooms that feel too plain. It also helps hide small flaws on older doors, which saves you from starting from scratch. Uniqueness comes from your fabric choices, and no two fabric collections look exactly alike.
Tips: choose cotton fabrics for easier handling and crisp lines. If your door has raised trim, frame the fabric around the edges to highlight the shape. For cost, you can use scrap fabric, old shirts, or curtain remnants instead of buying yardage.
To fit current trends, go for bold color blocks or calm neutral florals depending on your style. Personalize with patchwork names, a stitched initial, or a small embroidered date. Hang it in a living room, nursery, or reading nook where it will feel like a soft welcome.
-
9. Map and Compass Door for Travel-Themed Corners

Map and Compass Door for Travel-Themed Corners Map art turns a cabinet door into a personal travel keepsake. Print a favorite map, use old atlases, or even cut out postcard-sized locations you love.
Cover the door with map pieces, then add a compass rose in one corner. Paint the compass in black, gold, or muted navy so it looks crisp. Seal it with a protective topcoat to keep the paper safe.
This idea benefits your space by adding a sense of place and story. It works especially well near a desk, hallway, or entry area where “where you’ve been” can feel inspiring. The uniqueness is obvious because your travel memories are yours, not a generic print.
For personalization, highlight one city with a colored circle or ribbon banner. Tips: use a foam roller for smooth sealing and avoid heavy water saturation on paper. Cost considerations are often low because you can pull maps from thrifted books or online prints you already have.
-
10. Mirror-Backed Door With Mural-Style Frame

Mirror-Backed Door With Mural-Style Frame Make a statement by adding a mirror element to a cabinet door. Remove the old panel if needed, then attach a mirror sheet to the center.
Once it’s secure, frame it using the door’s original edges or extra trim for a mural-style border. Paint the frame in a deep color, then add a light pattern like dots, lines, or leaves. This creates a “wow” effect because mirrors bounce light around the room.
The benefits are both beauty and practicality. Mirrors can make spaces look brighter and bigger, which is especially helpful for hallways. It’s unique because you’re using the door shape as the centerpiece, not generic store frames.
Tips: check door weight and use the right wall anchors so the mirror stays safe. Personalize by etching initials into the mirror using a gentle, appropriate etching product or by adding removable vinyl decals. Cost can be moderate if you buy a mirror, but you can keep it budget-friendly by using a small mirror piece or thrifted glass.
-
11. Raised-Pattern Door With Paper Flowers

Raised-Pattern Door With Paper Flowers Paper flowers on a cabinet door create a layered, almost 3D look. Start by painting the door, then choose a glue method that holds well without wrinkling your petals.
Arrange flowers across the raised molding or centered on a flat panel, then add leaves and small buds around them. If your door has carved details, use those shapes to guide where the flowers should go. Seal the finished piece carefully if you used paper that can handle it.
This installation is fun because it feels cheerful and creative every day. It can also be a great way to celebrate seasons, since you can swap flower colors for holidays. Uniqueness comes from your petal shapes and color combos, which always look custom.
Tips: make a few flower sizes so the arrangement looks balanced, not flat. For personalization, add a ribbon across the top with a name or a short greeting. Cost considerations are easy if you make your own paper flowers, and you can use scrap craft paper to keep expenses low.
Current trends love handmade textures, so this fits right in. Hang the door in a spot where it catches natural light, like near a window or in a sunny corner.
-
12. Open-Slat Door Organizer With Hanging Art Storage
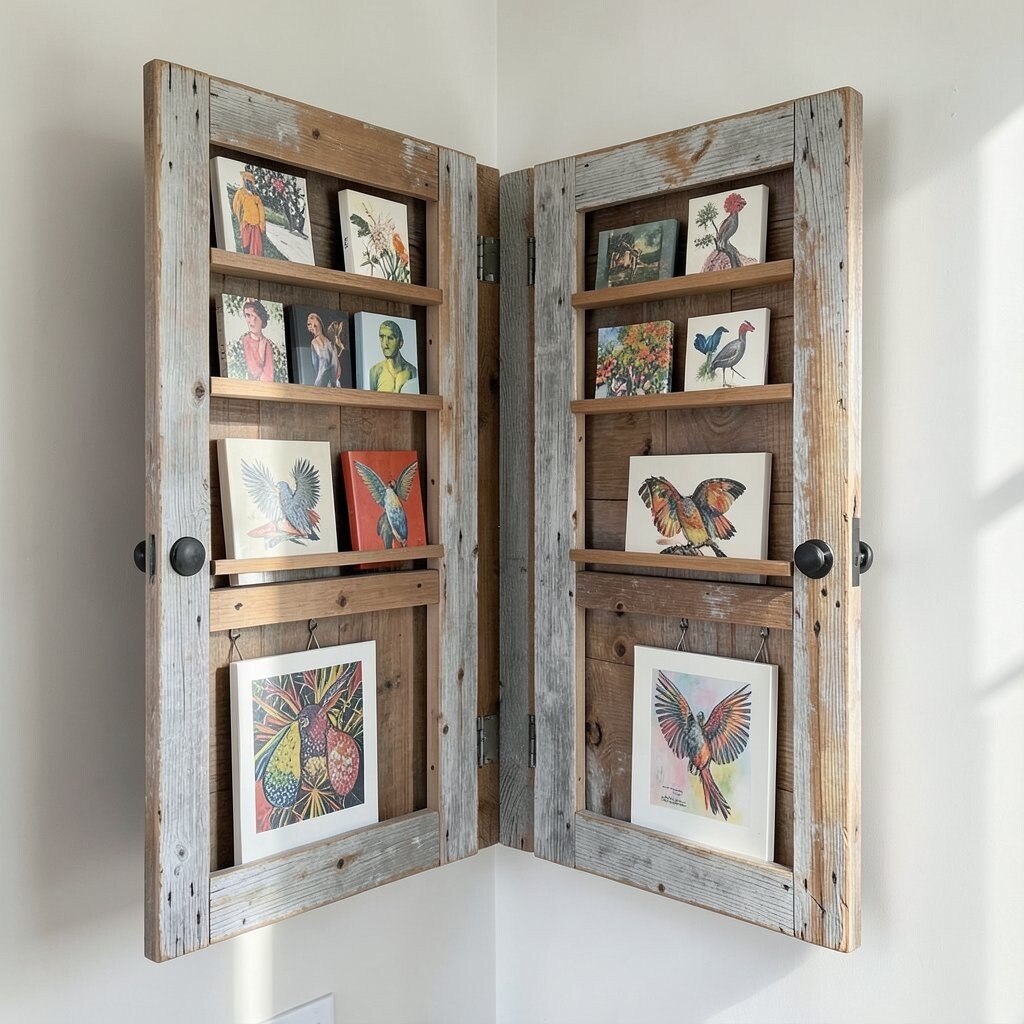
Open-Slat Door Organizer With Hanging Art Storage An open-slat cabinet door can become an art organizer while still looking stylish. If the door has slats or a lattice-like front, keep that texture and clean it up.
Paint or stain the wood, then add hooks or clips to hang small items like mini frames, postcards, or keychains. You can also attach small holders for paint brushes, notes, or hair accessories in a tidy way. This turns “storage” into something you can see and enjoy.
The benefit is that you get practical order without losing personality. The door becomes a rotating display for your favorite small art and keepsakes. It’s unique because you’re designing a personalized system that changes as your tastes change.
Tips: mount the organizer near a spot you already use often, like by an entryway chair or in a craft corner. Personalize by hanging themed mini cards, seasonal tags, or tiny art you make with your kids. For cost, you can repurpose hardware you have and use simple clips, which usually cost less than custom shelves.