Roll your dough with more imagination than ever. A simple rolling pin can turn ordinary bakes into joyful experiments.
1. The “Splash of Flour” Practice Roll

Keep a small bowl of flour nearby and do a quick warm-up roll on scrap dough. You’ll notice how thickness changes right away when your pressure stays steady.
Visualize a thin, even sheet like a clean tablecloth, then adjust your hands to match. This makes shaping pie crust, cookie dough, and pastry easier because you learn control before it “counts.” Try adding a light dusting between passes to prevent sticking and tearing.
2. Marble-Cool Rolling Pin for Smooth Pastry
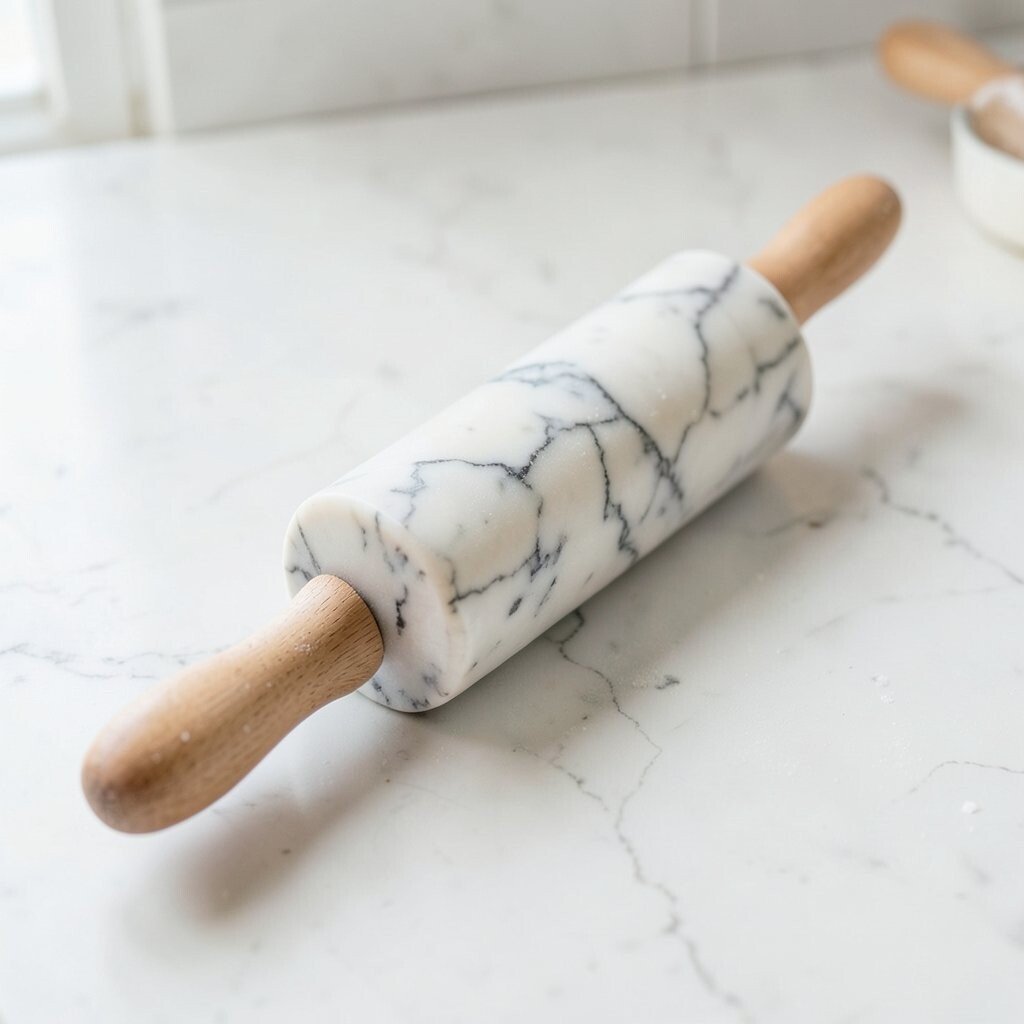
A marble rolling pin feels cool to the touch and helps keep butter from melting too fast. The result is smoother dough and cleaner edges for pastries.
You can use it for pie dough, tart shells, and even sugar cookies that need crisp definition. Chill your pin for 10 to 20 minutes, then roll with gentle, even strokes.
If you live in a warm kitchen, this idea can be a game-changer. While marble pins are often pricier, they can last for years and double as a soothing kitchen tool for dough resting. Current trends also favor “better texture with fewer tweaks,” and temperature control is a big part of that.
3. Adjustable Ring Spacers for Perfect Thickness

Slip on thickness rings and let them guide your rolling depth every time. You’ll get consistent results for cookies, crackers, and dumpling wrappers.
This unique trick reduces guesswork, especially when a recipe says “roll to 1/4 inch.” Start with one test roll, then fine-tune your ring height for the dough you’re using. Because you’re controlling thickness, baking times become more predictable.
For personalization, mark the rings for different uses, like thick for cinnamon rolls and thin for thin-crisp cookies. These kits cost less than you think, and they’re usually reusable across many baking styles. If you like trendy “slice-and-bake” looks, uniform thickness helps your batches stay photogenic.
Remember to keep the rings lightly floured so they glide instead of dragging.
4. Engraved Pattern Roller for Instant Texture

An engraved roller adds tidy texture without extra tools. Your dough can look bakery-style in minutes, even when you’re making simple cookies.
Choose patterns like leaves, waves, or subtle diamonds so the design shows but doesn’t tear the dough. Press evenly, and don’t overwork the surface after the pattern is added. Chill the dough briefly if you notice the details getting blurry.
5. Guided Rolling Pin with Measurement Marks
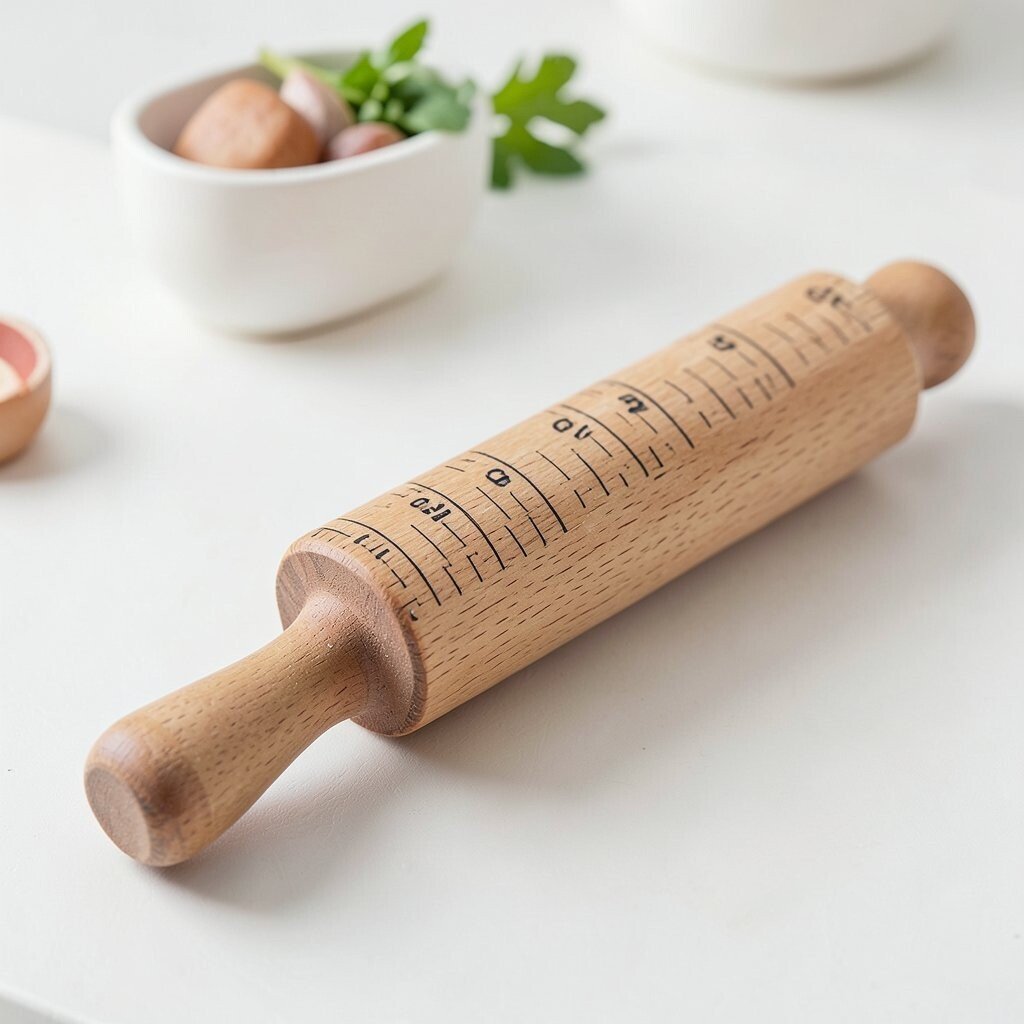
Measurement marks on the barrel help you roll to the same size with less trial and error. It’s especially useful for rectangle pastries and neat puff-style shapes.
When you know your dough length, you can plan fillings and fold lines more confidently. Use light pressure for the first pass, then a second pass for finishing smoothness.
This tool is unique because it blends baking with a little “craft planning.” While it may cost more than a basic pin, it can save time and reduce wasted dough. Many home bakers are now sharing their “measurement first” workflows online, which helps make baking feel less mysterious.
6. Use a Scarred Wooden Pin Like a Signature Tool
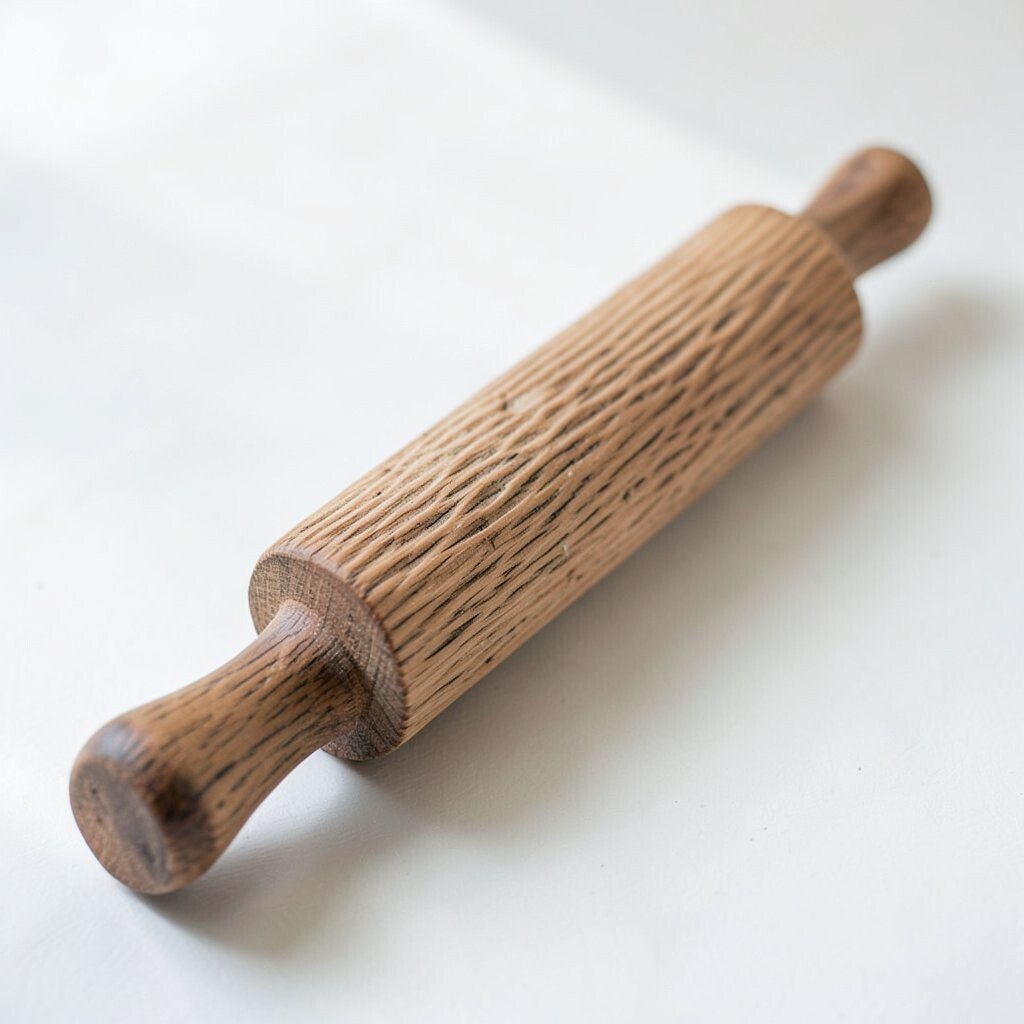
Even a well-loved wooden pin has personality in its surface. Tiny dents and natural grain can create gentle texture on dough.
Try rolling lightly on pie dough or bread portions where you want subtle character rather than a perfect finish. The main benefit is that your dough may release more easily because wood can hold a thin layer of flour over time. For uniqueness, think of the pin as your “signature stamp” without needing extra attachments.
To personalize, clean it well after baking and keep it dry so it doesn’t develop strong odors. Cost is usually near zero because you’re using what you already own. This idea also fits current “heritage baking” vibes, where people highlight tools with history instead of brand-new perfection.
7. Turn a Rolling Pin into a Fondant Smoother
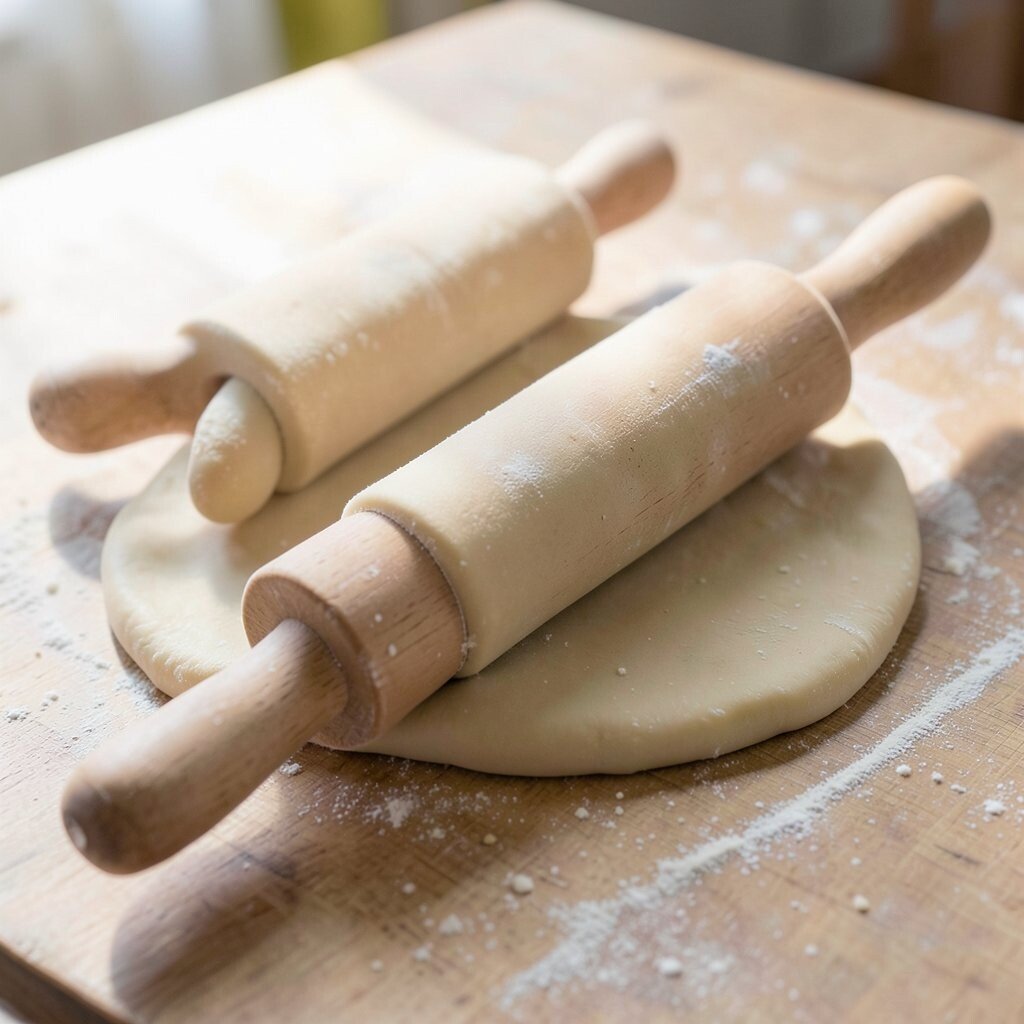
After you master cookie dough, switch roles and smooth fondant with your rolling pin. A well-floured surface helps it glide without sticky drag.
For visual impact, roll fondant into even layers before cutting shapes for cakes. This keeps layers from wrinkling and gives decorations that look crisp. If you’re using thicker fondant, give it a brief rest so it relaxes before rolling again.
You can personalize by using a thin dusting of edible shimmer for a “soft glow” look. A basic pin works here, so cost stays low unless you want a dedicated fondant-friendly roller. Trendy cake designs often rely on smooth, clean surfaces, and rolling technique is the quiet secret behind that professional look.
Keep a separate cloth and tray for candy projects so flavors don’t mix with savory baking.
8. The “Dough Sandwich” Chill Method

Place dough between lightly floured parchment sheets and roll through the paper. The result is smoother sheets with less sticking and less mess.
This method is unique because it reduces friction, helping you keep a consistent thickness. You’ll also make fewer repairs since tears are less likely when the dough stays protected. It’s a helpful trick for sticky cookie dough and for fondant-like crafts.
For practical tips, start with a small piece and roll gently until the sheet spreads, then pause and adjust the edges. Use a damp towel under the cutting board if the parchment wants to slide. Cost is basically just parchment, and that’s usually already in most kitchens.
It matches today’s “less cleanup, more enjoyment” approach that many home bakers swear by.
9. Create Fluted Edges with a Simple Pin Hack
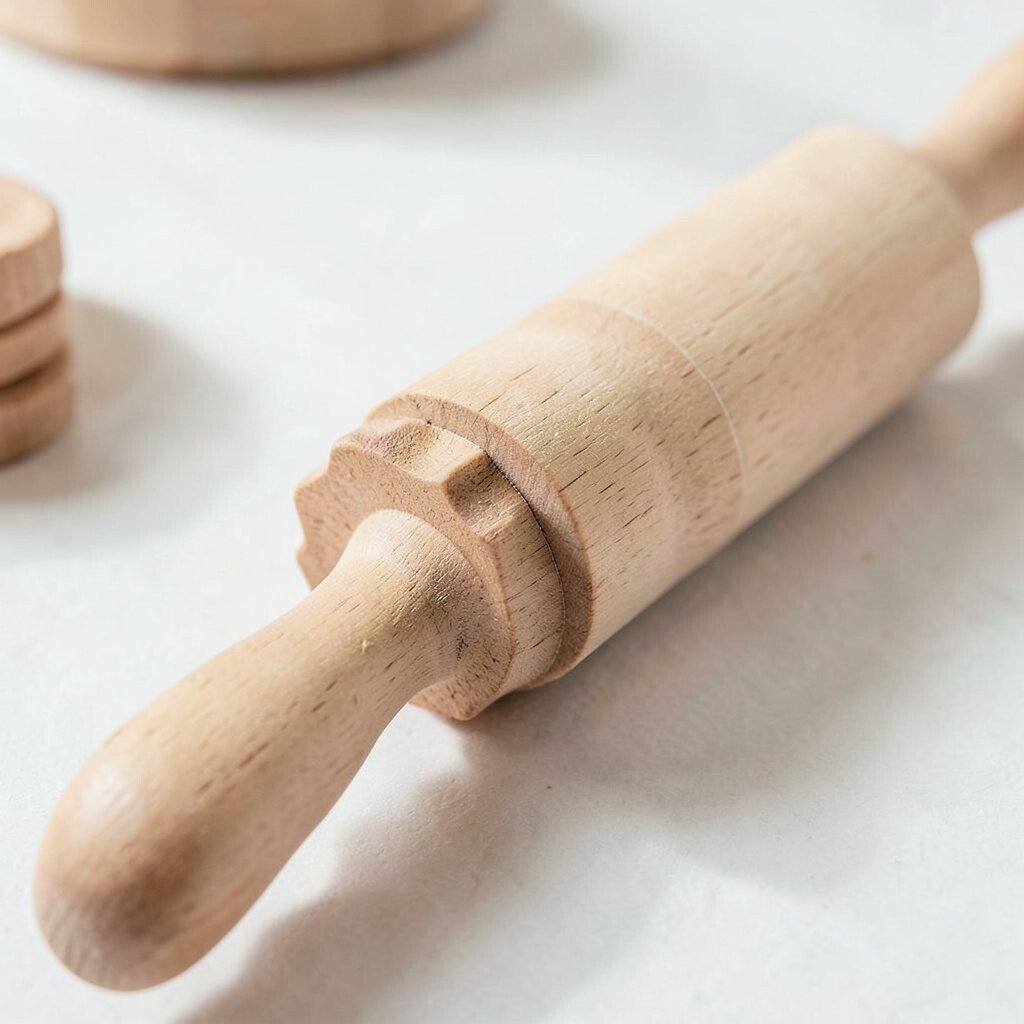
A rolling pin can help you get fluted edges without fancy tools. Roll your dough into a flat sheet, then use light pressure while shaping the rim.
For example, when forming tart crusts, roll the edges slightly while your dough is still pliable. This creates gentle ridges that hold filling and look classic. You’ll benefit from improved structure because the ridges can help the crust bake evenly.
Personalize by making the ridges more subtle for an elegant look or more pronounced for a rustic feel. This uses what you already have, so it’s budget-friendly. If you’re into current “farmhouse pastry” aesthetics, fluted edges are a quick win.
10. Roll Like a Map: Quarters and Lines

Divide your dough mentally into four quarters and roll each section in sequence. This keeps pressure balanced and helps prevent one side from getting too thin.
Visually, you’ll see more consistent edges, especially when making pizza dough, focaccia bases, or large sugar cookies. Start from the center and roll outward, then rotate the dough and repeat. The benefit is better control and less uneven thickness.
For personalization, mark one corner of the dough with a tiny pinch so you always know where you started. This costs nothing and can help you feel calmer during busy baking sessions. Many bakers now talk about “process control,” and this is an easy version you can do immediately.
11. Add a Rolling Pin “Butter Thread” Texture

Want a rich, layered look? Spread a thin strip of cold butter along the dough and roll it in gently.
This idea creates visible swirls or streaks depending on how much you fold and how lightly you press. It’s unique because the texture isn’t just decorative; it can add flavor pockets too. For practical tips, use small amounts so the butter doesn’t leak and pool.
Chill the dough briefly between turns if your kitchen is warm. Cost considerations are simple since you’re using butter you already buy for baking. This trend toward “marbled” and layered flavors is popular in both cookies and pastries, and rolling technique is what makes it believable.
Try it on cinnamon dough, flaky snack crackers, or a quick puff-like pastry.
12. The “Pin and Press” Method for Stuffed Dough
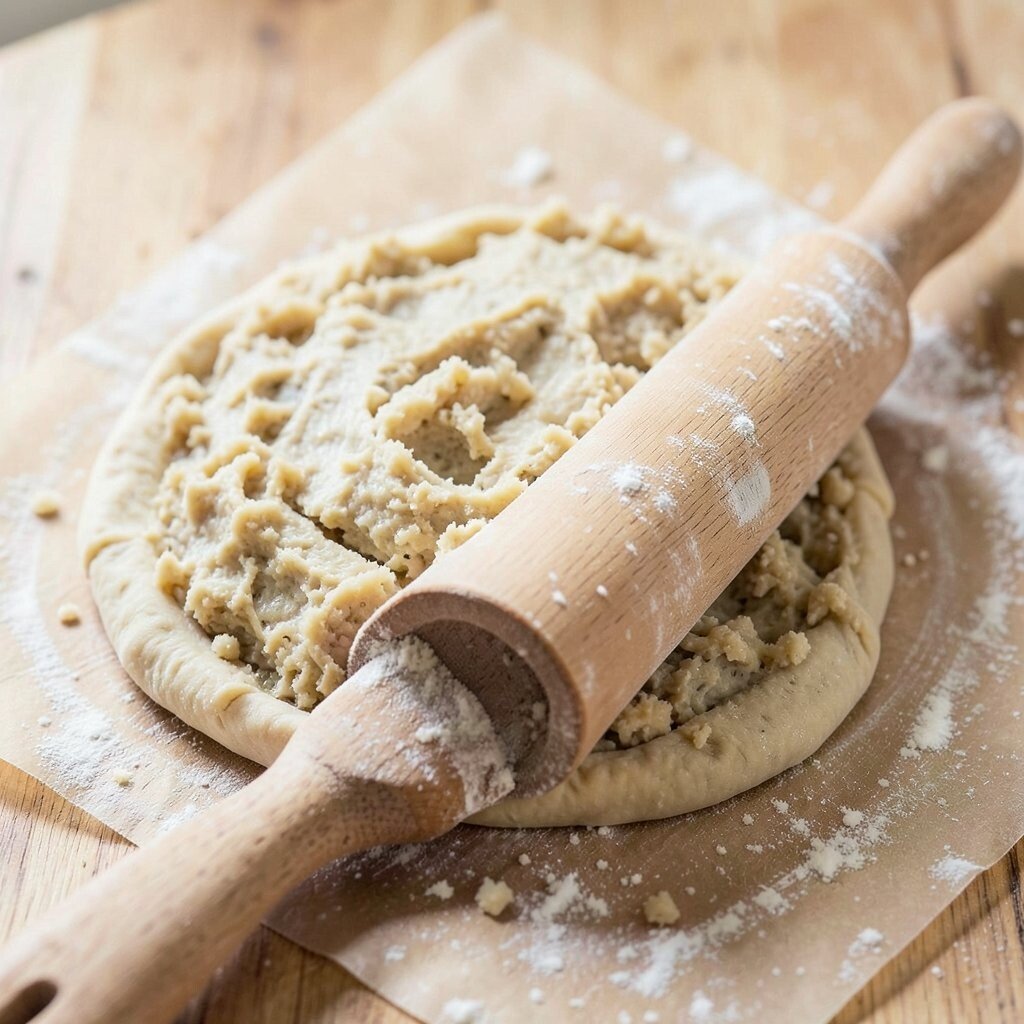
For stuffed dough, roll your base and then press lightly so the filling doesn’t squeeze out. Think dumplings, empanadas, or small hand pies.
This is beneficial because it helps seal pockets while still keeping the dough tender. Use gentle, short rolls rather than long strokes near the filling. The unique part is learning how your rolling pressure affects the seal.
13. Use a Lightweight Plastic Pin for Easy Handling
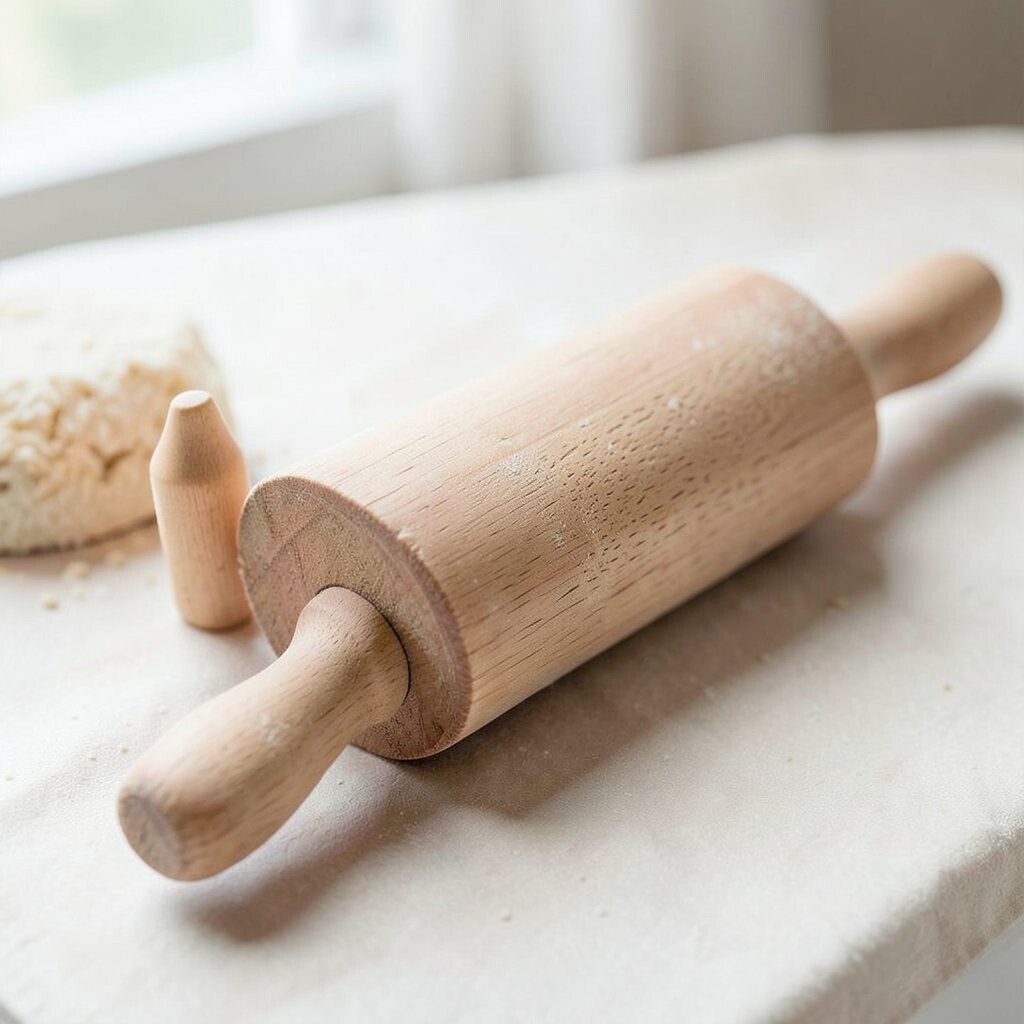
A lightweight plastic rolling pin can be surprisingly helpful when you want less arm fatigue. It’s great for short dough sessions and smaller kitchens.
You’ll benefit from easier wrist control when rolling cookie dough or thin wrappers. For uniqueness, try it for delicate tasks like stretching pasta sheets where you want less weight. Wipe it clean often because flour can collect on seams.
To personalize, choose a pin with a comfort grip and a nonstick or easy-clean surface. Cost is usually budget-friendly, which makes it a practical second pin. In current baking trends, more people are prioritizing ergonomic tools and comfort, especially for frequent home bakers.
If you want an upgrade later, you can pair it with a heavier pin for thicker dough tasks.
14. Make a “Sculpted Scroll” for Cinnamon Rolls

When rolling dough for cinnamon rolls, shape the sheet into a gentle rectangle before adding filling. Roll it up tightly like a scroll, not loosely like a blanket.
This helps even spirals, so swirls bake at the same pace and look neat in the pan. The unique part is how the pin’s motion affects the roll tightness. Press lightly at the end seam so it sticks and stays closed.
15. Create Thin Crackers with a Controlled Roll

Thin crackers need consistent thickness, and your rolling pin can make or break them. Roll slowly and check thickness often with a quick visual glance.
Benefits include crisp texture and even browning, which means fewer burnt edges and more satisfying crunch. For practicality, prick the dough lightly before baking so steam can escape. If the crackers puff too much, roll a bit thinner and prick again next batch.
Personalize by sprinkling seeds, herbs, or a tiny dusting of cheese on top before you roll lightly to press them in. Cost is low because crackers use simple ingredients. This matches a current trend toward snackable bake-ahead treats that feel both homemade and fancy.
16. Double-Pin Technique for Extra-Wide Dough
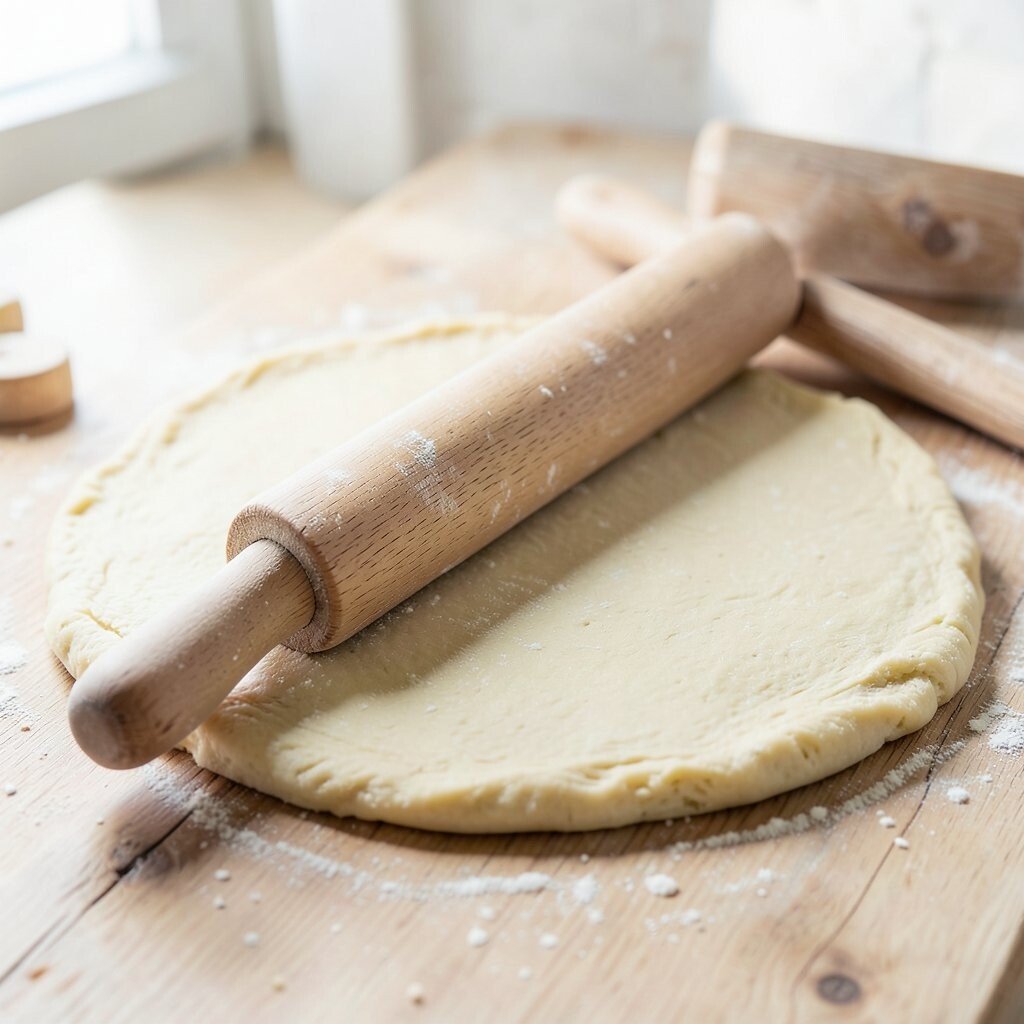
If you’re making big batches, use two rolling pins to move dough faster and more evenly. Place the pins side by side and roll so the sheet spreads with less shifting.
This technique is unique because it reduces stress on your wrists while helping the dough keep a uniform shape. You’ll benefit from fewer lopsided edges, especially when rolling for sheet cookies or large tart bases. Keep your hands light and let the pins do the work.
For personalization, try different widths for different bakes, like wider for cookies and narrower for pastries. Cost is minimal since you may only need a second pin, but you can also borrow one from a friend. Current social media “stack and batch” baking trends make this kind of teamwork approach feel very modern.
17. Roll with Flavored Dusting for Quick Flavor Boost

Instead of plain flour, try dusting your work surface with cocoa, powdered sugar, or spices. The aroma becomes part of the dough as you roll.
This benefits the final bite because flavor lands on the surface and can lightly mix during rolling. Choose dusts that match your recipe, like cinnamon for sweet dough or herbs for savory crackers. The unique twist is that the rolling pin spreads the flavor evenly, not just in one spot.
Personalize by adjusting how bold you want the flavor, from a faint hint to a bold coating. Cost considerations are easy since spices are pantry staples. Many current baking posts highlight “easy flavor layering,” and this is one of the simplest versions.
Keep notes on which dusting worked best so you can repeat it confidently.
18. The “Textured Wrap” Trick for No-Mess Rolling

Wrap your rolling pin handle with a strip of clean baking paper so it stays comfortable and dry. It’s a small change, but it can make long rolling sessions easier.
This is unique because it’s a practical friction and comfort hack rather than a tool upgrade. You’ll benefit from better grip, which helps you roll more evenly and reduce accidental slips. For tips, replace the wrap when it gets too floury or damp.
19. Seasonal Shape Templates with Your Rolling Pin

Roll dough onto a mat that has seasonal shape outlines, then follow the lines lightly with your pin. Even without cutting perfect circles, your shapes stay consistent.
This approach benefits decoration because it speeds up layout for holiday cookies, themed crackers, and party snacks. The unique part is using guidance without fully locking you into one rigid mold. Personalize your designs by choosing outlines for your favorite holidays or local celebrations.
Cost can be low if you use a reusable template mat or washable guide sheet. Current trends often focus on “interactive baking” where people enjoy customizing designs, and templates make it beginner-friendly. For best results, roll gently so the outlines guide thickness instead of crushing the dough.