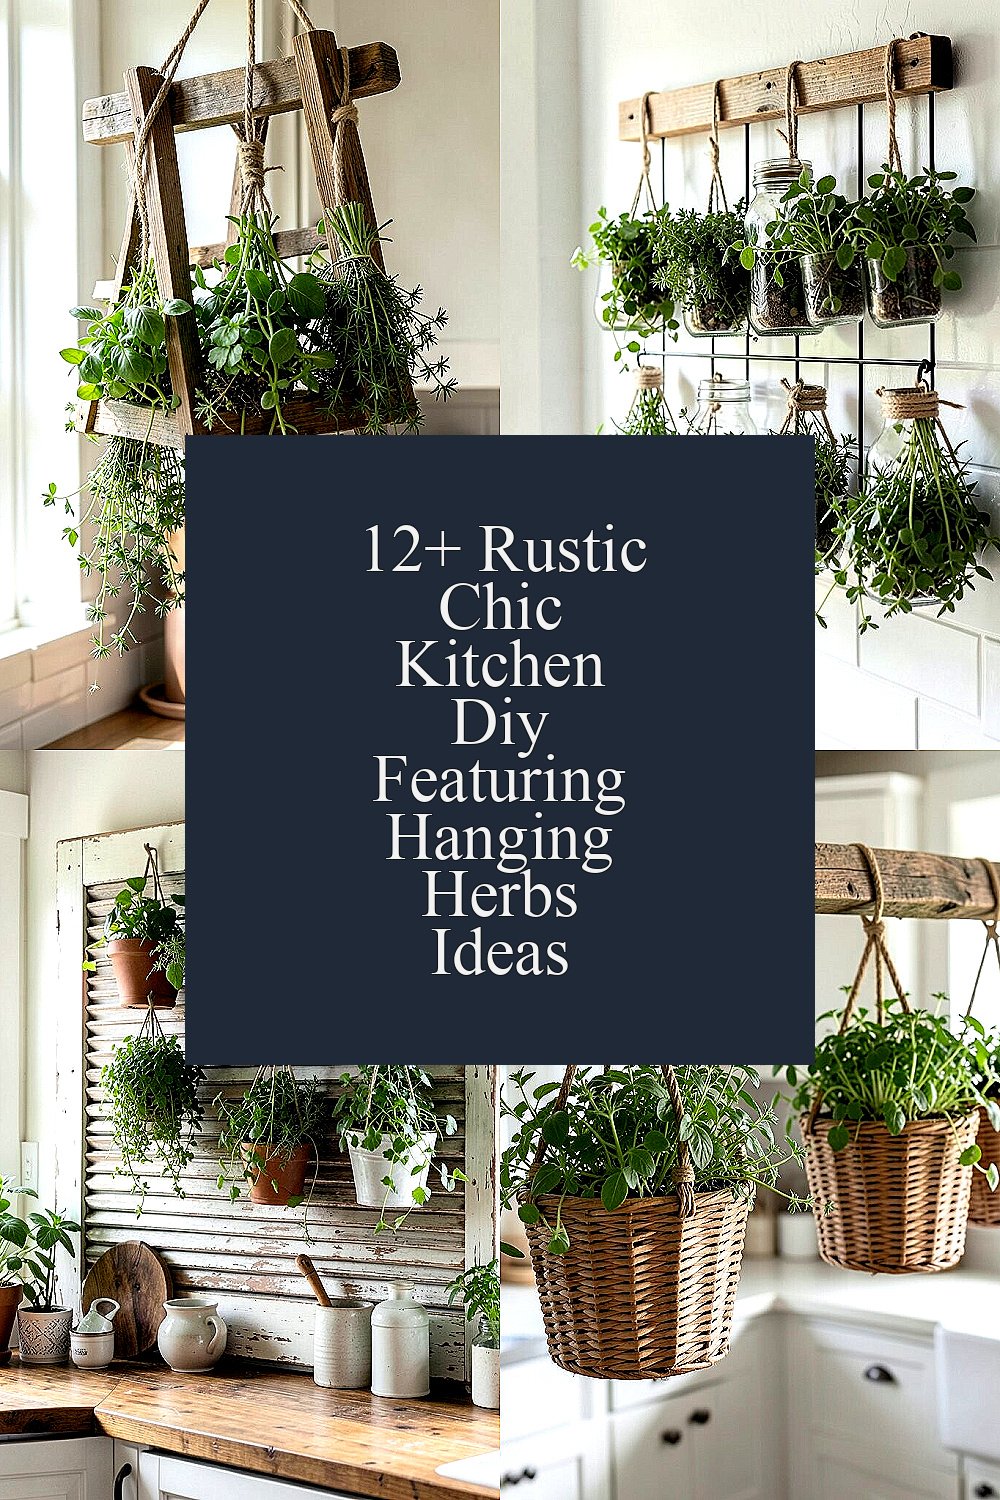
Fresh herbs make a kitchen feel alive, even when the weather is gloomy. Rustic details add warmth, while hanging gardens save counter space.
-
1) Ladder-Style Herb Hanger From Repurposed Wood

) Ladder-Style Herb Hanger From Repurposed Wood Start with a small wooden ladder, thrifted or rescued from storage. Sand the rungs lightly, then stain it in a warm “old oak” tone so it looks lived-in.
Hang metal hooks or small plant clips along the rungs, spacing them like little signposts. Use lightweight twine to secure herb pots so they swing less when the kitchen door opens. This setup brings a cozy vertical look while keeping herbs easy to reach when cooking.
Choose herbs that match your habits, like basil for quick sauces or thyme for roasted vegetables. The benefit is clear: you save shelf space and your herbs stay visible, which helps you use them sooner. Keep costs lower by using inexpensive nursery pots and upgrading only the hangers if needed.
To personalize, paint just the top rung in a softer muted color, then leave the rest natural. For a trend touch, mix in a few faux dried flowers or woven ribbon ties, but keep them removable so you can swap seasons. If you want extra charm, add a tiny chalk tag that says “snip me” above your most-used herb.
-
2) Hanging Herb Grid With Mason Jar Holders

) Hanging Herb Grid With Mason Jar Holders Build a simple grid from thin wood strips or metal lattice, then hang it near a sunny kitchen corner. Attach sturdy hooks behind the jars so the weight is supported safely.
Fill mason jars with potting mix or hydroponic-safe setups, then label each jar with simple card tags. The jars show color and texture, giving your kitchen a neat, rustic-chic display. You’ll also love how easy it is to reach for what you need without digging through drawers.
When choosing jar sizes, go for ones that fit your herb roots comfortably but still look slim on the wall. For cost considerations, use regular mason jars and spend money instead on nicer labels and twine. Current trends lean toward “open shelving but wall-style,” and this fits that vibe perfectly.
Personalize by using matching twine colors for different herbs, like green for basil and brown for oregano. Add a small drip tray or saucer underneath each jar to protect the wall from moisture. If you want a stronger rustic feel, lightly distress the grid so it looks like it has a story.
-
3) Vintage Shutter Herb Wall With Hanging Pots
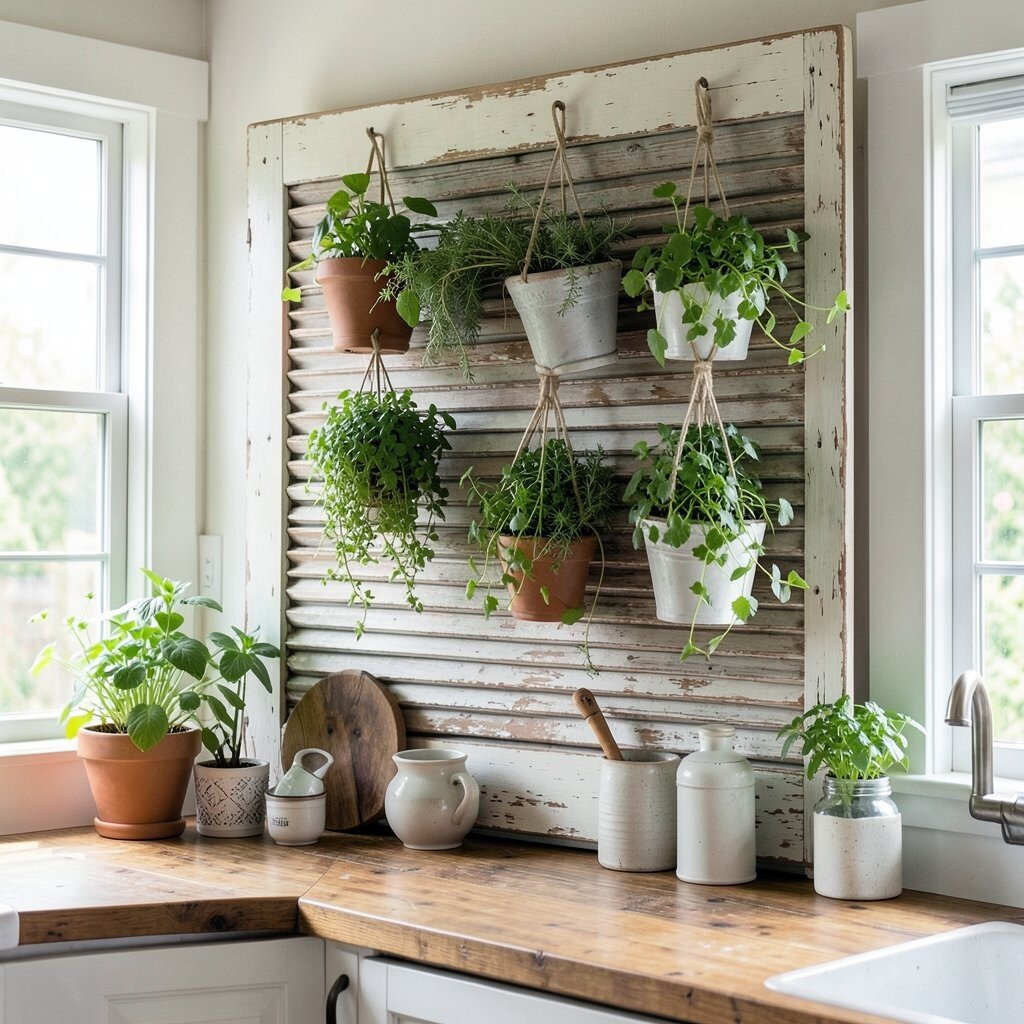
) Vintage Shutter Herb Wall With Hanging Pots Find an old wooden shutter at a thrift store or salvage yard, then clean it gently. Attach it to the wall and use the slats as anchors for hanging planters.
Hang small terra-cotta pots with sturdy brackets or wire loops, placing them at different heights for a natural “garden” look. The uneven arrangement gives visual interest and makes your kitchen feel like a cozy farmhouse scene. This idea benefits you by keeping herbs at eye level, so you remember to water and harvest.
To make it unique, paint the shutter in a warm off-white and keep the pots natural. For personalization, use different pot textures—ribbed, smooth, and slightly weathered—so the display looks collected. Keep costs in check by using one larger shutter and filling it with a mix of starter plants.
As a tip, drill small holes only where needed for secure hanging, then sand rough edges. Choose herbs that handle indoor light better, such as parsley and chives, if your window is bright. A current rustic-chic favorite is mixing soft paint with earthy pots, and this does it naturally.
Finally, add a small shelf ledge at the bottom for scissors, plant food, and spare labels. That small detail keeps the whole area tidy and makes daily herb care feel simple. If you love aesthetics, include a tiny lantern or woven basket nearby for extra warmth.
-
4) Woven Basket Hanging Planters on a Rustic Rail
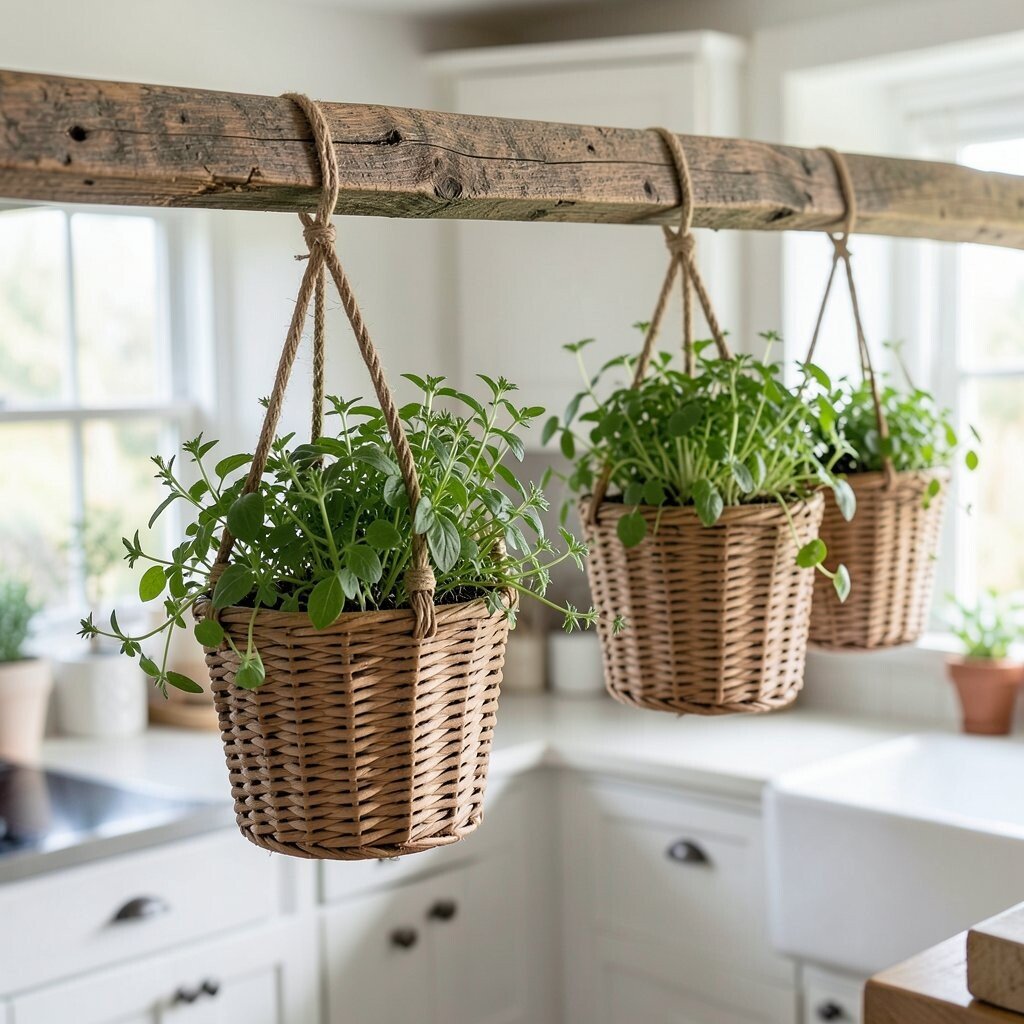
) Woven Basket Hanging Planters on a Rustic Rail Mount a short wooden rail under a cabinet or along a wall, then hang woven baskets from it. Choose baskets with handles or loops so they look neat and feel sturdy.
Plant herbs in small liners or pots and tuck them inside the baskets to avoid spills. The texture of woven material makes the herbs look fuller and more inviting. You’ll benefit from better air flow around the roots and an easy-to-swap setup if you change herbs later.
For cost savings, use basket styles you already like, even if they are small, and buy liners in bulk. Personalize the look with fabric ties in linen or muted stripes, tied around each basket handle. This is a friendly way to add “rustic chic” without heavy DIY carpentry.
-
5) Corkboard Herb Garden With Hanging Mini Pots
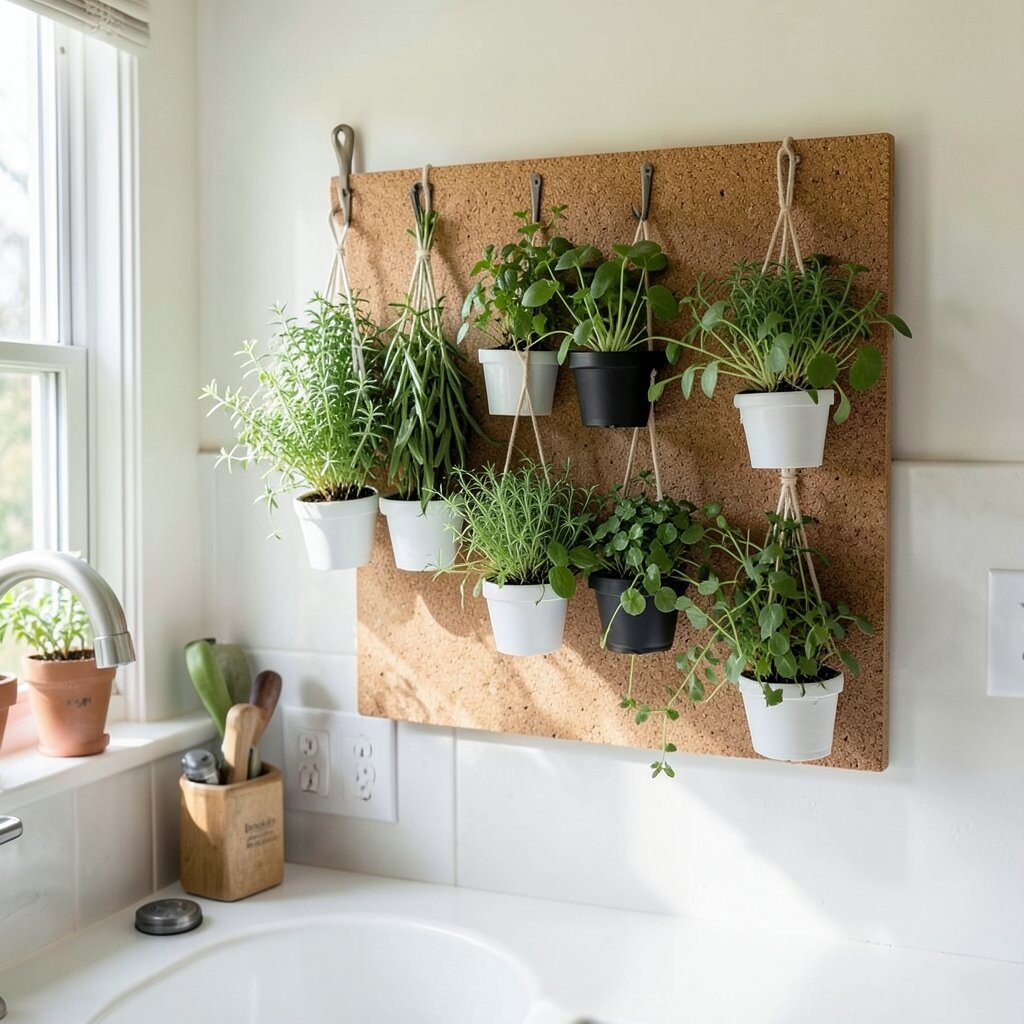
) Corkboard Herb Garden With Hanging Mini Pots Make a corkboard panel by using a framed cork sheet, then attach it near your cooking zone. Add a row of cup hooks or small hanging nails along the bottom edge.
Hang mini pots using short chains or twine, then secure them with hooks inside the frame. Cork looks cozy and adds a natural texture that pairs perfectly with herbs. The benefit is that you can also pin notes and harvesting reminders right on the cork.
Keep herbs organized by labeling each pot on a small tag, like “mint” or “dill.” For personalization, use patterned paper in a rustic style and laminate the labels with clear tape. The trend of “planner meets kitchen” is popular right now, and this setup feels like a living schedule for your plants.
To make it last, check moisture levels often because mini pots dry faster than larger containers. Use a tray under the corkboard to catch extra water. If you want a stronger rustic look, leave the wood frame slightly distressed or stained darker for contrast.
-
6) Rustic Pipe and Rope Hanging Herb Shelf

) Rustic Pipe and Rope Hanging Herb Shelf Use small pieces of pipe and fittings to create a simple shelf structure, then connect it with rope for a softer look. Paint the pipe with matte black or keep it brushed metal for an industrial-rust blend.
Attach rope loops to the corners and hang the shelf from sturdy ceiling hooks or a ceiling beam. Place herb pots on the shelf, then add rope ties around each pot to prevent sliding. You get a strong statement piece plus easy access, which makes herb harvesting feel effortless.
Budget tip: buy fewer fittings and use a single shelf board, then focus your spending on safe mounting hardware. Personalize by tying different rope lengths so the herbs look like they’re floating at varying heights. This style matches current trends toward mixed materials—metal with natural textures.
-
7) Pegboard With Hanging Tin Cans for Herbs
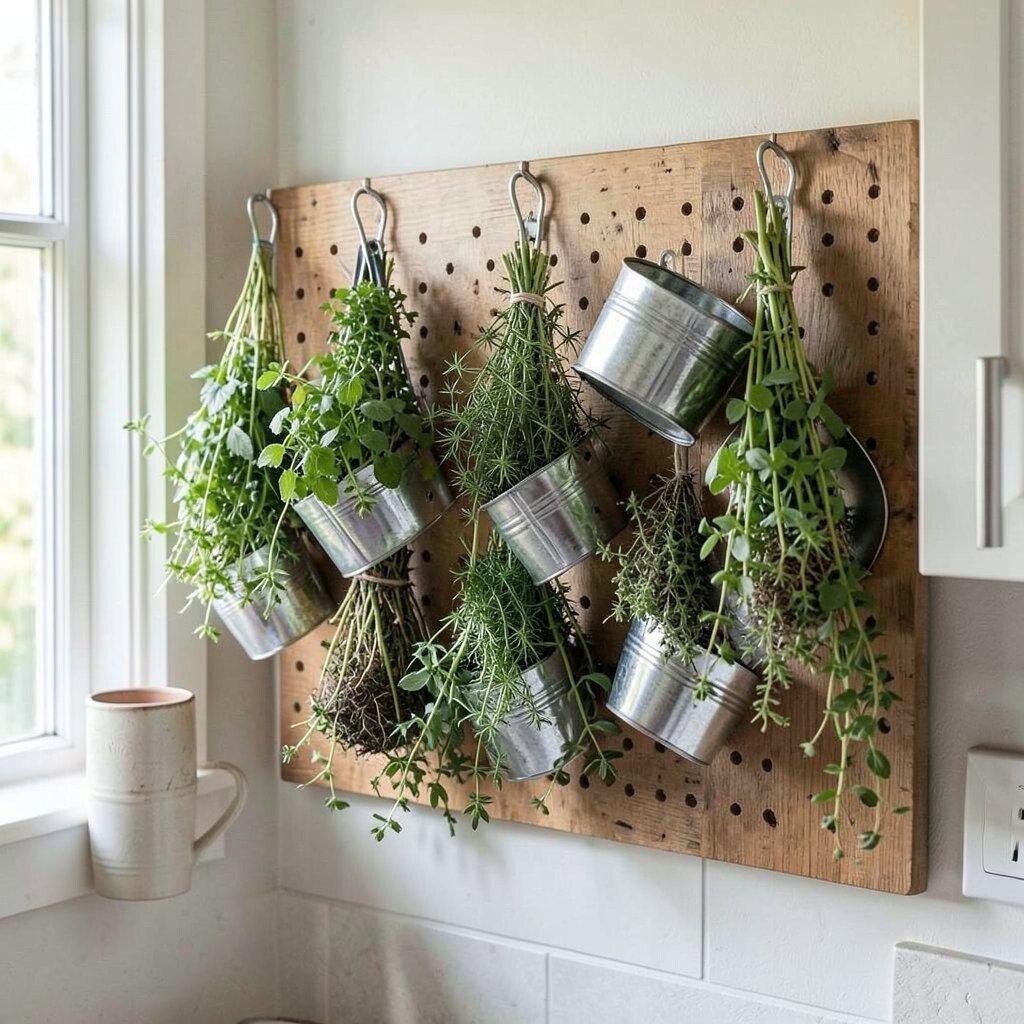
) Pegboard With Hanging Tin Cans for Herbs Mount a pegboard in a bright spot, then sand and seal it if it’s rough. Add hooks for hanging, and keep the layout easy so it doesn’t feel crowded.
Use small tin cans or repurposed containers as herb holders, then drill drainage holes and hang them from the pegboard. The tins look vintage and playful, and you can see plant progress easily. This is great for benefits like quick swaps, because you can remove a can and plant a new herb in minutes.
For personalization, paint some tins in earthy colors like clay, moss, and cream, then let others stay plain for variety. Cost-wise, tin cans are often free or cheap, and you can save on pots by using what you already have. A current trend is “container gardening,” and this turns the idea into wall art.
Tip: keep the pegboard away from the driest air, and mist herbs lightly if your kitchen runs hot. Add a small label card on each hook so guests and family members know what to grab while cooking. Over time, you’ll build a mini collection of herb containers that feels like your own signature style.
-
8) Macramé Hanging Planters With Natural Wood Beads

) Macramé Hanging Planters With Natural Wood Beads Choose a macramé planter pattern or make your own using thick cotton rope. Add a simple wooden bead bar at the top so the knots look intentional and decorative.
Hang the planters in a cluster above a window or near a light source, then place small herb pots inside liners. This gives a soft, romantic rustic-chic vibe while using vertical space. You’ll enjoy benefits like better organization and fewer counter clutter moments.
Personalize with beads in different sizes, or use a light stain so the wood looks warm. For cost considerations, rope is usually budget-friendly, but choose strong hardware for safe hanging. Current trends show macramé returning in kitchens, especially with natural fibers and simple greenery.
-
9) Sliding Window Sill Organizer Turned Into Hanging Herbs

) Sliding Window Sill Organizer Turned Into Hanging Herbs Repurpose an old window frame by cleaning it and removing any broken parts. Attach small hanging brackets along the frame so you can suspend pots from the top bar.
Set the frame where a window would look best, then tuck in herb pots at different angles for a cozy “kitchen greenhouse” feel. This idea benefits you because it uses the space already meant for light, helping herbs thrive. It also looks unique and slightly theatrical in a good way.
To personalize, keep the frame color natural and add a thin line of white paint only on the edges. Use labels in vintage handwriting styles, either printed or hand-lettered. If you’re watching costs, try using a single window frame and starting with three herbs you use often.
For tips, add a drip catcher tray behind the frame, since water can splash when you water plants. Rotate pots every week for even growth. This setup fits a popular “heritage home” look, where old materials show their age proudly.
-
10) Repurposed Picture Frame Herb Clips
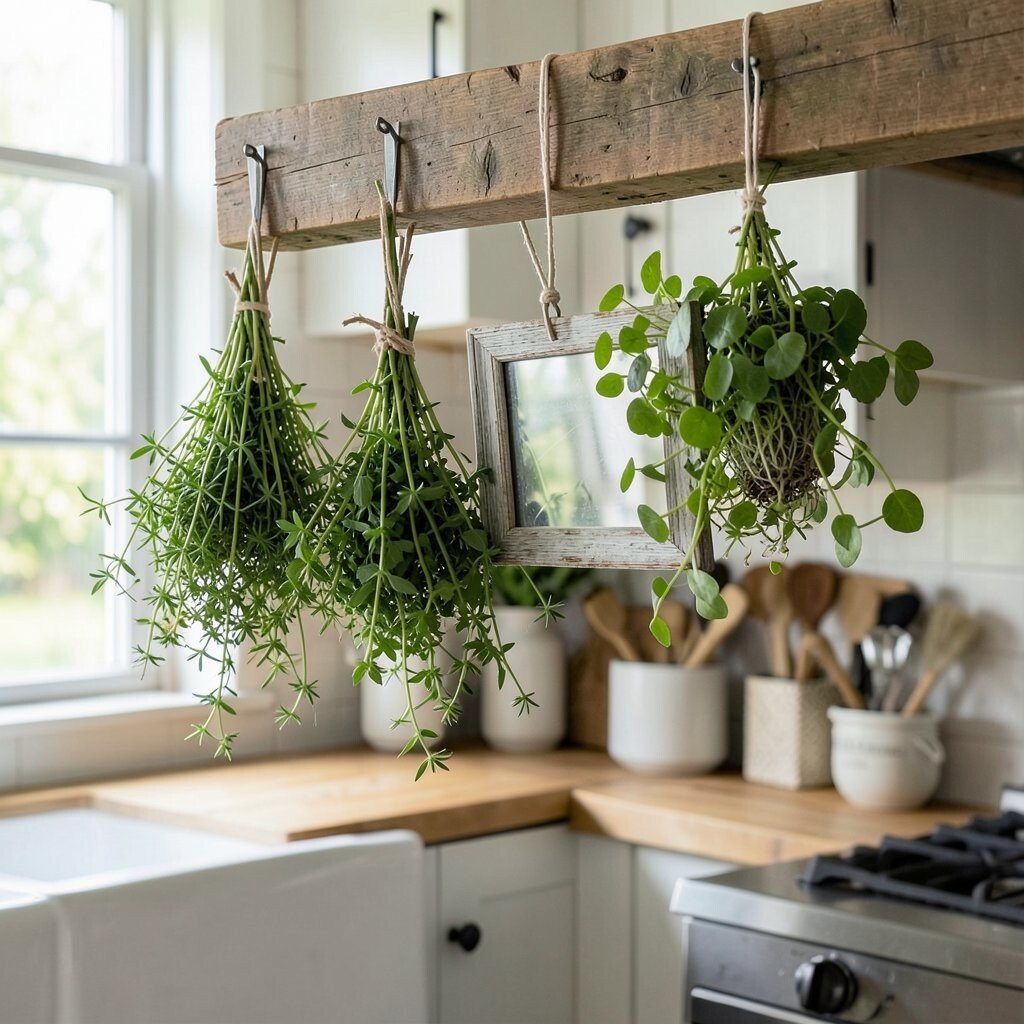
) Repurposed Picture Frame Herb Clips Grab an old picture frame, ideally with a sturdy back, and mount it securely on the wall. Add wire picture clips or small metal clips along the inner edge.
Use the clips to hold small herb pots, or hold seedling cups for a more temporary but cute look. Frames give a neat border and make herbs look like art on display. The benefit is that you can quickly reposition pots as plants grow, without redoing the whole setup.
For personalization, paint the frame in a soft warm tone, then keep the herbs as the main color highlight. Cost is usually low because frames are easy to find and clips are inexpensive. A trendy feel comes from mixing “gallery wall” vibes with living plants.
Tip: make sure the frame placement gets enough light, and check drainage so the wall stays dry. Add small hooks beneath the frame for watering tools, like a mini sprayer. This makes the herb area feel like a designed space, not an afterthought.
-
11) Hanging Gutter Planter With Wooden Supports
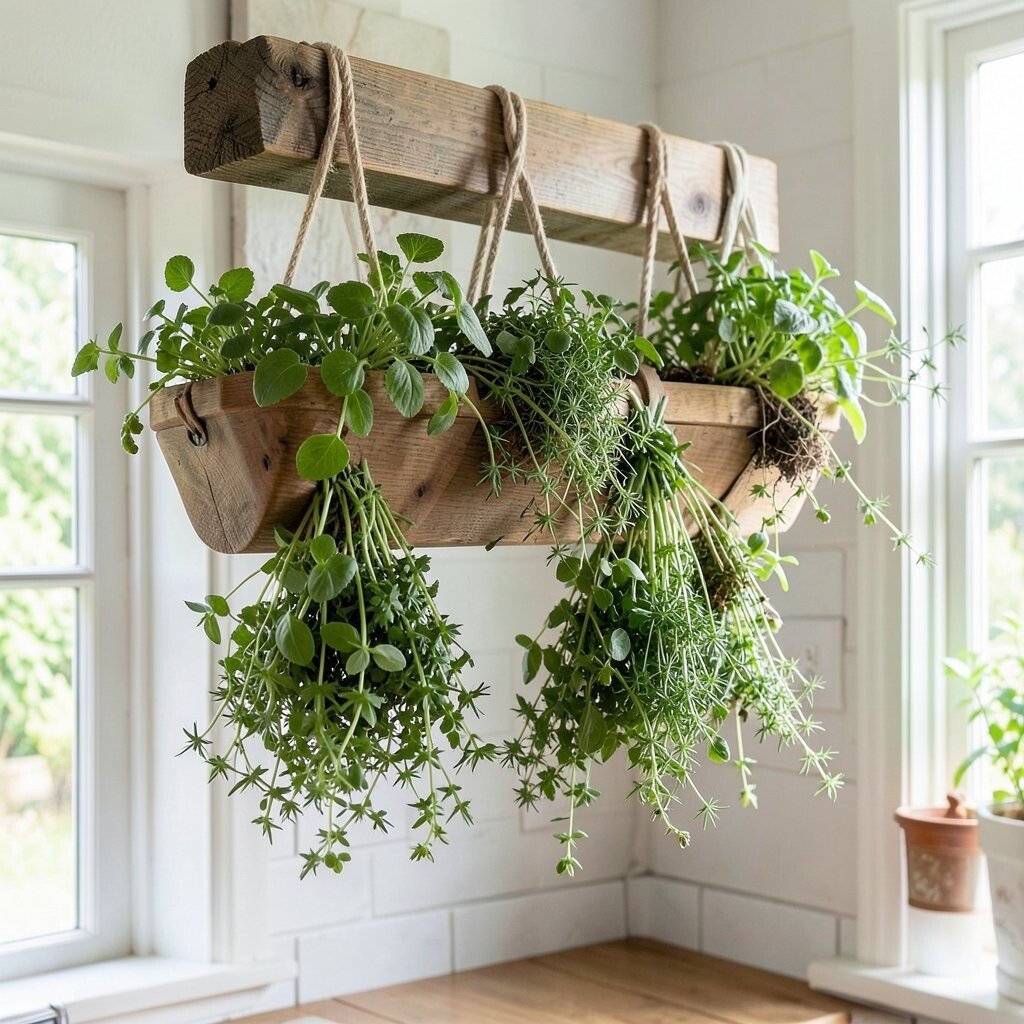
) Hanging Gutter Planter With Wooden Supports Mount a short metal gutter to a wall or under a cabinet, then attach wooden supports on both ends. The gutter shape is perfect for holding soil and lining up several herbs neatly.
Plant herbs in small containers inside the gutter, or use a sealed liner so you can water without leaks. The look is rustic and practical, and it helps you harvest from a row instead of scattered cups. You’ll benefit from easy watering and a tidy, controlled arrangement.
For uniqueness, distress the wood supports lightly and keep the gutter a muted color like weathered gray or bronze. Personalize by adding a wooden spoon or small utensil holder nearby for a farmhouse feel. Cost-wise, gutters can be affordable, especially if you find one at a reuse store.
-
12) Rustic Fence Picked Upcycled Hanging Herb Trough
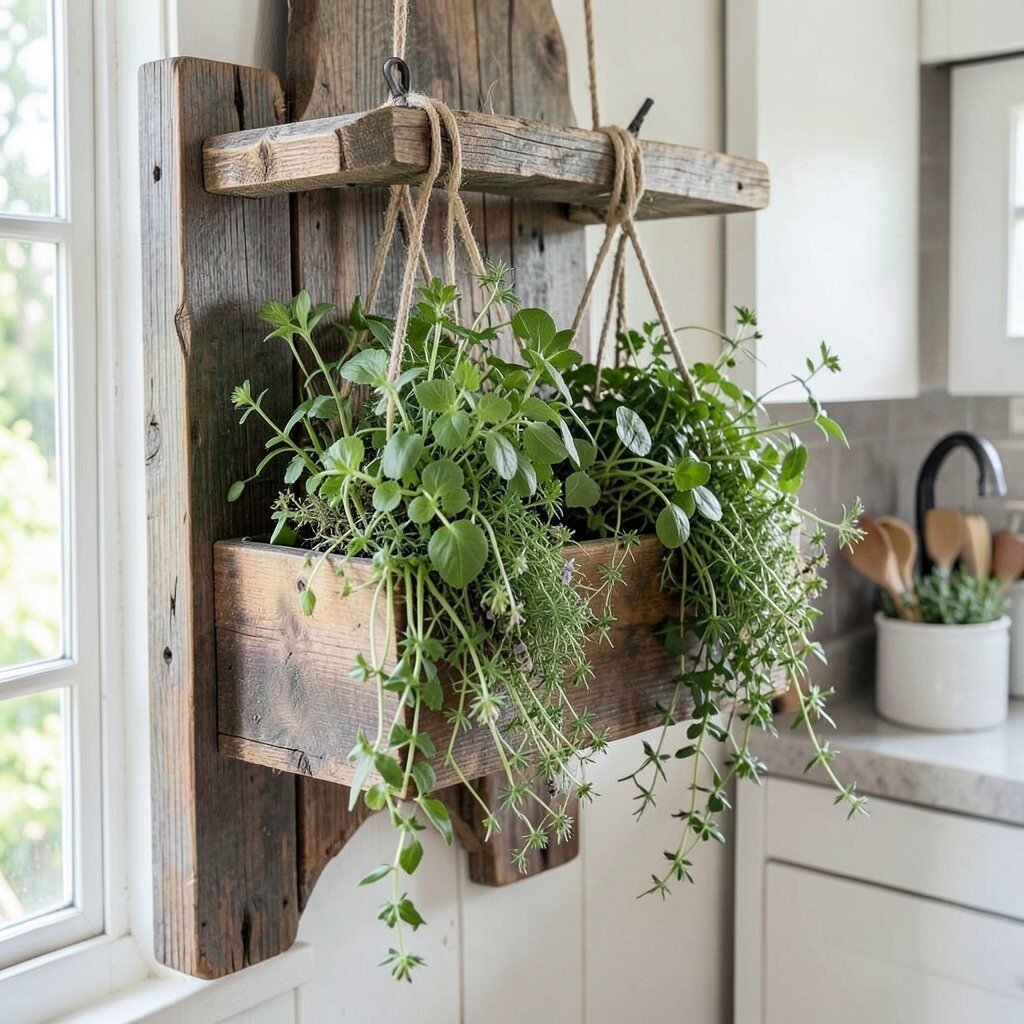
) Rustic Fence Picked Upcycled Hanging Herb Trough Take a section of old fence board and cut it into a shallow trough shape. Seal it with food-safe sealant or a protective outdoor finish so it handles moisture better.
Attach rope or chain loops at the corners and hang the trough from a ceiling hook or sturdy stand. Inside, plant herbs in individual containers so you can pull one out when needed. This looks bold and unique, and it gives herbs a long, steady home.
Personalize by leaving nail holes visible, or filling them with putty for a smoother finish. Add small painted tags that match your kitchen color palette, like muted sage or warm cream. For cost considerations, use the fence wood as the main “big item” and spend money on good liners and drainage.
Tips: keep the hanging trough near a bright spot and avoid placing it where it will get direct harsh heat. Water slowly so the soil soaks evenly. This style fits current trends toward repurposed farm materials and bold vertical displays.
-
13) Hanging Herb “Drying” Frames That Also Grow Plants

) Hanging Herb “Drying” Frames That Also Grow Plants Create a frame that looks like a rustic drying rack, then set it up to hold living herbs. Use small wooden strips, and build a top bar with multiple hooks for hanging pot holders.
Instead of only drying bundles, hang potted herbs so they can grow while still looking charming. This idea gives your kitchen a familiar farmhouse silhouette, but with a fresh purpose. You get the benefit of easy snipping, plus a display that feels intentional every day.
To personalize, tie burlap ribbon on a few hooks and use small wooden clothespins to hold label cards. Keep costs reasonable by using basic lumber, then upgrade only the hardware like hooks and the hanging chains. If you follow trends, “dual-use decor” is growing in popularity, and this is perfect for that.
As a tip, choose herbs that respond well to indoor light, and rotate pots if one side looks greener than the other. Add a removable tray underneath so cleanup is quick after watering. This will make your herb display look tidy and welcoming, even when you’re busy.