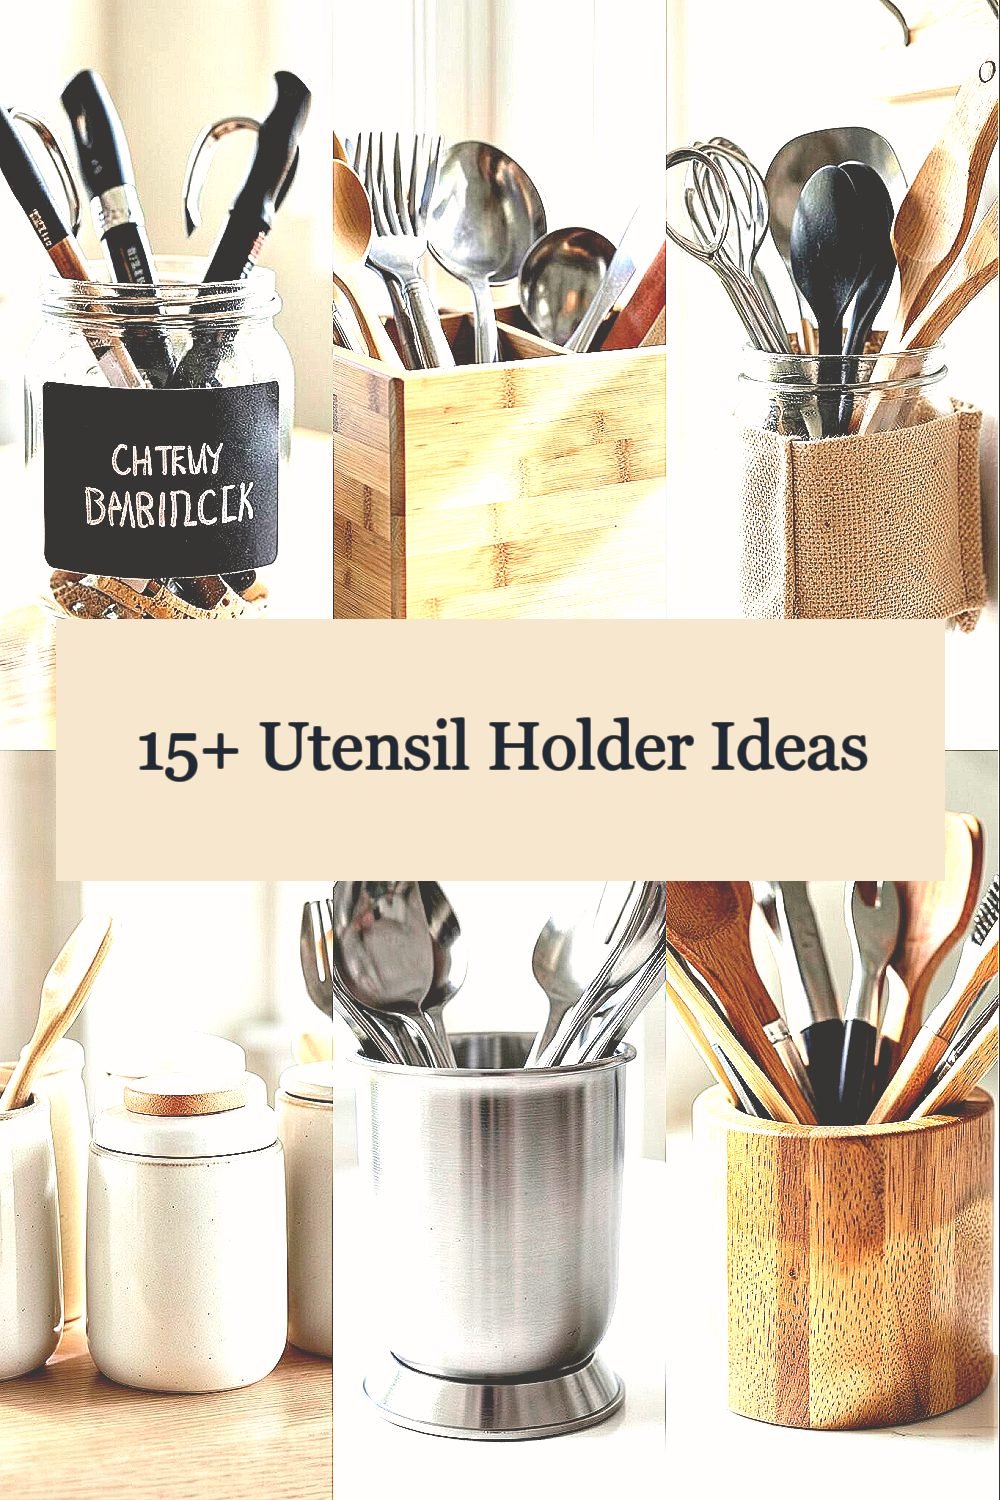
Your kitchen utensils deserve a home that looks good and works hard. A smart utensil holder can make everyday cooking feel smoother.
1. Chalkboard Label Jar Desk-Style Holder
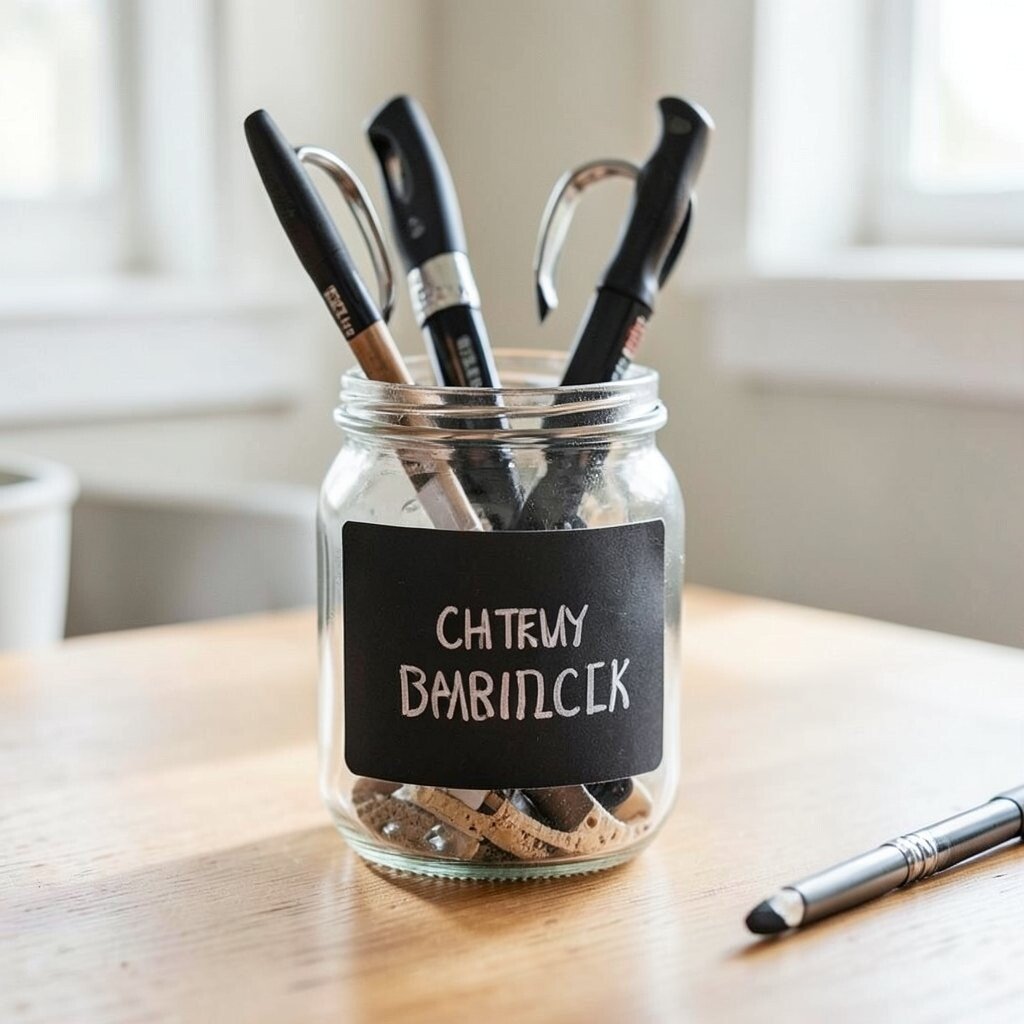
Imagine a clear glass jar with a chalkboard label that changes with your mood. Keep spoons, spatulas, and whiskes visible so you grab the right tool without rummaging. Add small divider cards on the inside so smaller items don’t sink together.
Choose jars with thick glass or a sturdy lid so they won’t tip when the counter gets busy. Use a wipeable chalk marker and update labels seasonally, like “baking” or “stirring.” For a budget-friendly setup, reuse pasta jars and personalize them with new labels.
2. Bamboo Divider Caddy for Everyday Utensils
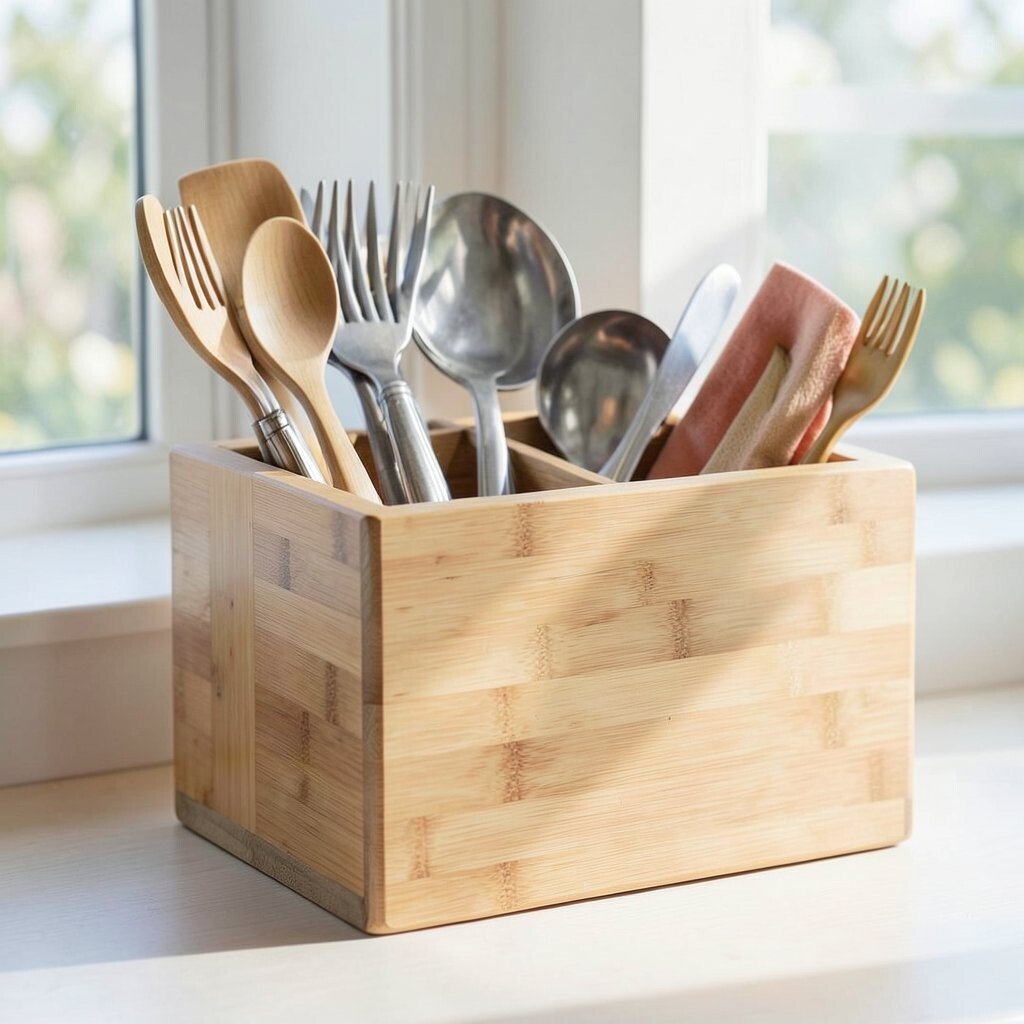
A bamboo divider caddy looks warm on a countertop and holds tools upright like a neat little organizer. The natural slats keep utensils separated so forks don’t tangle with ladles.
Look for one with adjustable dividers so you can fit a skinny spoon next to a wide spatula. The open design helps utensils dry faster, which cuts down on lingering moisture smells.
To personalize it, stain the bamboo darker for a modern look or leave it light for a fresh, airy vibe. In terms of cost, mid-range caddies usually last longer than thin plastic ones.
3. Mason Jar Hanging Utensil Pocket Organizer
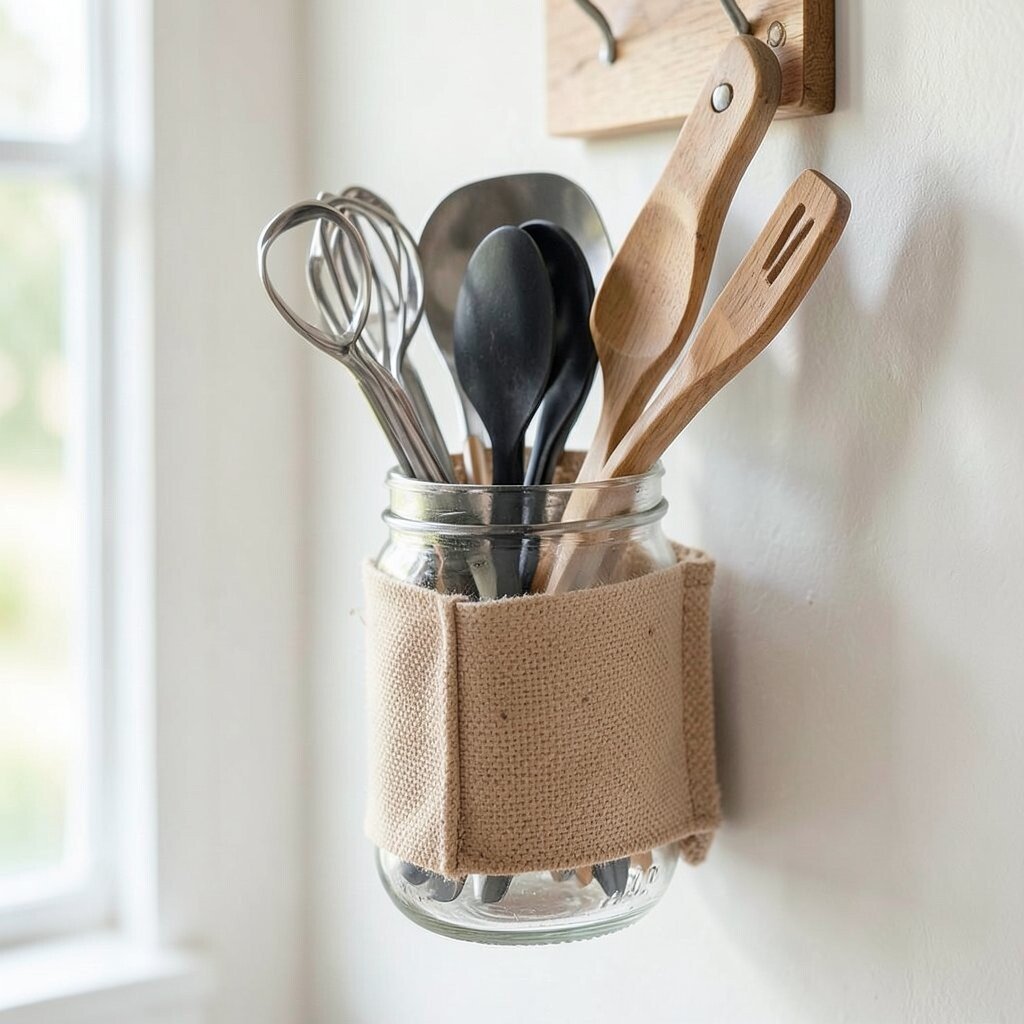
Picture small mason jars tucked into a fabric hanging sleeve, mounted on the inside of a cabinet door. It turns wasted vertical space into a quick grab station. You can slide each jar out for washing, then rehang it in seconds.
Because everything is off the counter, you reclaim prep space for cutting and mixing. It also keeps frequently used tools near your cooking zone instead of buried in drawers.
For practical use, assign jars by job, like “stir,” “flip,” and “measure.” Use strong hooks rated for cabinet doors and check the load before filling.
To keep the look cohesive, paint jar lids the same color as your kitchen hardware. This option can be cheaper if you already have jars, and it matches current trends toward vertical storage.
4. Ceramic Canister Set with Matching Lids
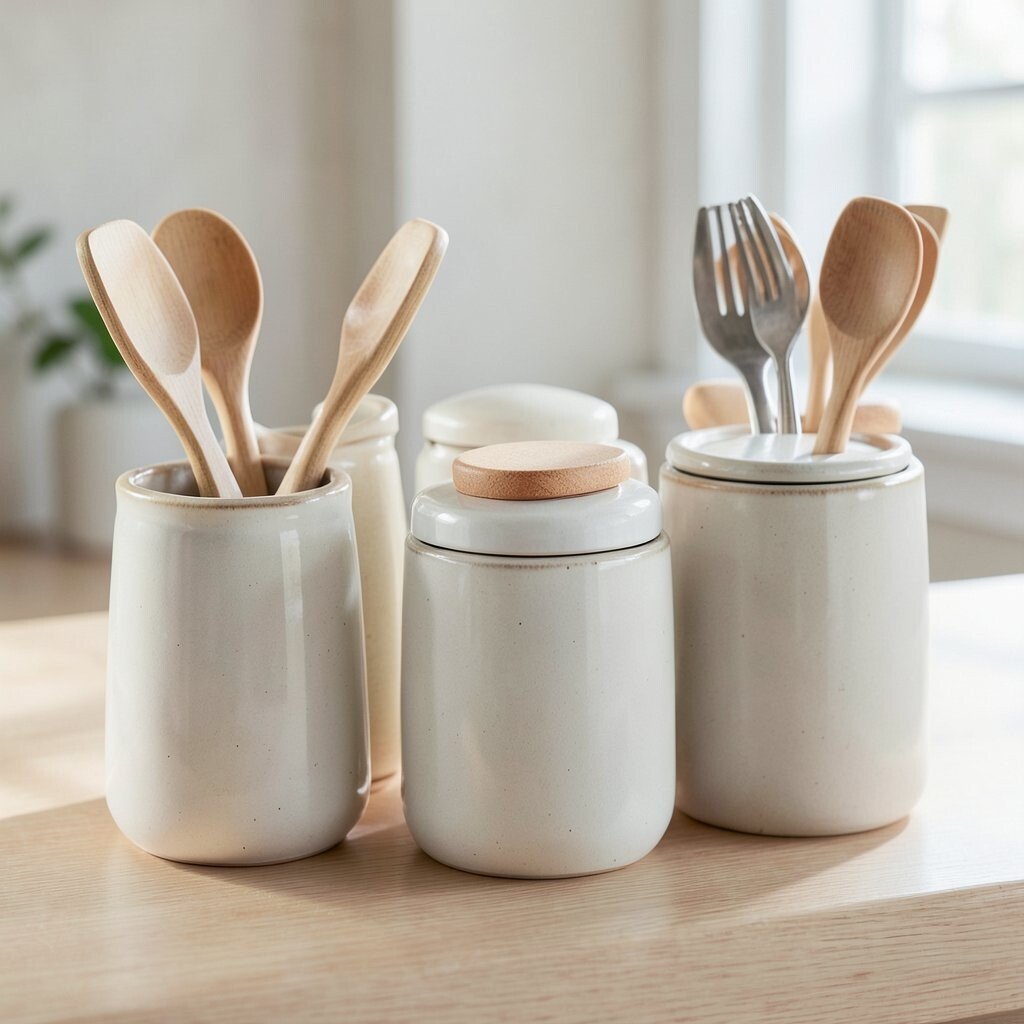
A ceramic canister set feels classic, especially when the lids close like little doors. Store spoons in one canister and spatulas in another so the arrangement stays tidy.
When you want a clutter-free countertop, matching ceramic pieces make the organization look intentional. Choose a set with wide openings so utensils don’t get wedged. For cleaning, make sure the lids are dishwasher-safe if you’re busy.
5. Stainless Steel Utensil Crock with Removable Drip Base
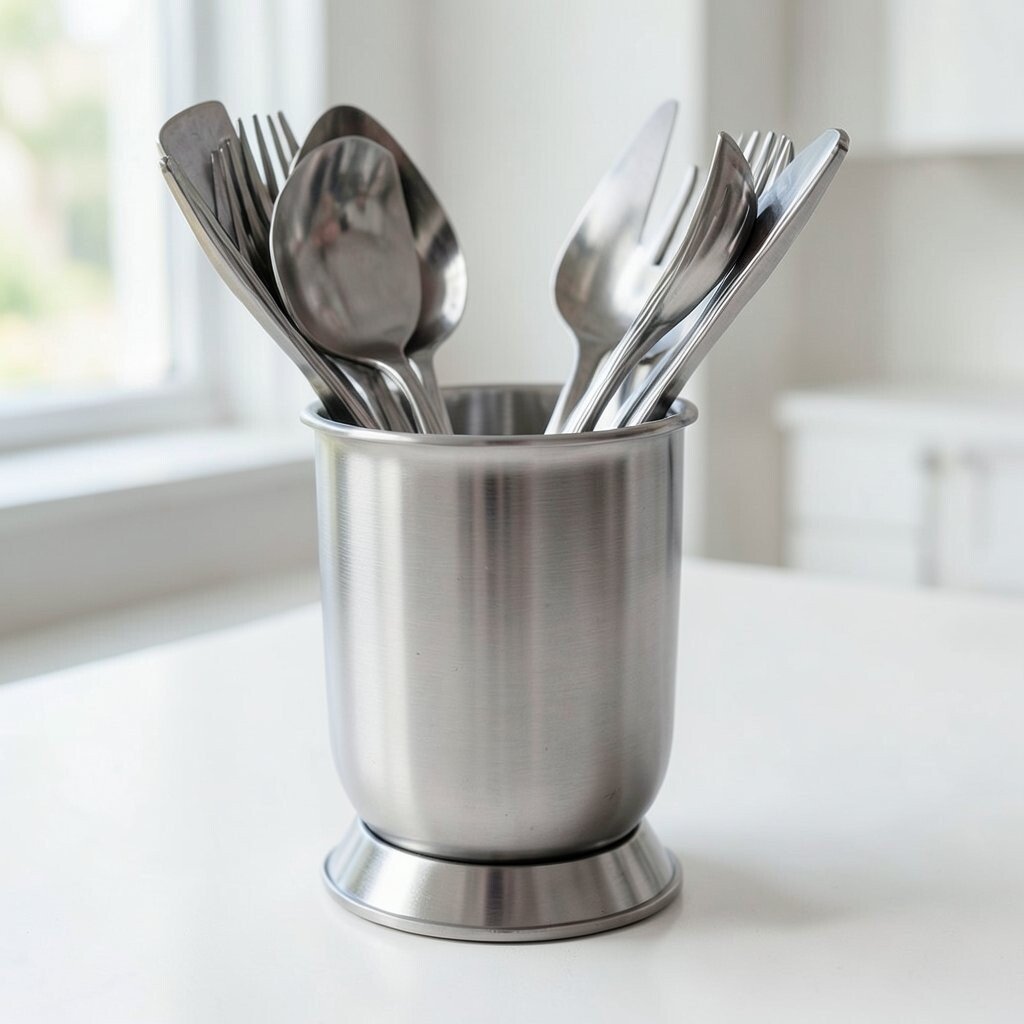
Think of a sleek stainless crock that doesn’t just look shiny, it drains. A removable drip base catches water and helps utensils dry, reducing grime buildup. This is a great pick for sinks that get lots of daily use.
Pick one with a stable weight at the bottom, so it won’t slide when you brush past it. For practical tips, empty the drip tray daily and wipe the interior rim where water collects.
To personalize, add a simple magnet strip nearby for clip-on cooking thermometers or oven mitt tags. Stainless steel is often mid to higher cost, but it’s durable and fits modern kitchen trends.
6. Wooden Chopstick-Style Slot Holder for Small Tools
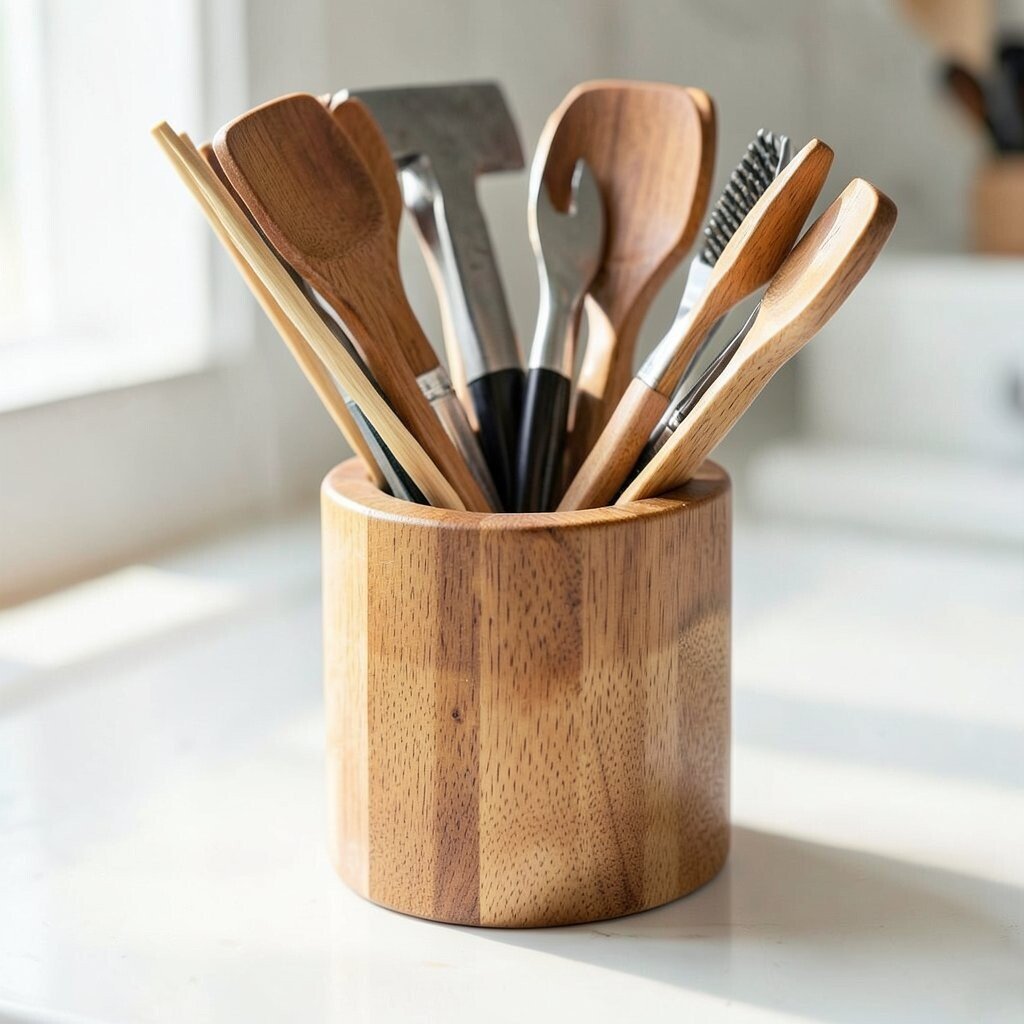
Instead of a single wide container, use a wooden holder with narrow slots that resemble chopstick compartments. It keeps small tools like peelers, garlic presses, and tongs separated neatly. The wooden look adds warmth and gives your counter a craft feel.
This design is unique because it organizes by width, not by “everything together.” When you can see each tool clearly, cooking steps feel faster and less stressful.
For personalization, paint only the bottom edges in a color that matches your kitchen accents. Consider pairing it with a matching drawer tray so you keep related gadgets grouped. Budget-wise, solid wood usually costs more, but the slots reduce breakage from jostling.
7. Clear Acrylic Organizer with Color-Coded Trays
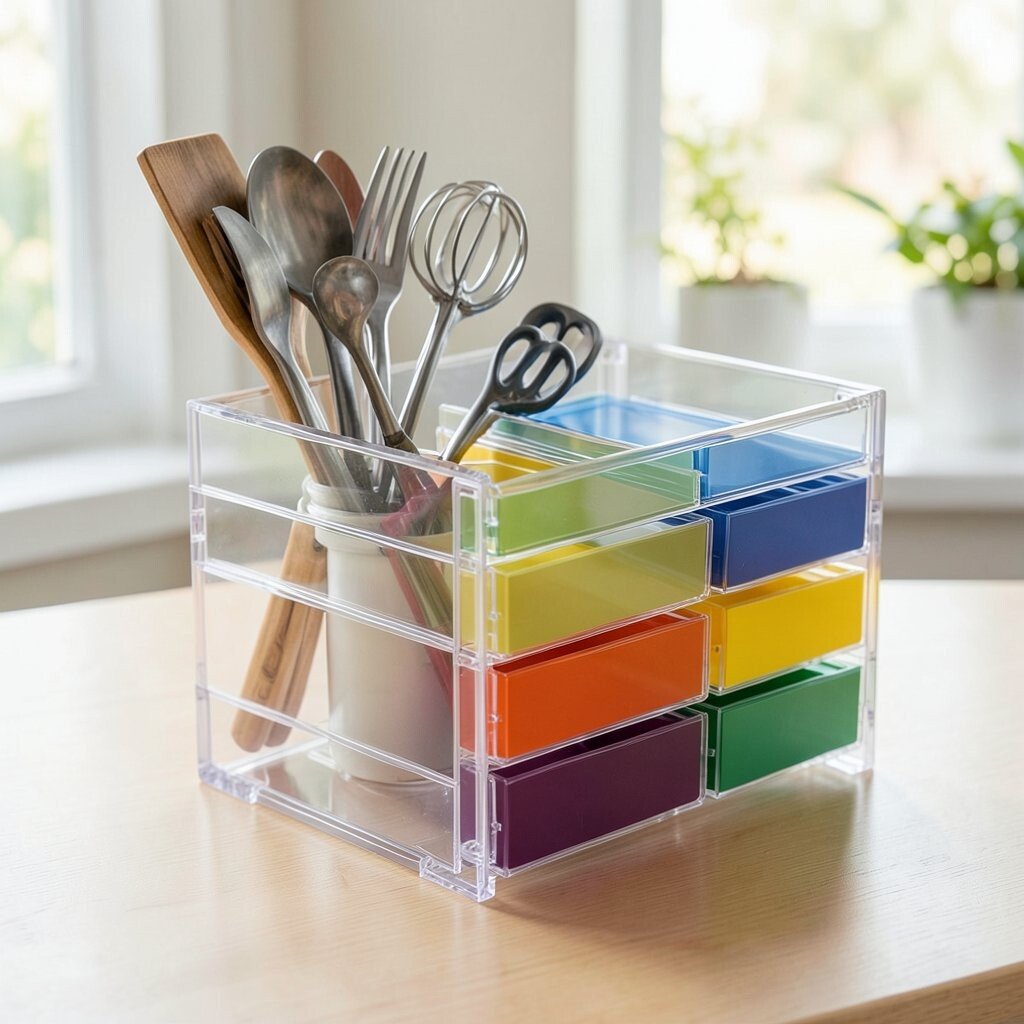
A clear acrylic holder makes it easy to spot what’s inside at a glance. Add color-coded trays for measuring spoons, stirring tools, and serving utensils to keep the system simple. When the pieces are visible, you’re less likely to leave utensils piled in the sink.
This option feels fresh because it combines transparency with order. Use small labels on each tray so family members can return items correctly without guessing.
If you want to keep it trendy, match tray colors to the season, like muted greens in spring. Acrylic can scratch, so choose thicker pieces and clean with a soft cloth instead of abrasive pads.
8. Woven Basket Holder with Removable Liner
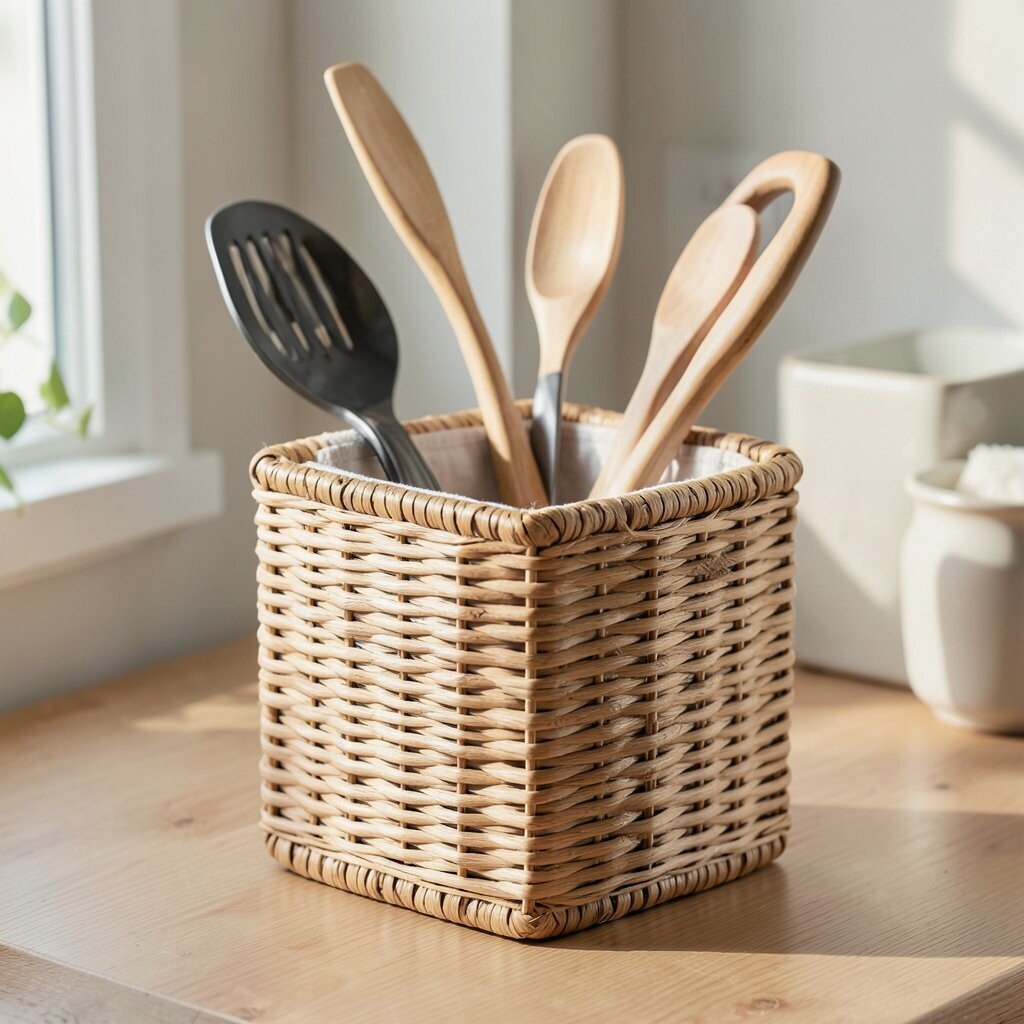
Picture a woven basket sitting on the counter, with a linen liner that slips out for washing. The texture looks cozy, and the liner keeps utensils from catching splinters or crumbs. It’s ideal for kitchens with farmhouse or boho styling.
The unique feature is the removable liner, which makes cleanup quick after messy meal prep. It’s also forgiving, since utensils can rest at angles rather than standing perfectly upright.
For practical tips, keep the basket near the stove so tools are close but not in the way. Choose a liner with a pocket or elastic edge so smaller tools don’t fall through. Budget-wise, baskets are often affordable, and you can upgrade with a nicer liner when you want a refreshed look.
9. Vintage Tin Can Utensil Holder from Refinished Cans
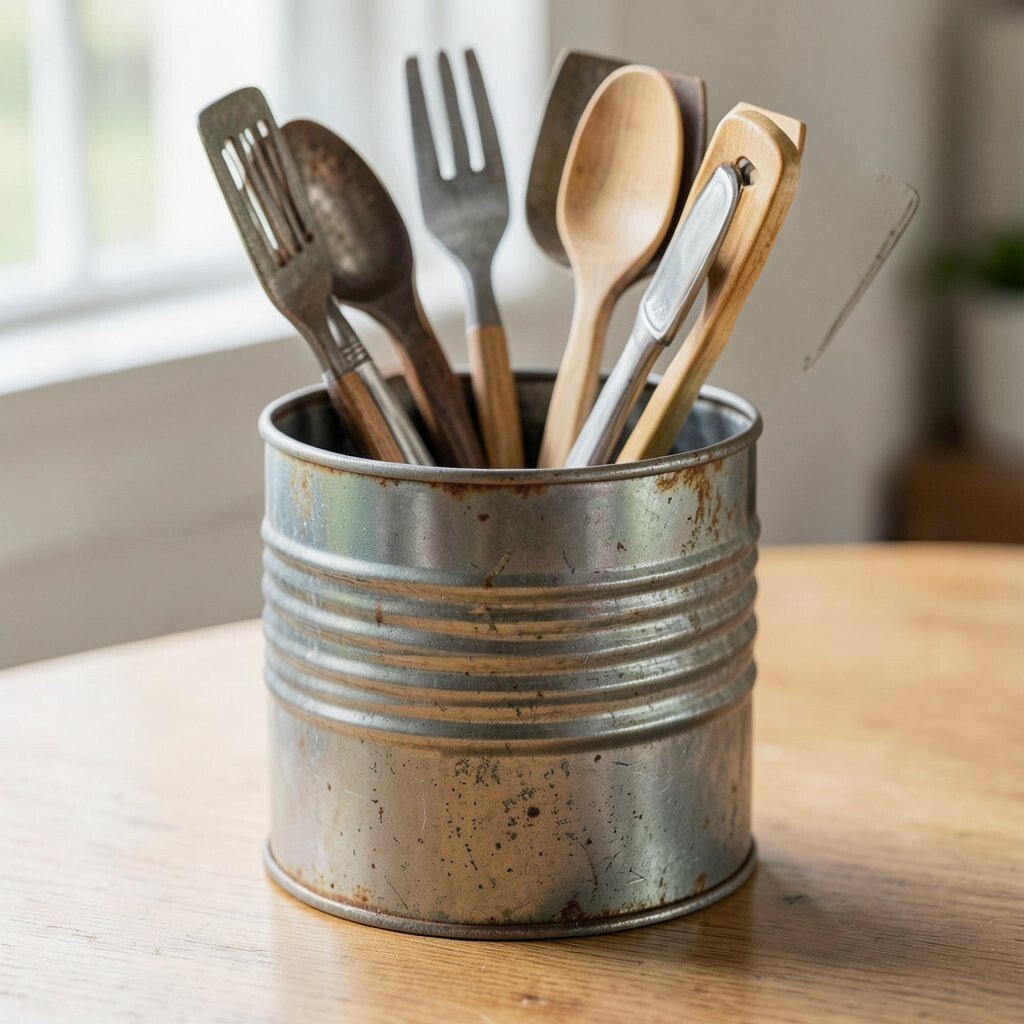
Refinished tin cans can turn into a utensil holder with real personality. Imagine a set of tall cans sprayed in a matte color, each with a different pattern on the front. They look like they belong in an old-school workshop, but they work perfectly in a modern kitchen.
What makes it unique is the “found object” charm, where no two cans need to match exactly. It can also be a fun weekend project that gives your kitchen a story.
For practicality, smooth any sharp edges and make sure the cans have a stable base. Consider adding a cork or rubber pad underneath so the cans don’t scratch your countertop.
Cost considerations are great because you can often source tins cheaply from thrift stores. This fits current trends toward upcycling and handmade home details.
10. Split Countertop Tray with Utensil Wells
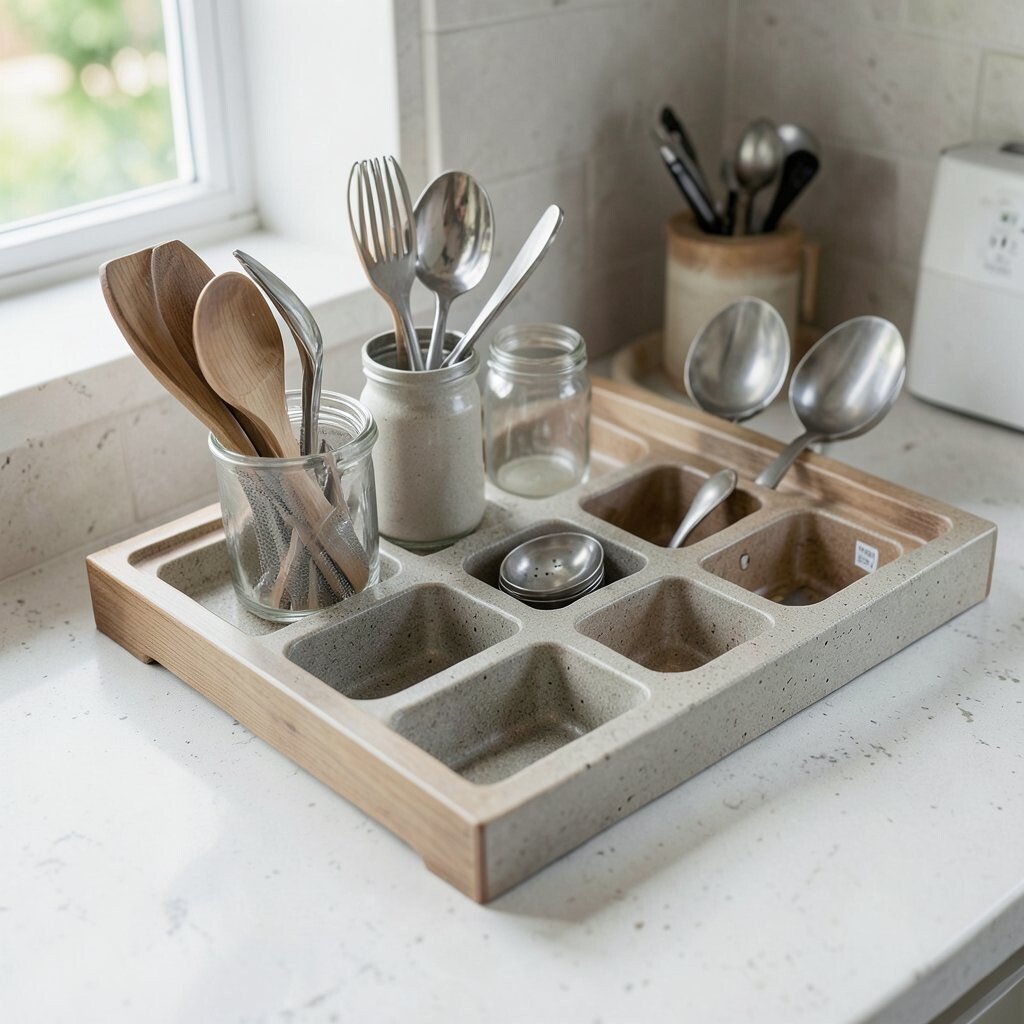
A split tray with separate wells keeps messy utensils from mixing with clean ones. Think of a wide organizer where one side holds cooking tools and the other side holds serving spoons, so the workflow stays organized. The compartments also make the unit easier to wipe down after use.
This design is unique because it supports two “states” during cooking. When you’re plating, you don’t have to guess which spoon is safe to touch food again.
For practical tips, leave a small towel or napkin nearby so you can quickly blot drippy utensils before placing them in the tray. Choose a tray with rounded corners to prevent crumbs from collecting in sharp edges.
Costs vary, but many stainless or molded options are mid-range. If you love minimal kitchens, pick a monochrome finish and keep labels simple.
11. Ceramic Utensil Crock with Sage Green Glaze
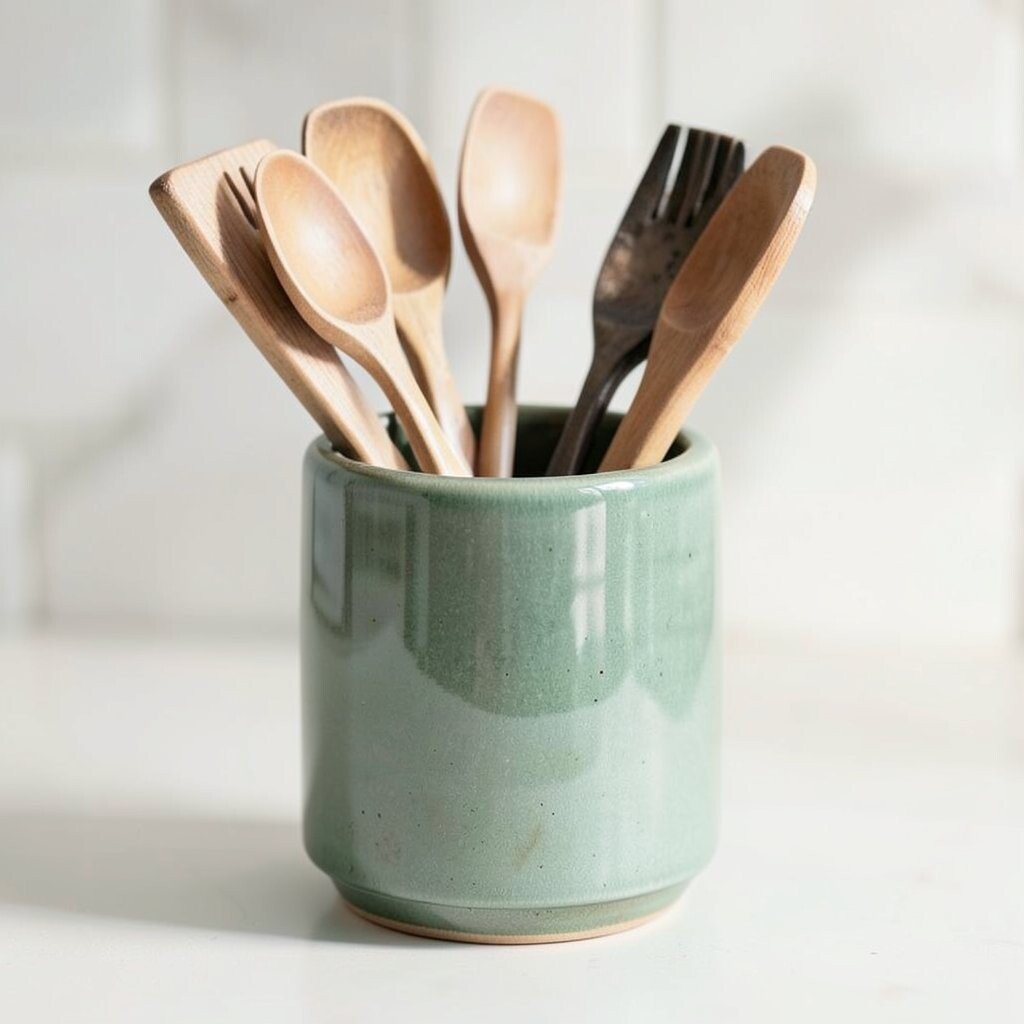
A glossy crock in a soft shade like sage green can instantly make a countertop feel calmer. The round shape gives tools room while the glaze makes it easy to wipe away splashes. It’s a beautiful blend of function and style.
Choose a crock with a comfortable lip so utensils slide in smoothly. Wide openings also help you wash and dry the interior without struggle.
To personalize, match the glaze color to your dishware or small appliances. This option often costs more than plastic, but ceramic usually lasts longer and looks great even when it’s full.
12. Silicone Utensil Holder Mat Rolled into a Stand
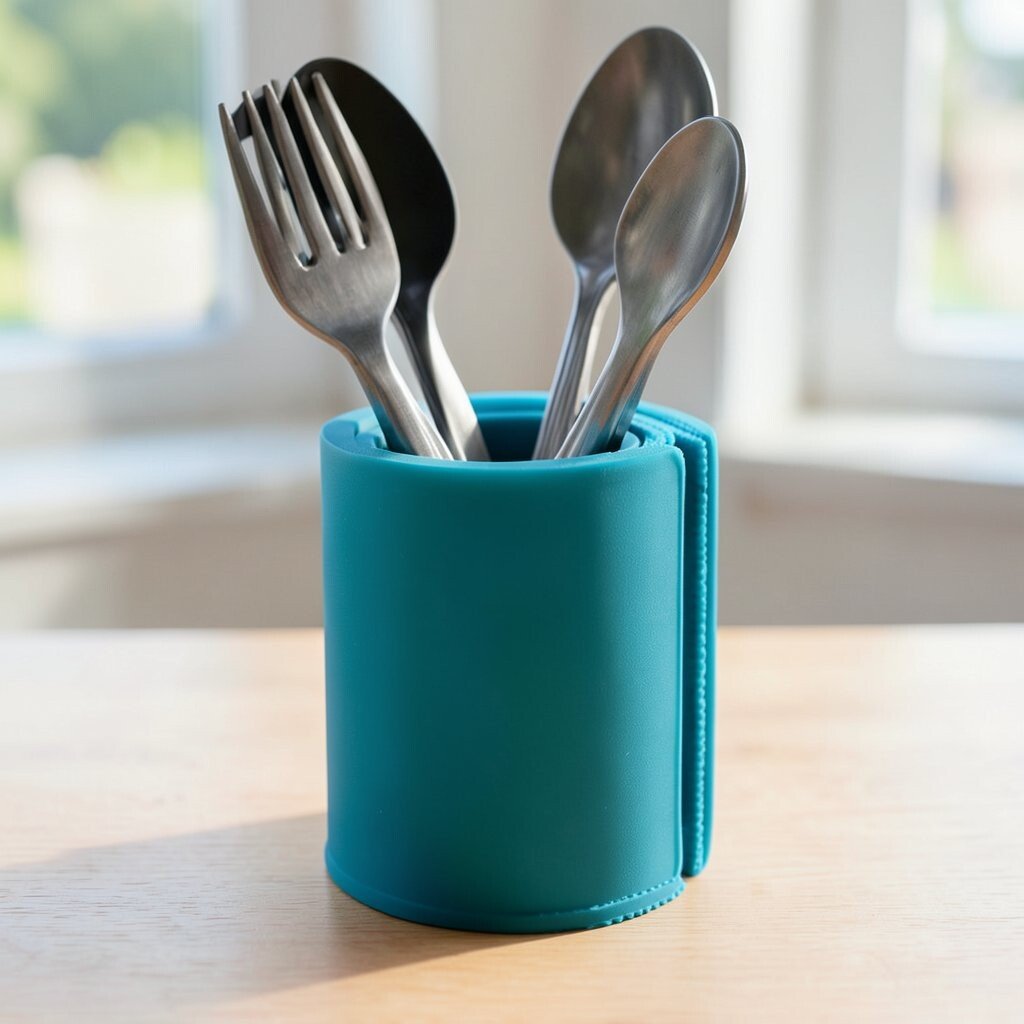
A silicone utensil holder can roll up like a mat and store neatly when not in use. Picture a flexible stand that curves upward to hold spoons and spatulas upright. It’s lightweight, easy to rinse, and ideal for small kitchens.
The unique feature here is portability, because you can move it from counter to sink to event setup. For practical tips, use it right after washing so utensils drain while standing.
To personalize, choose bold colors or patterns that match your kitchen personality. Budget-wise, silicone is usually affordable and often requires less careful handling than delicate ceramic. It also matches current trends toward flexible, space-saving tools.
13. Magnetic Wall Organizer with Hanging Utensil Cups
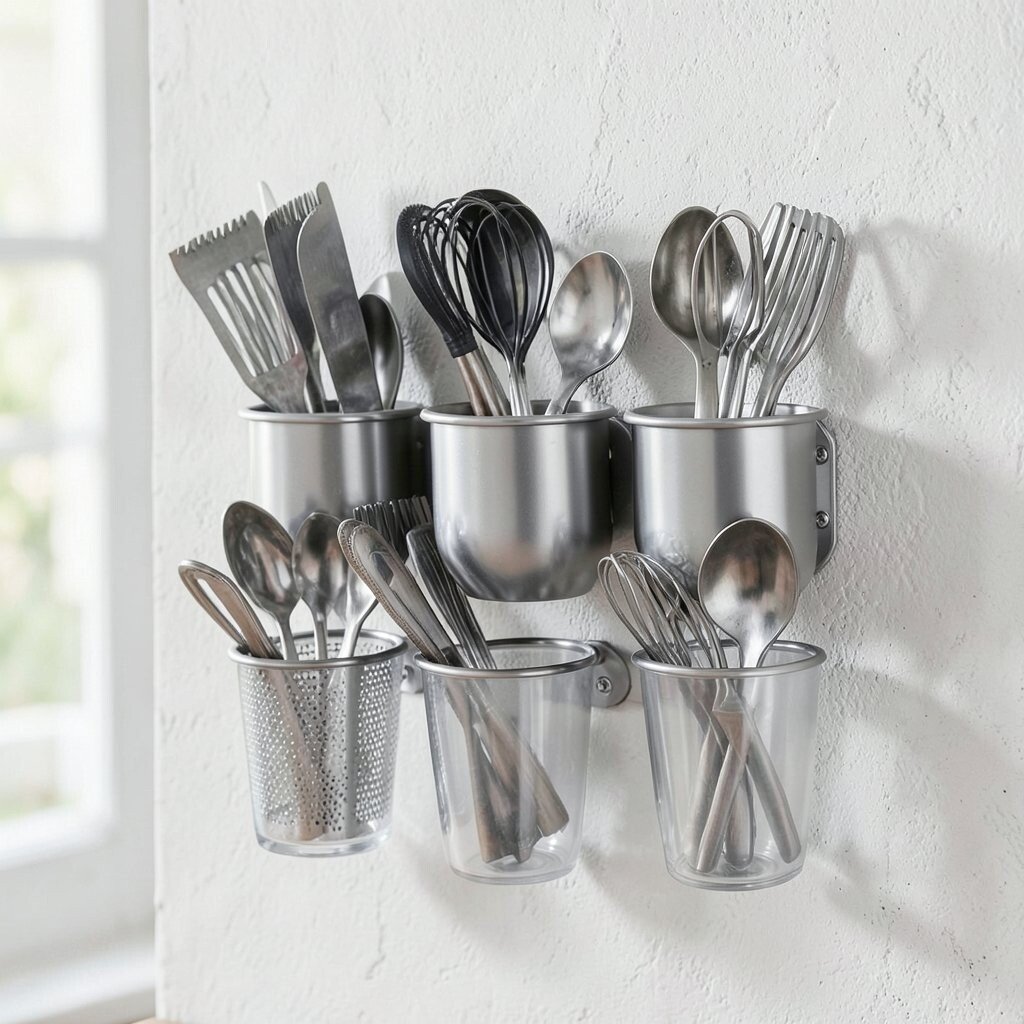
Imagine a magnetic strip on the wall holding small cups that swing slightly as you grab tools. It keeps utensils at eye level and frees up countertop space. The cups can be metal, plastic, or coated for easy cleaning.
This is unique because it uses vertical storage with a “grab and go” feel. It also helps keep frequently used tools from collecting clutter on the counter.
For practical tips, install the rail into studs when possible so it stays secure. Keep heavier tools in sturdier cups and use smaller cups for teaspoons or measuring spoons.
Cost considerations depend on the rail and cup count, but the long-term value is high since you gain usable counter space daily. This style is especially popular in kitchens that lean modern and open-plan.
14. Tiered Counter Utensil Stand with Quick-Access Slots
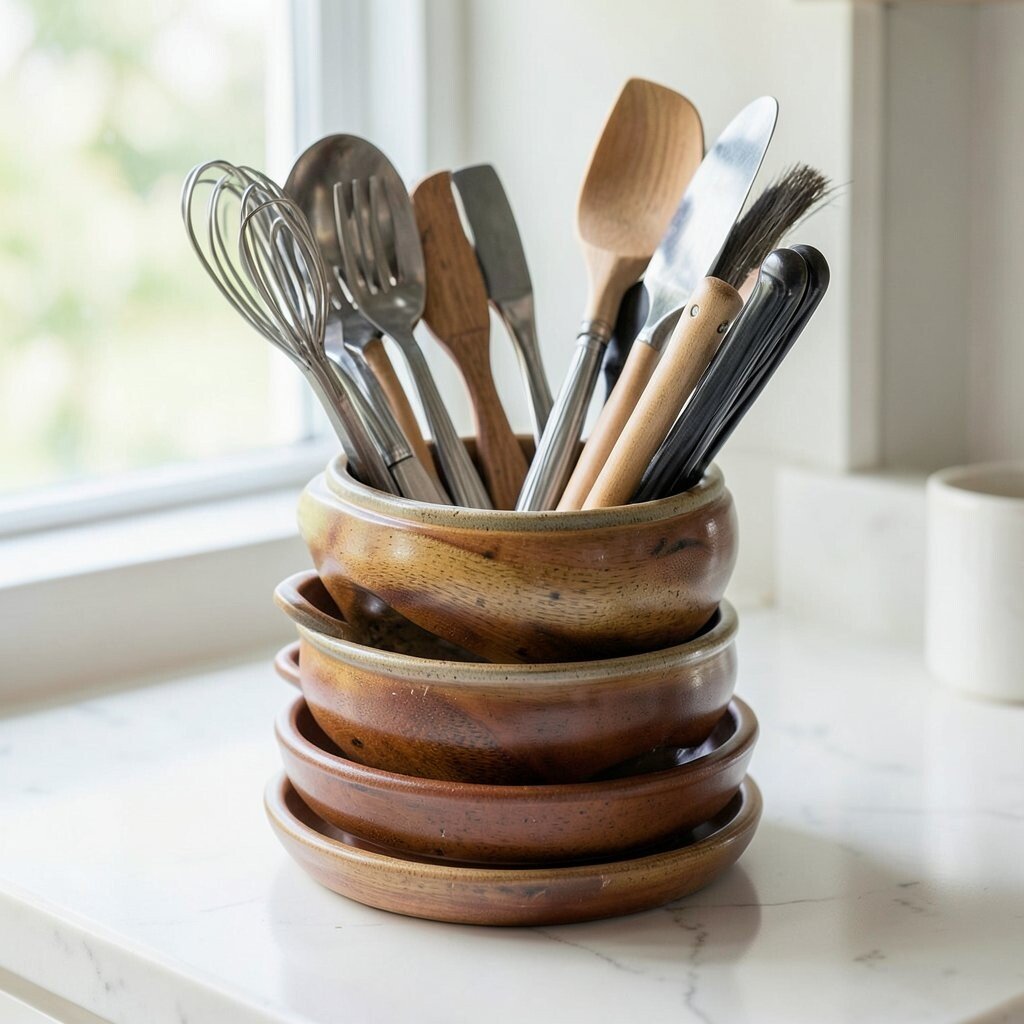
A tiered utensil stand adds height so you can organize more tools without taking more floor space. Picture two levels, with the top holding spatulas and the bottom holding ladles, each separated by open slots. It looks tidy and makes your most-used tools feel within reach.
This option is unique because it uses layers instead of a single container, so your utensils stay visible. For practical tips, keep the most used tools on the top tier to cut down on reaching and clutter.
To personalize, choose a finish that matches your cookware handles, like black, brushed steel, or light wood. Budget-wise, tiered stands can range from affordable resin to more expensive engineered wood.
If you’re following current trends, try a matte finish and pair it with simple countertop organization pieces for a clean look.
15. Pull-Out Drawer Utensil Holder with Adjustable Sections
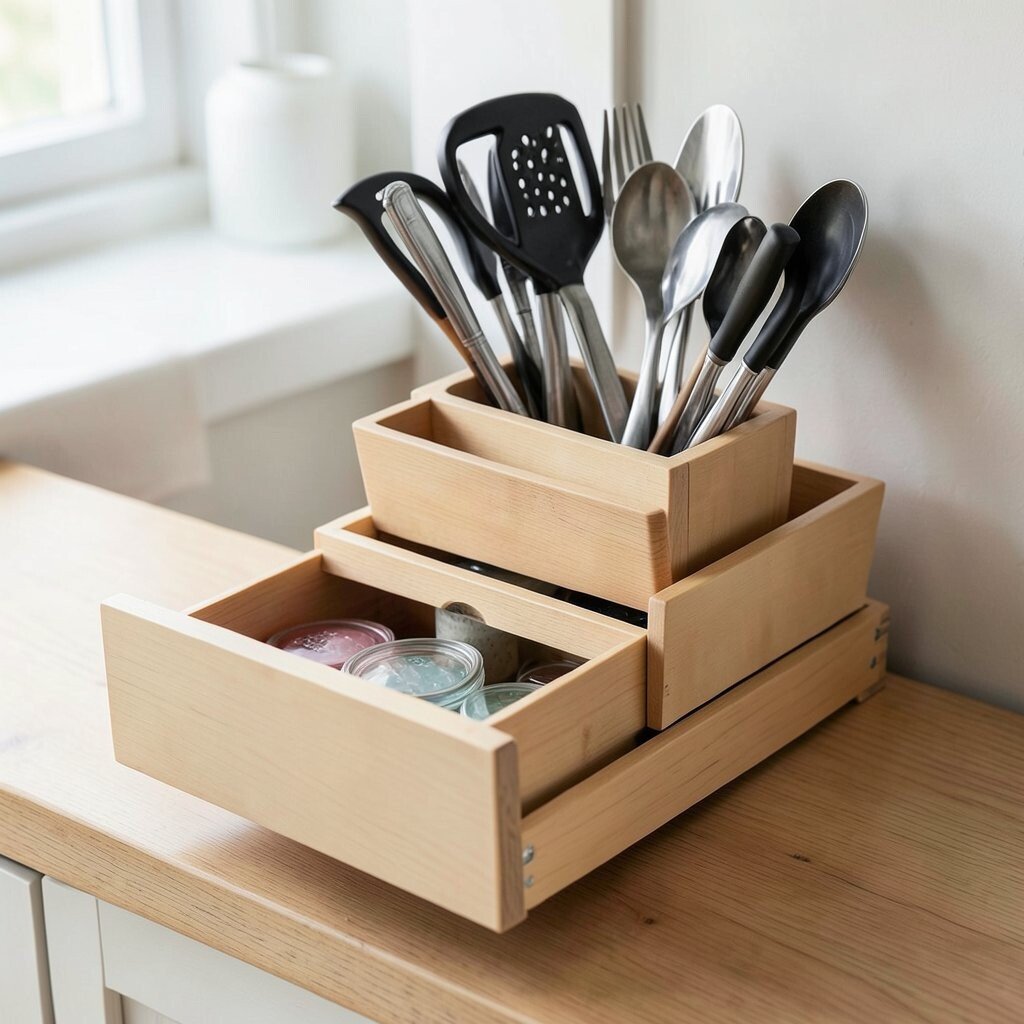
A pull-out drawer organizer keeps utensil holders off the counter entirely. Imagine sliding trays with adjustable sections that fit everything from whisks to serving tongs. When you open the drawer, the tools are lined up like a set of labels you can feel with your hands.
This is unique because it hides the clutter while still making tools easy to reach. It also helps protect utensils from dust and accidental messes on busy days.
For practical tips, measure your drawer first and plan for the tallest utensil you own. Use adjustable dividers so you can change the layout as you add new gadgets.
Cost considerations vary, but custom-like organizers often pay off by making daily cooking faster. This also matches a current trend toward function-first storage that looks minimal and intentional.
16. Family-Style Multi-Jar Holder with Rotating Labels
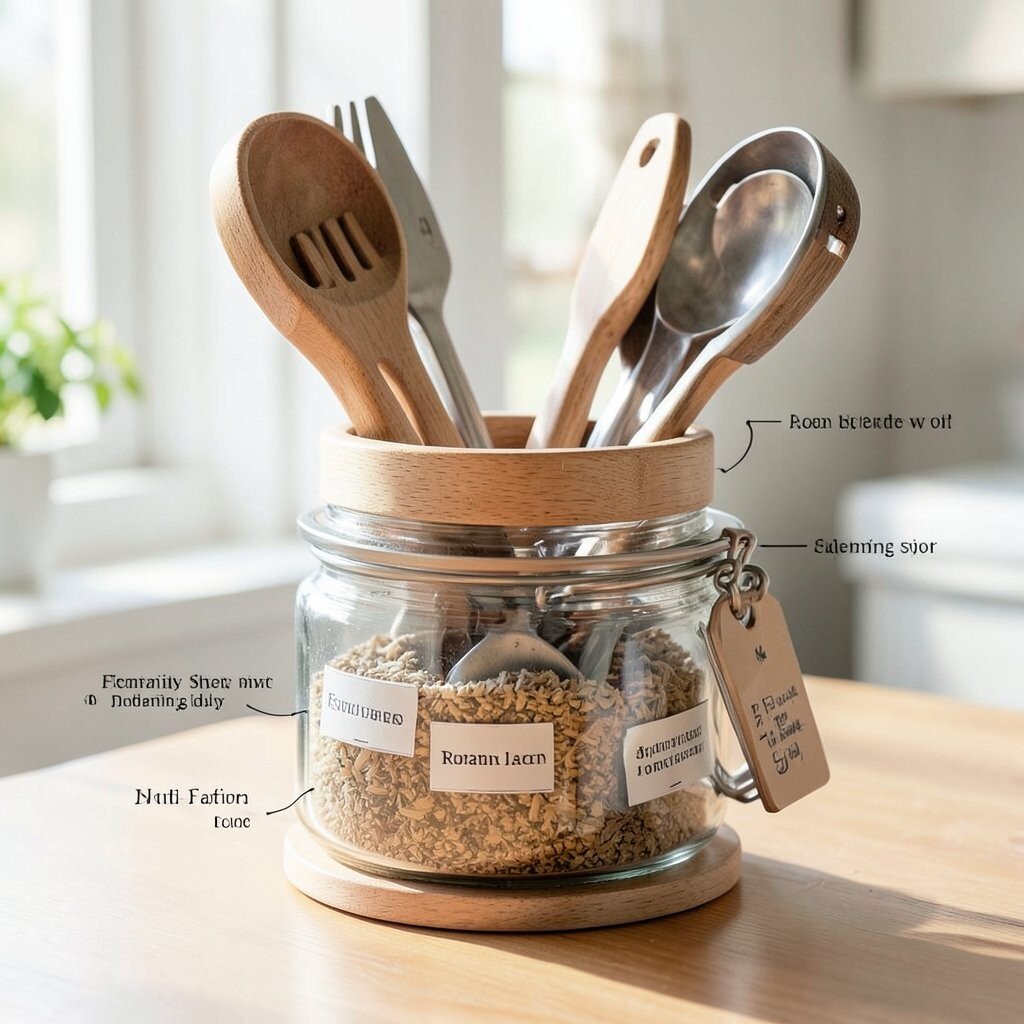
A multi-jar holder can include several smaller containers, each with a label area that you rotate or swap. Imagine four jars in a compact frame, with one label marked “stir,” another marked “serve,” another “bake,” and one for “misc.” It’s friendly for families because everyone can return tools to the right jar quickly.
This design is unique because it encourages consistent habits rather than just storing items. When labels change, you can reorganize based on what you’re cooking, like pasta night or baking day.
For practical tips, choose jars that are easy to lift out for washing, and keep jar openings wide enough for large spoons. Personalize the labels with dry-erase cards, chalk labels, or small clip-on tags.
Cost-wise, multi-jar frames can be mid-range, but you can build one over time by adding extra jars as needed. If you want something trendy, choose a clean metal frame or a natural wood frame with a modern finish and keep the color palette simple.