
Small beads can make a big statement in your handmade items. Your projects will start looking like they belong in a shop window.
-
1. Beaded Chain Border
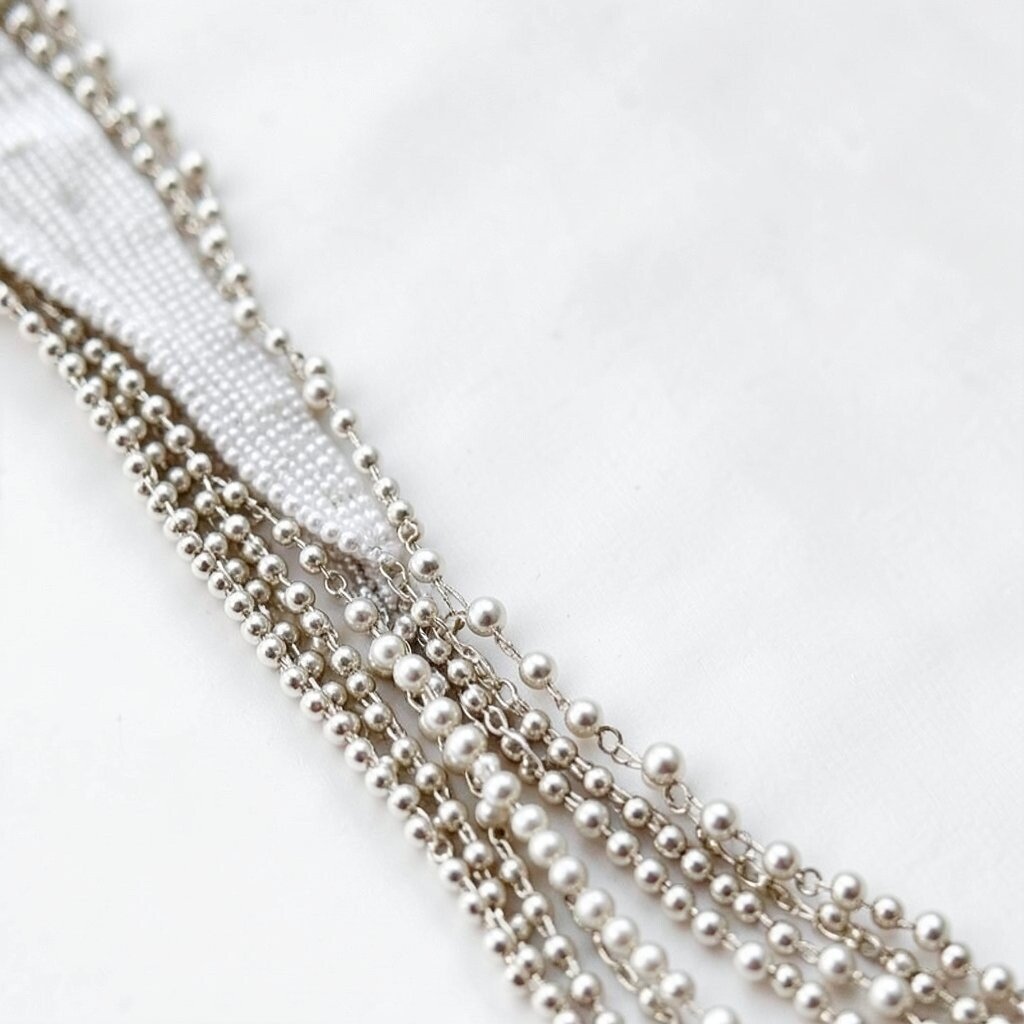
Beaded Chain Border Add a skinny border of bead links along a card edge, bag seam, or scarf end. You can picture the sparkle catching light as you move.
Use seed beads for a smooth look, or mix in tiny bugle beads for extra texture. This edging is great because it hides rough spots and strengthens corners. For tips, plan a straight line with painter’s tape before you stitch or glue.
To personalize, choose two colors and repeat them in a pattern that matches your style. For cost, look for “variety packs” of seed beads, since they spread far. A current trend is mixing matte beads with a few glossy accent beads for a modern feel.
-
2. Fringe Bead Tassel Trim
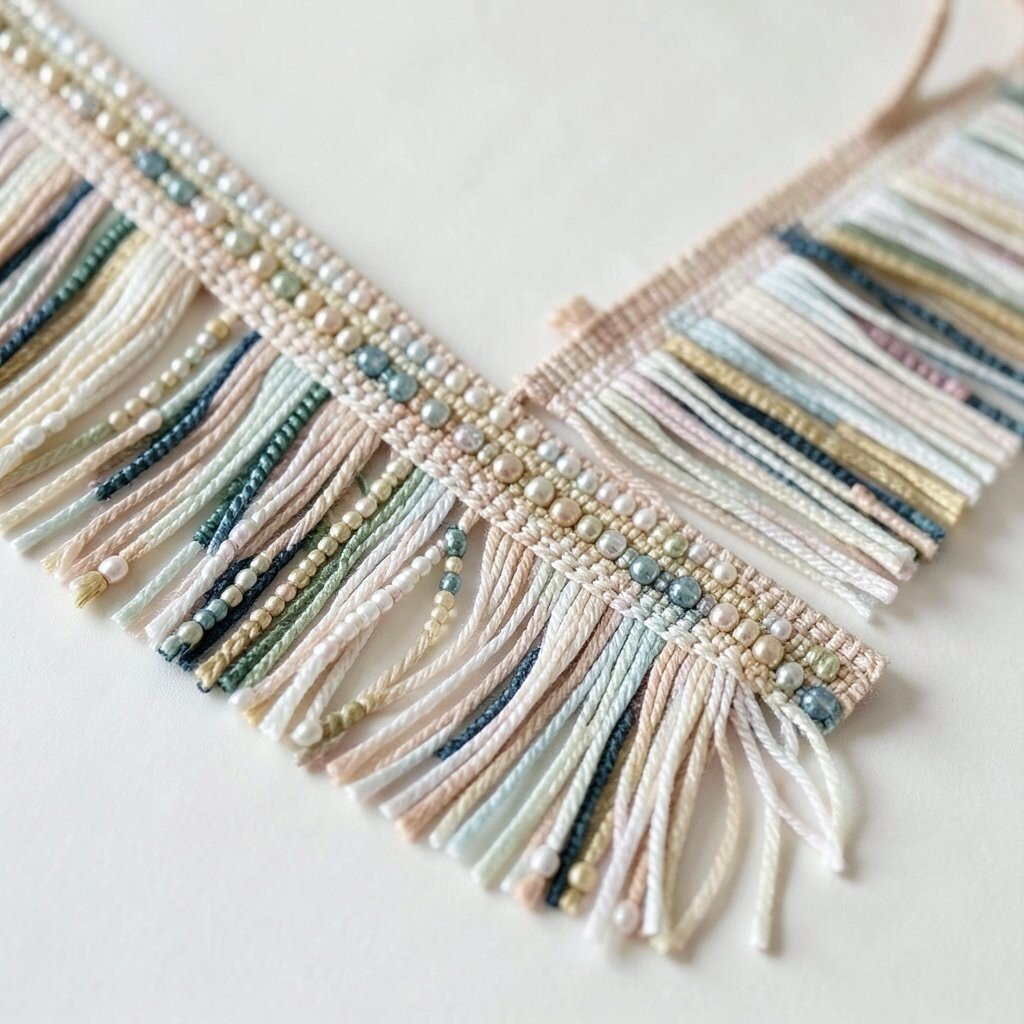
Fringe Bead Tassel Trim Make a quick tassel trim by threading beads onto string and tying it to a ribbon base. The visual effect is playful movement, like tiny wind chimes.
Use this trim on keychains, bookmark corners, or the bottom of a pouch. It is a benefit because tassels can cover uneven edges and make items feel fancy fast. If you want an easy tip, cut several short tassels at once, then attach them evenly.
Personalize with letter beads, charms, or even a favorite color gradient. For cost, use larger beads for the top row and smaller beads for the rest to stretch your supply. Many crafters are trending toward “mix and match” tassels, where each side looks slightly different.
-
3. Beaded Button Replacement
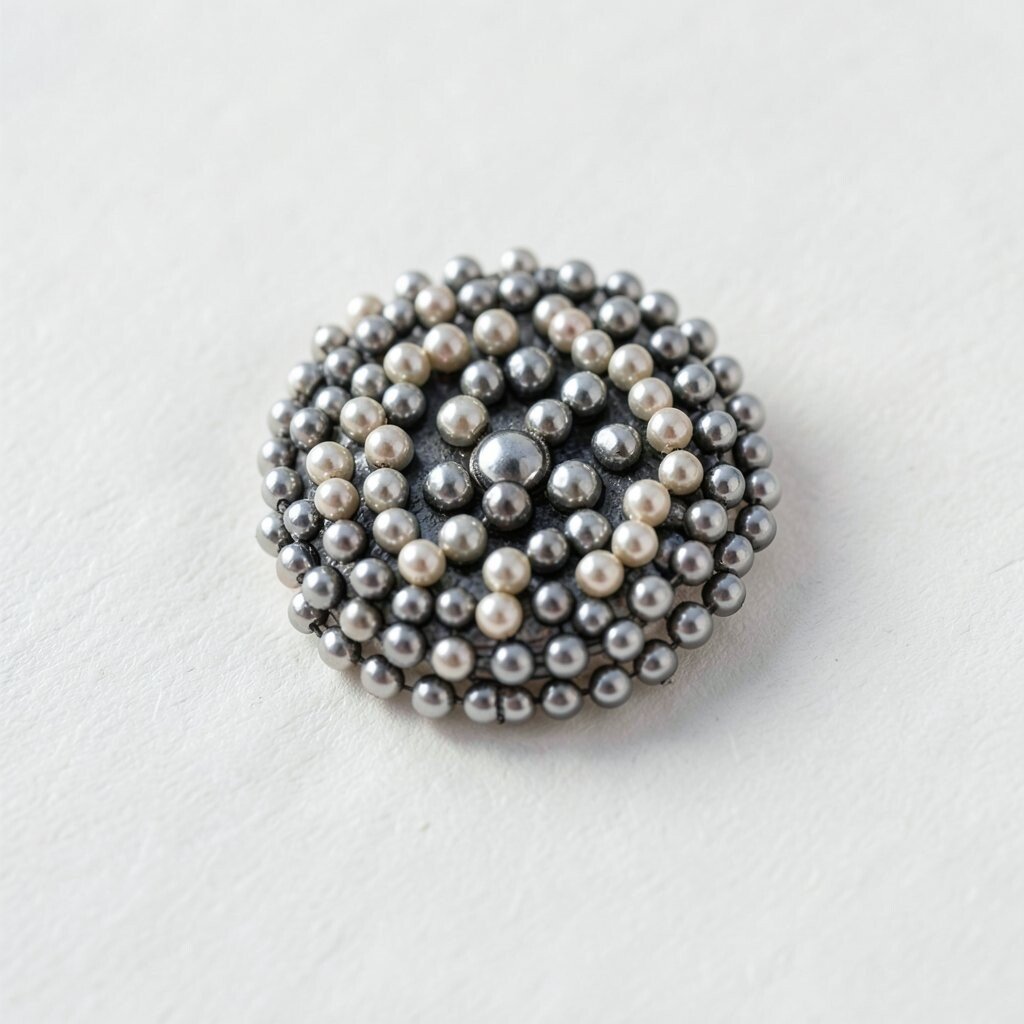
Beaded Button Replacement Swap a plain button with a beaded center that stands out. Imagine a tiny bead “sun” glowing on a jacket, dress, or cardigan.
You can stitch beads into a circle over fabric, or glue a bead cluster onto a flat base. This is useful because it gives new life to items you already own. A helpful tip is to test the bead size first so it matches your buttonhole.
To personalize, add a small theme—like stars for nightwear or flowers for spring. Consider cost by using one focal bead plus a ring of smaller beads instead of an all-over pattern. Current trends include bold, single focal embellishments rather than heavy full coverage.
For a stronger hold, reinforce the back with a fabric patch or felt circle. Then stitch through with a thick needle for durability. Your garment will look upgraded without needing a full sewing overhaul.
-
4. Beaded Waterfall Ribbons
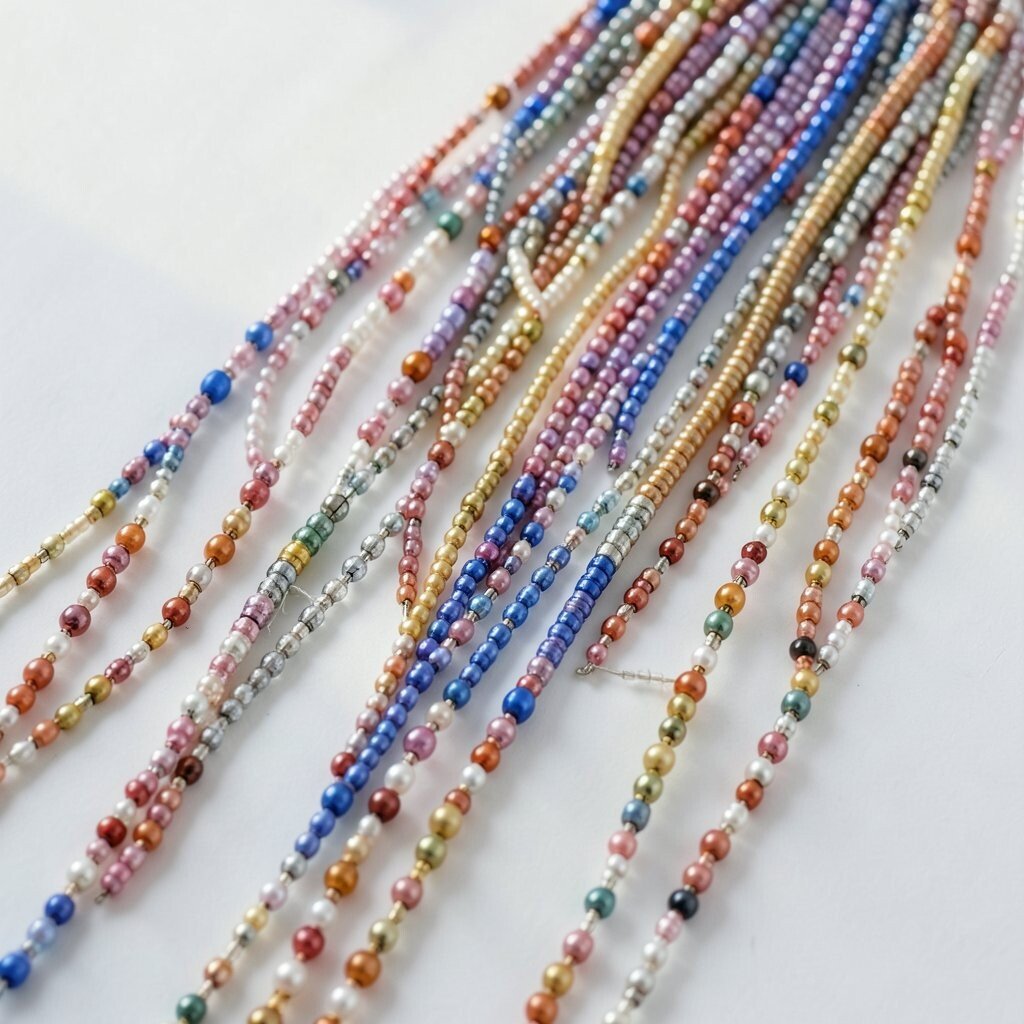
Beaded Waterfall Ribbons Build a beaded “waterfall” by layering rows of beads that hang from a top loop. Picture it like a curtain of sparkle, flowing from one point.
This idea is perfect for hair accessories, wedding decor, and small wall hangings. The benefit is that it creates a vertical wow effect without needing bulky materials. For tips, keep your rows slightly staggered so the drops look natural.
-
5. Geometric Bead Panels
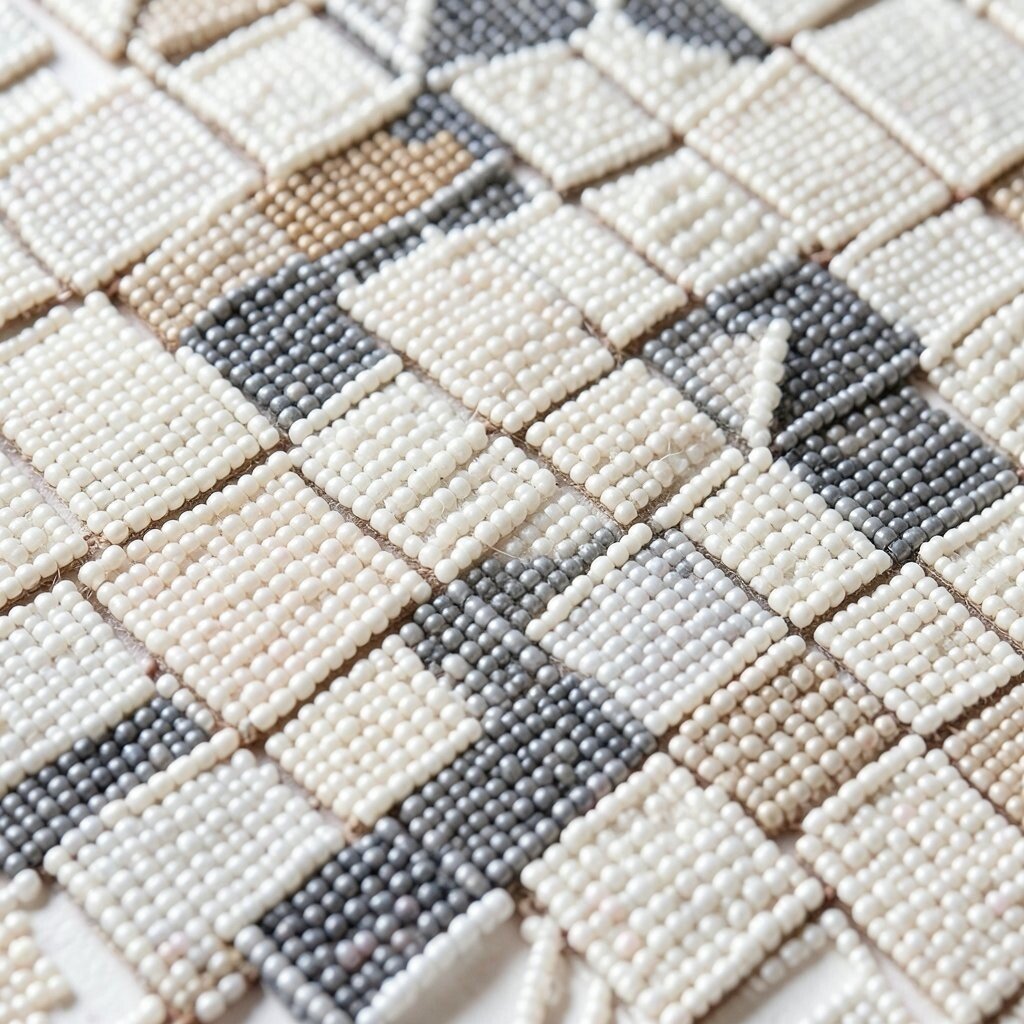
Geometric Bead Panels Create a geometric panel using beads arranged in triangles, chevrons, or squares. It will look crisp and modern, like tiny mosaic tiles.
Use a base of felt, plastic canvas, or sturdy fabric so the shapes stay neat. This is helpful because geometric designs hide beginner mistakes better than free-form patterns. Try tips like drawing guidelines with a washable marker first.
To personalize, choose your favorite color story—cool blues, warm oranges, or monochrome black and silver. For cost, use cheaper seed beads in the background and save special beads for the main lines. A current trend is the clean, pattern-first look that pairs well with minimalist outfits.
-
6. Bead-Studded Photo Frame Edge
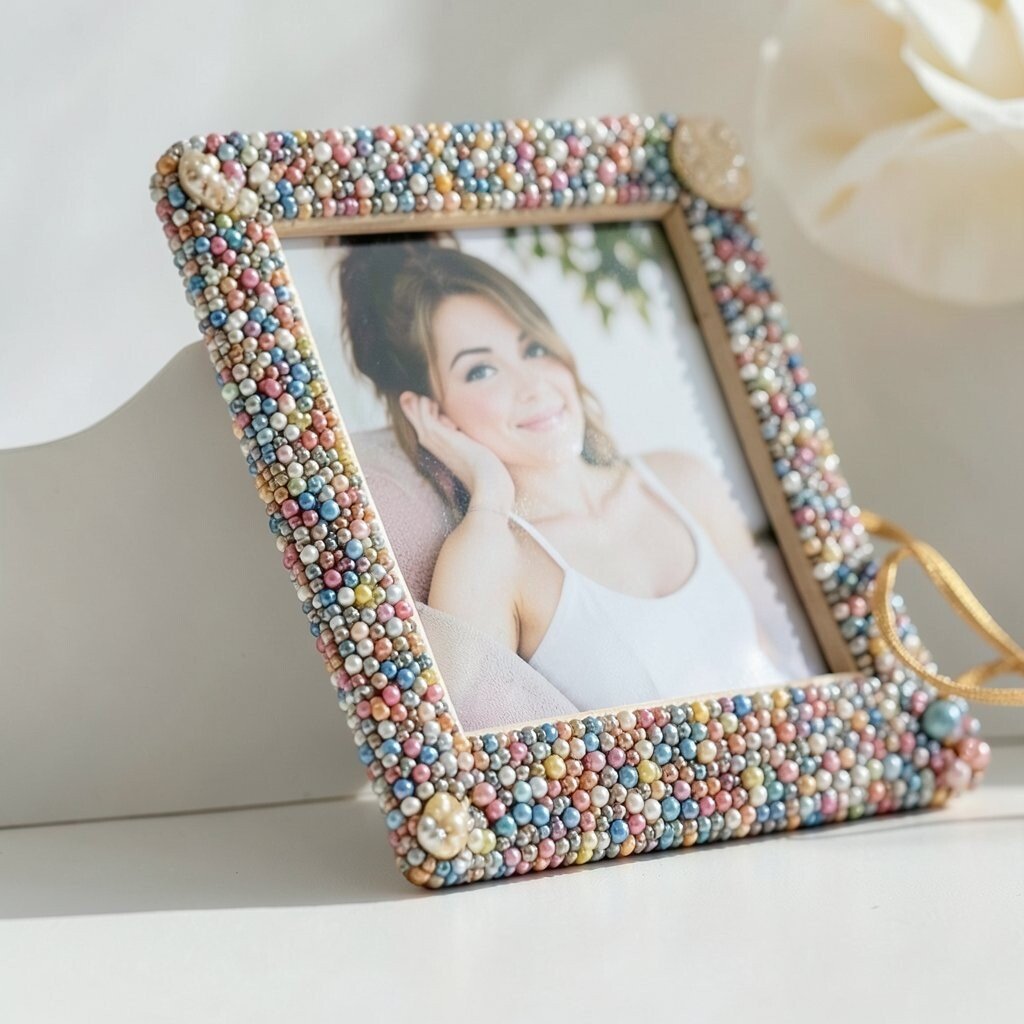
Bead-Studded Photo Frame Edge Coat the outer edge of a simple frame with beads in a smooth line. You’ll get a shiny picture border that makes your photo feel like a gift.
This embellishment is a big benefit for homes because it personalizes without repainting. It also helps cover scratches or worn spots on the frame. For tips, work in small sections using a glue designed for crafts and check spacing as you go.
Personalize by matching bead colors to the photo theme, like beach sand shades for summer pictures. For cost, use a mix of half-price beads and save your pricier ones for corners. Many crafters are leaning into “gallery wall” styling, and a beaded frame edge adds a standout touch.
-
7. Beaded Floral Stem Appliqué
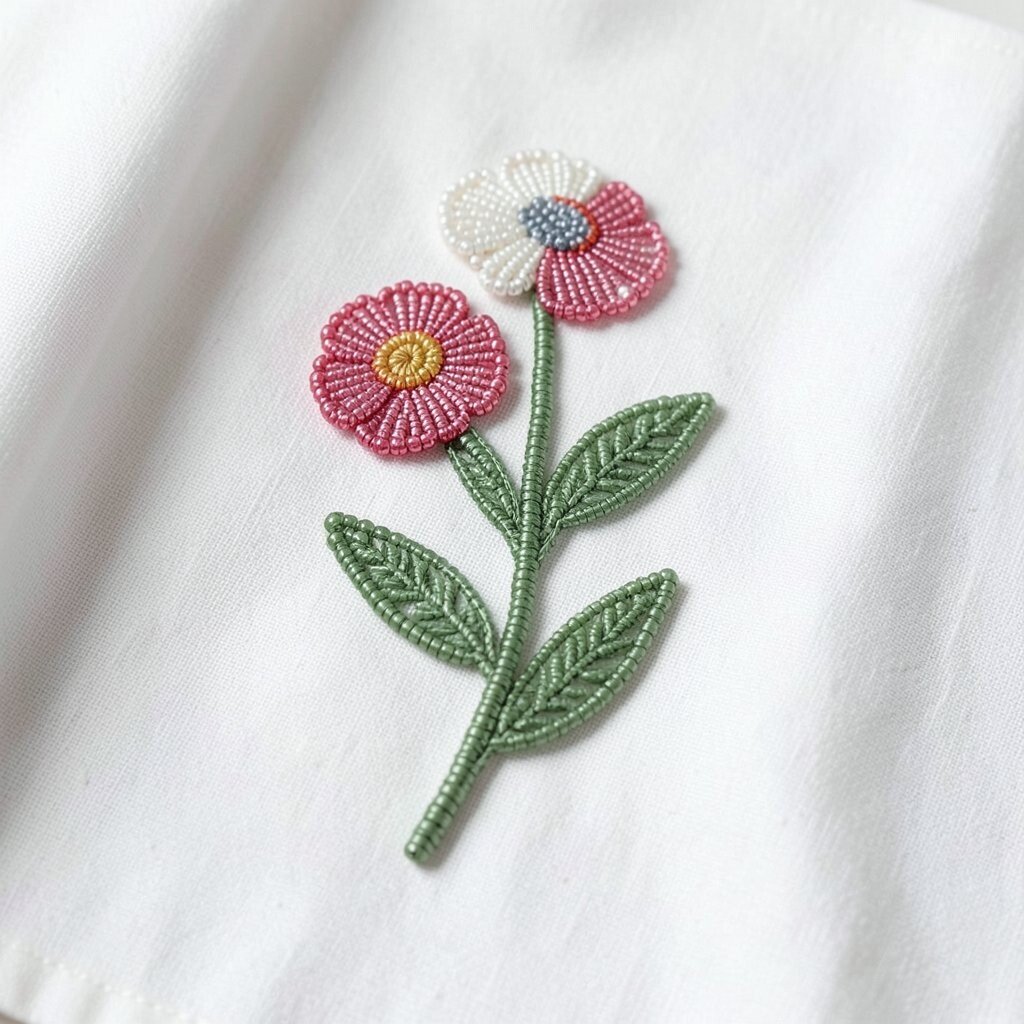
Beaded Floral Stem Appliqué Make a tiny floral appliqué with bead petals and a stem line. It looks sweet and delicate, like a garden detail on fabric.
You can add it to denim, tote bags, or a small pouch flap. The benefit is that appliqués look impressive even when they are small. For tips, use satin stitch or simple thread lines to outline petals before filling them with beads.
Personalize by choosing a flower type: daisies with bright centers, roses with layered petals, or simple blossoms for minimal style. Consider cost by using fewer beads for the outline and saving full bead coverage for the center. A trend in crafting is “micro florals,” where small details pack a lot of charm.
-
8. Beaded Fringe Bookmark
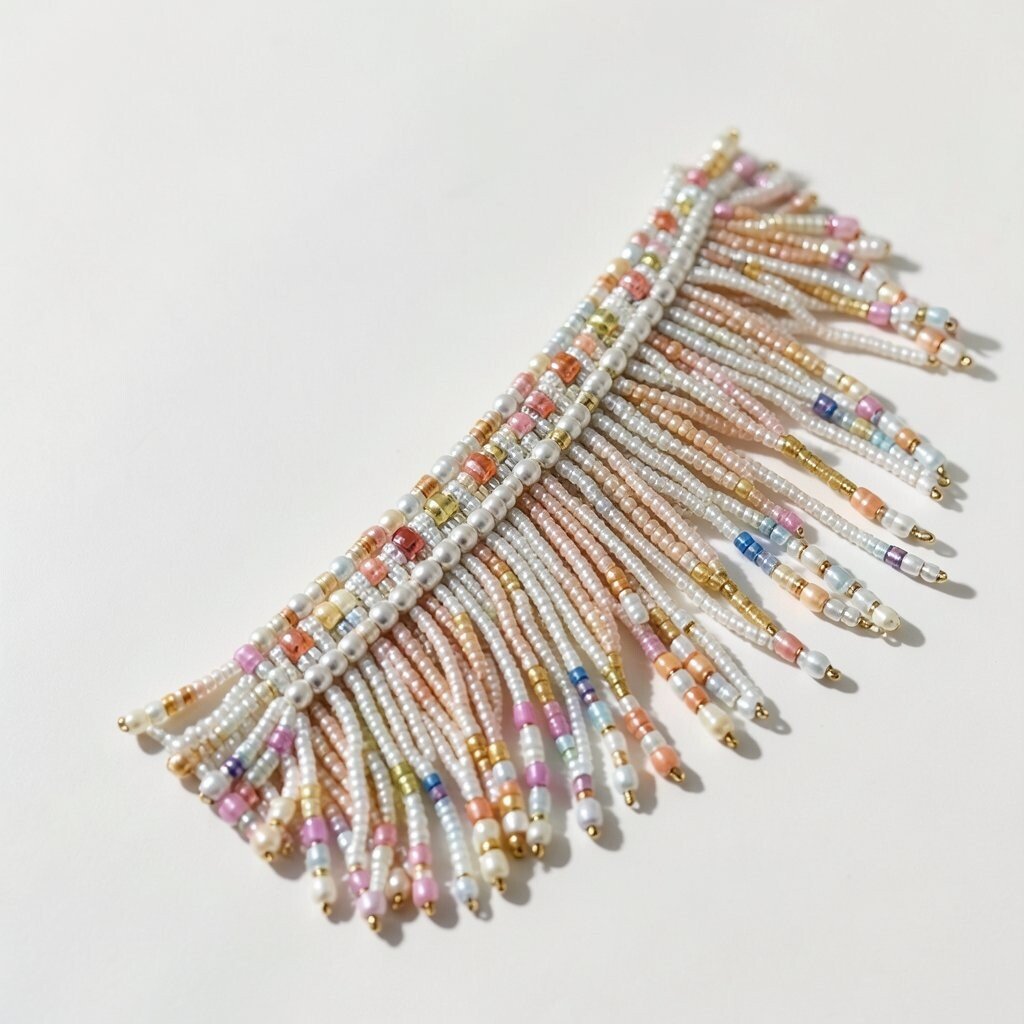
Beaded Fringe Bookmark Turn beads into a long bookmark charm by stringing them onto a sturdy cord. The visual vibe is cozy and studious, with a sparkle at the page corner.
This idea is helpful because it prevents losing your place and adds a personal style touch. It is also easy to make multiple bookmarks for friends. For tips, secure knots tightly and add a tiny crimp or bead stop at the top.
To personalize, mix bead colors to match your favorite genre—green for fantasy, gold for mysteries, and blue for romance. For cost, use one focal bead per bookmark and fill the rest with budget seed beads. Current trends include charm-style accessories, especially for reading and library bags.
If you want it extra safe, use a loop at the top so it clips to a book strap or small holder. That way it stays put even when your bag gets tossed around.
-
9. Beaded Lace-Style Edges
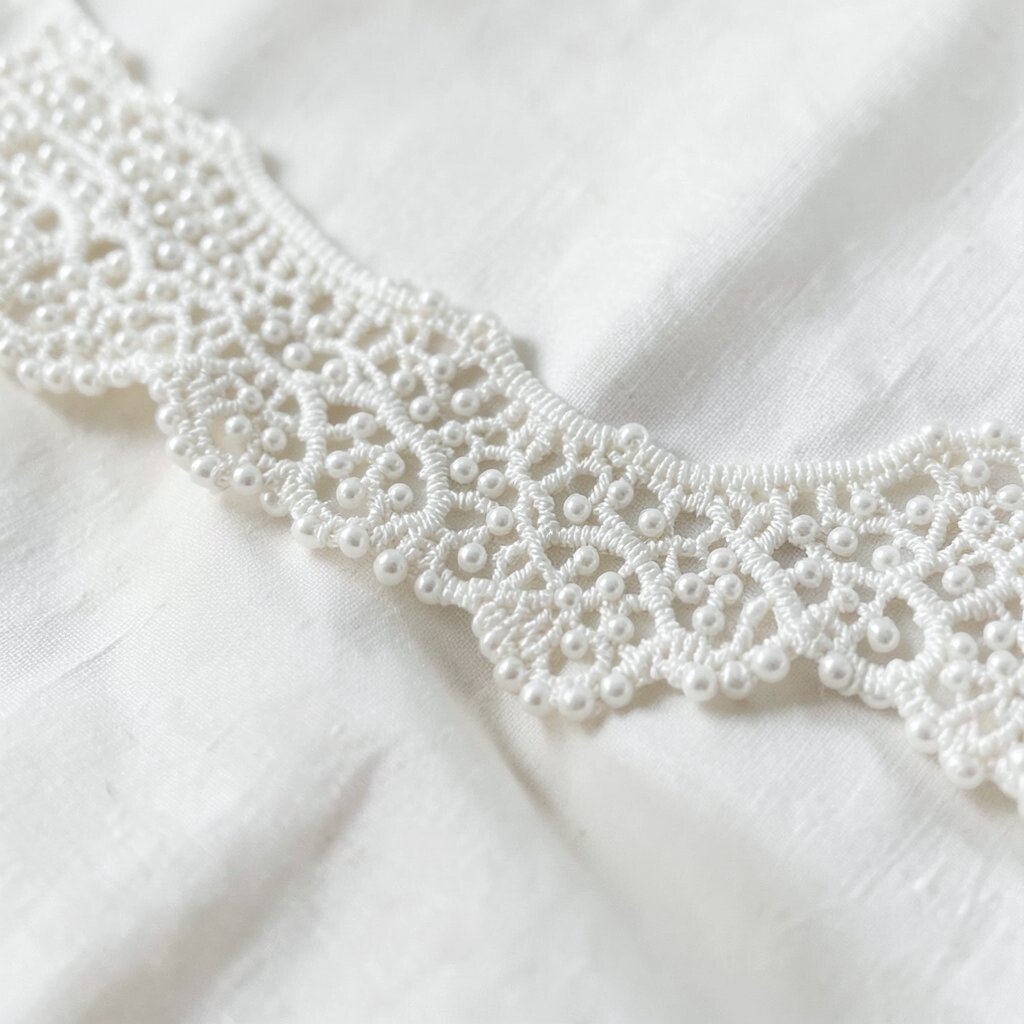
Beaded Lace-Style Edges Make lace-like patterns by stitching beads in repeated loops and tiny arcs. It will look airy even though it is made with small pieces.
This is a great benefit for scarves, card fronts, and handkerchief corners because lace edges feel elegant. For tips, start with larger beads for the “anchors” and add smaller beads in the between gaps for a delicate look. Keep your thread tension steady so the pattern stays smooth.
-
10. Bead-Encrusted Keychain Covers
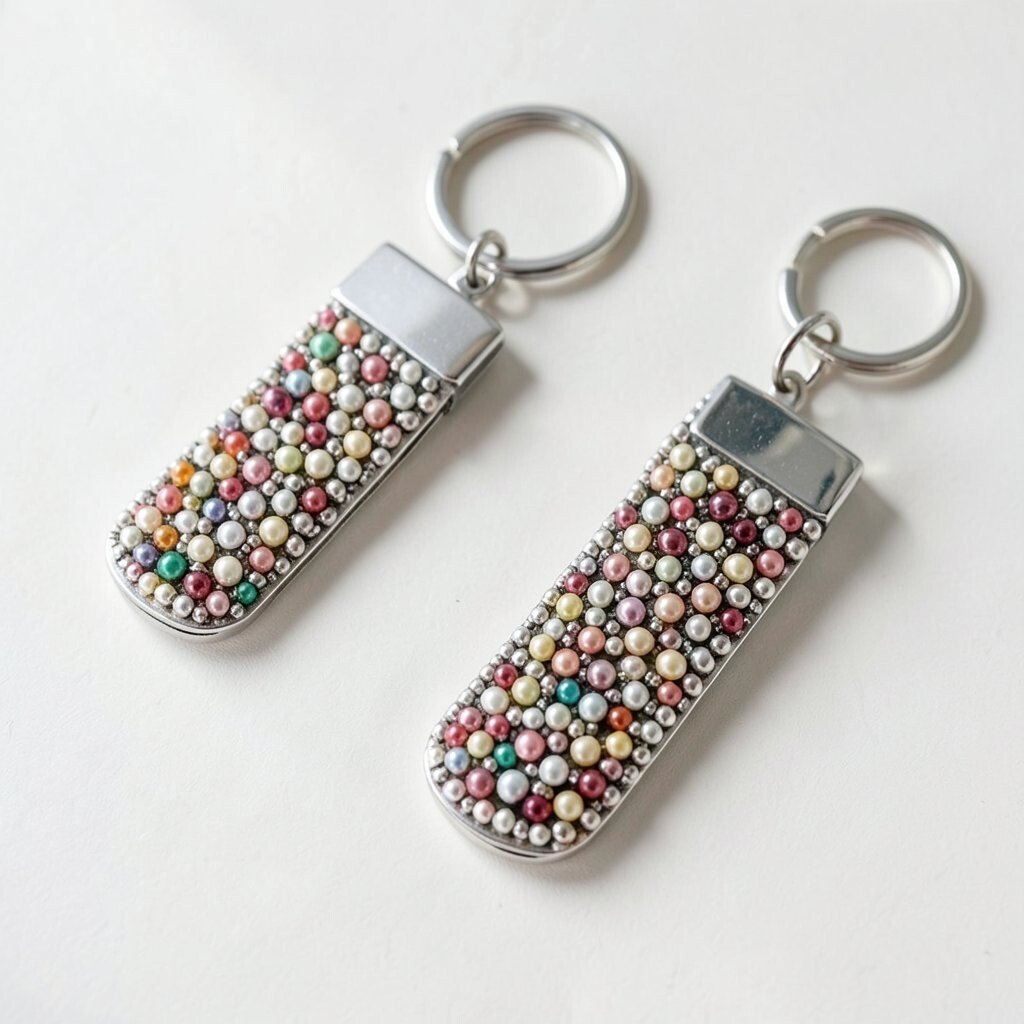
Bead-Encrusted Keychain Covers Cover a plain keychain ring or strap end with beads to create a standout charm. You’ll see your keys become a mini art project that jingles with color.
This embellishment helps because it adds durability and personality at the same time. If your keychain scratches easily, beads can protect the surface. For tips, glue beads in a spiral so you avoid uneven lumps.
Personalize with favorite colors, matching your phone case or bag. For cost, consider using beads on the outside only and leave the inside simpler. Many current trends highlight “small statement charms,” like chunky beads paired with slim cords.
-
11. Beaded Tassel Earrings
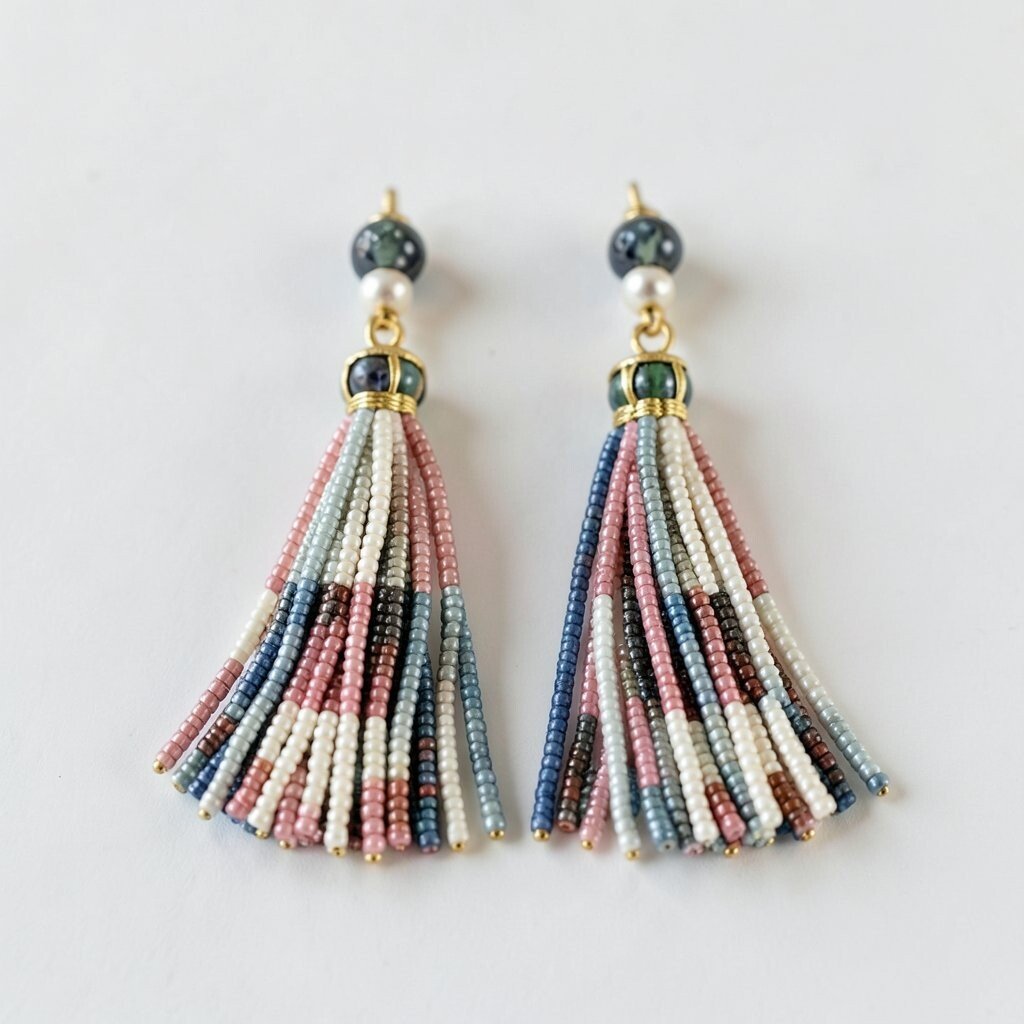
Beaded Tassel Earrings Create beaded tassel earrings that swing and sparkle every time you turn your head. The visual is light and fun, like confetti you can wear.
This is a benefit for beginners because you can finish one pair quickly. Earrings also make great gifts since each one feels special. For tips, use lightweight beads and attach them securely to avoid tangles.
Personalize with charms like tiny hearts or birthstone beads. For cost, buy starter earring findings in bulk and use thrift-store bead mixes to fill the tassels. A current trend is mixing shapes—round beads with subtle crystal drops—for a more textured look.
-
12. Beaded Name Tag or Label
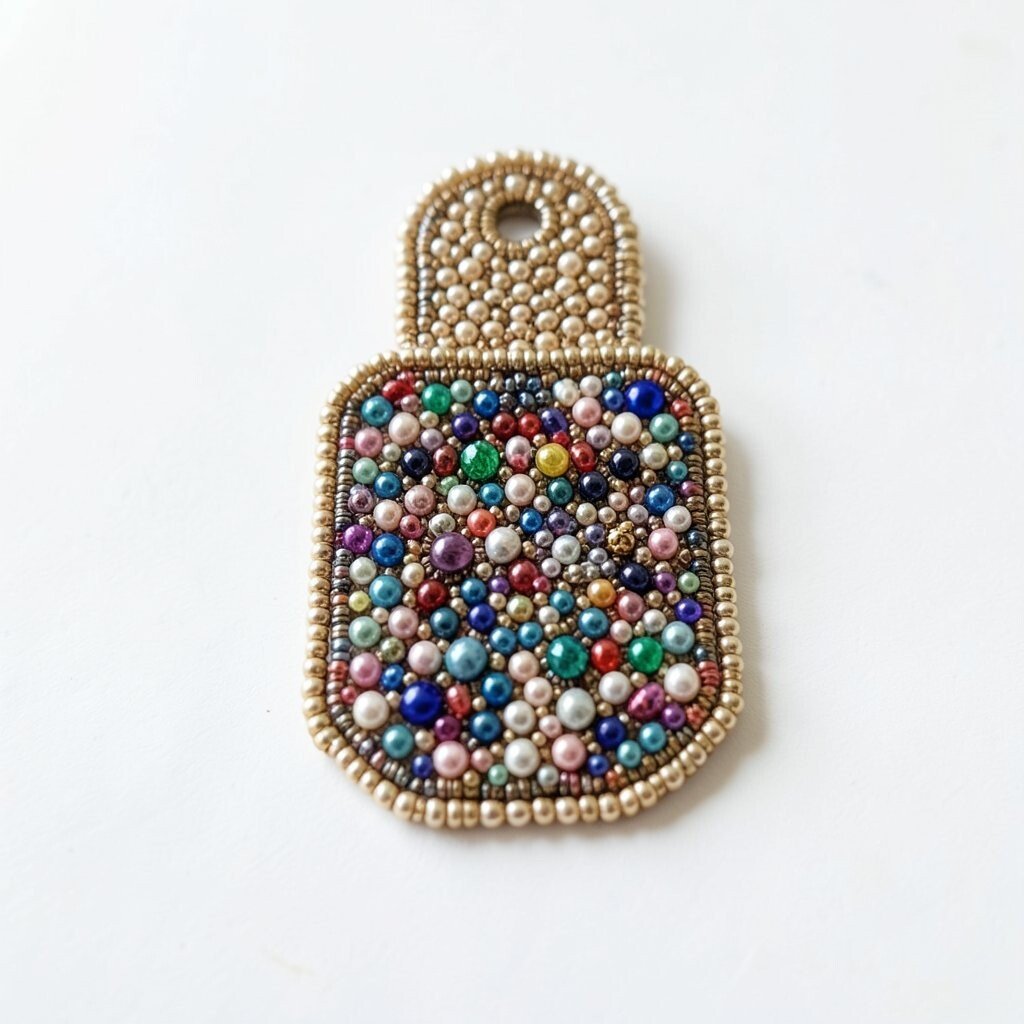
Beaded Name Tag or Label Add beads to a name label, address tag, or organizer label for a personal touch. It looks bright and thoughtful, like a little welcome sign.
This idea benefits planners and crafters because labels help you find items fast. It also keeps your bags and jars from getting mixed up. For tips, use clear tape or a lamination sheet so the label doesn’t get messy.
Personalize with your initials, a favorite icon, or a color theme for each category. Consider cost by using letter beads only for the initials and filling the rest with small rounds. Current trends include “custom utility” items, like beaded labels for desk organization.
-
13. Beaded Shadow-Work Motifs
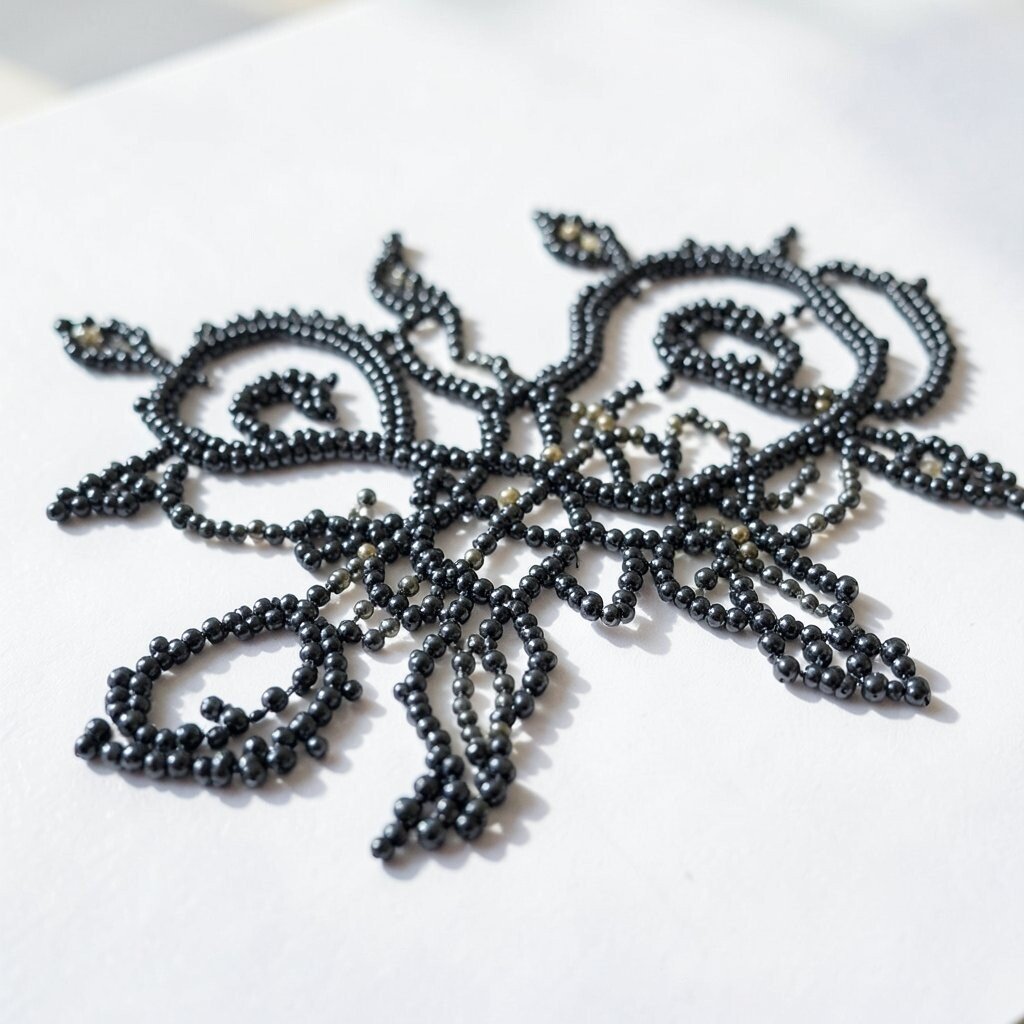
Beaded Shadow-Work Motifs Make a shadow-work style effect by layering bead colors from dark to light. You’ll see a soft fade that feels artistic and calm.
This is a benefit because it creates depth without complicated tools. It is also perfect for fabric patches and denim accents. For tips, plan a color gradient and test bead placement on a scrap piece first.
Personalize with ombré skies, berry colors, or earthy tones for a grounded vibe. For cost, use fewer beads at the far edges and concentrate beads where the darkest shade starts. Many crafters are enjoying “soft focus” looks that mimic painted gradients.
To keep everything tidy, use a thin felt backing and stitch around the edges. Then you can attach the finished motif with strong thread or fabric-safe glue.
-
14. Beaded “Confetti” Bottle Cap Pendants
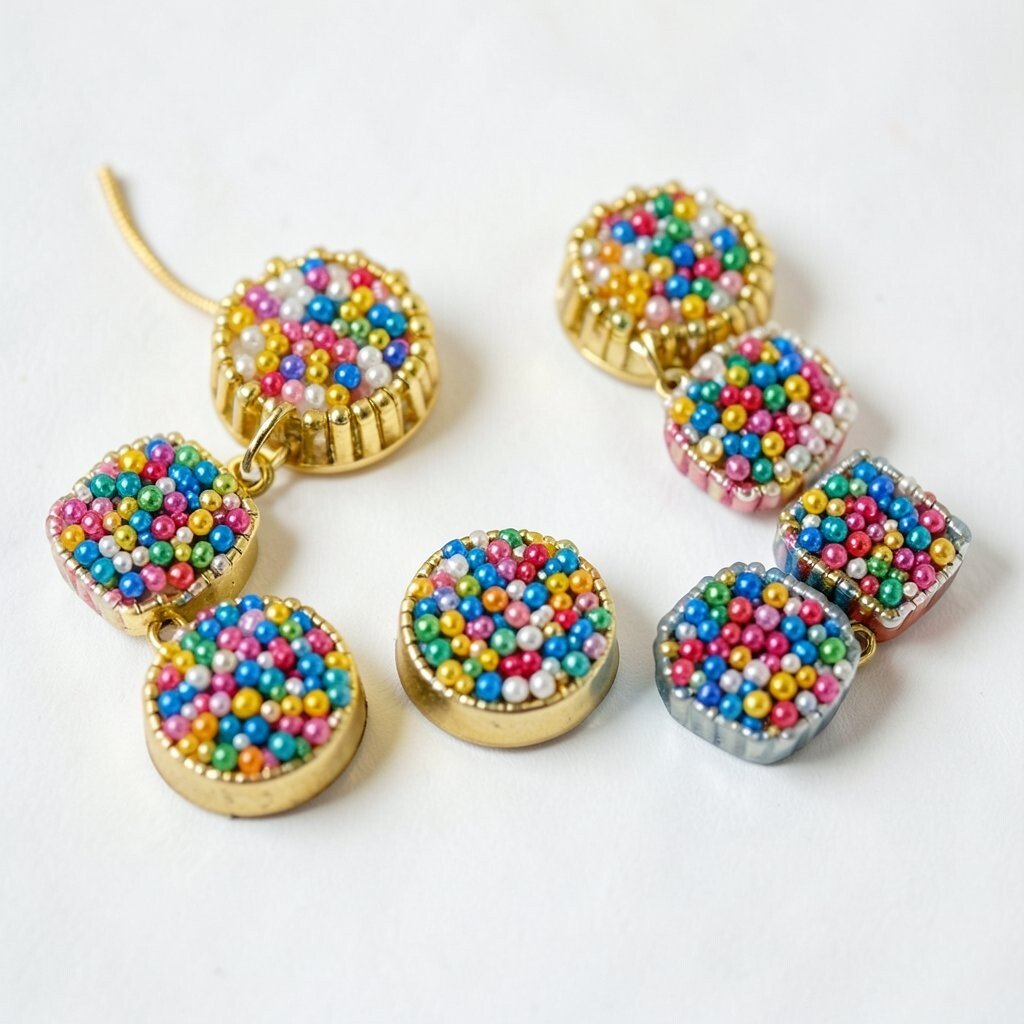
Beaded “Confetti” Bottle Cap Pendants Use bottle caps as a base and add beads around the rim for a playful confetti look. It creates a bold circle that sparkles from every angle.
This idea is useful because bottle caps are easy to get and give a sturdy shape. It also helps you use smaller leftover beads in a fun way. For tips, apply glue to only a small section at a time so it doesn’t dry out before you place beads.
-
15. Beaded Keyhole or Door Charm
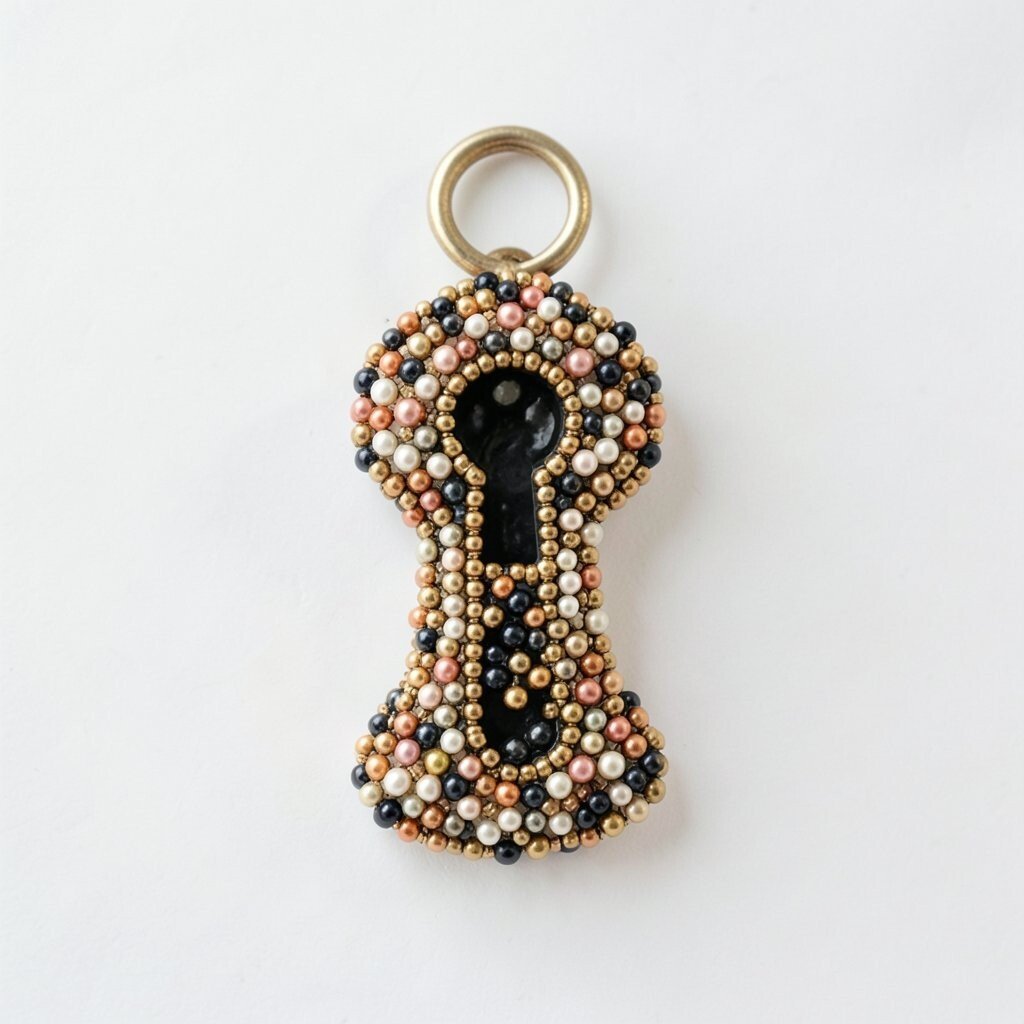
Beaded Keyhole or Door Charm Design a beaded keyhole charm with a tall shape and a sparkling border. It looks like a tiny magical doorway on a tag, keychain, or wall hook.
This embellishment is a benefit because it’s easy to theme for fantasy, cosplay, or whimsical decor. It also makes your handmade items stand out in a storybook way. For tips, outline the shape first, then fill with beads in a way that follows the curve.
Personalize with color choices like gold and black for a “mystery” style, or teal and silver for “ocean magic.” For cost, prioritize beads for the outline and use fewer for the inside fill. A trend you may see now is fantasy-inspired crafting with small, symbolic details.
-
16. Beaded Fabric Scrunchie Bands
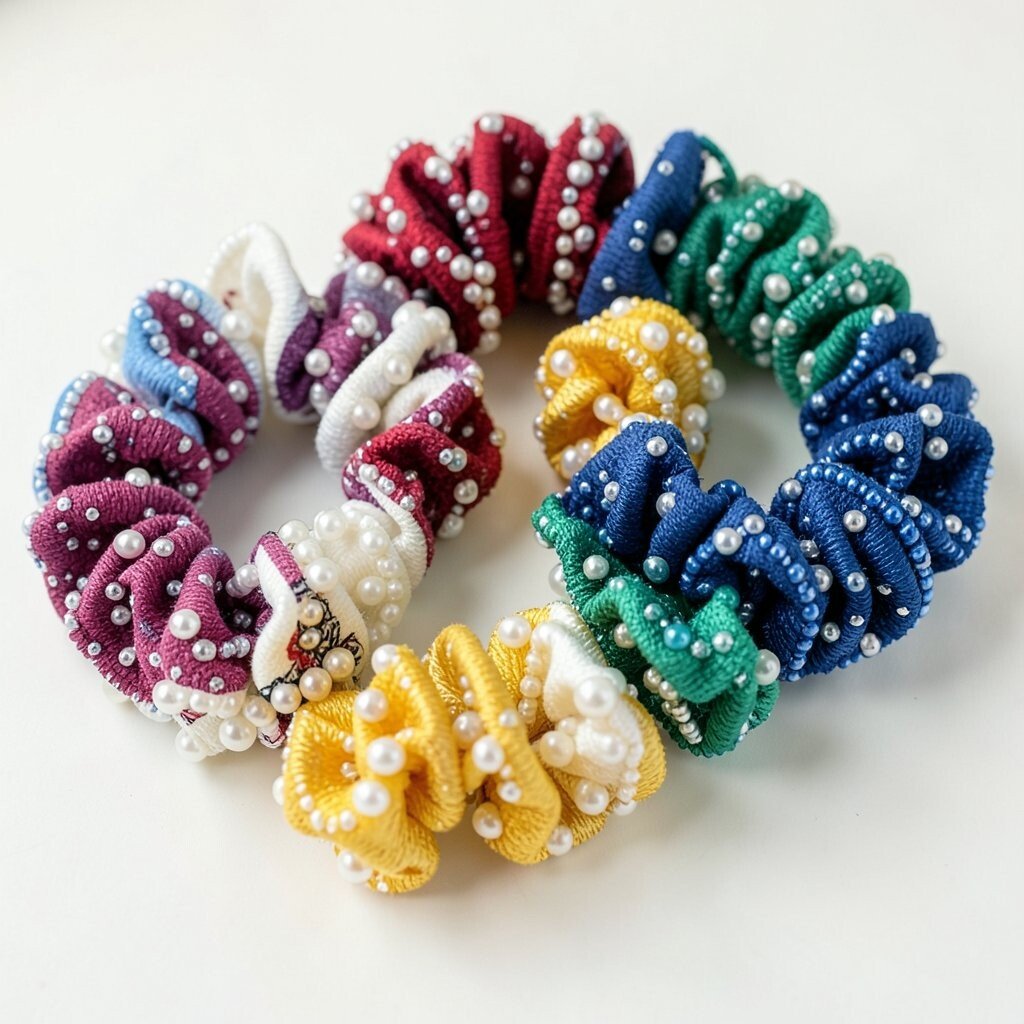
Beaded Fabric Scrunchie Bands Wrap beads around a fabric scrunchie band for a wearable sparkle. The look is bouncy and cute, and it turns an everyday item into something special.
This is a benefit because scrunchies can hide uneven bead edges and forgivingly stretch. It’s also an easy project for trying new bead sizes. For tips, stitch a bead path down the center and keep the sides simpler so it stays comfortable.
Personalize with a pop of color near the bow or a repeating pattern across the band. For cost, use inexpensive seed beads for most of it and add a few larger crystals as accents. Current trends favor “everyday glam,” where small sparkle makes daily routines feel brighter.
-
17. Beaded Envelope Flap Details
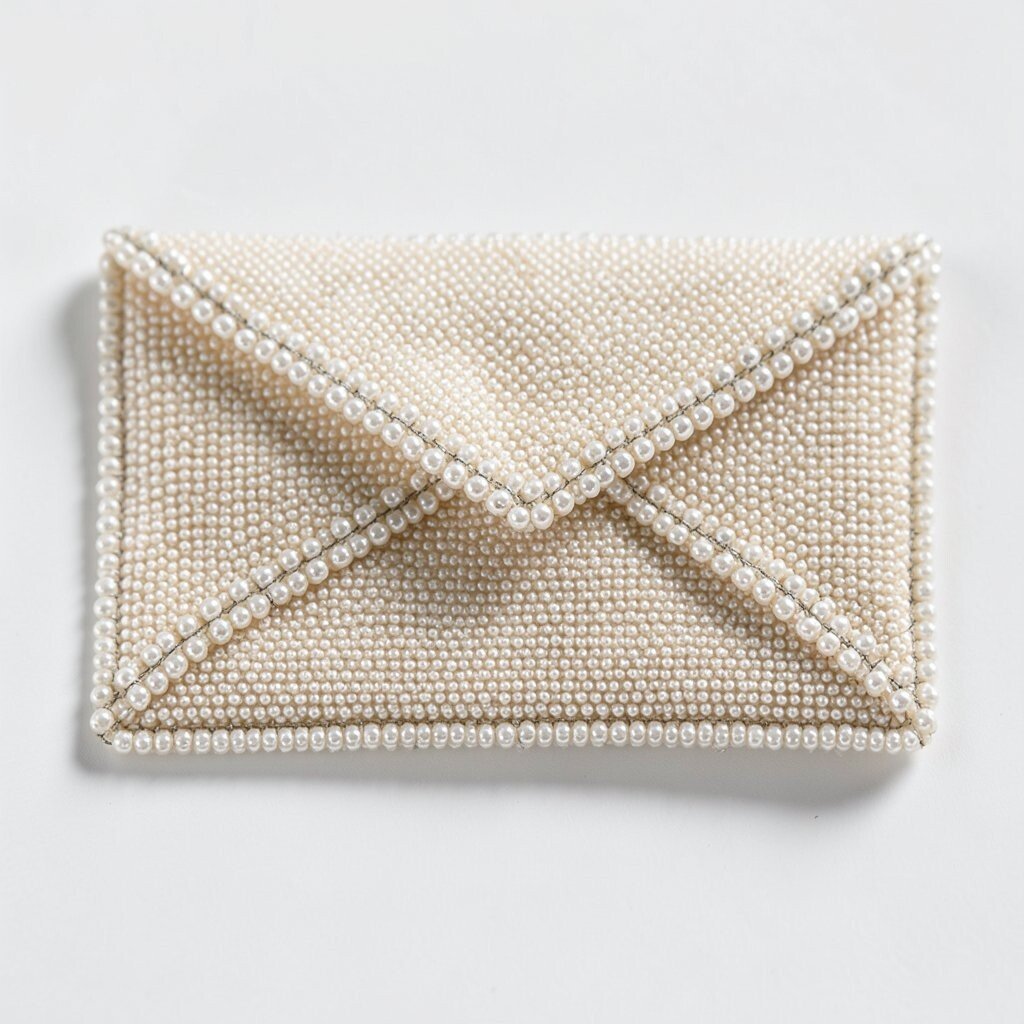
Beaded Envelope Flap Details Add beads to an envelope flap, like a clasp or decorative edge. The visual is charming and gives your mail a handmade feel.
This embellishment helps because it keeps letters closed and makes gift cards feel extra sweet. It also makes your greeting stand out in a pile. For tips, attach beads at the flap corner and test the fold before you fully secure.
Personalize by matching bead colors to the season—spring pastels, summer brights, autumn warm tones, or winter silvers. Consider cost by using a few bead clusters rather than covering the whole flap. Trends right now include “handmade stationery” with small but shiny details that feel personal.
-
18. Beaded Mini Dreamcatcher Charm
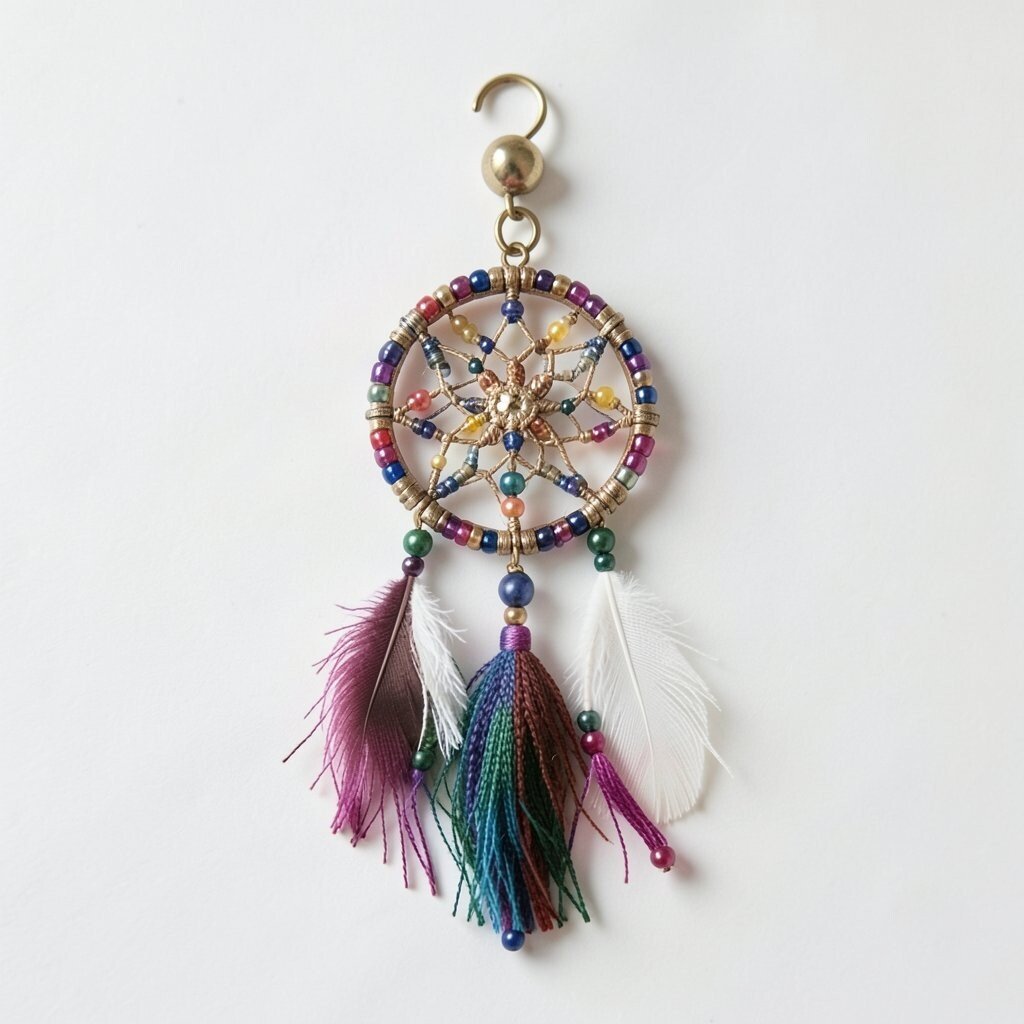
Beaded Mini Dreamcatcher Charm Make a mini dreamcatcher using a bead ring and a few hanging strands. It looks gentle and magical, like a charm for your keys or backpack.
This idea is beneficial because it works well with small spaces and leftover beads. It also gives you a meaningful theme without needing large crafts. For tips, use a lightweight ring and keep hanging strands short so the charm stays neat.
Personalize with beads that match your favorite gemstone color. For cost, rely on a mix of seed beads for most strands and save crystal beads for the center accent. A current trend is “tiny talismans,” where mini handmade symbols hang everywhere.
For extra strength, knot the end strands and tuck them through the ring. That way, the charm won’t slip off when it swings.
-
19. Beaded Strap Adjuster for Bags
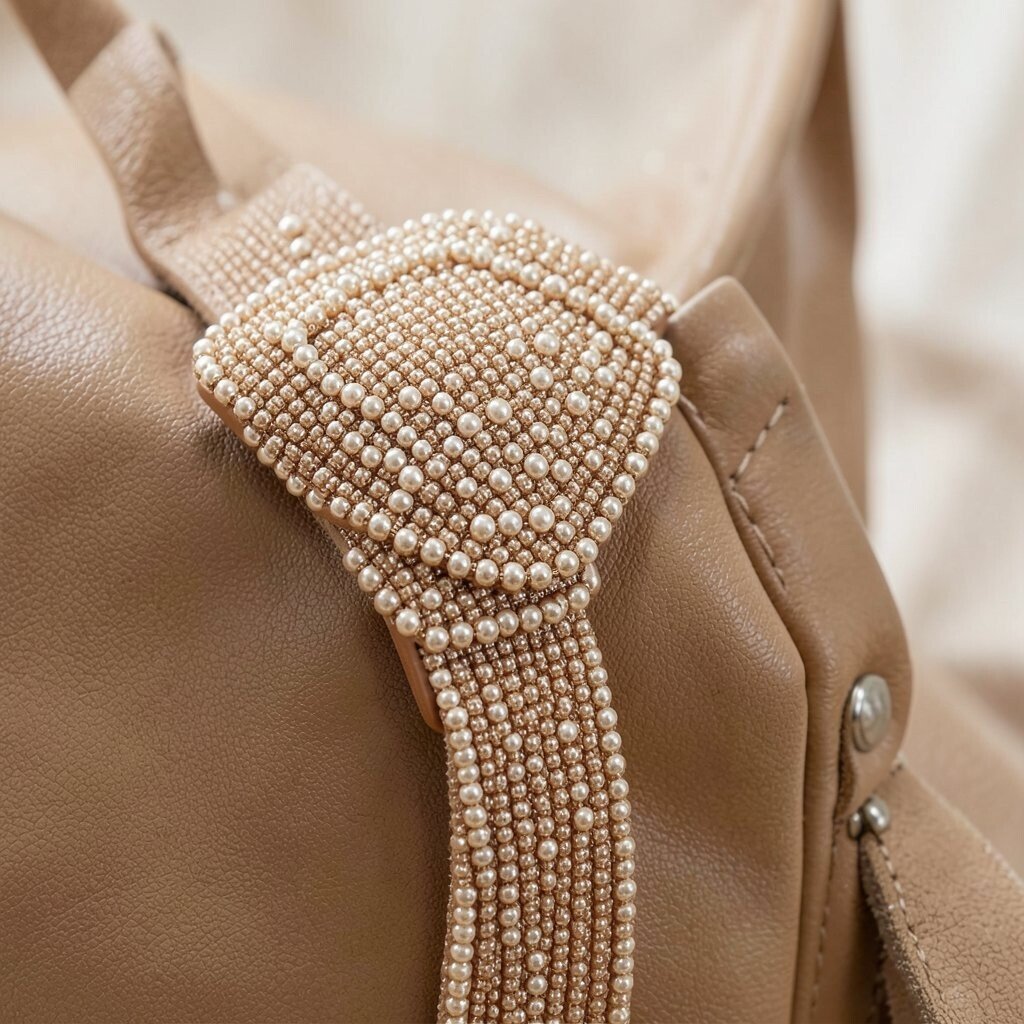
Beaded Strap Adjuster for Bags Create a beaded strap adjuster using a slider or simple knot system with beads. It gives your bag a custom fit and adds sparkle where you see it most.
This is a benefit because you can fine-tune length for comfort, then make the strap look stylish. It also helps if your bag strap is too long or too plain. For tips, use sturdy cord and secure knots firmly before you glue any bead stops.
-
20. Beaded Crown or Tiara Accent
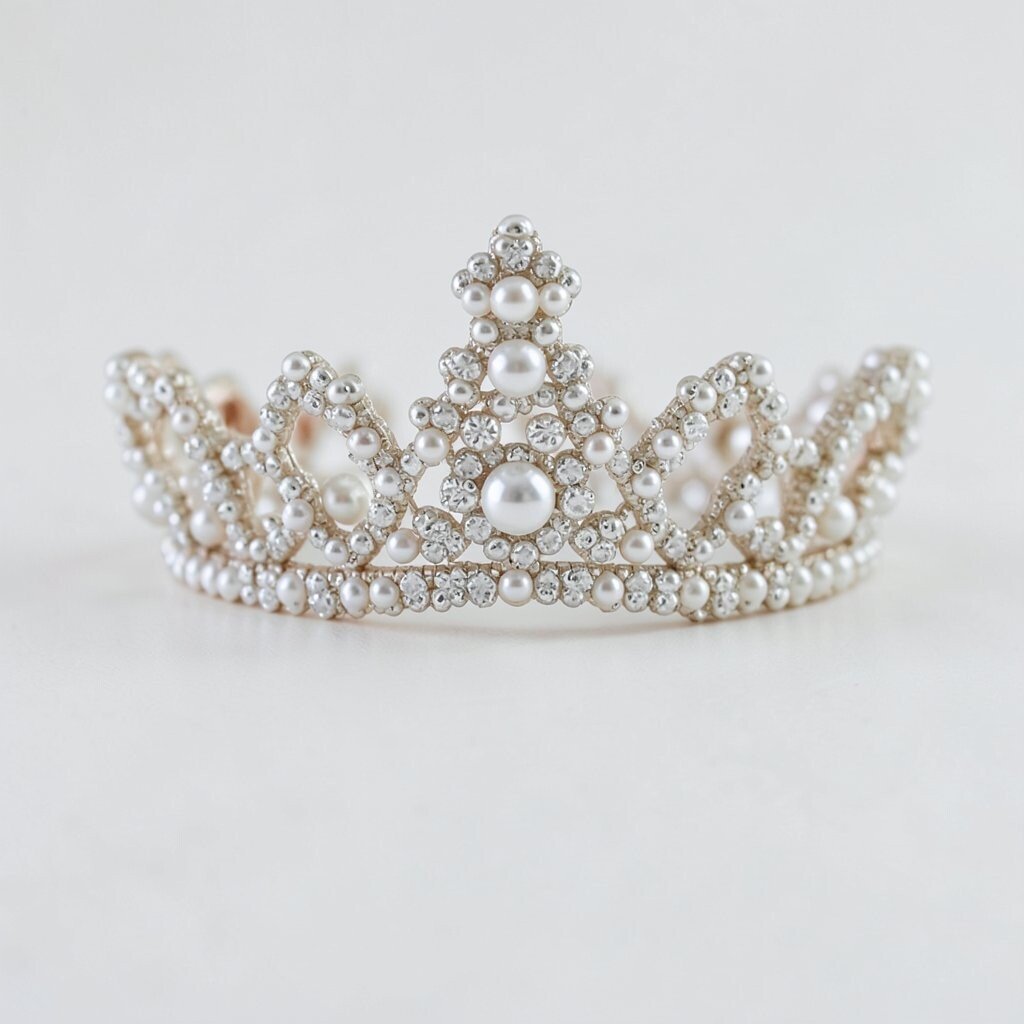
Beaded Crown or Tiara Accent Design a mini crown accent with beads arranged like a sparkling zigzag. The visual is playful and royal, perfect for headbands, hair clips, or costumes.
This idea is useful because it turns simple accessories into costume-ready pieces without heavy materials. It also makes photos look extra fun. For tips, outline the top points first, then stitch down beads between peaks for a neat finish.
Personalize with your character style—princess colors, superhero tones, or even seasonal themes like snow and stars. For cost, choose one fancy bead at the center tip and fill the rest with budget beads. A trend you may notice is “event-ready” crafting, where quick upgrades help you get photo-ready fast.