
Something magical happens when a new tool meets your imagination. The right supplies can turn blank space into a place that feels alive.
Ready to build your own creative corner? Here are fun, practical ideas you can start using right away.
-
1. Graphite Pencils (All the Shades)
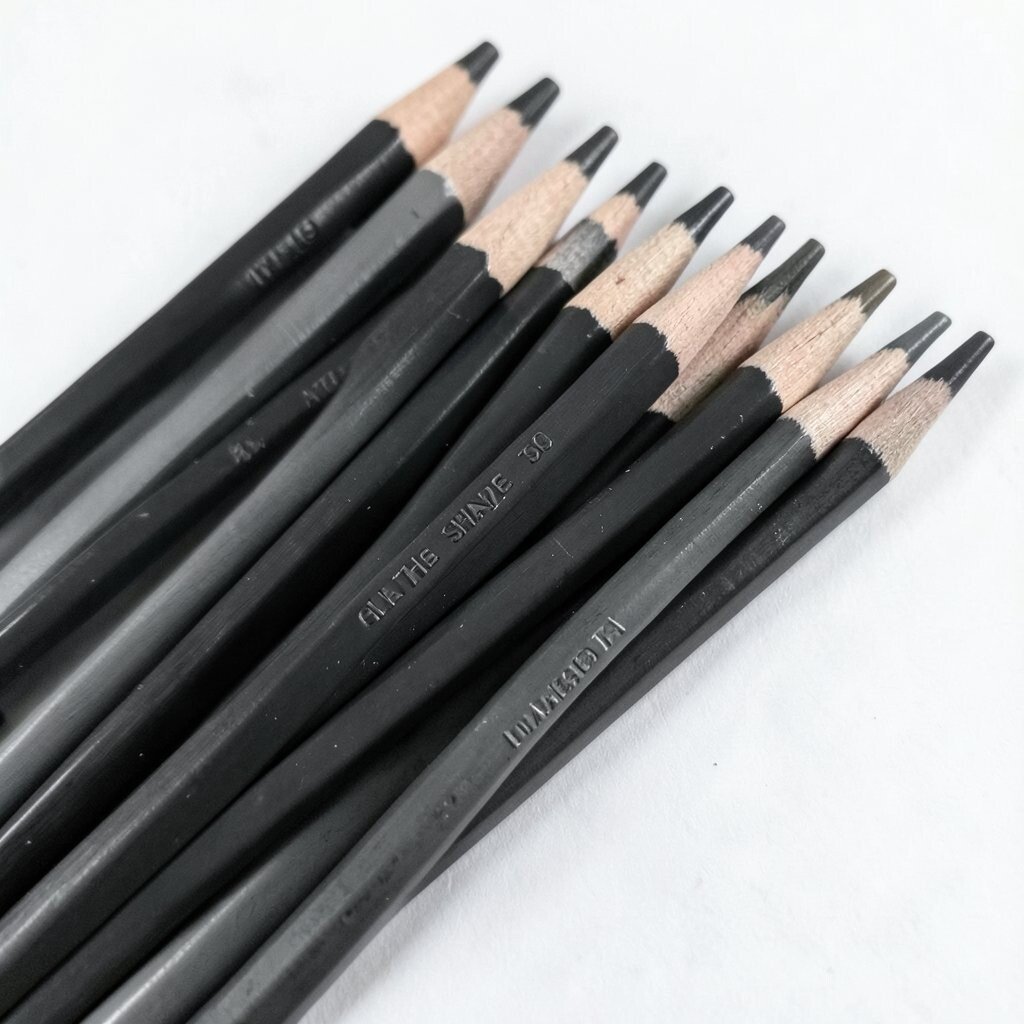
Graphite Pencils (All the Shades) Graphite pencils make smooth lines, soft shadows, and crisp details. They can look realistic in one drawing and playful in the next.
Use hard pencils for light, sharp marks and softer pencils for dark, bold areas. This helps you control value without needing fancy tools. Try blending with a tissue for a gentle smudged look, or keep edges clean for a comic-book style. Pencil sets are usually easy on your budget, and you can buy a small pack to start. A current trend is “value practice,” where people make quick studies to train their eye. Personalize by labeling your pencils with what you feel each one is best for, like “sunlight” or “deep shadow.”
Tip: Keep a kneaded eraser nearby for highlights that feel dramatic.
-
2. Charcoal (Vine and Stick)
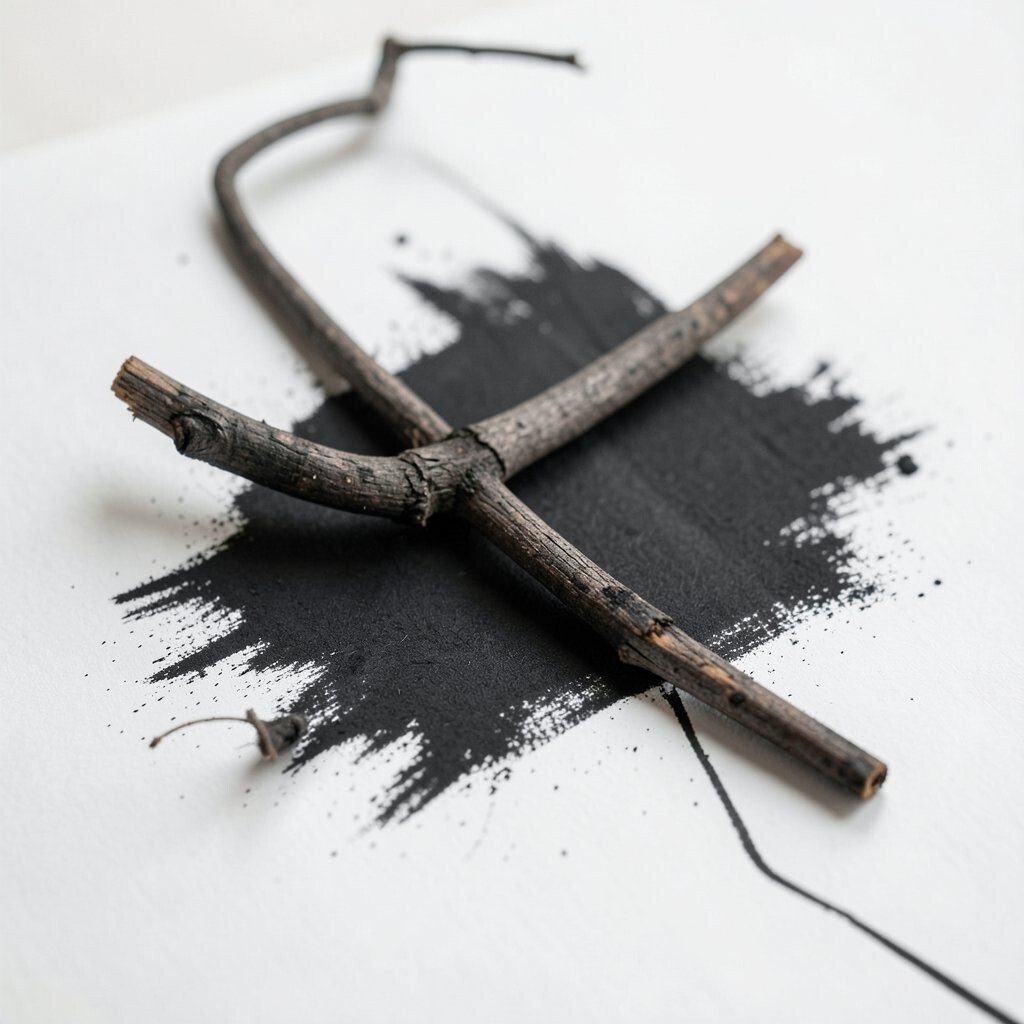
Charcoal (Vine and Stick) Charcoal looks bold and messy in the best way. It creates rich blacks and smoky textures that feel full of energy.
This supply helps you draw faster because you can block in shapes quickly. It is great for learning form because edges can soften naturally. Use vine charcoal for sketching big gestures, then switch to stick charcoal for sharper lines and darker accents. You can often find affordable options, especially if you buy one type first. A popular trend is using charcoal for moody portraits and street-style scenes. Personalize your process by setting a timer for quick sketches and letting mistakes become part of the artwork.
Tip: Fixing spray can protect your work, but try charcoal without it for a more touchable look.
-
3. Micron or Fineliner Pens
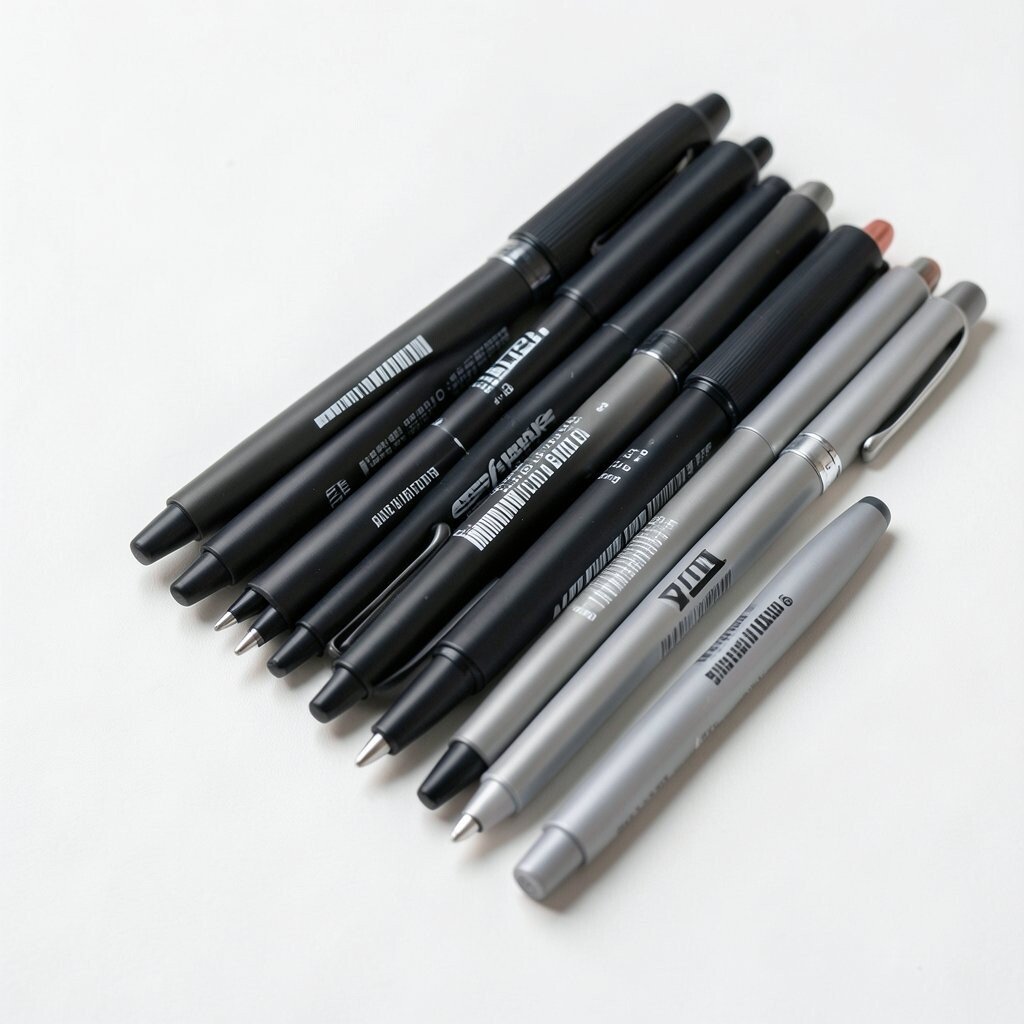
Micron or Fineliner Pens Fineliner pens draw steady lines that look clean and confident. With them, your outlines can feel crisp even when your ideas are wild.
They are perfect for ink drawings, doodles, and comic panels. Different tips help you make variety, from thin details to slightly thicker emphasis. Try cross-hatching for shading, and practice drawing the same object in three styles. Fineliner packs can fit many budgets, and single pens are easy to replace. Right now, ink and pen art is trending, especially simple line portraits and bold pattern work. Personalize by giving each pen a job, like one pen for outlines and another for texture marks.
To keep your hand comfortable, store your pens in a cup so you can grab them fast. Keep a scrap sheet nearby for test lines, because different brands can feel different on paper.
Tip: Press lightly at first, then build darker lines where you want focus.
-
4. Watercolor Paint (Pan or Tube)
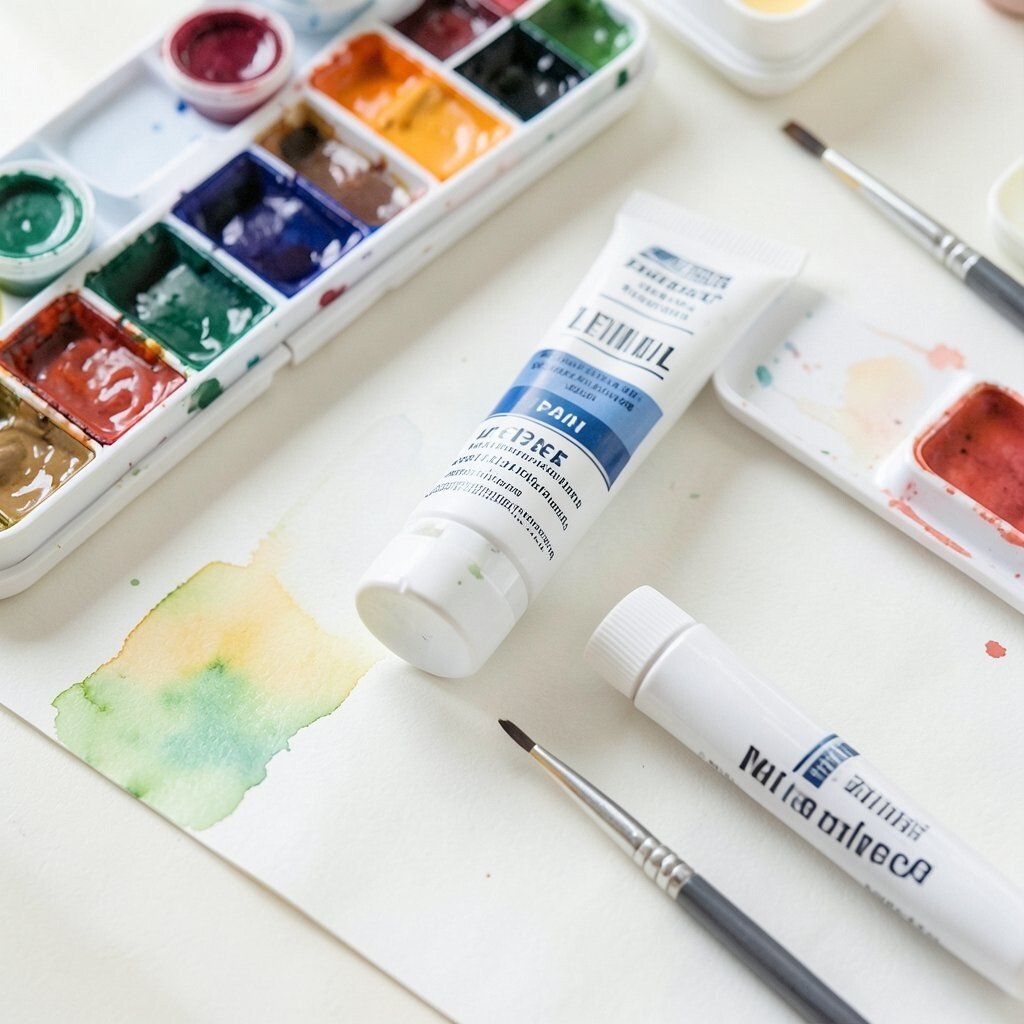
Watercolor Paint (Pan or Tube) Watercolor spreads like magic, turning a simple wash into gentle color shifts. It can look dreamy, fresh, and full of movement.
Paint in thin layers so the light shines through and mistakes can be softened. This is a great way to learn color mixing and light effects without needing a huge setup. Try the “wet-on-dry” method for crisp edges and “wet-on-wet” for soft clouds and backgrounds. Watercolor sets range from very budget-friendly to more premium, but pans are often a smart start. A current trend is loose, everyday scenes like kitchens, sidewalks, and small plants. Personalize by making a “color mood chart,” where you name your palettes, like “cozy evening” or “bright spring.”
Tip: Use a paper towel to blot so you can control how bold the wash becomes.
-
5. Acrylic Paint
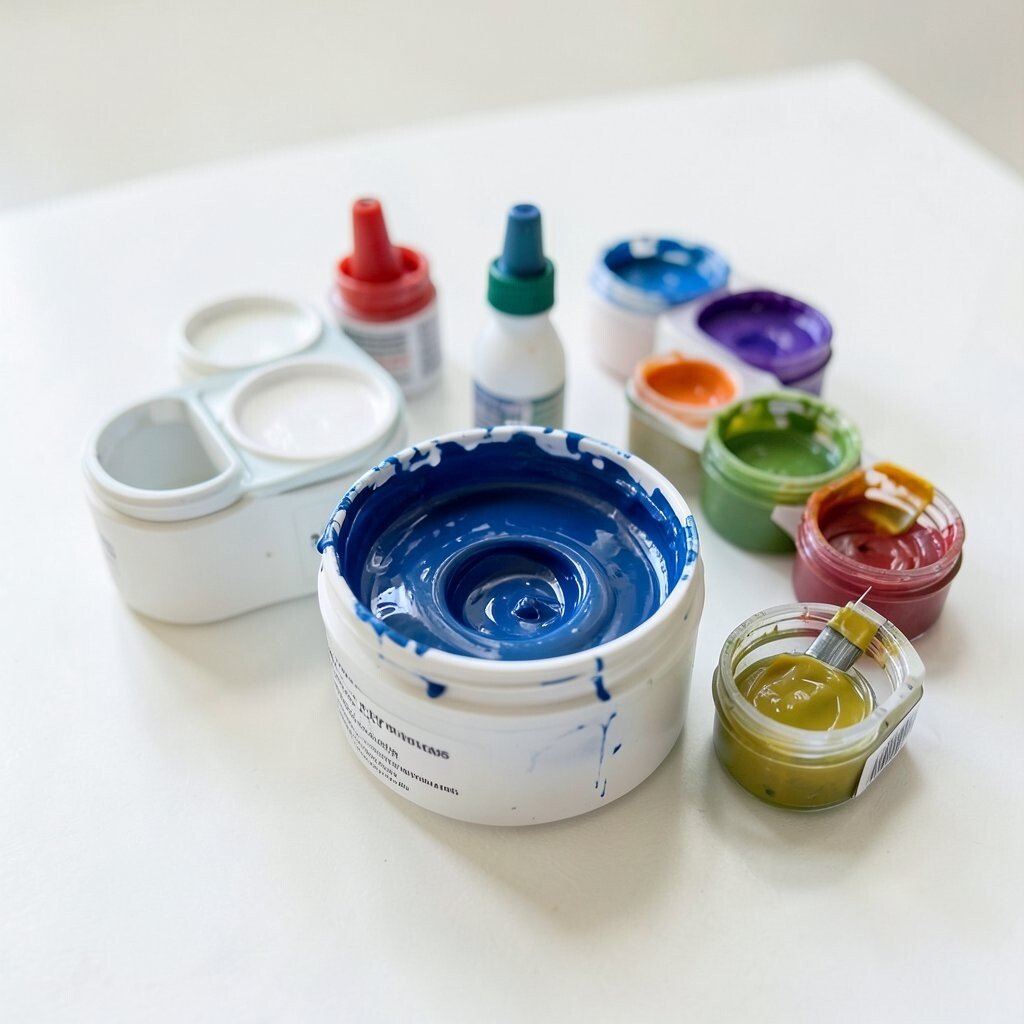
Acrylic Paint Acrylic paint dries quickly and brings bold color to your pages. It can look smooth like posters or textured like tiny mountains.
Because it dries fast, acrylic is friendly for layering and quick experiments. Use thin coats for painting light, and use thicker paint for dramatic texture. Try mixing a little gel medium if you want a glossy finish, or add sand-like texture for a gritty effect. Acrylic can be affordable, and student-grade brands are usually enough to start strong. A common trend is painting on small wooden panels and making mini art “collections.” Personalize your supply by making a tiny color wheel page using your exact paints, so you learn your set faster.
For beginners, pick a limited palette and learn how colors behave together. You will be surprised by how far you can go with just a few tubes.
-
6. Pastels (Soft, Oil, or Both)
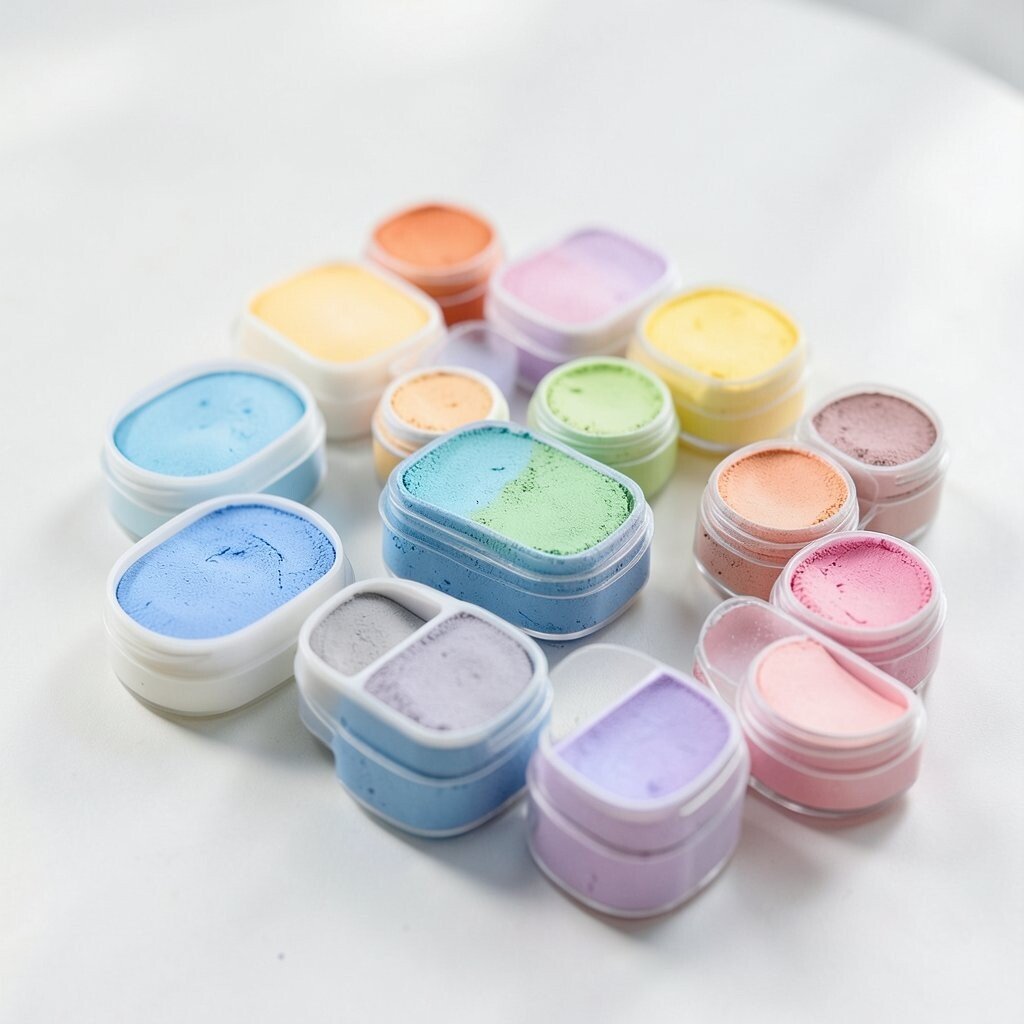
Pastels (Soft, Oil, or Both) Pastels feel velvety and bright, like color made into a snack for your eyes. They blend easily with fingers, brushes, or blending tools.
They help you create dreamy backgrounds, smooth gradients, and quick portraits. Soft pastels are great for expressive marks, while oil pastels can handle bold lines and thicker coverage. Try layering colors lightly, then blend for a smooth look, or keep marks visible for a textured style. Pastels can cost more than basic pencils, but you can buy fewer sticks and still get great results. A trend you might notice is “pastel textures,” where artists make background swirls and let the paper show through. Personalize by keeping a “favorite palette” envelope of the colors you reach for most.
Tip: Use a fixative for soft pastels if you want to protect them from smudging.
-
7. Colored Pencils (Wax or Soft Core)
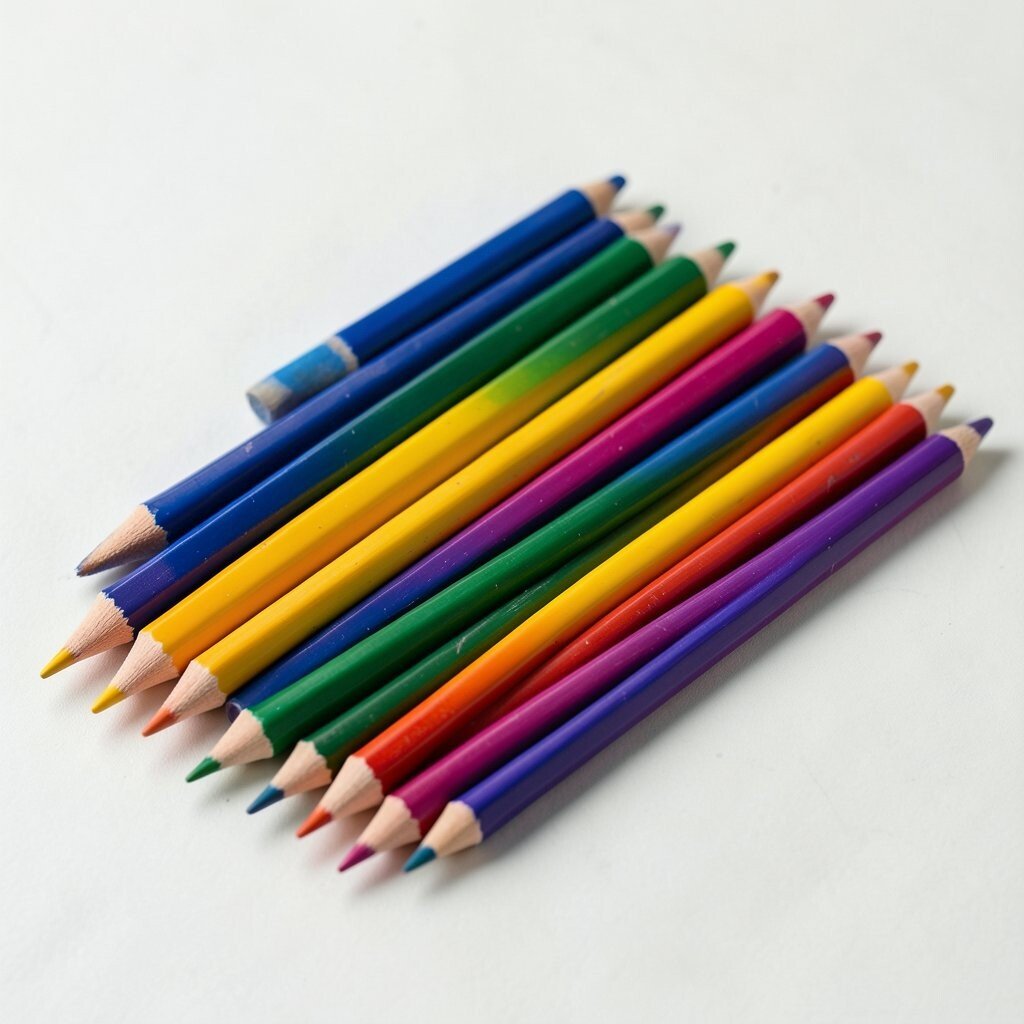
Colored Pencils (Wax or Soft Core) Colored pencils give you control, like you are drawing with tiny crayons that behave. They can do delicate detail or strong color blocks.
This supply is amazing for making neat textures such as leaves, hair strands, and woven patterns. Layering colors slowly builds depth without needing water. Try using a light base layer, then add darker colors on top for a richer look. Colored pencils come in many price ranges, and mid-level sets are a sweet spot for most people. A trend is “botanical coloring,” with artists making leaves look almost real. Personalize by making a “favorite texture list,” like “hollow tree,” “cloud fluff,” or “sparkly scales,” and practice that texture in the corner of your sketchbook.
Keep a sharpener ready because dull tips can make lines feel scratchy. You can also try blending with a colorless pencil or a light layer of white.
-
8. Brush Set (Round, Flat, and Detail)
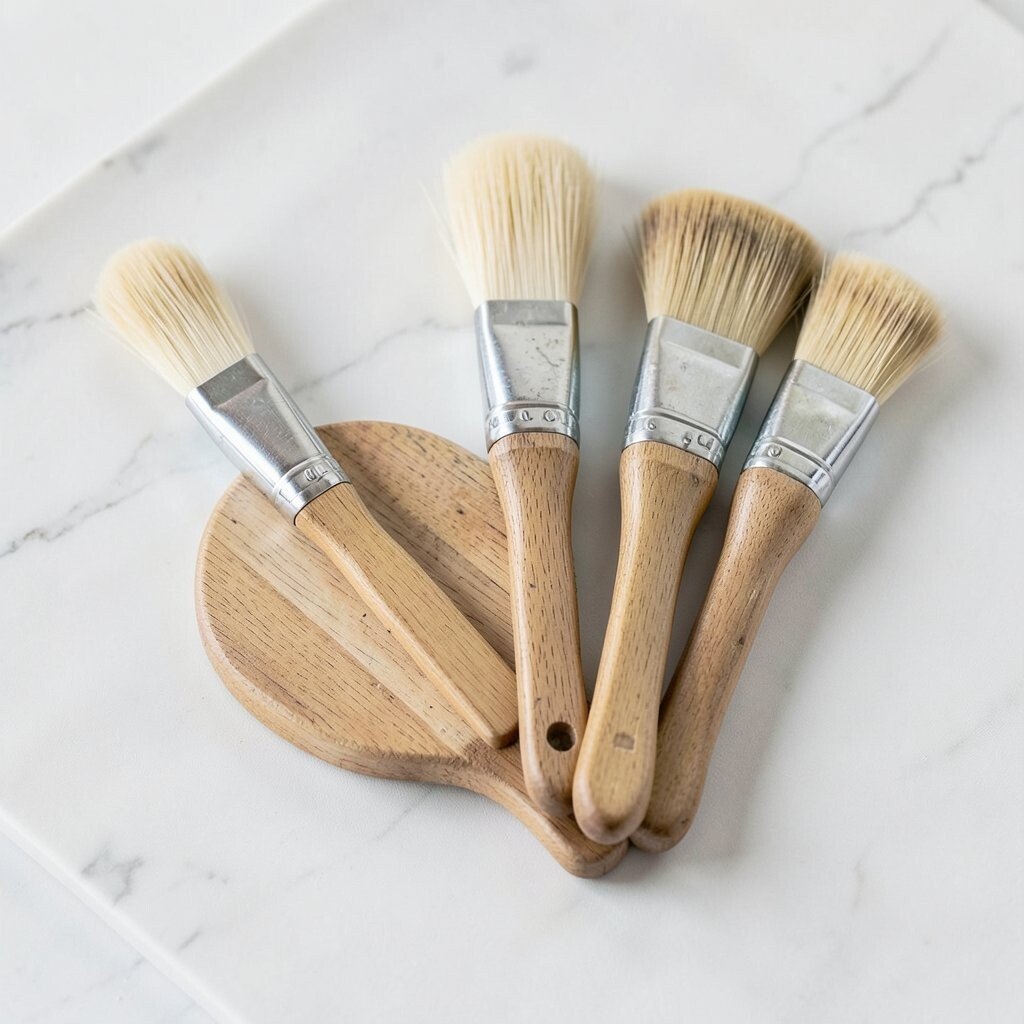
Brush Set (Round, Flat, and Detail) Brushes help your paint and water move the way you want. A good brush can make your lines feel alive.
A round brush is great for curves, a flat brush helps with wide areas, and a small detail brush is perfect for tiny highlights. Using the right brush reduces frustration because your paint behaves better. Try washing brushes between colors to keep your palette clean and bright. Brush sets vary in cost, but you can start with a simple three-brush kit and upgrade later. A trend in art videos is showing “brush tricks,” like tapping for speckles or dragging for grass. Personalize by naming your brushes, because it makes practice feel more playful and personal.
-
9. Sketchbook (Pick the Right Paper)
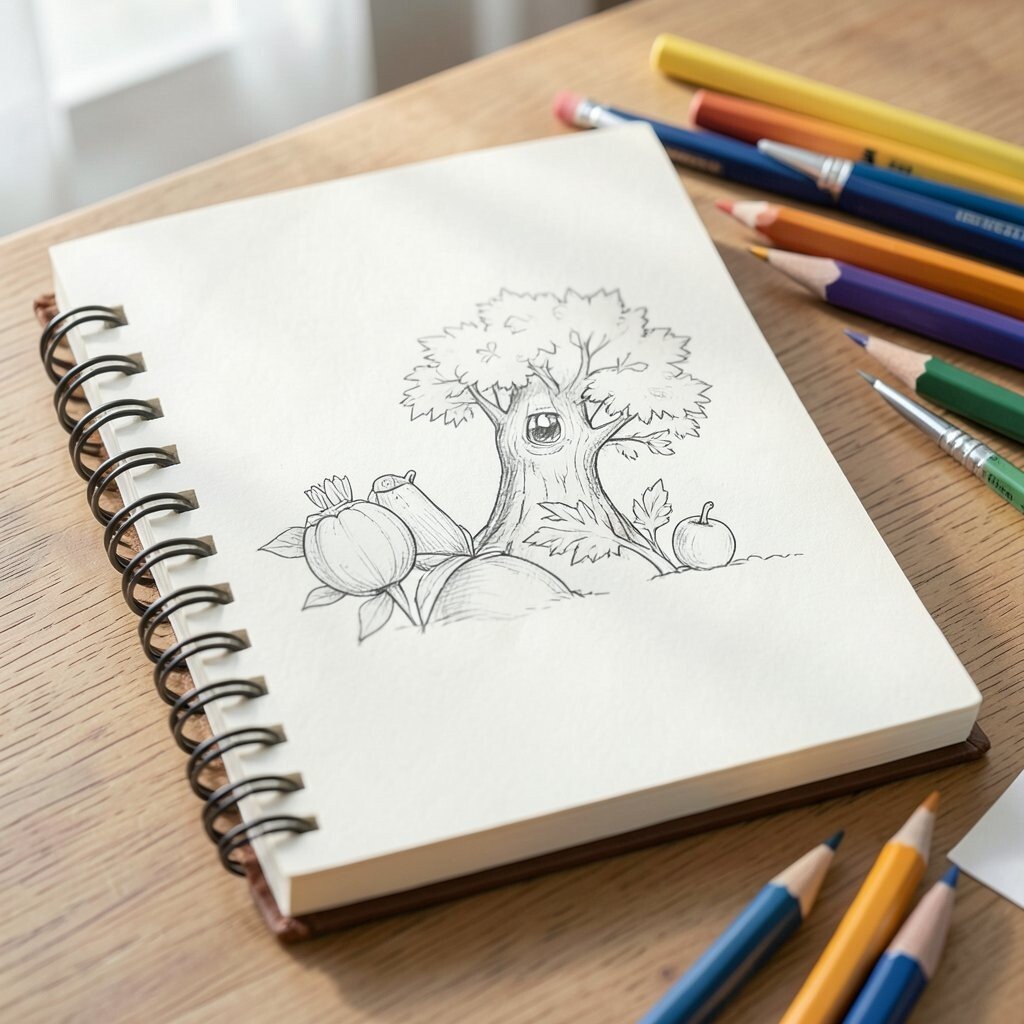
Sketchbook (Pick the Right Paper) A sketchbook is your creative home base. When you have one, you will draw more because you can always start again.
The paper matters because it changes how pencil, ink, and paint behave. Smooth paper is great for fineliners and colored pencil, while thicker paper helps with wet mediums. Try making a simple test page with each medium so you know what works with your book. Sketchbooks come in many budgets, and you can even use mixed-media paper if you want flexibility. A trend is “small daily pages,” where people fill tiny sections with studies instead of big finished art. Personalize by decorating the first page with your goals, like “practice faces” or “paint mornings.”
Choose a size you will actually carry, because convenience turns into consistency. If you travel, a smaller sketchbook can be surprisingly powerful.
-
10. Erasers (Kneaded, Pencil, and Block)
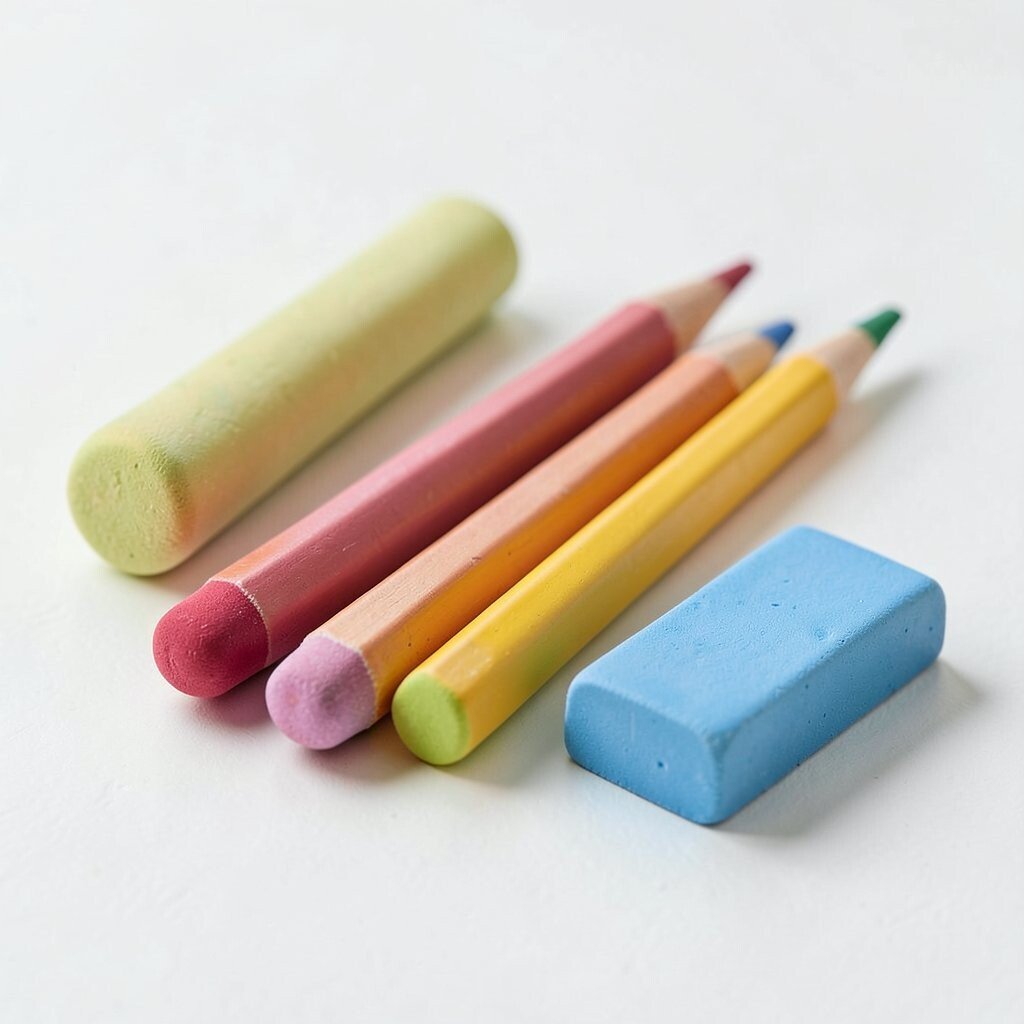
Erasers (Kneaded, Pencil, and Block) Erasers feel like permission to try again. They help you fix mistakes without making your page feel ruined.
Kneaded erasers are soft and moldable, so they lift graphite gently and create clean highlights. Pencil erasers work for precision, while block erasers are great for full areas. Use erasers to shape values, not just to delete lines. This can be a low-cost supply because even a basic set can go far. A trend is “erasing art,” where artists carve portraits and textures by lifting color. Personalize by keeping one eraser for each medium, so you never mix up tools and accidentally smear.
-
11. Blending Tools (Tissues, Tortillons, and Brushes)
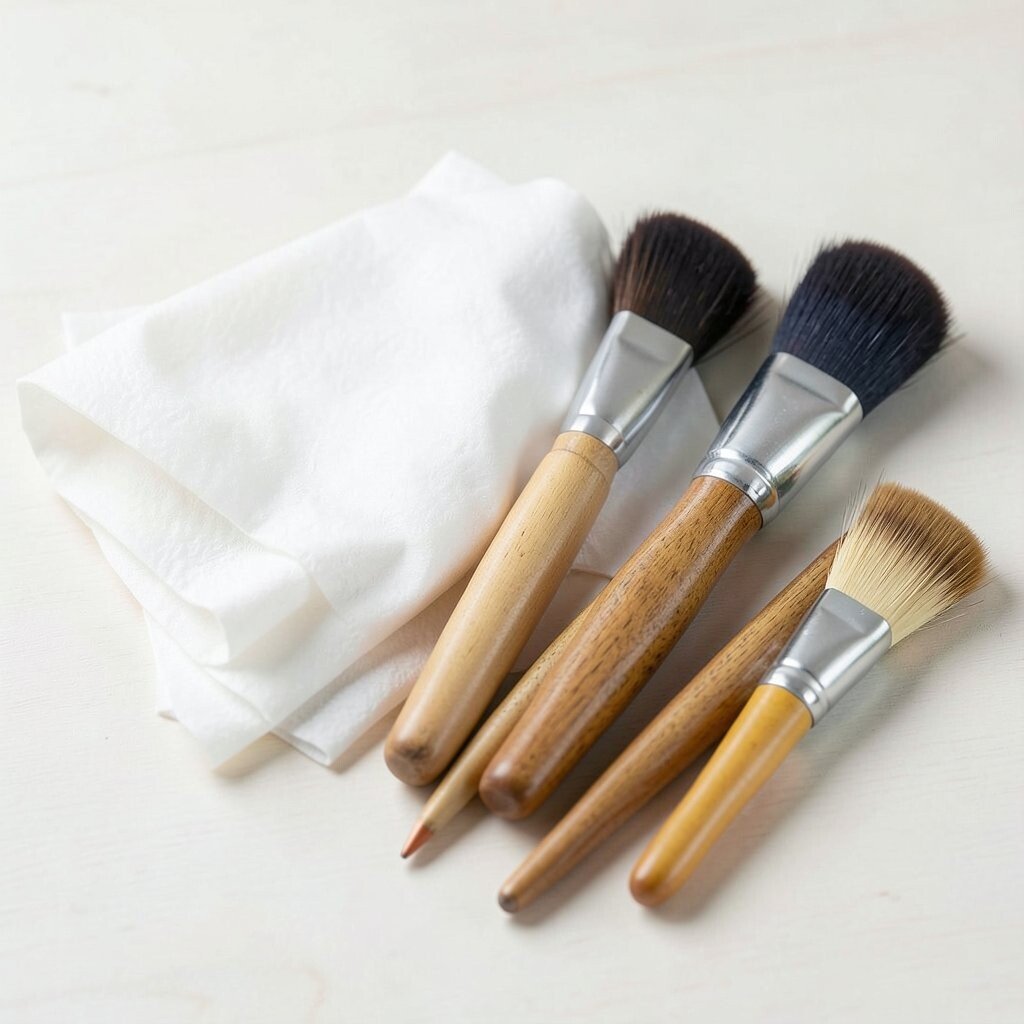
Blending Tools (Tissues, Tortillons, and Brushes) Blending tools help your shadows look smooth and your gradients look silky. A little blending can make your art feel polished.
Tissues are cheap and easy, tortillons give more controlled smudging, and blending brushes help keep edges cleaner. Learn to blend lightly first, then build your darkness gradually. This gives you more control and fewer smudgy surprises. Blending tools are usually inexpensive, and you can make some tools at home, like folding a tissue for soft shading. A current trend is “soft shading portraits,” where the entire face looks smooth like pencil smoke. Personalize by practicing one object with three blending tools, then pick your favorite style.
Tip: If you want crisp edges, blend less and use an eraser to sharpen highlights.
-
12. Ruler and Straightedge
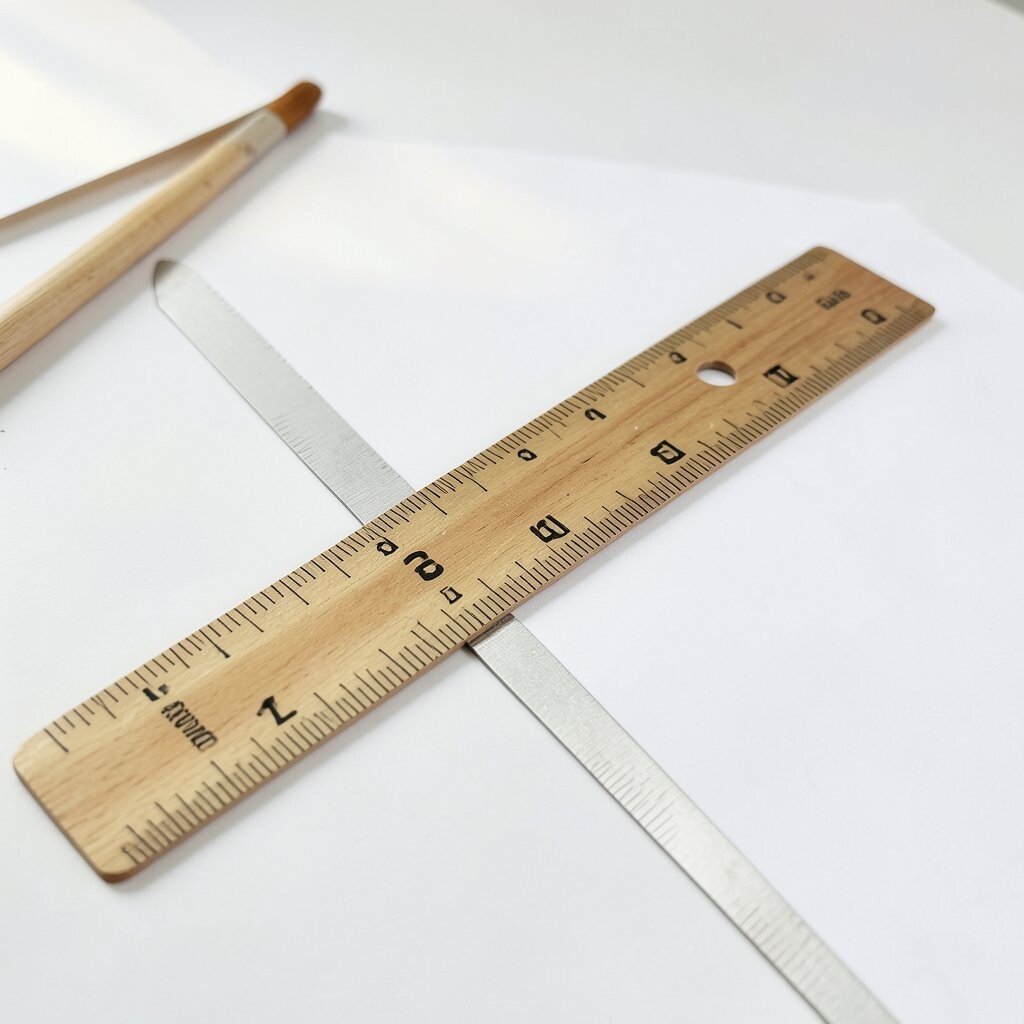
Ruler and Straightedge A ruler can make your art feel tidy and intentional. Even if you love messy styles, straight lines help your composition breathe.
Use it for lettering, perspective guides, and clean borders around paintings. It can also help you map shapes before you go freehand. Choose a simple plastic ruler for everyday use, or pick a metal straightedge for more durability. A ruler is usually very budget-friendly, and it can last for years. A trend you might see is “layout art,” where simple grids create modern posters and graphic designs. Personalize by drawing your own pattern borders, like stripes, dots, or tiny repeated icons.
When you sketch lightly with a pencil first, the ruler becomes a helpful guide instead of a stressful tool.
Tip: Keep a separate ruler for ink work so you don’t get paint stains everywhere.
-
13. Water Brush (For Easy Painting)
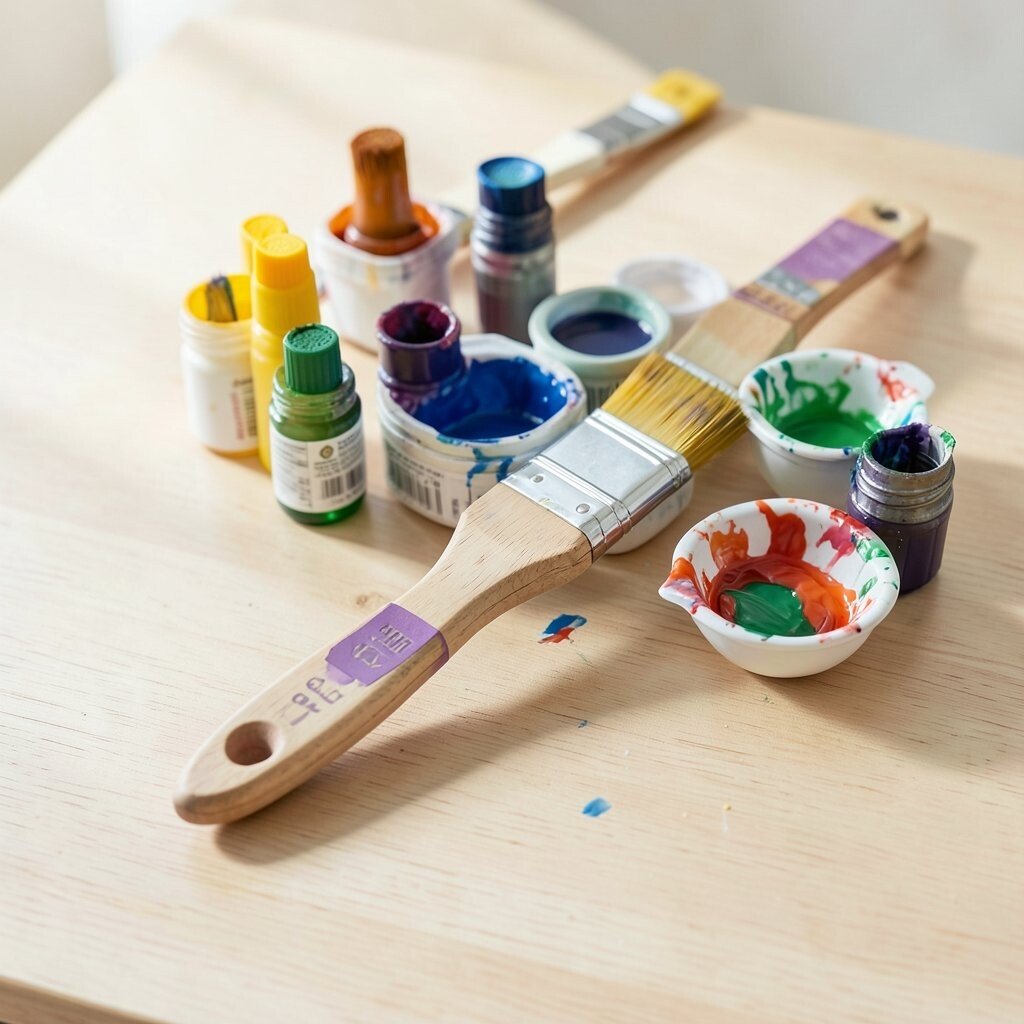
Water Brush (For Easy Painting) A water brush is a simple tool that holds water inside the handle. You can paint without carrying a separate cup, which makes it great for travel.
This helps you practice watercolor style washes anywhere you can sit. It is also useful for blending colors on paper with fewer messes. Try painting gradients by dragging the damp tip across the page, then lift the brush to lighten areas. Water brushes come in different sizes, and prices are often reasonable for what you get. A trend is “no-mess watercolor,” where artists create small outdoor sketches quickly. Personalize by setting a “two-minute paint challenge,” using only one color wash and one small highlight.
-
14. Palette and Mixing Surface
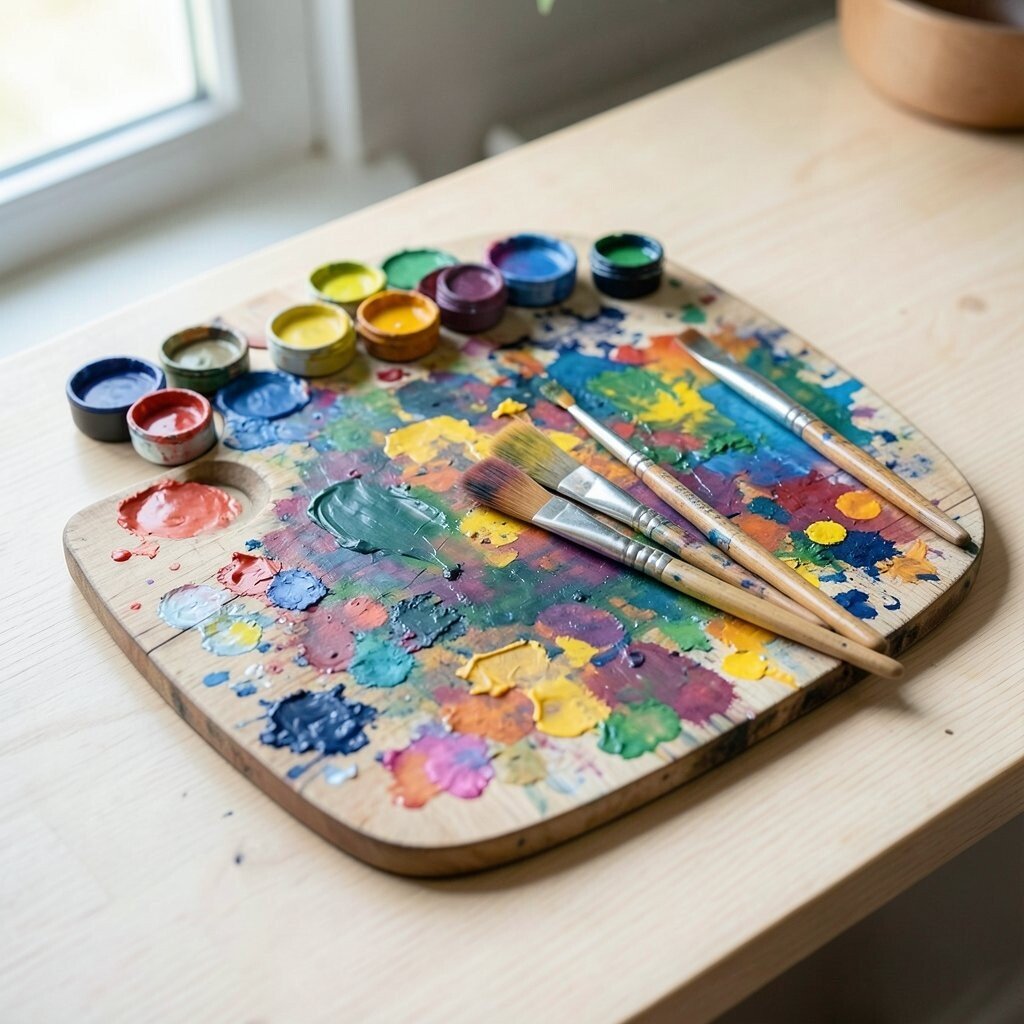
Palette and Mixing Surface A palette helps your colors look consistent. When you mix on purpose, your art starts to feel more confident.
Use a plastic palette, a ceramic plate, or even a disposable mixing sheet to prevent leftover paint from getting weird later. Mixing your colors before you paint gives you smoother results and fewer surprises. Try making small test blobs in the corner, labeled by color names you create. Palettes range from cheap and disposable to nicer reusable ones, so you can choose what fits your budget. A current trend is recording color recipes in a notebook, so artists can repeat a great mix. Personalize by creating a “signature palette” with a few go-to mixes, like warm sunset oranges or cool ocean greens.
Tip: Keep a scrap paper “paint rag” to blot and clean the brush quickly.
-
15. Masking Tape
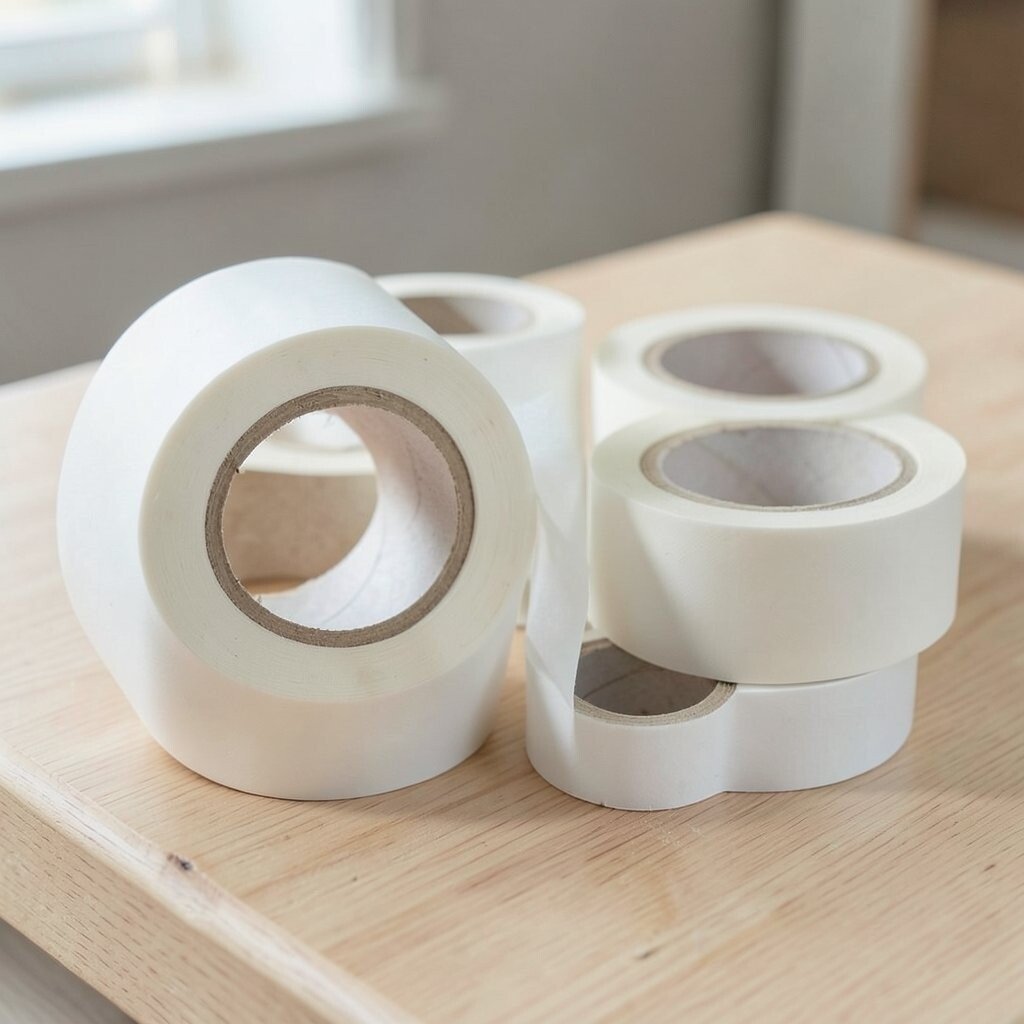
Masking Tape Masking tape creates sharp edges and clean shapes. It can turn a rough painting idea into something graphic and bold.
Use tape for borders, stripes, and “save the white” highlights in watercolor. When you remove it carefully, you get crisp lines that look like design work. It also helps with painting patterns and geometric backgrounds. Tape is usually low cost and easy to find, so it is a great beginner pick. A trend right now is tape-resist art, where painters cover areas to keep them bright. Personalize by making a tape map on your page first, then painting within the guide lines and removing the tape for the reveal.
For best results, press the tape down gently and pull it back slowly at an angle.
-
16. Markers (Alcohol or Water-Based)
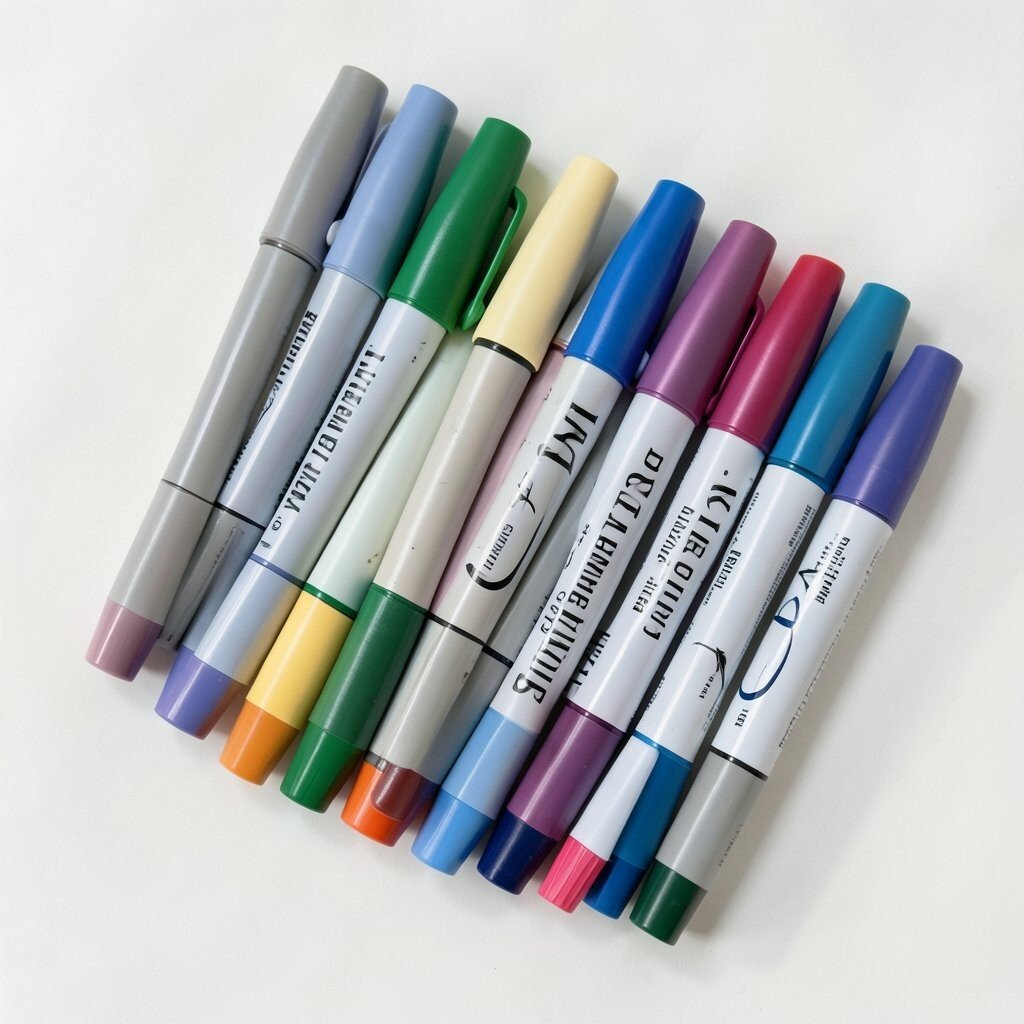
Markers (Alcohol or Water-Based) Markers can fill large areas fast and make your work look vivid. They are perfect when you want bold color without waiting for drying time.
Alcohol markers blend beautifully for smooth gradients, while water-based markers can feel more forgiving and easier to layer. Try coloring small test squares to learn how your specific markers behave on your paper. This saves time and helps you avoid streaks. Markers can cost more per set, but you can start with a small group of colors and build slowly. A current trend is “marker lettering” and colorful doodle borders on notebooks and journals. Personalize by making a marker “palette ladder,” where you arrange colors from light to dark so you can blend with confidence.
Tip: Use marker paper or cardstock to reduce bleeding and keep colors bright.
-
17. Collage Supplies (Paper, Fabric, and Texture)
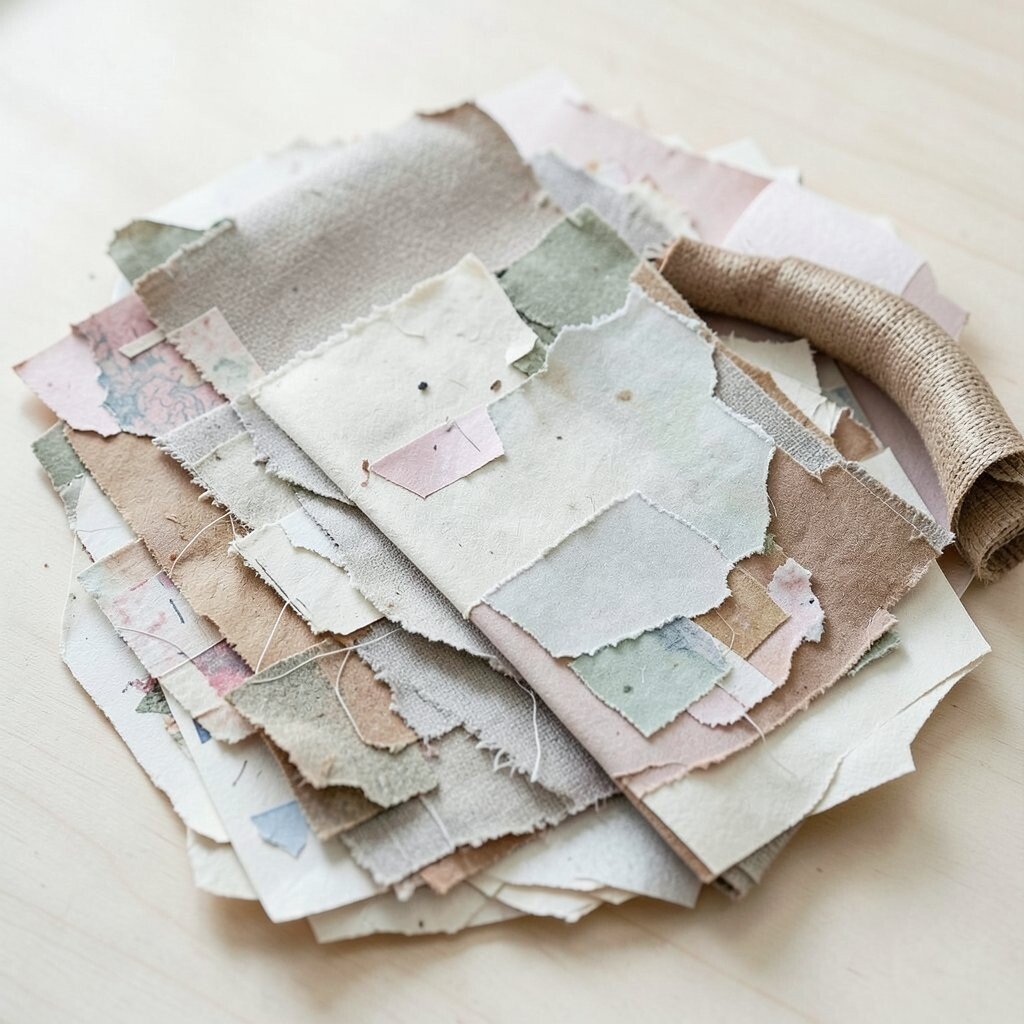
Collage Supplies (Paper, Fabric, and Texture) Collage lets you build pictures out of everyday materials. A torn edge can look more exciting than a perfectly cut one.
Using paper scraps, magazine clippings, fabric bits, and textured leftovers makes art feel personal. It also helps you practice composition because you place shapes intentionally. Try a “theme collage,” like animals, ocean days, or bedtime stories, and gather materials that fit. Collage supplies can be almost free because you can reuse things you already have. A trend is “mixed-media journaling,” where people add tickets, receipts, and fabric to their pages. Personalize by saving your favorite textures in a box, like lace, cardboard, and foil, and using them as your visual toolkit.
Use glue thoughtfully and let layers dry, so your work stays sturdy.
-
18. Glue (PVA, Glue Stick, and Gel Medium)
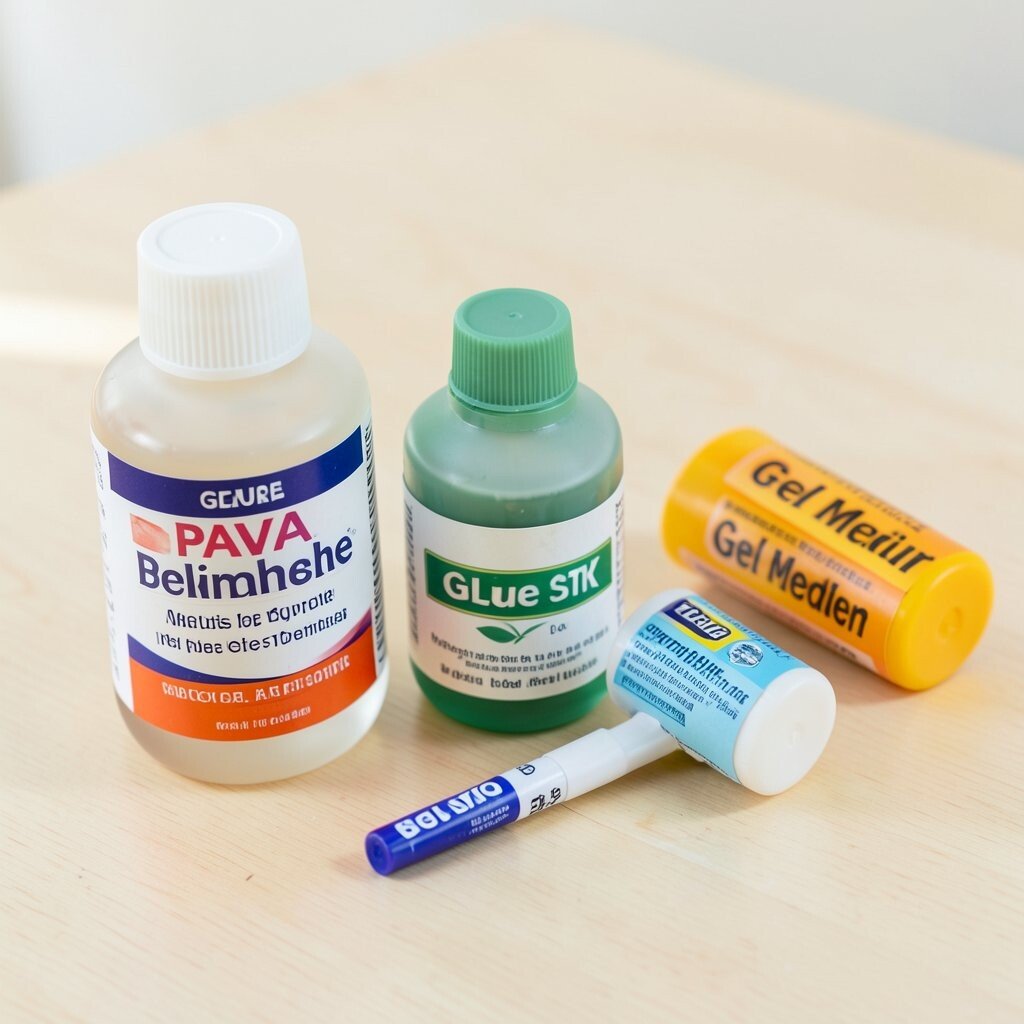
Glue (PVA, Glue Stick, and Gel Medium) Glue is the quiet helper that holds your creative ideas together. With the right glue, layers look neat and last longer.
PVA glue works well for paper and lightweight collage, glue sticks are great for quick projects, and gel medium can support thicker textures and more flexible finishes. Test a small corner first because different materials need different strength. This supply is usually affordable, especially if you buy one reliable option and learn how it performs. A current trend is gel medium for adding painted textures under collages, making art look layered and rich. Personalize by mixing glue with a tiny amount of paint to create a tint, so your underlayers add color even before you place the top pieces.
Tip: Spread glue thinly for paper so it dries flat instead of wrinkling.
Keep a scrap paper sheet under your work so surfaces stay clean.
-
19. Scissors and Craft Knife
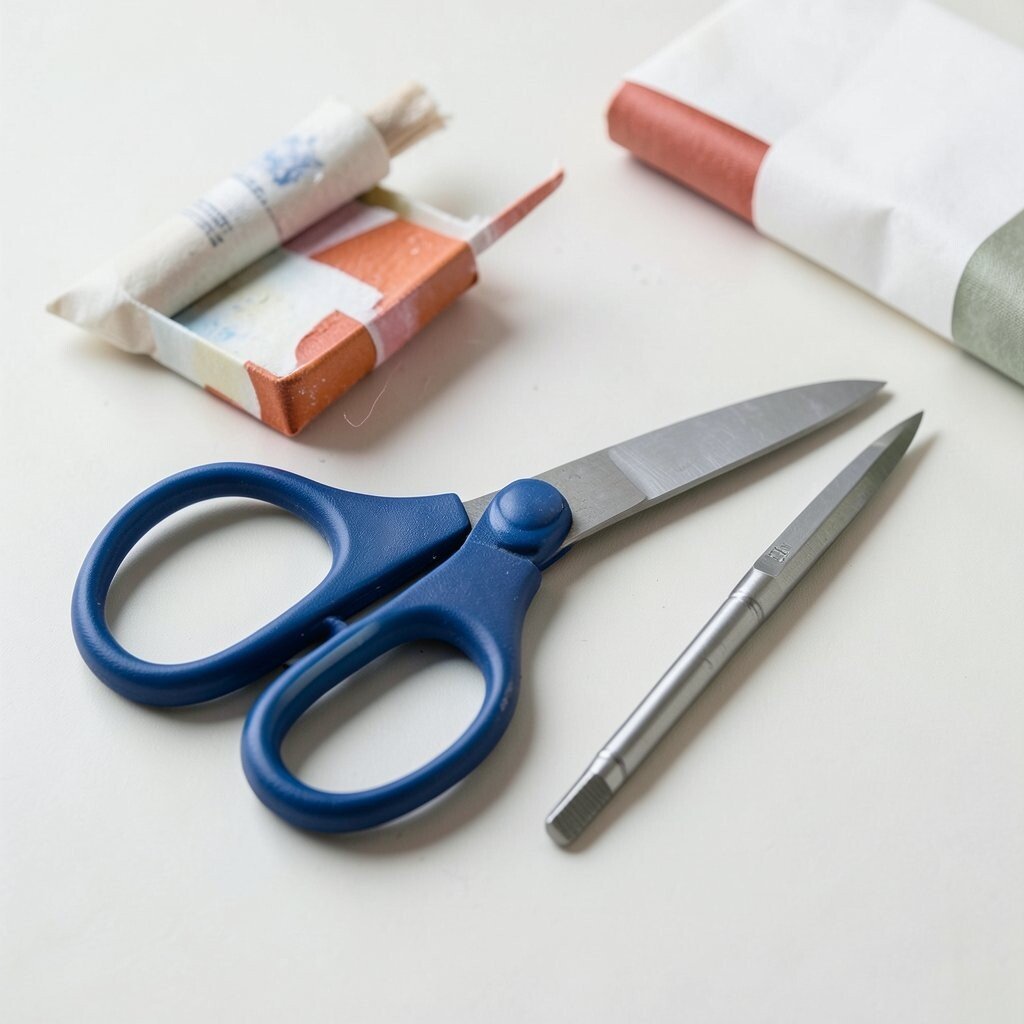
Scissors and Craft Knife Cutting tools help your ideas become real shapes. Clean cuts make collages look sharp, and careful carving adds detail.
Scissors are great for paper and fabric, while a craft knife can handle precise cutting and stencil work. Use them for making masks, borders, and simple shapes that you can repeat in patterns. Always use safety tools like a cutting mat so your table stays protected. Cost depends on quality, but you can start with scissors first and add a knife later if you need precision. A trend is “stencil art,” where artists cut simple shapes and repeat them for strong designs. Personalize by making a small set of your own stencils, like stars, waves, and flower petals, and using them during different seasons.
Take your time with lines, because accurate cutting makes the next steps easier.
-
20. Stencils and Pattern Tools
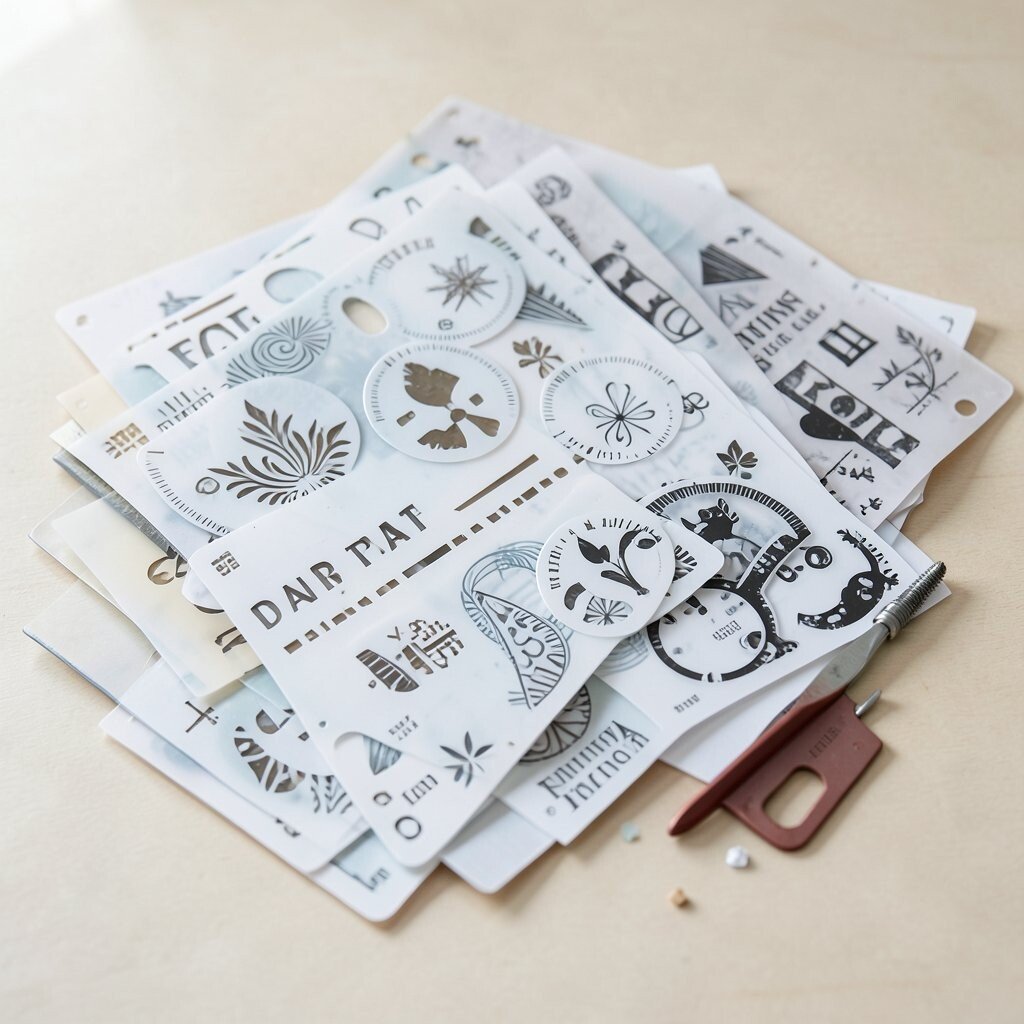
Stencils and Pattern Tools Stencils help you create repeating shapes that look designed. Even simple patterns can make your art feel themed and fun.
They are helpful for backgrounds, lettering accents, and texture building. Try layering stencils with different colors, then add tiny freehand details on top to make the work yours. Many stencil sets are affordable, and you can also cut homemade stencils from cardstock. A current trend is pattern-heavy art in journals and posters, where repeated shapes look playful. Personalize by making a “pattern library” page, where you test each stencil once and label the result so you can reuse it fast later.
-
21. A Handy Tool Organizer (Caddy or Case)
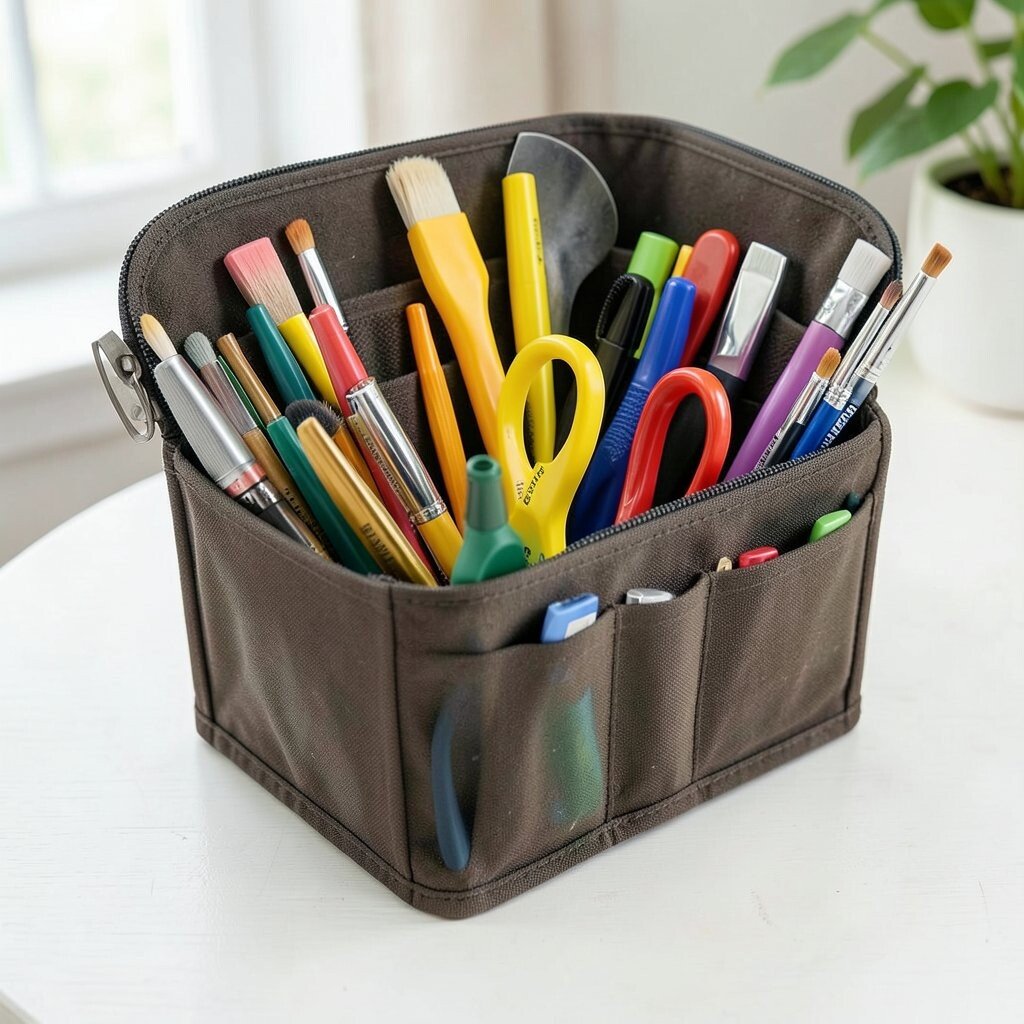
A Handy Tool Organizer (Caddy or Case) An organizer sounds boring, but it changes everything. When your supplies are easy to grab, you draw more and stress less.
Keeping brushes clean, paints capped, and pens stored upright helps your tools last longer. You will also waste less time searching for things, which means more time for making art. Choose a small case for portability, or pick a bigger caddy if you have a permanent art spot. Organizers can range from low-cost plastic to nicer storage, and a simple zip pouch works great for starting. A trend is “desk setup videos,” where creators show how a neat workspace boosts creativity. Personalize by arranging items by medium, like a pencil corner and a paint corner, so your brain knows where to start.
Tip: Add a tiny label to each spot so future-you can reset quickly before the next session.