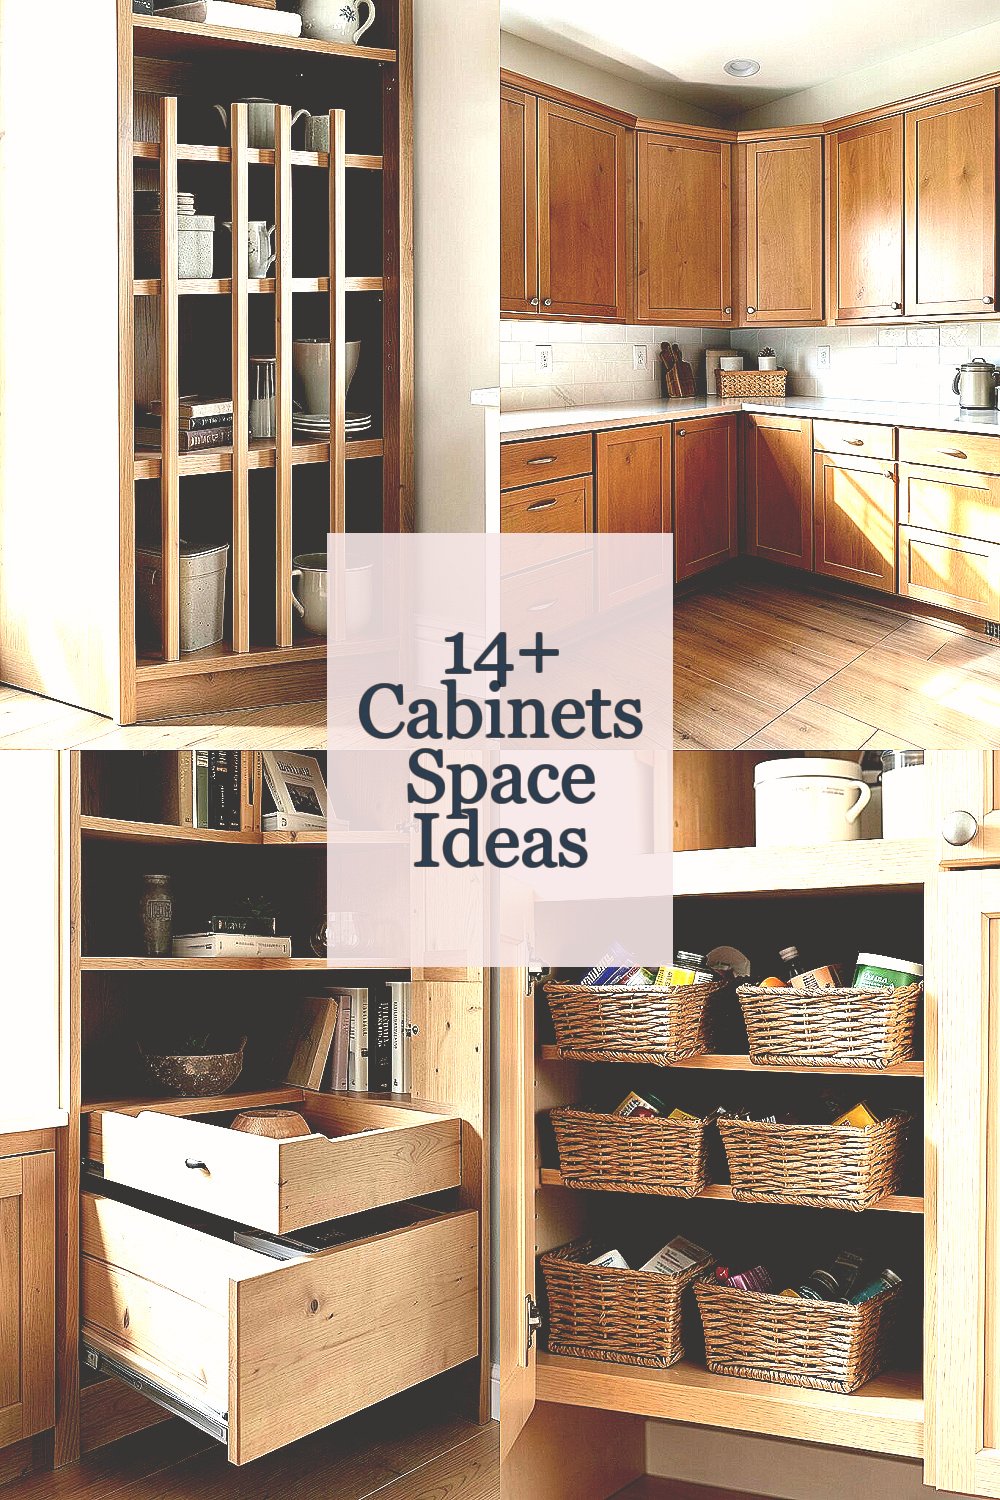
Cabinets can feel like tiny worlds with lots of hidden room. A few smart changes can make your home look calmer and work better.
-
1. Install Vertical Divider Rails for Everyday Storage
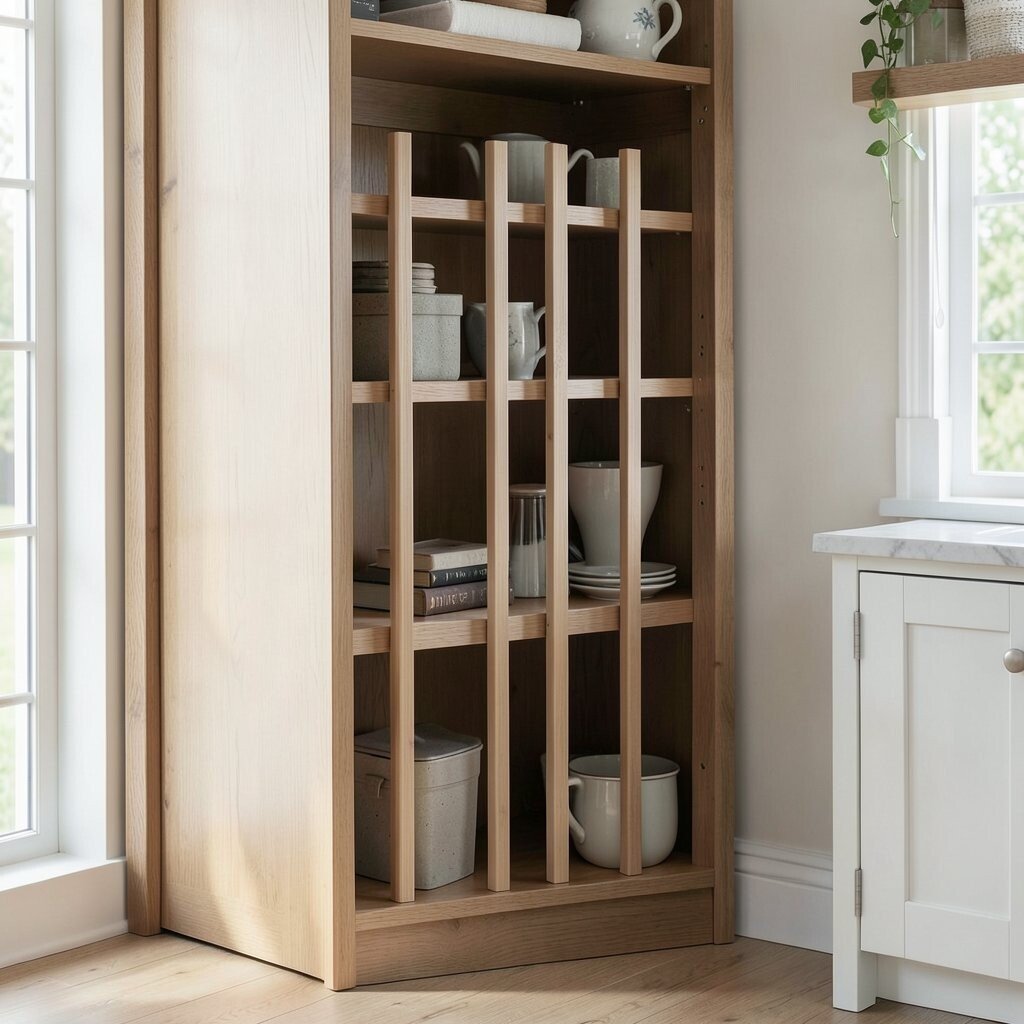
Install Vertical Divider Rails for Everyday Storage Think of your cabinet door and side panels as extra highways for organization. With slim vertical rails, small items stop rolling around and start staying put.
These dividers help you create clear lanes for baking sheets, pot lids, or spice jars. You can also add removable baskets that pull out smoothly when you cook. For a neat look, match the rail color to your cabinet finish.
To personalize it, label each lane with a simple tag system like “Snacks,” “Baking,” or “Breakfast.” If you’re on a budget, start with one section first and move slowly. This is a good current trend too, because modular organizers are popular and easy to swap later.
-
2. Use Lazy Susans for Corners and Awkward Spots
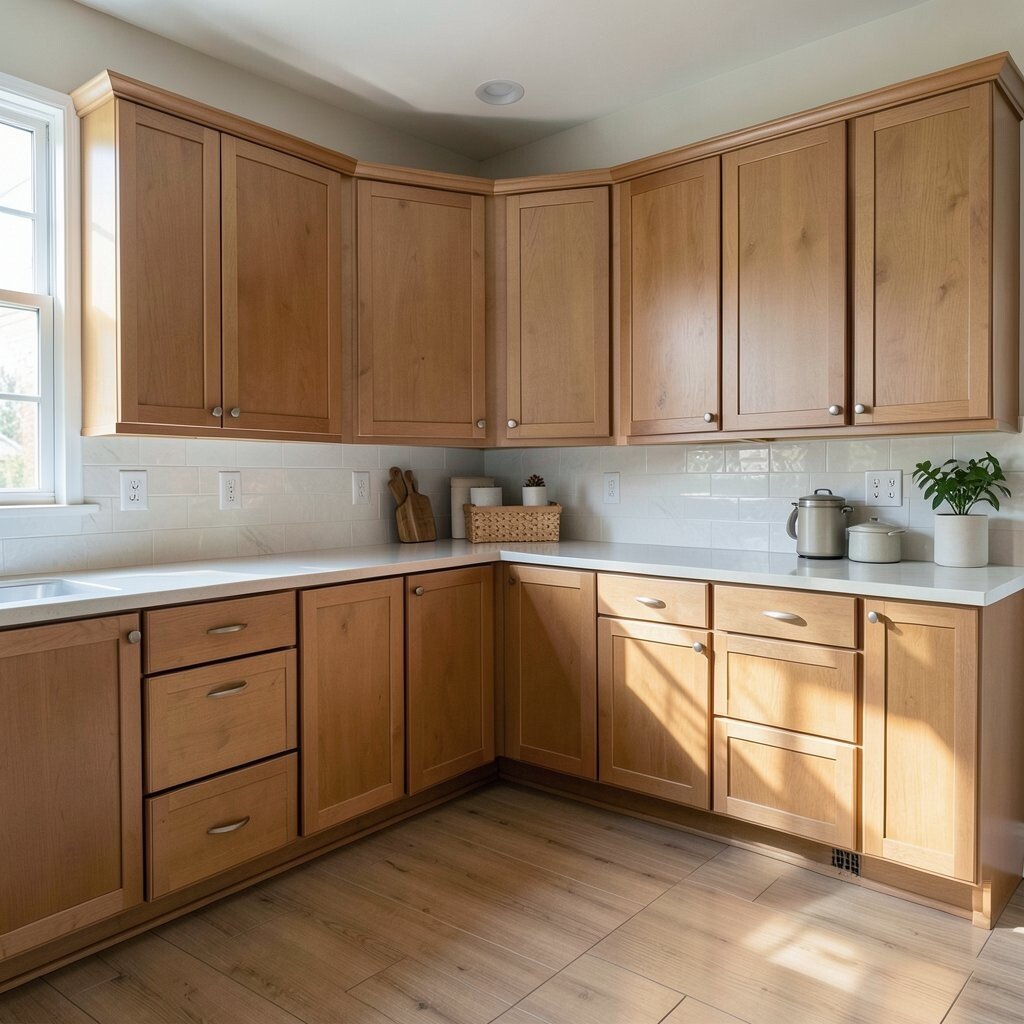
Use Lazy Susans for Corners and Awkward Spots Corner cabinets can look messy even when you try your best. A rotating lazy Susan turns that dead space into a grab-and-go station.
You’ll love how spices, oils, or cleaning refills become easier to reach without digging. It also helps you see what you already own, so you waste less and buy less. For best results, measure carefully and choose a size that fits snugly.
For cost considerations, you can choose a simple plastic turntable or invest in a sturdier wood or metal one. If you want a unique touch, add small round bins on top for categories like “tea,” “coffee,” or “seasonings.” This idea matches the current trend of “moveable zones” inside cabinets.
-
3. Add Pull-Out Drawers to Deep Cabinet Shelves
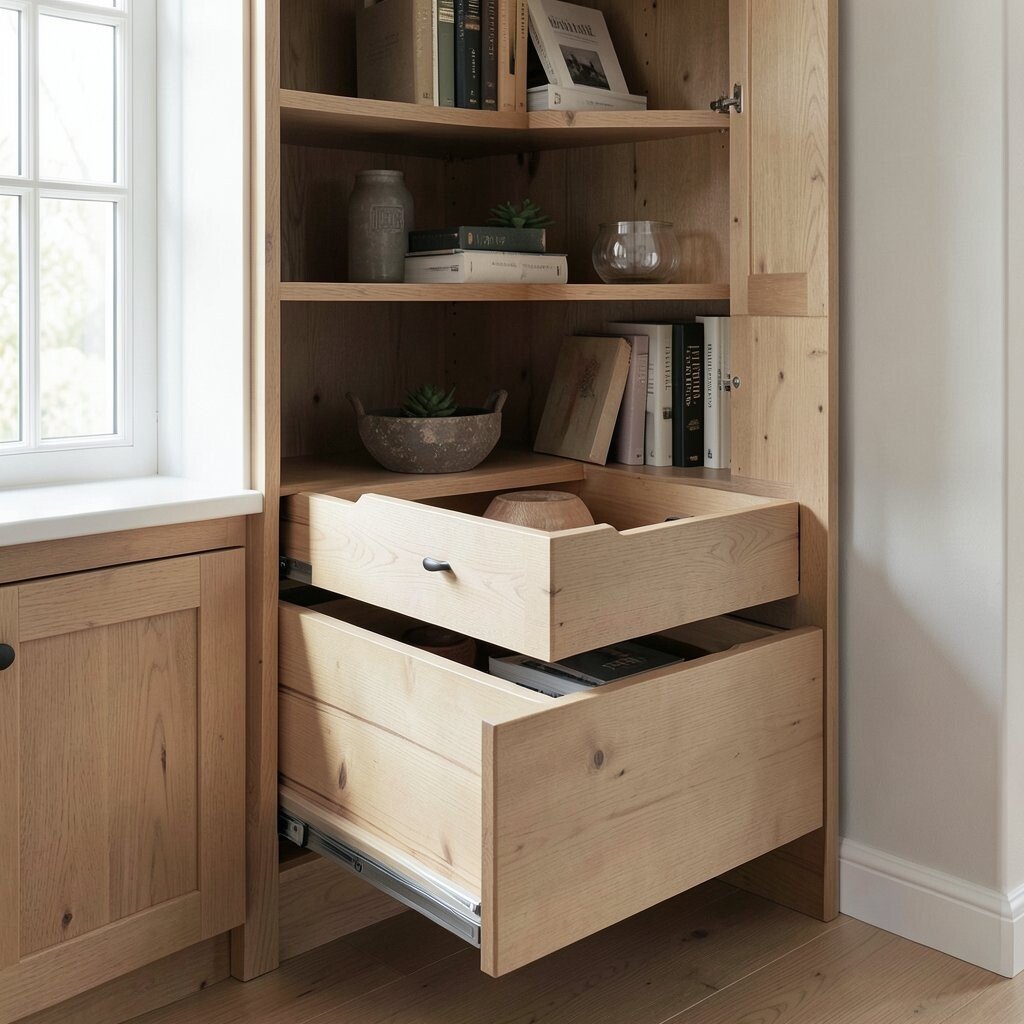
Add Pull-Out Drawers to Deep Cabinet Shelves Deep cabinets often swallow items and hide them from your eyes. Pull-out drawers bring those items forward where they belong.
Picture a smooth drawer sliding out like a stage reveal, with labels and dividers that keep everything tidy. Your pots, serving bowls, or canned goods become easier to grab without bending too far. That convenience also saves time, especially during busy weeknights.
If you want to personalize, use drawer liners in a color that matches your kitchen vibe. You can also split shelves into one drawer for “tools” and another for “backup supplies.” For cost, consider doing one cabinet first, then upgrading the rest over time.
A helpful tip: check the weight rating so it can handle heavier items like appliances or large containers. This style is very popular now because it looks sleek and keeps surfaces clear.
-
4. Fit Under-Shelf Baskets for Small, Frequent Items
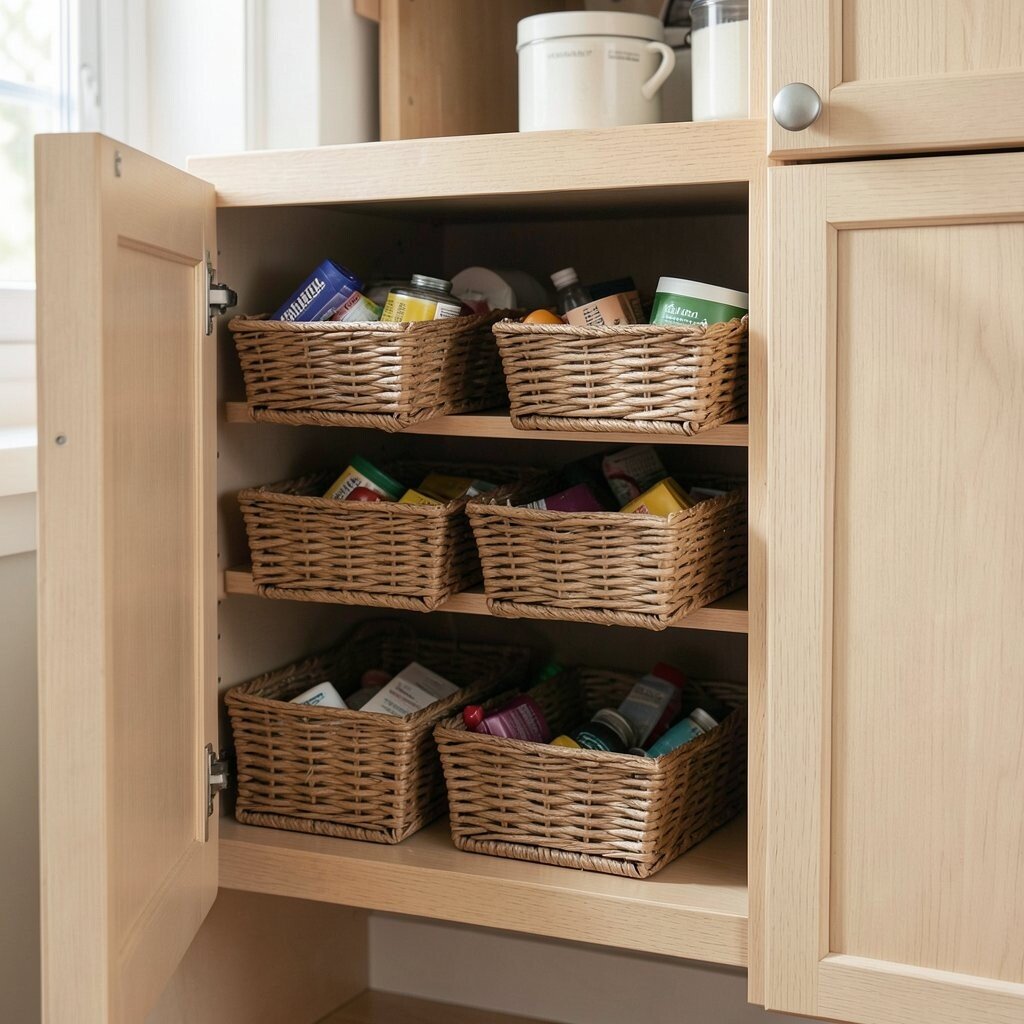
Fit Under-Shelf Baskets for Small, Frequent Items Sometimes the best storage is hiding right under your nose. Under-shelf baskets make use of the space that usually goes unused above your head height.
Visually, it looks like a tidy grid of wire or fabric shelves under a cabinet ledge. That means less hunting for tape, scissors, snack bags, or extra utensils. Keeping small things close also reduces clutter on countertops.
For personalization, choose baskets that match your cabinet hardware or add a cute organizer label. If you’re thinking about cost, wire baskets are often cheaper than custom inserts. Try starting with one cabinet area, then add more once you see how much you use it.
A practical tip: use shallow baskets for lighter items and deeper ones for bulk snacks or refills. This also fits a current trend of “vertical convenience,” where storage is made higher and smarter.
-
5. Create a Baking Zone with Adjustable Shelving
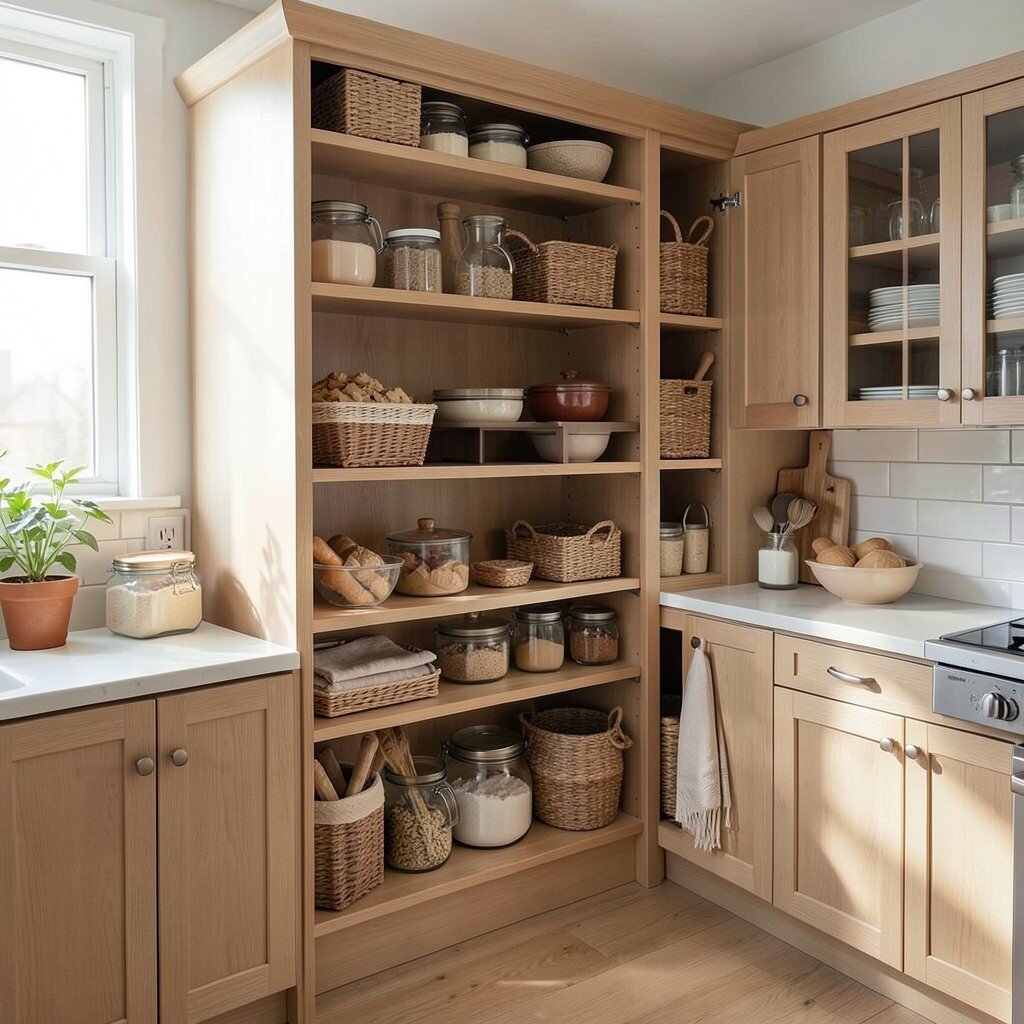
Create a Baking Zone with Adjustable Shelving Baking tools are oddly shaped, so fixed shelves can feel like a bad joke. Adjustable shelving helps you make room for mixing bowls, cookie trays, and measuring cups.
You’ll enjoy the visual order when everything has its own height and width. Trays stack neatly, and you can access measuring cups without moving three things first. This setup also keeps your baking supplies grouped, which makes planning and cleanup faster.
To personalize, color-code containers for dry goods, snacks, and baking basics. For cost considerations, buy sturdy shelves that fit your cabinet footprint and only as many as you need. Many people also start with simple shelf pins and a few bins, then upgrade later.
-
6. Add a Cabinet Spice Rack System on the Inside Door
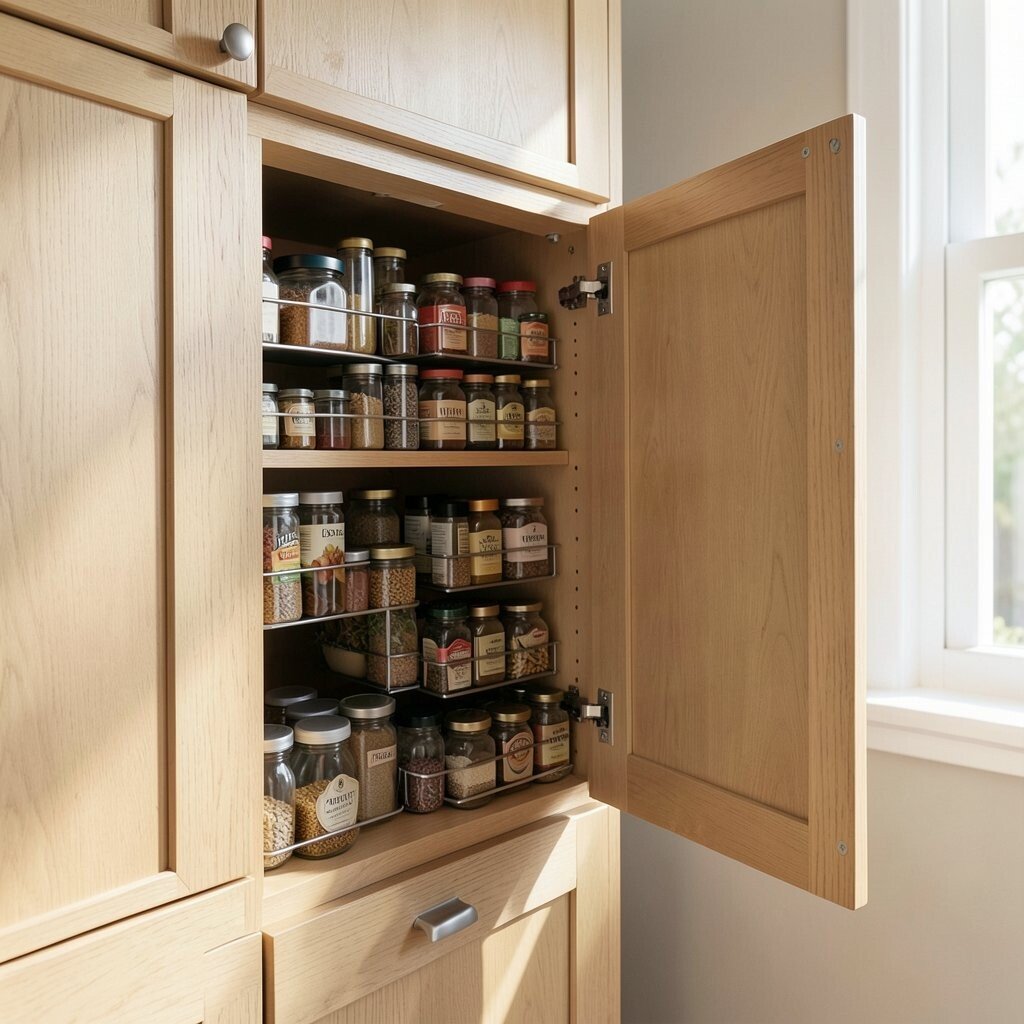
Add a Cabinet Spice Rack System on the Inside Door Spices deserve better than a crowded shelf that turns into a jumble. An inside-door spice rack keeps labels facing out and makes cooking feel smooth.
When you open the cabinet, you get a clear lineup of tiny jars, like a mini store display. That visual calm helps you pick the right spice quickly, even when your kitchen is busy. It also reduces the chance that you buy duplicates because you can see what’s empty.
Try a mix of magnetic strips for metal tins and small shelves for glass jars. For cost, many door racks are affordable, but custom ones may cost more. Personalize by adding a “heat level” color dot system or rotating seasonal blends.
-
7. Build a Cutlery and Tool Drawer with Custom Dividers
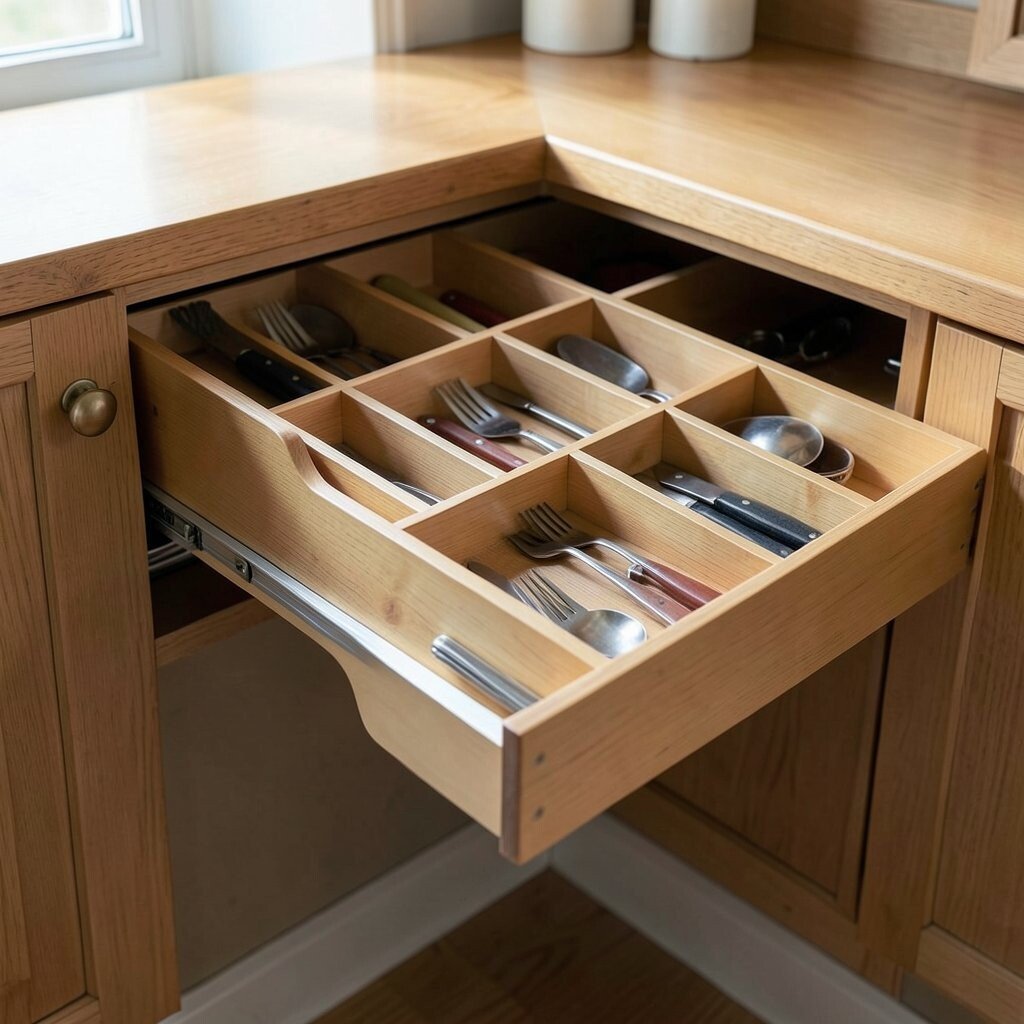
Build a Cutlery and Tool Drawer with Custom Dividers Utensils can look chaotic when they don’t have borders. A divider system turns a single drawer into separate, easy zones.
Think of your knife, spatula, peeler, and measuring spoons living in neat rows instead of sliding into each other. This reduces wear and tear because tools don’t constantly knock around. You also get faster cooking because you can reach exactly what you need.
For personalization, place your most-used items at the front and use deeper sections for bulky tools. Cost-wise, dividers can be budget-friendly, especially if you start with a simple modular set. A current trend is flexible organization, where you adjust sections as your kitchen habits change.
Helpful tip: keep similar tools together, like “bake tools” near measuring and “stir tools” near spoons. If you switch to new gadgets, adjust the dividers right away so the drawer stays neat.
-
8. Use Clear Canisters in Labeled Cabinet Sections
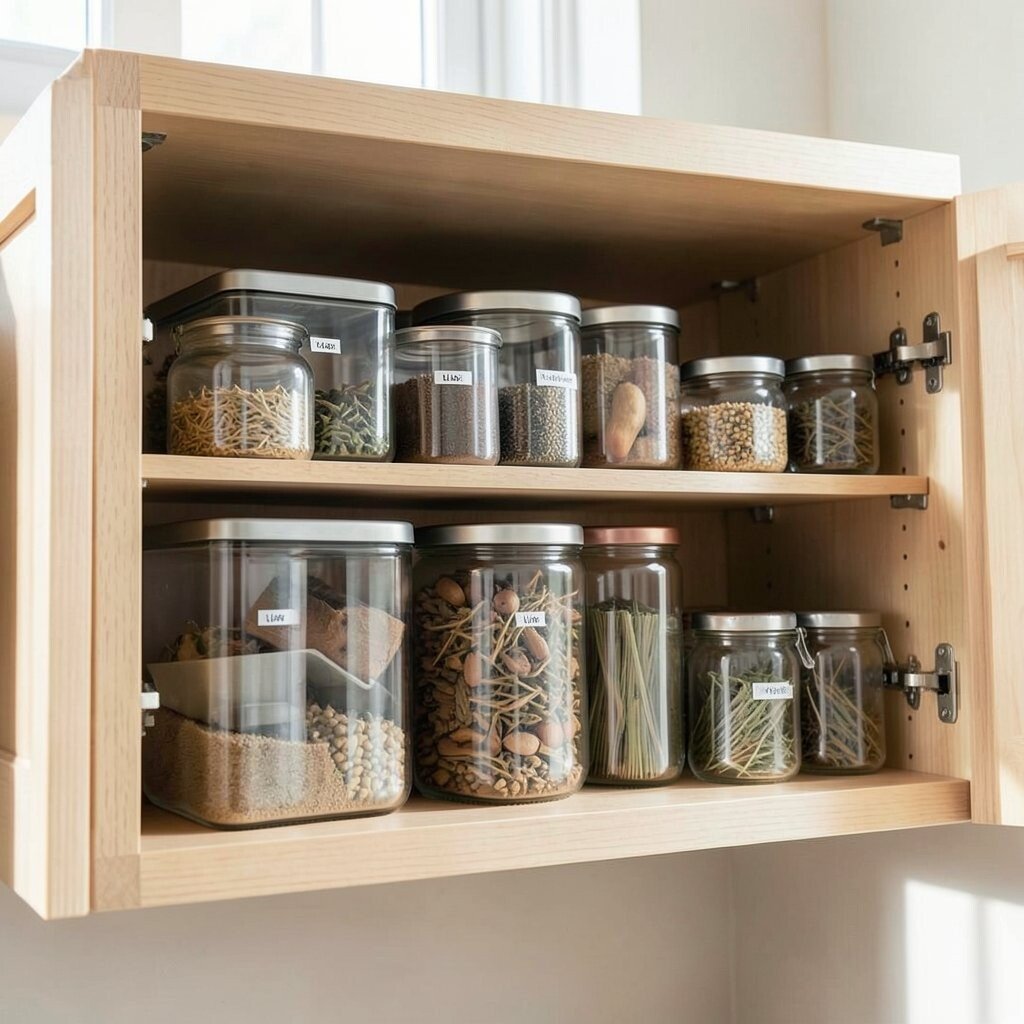
Use Clear Canisters in Labeled Cabinet Sections Clear canisters make your cabinet look like a tidy pantry display. When ingredients are easy to see, you cook with confidence and stop guessing.
Picture colorful dry goods lined up like a rainbow, with labels that guide you. This visual order helps you notice low items early, so shopping feels simpler. It also makes it easier to follow a meal plan because you can quickly scan ingredients.
To personalize, pick canisters with matching lids or choose different shapes for different categories. If cost is a concern, start with only the items you use daily. You can also reuse old containers and add quality labels to get a neat look without spending much.
A practical suggestion: use uniform sizes for a cleaner visual and better spacing. This idea is trending because people love “see-through organization” that feels both modern and calming.
One more tip: keep canisters away from direct sunlight when possible to help preserve freshness.
-
9. Turn Tall Cabinets into a Pull-Down Storage Tower
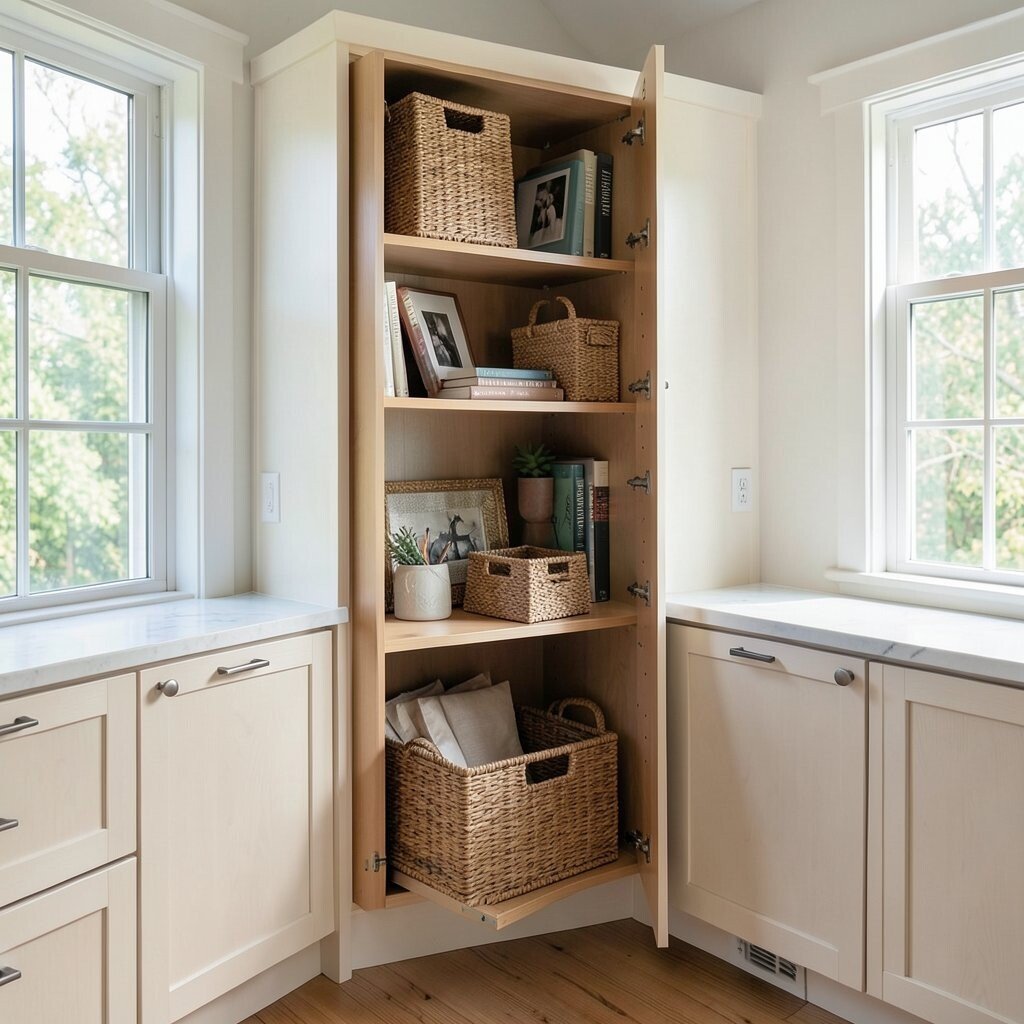
Turn Tall Cabinets into a Pull-Down Storage Tower High shelves can be a pain, especially for guests or kids. A pull-down system makes tall cabinet storage safer and easier to reach.
Imagine opening a cabinet and smoothly lowering a shelf filled with bowls, mugs, or serving trays. You get better access without climbing on a chair, which is a huge comfort benefit. It also keeps items protected from dust since they live inside.
To personalize, dedicate the tower to one theme, like “hosting” or “family dinners,” and use matching trays to organize smaller items. Cost varies, because these systems can be more expensive, but they can be worth it for accessibility. If you’re budget-minded, install it only in one top cabinet first.
A helpful tip: store the heaviest items lower on the tower if the design allows. This is a modern trend because it combines function with a clean, built-in look.
-
10. Add a Shoe-Style Organizer Inside Linen or Pantry Cabinets
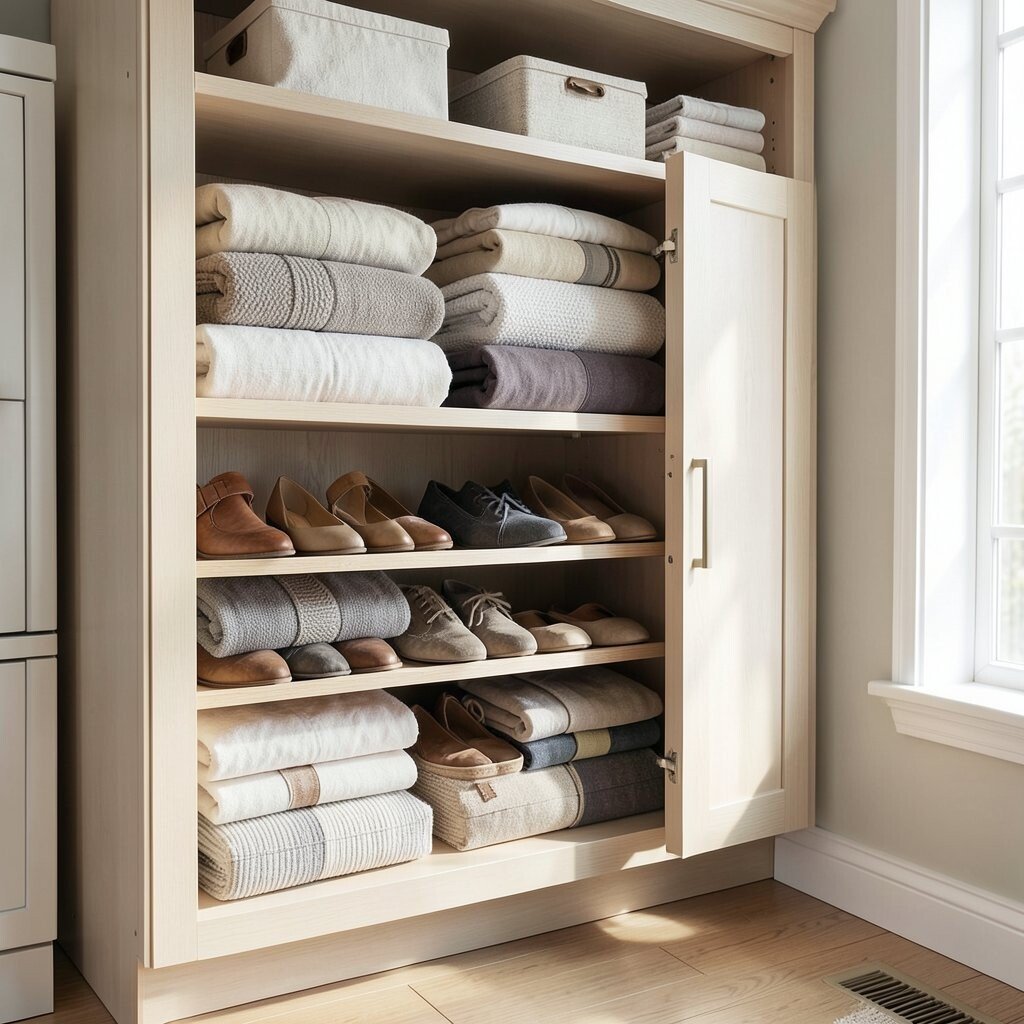
Add a Shoe-Style Organizer Inside Linen or Pantry Cabinets Yes, shoe organizers can work beautifully in cabinets too. They’re great for small packets, wraps, and supplies that slip into corners.
Picture fabric or mesh pockets lined up like neat rows, each pocket holding one item type. This makes it easy to grab a tea bag box, snack pack, or cleaning refill quickly. It also helps keep the cabinet from turning into a mixed pile.
To personalize, choose the pocket size that fits your items and add tags like “breakfast,” “snacks,” or “essentials.” Cost is usually low, and you can cut or reconfigure compartments if the organizer allows. A current trend is using flexible organizers rather than only rigid custom pieces.
Tip: keep dry items protected with simple bins if dust or spills are a concern. This setup is especially useful for bathrooms, pantries, and laundry-adjacent cabinets.
-
11. Use Stackable Drawer Units for Cabinet Floors
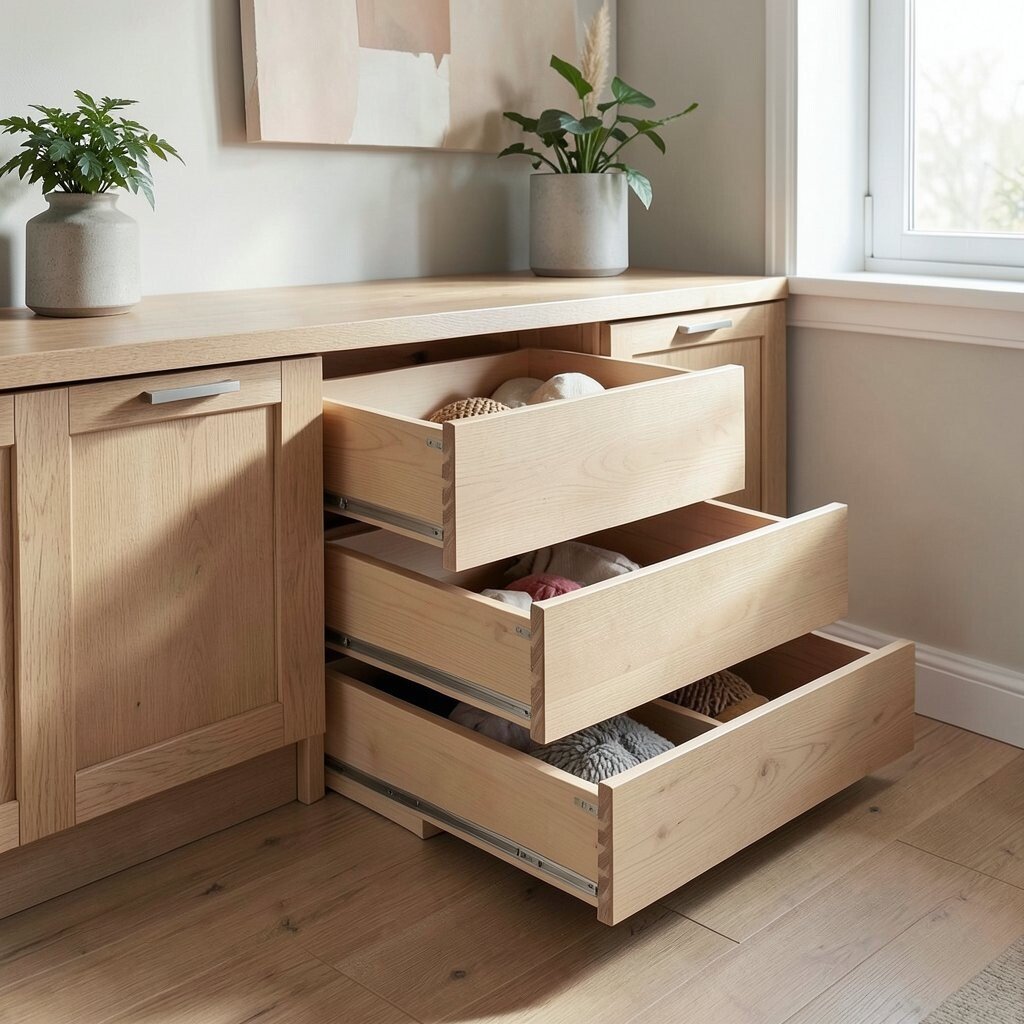
Use Stackable Drawer Units for Cabinet Floors The bottom of a cabinet often becomes a forgotten storage zone. Stackable drawer units help you keep that area organized and visible.
When you open the cabinet, you’ll see clean little drawers sitting one above another. That visual clarity makes it easier to keep track of backups like batteries, batteries, tape, light bulbs, or travel-size bottles. You also reduce messy digging because each item has a home.
For personalization, choose drawer sizes that match your needs and label each drawer clearly. Cost considerations are friendly here because many stackable systems are affordable. If you’re trying to spend less, start with the drawer unit you can use most daily.
Helpful tip: place heavy or bulky items on the most stable base level. This idea fits a current trend of modular storage that looks tidy and adapts easily.
-
12. Install a Pull-Out Trash and Recycling Bin in a Cabinet
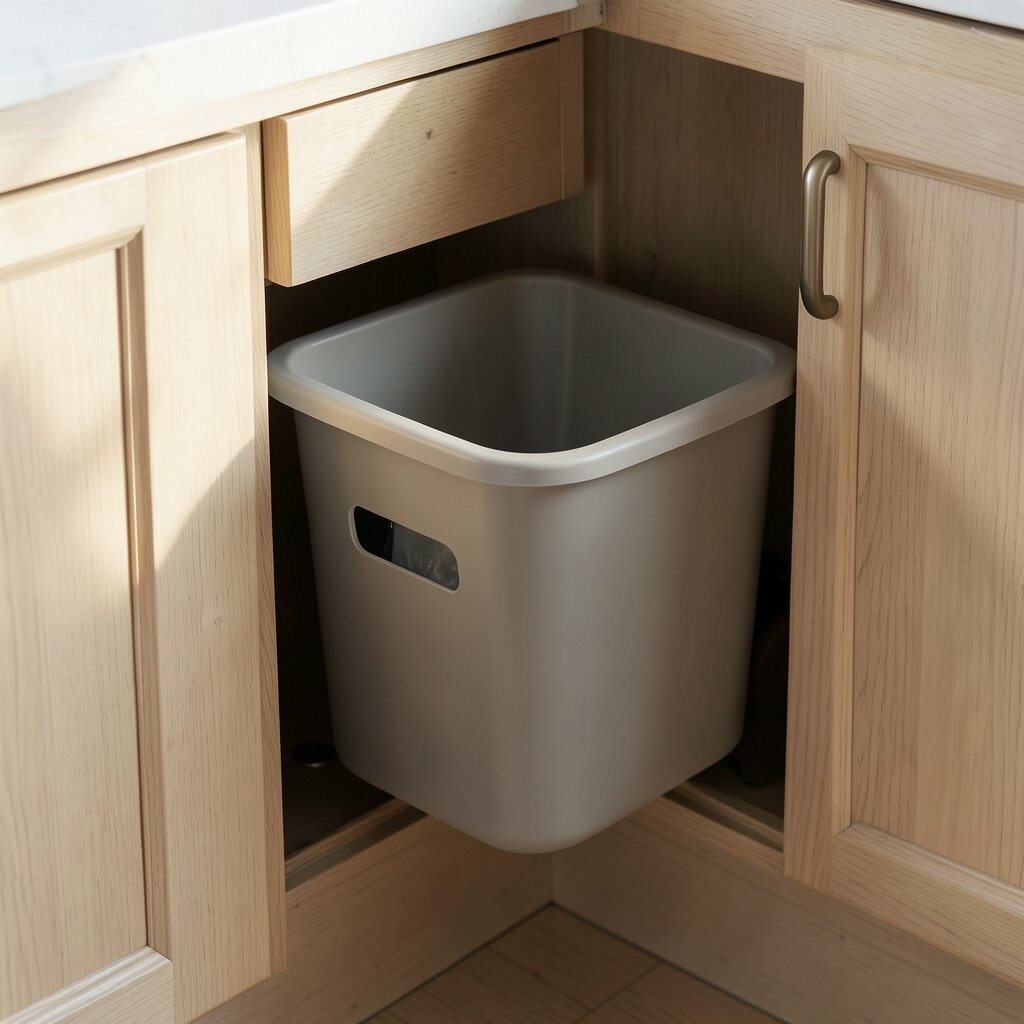
Install a Pull-Out Trash and Recycling Bin in a Cabinet Keeping trash out of sight makes a kitchen feel instantly cleaner. A pull-out bin system in a cabinet helps you hide waste without losing easy access.
Visualize opening the cabinet and rolling out bins that separate recyclables and trash. That keeps the kitchen floor clear and makes cleanup quicker. It also helps you keep odors contained since the bins stay inside cabinets.
To personalize, choose bin sizes based on your household routine and use liners for easy cleaning. Cost can be moderate to higher depending on the mechanism, but it can replace countertop clutter. If you’re on a budget, look for a simpler pull-out style with basic wheels.
A tip: add a small deodorizing method like an odor absorber or washable filter if your bins allow it. This is a popular trend because it hides mess while improving day-to-day function.
Also, make sure the door clearance works well so the bins pull out smoothly.
-
13. Create a “Command Center” Cabinet for Charging and Small Tech
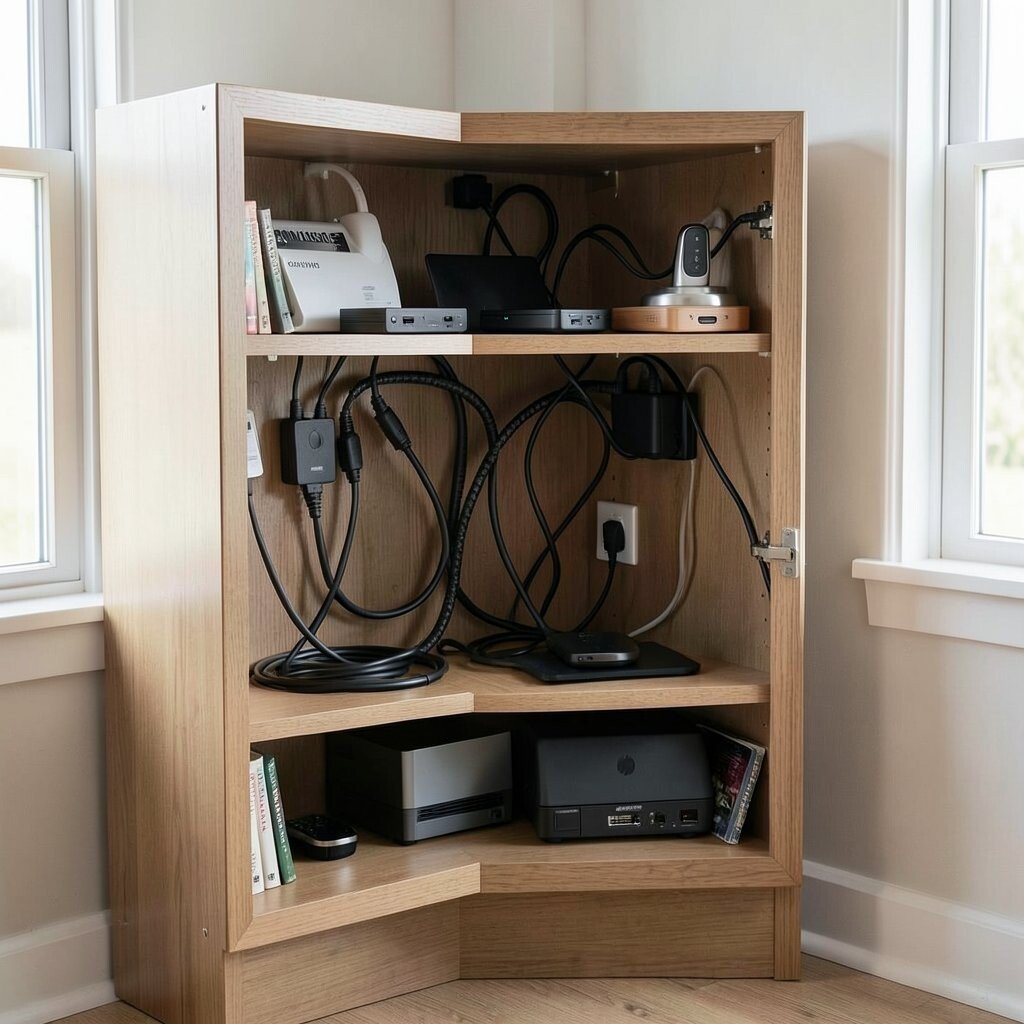
Create a “Command Center” Cabinet for Charging and Small Tech Small tech items love to vanish into drawers until you need them. A dedicated cabinet zone helps chargers, cables, and gadgets stay together.
Picture a cabinet with a clear tray for chargers and neatly folded cords in labeled slots. Everything looks clean, and you can find the right cable in seconds. This also reduces the frustration of tangled cords across different drawers.
For personalization, add a small organizer bar for remotes and a tray for earbuds and adapters. Cost considerations depend on whether you add a charging station, but even a simple organizer tray can help. If you want a modern touch, use cable clips and color-coded bands.
A helpful tip: avoid overcrowding, because cords need gentle curves to last longer. This setup is trending because more people want “charging homes” that keep tech tidy.
-
14. Add a Roll-Up Shelf or Lift Shelf for Serving Trays
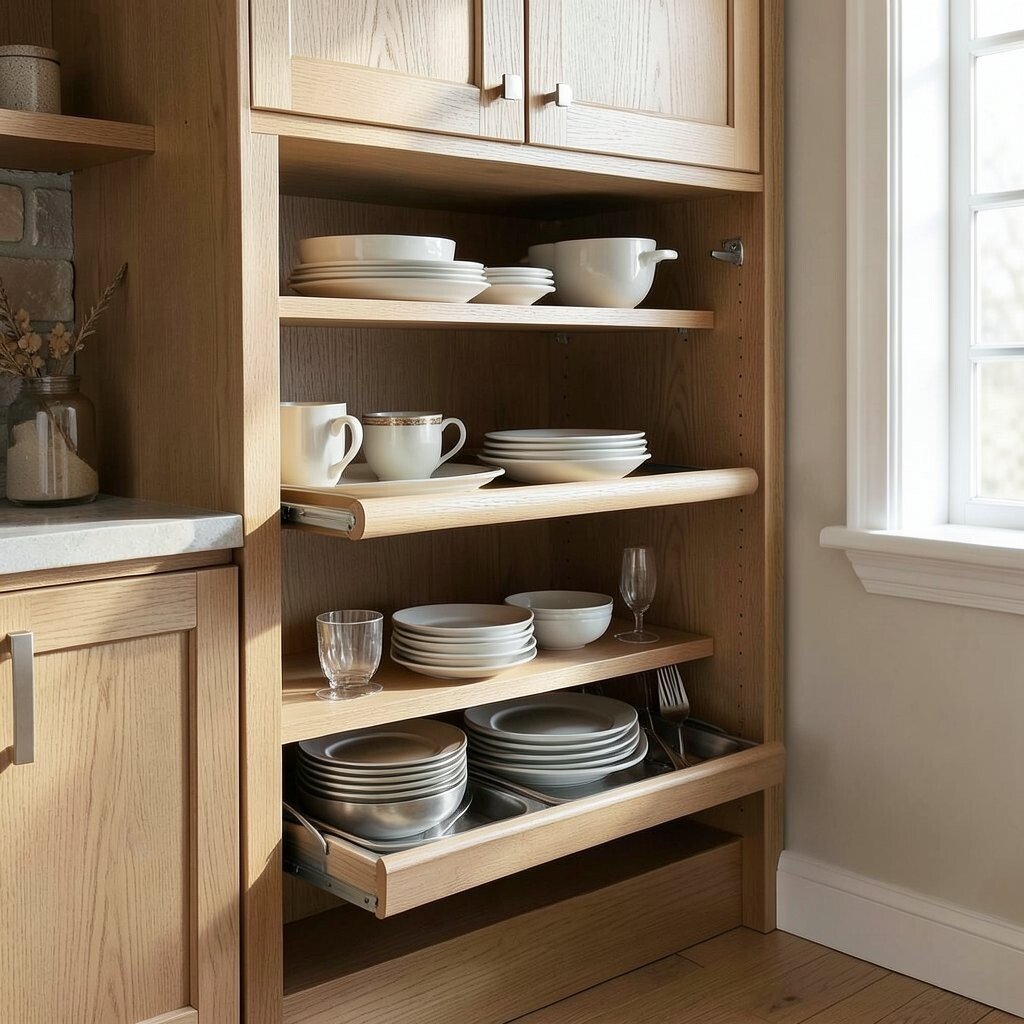
Add a Roll-Up Shelf or Lift Shelf for Serving Trays Serving trays and platters can take over a cabinet if you don’t have a plan. A roll-up or lift shelf stores them neatly and protects their edges.
Imagine opening the cabinet and lowering a shelf that holds trays flat or in a clean stack. The benefit is huge: you can pull out what you need for guests without shifting everything around. It also helps prevent scratches because trays stay separated and supported.
To personalize, use tray organizers or anti-slip mats so everything stays stable. Cost considerations can be higher than simple dividers, but the improved fit and protection can be worth it. If you’re spending carefully, start with a lift shelf for your most-used cabinet and leave other spaces alone for now.
A practical tip: store platters by size so you can grab quickly. This idea feels modern because it uses clever cabinet mechanisms to handle awkward shapes.
-
15. Group Cabinet Items by “Moods” Like Cooking, Cleaning, and Hosting
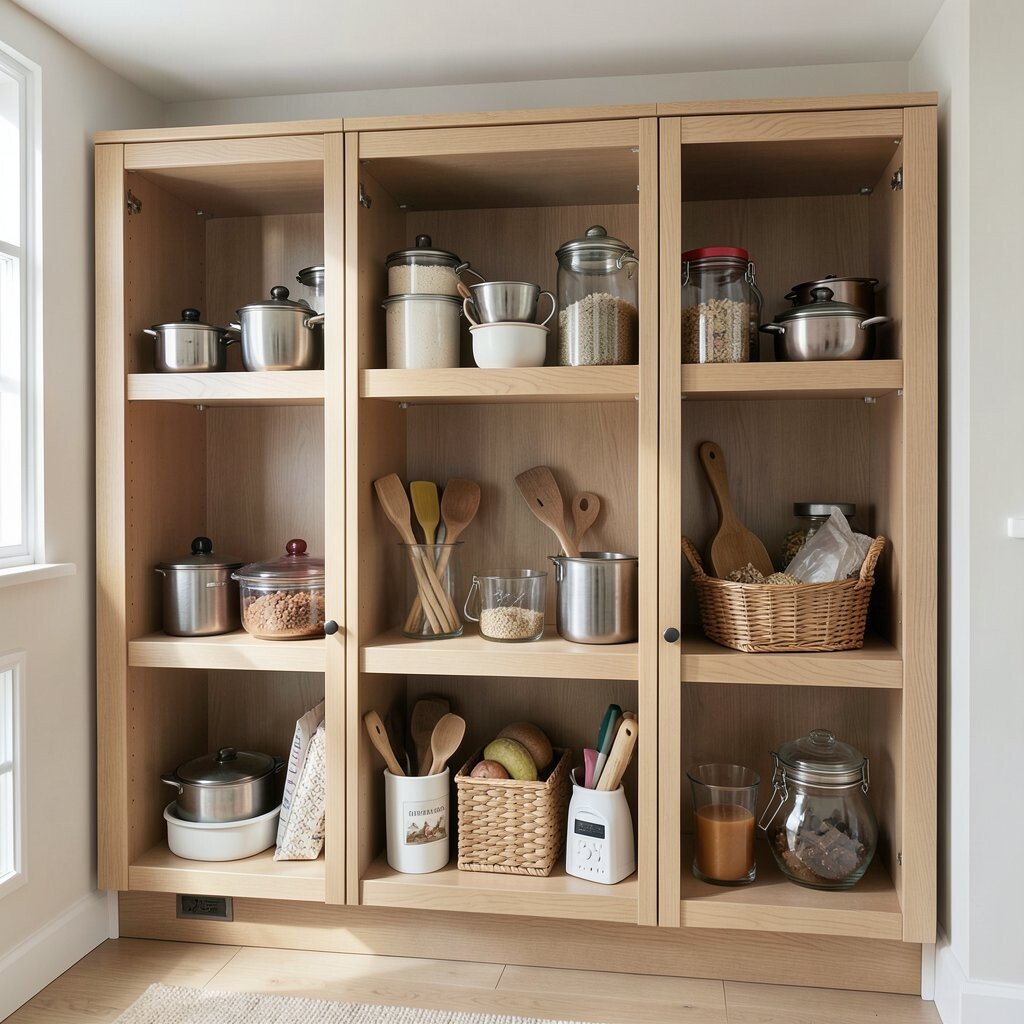
Group Cabinet Items by “Moods” Like Cooking, Cleaning, and Hosting Most cabinets fail because items are stored by random chance, not by real routine. Grouping by “moods” helps you keep the right things together for the way you actually live.
Picture one area for cooking, another for cleaning, and another for hosting supplies like napkins and candles. When you open the cabinet, it feels like you’re walking into three small labeled rooms. The benefit is calmer decision-making, faster prep, and less clutter creeping back in.
To personalize, choose labels that match your personality, like “Movie Night,” “Weekend Cooking,” or “Guest Ready.” Cost can be very low because you can use stickers, chalk tags, or printable labels. A current trend is “zoning,” where homeowners design storage around routines, not just item types.
Helpful tip: after reorganizing, do a quick two-week test. If you reach for something often, move it closer to the front and give it the easiest spot. This keeps your cabinet plan realistic and personal, not just pretty.