
Rustic kitchens feel warm even before you cook a single meal. A wooden dining table can become the heart of the whole space.
When DIY meets comfort, your kitchen looks inviting and works smarter every day.
-
1. Weathered Wood Wall Shelves That Match Your Table
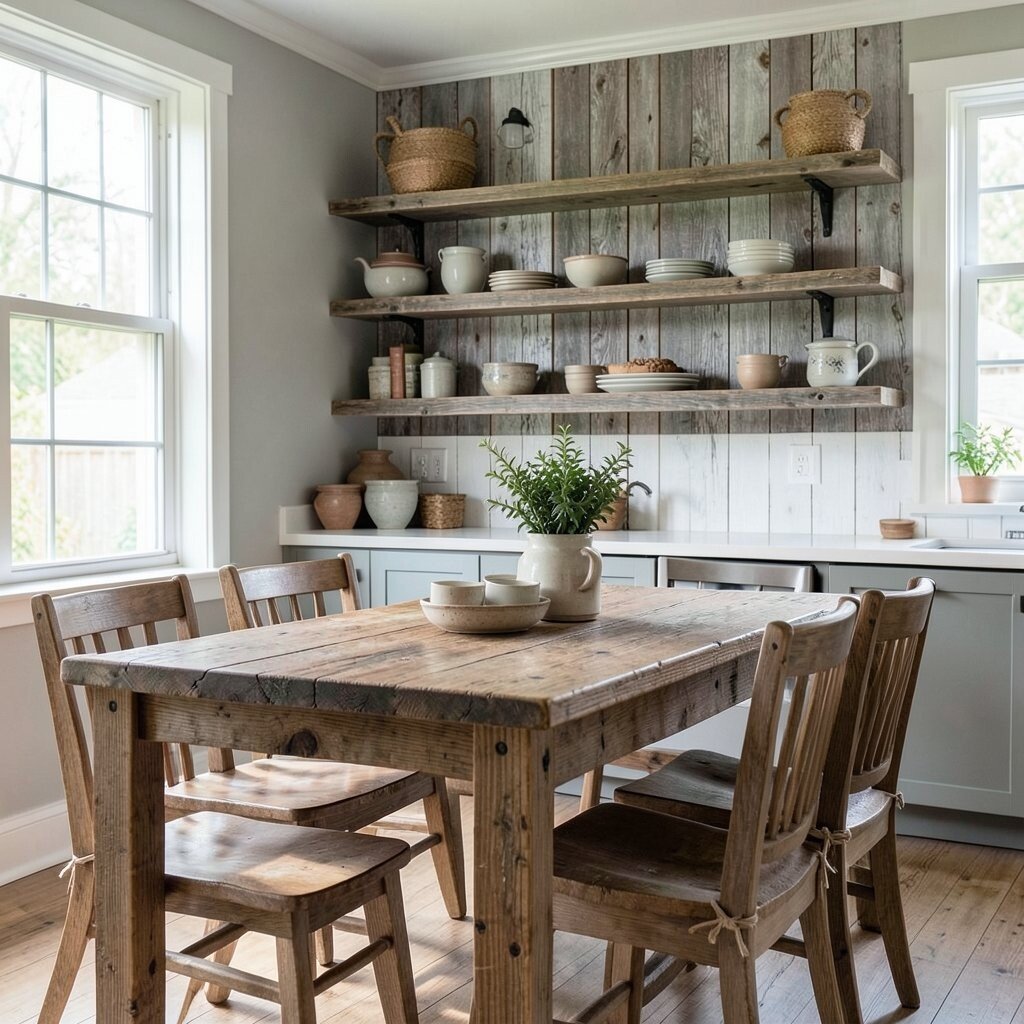
Weathered Wood Wall Shelves That Match Your Table Picture a row of floating-looking shelves with slightly rough edges, the same tone as your wooden dining table. You can almost smell the wood finish when you walk by them.
These shelves give you extra storage for bowls, mugs, and dried herbs without crowding the counters. They also add character because the grain shows off in a natural way. To keep it easy, use pre-cut boards and simple brackets, then sand lightly and seal for protection.
Pick a stain that feels close to your table, or go one shade lighter so the shelves pop. For personalization, paint small labels for spices and attach them with twine or vintage-style tags. If you want a budget-friendly plan, shop for leftover lumber, use basic hardware, and choose one shelf depth that fits your most-used items.
You are also following a current trend: mixing natural materials with clean, practical storage. Many people are keeping shelves open for a cozy “lived-in” look, so this idea fits right in.
-
2. Handcrafted Rustic Table-Top Centerpiece With Lidded Jars
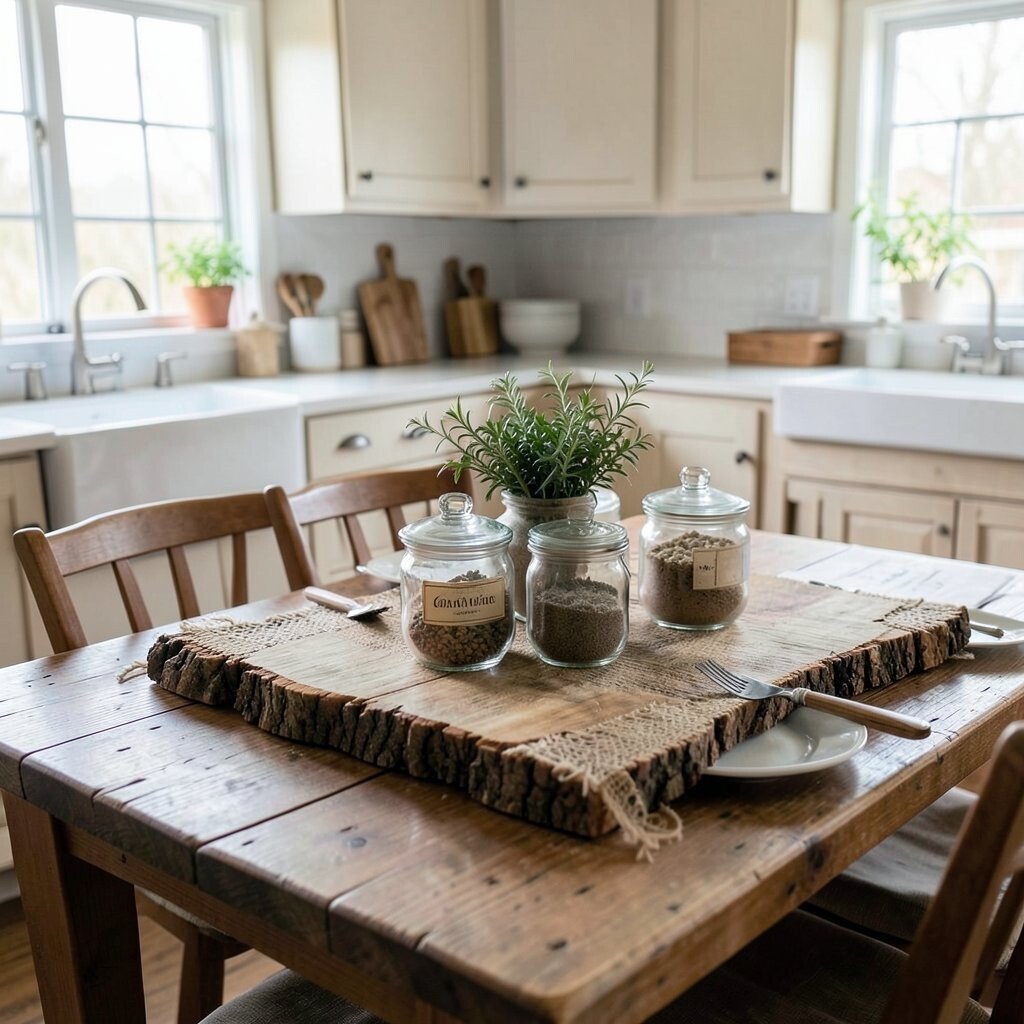
Handcrafted Rustic Table-Top Centerpiece With Lidded Jars Imagine your wooden dining table holding a tray of mismatched jars, each one filled with beans, flour, or colorful spices. A simple wooden spoon and a small cloth napkin make the whole scene look like a magazine spread.
This DIY creates an eye-catching focal point while also helping you stay organized during busy meal times. You get a clear “grab and go” system for ingredients, and the lids keep things tidy. Choose jars that match the vibe of your table finish, then lightly age the tray with stain for unity.
For personalization, add a chalkboard label on one jar and a fabric wrap around another. Try using a small basket under the tray to hide extra packets, like tea bags or baking powder. Cost-wise, jars are usually cheaper than store-ready decor, especially when you use what you already have.
-
3. Reclaimed Barn-Wood Pantry Door Accent
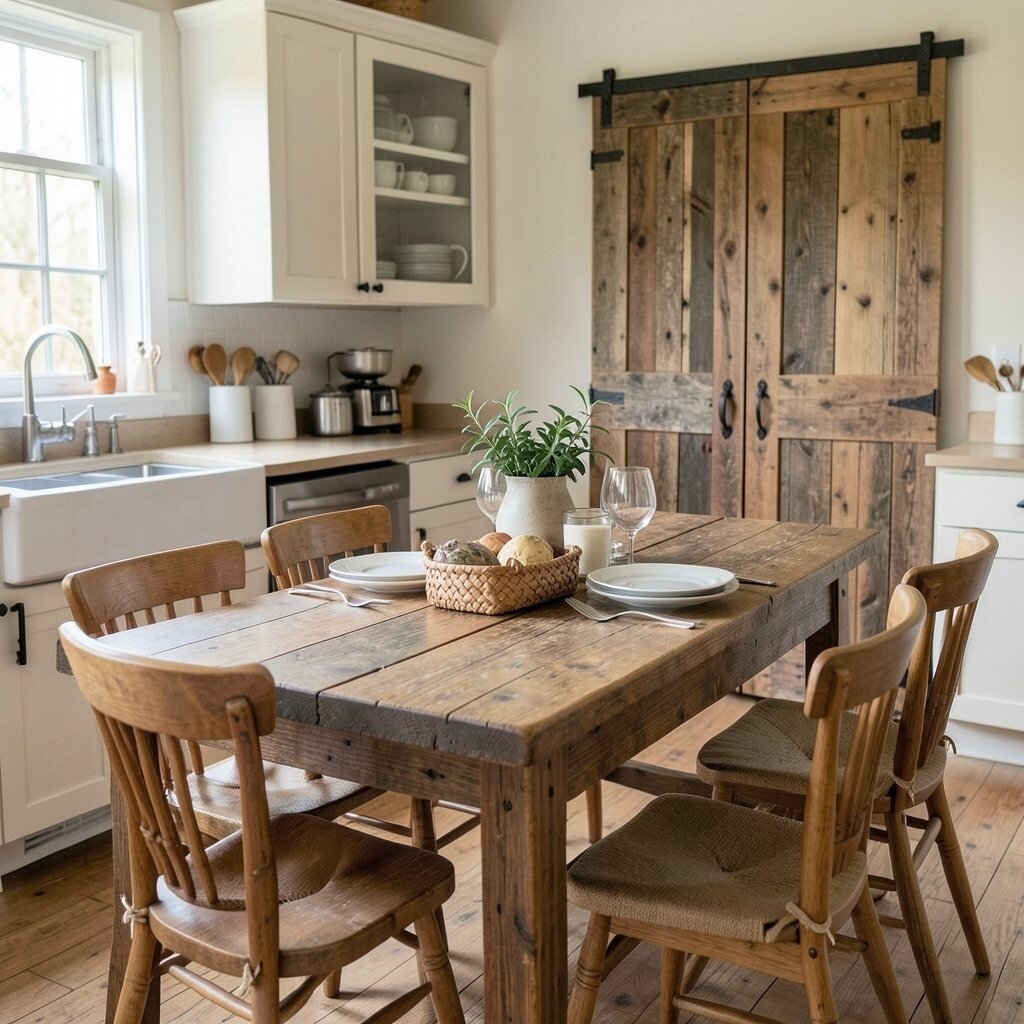
Reclaimed Barn-Wood Pantry Door Accent Think of a pantry area framed by a strip of barn wood that looks like it has a story. The texture feels rugged, and the shadow lines look gorgeous in warm kitchen light.
This kind of accent makes the kitchen feel more custom without rebuilding anything major. It also helps define zones, so your cooking area feels planned and cozy. Use reclaimed wood if you can, because the natural wear brings instant uniqueness, but new wood with distressing works too.
Cut the boards to fit a simple frame, then attach with screws and wood glue for strong hold. To personalize, stain it closer to your dining table or add a subtle clear coat to keep the color steady. If you want to stay budget-friendly, limit the project to one door panel instead of covering the whole wall.
This idea fits a current rustic trend: showing natural imperfections instead of hiding them. A little character on the pantry door can make the entire kitchen feel calmer and warmer.
-
4. DIY Copper and Wood Hanging Pot Rack
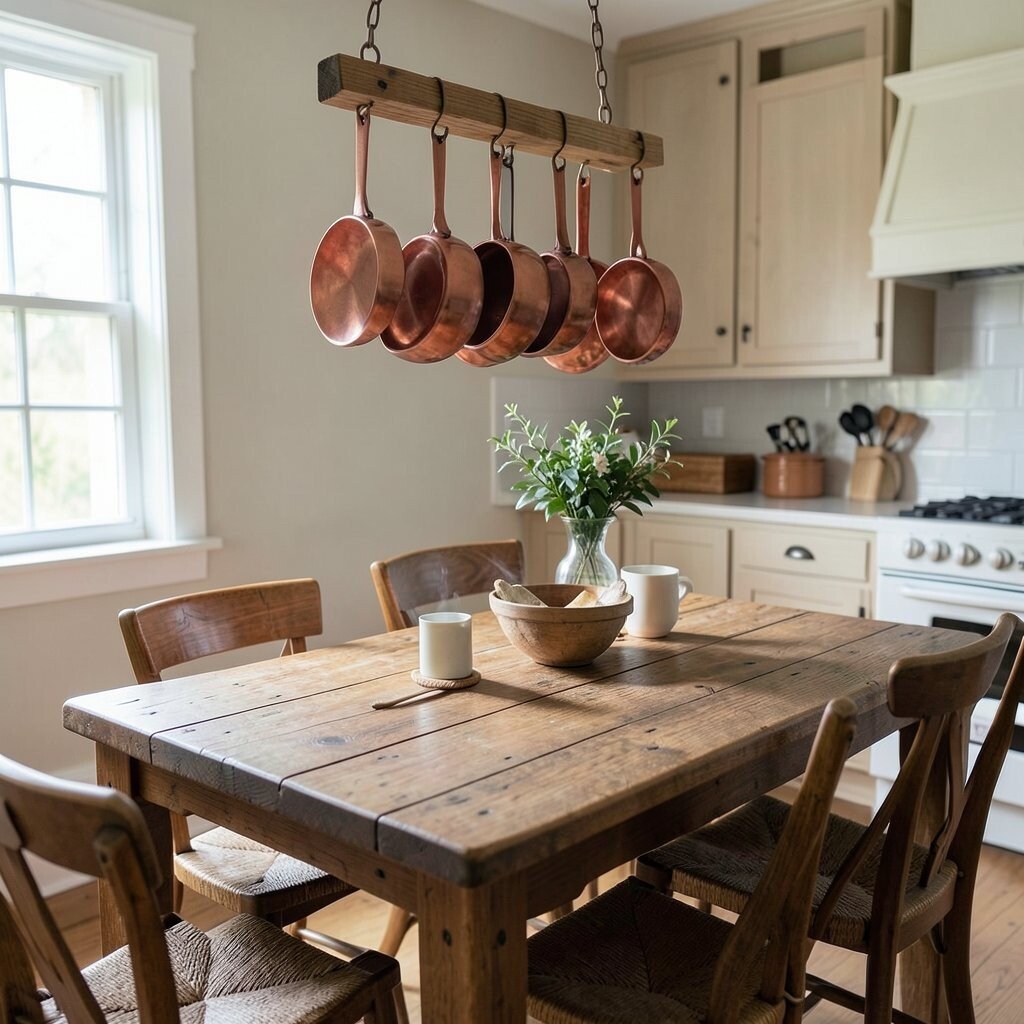
DIY Copper and Wood Hanging Pot Rack Picture a row of pots and pans hanging above your workspace, with wood handles and hints of copper catching the light. A wooden dining table nearby makes the metals feel less cold and more inviting.
This setup looks beautiful and it saves cupboard space, which is a real daily benefit. You can grab your most-used pot faster, and the pots act like decor. For safety, screw mounting hardware into sturdy studs and use quality hooks so everything stays secure.
To keep the look rustic, choose wooden dowels for cross pieces, or wrap rough wood around metal bars. Personalize by mixing pot sizes and adding a small basket for utensils. Cost-wise, you can save money by using a pre-made rack frame and focusing your DIY time on the wood accents.
People love hanging cookware right now because it shows off craft details and makes the kitchen feel open. Just keep the arrangement neat so it doesn’t feel cluttered.
-
5. Rustic Bench-Style Kitchen Seating for Extra Table Moments
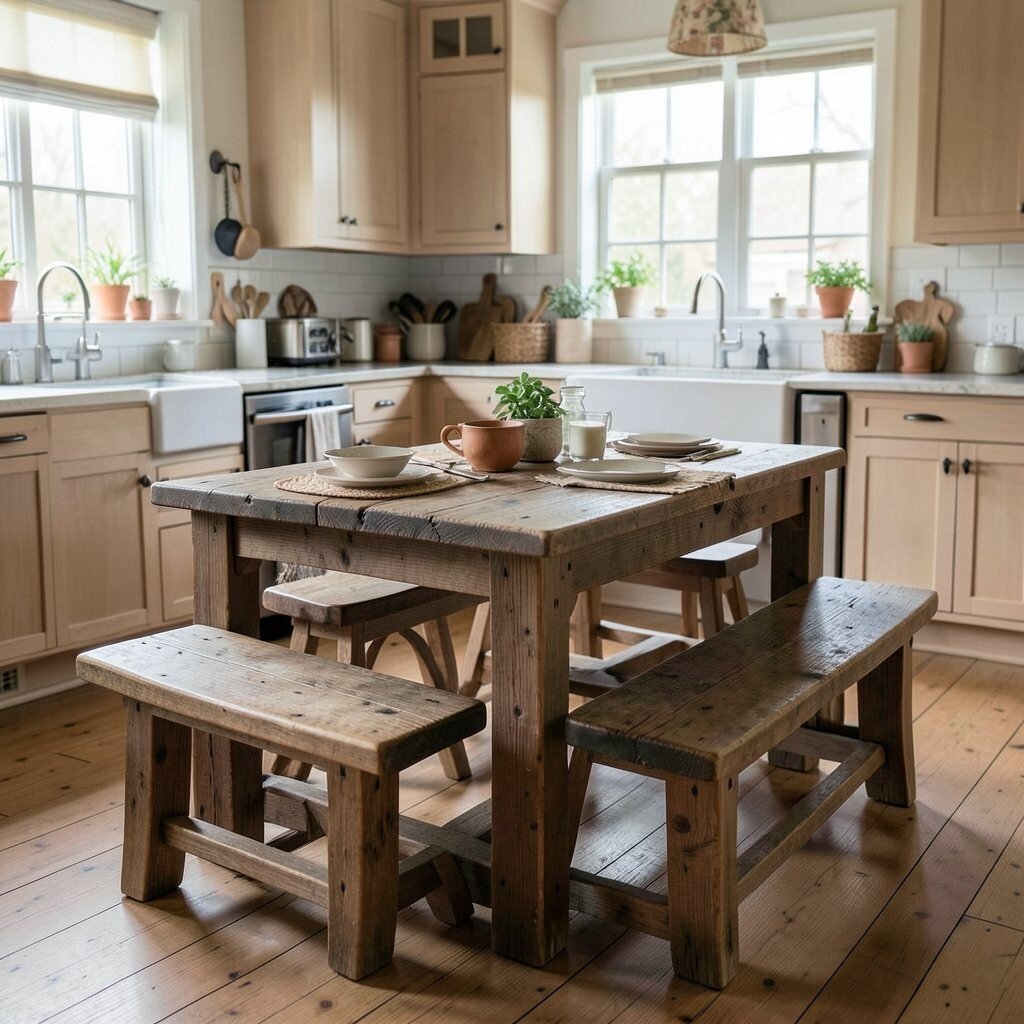
Rustic Bench-Style Kitchen Seating for Extra Table Moments Imagine a bench near your wooden dining table, made with thick planks and a simple painted stripe. It gives your kitchen a welcoming “stay awhile” feeling, even if you only need quick breakfast space.
This DIY supports comfort and creates more seating without buying a whole new dining set. It also works well for kids’ snacks, holiday card writing, or casual coffee time. Add a removable cushion so cleaning is easier, and build the base strong with straight lumber.
For personalization, stain the wood the same color as your dining table and add a fabric print that echoes your kitchen textiles. If you want a budget path, repurpose a sturdy pallet for the frame and use new wood for the slat top. You can also keep costs down by using foam and basic outdoor fabric for weather resistance.
-
6. Farmhouse-Style Butcher Block Prep Station Next to the Table
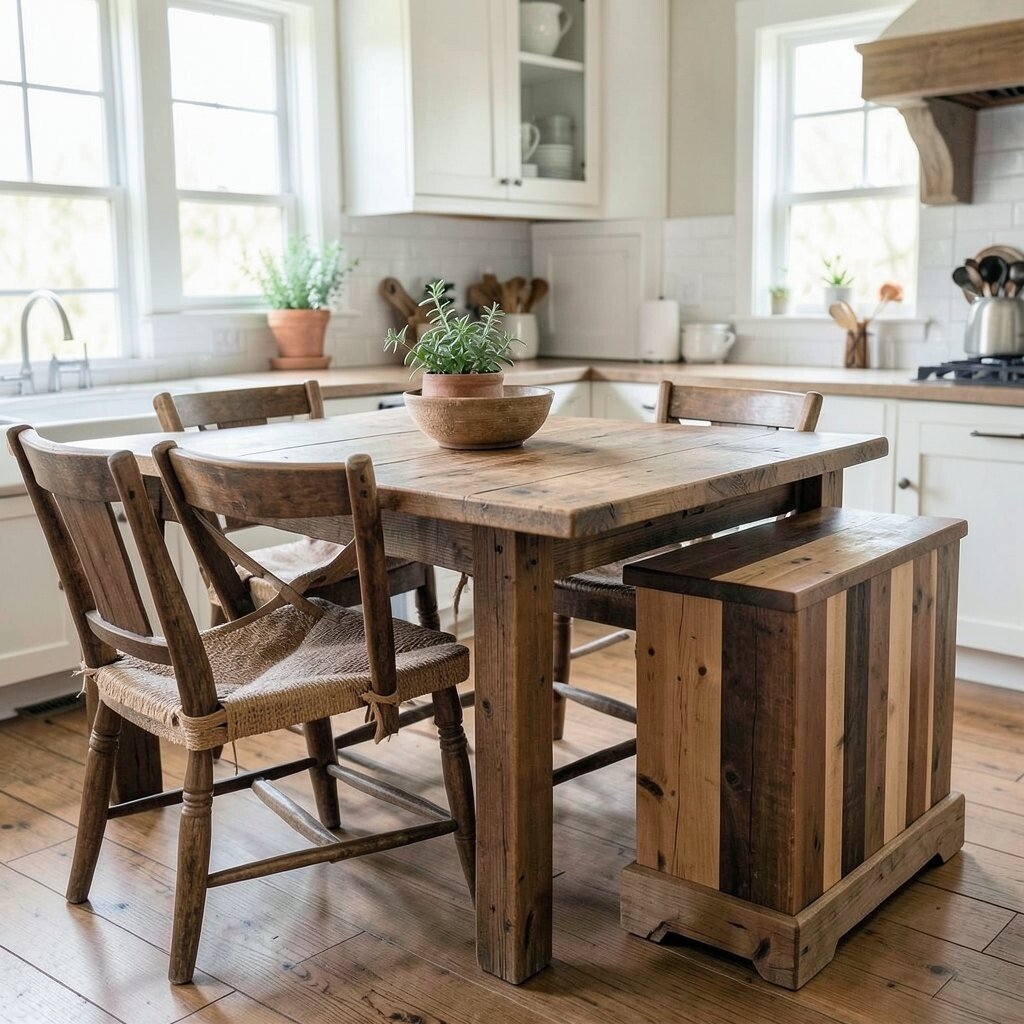
Farmhouse-Style Butcher Block Prep Station Next to the Table Picture a butcher block surface placed near the wooden dining table, so prep feels close to where people gather. The warm wood tones soften the room and make cooking feel less rushed.
This DIY adds a practical zone for chopping, rolling dough, and laying out ingredients. It also helps you keep your dining table free from mess during cooking. Choose a butcher block that matches your table grain, then seal it with food-safe oil so it lasts longer.
To make it extra useful, add a drawer under the surface for towels and small tools. For personalization, attach a peg rail on the side for a rolling pin and measuring cups. Cost considerations matter here, so watch for sales on butcher block slabs or use smaller sizes from home improvement stores.
Current trend-wise, many kitchens now use “workstations” where meal prep and family time meet. A prep station like this makes your kitchen feel like it has a heart.
-
7. DIY Wooden Table Scrub Caddy With Recycled Soap Dispenser
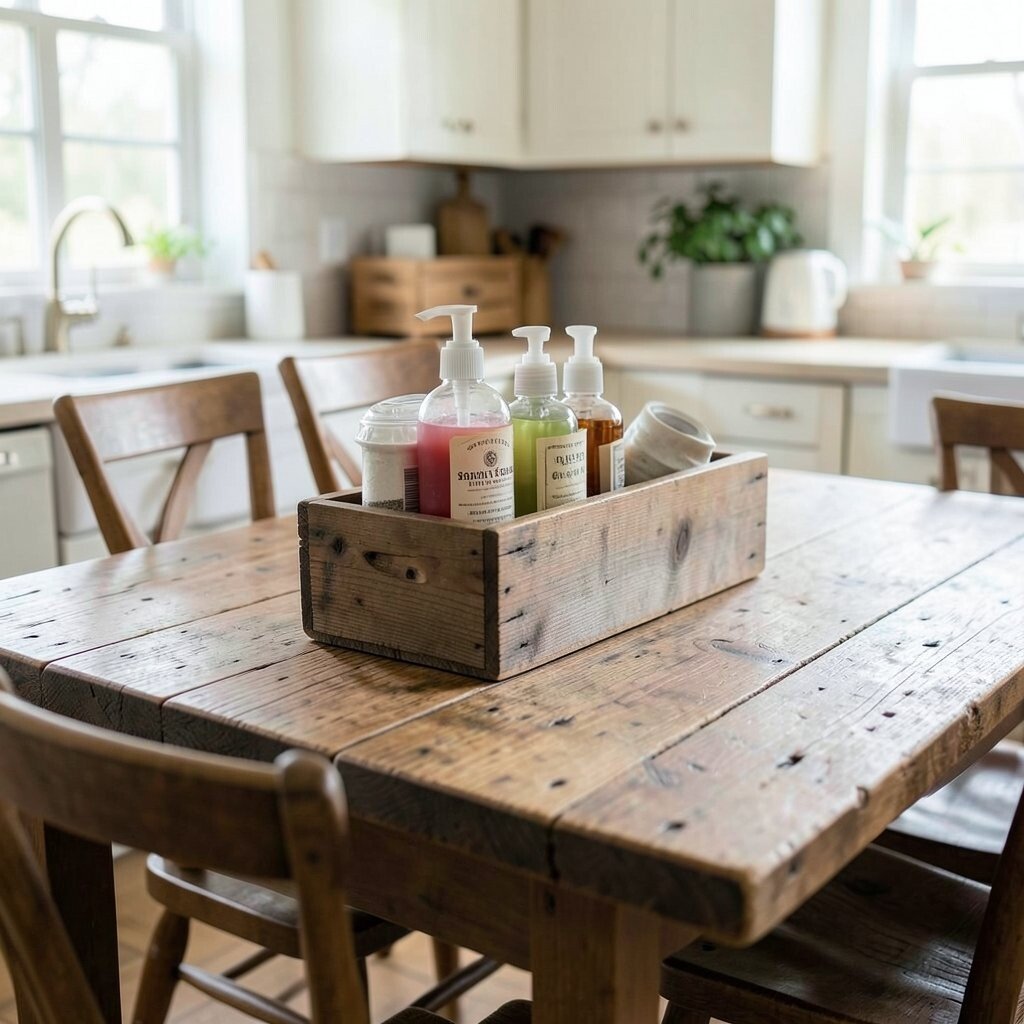
DIY Wooden Table Scrub Caddy With Recycled Soap Dispenser Imagine a small wooden caddy sitting on the side of your dining table, holding brushes, soap, and a simple dish cloth. It looks neat, and the wood ties the whole scene together.
This is a tiny project with a big benefit: you reduce countertop chaos and make cleaning faster after meals. It also makes everyday tasks feel nicer, because everything you need is in one spot. Use a wood box, a scrap board base, and a recycled dispenser bottle for the best budget value.
For uniqueness, carve your family initials into the front and add a small hook for a brush. If your table finish is dark, stain the caddy to match; if it’s light, go lighter so it doesn’t look heavy. To personalize further, print a simple “Dish Time” label and attach it with twine.
People love practical decor right now, and a scrub caddy counts as both. It’s the kind of DIY that looks great and actually gets used.
-
8. Rustic Chalkboard Wall Behind the Dining Table
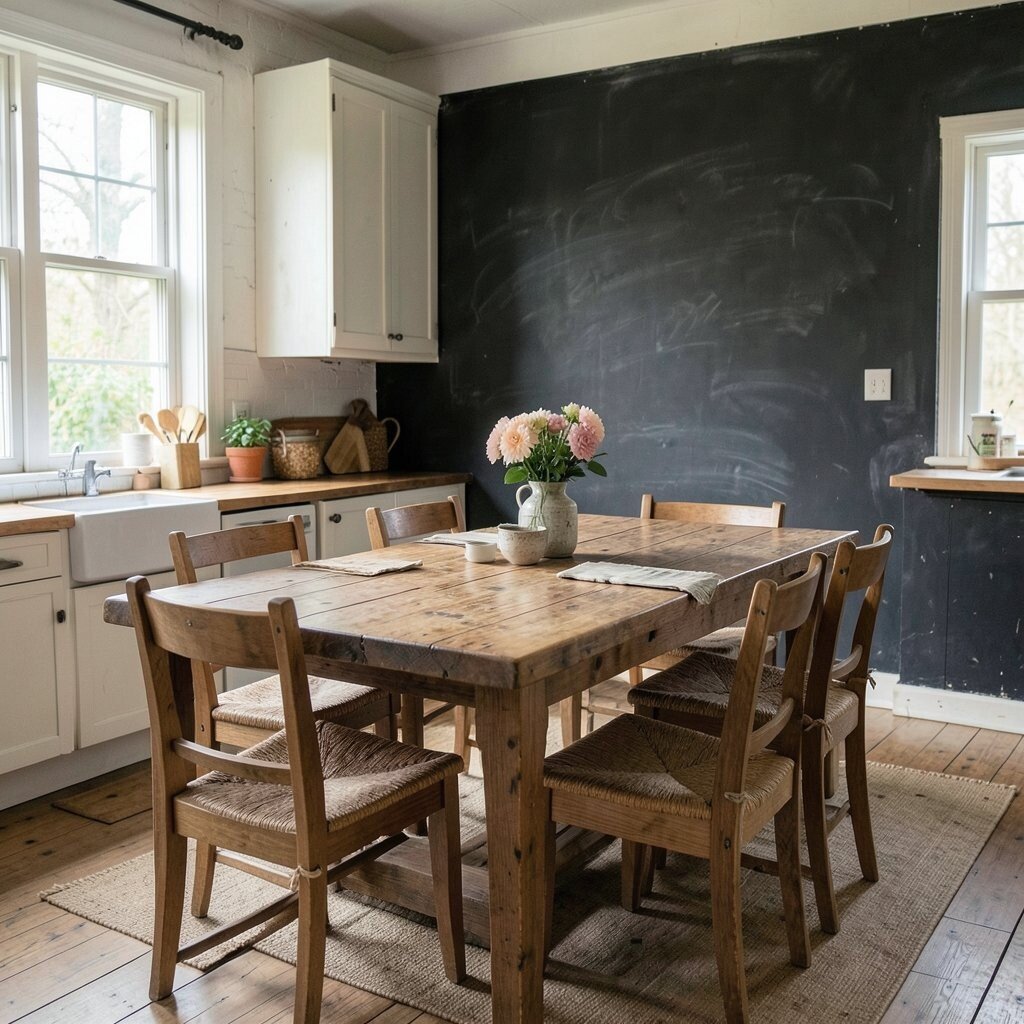
Rustic Chalkboard Wall Behind the Dining Table Picture a chalkboard panel mounted near your wooden dining table, framed with reclaimed wood. Each day, you can write menus, grocery reminders, or cute quotes in soft white chalk.
This idea helps you plan meals and cut down on forgotten items, which saves time and stress. It also adds personality because your words become part of the decor. Use a chalkboard sheet or a matte paint made for chalk, then frame it with wood that matches your dining table tone.
To personalize, add a small border stencil of leaves or tiny stars. Keep it budget-friendly by using a pre-measured board and simple wood trim pieces instead of building a huge frame. For protection, place a piece of clear acrylic over the chalkboard if your kitchen gets lots of splashes.
This fits a current home style trend: mixing function with cozy charm. A chalkboard wall can make the dining area feel interactive and warm.
-
9. Ladder-Shelf Spice Station With Wooden Hooks
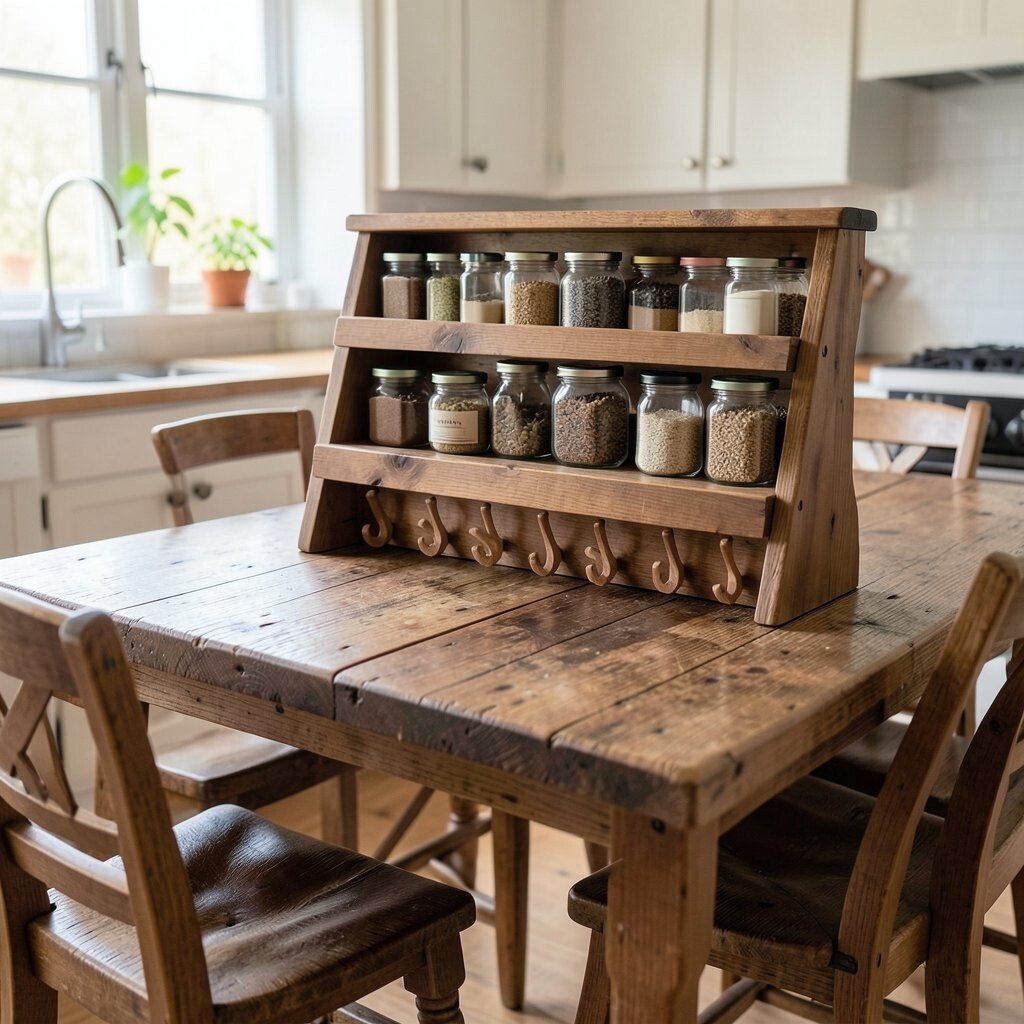
Ladder-Shelf Spice Station With Wooden Hooks Imagine a small ladder shelf leaning slightly, holding spice jars and dry goods with wooden hooks along the side. The rustic wood vibe looks extra nice next to a wooden dining table.
This DIY keeps spices visible, which makes cooking quicker and more fun. You get the benefit of organization without hiding everything behind cabinet doors. To build it, find a narrow shelf or repurpose a small ladder, then sand and seal all touching surfaces.
For personalization, paint the shelf base in a muted color that echoes your kitchen linens. Add hooks for measuring spoons, small ladles, or a spoon rest, and label jars with simple tags. Cost-wise, you can save by using glass jars you already own and buying only missing labels or hooks.
Right now, many kitchens are leaning toward open shelving for a lived-in look. This spice station supports that trend while still keeping your space orderly.
-
10. Rustic Linen Towel Ladder With Table-Friendly Color Matching
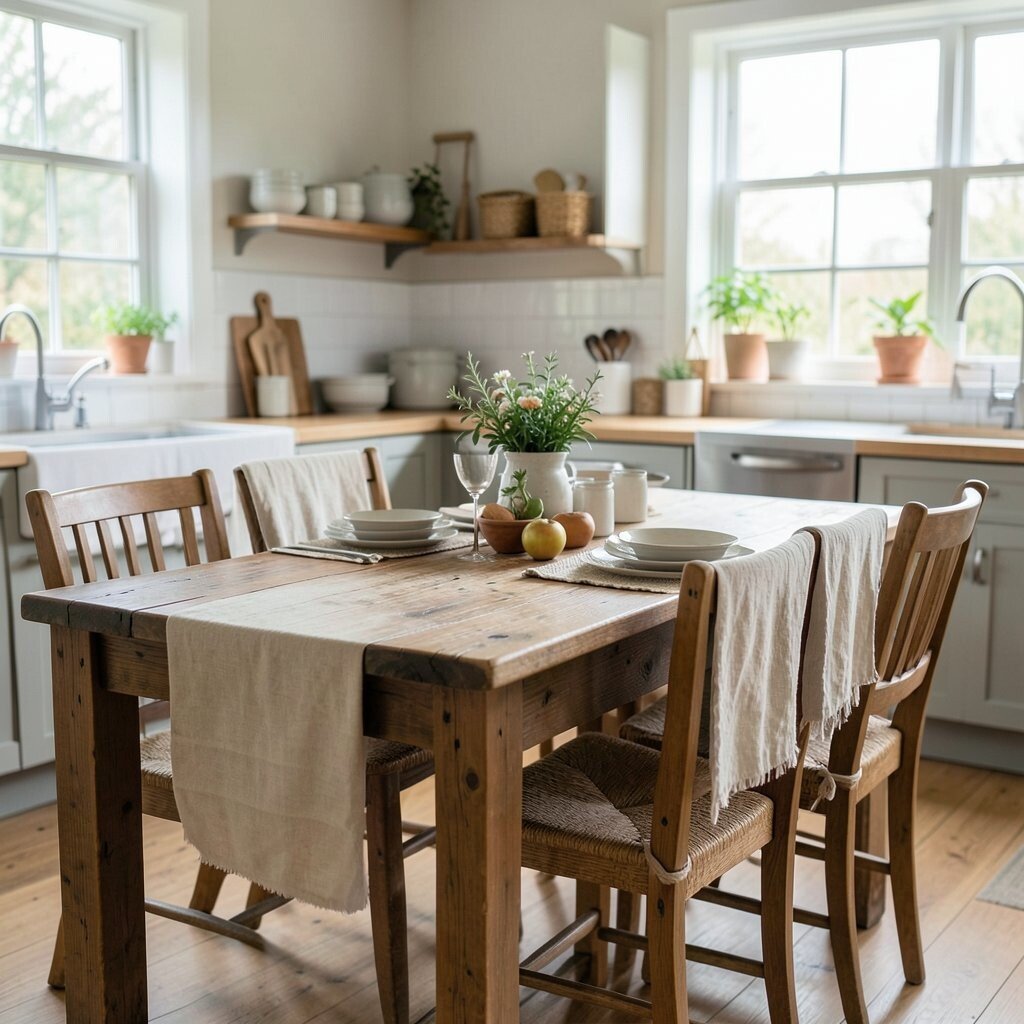
Rustic Linen Towel Ladder With Table-Friendly Color Matching Picture a tall wooden towel ladder near your dining table, with folded linen towels hanging neatly. The soft fabric texture makes the kitchen feel gentler and more inviting.
This DIY is a smart benefit because towels stay in sight and are easy to grab. It also reduces the mess of towels tossed on counters. Use unfinished wood dowels or small scrap pieces, then sand smooth so the linen doesn’t snag.
To personalize, choose linen colors that match your table stain and your plate colors. You can also add a small top shelf for butter knives or a tiny jar for toothpicks. Cost considerations are usually friendly here, since dowels and brackets tend to be cheaper than fancy stands.
Many kitchens are using neutral textures now, and linen fits perfectly. It creates a calm, rustic feel without needing expensive materials.
-
11. Rustic Window Sill Planters for Herbs and Salad Greens
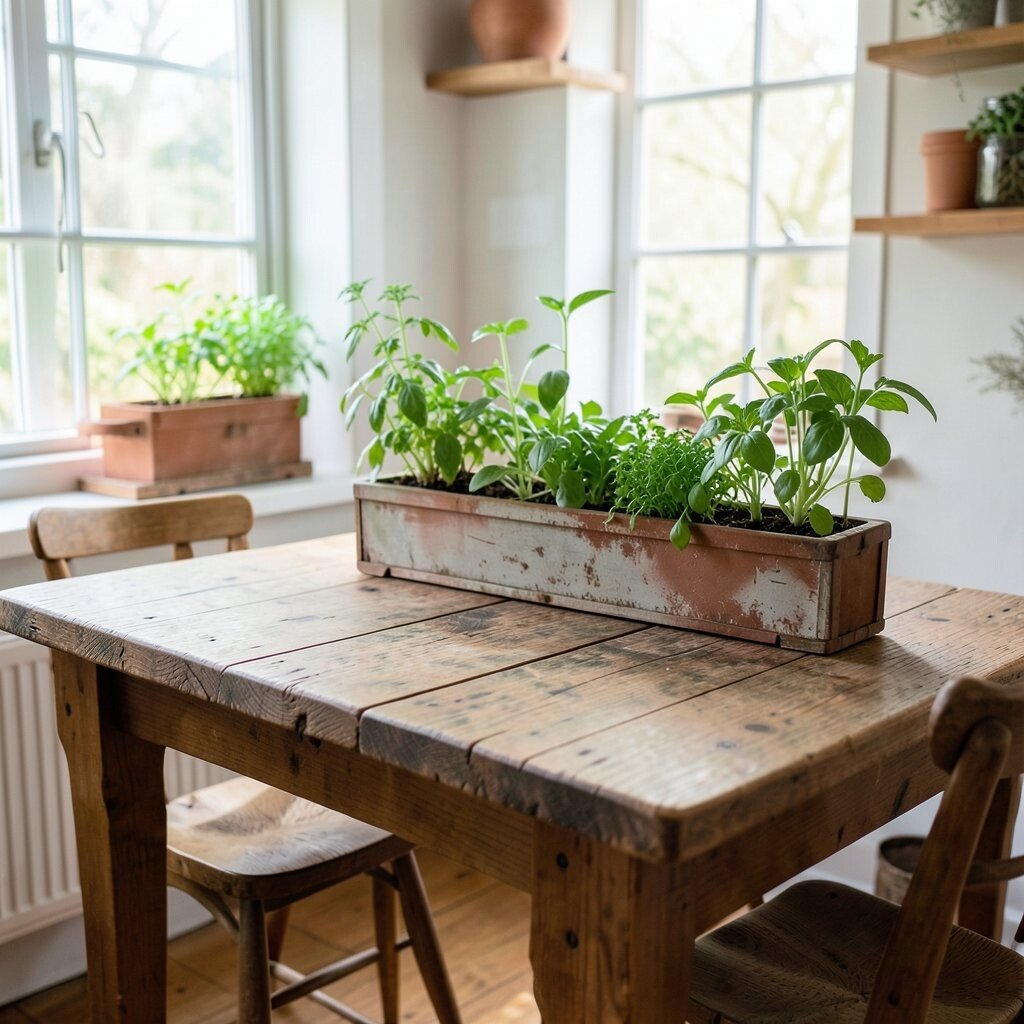
Rustic Window Sill Planters for Herbs and Salad Greens Imagine fresh herb pots lined up along the window sill, with little wooden plant labels and a warm, earthy tone. Your wooden dining table makes the greenery look even more natural.
This DIY gives you benefits beyond looks: herbs taste better when you pick them right before cooking. It also helps reduce waste because you only harvest what you need. Choose shallow planters for herbs and use potting soil made for containers.
For uniqueness, build small wooden label stakes and burn the herb names lightly with a branding tool. Add a simple tray under the pots so spills stay contained. Cost-wise, you can start with a small set of planters and grow herbs from seeds, which is often cheaper than buying fresh bunches.
This matches a current trend of “grow near your cook zone,” because people want kitchen gardens that feel close and easy. A window herb station also makes the whole room feel fresh and alive.
-
12. DIY Wooden Utensil Holder From Offcuts and Twine
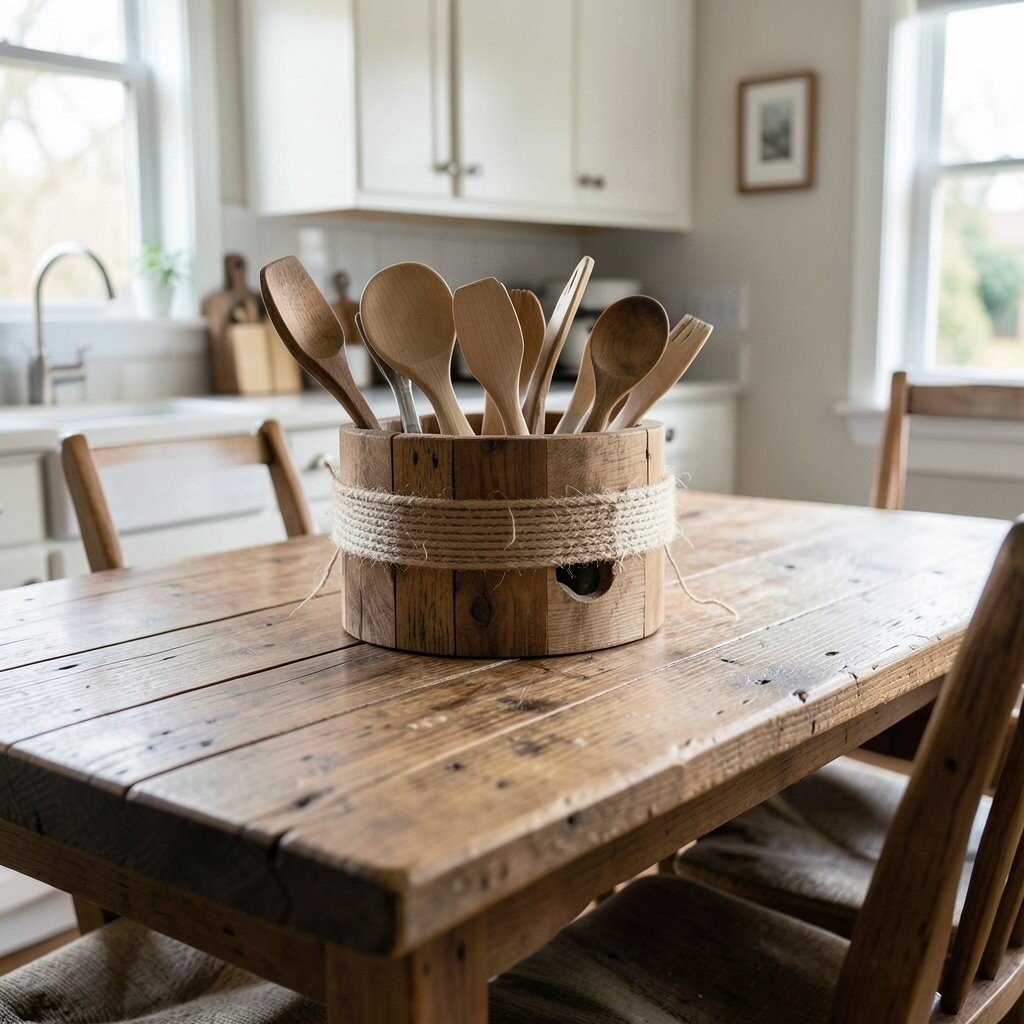
DIY Wooden Utensil Holder From Offcuts and Twine Picture a chunky utensil holder made from wood offcuts, wrapped with twine and topped with a flat wood lid. It looks like it belongs in a cozy cabin, especially with a matching wooden dining table nearby.
This project helps you keep counters tidy by giving spoons and spatulas a home. It’s also a quick win because you can finish it in a short time using simple tools. Use a sturdy container base, then cover it with wood strips, and secure with screws or wood glue.
To personalize, carve a tiny shape into the front, like a leaf or a star. Stain or paint in the same direction as your table finish so everything feels connected. For cost considerations, use scraps and only buy a small roll of twine if you need it.
Rustic kitchens are all about texture, and this holder gives you that texture in a useful way. It’s small, but it makes the kitchen feel cared for.
-
13. Vintage-Style Wooden Tray System for Everyday Table Settings
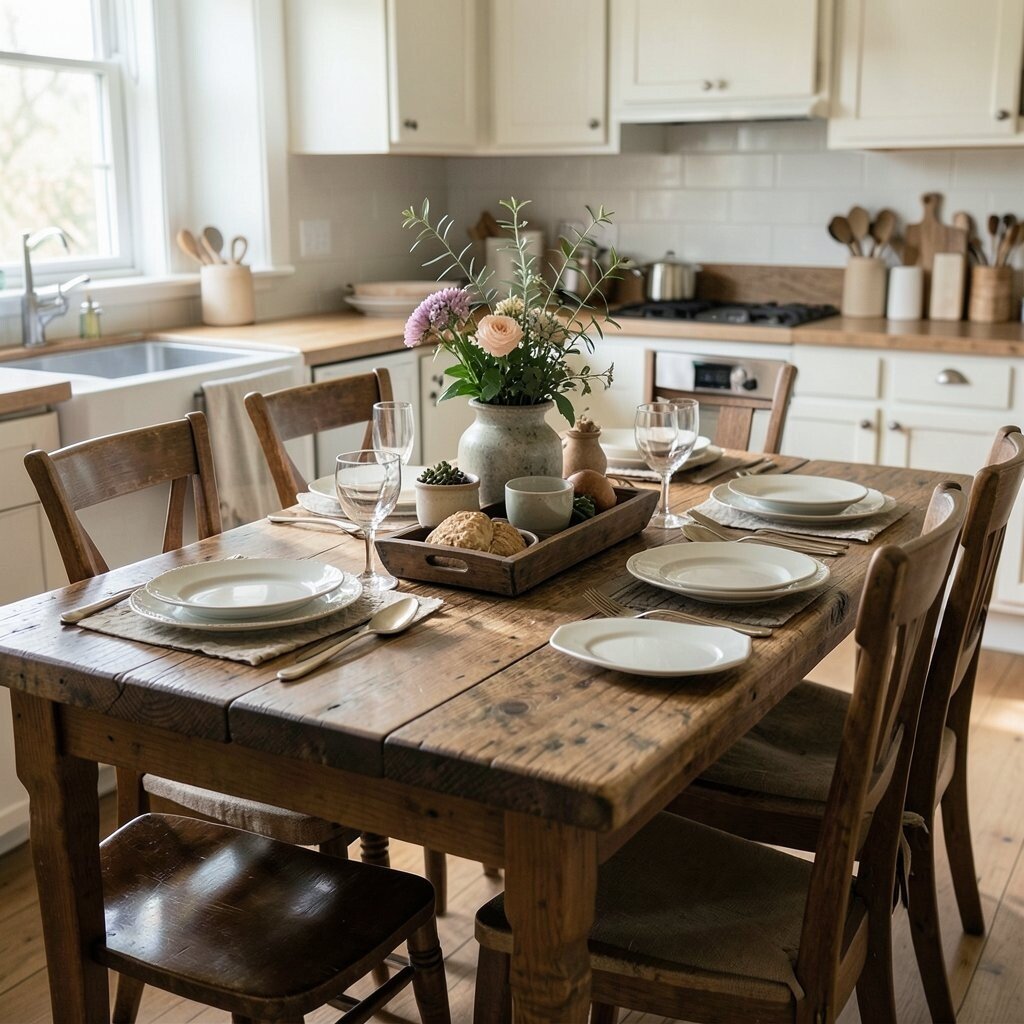
Vintage-Style Wooden Tray System for Everyday Table Settings Imagine a set of wooden trays stacked neatly in a corner, ready for breakfast, game night snacks, or school-day lunches. When your dining table is also wooden, the matching trays make the space look organized and welcoming.
This DIY helps you serve food more easily because trays make carrying items safer and faster. It also keeps messy moments under control since you can move everything as a group. Use plywood or wood boards, then edge sand smooth and finish with a protective coat.
For personalization, add small corner handles using metal brackets or hooks. You can also stamp names like “Coffee” or “Baking” on one tray so everyone knows where things go. Cost considerations are easy here because you can build trays from affordable boards and reuse old stain samples for color matching.
Right now, many people are using “tray styling” for a more layered look during everyday living. It’s a simple way to make your rustic kitchen feel curated without extra spending.
-
14. Rustic Dining Table Side Cubbies With Sliding Basket Doors
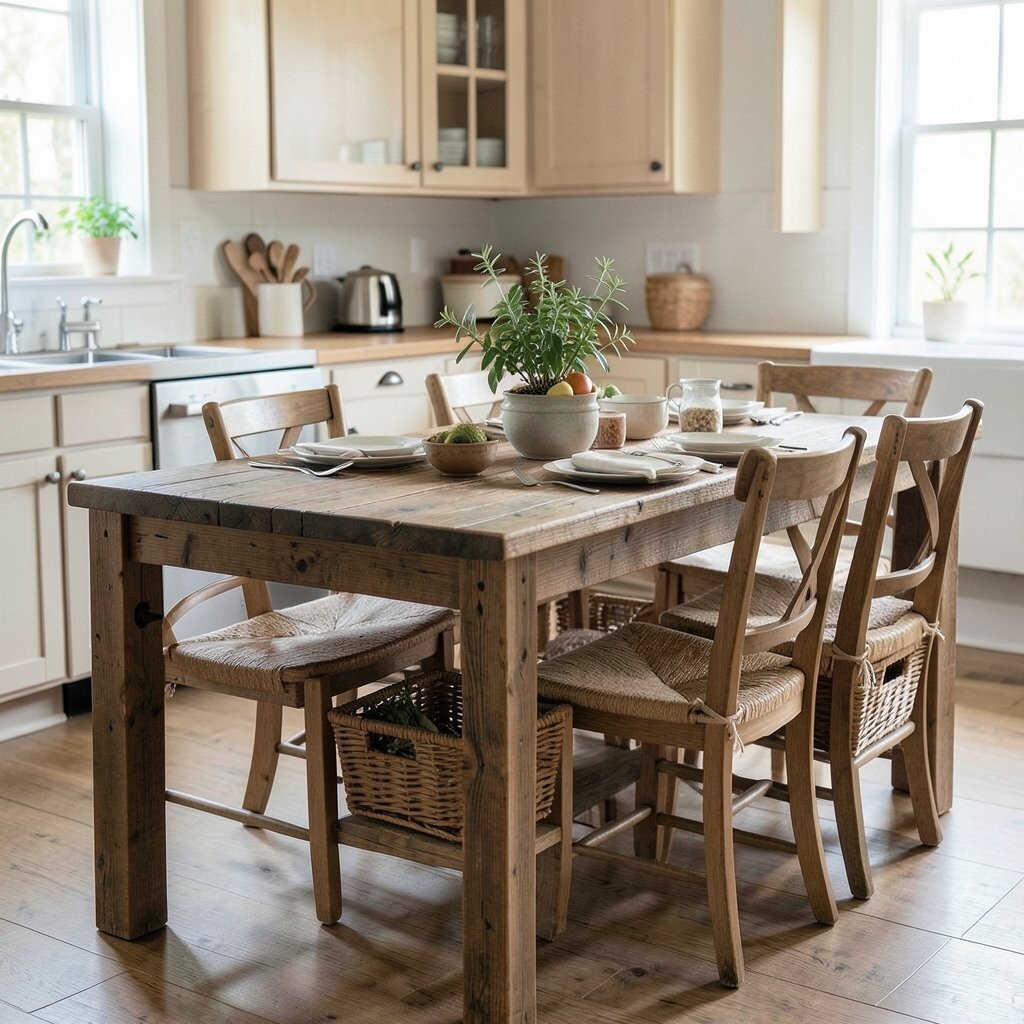
Rustic Dining Table Side Cubbies With Sliding Basket Doors Picture a row of cubbies built along the side of your wooden dining table, each with a sliding basket door. It looks practical and charming at the same time, like a little storage wall for daily life.
This DIY adds hidden storage, which is a huge benefit when you want the table to stay clean. You can store placemats, extra napkins, candles, or small serving tools inside. Build the base from sturdy boards, then attach rails for smooth sliding and sand everything so it glides nicely.
For personalization, choose basket styles that match your kitchen textures, like woven rattan or simple wire. Paint the frame in a warm neutral and leave the wood in spots for a layered rustic look. Cost considerations: sliding hardware can cost more, so you can use simple drawer slides or budget-friendly tracks while still getting a smooth feel.