White cabinets look clean, bright, and fresh. One small slip during prep or paint choice can ruin that perfect finish.
Good news: you can avoid most problems before they start. Below are common mistakes people make when painting white cabinets, plus simple ways to fix your plan so you get a smooth, durable, custom result.
-
1. Skipping the cleaning step

Skipping the cleaning step Kitchen cabinets hold grease even when they seem spotless. If you paint over grime, the finish can turn rough or peel later.
Use a degreaser made for kitchen surfaces and rinse well with clean water. Let everything dry fully before you touch it again.
For extra protection, wipe once more with a mild soap solution and dry with lint-free cloths. This small effort helps your new white paint look smooth and stay that way.
-
2. Painting over a glossy surface without sanding
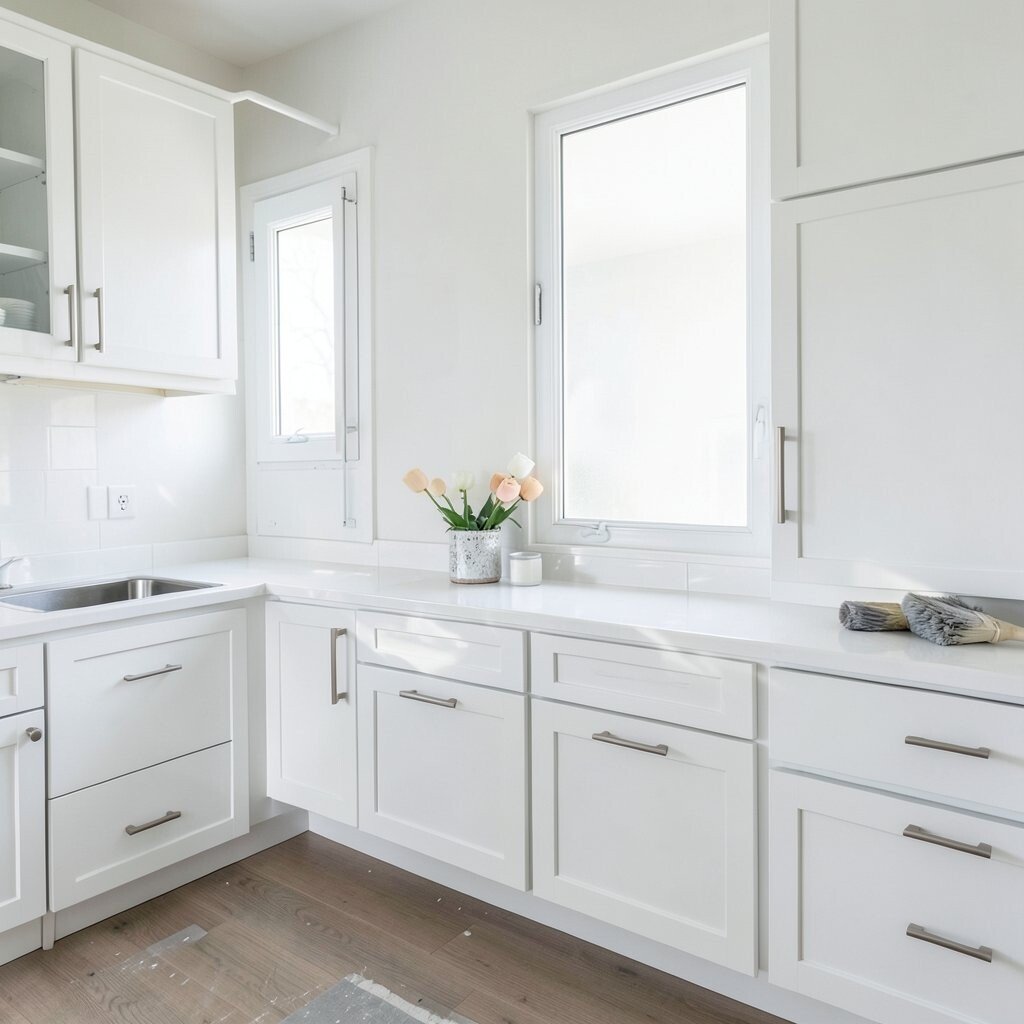
Painting over a glossy surface without sanding Some cabinet doors already look shiny, like they have a hard shell. Paint often slips off slick finishes, leaving you with streaks.
Lightly sand so the surface feels dull, not shiny. You do not need to remove every bit of finish, just give the paint something to hold.
After sanding, vacuum dust and wipe with a tack cloth. A quick check with your hand can help you feel rough spots that need attention.
-
3. Not using primer
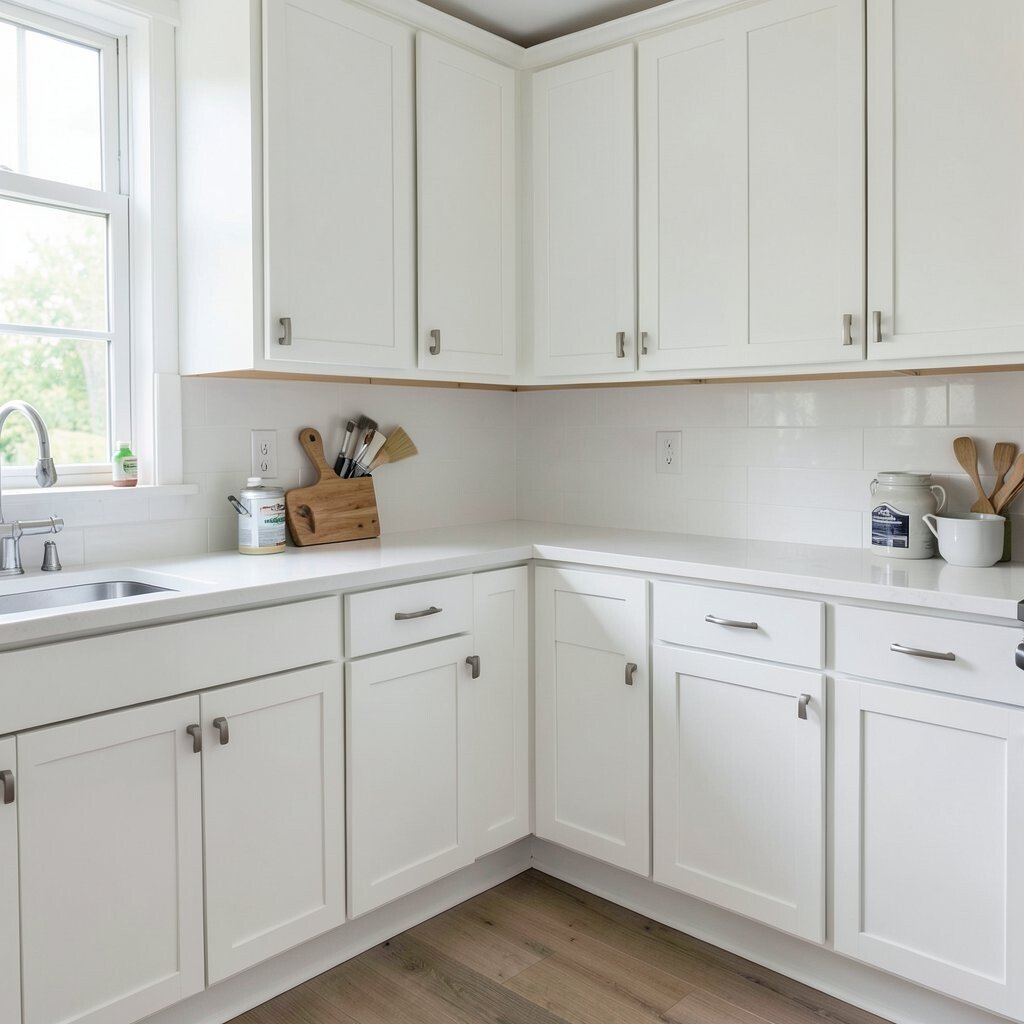
Not using primer Skipping primer is one of the fastest ways to end up with uneven coverage. Stains, knots, and dark edges can bleed through white paint.
A bonding primer improves grip and helps the topcoat look truly bright. It also reduces the number of coats you might otherwise need.
If your cabinets have repairs, a quality primer helps hide them. You will likely save money in the long run by avoiding redo work.
For personalization, match the primer type to your cabinet material, like wood, laminate, or sealed surfaces. Your finish will look more professional because the base is correct.
-
4. Choosing the wrong shade of white
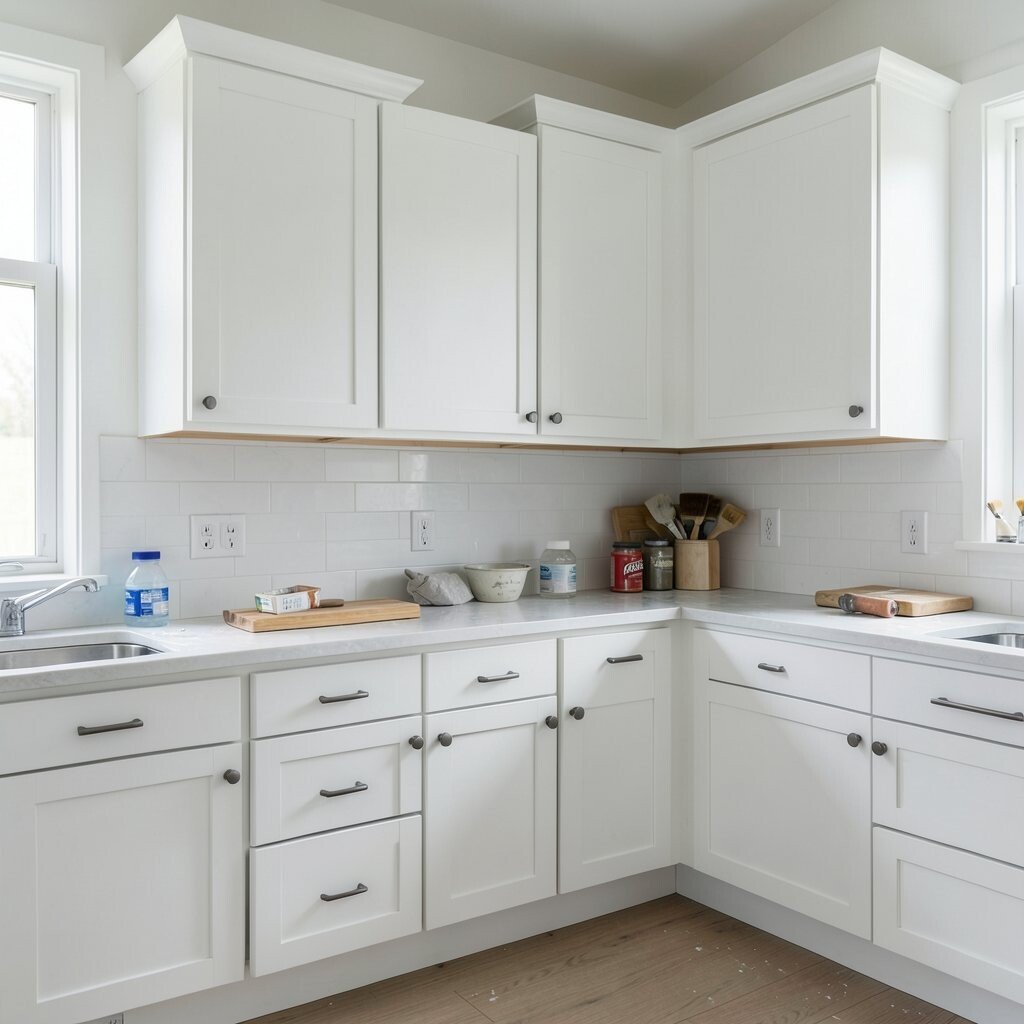
Choosing the wrong shade of white White is not one color, and that matters. Some whites look too cool, while others lean creamy, and both can change the whole room.
Look at paint swatches next to your countertop and flooring in daylight and at night. This helps you choose a white that feels balanced, not shocking.
Bring a small sample home and compare it to your cabinet frames. That little step can prevent the expensive “why does this look yellow?” moment.
-
5. Skipping paint test boards
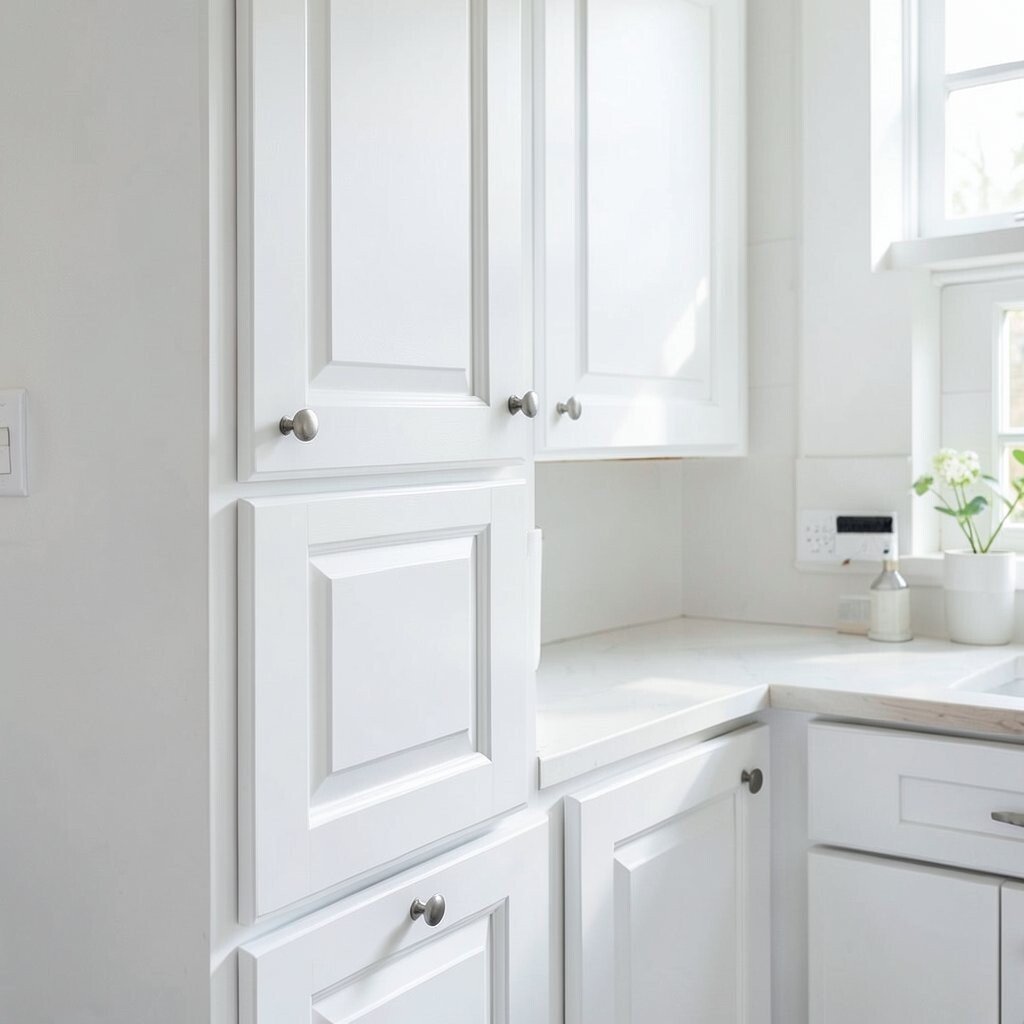
Skipping paint test boards You might think every white paint will look the same once it dries. But different brands can dry with different levels of softness and sheen.
Paint small test areas on scrap wood or the inside of a door. Let the samples dry fully and check after a couple of days.
When you test, you also see how well the color covers, which helps with cost planning. Buying too much paint can be expensive, and buying too little can delay your project.
-
6. Using the wrong sheen
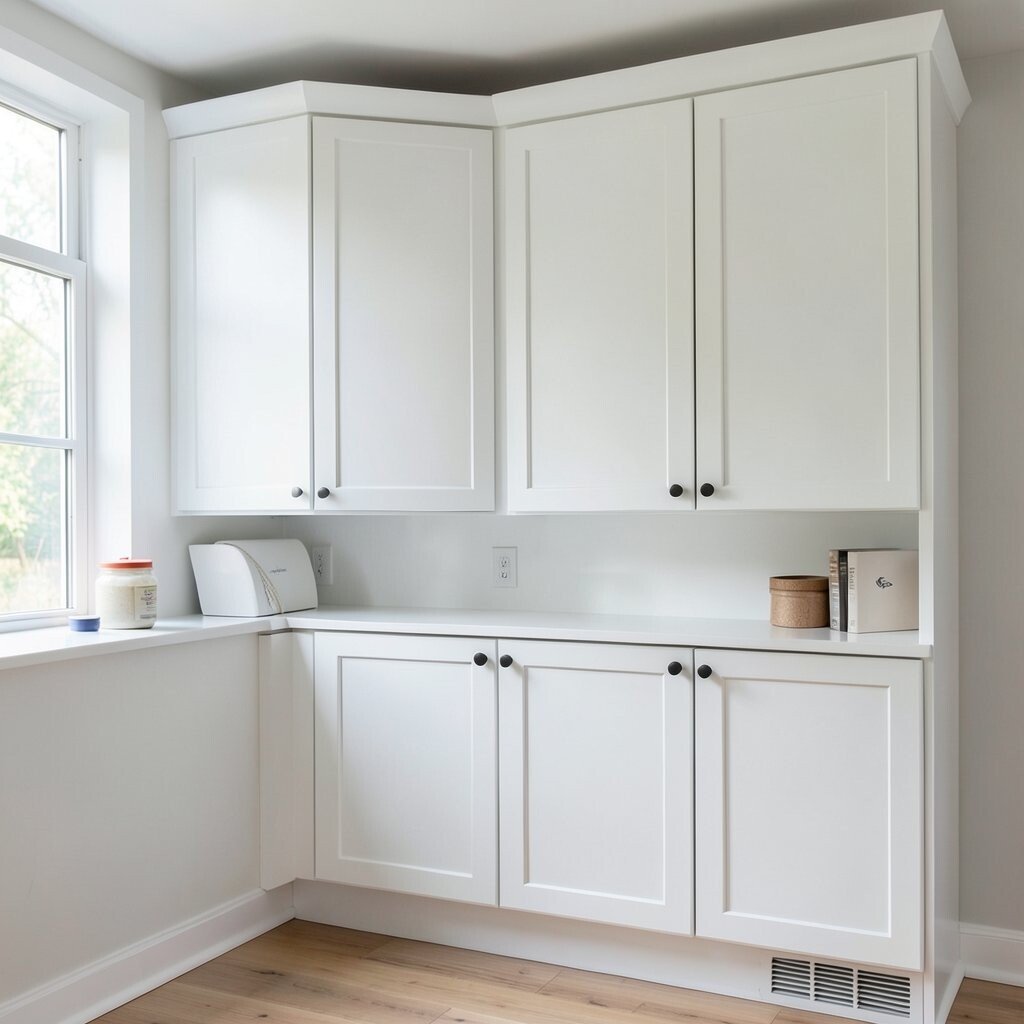
Using the wrong sheen Cabinet paint sheen affects how light bounces around your kitchen. Too shiny can highlight every bump, while too flat can scuff easily.
Most people love a satin or semi-gloss for doors and frames. These options are easier to wipe and still look smooth.
For busy homes, a durable sheen means less stress with everyday cleaning. For a softer, cozy look, you can choose a satin that is not overly glossy.
-
7. Not allowing enough drying and curing time
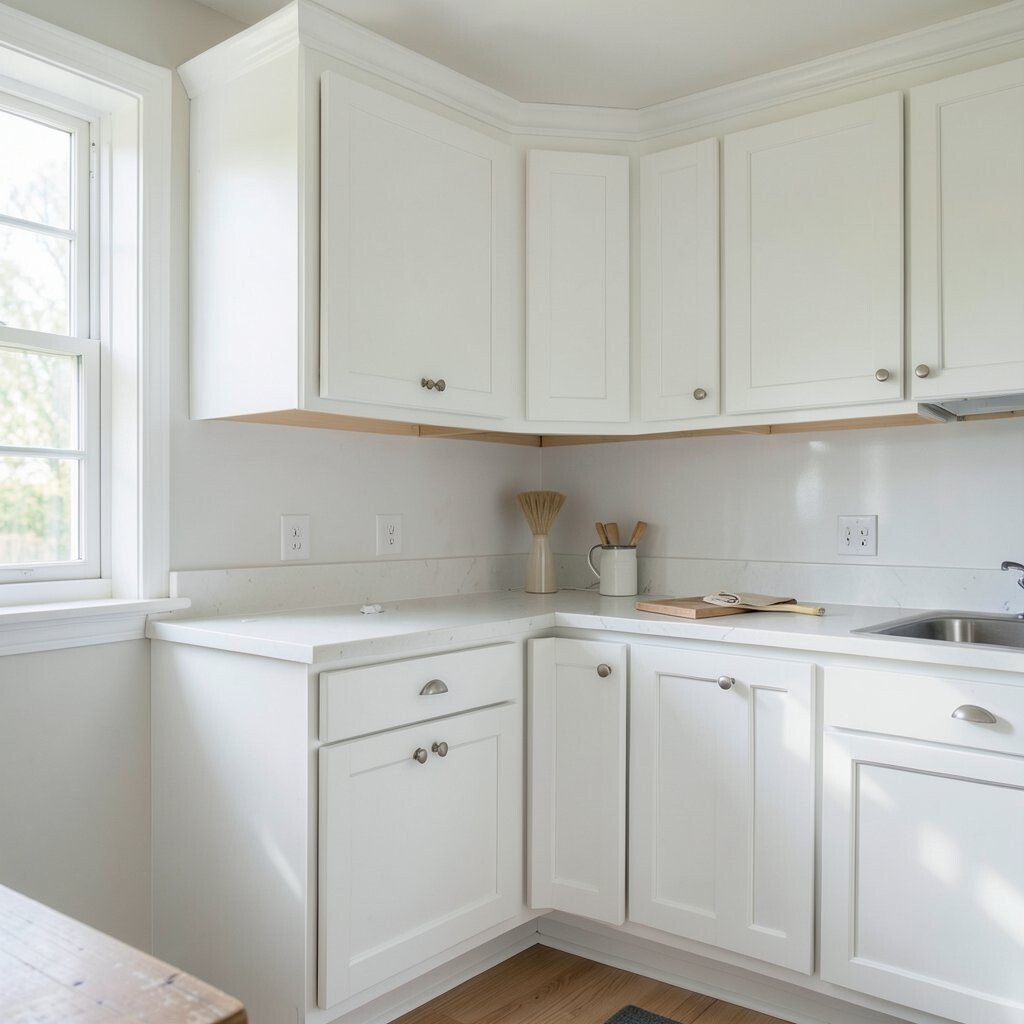
Not allowing enough drying and curing time Rushing to rehang doors can cause fingerprints, smears, or sticky patches. Paint needs time not just to dry, but to cure.
Follow the label times and avoid heavy use right away. Even if the surface feels dry, it may still be forming a strong skin.
Plan your schedule so you can wait between coats and after final painting. This timing helps your finish resist scratches when you put everything back.
-
8. Overworking wet paint
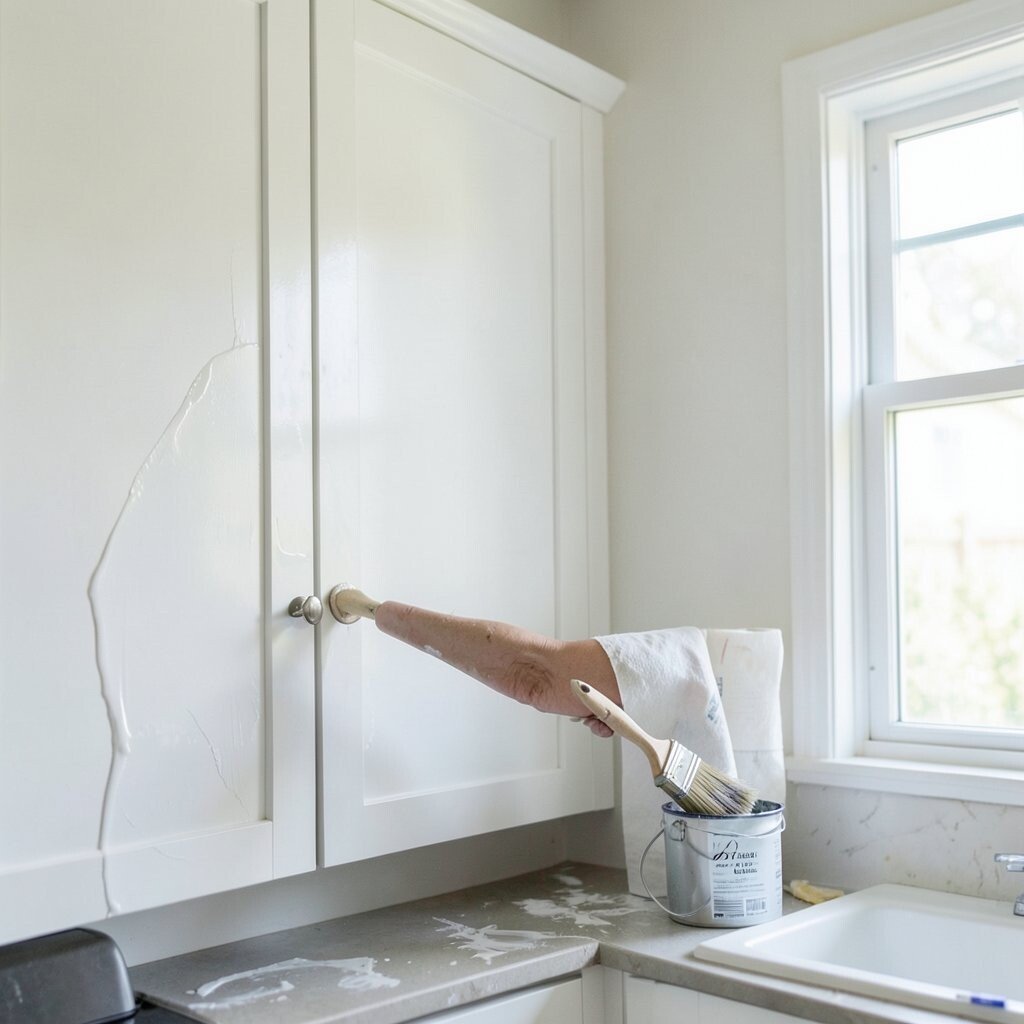
Overworking wet paint If you keep brushing back and forth, you can create visible lines. Wet paint can also trap air bubbles and leave a textured look.
Apply paint in steady strokes and give each section a chance to level. A smoother process helps your white appear even and clean.
Work in smaller areas so you are not tempted to keep “fixing” as you go. This keeps the finish calm and glossy where it should be.
For a more custom feel, you can mix technique with your design style—smooth and modern, or slightly softer for a classic vibe. The key is letting the paint finish itself.
-
9. Ignoring hardware removal and masking
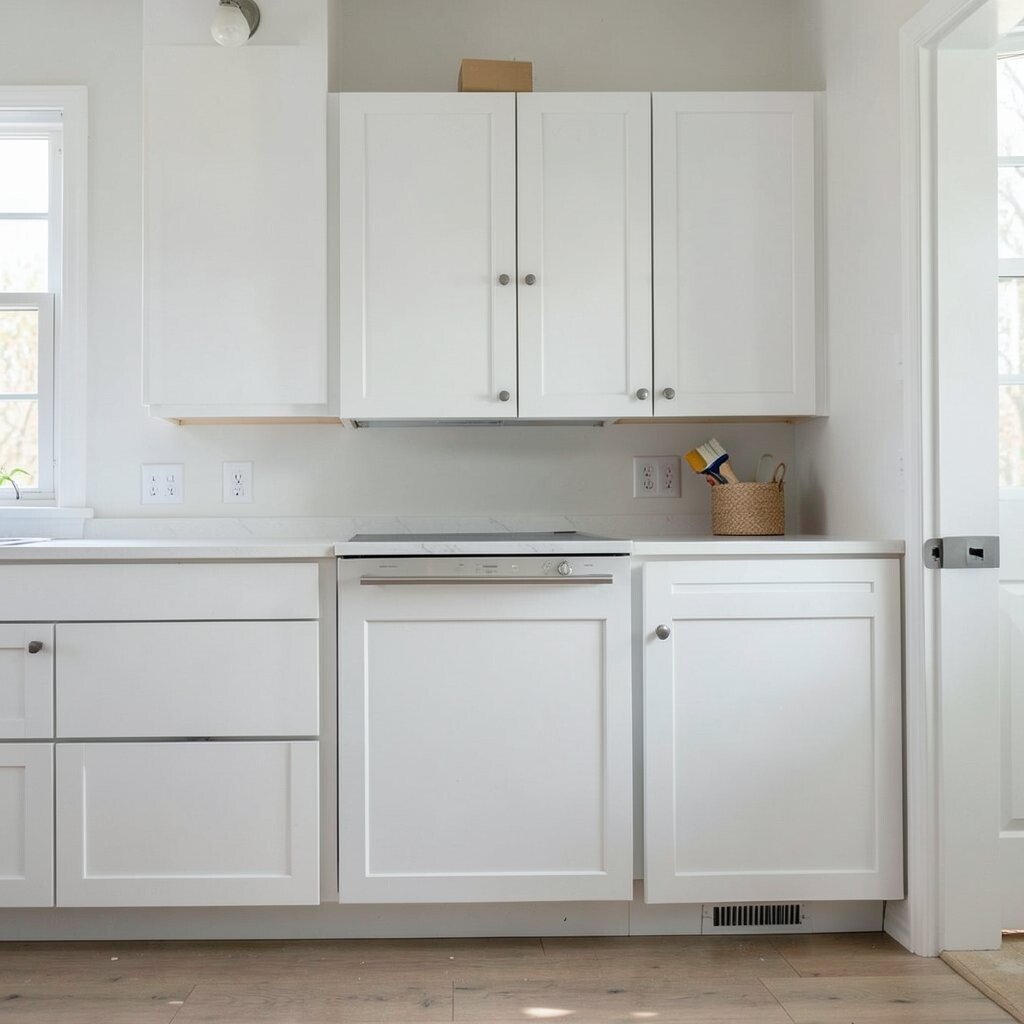
Ignoring hardware removal and masking Painting around knobs and hinges creates uneven edges and messy lines. It also makes it harder to clean later.
Remove hardware whenever you can and label screws to match each location. If you must mask, use painter’s tape that peels cleanly.
Take your time with masking so the crisp white lines look intentional. Neat edges can make even budget cabinets look designer.
-
10. Forgetting to protect floors and walls

Forgetting to protect floors and walls White paint drips travel fast, and they can land where you never expected. One splash can become a stubborn stain.
Lay down drop cloths and cover nearby walls. Use painter’s tape on outlets and trim if needed.
Also protect vents, appliances, and handles. Cleaning splatter later can cost extra supplies and take longer than you want.
-
11. Using cheap brushes or foam rollers
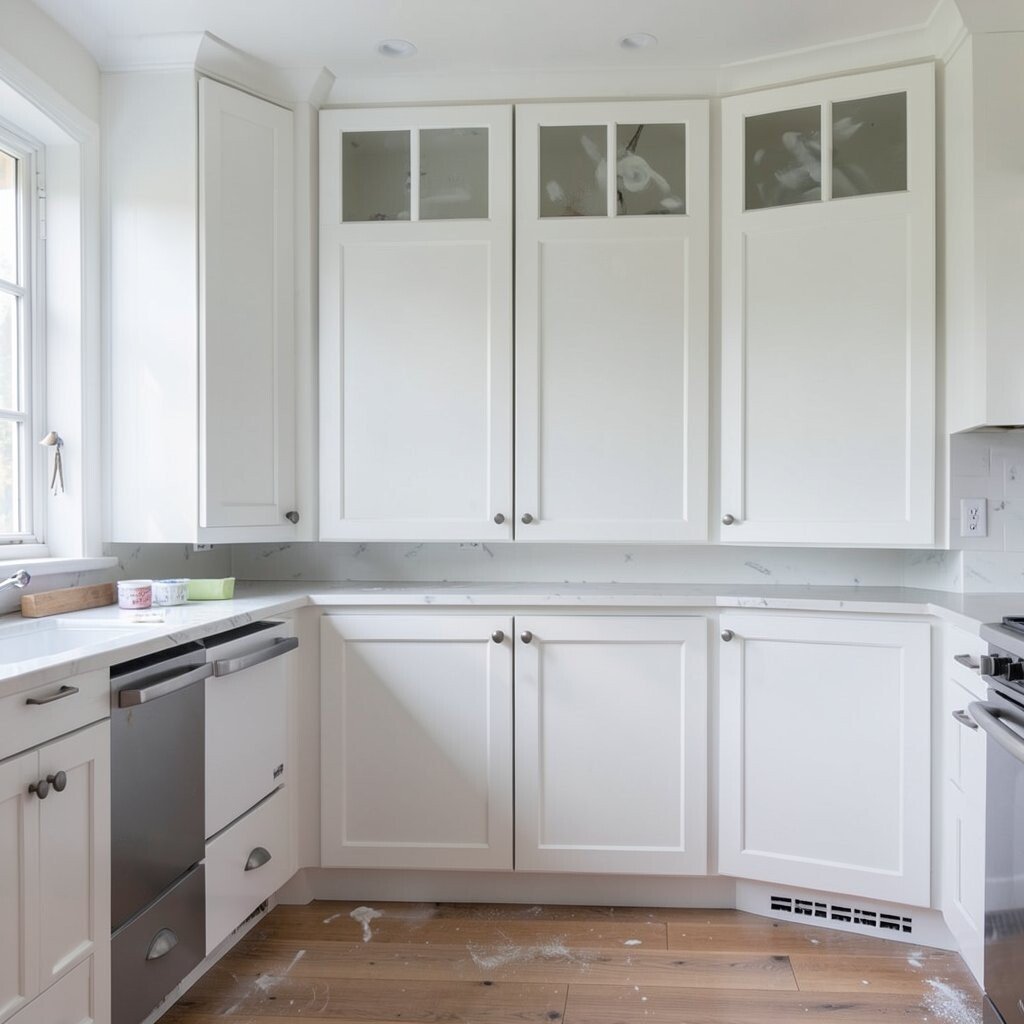
Using cheap brushes or foam rollers Your tools influence how smooth your finish looks. Low-quality brushes can leave streaks, while rough foam rollers can create bumps.
Choose a brush made for smooth, thin coats and a roller that matches cabinet painting. Many people prefer foam rollers designed for cabinetry.
Investing a bit in better tools can save money because you may need fewer touch-ups. It also helps your white look truly flattersome and clean.
If you want a sleek, modern finish, use tools that help the paint level out. For traditional charm, keep the finish smooth and even so details still pop.
-
12. Skipping proper ventilation
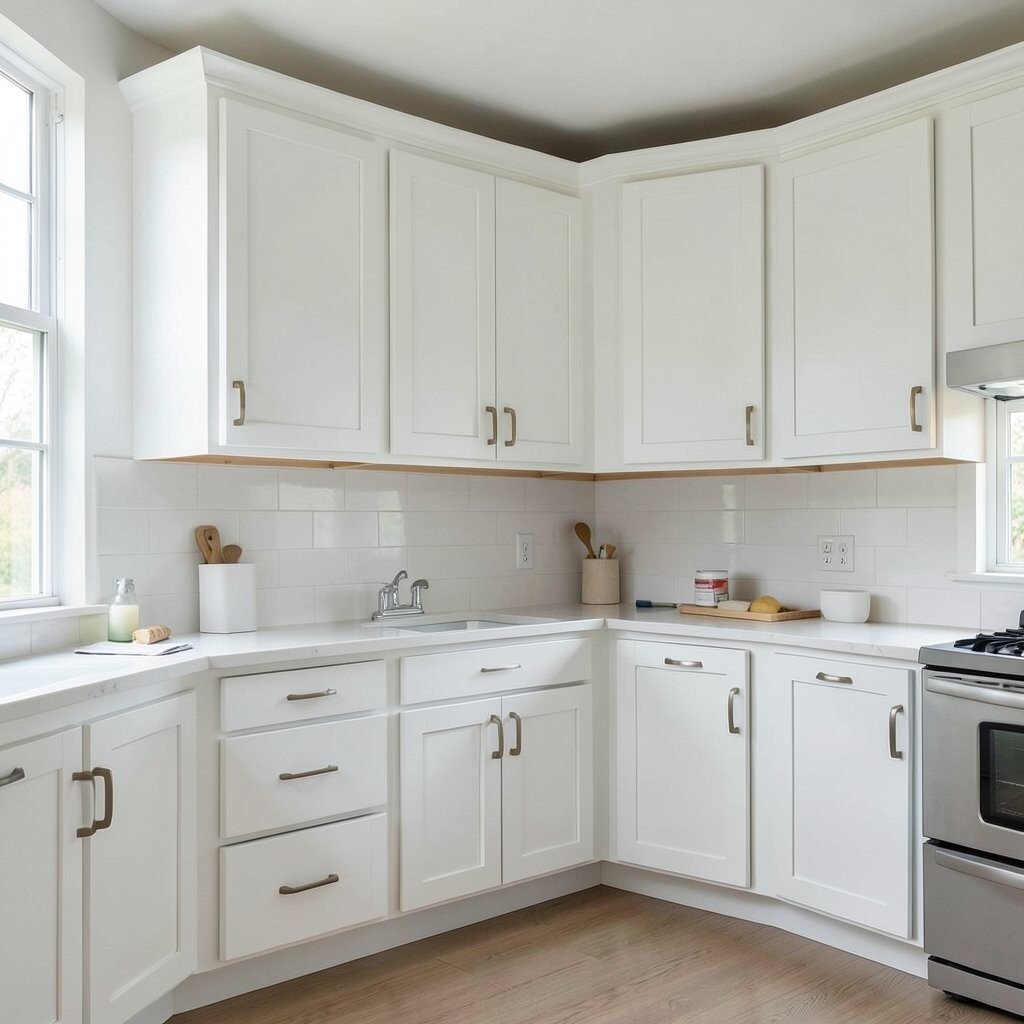
Skipping proper ventilation Paint fumes can make you feel dizzy or tired, and that affects your work. Poor airflow also can slow drying.
Open windows, use fans, and keep air moving safely. If you are in an enclosed kitchen, consider a mask made for paint particles.
Keep a steady temperature, too, because cold air can slow curing. A well-ventilated room helps your paint dry at the right pace.
-
13. Not sanding between coats
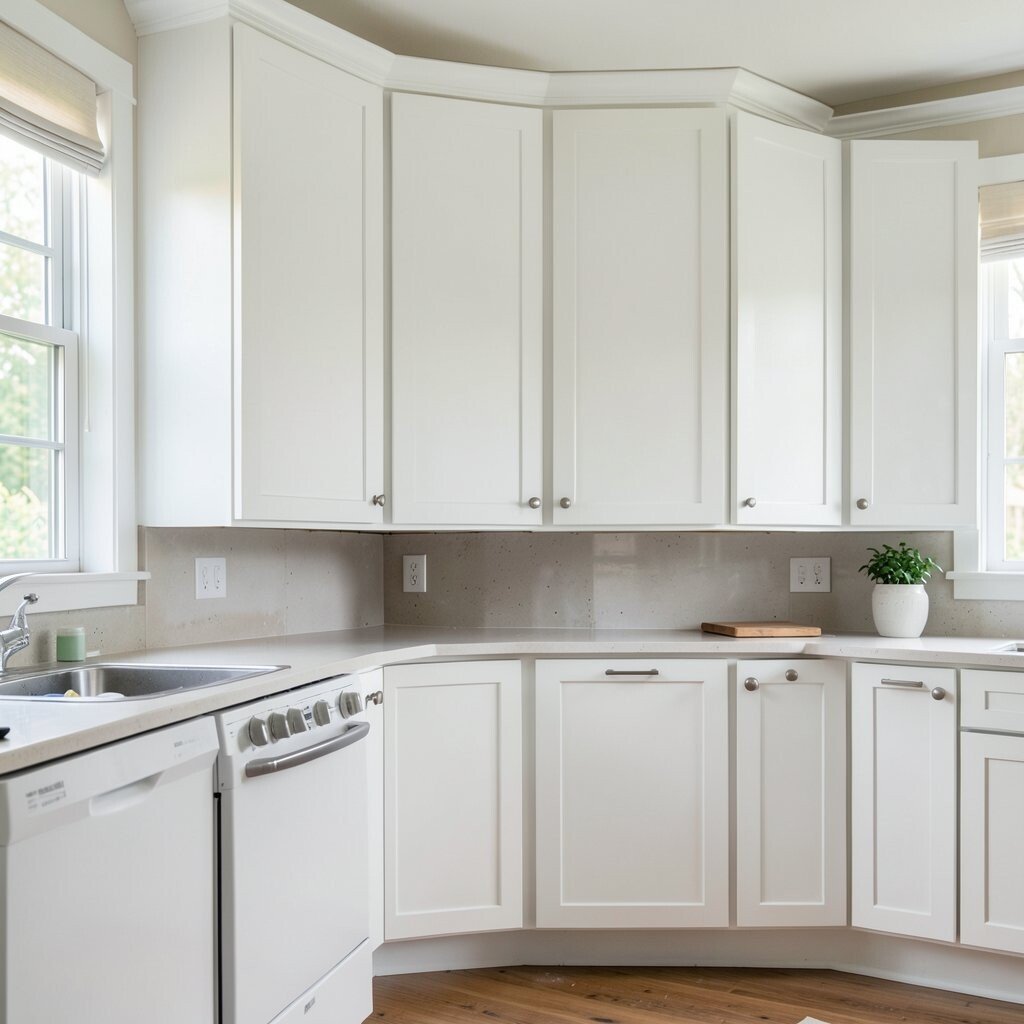
Not sanding between coats Even careful painters sometimes leave tiny bumps. If you paint on top without smoothing, those bumps become permanent lines.
After a coat dries, lightly sand to remove dust nibs and rough spots. Then wipe away the sanding dust before you apply the next layer.
This step improves the final look and helps the next coat bond better. It can also make the white appear more even across all doors.
For personalization, you can decide how smooth you want the finish based on your taste. Modern kitchens often look best with a very smooth surface.
-
14. Applying paint too thick
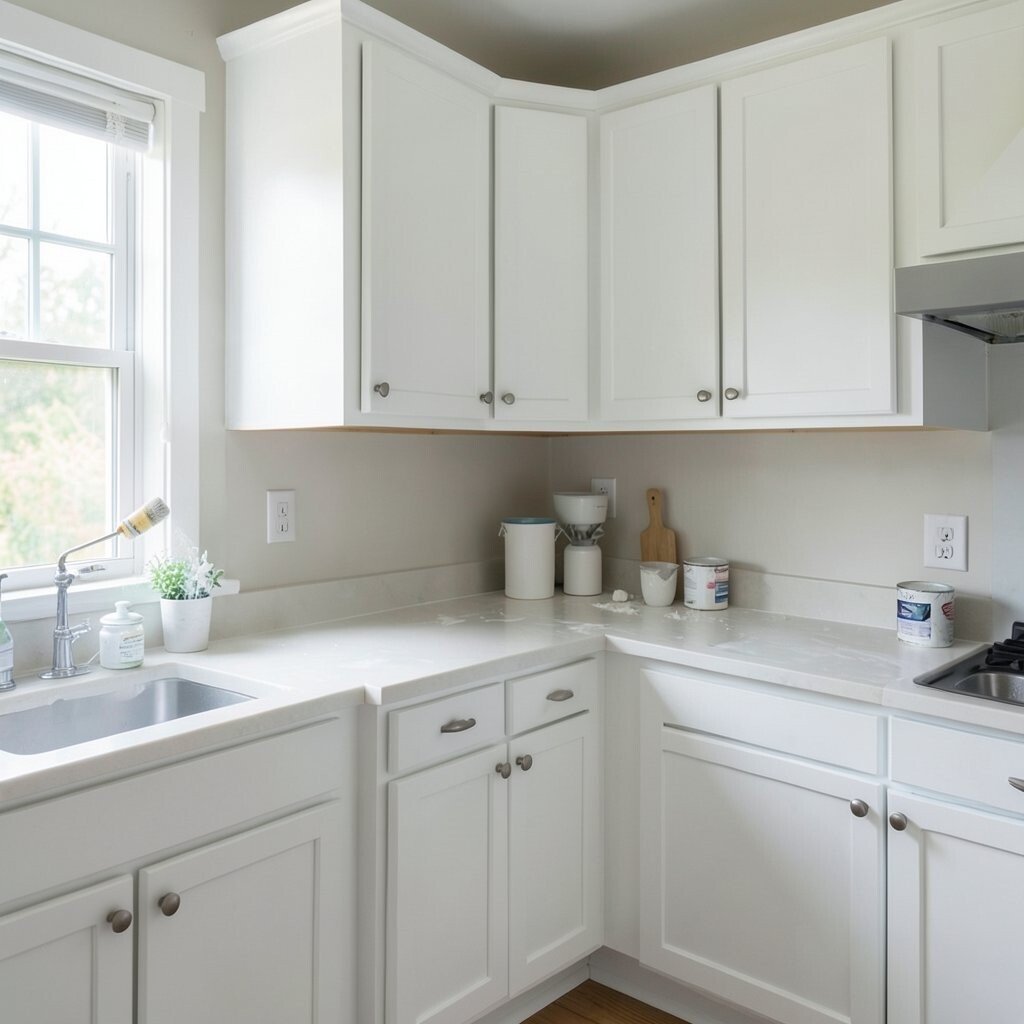
Applying paint too thick Thick paint seems like it will cover faster, but it often causes runs and uneven texture. Thick coats can also take longer to dry.
Use thin, even layers and let each coat do its job. If the white still shows through, add another coat rather than piling on more paint.
Thin coats help your finish level, meaning it smooths out for a glassy look. This can be especially helpful for panel doors and detailed edges.
-
15. Forgetting to prime repairs and patched areas
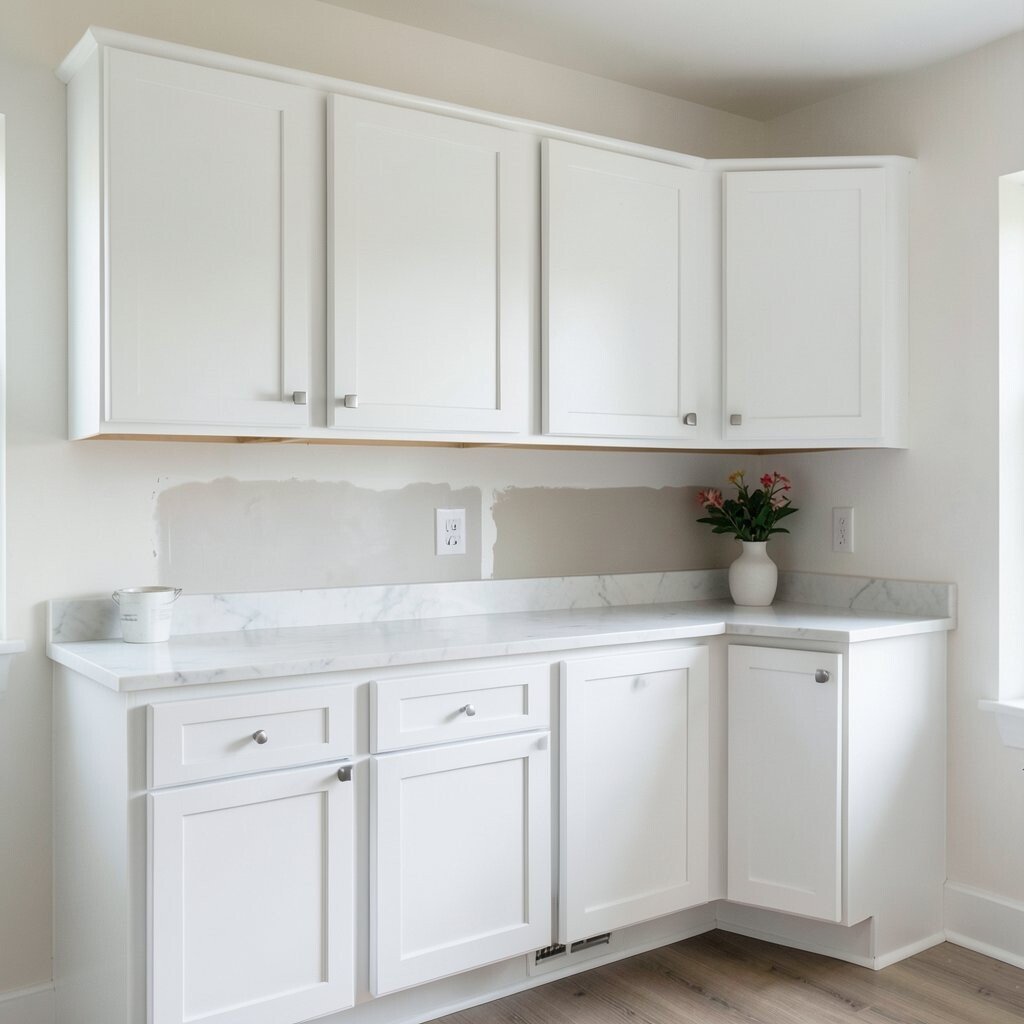
Forgetting to prime repairs and patched areas When you fill dents or holes, those patches need special attention. If you skip primer over filler, the paint can look different in that spot.
Sand the repairs until they feel smooth and then apply primer. This helps the white blend in and prevents shadows from showing.
Color mismatches stand out more on white cabinets than on darker ones. Taking care of repairs keeps your finish calm and uniform.
-
16. Ignoring wood movement and cabinet material differences
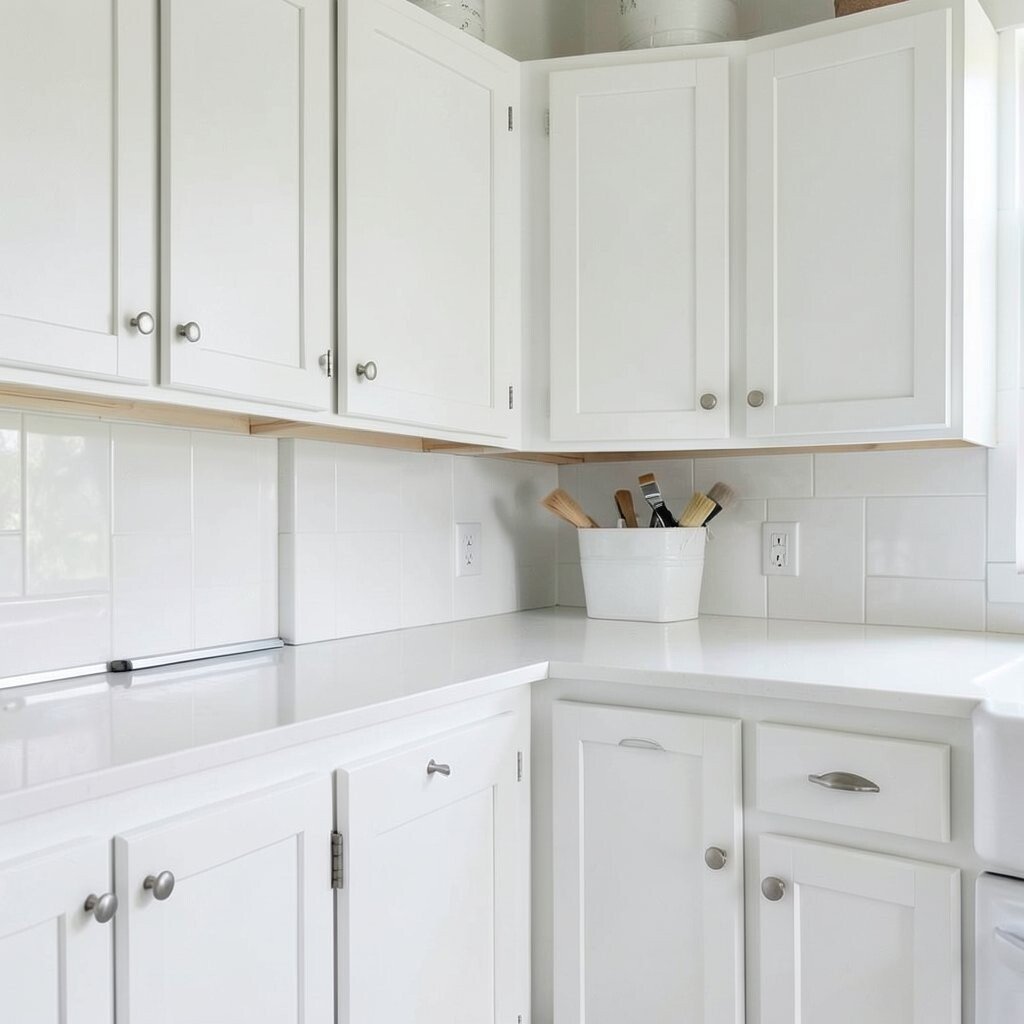
Ignoring wood movement and cabinet material differences Cabinets can shift slightly with seasons and humidity. When the base is not right for the material, paint may crack or separate.
Consider what your cabinets are made of before picking paint and primer. Laminate needs different prep than bare wood.
Also think about how your kitchen is used, because heat and moisture levels vary. The better you match products to your material, the longer your white stays pretty.
-
17. Not managing drips on vertical surfaces
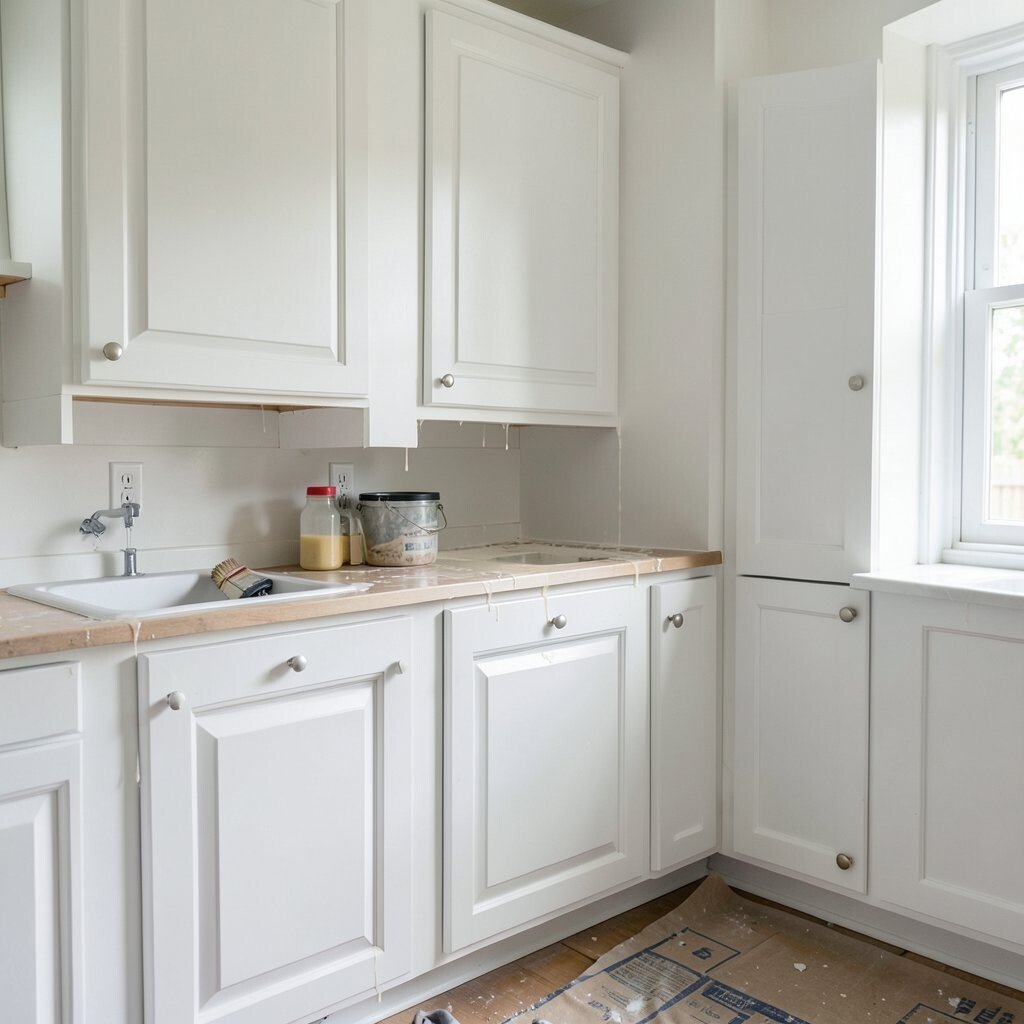
Not managing drips on vertical surfaces Cabinet frames and stiles invite drips because gravity is always working. A single drip can dry into a hard ridge.
Load your brush or roller lightly and keep a gentle, consistent pace. If you see a drip forming, fix it early while the paint is still workable.
Let paint level between passes, instead of dragging it repeatedly. This gives you smoother coverage with fewer marks.
-
18. Using interior wall paint instead of cabinet-grade paint
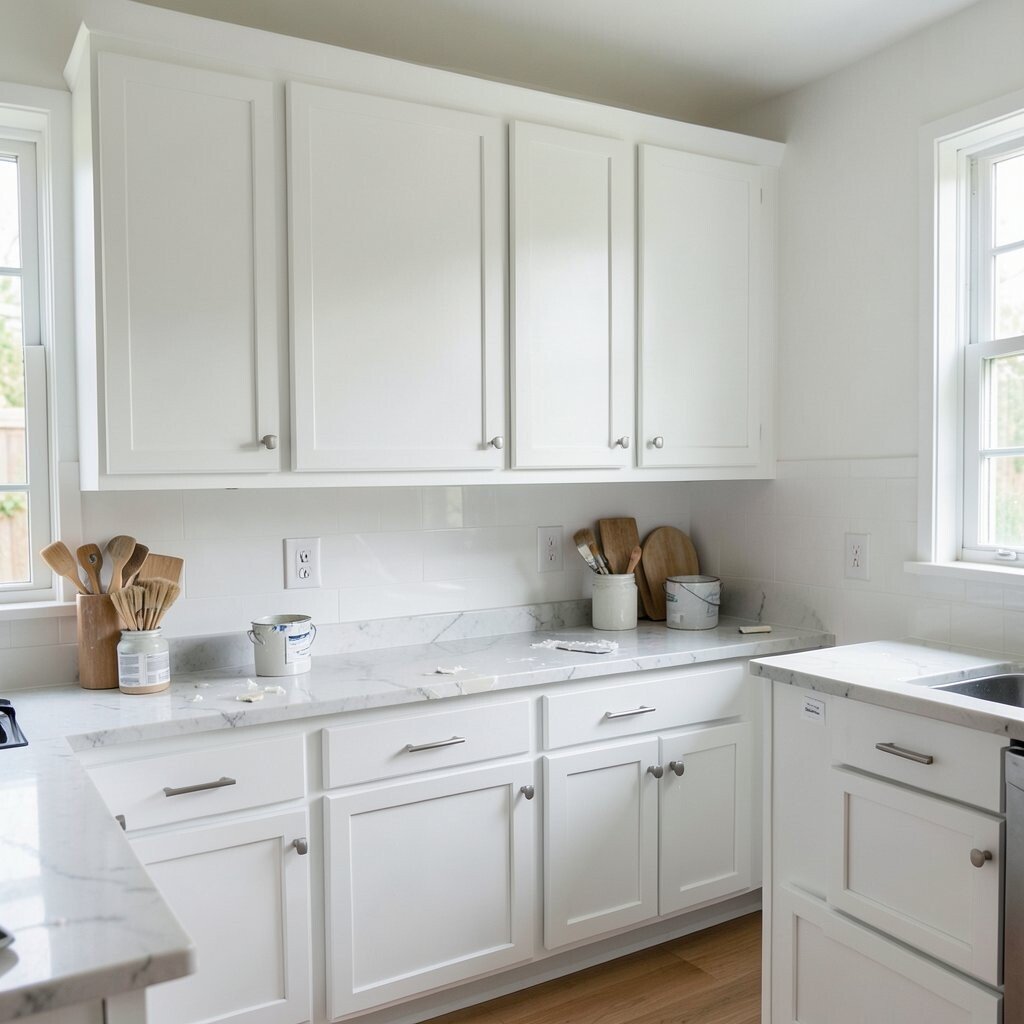
Using interior wall paint instead of cabinet-grade paint Wall paint might look great at first, but cabinets get wiped and handled constantly. Soft paint can scuff or chip at edges.
Pick paint made for cabinets or trim, and check for durability. Cabinet-grade paint is usually designed to resist stains and daily wear.
Choosing the right paint can cost more upfront, but it reduces future repainting. That trade-off often saves money over time.
For a trendy look, many homeowners now choose a smooth satin finish that still feels easy to clean. It keeps your kitchen bright without looking overly shiny.
-
19. Forgetting to clean dust from between steps
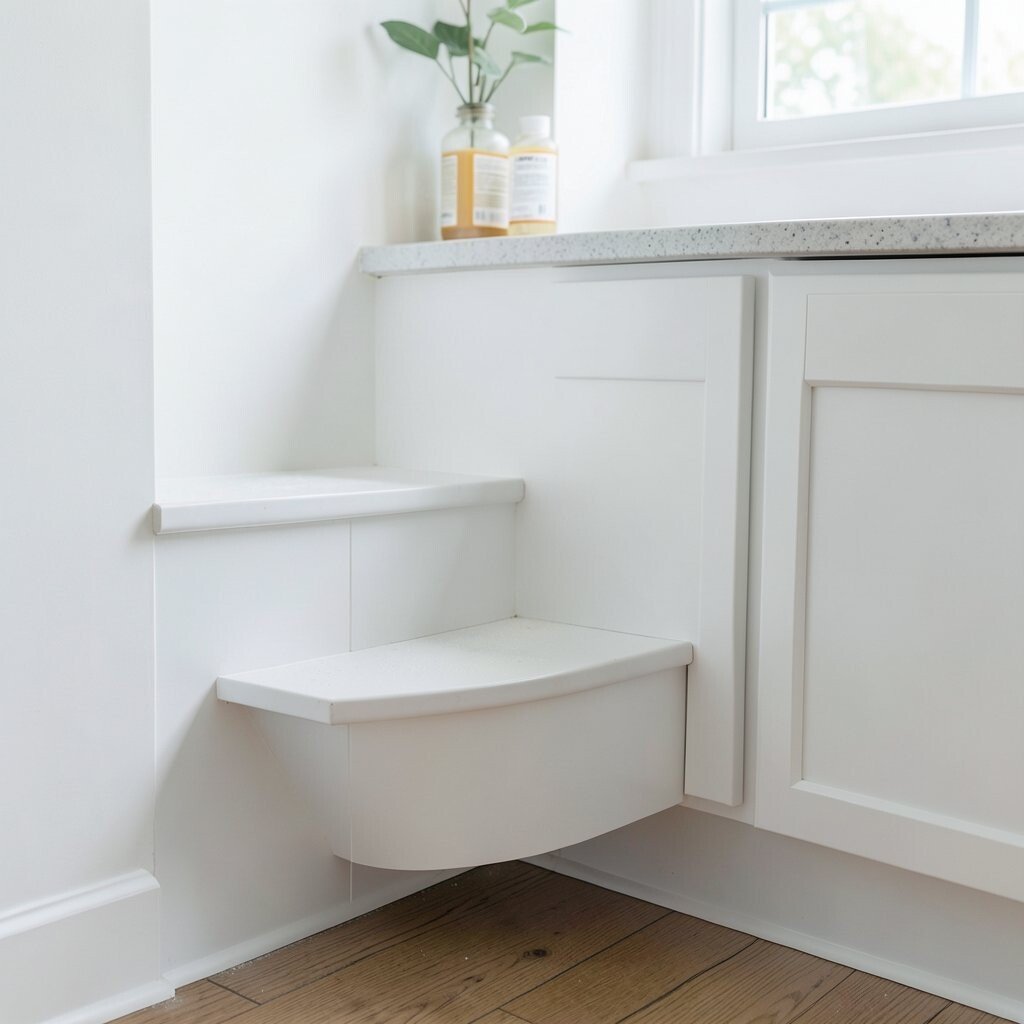
Forgetting to clean dust from between steps Sanding creates dust, and dust loves to stick to wet primer. If you skip the cleanup, those specks can show through white paint.
Vacuum thoroughly and wipe down using a tack cloth or clean microfiber. Make sure you remove dust from corners, grooves, and panel recesses.
This is one of the simplest ways to improve the “store-bought” look. Cleaner prep creates sharper edges and smoother panels.
-
20. Reinstalling doors without checking alignment and spacing
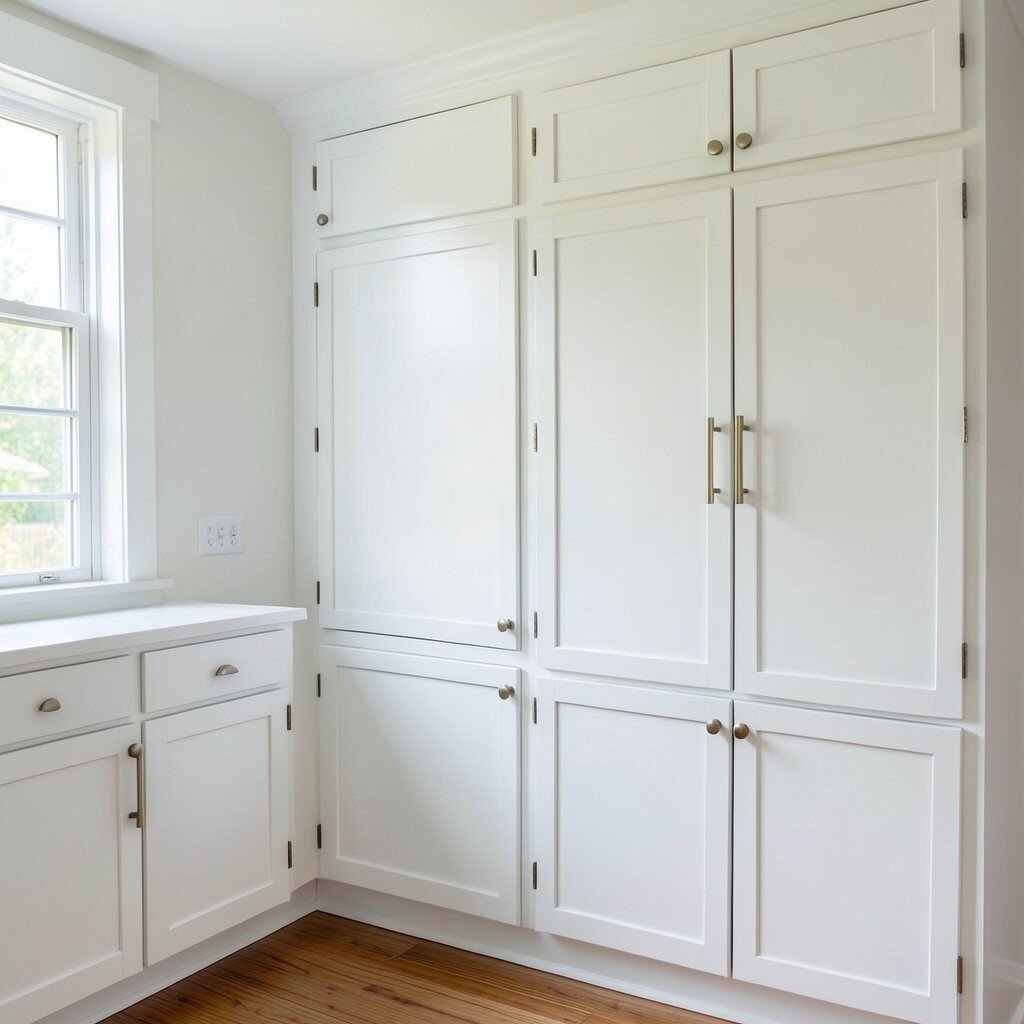
Reinstalling doors without checking alignment and spacing Cabinet painting does not only affect color; it affects how doors sit. If you reinstall while hardware is off, you can scrape fresh paint.
Let everything cure, then reinstall carefully and adjust hinges for proper gaps. A clean alignment keeps doors from rubbing and damaging your new finish.
Test opening and closing before you call it done. Taking a few minutes here helps protect the paint for years.
-
21. Skipping a protective topcoat when needed

Skipping a protective topcoat when needed Some cabinet paints are designed to stand alone, but others benefit from extra protection. Without the right protection, your white can dull or mark over time.
Check the product guidance and decide if a clear protective topcoat fits your situation. A protective layer can help with scrubbing and reduce visible wear.
This can also support unique finishes, like a subtle sheen control or extra stain resistance. When you plan protection, you improve both beauty and practicality.