The kitchen feels different when it looks like it belongs to you. Small hands-on projects can make a big mood change.
Ready for a fresh look that still feels warm and livable?
-
1. Peel-and-Stick Backsplash With a “Real Tile” Look
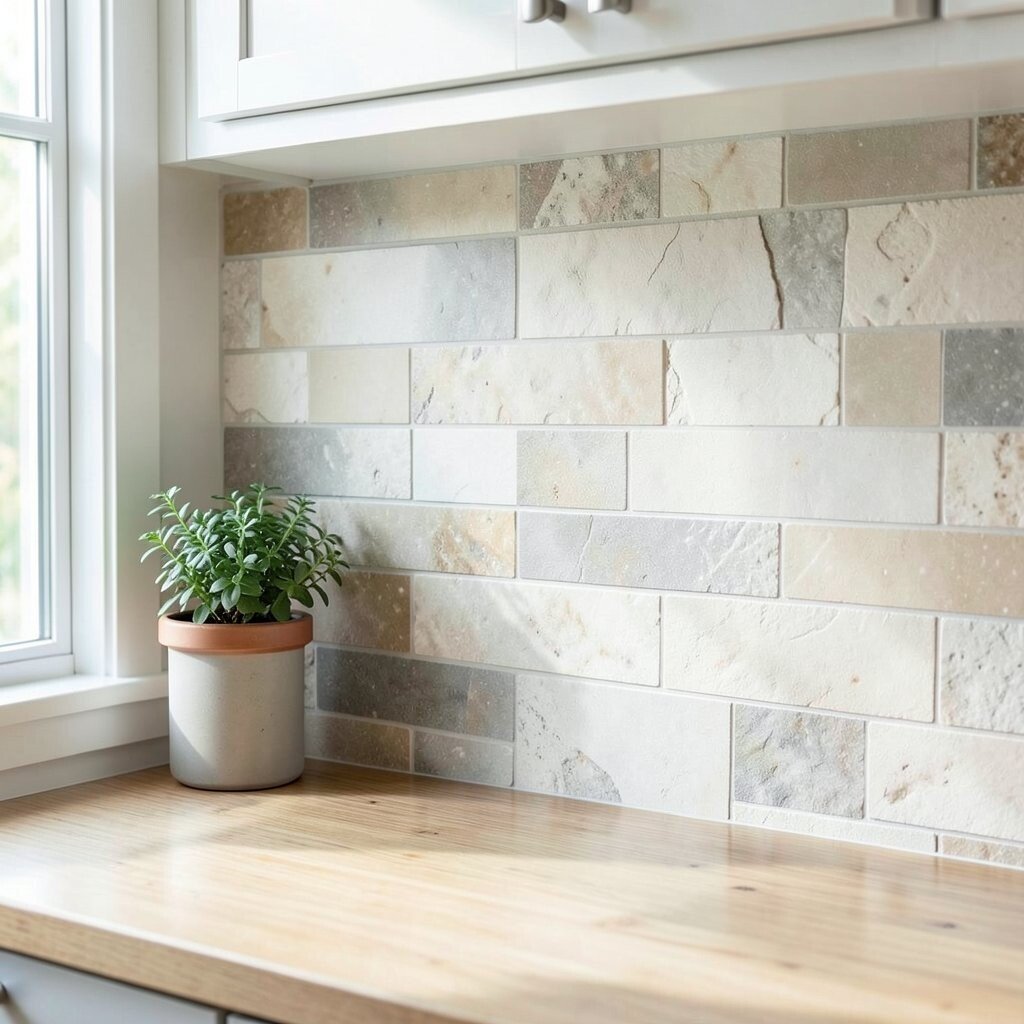
Peel-and-Stick Backsplash With a “Real Tile” Look If your kitchen walls feel plain, a peel-and-stick backsplash can add instant charm. Pick a pattern that looks like subway tile, marble, or warm terracotta, and apply it in a straight, careful grid.
You’ll love how it protects the wall from splashes while still feeling decorative. It’s also budget-friendly compared to full tile work, and it’s renter-safe if you choose removable adhesive. For best results, clean the surface well, measure twice, and press each piece firmly to prevent air bubbles.
To personalize it, mix tile shades with the rest of your kitchen colors. Add a narrow trim strip at the edge or include a small accent patch behind the stove. If you want a trendier vibe, choose “stone” textures that mimic natural materials but stay easy to swap later.
-
2. DIY Open-Shelf Makeover With Stain and Shelf Liners
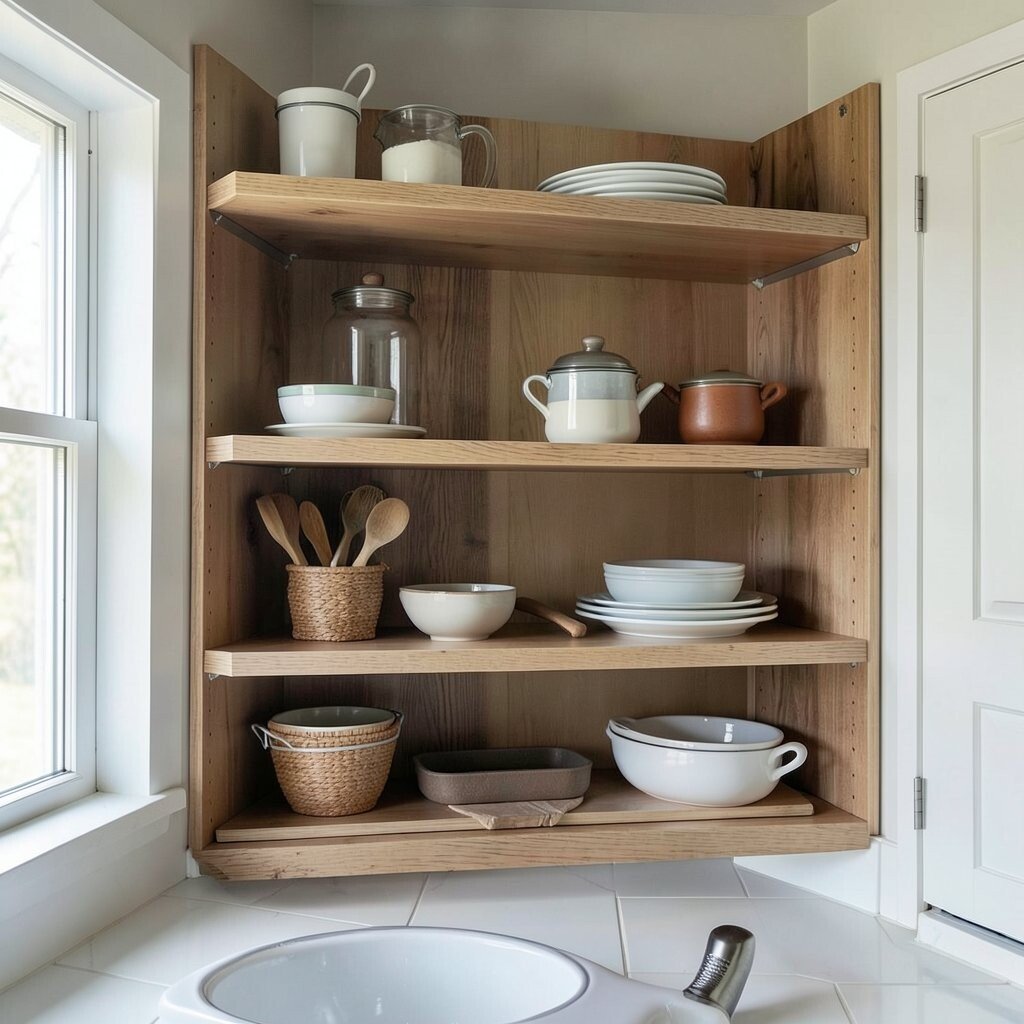
DIY Open-Shelf Makeover With Stain and Shelf Liners Open shelving is already full of personality, so give it a quick style tune. Lightly sand the wood, then stain it in a shade that matches your cabinets, or paint it for a crisp, clean look.
Use shelf liners to protect the wood and help items look neat. It also makes cleanup easier, because crumbs and spills won’t soak in. Choose liners with subtle patterns, like tiny dots or soft stripes, so your dishes stay the star.
For personalization, organize by height and color, not just by type. Add small labels on the inside edge of a shelf for a tidy “pantry” feel. A low-cost option is using leftover paint samples for a custom tint that’s unique to you.
-
3. Hand-Painted Welcome Sign for the Kitchen Door or Wall
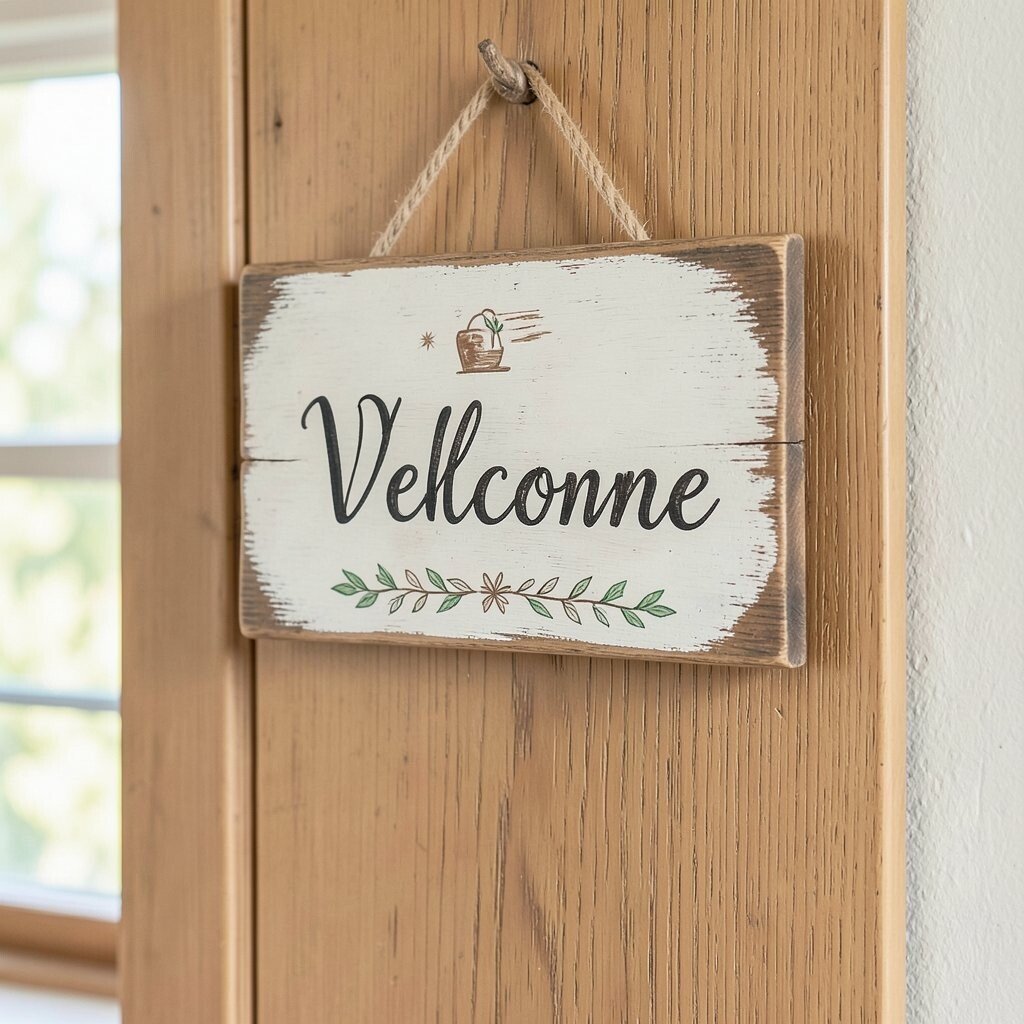
Hand-Painted Welcome Sign for the Kitchen Door or Wall A painted sign can make your kitchen feel inviting the moment someone walks in. Choose a simple phrase like “Home,” “Gather,” or “Coffee First,” then use a calm background color that fits your space.
You can make it even more special by adding a small border pattern, like tiny leaves, waves, or sun shapes. Paint pens help with clean lines, and they’re great for beginners. This DIY project also gives you a one-of-a-kind piece that you can’t buy anywhere else.
Set it near a light source so it looks bright during the day. Use a little clear sealer on top if you want it to last longer. For cost, look for unfinished wood signs or thrifted frames, then add your own lettering style.
If you enjoy current trends, try a muted “neutral” palette with one bold accent color, like sage or terracotta. Stenciled lettering also keeps the look modern without feeling too hard.
-
4. Create a Magnetic Spice Card System on a Pegboard
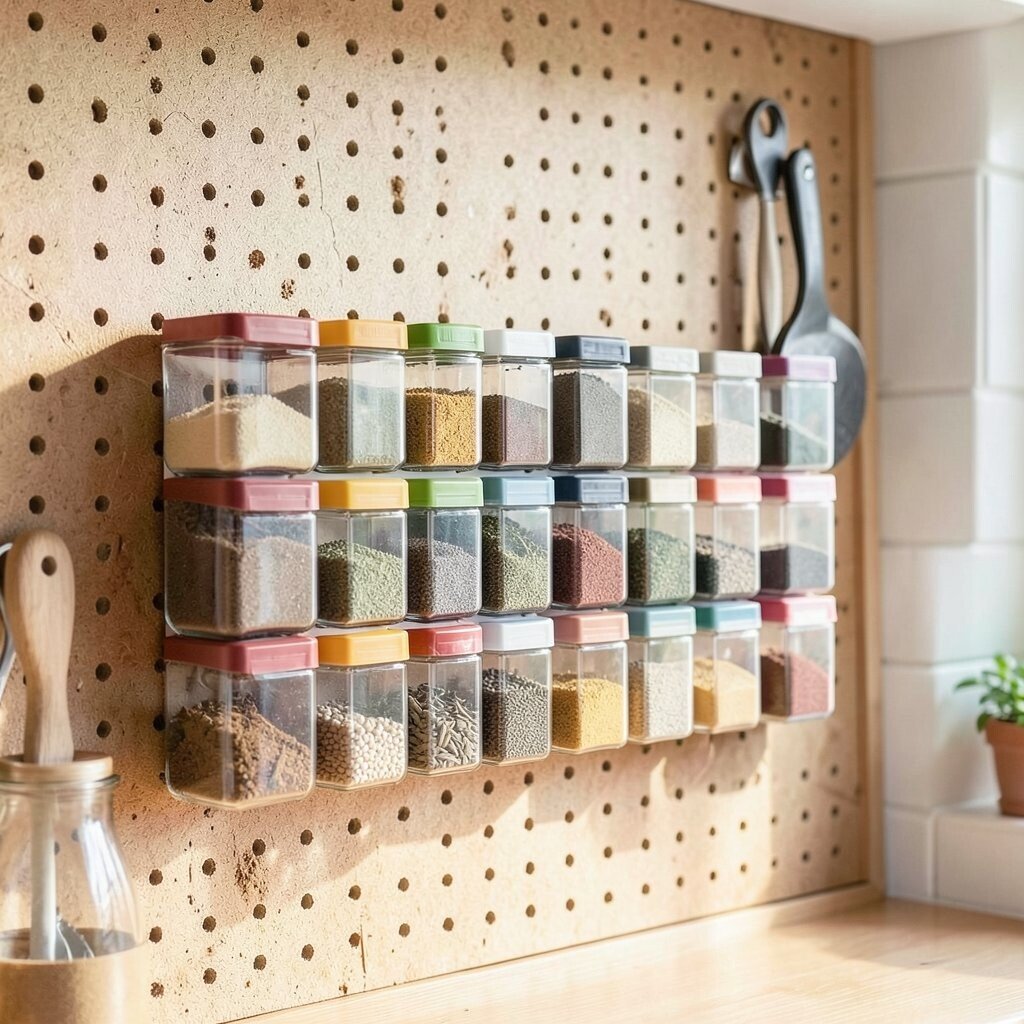
Create a Magnetic Spice Card System on a Pegboard Pegboards aren’t just for tools. They can hold spices in a fun and organized way, especially if you add magnetic spice cards in neat rows.
It’s a big benefit for daily cooking because you can grab what you need fast. The look stays clean, and you can change labels as you restock. To start, paint your pegboard, mount it securely, then use small containers that fit easily behind the cards.
-
5. Decorative Fruit Bowl Upgrade With a DIY Base
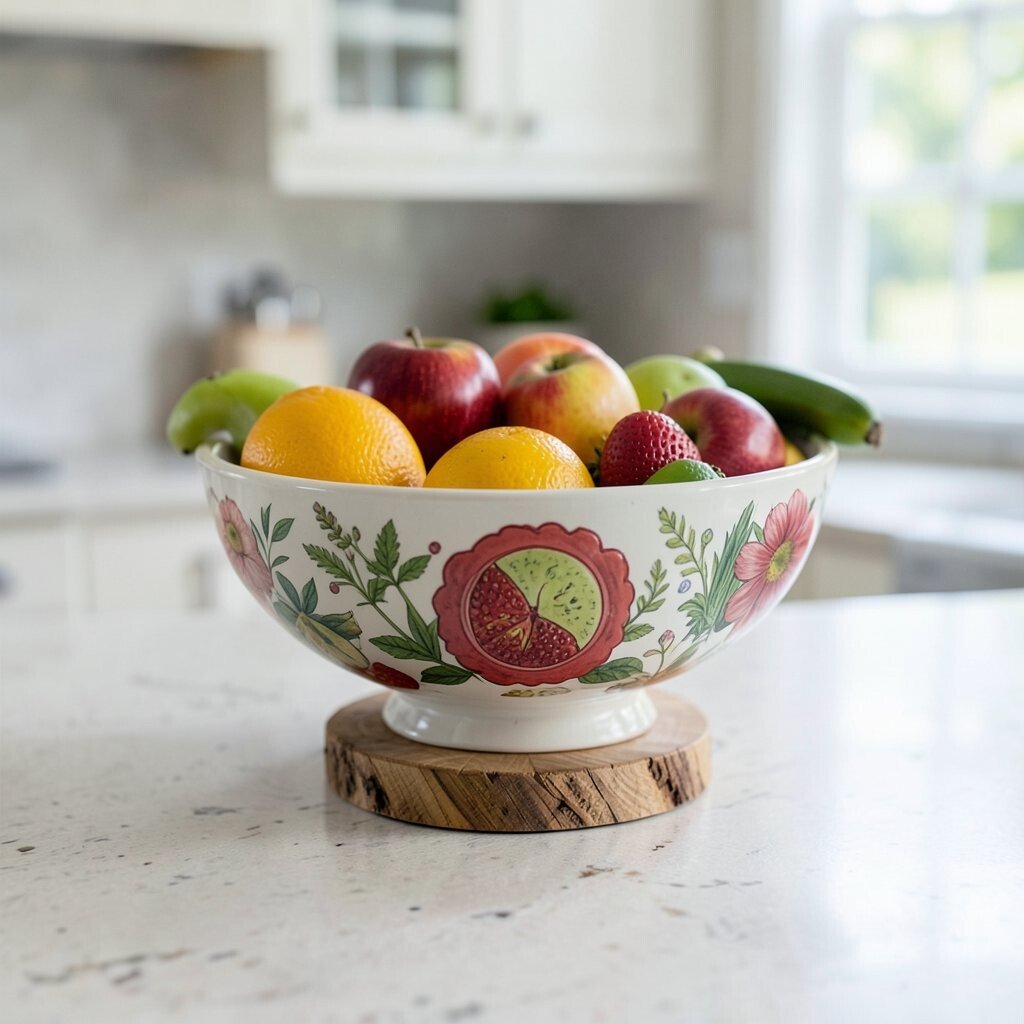
Decorative Fruit Bowl Upgrade With a DIY Base A fruit bowl is useful, but it can also be pretty. If your current bowl feels boring, build a new “base” with a small wooden stand or a stack of shallow trays, then add a simple top dish.
When you show colorful fruit, the whole kitchen looks more alive. This is a great benefit for busy households because it encourages easy healthy snacks. For a unique touch, use a wooden turntable, a vintage cake stand, or a thrifted metal dish you clean and polish.
Personalize it by matching the base color to your cabinet knobs or dining chair frames. You can also add a small liner underneath so fruit doesn’t slip. If you want a modern trend, choose matte finishes and earthy tones like olive, clay, or sand.
Don’t spend a lot—check thrift stores, discount home shops, and dollar aisles for mix-and-match pieces.
-
6. DIY Cabinet Knob Swap With a “Coordinated” Hardware Theme
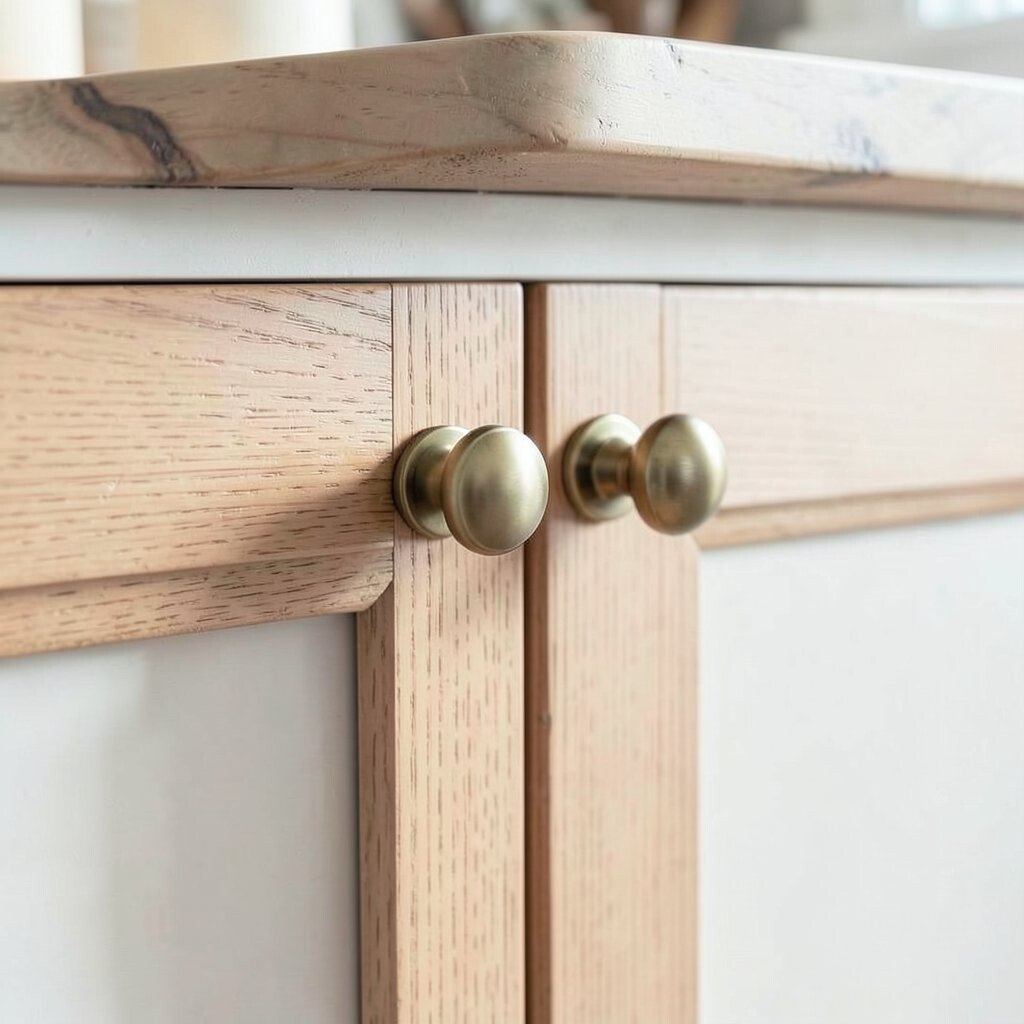
DIY Cabinet Knob Swap With a “Coordinated” Hardware Theme One of the quickest upgrades is changing cabinet knobs and pulls. It can make old cabinets look brand new, especially if you choose a finish that matches other metal details in the room.
Hardware updates are a clear benefit because you get a visible difference without messy painting. For uniqueness, try a “two-tone” plan, like matte black pulls with warm brass accents, or keep everything in one metal family for a calmer look. Measure carefully, and use the right screw length to avoid damage.
To personalize, pick knobs shaped like leaves, circles, or small dots. If you’re following current trends, matte finishes and rounded shapes are popular because they feel soft and modern. Budget-wise, start with the most-used cabinets first, like drawers near the stove, and do the rest later.
-
7. Framed Recipe Corner Using a Gallery Wall Layout
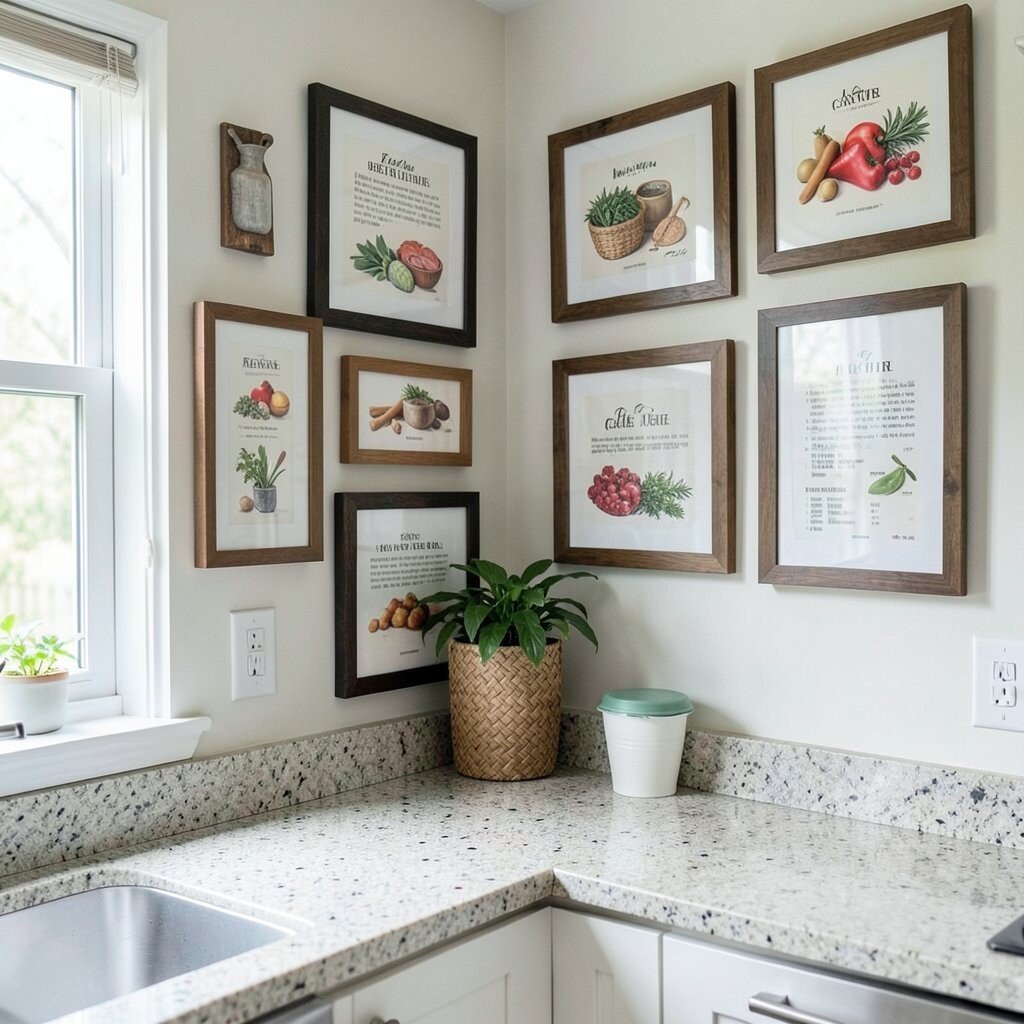
Framed Recipe Corner Using a Gallery Wall Layout Give your recipes a home by building a small framed display. Choose a few of your favorite cards or print recipes, then place them in matching frames for a neat gallery vibe.
This idea helps you cook smarter because your go-to recipes are right there. It also protects paper from splatters if you put it near, but not directly above, the stove. For a unique look, mix frame sizes with the same color finish.
Personalization tip: include a handwritten “family recipe” card with your own notes. Use different fonts for headings, but keep the background color consistent. For cost, look for thrifted frames and print on cardstock to make them feel more expensive.
-
8. Make Your Own Drawer Organizer Using Cardboard and Fabric
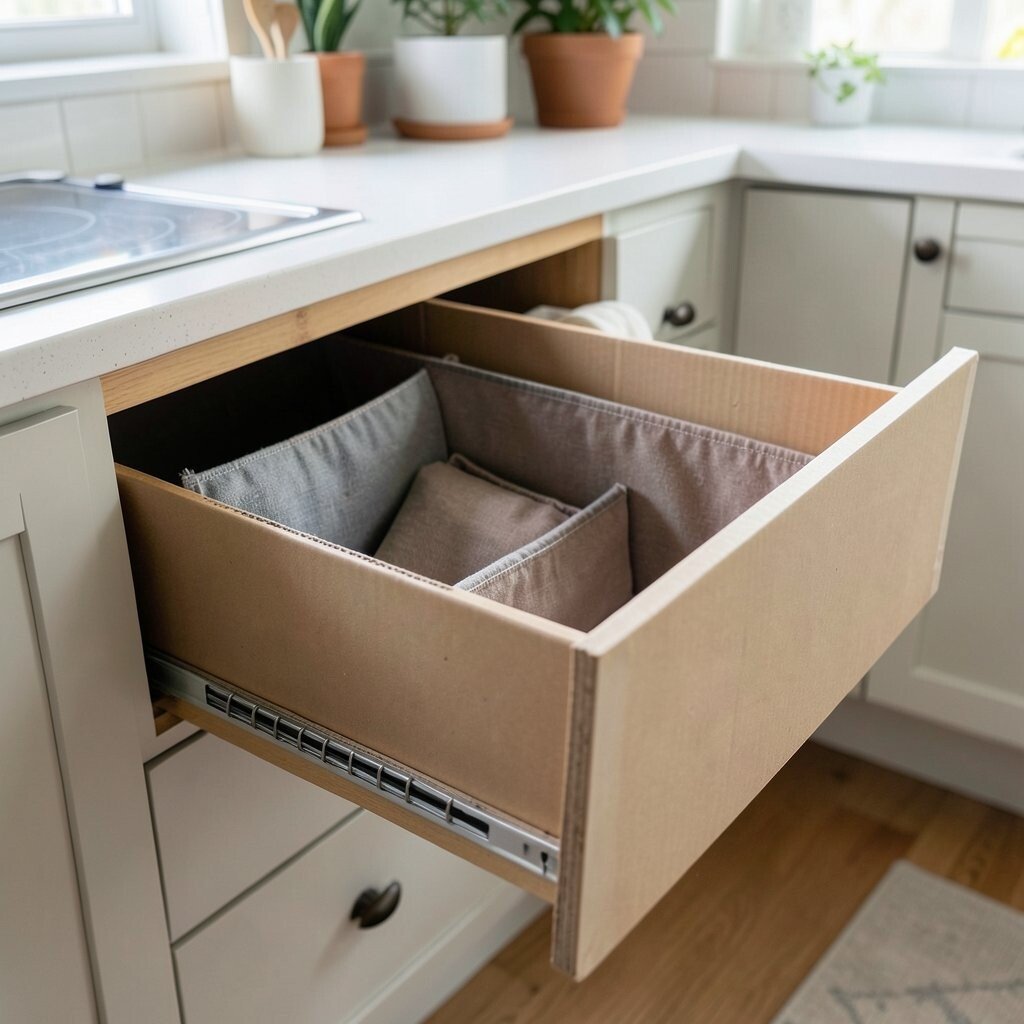
Make Your Own Drawer Organizer Using Cardboard and Fabric Jumbled drawers can make the kitchen feel stressful. You can make simple organizers by cutting sturdy cardboard into boxes, then covering them with fabric or patterned paper.
The benefit is huge: it saves time and helps you find tools quickly. Since you build the size you need, it fits your kitchen perfectly. For uniqueness, use fabric scraps that match your dish towels or table runner.
To personalize, label each organizer with small tags, like “spoons,” “baking,” or “snack clips.” If you want a trendier feel, pick a bold geometric pattern and keep colors muted in the rest of the drawer. For cost, cardboard is free-ish, and fabric scraps are often leftover from old projects.
Before covering, wipe the drawer so the organizer stays clean. Use a glue that dries strong, and let it set overnight so everything holds steady.
-
9. DIY Chalkboard or Dry-Erase Pantry Labels
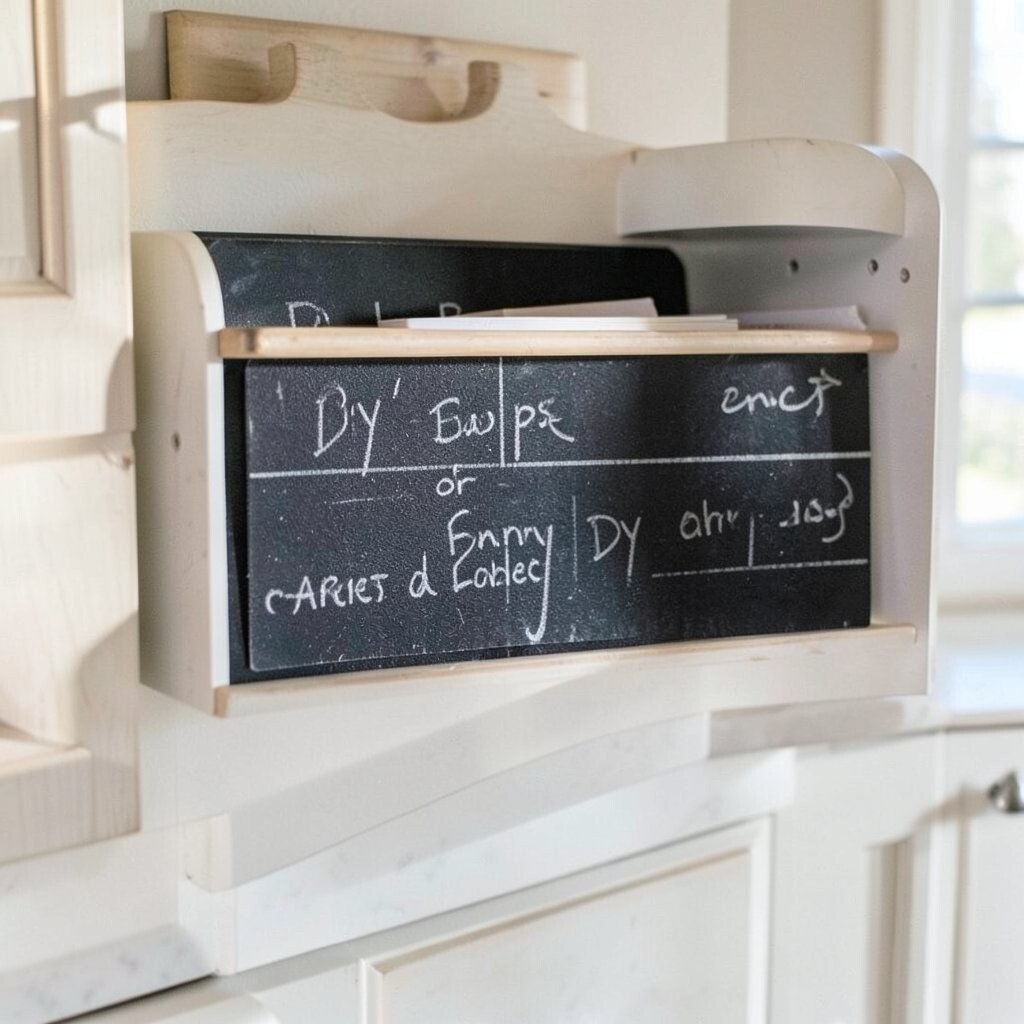
DIY Chalkboard or Dry-Erase Pantry Labels Pantry labels can look cute and also make cooking smoother. A chalkboard or dry-erase label on containers helps you see what’s inside without guessing.
This helps with the benefit of less waste, because you can spot what’s running low. It also gives you a way to personalize as you change brands or refill jars. Choose label shapes you like, and mount them on containers, a tray, or a small board near the pantry.
-
10. Hanging Pot Rack Look With a DIY Rail and Hooks
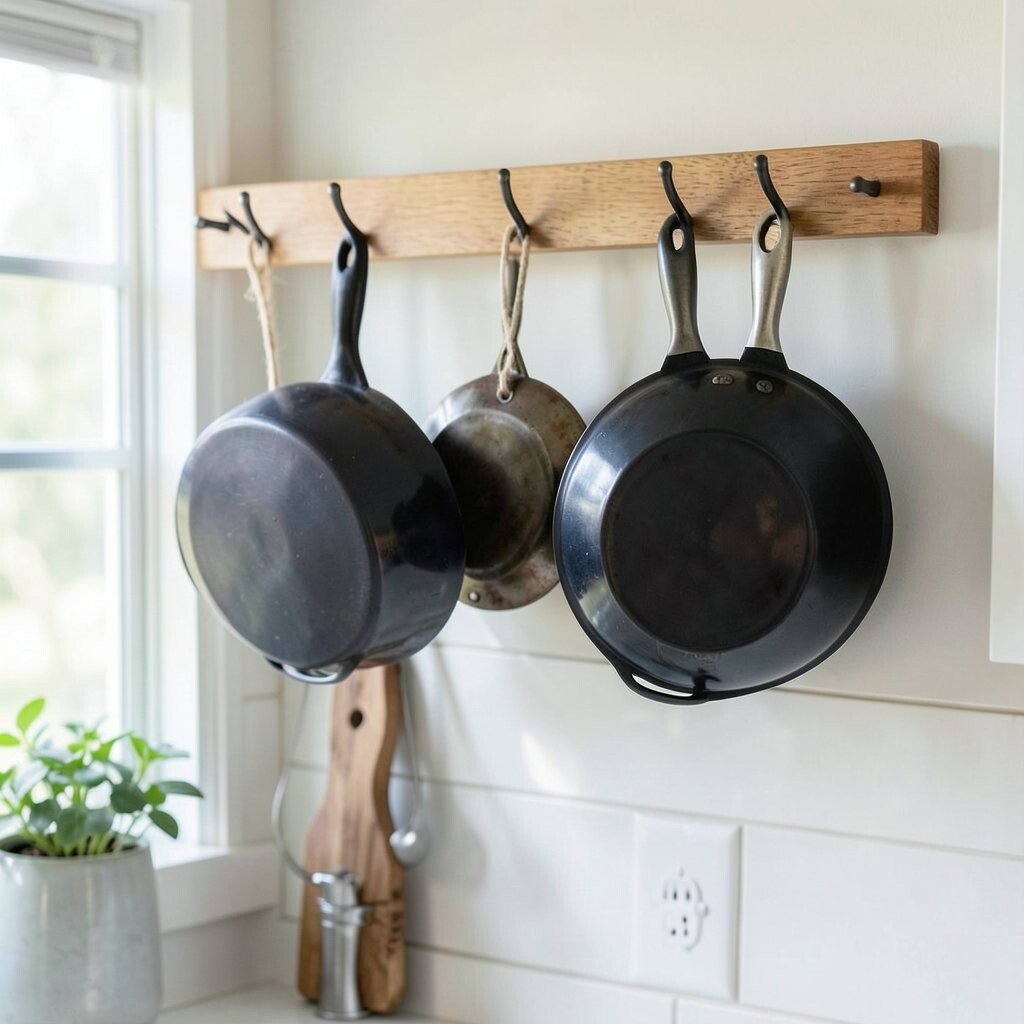
Hanging Pot Rack Look With a DIY Rail and Hooks Even if you don’t have space for a full pot rack, you can still get that “chef” feeling. Add a sturdy rail or repurpose an old towel bar, then attach heavy-duty hooks for pots, pans, and utensils.
This creates a benefit of faster cooking because your tools are within reach. It also turns cookware into decor, which feels unique and practical. For safety, mount the rail into studs if possible, and keep the load realistic.
To personalize, hang items by style: copper pans together, or black utensils as a matching set. Use a small wall shelf above for oils or a cookbook holder. Budget-wise, you can find rails and hooks at hardware stores or thrift shops, then paint or stain them to fit your kitchen.
-
11. Upcycled Coffee Station With a Tiered Tray Setup
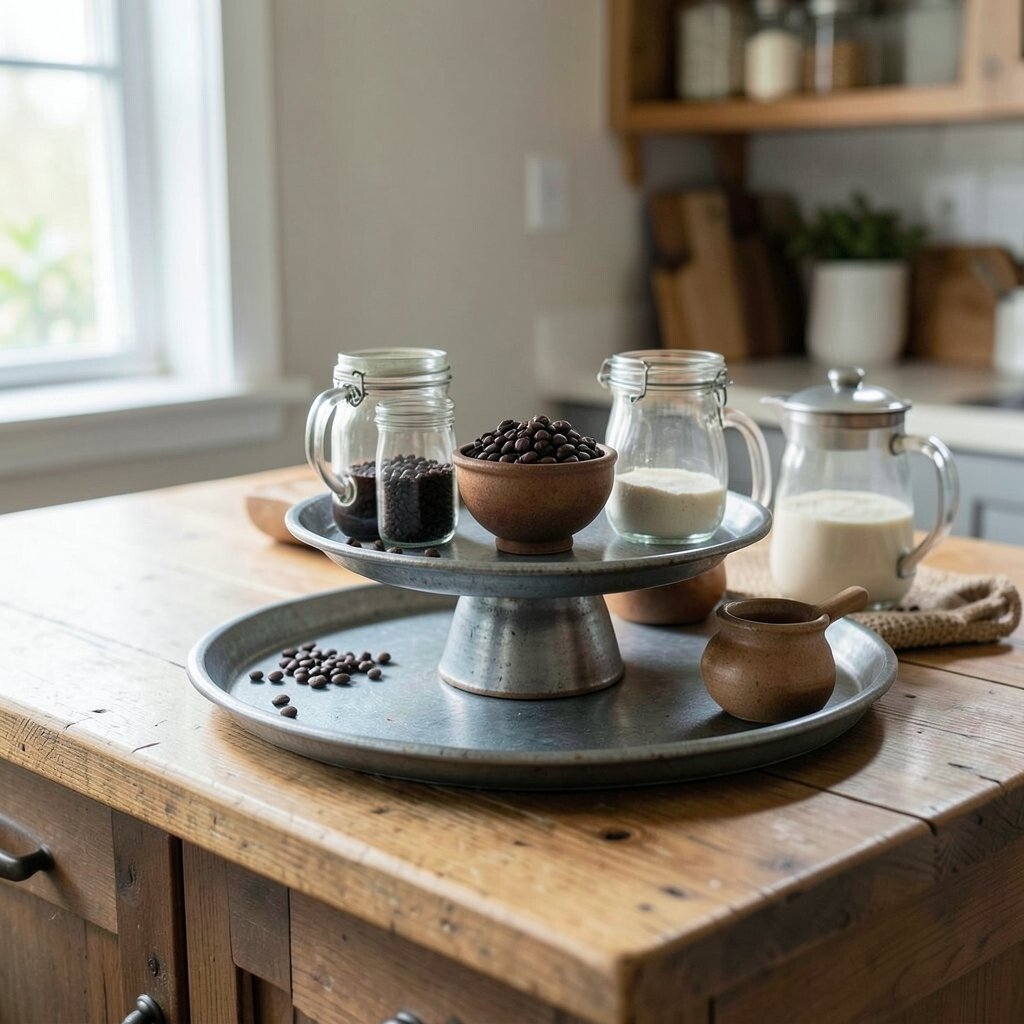
Upcycled Coffee Station With a Tiered Tray Setup A coffee station can make mornings feel more relaxed. Build one by turning a thrifted tray set into a tiered display with jars, spoons, and labels.
This adds a benefit of clear organization, so coffee items stay in one spot. It also gives you a unique styling space where you can show your favorite mugs and sweeteners. Personalize it by color-coding jars or using different textures like glass, wood, and ceramic.
If you want a current trend, consider a cozy “cafe” look with warm neutrals and wood accents. Use a small handwritten menu card for seasonal drinks, or print a cute quote. For cost, search for inexpensive tiered trays and use existing mugs you already own.
-
12. Painted Wall Tile Art Using Small Scrap Pieces
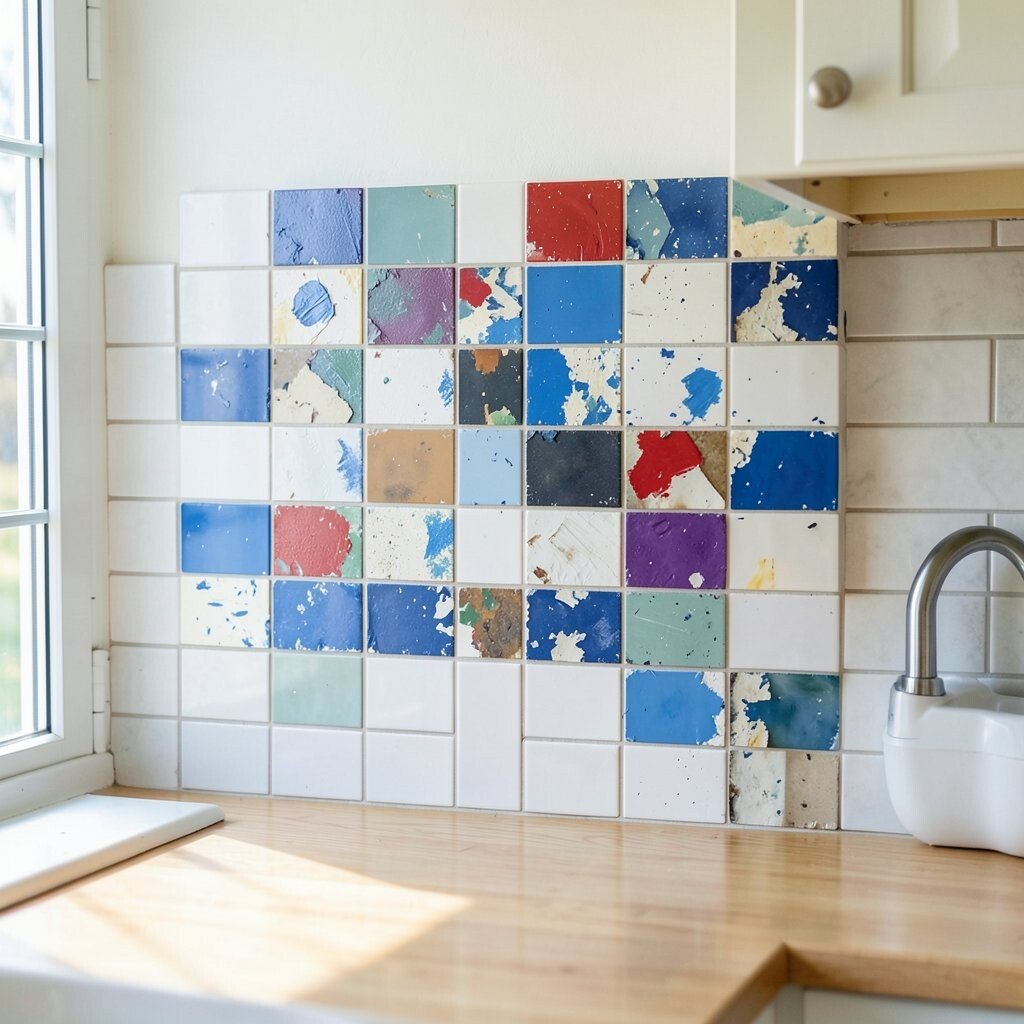
Painted Wall Tile Art Using Small Scrap Pieces You can make wall decor that looks like art and still helps the kitchen. Use small scrap tiles or tile squares, then arrange and paint them into a simple pattern.
This benefits your kitchen because it creates a focal point without needing expensive renovations. It’s also unique because every arrangement and color mix will be different. Plan a design first on paper, then lay the pieces out on a flat surface so you can adjust spacing.
Personalize with your favorite colors, such as calming blues, warm browns, or bright lemon tones. For cost, check clearance bins for small tile pieces or use remnants from past projects. If you follow trends, try soft “Mediterranean” colors and subtle patterns instead of super bold designs.
-
13. Make a DIY Cutting Board Stand From Scrap Wood
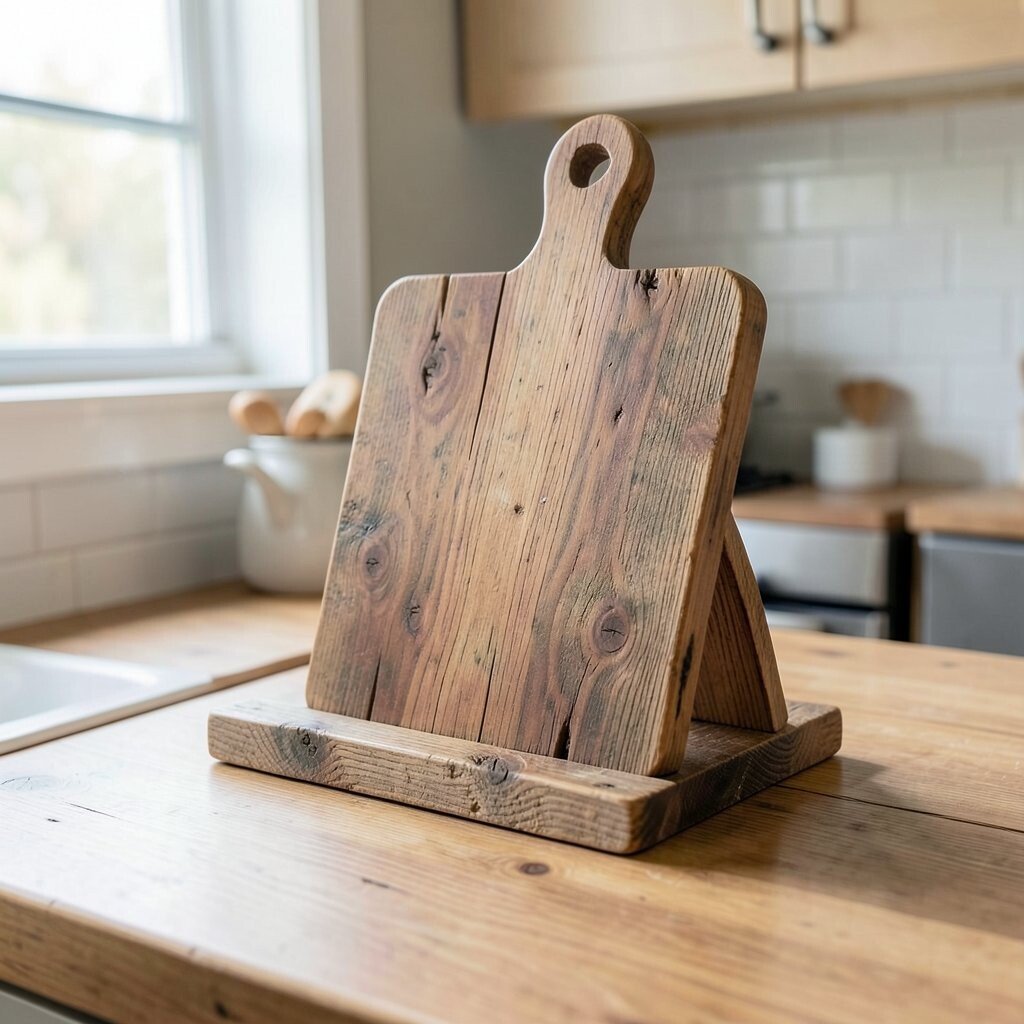
Make a DIY Cutting Board Stand From Scrap Wood Cutting boards are practical, but they also look great when shown the right way. Build a simple stand from scrap wood so boards can stand vertically, not lie flat.
This gives you a benefit of easy grabbing and better air drying, which helps boards stay fresh. It also adds an organized display that makes the whole kitchen look cared for. To personalize, stain the wood a warm tone or paint it a soft color that matches your backsplash.
Try a slanted design so the boards stay secure, and add small non-slip pads to protect the boards. If you want a unique touch, carve a tiny shape like a cherry or a whisk into the top piece. For cost, scraps and a few wood screws are often enough, and finishing is optional if you like a natural look.
Keep it near prep areas so you can grab a board quickly while cooking.
-
14. DIY Table Runner Upgrade With Removable Iron-On Patches
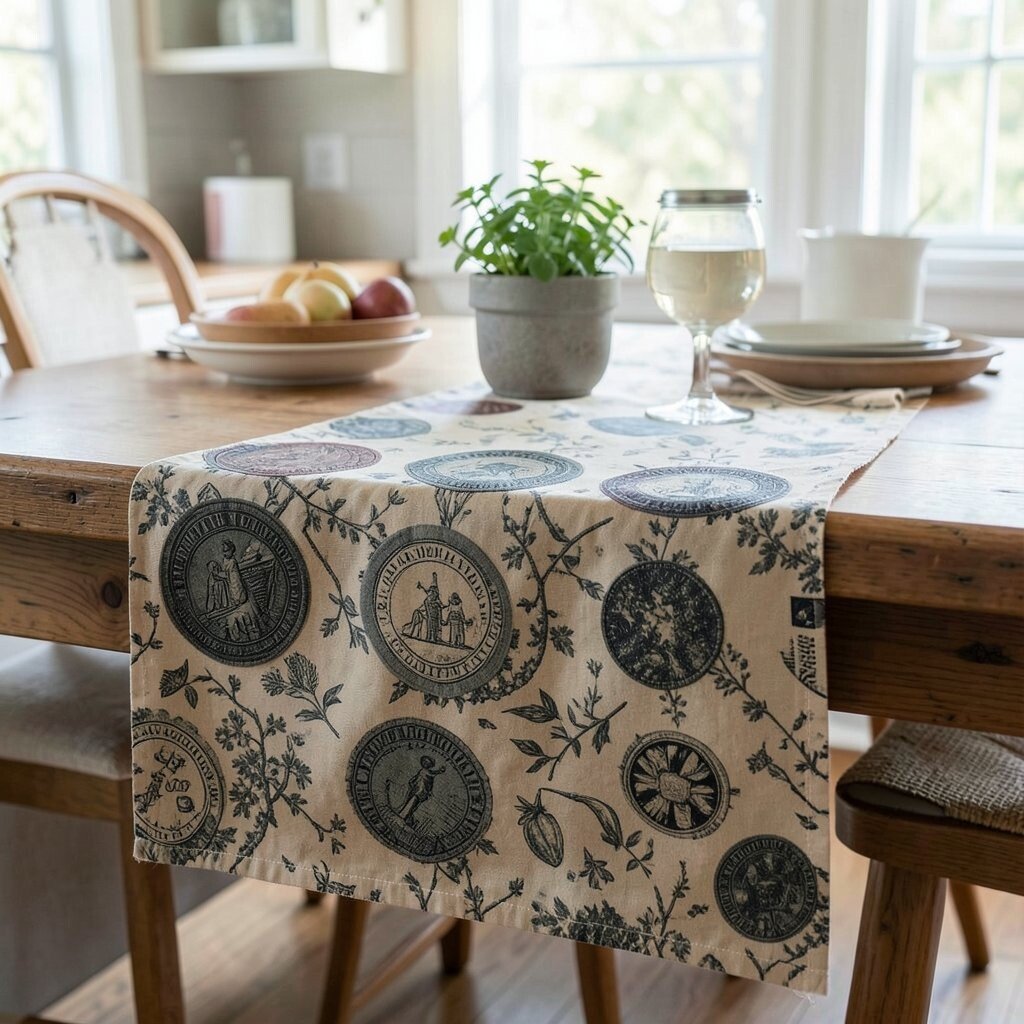
DIY Table Runner Upgrade With Removable Iron-On Patches A table runner isn’t only for dinner. You can place one on a kitchen island for color and warmth, and then personalize it with removable iron-on patches.
This is a fun benefit because you can change the look seasonally without buying new decor every time. Patches also hide small spots or wear, so your runner stays useful. Choose patches that match your kitchen style, like tiny herbs, seasonal icons, or simple geometric shapes.
-
15. Build a “Dish Drying Gallery” With a Wall Rack and Color Clips
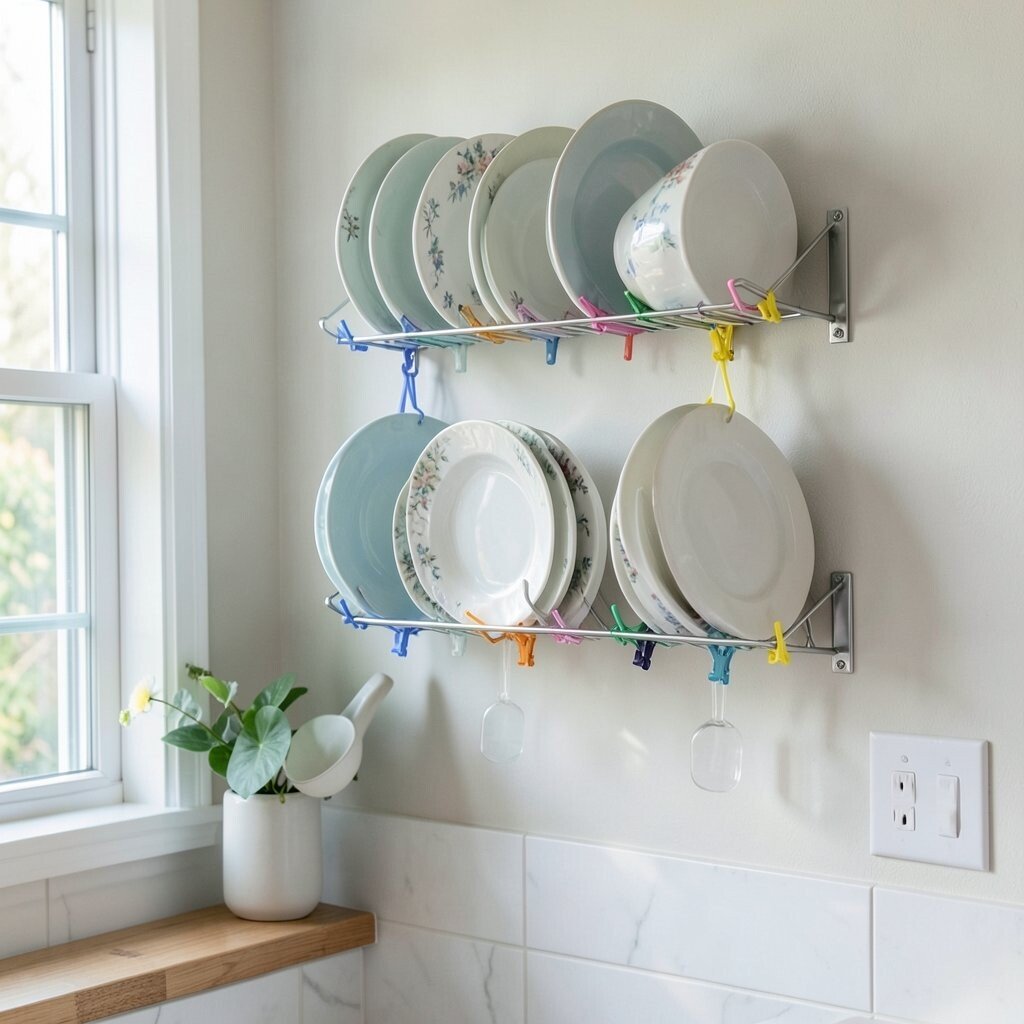
Build a “Dish Drying Gallery” With a Wall Rack and Color Clips Air-drying dishes can look messy when towels and utensils are scattered. Make it look neat by installing a simple wall rack or drying rail, then add color clips for dish towels and utensils.
The benefit is both practical and visual. Dishes dry with good airflow, and everything has a place so the counter stays clearer. For uniqueness, use clothespins, mini hooks, and clips in a matching color set.
Personalize the display by adding a small basket for scrub brushes and a separate hook for oven mitts. If you want a trend, choose soft pastel or earthy tones for clips so it feels calm and modern. For cost, pick a basic rack and then style it with inexpensive accessories you already like.
-
16. Create Custom Wall Art With Old Cutting Board Wood Burns
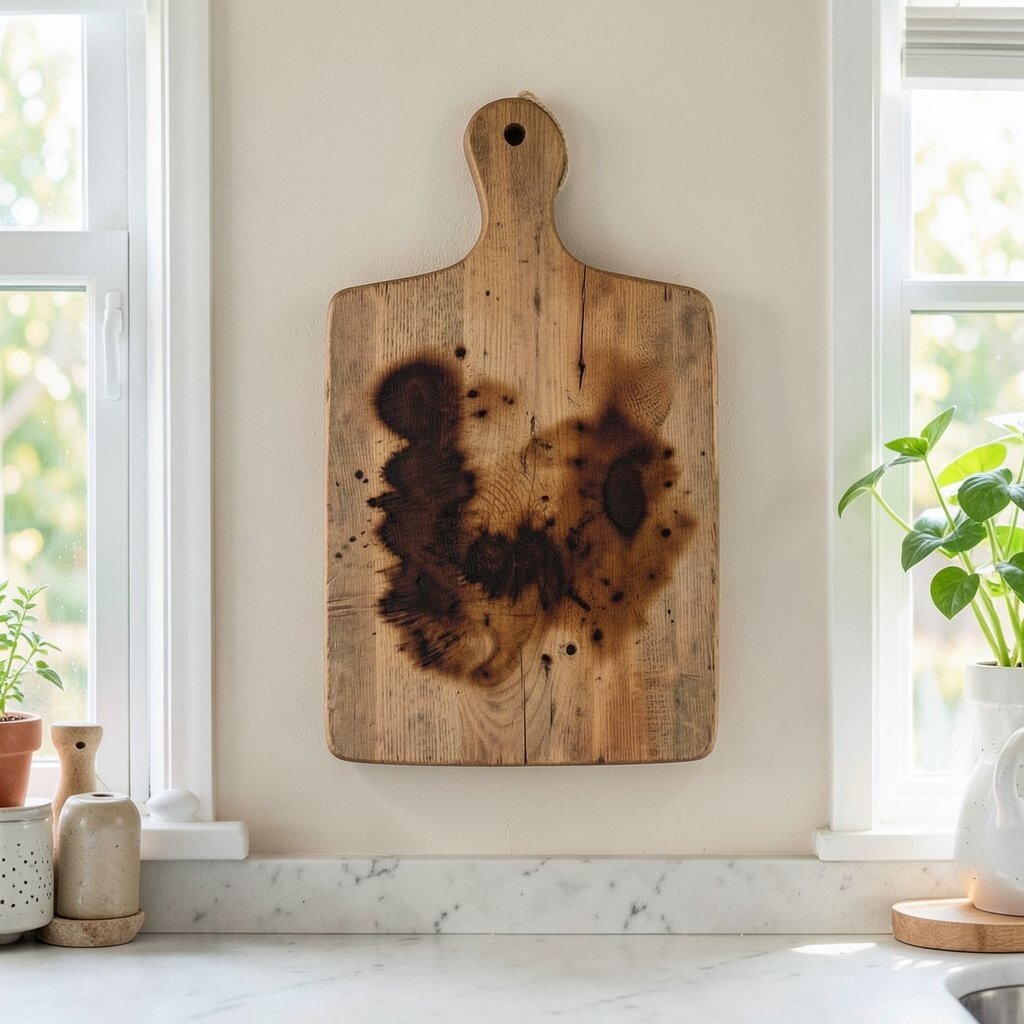
Create Custom Wall Art With Old Cutting Board Wood Burns Wood burning can turn everyday scraps into meaningful art. Use an inexpensive wood-burning tool on a small piece of cutting board, then draw a simple pattern like a leaf, whisk, or wave.
This has a big benefit: it adds warmth to your kitchen with a handmade texture. It’s also unique because each line you burn will look like you, and no two pieces will match. Make the art easy by sticking to one small theme and repeating it.
Personalize by adding your family initial, a favorite cooking quote, or a tiny map-style outline of a favorite food market you like visiting. If you want the “current trend” vibe, choose minimal designs with lots of negative space. Budget-wise, start with scrap wood and practice on a spare piece before making your final art.
-
17. DIY Fridge Refresh With a Magnetic Organizer Wall
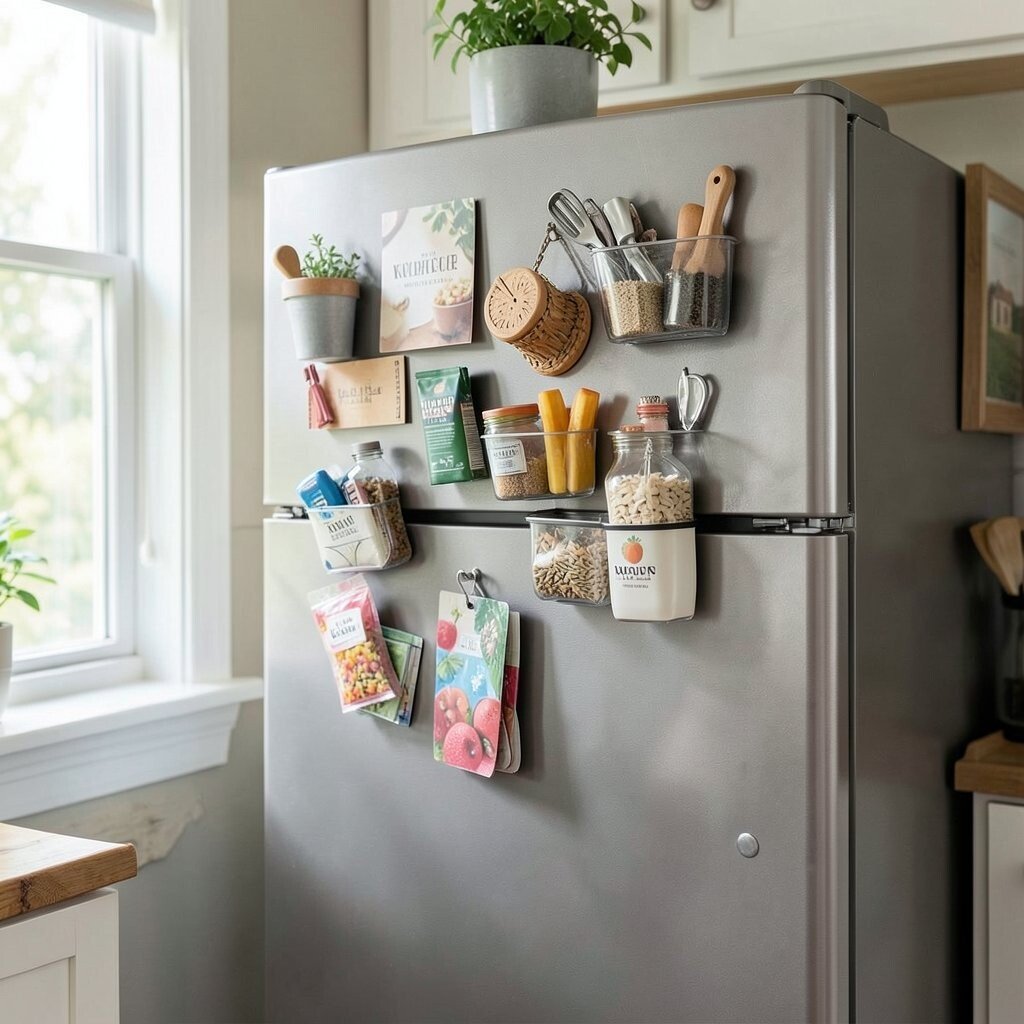
DIY Fridge Refresh With a Magnetic Organizer Wall If your fridge looks crowded, a magnetic organizer wall can bring order. You can use magnetic hooks, small trays, and a memo board section to keep notes, keys, and mail neatly grouped.
This gives you a benefit of less clutter, and your kitchen looks cleaner fast. It also feels unique because you can change the layout as your needs grow. Personalize it using labels, small picture magnets, and themed color chips that match your kitchen palette.
To stay practical, keep magnets away from items that need to open often, like frequently used fridge drawers. If you want a trend, try a “functional wall” look that blends organization with decor using matte finishes and natural tones. For cost, start with a memo board and a few magnetic trays, then add pieces slowly over time.
-
18. Corner Storage Makeover With DIY Ledge Shelves and Baskets
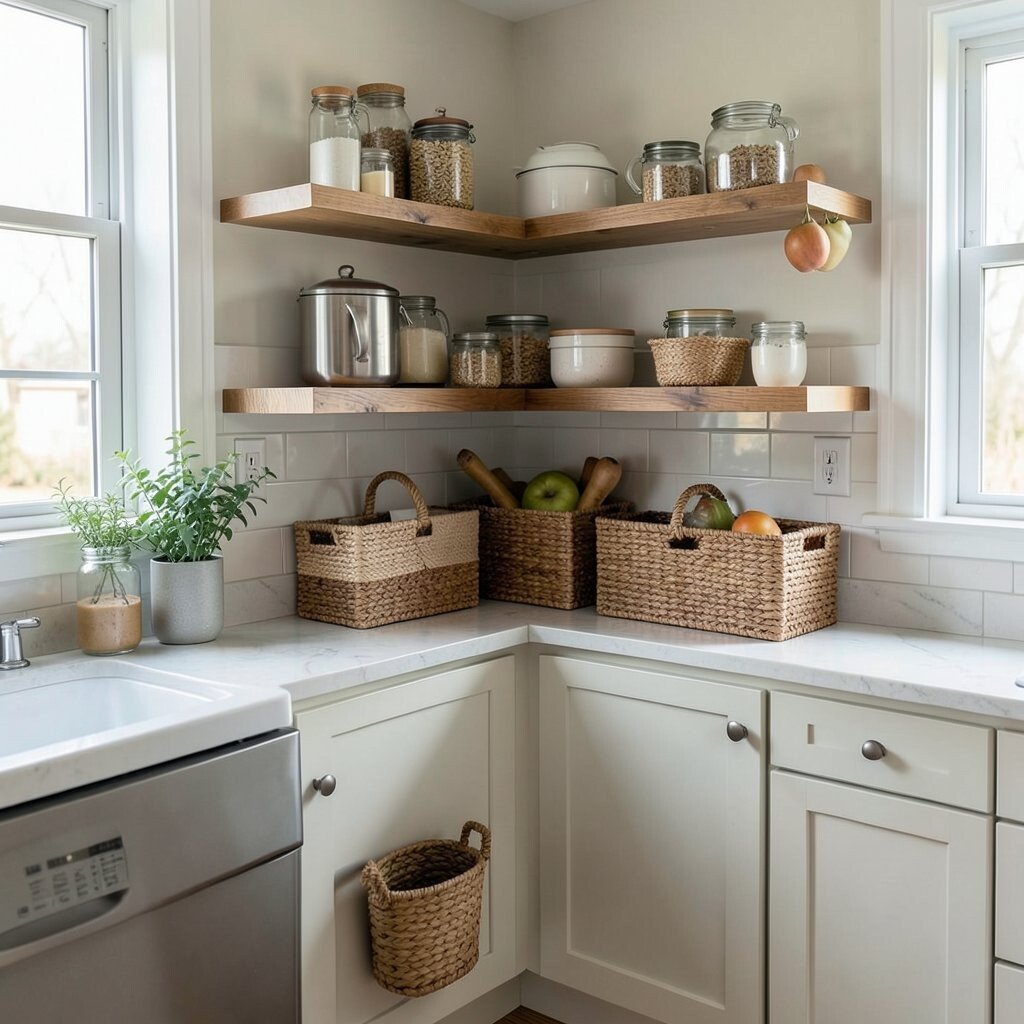
Corner Storage Makeover With DIY Ledge Shelves and Baskets Kitchen corners often feel useless, but they can be great for storage and decor. Add small DIY ledge shelves, then place matching baskets on them for things like tea bags, snacks, or extra napkins.
This offers a clear benefit: more room without cluttering the counters. It also looks unique because corners become styled rather than empty. For personalization, choose baskets in colors you like and line them with simple paper or fabric so everything looks intentional.
For budget, you can make shelves from inexpensive wood boards and basic brackets, then paint or stain them to match your kitchen. If you want a trend, lean into warm, natural textures like light wood and woven baskets. Keep shelves low enough that they’re easy to reach, and group items in small “sets,” like one basket for baking and one for breakfast.