
Your kitchen can look brighter without you needing special tools. Try a few simple projects and enjoy the tiny wins.
Each idea below is meant to feel easy, fun, and actually useful. You’ll get something pretty, something helpful, and something you made with your own hands.
-
1. Decorate a Storage Jar With a Chalkboard Label
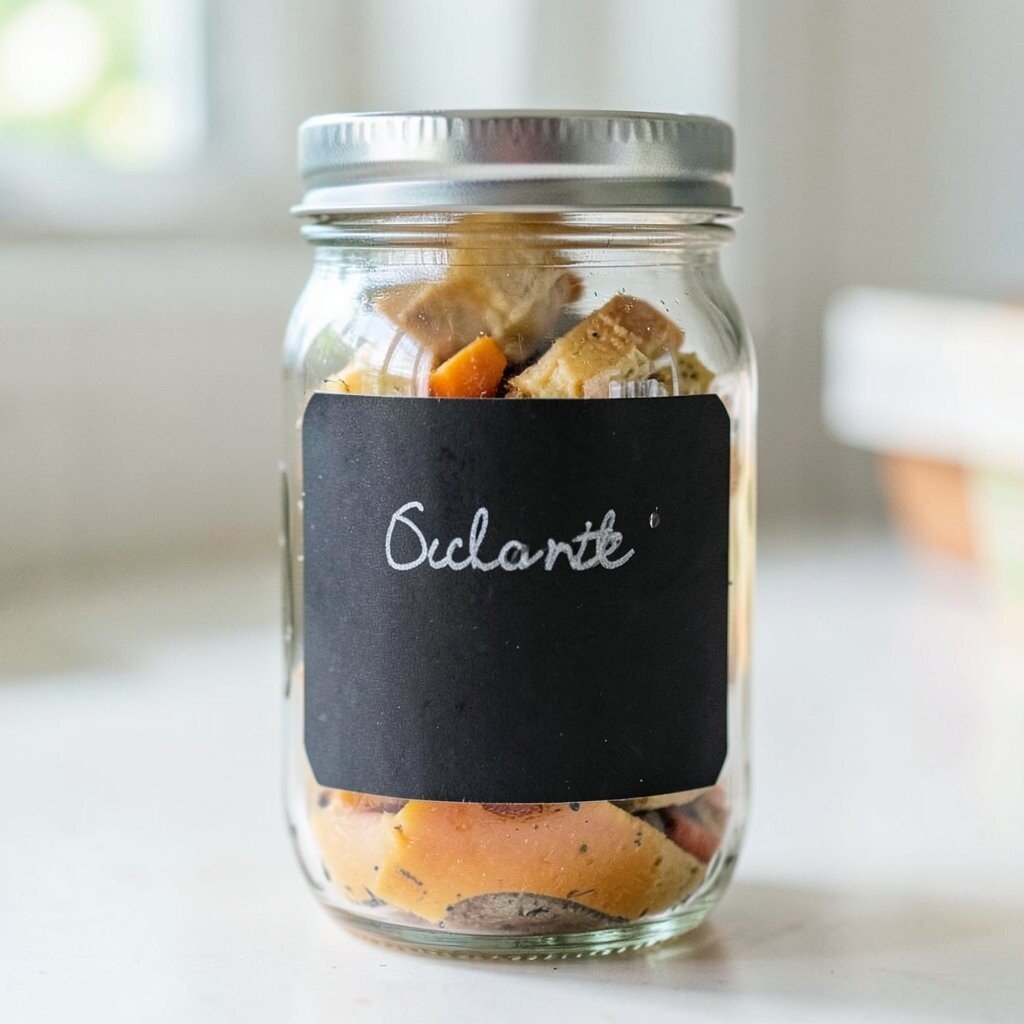
Decorate a Storage Jar With a Chalkboard Label Grab any clean jar you already have, like an old pasta or sauce container. Paint a small area on the lid or the front with chalkboard paint so it becomes a mini menu for your pantry.
Write names for items like “oats,” “snacks,” or “spices” using chalk, then wipe and change later. This makes your kitchen look neat because everything has a home and a label. Use a thicker chalk for big letters, and keep a small eraser nearby so cleanup is easy.
-
2. Make a No-cook Herb Window Garden in a Reused Box
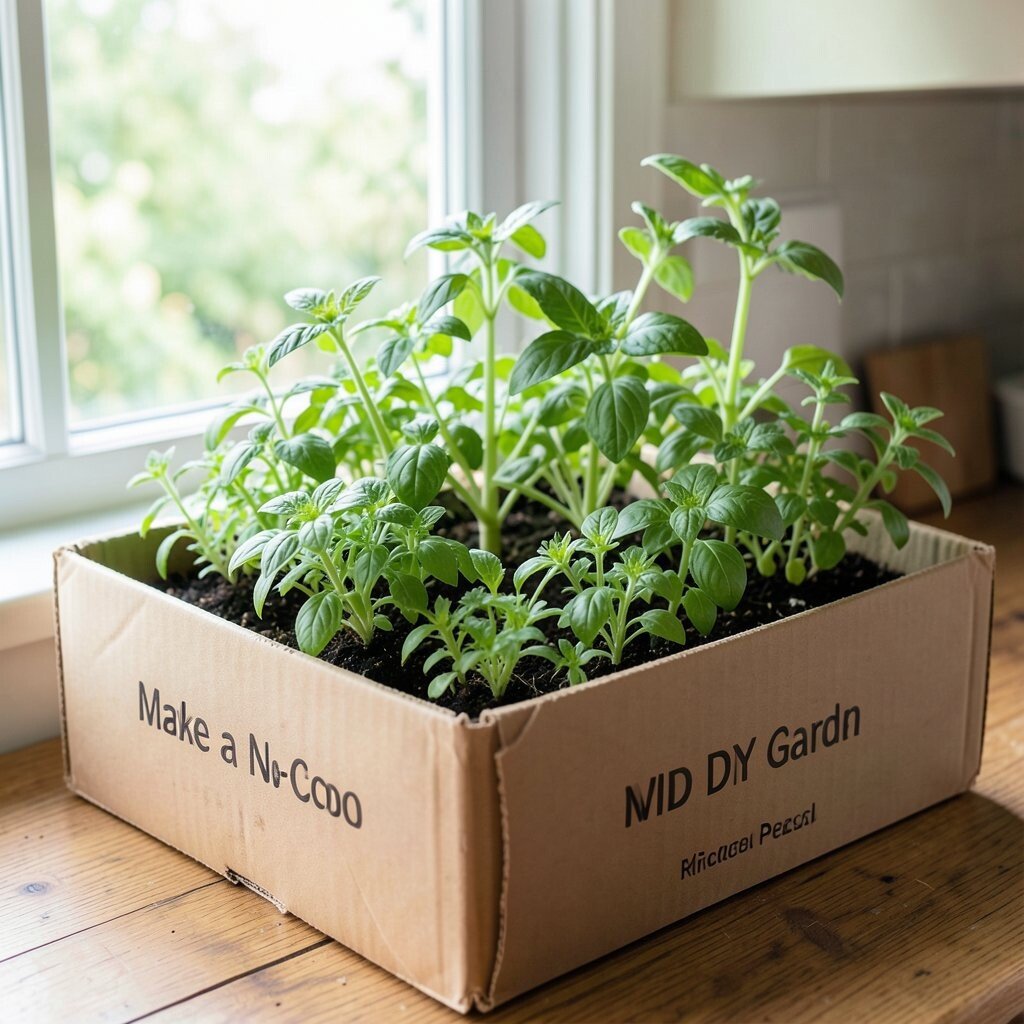
Make a No-cook Herb Window Garden in a Reused Box Find a shallow box, like a produce crate or a small wood tray that you can clean well. Line it with a plastic sheet or a waterproof liner, then add soil and plant herbs that grow fast.
Mint, basil, and chives are friendly picks, and the green look makes kitchens feel fresh. Snip a little for cooking, and you’ll save money compared to buying tiny herb packs. For best results, give your box bright light near a sunny window and water gently so the soil stays evenly damp.
To personalize, paint the box outside with your favorite colors or add a strip of washi tape as a “curtain” effect. This project fits current kitchen trends like “indoor growing” and “farm-to-table” vibes. If you want a lower-cost setup, start with seed packets instead of starter plants.
-
3. Create a Citrus-Scented Cleaner Spray From Peels
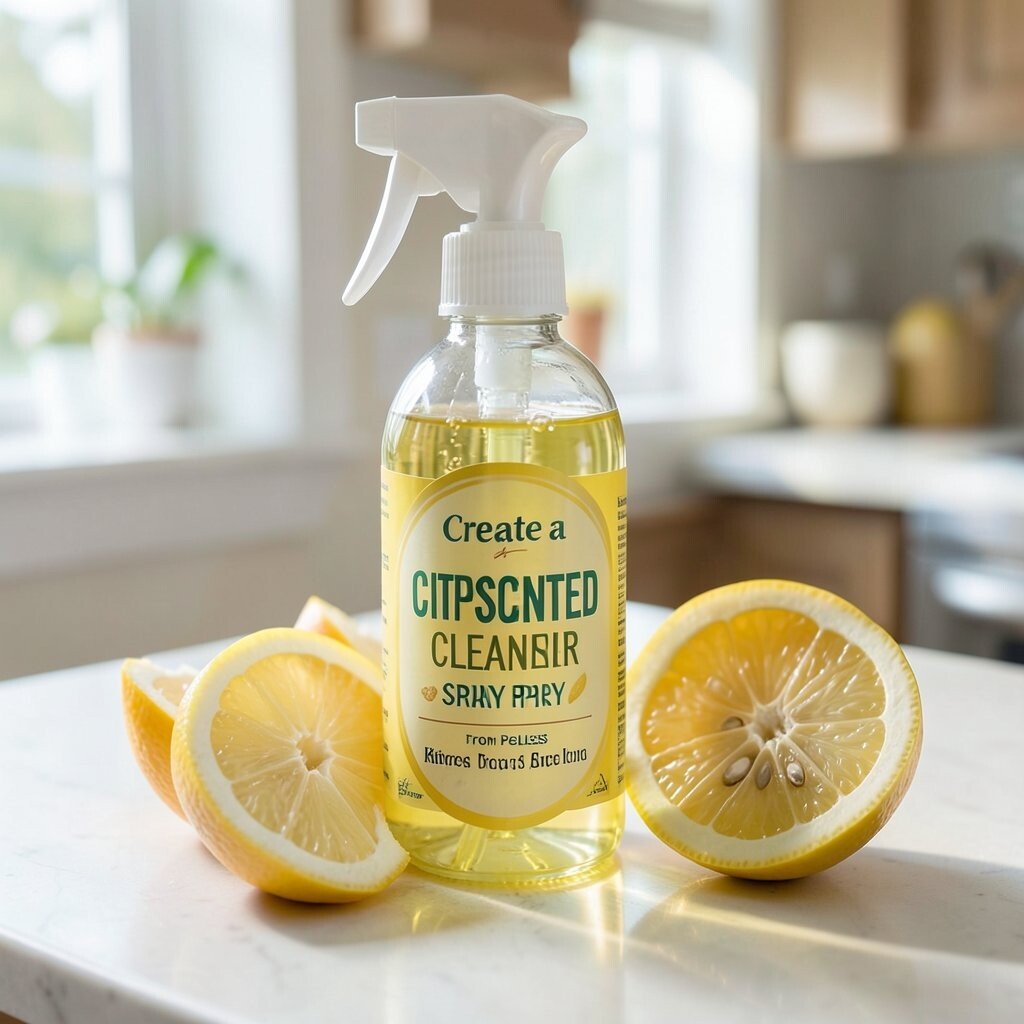
Create a Citrus-Scented Cleaner Spray From Peels Save orange, lemon, or lime peels in a jar and cover them with white vinegar. After some time, strain out the peels and pour the scented liquid into a spray bottle.
It’s a simple way to make a kitchen smell clean without complicated steps. You can use it on counters and around sinks for a fresh vibe. For safety and gentleness, test it on a small spot first, especially on stone or shiny surfaces.
Add a few drops of essential oil if you want a stronger scent, but keep it light. This is a fun twist that matches today’s trend for natural cleaning and low-waste habits. If costs are a concern, you’re basically using scraps you already have, so your main purchase is just a spray bottle if you need one.
-
4. Turn Old Tea Towels Into Matching Oven Mitts
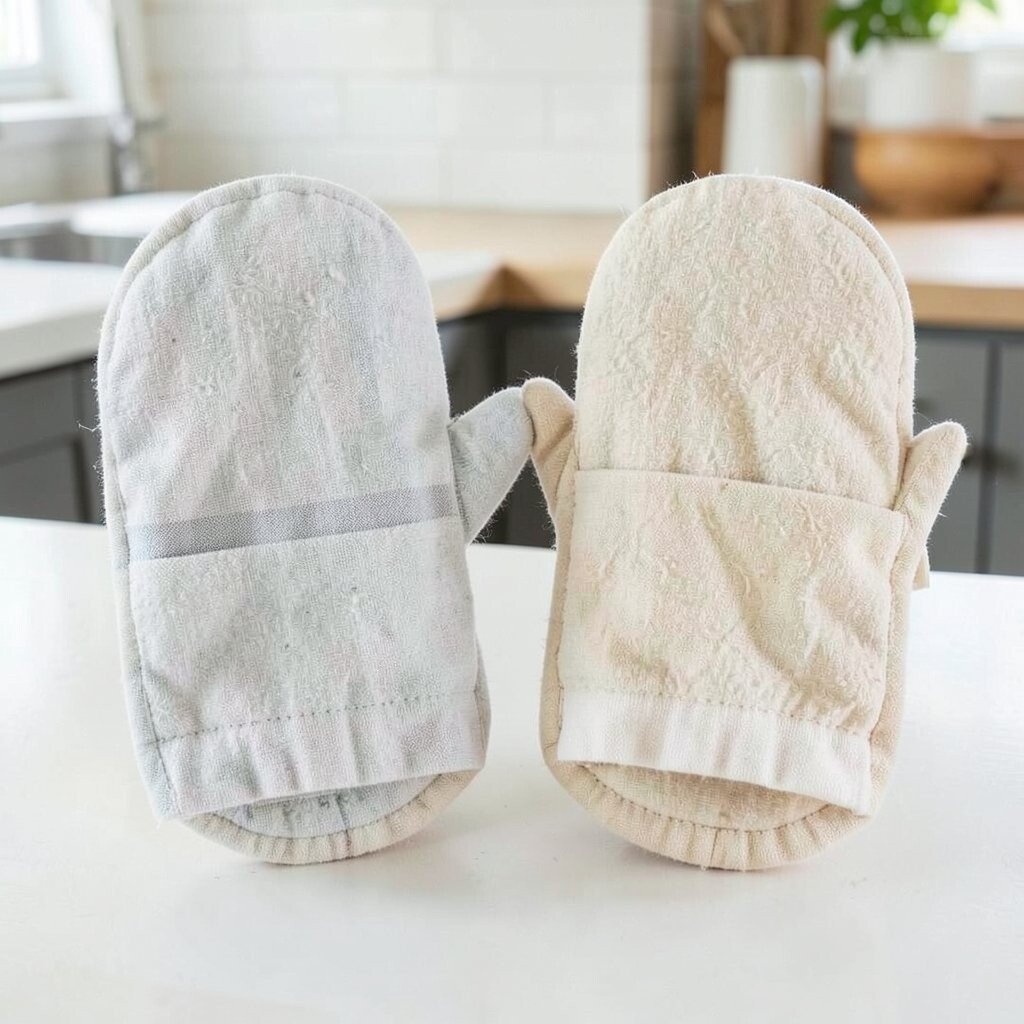
Turn Old Tea Towels Into Matching Oven Mitts Pick two sturdy tea towels in matching colors and fold them into mitt shapes, then trim and mark where you want the seams. Use fabric glue or a simple hand stitch to hold the edges together, so you don’t need a full sewing machine.
These mitts look cute hanging on hooks, and they make cooking feel more fun. They also help protect hands when you pull out hot pans. For better grip, attach a small strip of non-slip fabric on the palm area or add heat-safe patches.
-
5. Build a “Flavor Station” With Magnetic Spice Tins
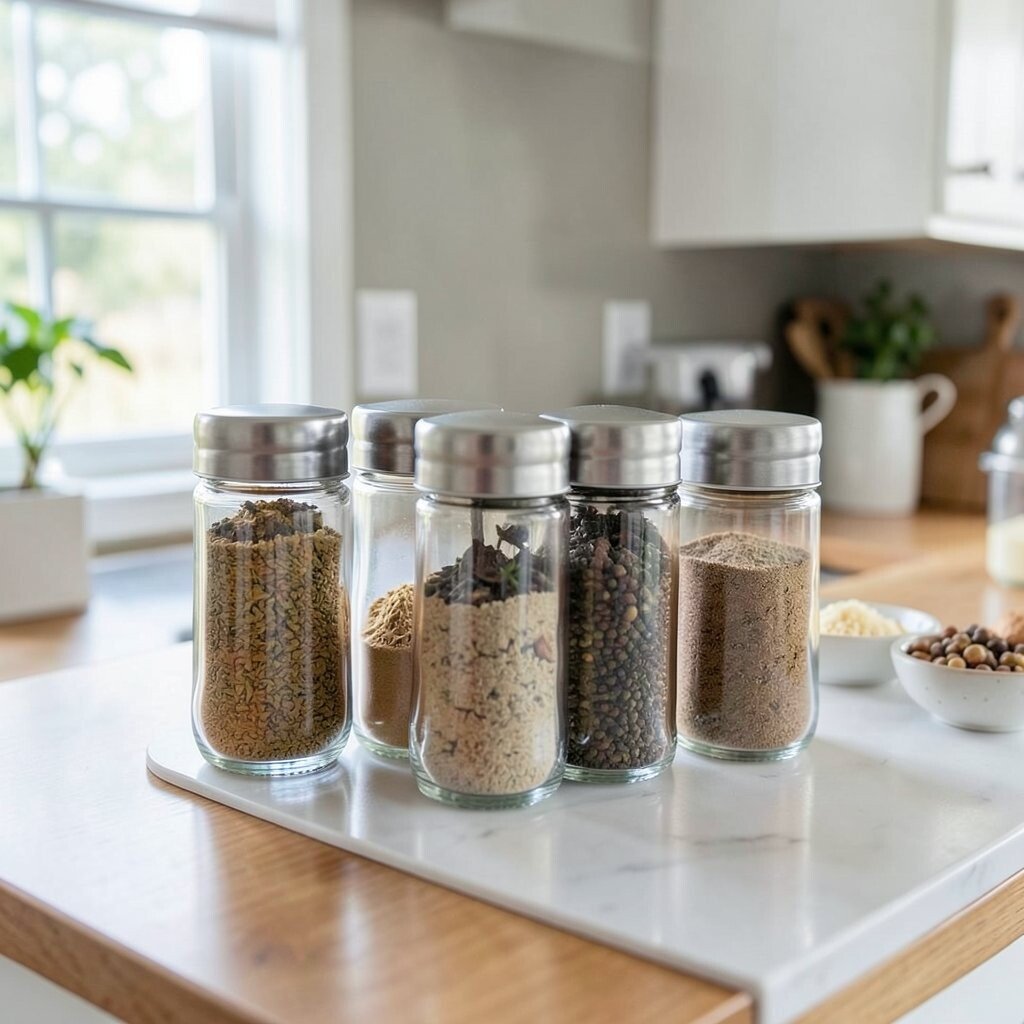
Build a “Flavor Station” With Magnetic Spice Tins Get small spice tins or empty containers and glue or tape a strong magnet to the back. Place them on a metal sheet, refrigerator side, or a magnetic board near the stove.
This looks modern and clean, especially because labels are easy to swap. You’ll reach for spices faster, which is a small daily benefit that adds up. Keep your most-used spices at eye level and group them by type, like baking or seasoning.
To personalize, use color-coded labels or draw tiny icons for each spice. This fits the trend of “kitchen organization that’s also pretty.” If you’re watching costs, reuse containers from store-bought spices and focus money on magnets and label stickers.
-
6. Make a Marble-Look Contact Paper Cutting Board
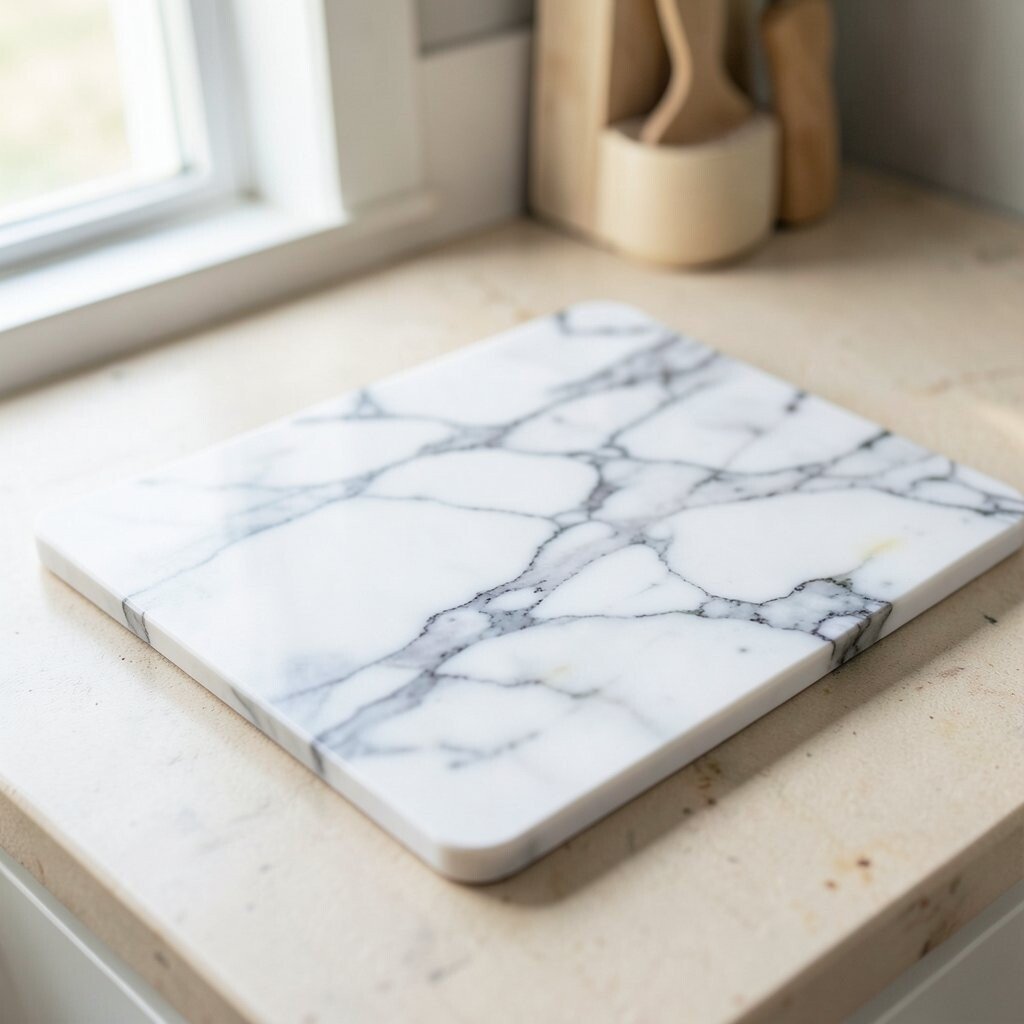
Make a Marble-Look Contact Paper Cutting Board Buy plain contact paper in marble patterns or peel-and-stick “stone” designs. Clean a plastic or wood cutting board well, then smooth the paper carefully so it sticks evenly.
The board will look high-end, and your counter will instantly feel more stylish. It also helps protect the surface from stains and tiny scratches. Just remember to use it as a serving board or for prep that won’t soak liquids for long, since contact paper isn’t always meant for heavy chopping.
-
7. Create a Cute Checklist for Meal Prep Using Binder Pages
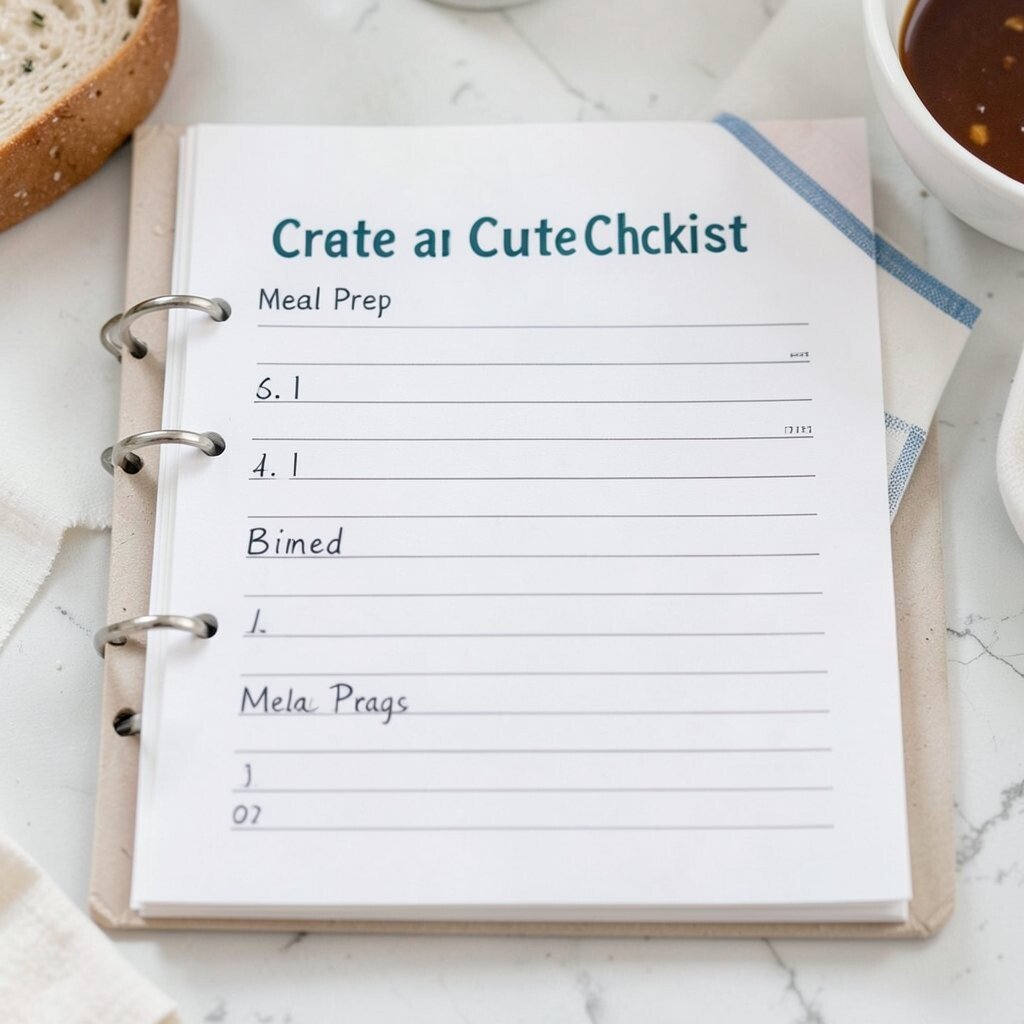
Create a Cute Checklist for Meal Prep Using Binder Pages Grab a binder and a few clear sheet protectors, then cut card paper to fit your kitchen goals. Write checkboxes for “chop,” “cook,” “pack,” or “reheat” so you can plan without stress.
This keeps you focused and makes meal prep feel less messy. You can also reuse the sheets week after week by wiping with a marker. If you like visual planning, add color dots to represent breakfast, lunch, and dinner.
Personalize your list with your family’s habits, like “make sandwiches” or “portion snacks.” Meal-prep boards are popular right now because they reduce decisions on busy days. Budget tip: use old binder pages or print templates on plain paper instead of buying new organizers.
-
8. Turn a Lidded Container Into a “Waste-Free” Snack Bag Holder
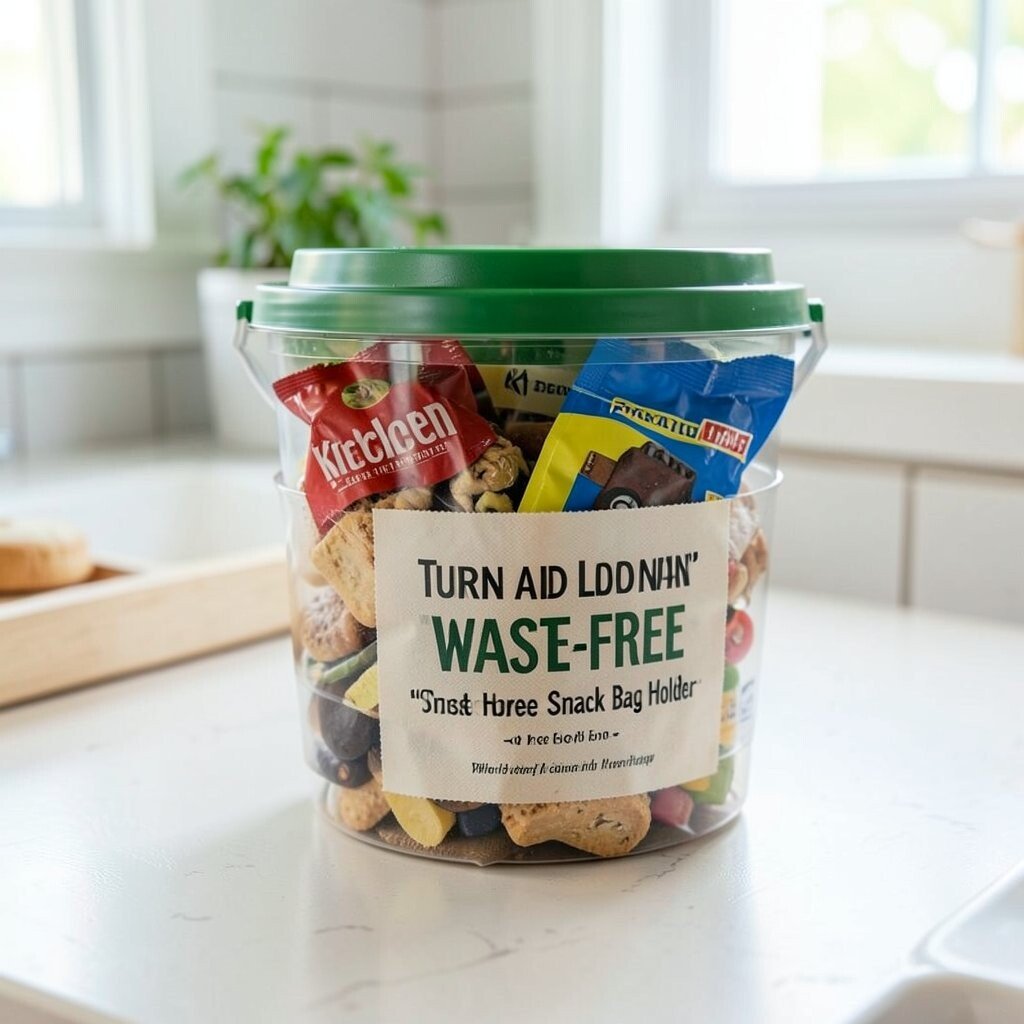
Turn a Lidded Container Into a “Waste-Free” Snack Bag Holder Find a container with a lid, then keep it for snack bags, wraps, or extra crackers. Add a divider made from thick cardboard or reusable foam so items don’t pile up.
It’s a neat way to reduce clutter, and it makes grab-and-go snacks easier for everyone. You’ll also save money because you’ll stop wasting food that gets lost. Label the front with what fits inside, like “chips,” “snack bars,” or “sandwich bags.”
For a fun look, wrap the outside with patterned paper or cover it with a clear shelf liner. This matches the current “low-waste kitchen” style that many people love. If you want to keep it super cheap, use a clean oatmeal container and skip extra supplies.
-
9. Make a Quick Drawer Organizer From a Cardboard Egg Carton
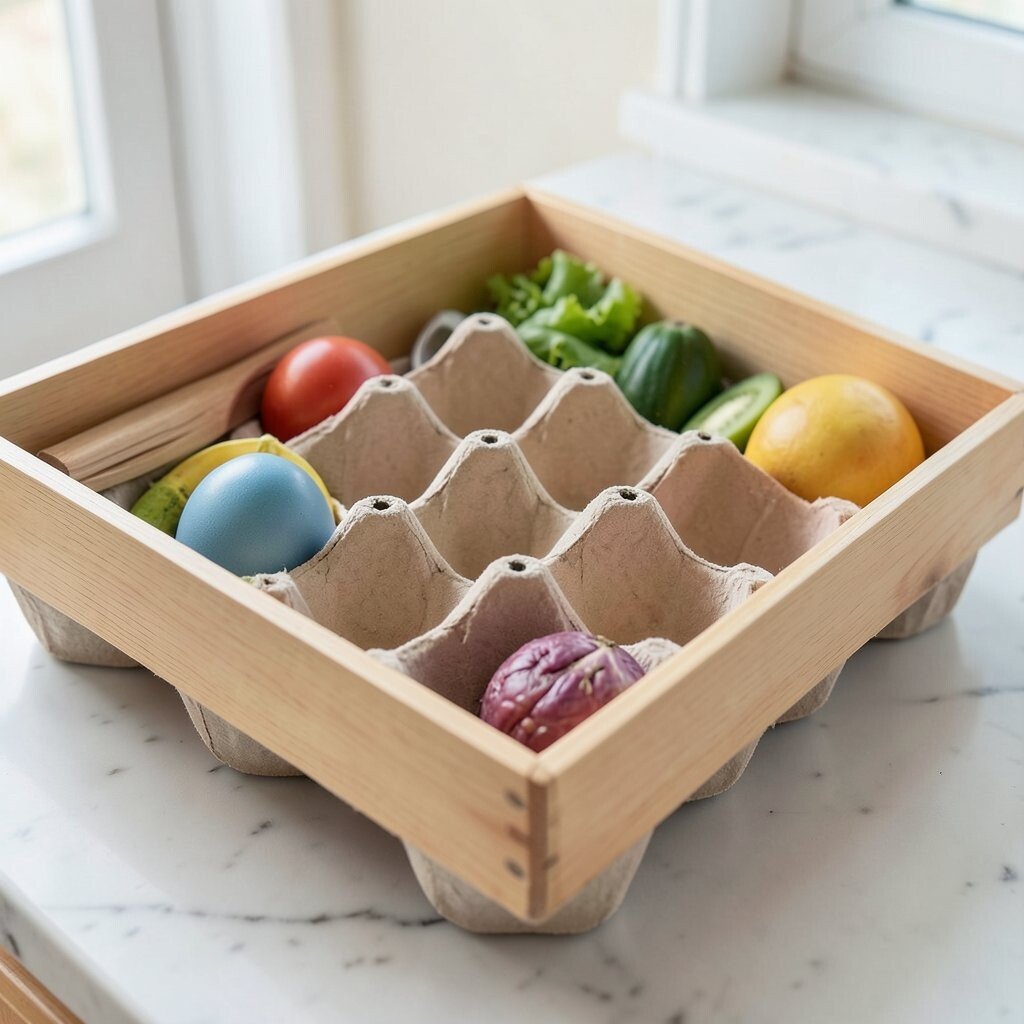
Make a Quick Drawer Organizer From a Cardboard Egg Carton Take a sturdy egg carton and cut sections to fit your drawer for spices, packets, or small tools. Cover it with paper or contact paper so it looks clean, then place it on the drawer floor like a tray.
This helps small items stay in place, so drawers stop looking chaotic. It also saves time because you can see everything at once. For better durability, add a thin plastic layer on top or use a washable liner if you plan to wipe crumbs.
-
10. Build a “Recipe Clip” Wall Using a Peg Board and Clothespins
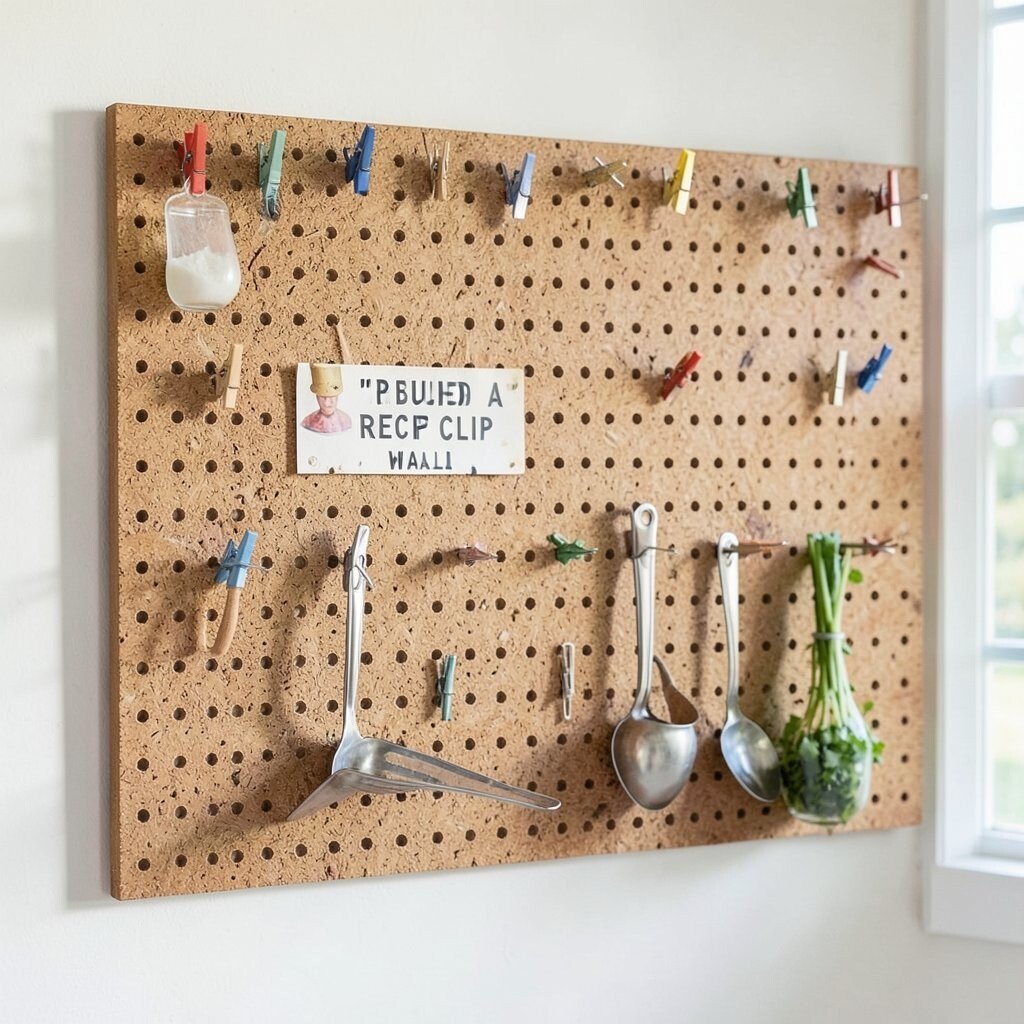
Build a “Recipe Clip” Wall Using a Peg Board and Clothespins Mount a small peg board or use a freestanding panel in the kitchen, then hang it near the prep area. Clip your favorite cards with clothespins so recipes stay visible while you cook.
This is both practical and pretty because it turns paper into part of the decor. You’ll spend less time searching through drawers, which is a real daily benefit. Try grouping recipes by season, like “summer salads” or “winter soups,” for an organized look.
Personalize it with themed clips or tiny label tags for each category. Peg-board organization has stayed popular lately because it gives a “maker” feel to kitchens. If costs are tight, start with a small panel, and use thumbtacks or hooks you already own.
-
11. Color Code Your Cutting Tools With Simple Washi Tape Marks
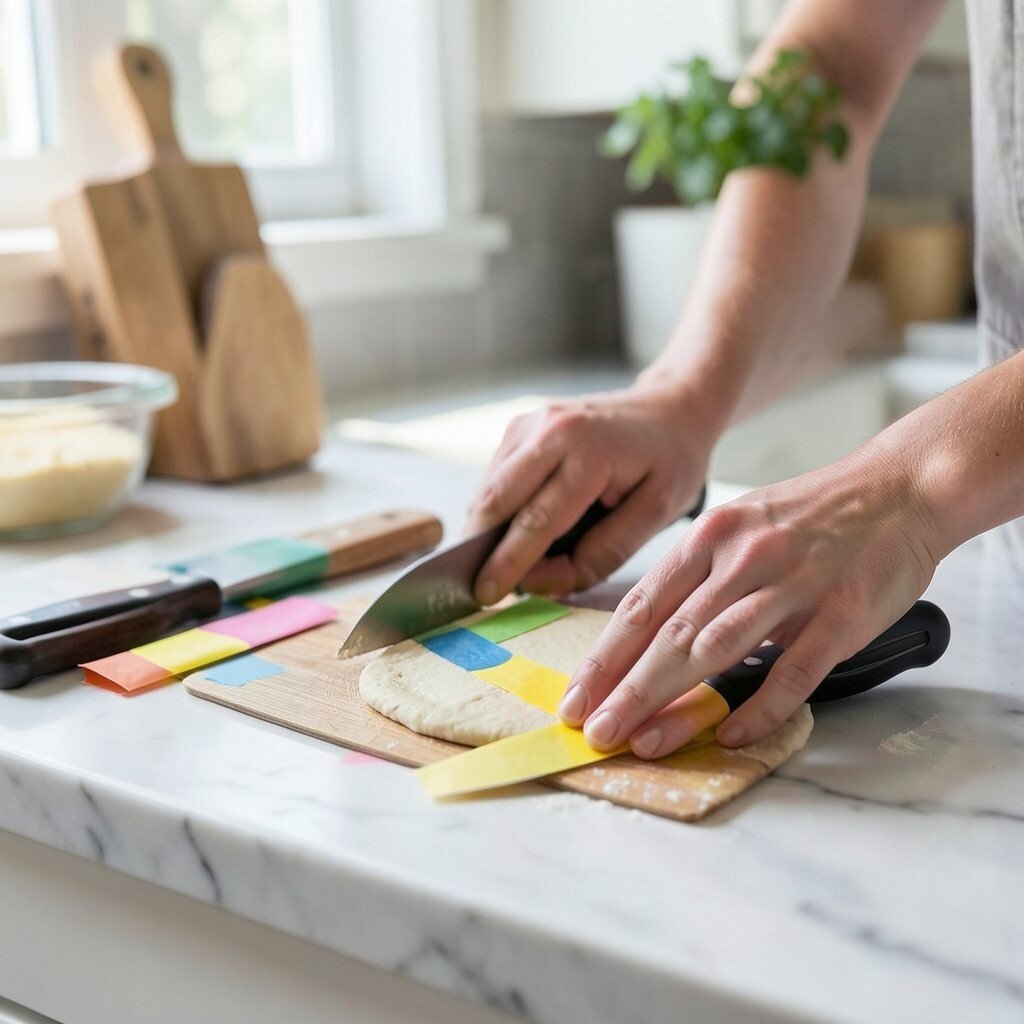
Color Code Your Cutting Tools With Simple Washi Tape Marks Use washable washi tape to mark your knives, spoons, or cutting boards by job. For example, one color means “meat,” another means “vegetables,” and a third means “bread.”
This keeps food preparation safer and helps you remember what goes where. The colorful markers are easy to spot and make your kitchen feel playful. If you want personalization, use patterns like stripes for “spices” or dots for “snacks.”
This fits current kitchen trends for smarter organization and clearer hygiene habits. Washi tape is usually inexpensive, and it comes in lots of styles so you can match your decor. Just replace the tape when it loses stickiness, and clean the tool first so the tape stays on.
-
12. Make a Cozy “Tea or Coffee” Corner With a Shelf and Upcycled Canisters
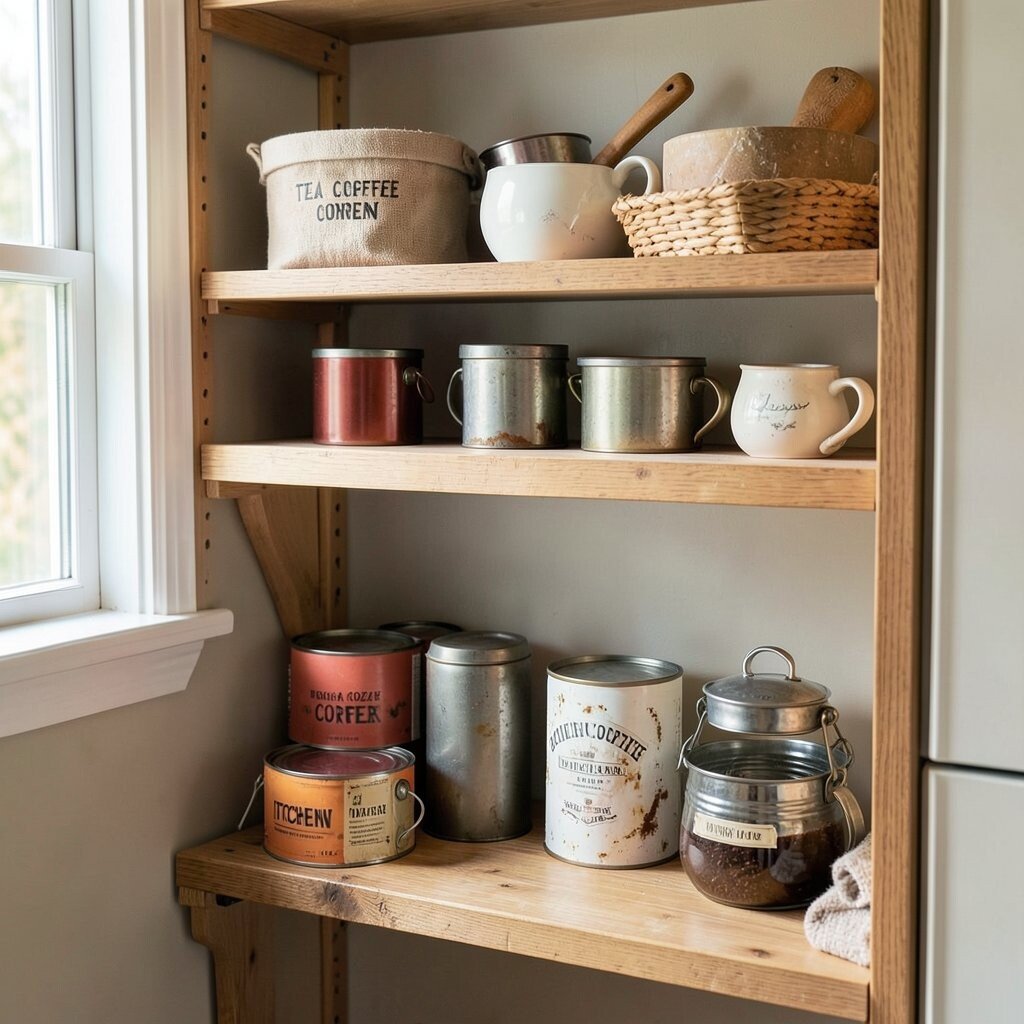
Make a Cozy “Tea or Coffee” Corner With a Shelf and Upcycled Canisters Pick a small wall shelf, a corner ledge, or even a sturdy book ledge to make a dedicated drink spot. Gather a few matching containers, like empty tins or jars, and clean them for storage.
Fill them with coffee grounds, tea bags, sugar, cocoa, or cinnamon sticks, and arrange them like a mini display. This creates a cozy mood and saves time because everything is ready in one place. For tips, keep the items you use most at the front and add a small scoop or spoon holder for grab-and-go comfort.
To personalize, add a tiny chalk label, a ribbon around the canisters, or a small photo card in a clip frame. Today’s kitchens love “corner styling,” because it makes everyday routines feel special. Cost-wise, you can keep this low by using jars you already have and buying only a shelf if needed.