A cluttered counter can make even a clean kitchen feel messy. Appliance garages give everything a home and keep the look calm and tidy.
1. Sliding Door Appliance Garage
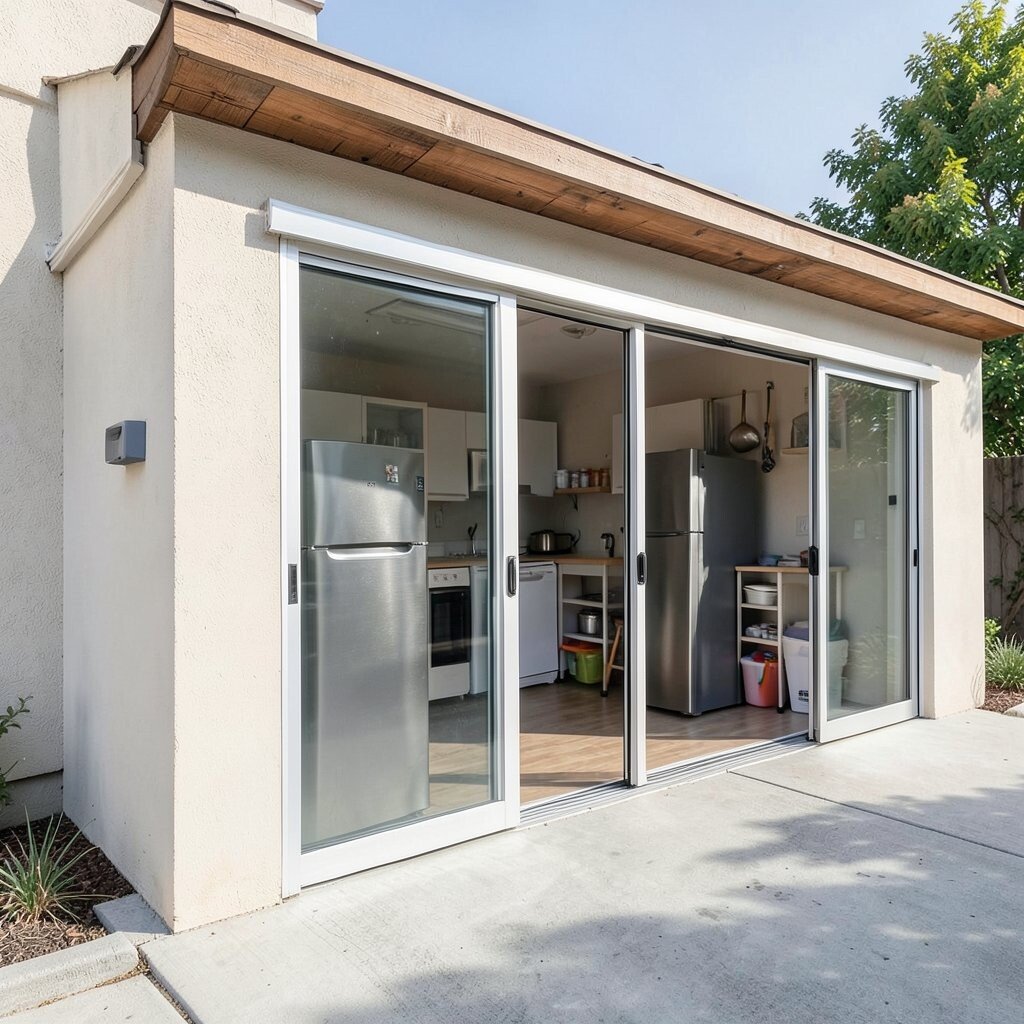
Use a smooth sliding door so you can hide small appliances when company is coming. This idea keeps sightlines clean while still letting you grab what you need fast.
Look for soft-close hardware so the door never slams. Plan a clear path from the door to the outlet location before you install anything. Use labeled pull tabs on the appliance shelves so guests can find the right item without rummaging.
2. Lift-Top Appliance Garage
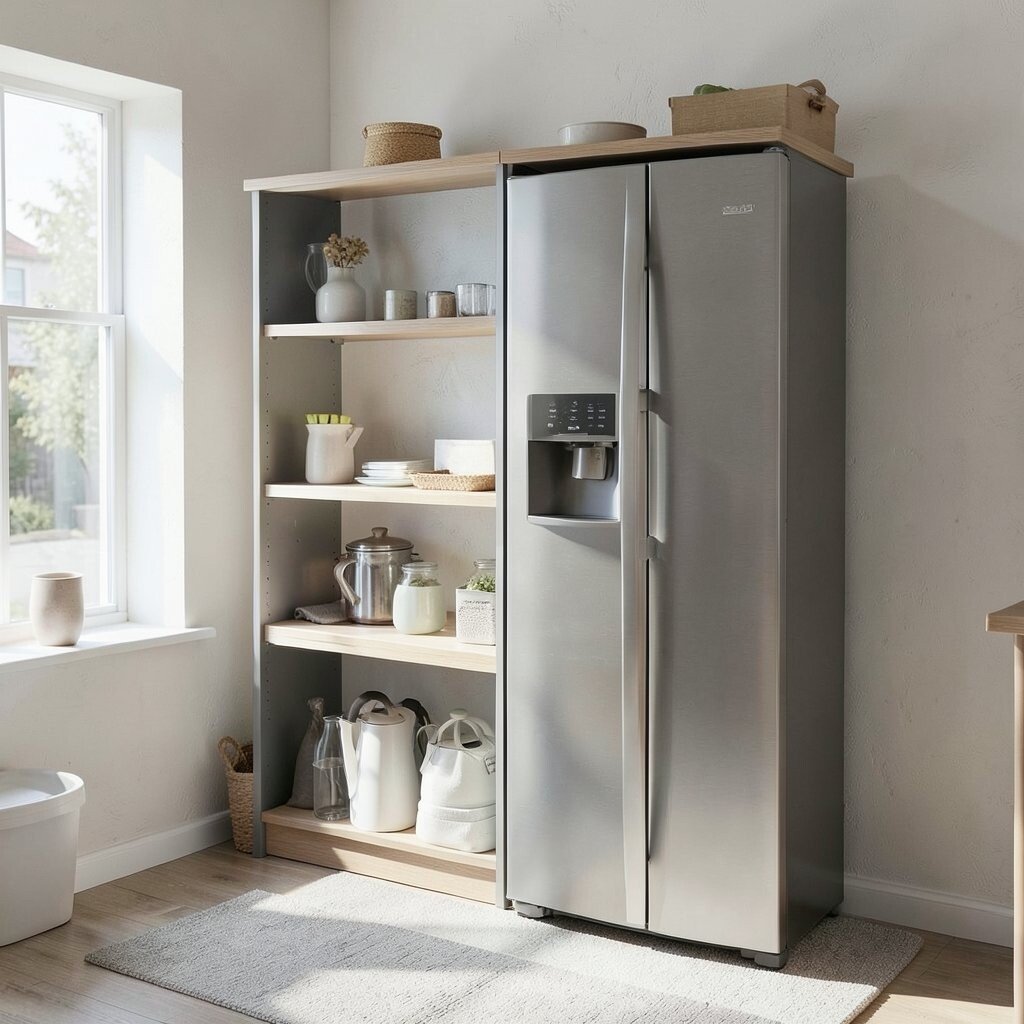
A lift-top door swings up and out of the way, which is great for quick morning routines. It feels like a built-in drawer for appliances, not a bulky cabinet.
Choose gas struts or a strong hinge so the top stays open safely while you work. Keep the inside edges padded or rounded so cords and lids don’t snag. Consider adding a small lip shelf for a coffee scoop, while the machine rests below.
To reduce clutter, store only one “current-use” appliance inside at a time. If you swap appliances often, add quick-release straps to keep them stable.
3. Hidden Outlet and Cable Management Shelf
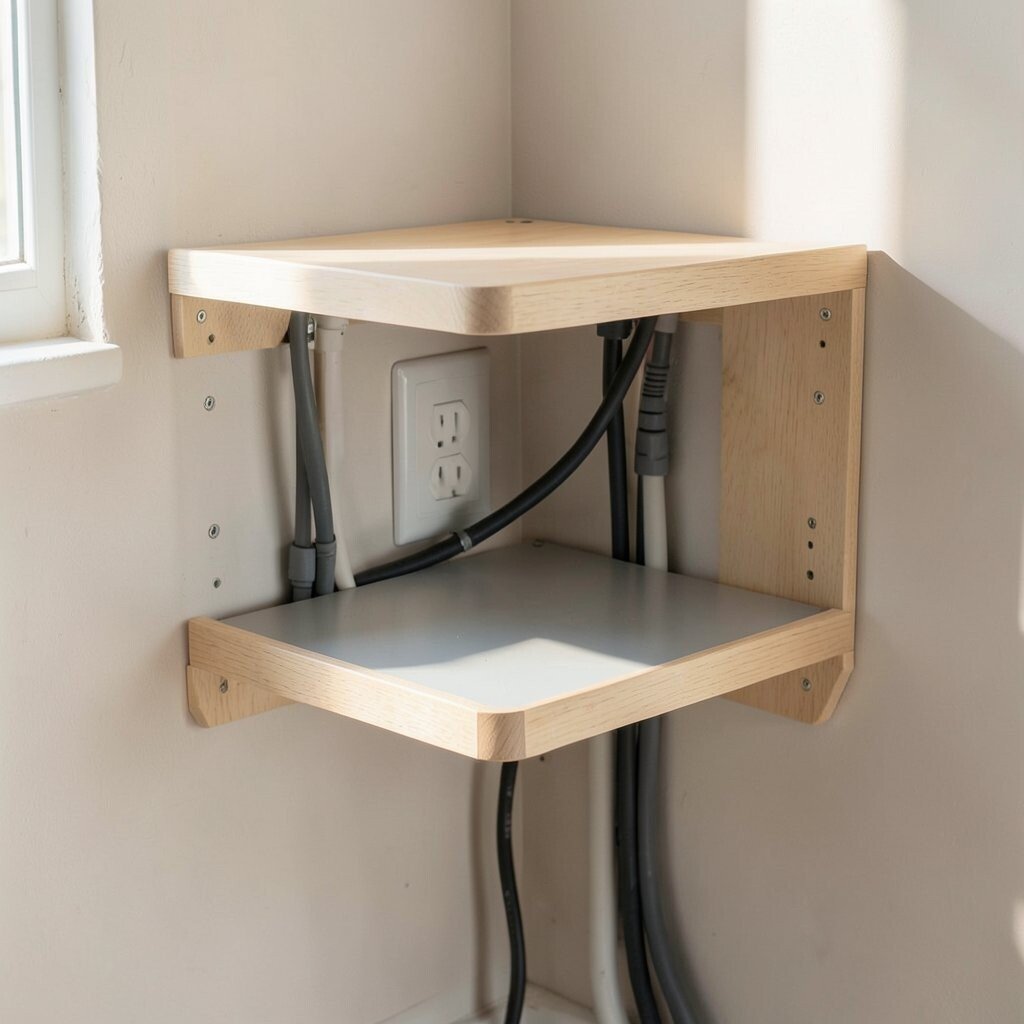
A neat appliance garage is more than doors and shelves; it’s also about safe power access. With a built-in power strip and cord routing, you can plug in without creating a spaghetti mess.
Mount a power strip on the side wall, then run cords through a cable channel toward each appliance. This makes the garage feel custom even if you’re working with existing cabinets. Use cord clips or Velcro wraps so wires stay behind the machine, not across the counter.
You’ll also protect outlets from accidental spills because everything stays tucked away. If you rent, choose adhesive cable channels rated for your wall type. For extra safety, use a covered power strip when the garage door is closed.
Many homeowners like placing a small ventilation gap near the outlet so the plug area stays cool.
4. Roll-Out Tray Appliance Garage
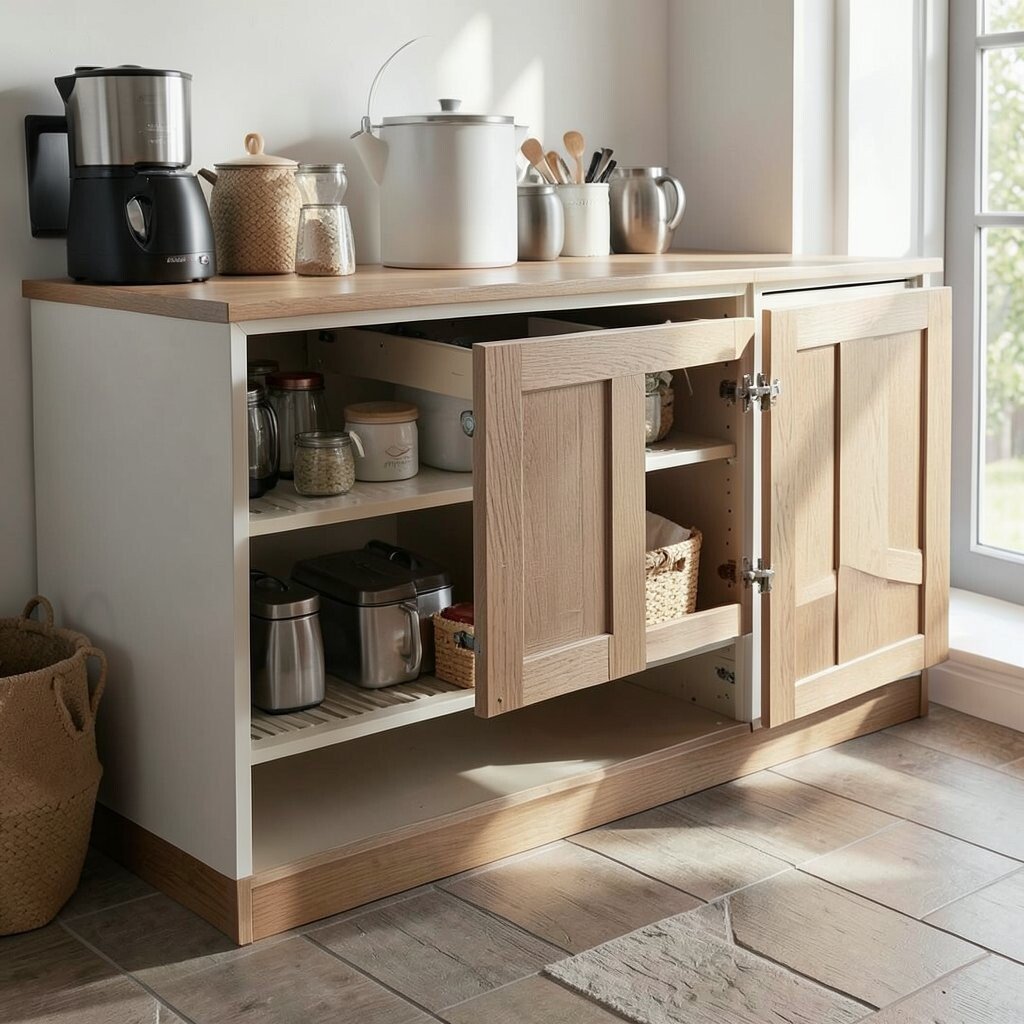
A roll-out tray turns a regular cabinet into a workstation you can pull forward. It’s especially handy for toasters, blenders, and sandwich makers because you can set them at counter level.
Install full-extension slides and leave a little room at the back for cords. Add a removable tray liner so crumbs and dust can be cleaned quickly. This style feels modern and helps you clean behind appliances without moving heavy equipment.
5. Vertical Partition Garage for Small Appliances
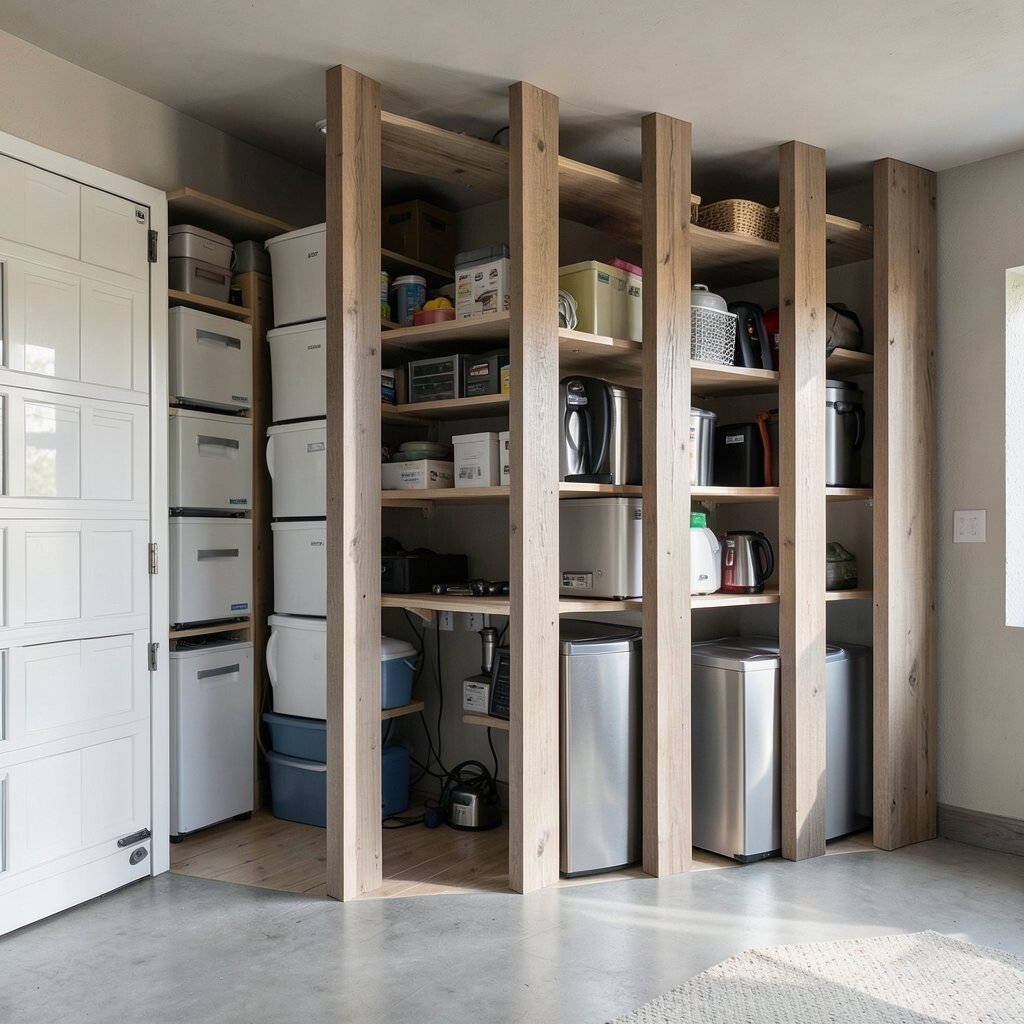
Instead of one big shelf, use vertical dividers so each appliance has a dedicated slot. This makes it easy to store compact gadgets without everything sliding into a pile.
Measure your appliance footprints and height, then set dividers to match common sizes. Label the sections with simple tags so you return items in the same place every time. A vertical setup also reduces the “hidden clutter” effect because you can see what’s inside at a glance.
If you like flexibility, make some dividers adjustable with track systems. For costs, you can start with budget-friendly organizer inserts and upgrade later when you redo cabinets. Current trends lean toward mixed materials, like matte metal dividers paired with warm wood trays.
6. Corner Appliance Garage with L-Shaped Layout
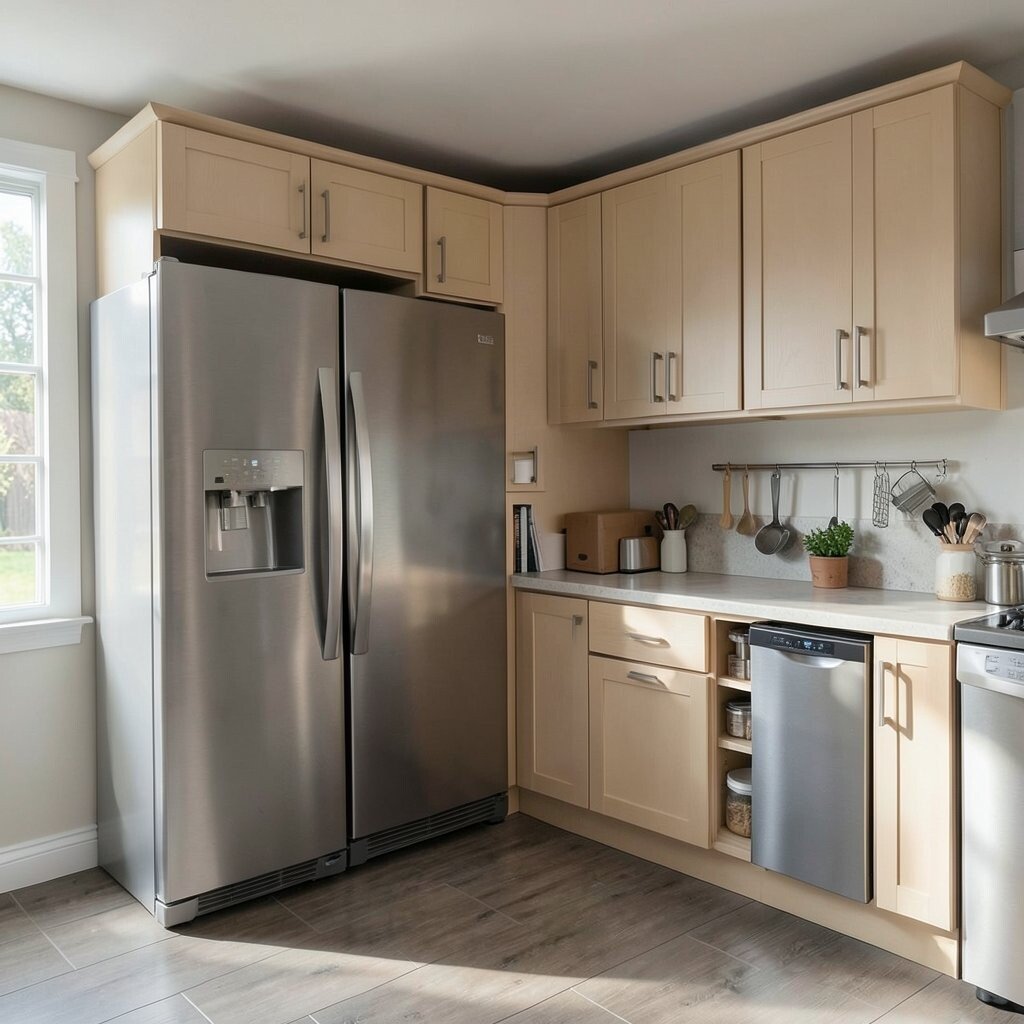
A corner garage makes smart use of awkward space that often becomes a storage dump. The L-shaped design can hold multiple appliances while keeping the doors aligned with your cabinetry.
To make this work, install corner shelves and think about how you’ll reach inside. A pull-out shelf or rotating platform can prevent the “I can’t get to the back” problem. Keep the most-used appliance at the front to save time during busy mornings.
This style is unique because it blends into the room while turning a tricky area into a functional zone. It also helps you avoid blocking walkways with appliances stored on the counter. If you’re budgeting, focus first on one corner module rather than redoing the entire kitchen layout.
7. Appliance Garage with Glass Front Door
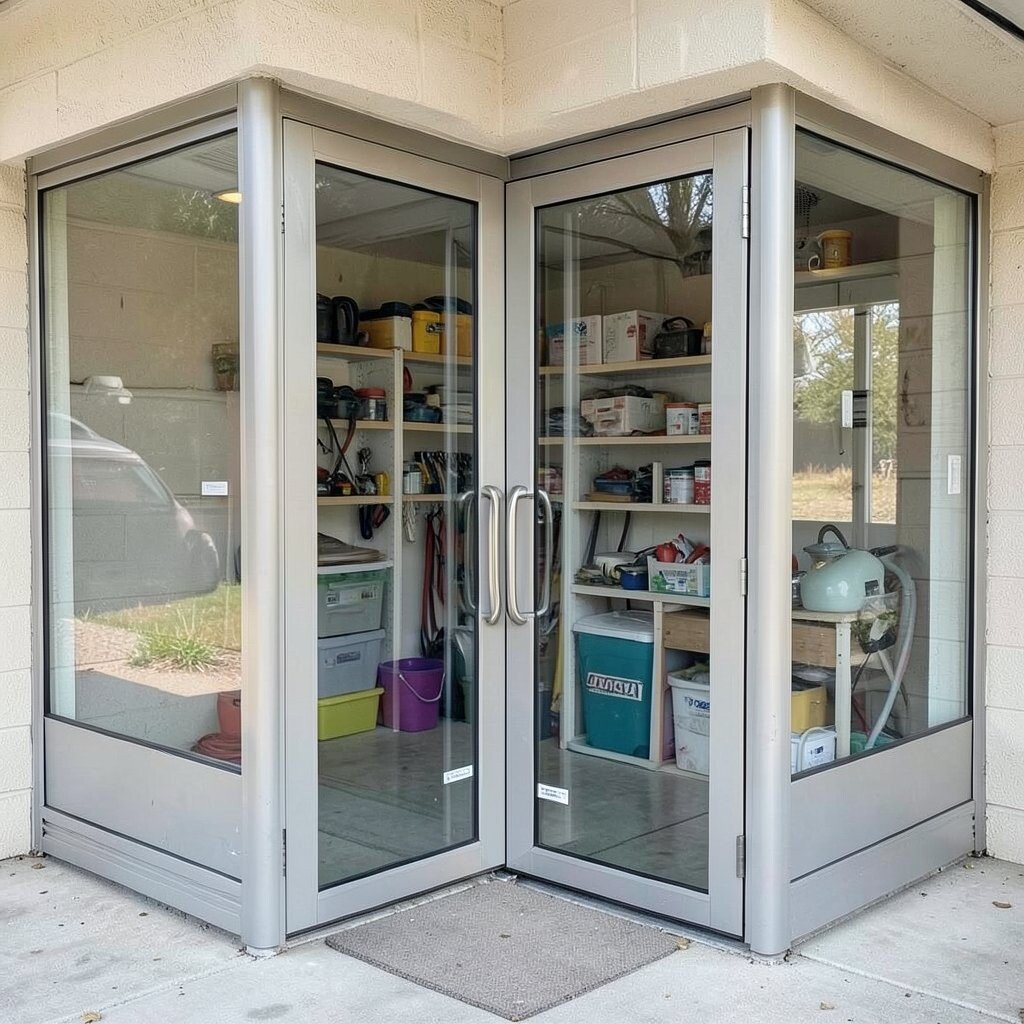
For a lighter, more open feel, swap the solid door for a glass front. You can show off a matching set of appliances while still protecting the counter from visual clutter.
Choose frosted or textured glass if you want privacy but still like the idea of peeking inside. If you use clear glass, keep shelves orderly and wipe surfaces often. Add a small shelf rail so mugs, measuring cups, or cords don’t drift around.
This garage is unique because it balances organization with a decorative touch. Many kitchens are trending toward “pretty practical storage,” where items look neat even when they’re displayed. To personalize, use color-coordinated bins or trays so the inside looks intentional.
8. Appliance Garage for Coffee Station Workflow

Create an appliance garage that matches how you actually make coffee. When your coffee maker, grinder, and kettle all have nearby storage, the whole routine speeds up.
Design the layout so small prep items—filters, pods, stir sticks—sit on a shelf at eye level. Place the coffee maker so you can lift the carafe smoothly without moving other items. For personalization, add a spice-style drawer for sweeteners or a small mat for drips near the door opening.
This idea is unique because it focuses on flow, not just hiding appliances. It also helps reduce mess because supplies stay close to where you use them. If you want a cost-friendly start, use a tall cabinet organizer and a magnetic rail for tools before committing to custom build-outs.
Current trends often include compact “one-cup” stations, so consider built-in space for pour-over gear and a small storage caddy.
9. Microwave-Only Appliance Garage with Heat Gaps
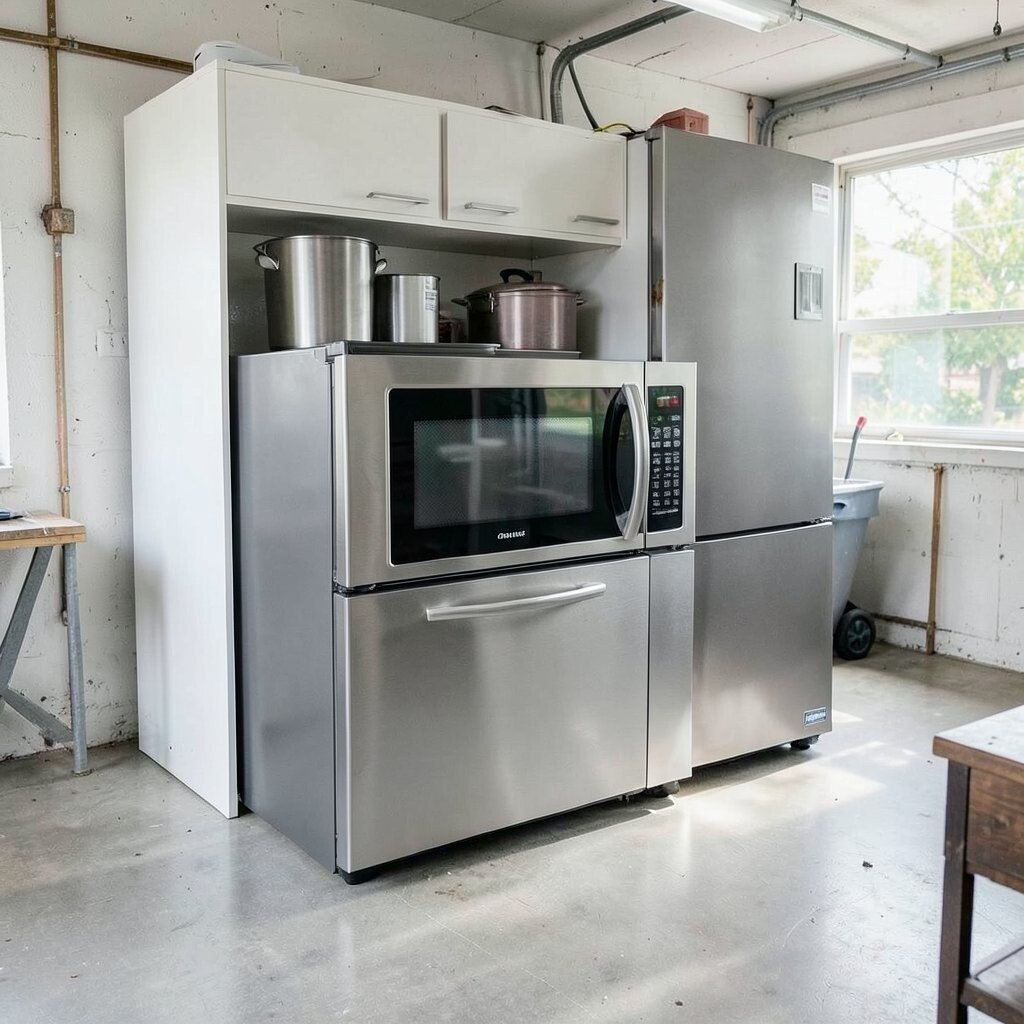
A microwave-only garage can keep your counter clearer while giving the microwave a home that feels purposeful. Many people love it because the garage keeps splatters and everyday grime from spreading across countertops.
Because microwaves run warm, plan heat gaps and airflow so the unit stays comfortable. Use a dedicated outlet behind the unit and keep the cord hidden with a service-friendly panel. Add a simple ledge below for trays, which makes loading and unloading easier.
10. Smart Storage Bin Appliance Garage

Instead of stuffing appliances together, pair your garage with bins for accessories. This keeps lids, attachments, and small parts from taking over the inside space.
Use shallow bins for items like blender cups, whisk attachments, and extra lids. Add clear labels and color-coded tape so you can reset the garage in seconds. If you swap appliances often, choose bins that slide out easily even when the door is closed.
This is unique because the garage becomes a system, not just a cabinet. You’ll also save money by keeping accessories from going missing and needing duplicates. Look for trend-forward storage like bamboo lids, clear acrylic fronts, and mix-and-match containers that match your kitchen finishes.
11. DIY Farmhouse-Style Appliance Garage with Shiplap Look
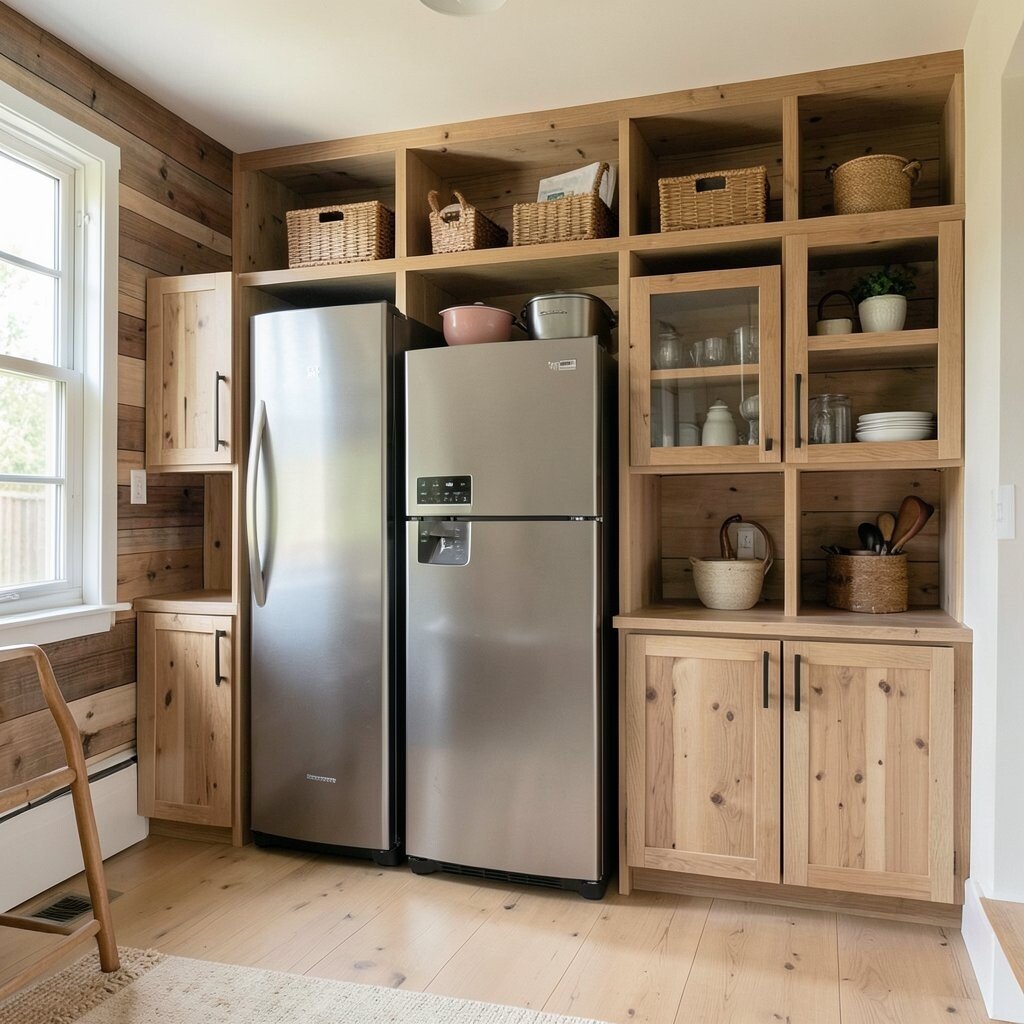
A farmhouse-style garage brings warmth and charm while still doing the job. You can create a cozy backdrop on the inside walls so the hidden space feels finished.
Try a shiplap-look panel behind the appliances, then add simple wooden shelves. Keep the door hardware rustic, like black pulls or matte bronze hinges. This design feels unique because it turns storage into decor without leaving appliances on the counter.
For practical tips, leave wipeable surfaces where steam or heat may touch the walls. If you’re on a budget, use peel-and-stick panels for the backing and invest more in hardware that lasts. Personalize by matching the wood tone to your cutting boards or open shelving.
Many kitchens are leaning into “quiet rustic” looks, so this idea pairs nicely with neutral countertops and warm lighting.
12. Pantry-Adjacent Appliance Garage
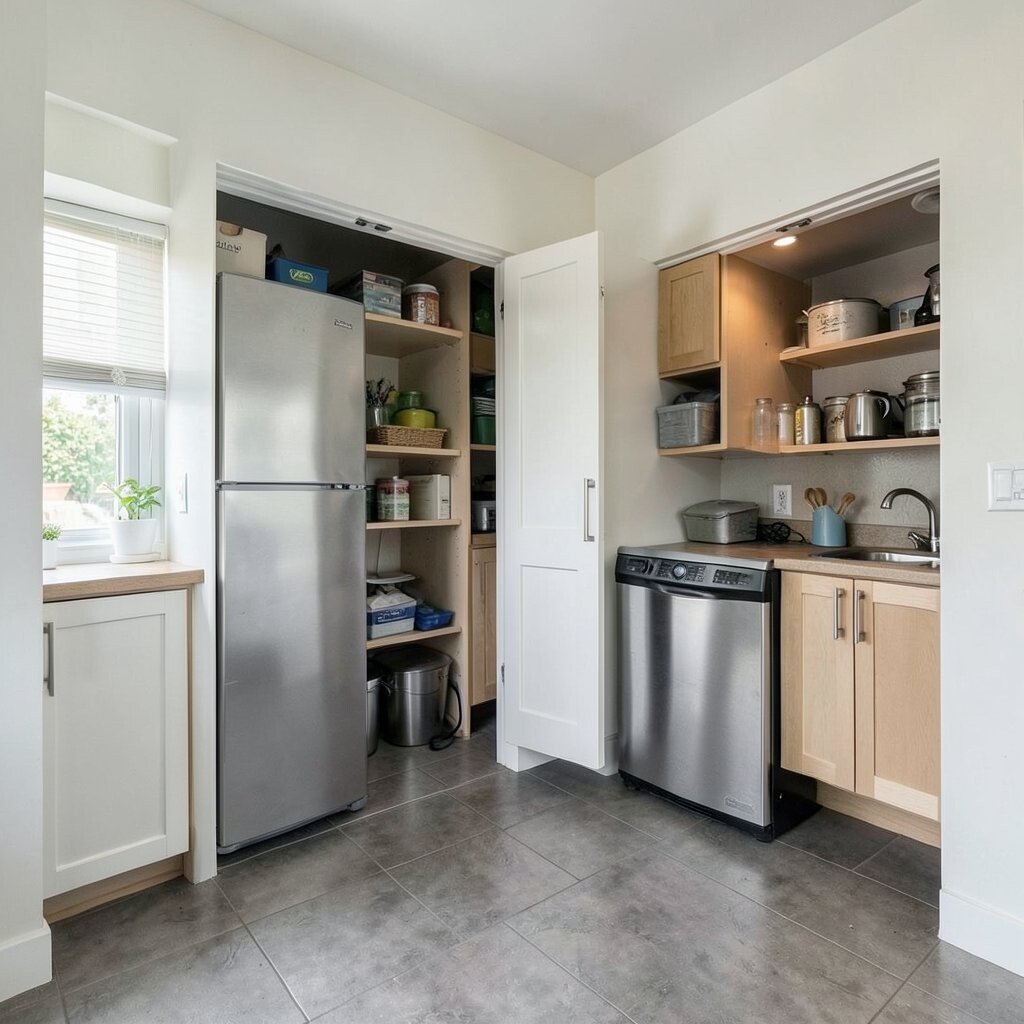
Place an appliance garage next to your pantry so cooking tools and food ingredients work together. When supplies are nearby, you waste less time walking around the kitchen.
Use shelves to separate appliances from packaged goods, like keeping the blender by smoothies and the toaster by quick snacks. Add a small pull-out caddy for frequently used items such as tongs, measuring spoons, or paper towels. This setup is unique because it creates a “prep lane” for everyday meals.
To personalize, align the garage door style with your pantry doors so the kitchen looks cohesive. If you’re planning renovations, run the power connections during the pantry install to save labor later. For cost, this approach can be cheaper than moving appliances to a far-away area because it uses existing walls.
13. Hidden Appliance Garage with Magnetic Tool Hooks
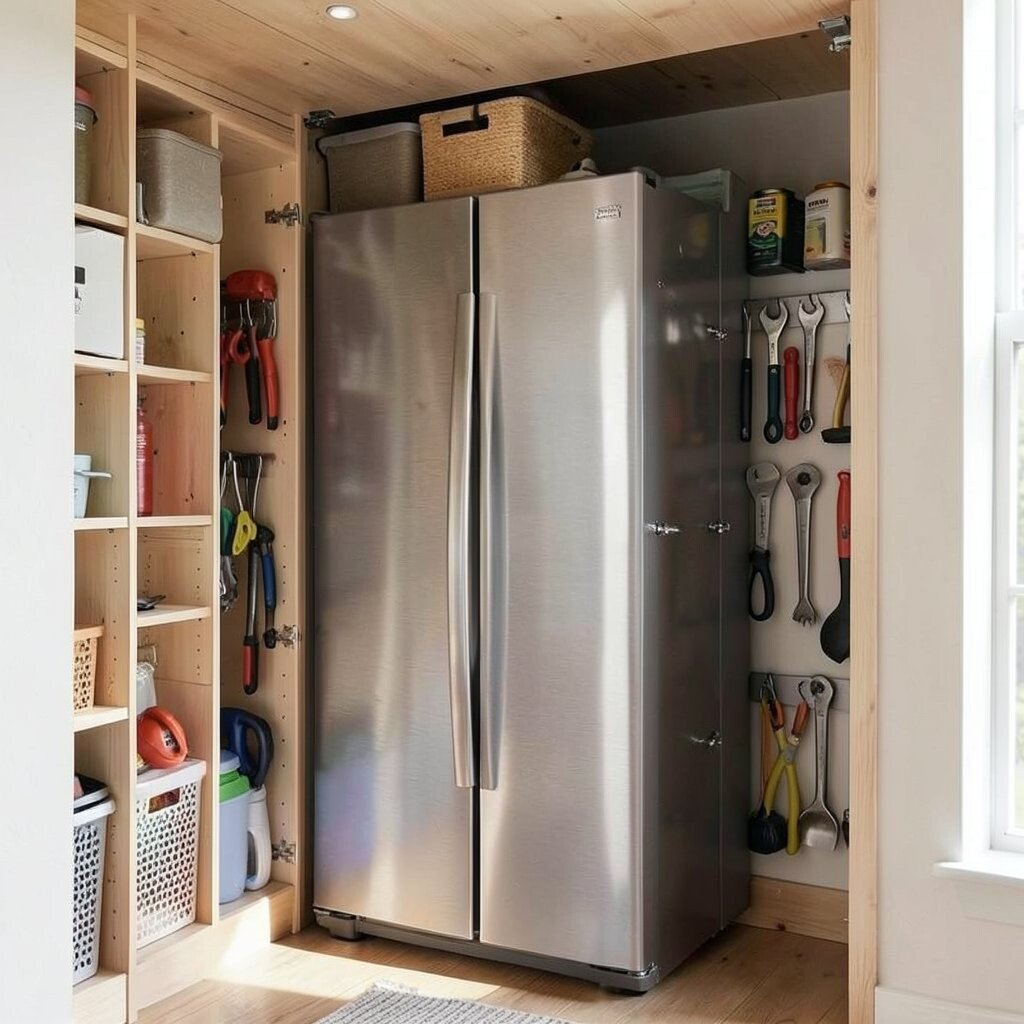
Magnetic hooks inside an appliance garage make tools feel instantly reachable. You can hang items like spatulas, whisks, and small ladles so drawers stay calmer.
Mount the magnetic strip on the back wall, then position it where you’ll naturally grab tools while cooking. Keep heavier tools lower and lighter ones higher for stability. This idea is unique because it blends appliance storage with “right-now” utensils, reducing extra cabinet opening.
Personalization is easy: choose the magnet color or cover it with a custom magnetic label holder. Budget-wise, magnetic strips are usually affordable, and they upgrade storage without major carpentry. For a trend-forward feel, pair the strip with uniform container labels so the garage looks curated.
To avoid clutter, only hang tools that you use weekly, and store the rest in a drawer or deeper cabinet.
14. Appliance Garage with Adjustable Shelf Heights
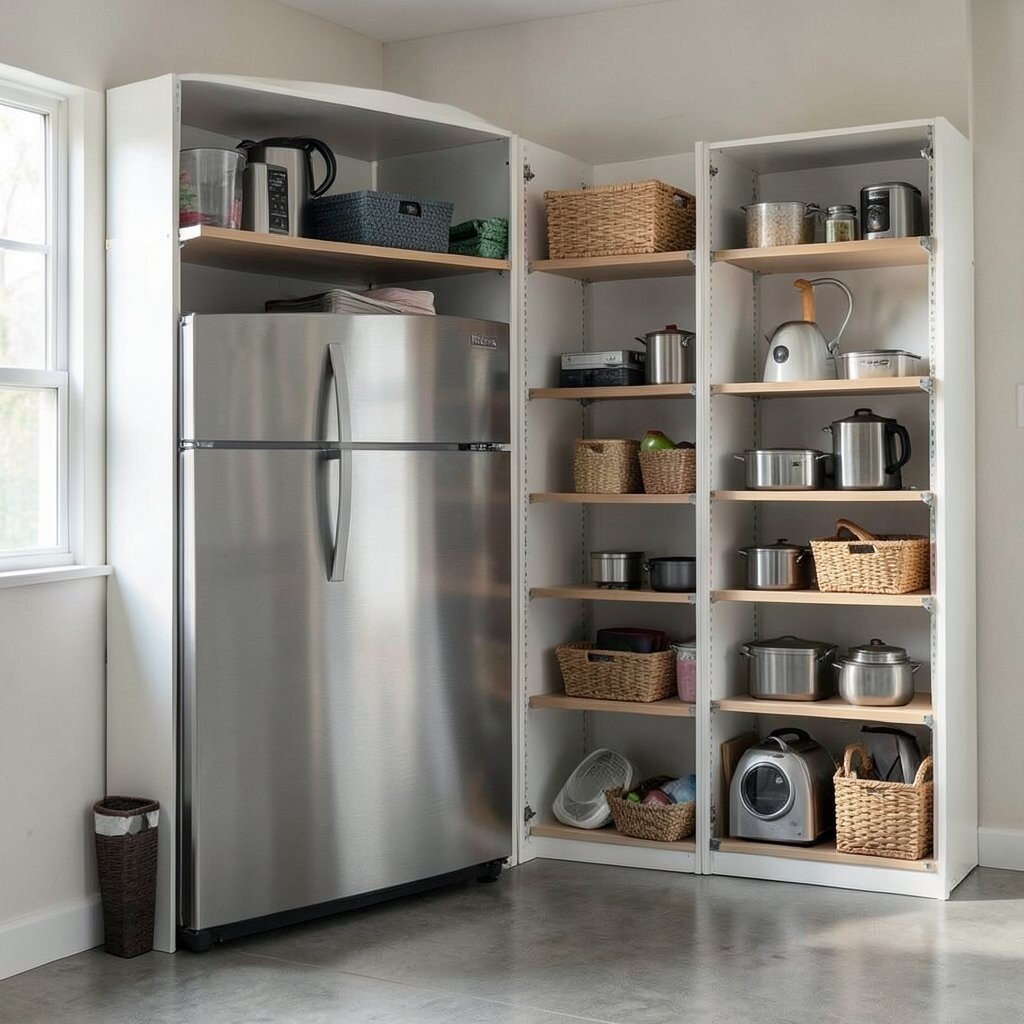
Adjustable shelves make an appliance garage flexible when your needs change. Today it holds a coffee maker, and next month it might hold an air fryer or new blender.
Use shelf pins or track systems so you can reposition storage without rebuilding. Plan for the tallest appliance you own, then leave space for smaller items on the top tier. This idea feels unique because it stays useful over time, not just at one moment.
15. Compact Appliance Garage for Small Kitchens
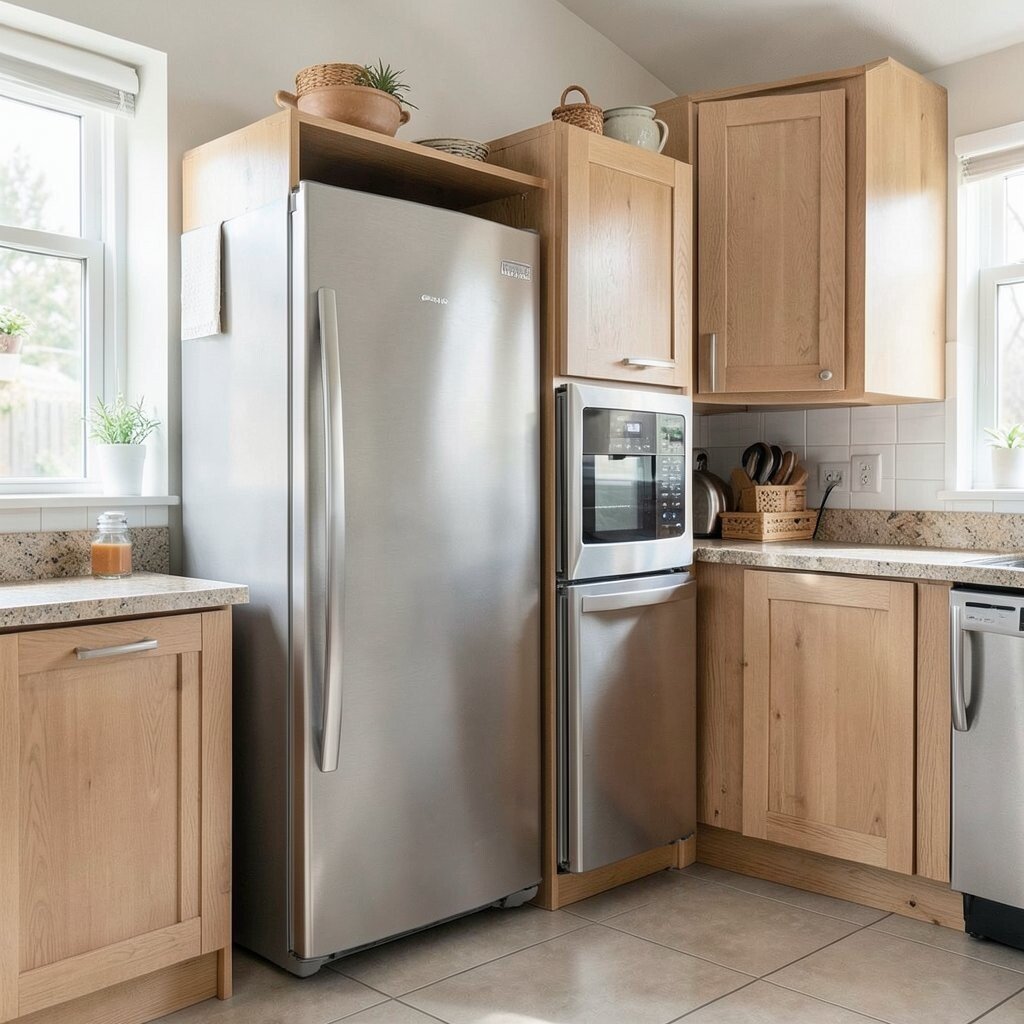
If you have limited space, a compact appliance garage can still make your counters feel open. A slim vertical cabinet can hold essentials without taking over your room.
Pick one “main appliance” to prioritize, like a toaster or blender, then store accessories on a narrow side shelf. Use door organizers for items like measuring cups, so you don’t lose space inside. This approach is unique because it focuses on practical minimalism rather than storing everything at once.
For cost considerations, choose lightweight organizers and focus on efficient measurements. Many current designs favor narrow cabinets and integrated storage, especially in smaller urban homes. Personalize it with a small chalk label or sticker on the inside door so you can remember where everything goes.
16. Two-Zone Appliance Garage: Small Tools and Daily Machines

A two-zone garage gives you separate areas for daily appliances and smaller tools. When everything has its own “zone,” your kitchen feels organized even during busy weeks.
For example, keep your coffee maker and kettle on the lower zone and store grinders, mixers, or attachments above. Use a shelf edge or divider wall to keep small items from tipping into the larger appliance area. This idea is unique because it supports different heights and usage styles without turning your cabinet into a jumble.
To personalize, match the zone lighting with your kitchen bulbs for a consistent glow. If you’re budgeting, start with simple shelf dividers and add lighting later as a second step. Trends often point toward “layered organization,” where big tools and small accessories look coordinated instead of random.
When you set up the zones, think about your routine times, like weekday mornings versus weekend baking.