Every board is a tiny doorway into your next idea. The trick is learning what to collect and how to arrange it.
-
1. Color Mood Board: “Soft Storm”
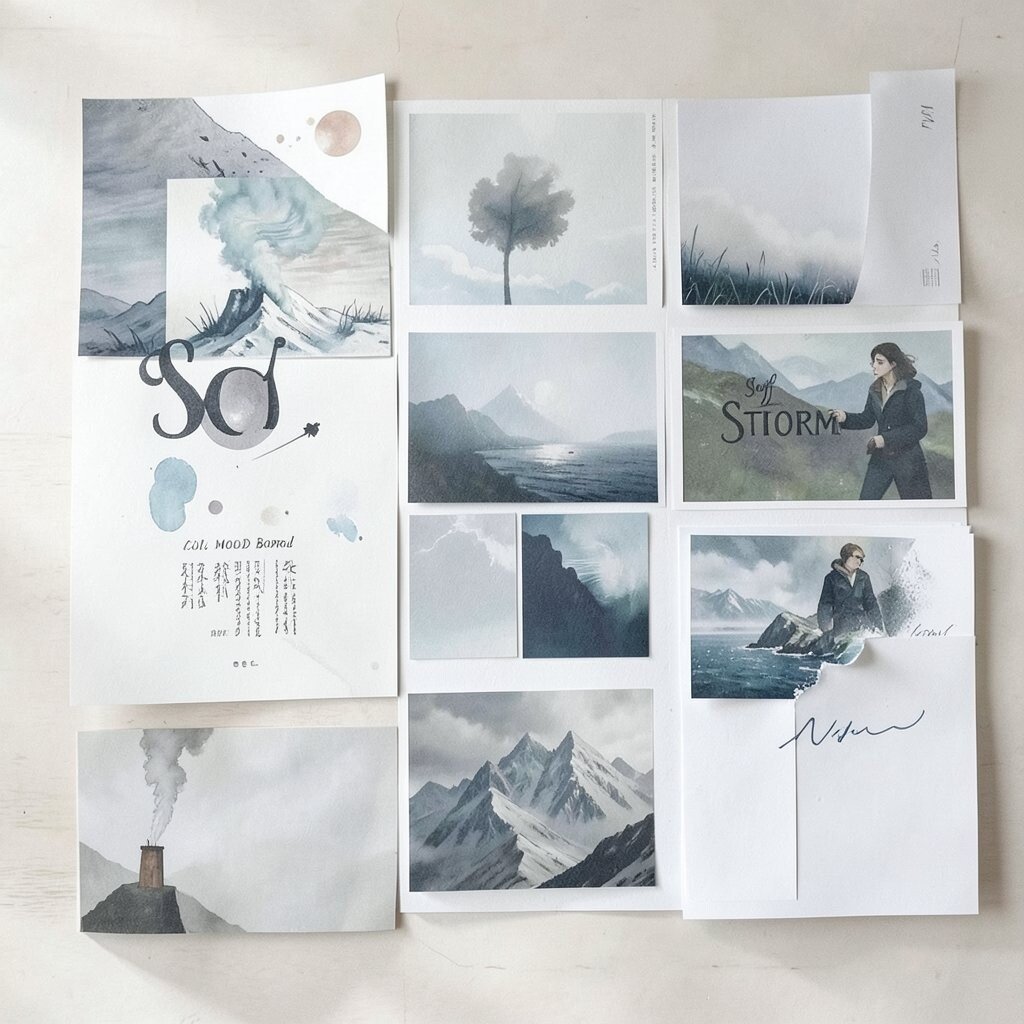
Color Mood Board: “Soft Storm” Pick colors that feel like a mood you want to wear. Think of muted blues, warm grays, and a surprising pop of dusty rose.
Search for photos of cloudy skies, foggy streets, or cozy interiors with natural light. Add paint swatches, fabric textures, and even a few handwritten color names. When you look at the board, notice what emotion rises first, then build art that matches it.
-
2. Typography Board: “Letters With Attitude”

Typography Board: “Letters With Attitude” Collect posters, book covers, and screenshots of signs that make letters feel alive. You’re not copying words, you’re studying how the shapes behave.
Mix fonts from different places: street art, children’s books, gallery titles, and old magazines. Include one “rule” you like, such as bold headlines or playful spacing. To personalize, write your own short phrases in that style, then compare them side by side.
To keep costs low, use free font sites, online galleries, and printed printables. A current trend is pairing clean typography with hand-drawn accents, like doodled arrows or ink splatters. Let your next sketch start with a headline, then design a world around it.
-
3. Texture & Pattern Board: “Touch-First”
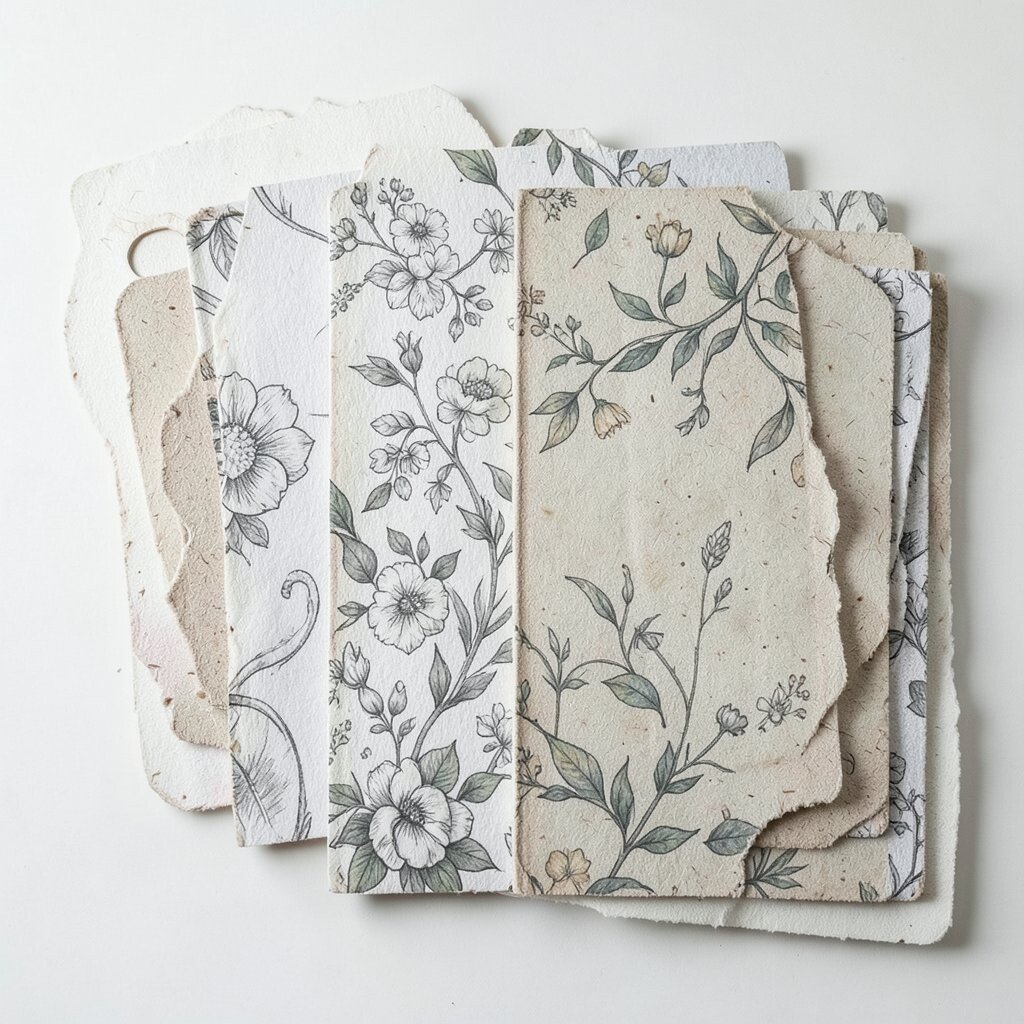
Texture & Pattern Board: “Touch-First” Build a board around textures, not images. Add close-up photos of linen, bubble wrap, rusted metal, and leaf veins.
Layer patterns that repeat in different ways: stripes, waves, tiles, and tiny dots. Add small swatches if you can, like a scrap of scarf or a coffee-stained paper corner. This helps your art feel more real because your hand learns what “surface” means.
Try turning texture into a drawing rule: use only dot shading for a “cotton” piece or only scratch lines for “sandpaper.” A helpful tip is to label each texture with a word, like “tender,” “crunchy,” or “oily.” You can also scan patterns from packaging and print them, which is usually cheap.
Right now, many artists are using mixed-media looks, so texture boards are perfect for current collage trends. Use your board to plan a series where every piece shares one texture theme. Even a simple thumbnail sketch can guide the final work.
-
4. Nature Light Board: “Golden Hour Planner”
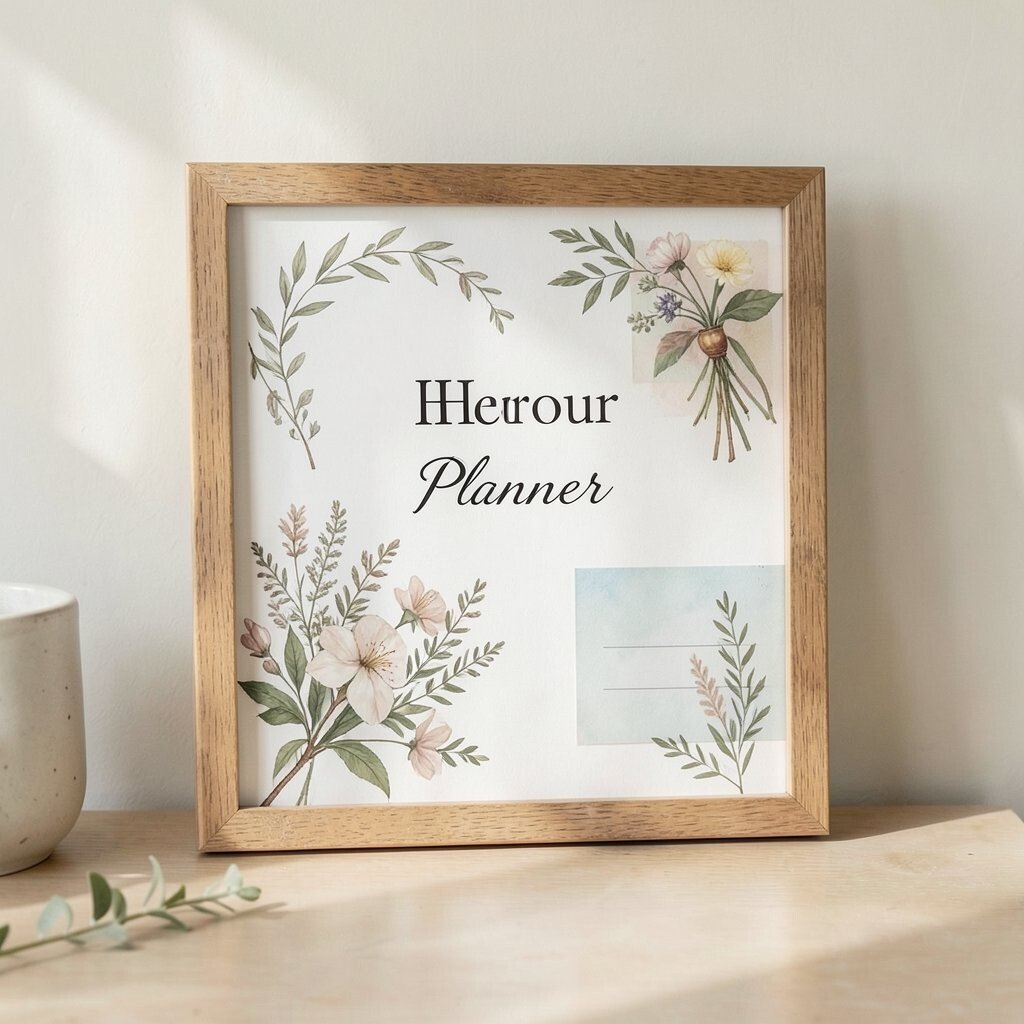
Nature Light Board: “Golden Hour Planner” Gather photos of sunsets, sunrise shadows, and indoor lamps that cast gentle angles. Notice how light changes colors and how long shadows feel like mood.
Include reference images of plants, landscapes, and everyday objects lit by the same tone. Add one small “light map” by drawing a simple circle and shading it to show warm highlights and cool shadows. This board helps you paint faster because you already chose the light direction before you start.
-
5. Character Creation Board: “One Person, Many Worlds”
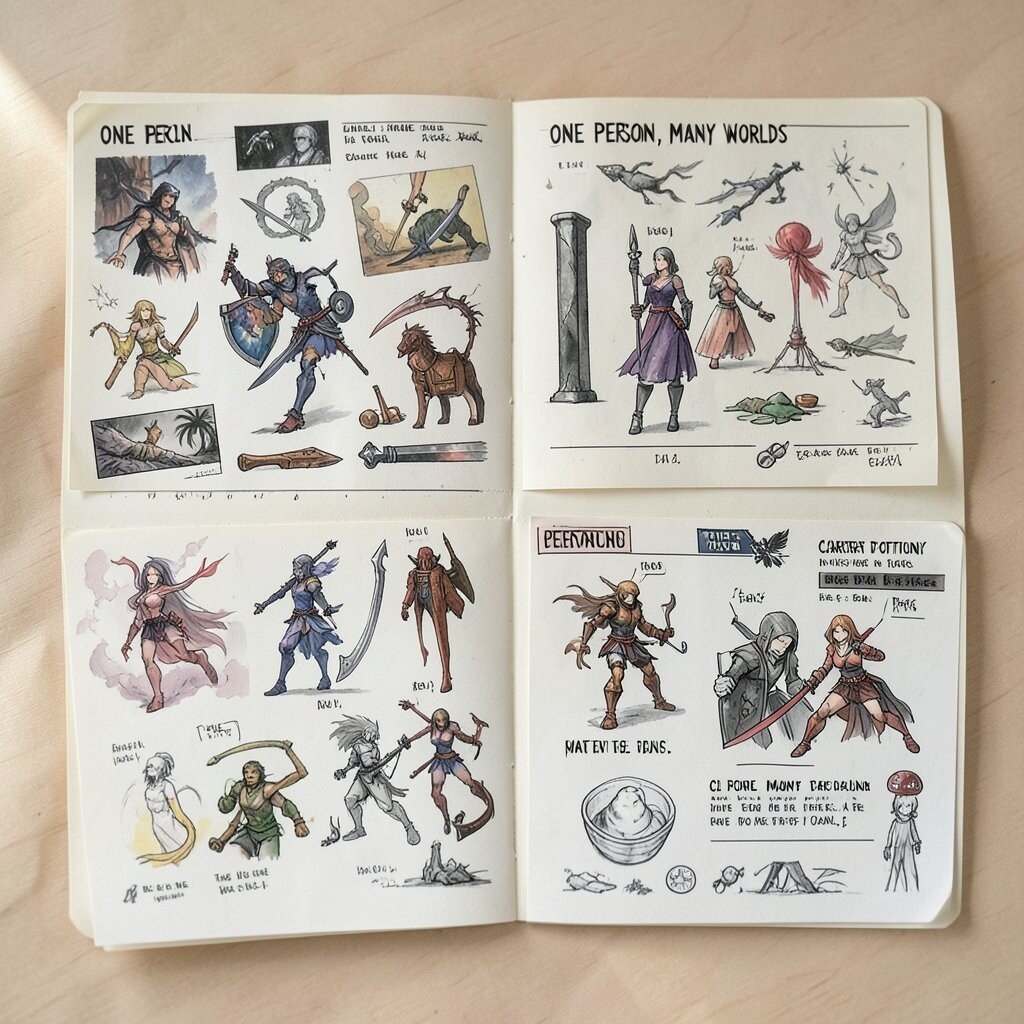
Character Creation Board: “One Person, Many Worlds” Make a board for a character with a strong look and a clear personality. Add three photos of hairstyles, clothing colors, and one “signature” detail like a charm or a scarf.
Then add life clues: a tiny image of the character’s favorite snack, a place they like to sit, and a hobby that shows how they spend time. Include mood words, such as “curious,” “slow-breathing,” or “bold at night.”
To personalize, write a mini backstory in your own voice and let it guide design choices. You can also add simple rules, like “they never wear black” or “their pocket always has something useful.” Keep costs down by using screenshots, free character concept art, and paper cutouts from old magazines.
-
6. Travel Postcard Board: “Streets and Small Signs”
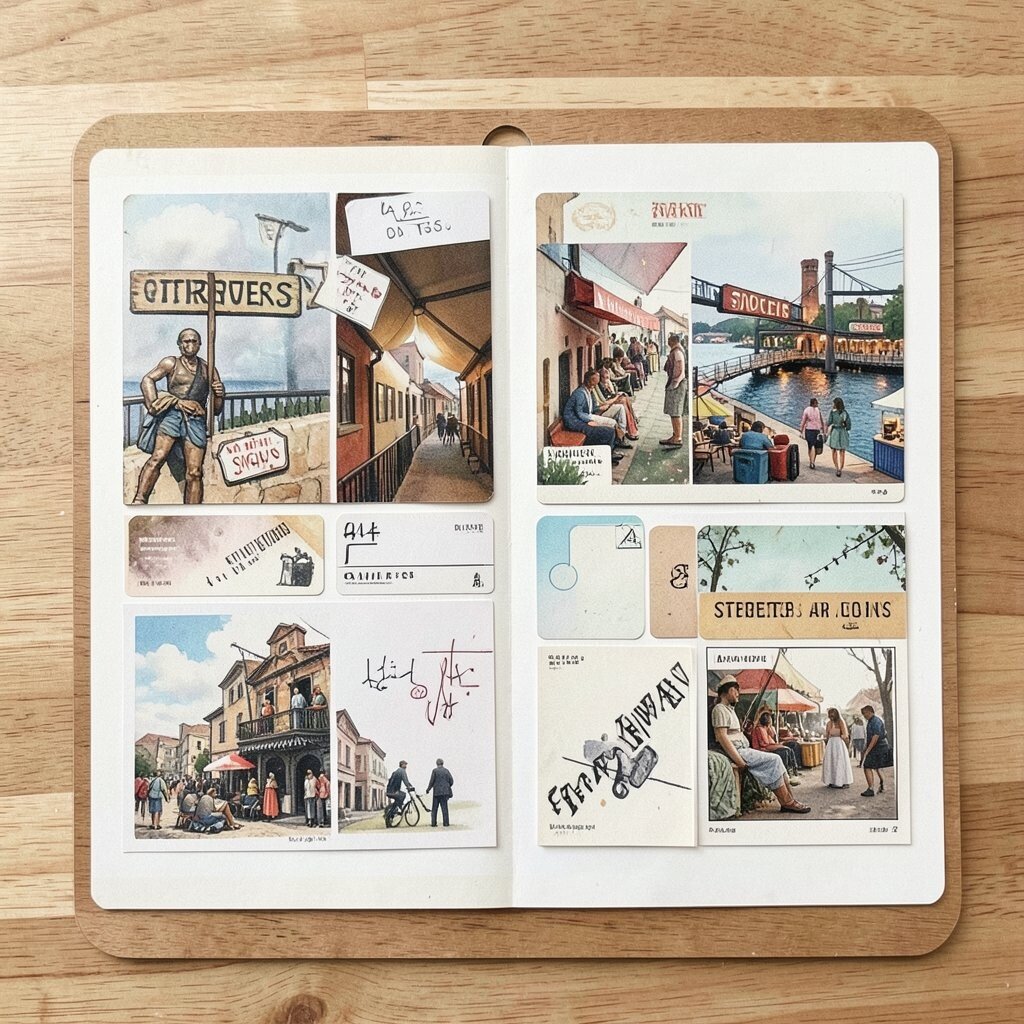
Travel Postcard Board: “Streets and Small Signs” Collect postcard-style images of streets, bridges, doorways, and shop windows. Focus on details people ignore, like street numbers and patterns in sidewalks.
Use a mix of wide shots and close-ups, so you get both space and texture. Add tiny icons for things you want to include, like bicycles, window plants, or painted murals. Your benefit is quick visual direction for drawings, paintings, or even story scenes.
For tips, circle the one detail that keeps catching your eye, then make it the star of your next piece. A great personalization idea is to replace the location with your own town elements, like a local bus stop or a familiar alley.
-
7. Art Supplies & Tool Board: “What Your Hands Love”
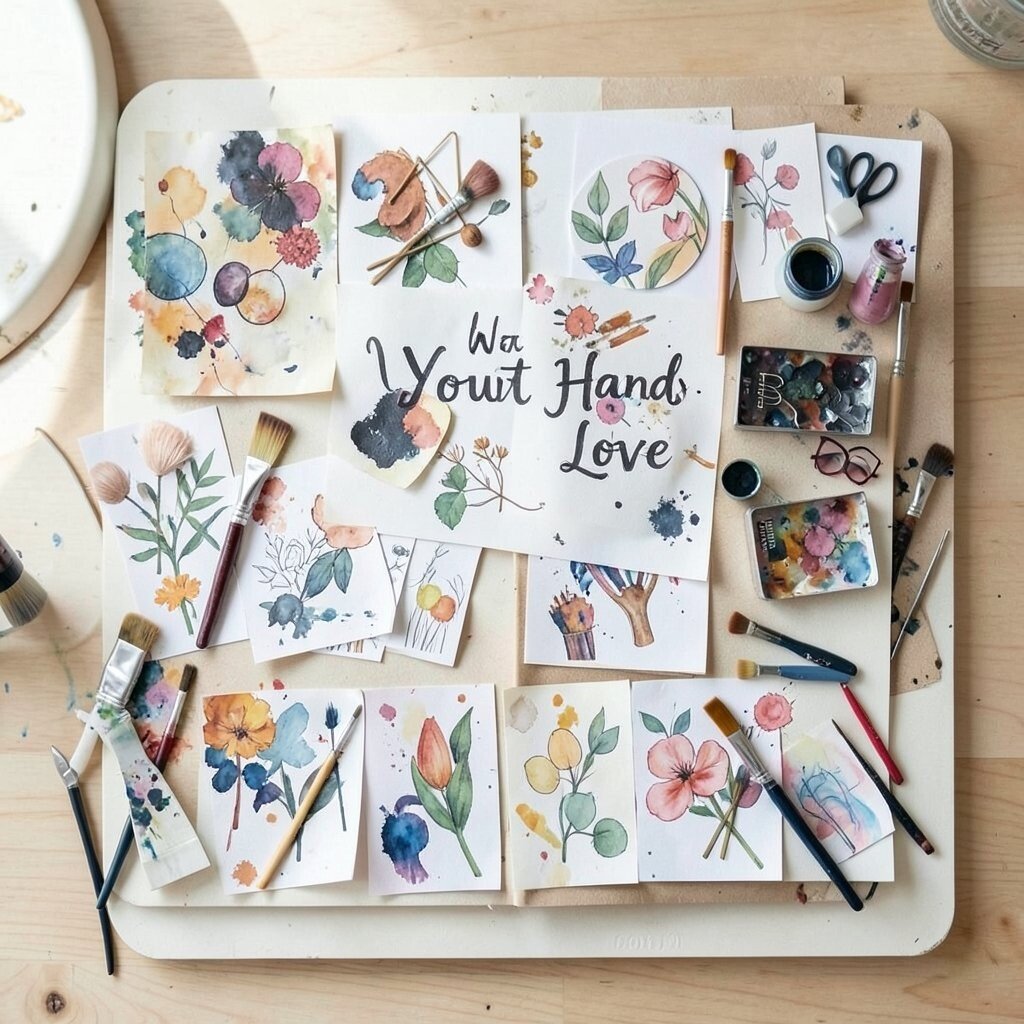
Art Supplies & Tool Board: “What Your Hands Love” Show your favorite tools on a board: pencils, markers, gel pens, brushes, paper types, and erasable tape. The goal is to notice how each tool makes you feel when you use it.
Add swatches of colors you can get with each supply, including a quick “test line” and “test shadow.” Include images of artists using similar tools, because styles often travel with equipment choices. This helps you plan art sessions without guesswork.
For personalization, write a short “tool promise,” like “I will use ink only for outlines” or “I will keep three colors per sketch.” Cost considerations matter here: you can tape swatches from a cheap sketchbook and label what works, instead of buying everything at once.
-
8. Film & Scene Board: “Frames That Teach”

Film & Scene Board: “Frames That Teach” Pick a few scenes from films you love and turn them into art references. Choose moments with strong composition, like a subject framed by windows or stair rails.
Add the feeling, not just the picture: include notes on color temperature, shadow style, and the mood of the background. A helpful tip is to write one sentence describing the camera vibe, then sketch a simple version from your own angle.
Uniqueness comes from mixing scenes with your own theme. Try pairing a nighttime street scene with your favorite ocean memory, then build a hybrid illustration.
-
9. Dream & Symbol Board: “Meaning Playground”
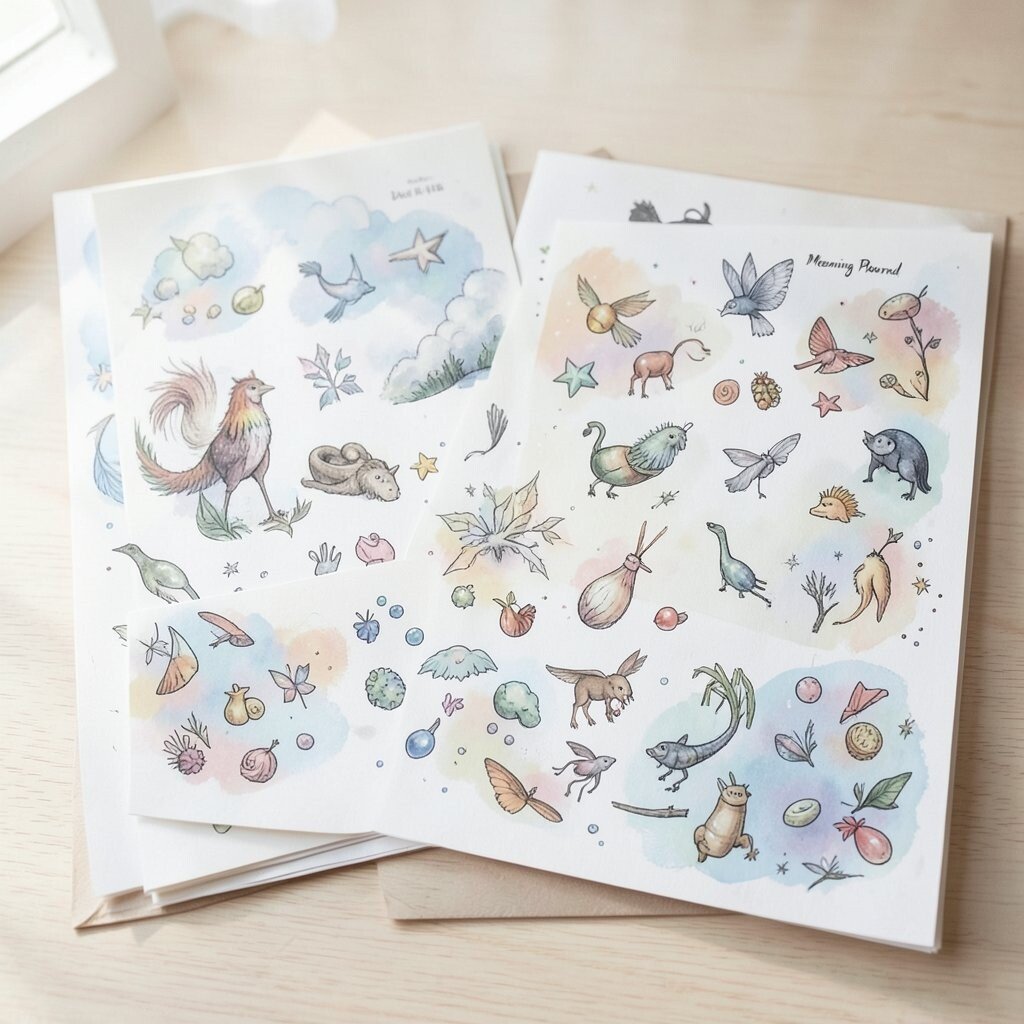
Dream & Symbol Board: “Meaning Playground” Collect symbols that appear in your dreams, like clocks, doors, feathers, or waves. Add simple doodles of your own symbols, because your brain is the best source.
Find images that feel symbolic, not just pretty. Think of abstract art, myth pictures, and patterns in nature that look like hidden stories.
To personalize, write what each symbol “might mean” to you, even if it sounds silly. Then turn those meanings into rules for a series, like “use only rounded shapes” or “make eyes out of dots.” Costs can stay low by printing free images and using cheap paper you already own.
-
10. Food Art Board: “Color on a Plate”
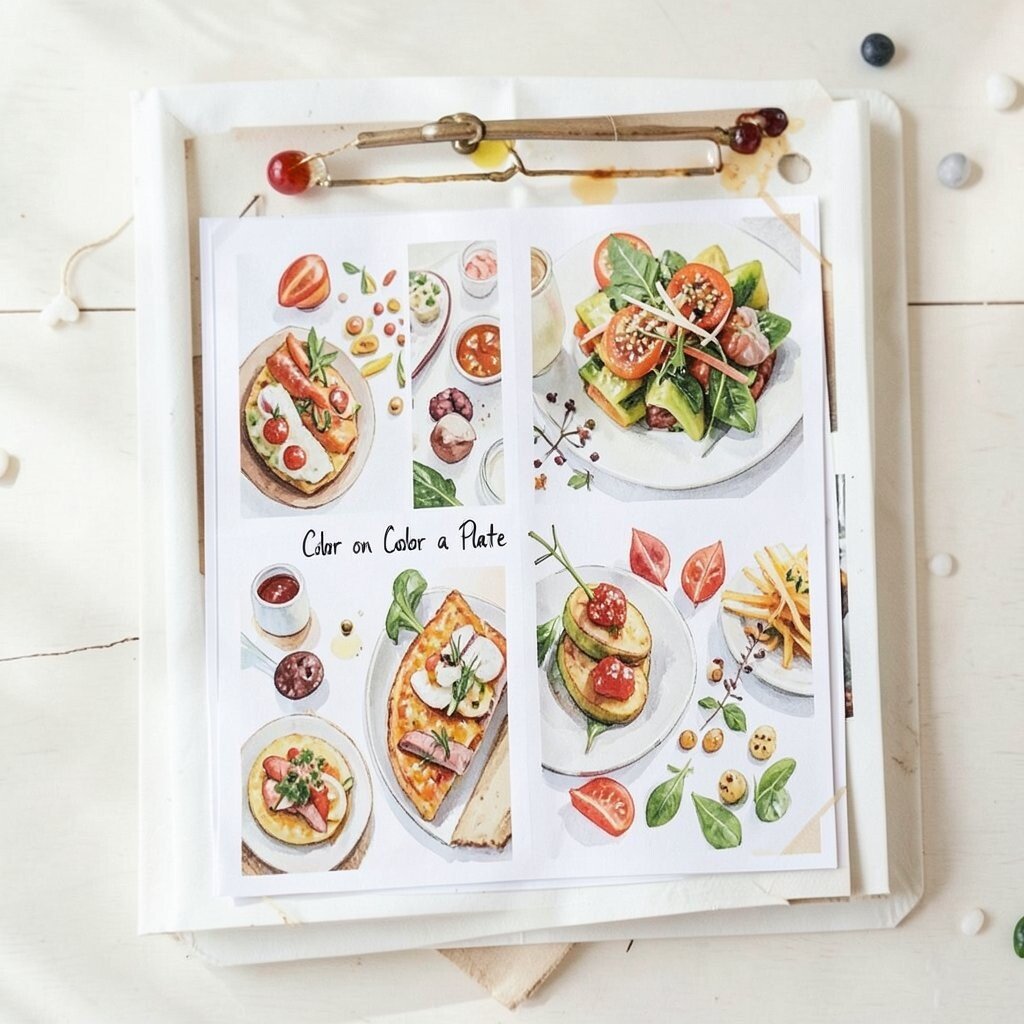
Food Art Board: “Color on a Plate” Build a board with food images that show texture, steam, and little color surprises. Choose berries, sauces, sliced fruit, crunchy toppings, and drinks with bubbles.
Add small sketches of portions, like a pie slice or a spoonful, to plan composition. This is a fun benefit because you practice drawing everyday shapes while learning lighting and shading.
Uniqueness tip: pick one food and redesign it in a new style, like turning pancakes into watercolor clouds. Cost considerations are friendly here—many references are free from phone photos you take at home.
-
11. Magazine Cutout Collage Board: “Happy Chaos”
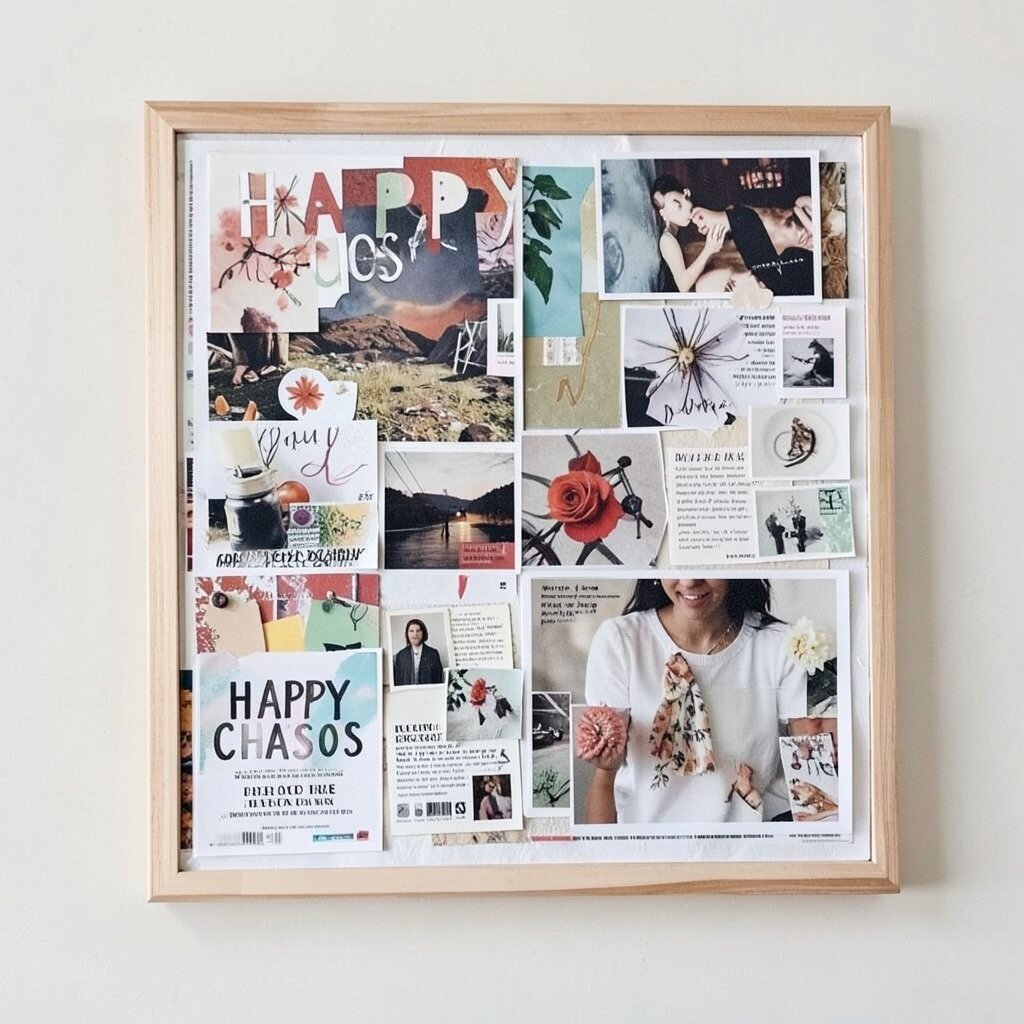
Magazine Cutout Collage Board: “Happy Chaos” Grab glossy magazines, old flyers, and scrap paper and cut shapes that make you grin. Don’t worry about neatness; you’re collecting energy.
Arrange cutouts by rhythm: big shapes, small shapes, and one surprising contrast piece. Add torn paper edges and layer them with glue or tape so your collage has depth.
For personalization, pick a theme like “ocean feelings” or “space snacks” and label each cluster with a word. A current trend is mixing clean typography with messy textures, so you can add a few bold letters on top of the collage.
Cost stays low because magazines are often free, and you only need glue, scissors, and maybe a cheap laminating sheet. When you build this board, you’ll quickly know what combinations spark ideas for finished work.
-
12. Architectural Lines Board: “Angles & Rooms”
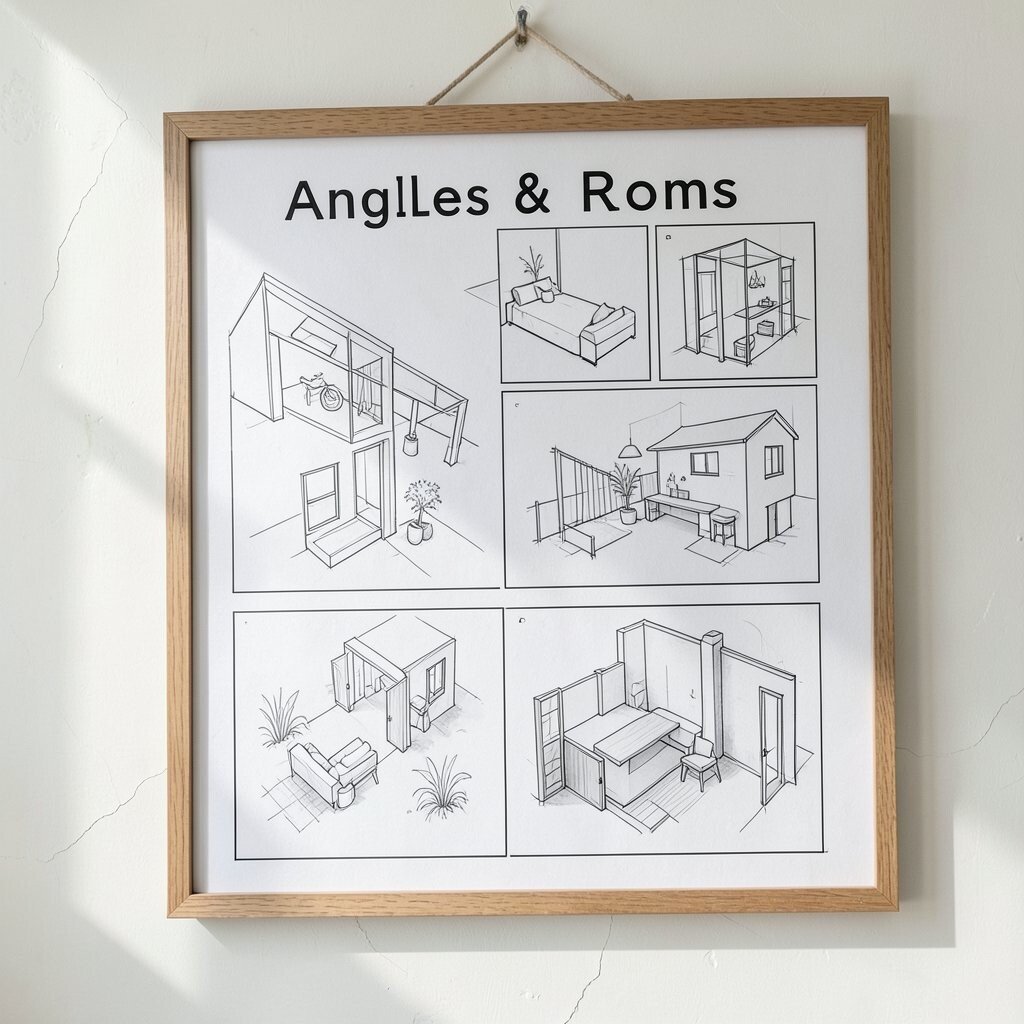
Architectural Lines Board: “Angles & Rooms” Collect images of buildings, hallways, staircases, and ceiling patterns. Look for strong lines, repeated shapes, and interesting door frames.
Add one “line exercise” note for each image, like “practice vanishing point” or “map light through windows.” This board benefits you by training your eye for perspective and structure without feeling like homework.
To personalize, draw a simple room from memory, then swap elements from your photos into your drawing. Cost considerations are easy: you can print architecture photos in black and white to save ink, or just clip screenshots.
-
13. Fashion Style Board: “Wearable Art”
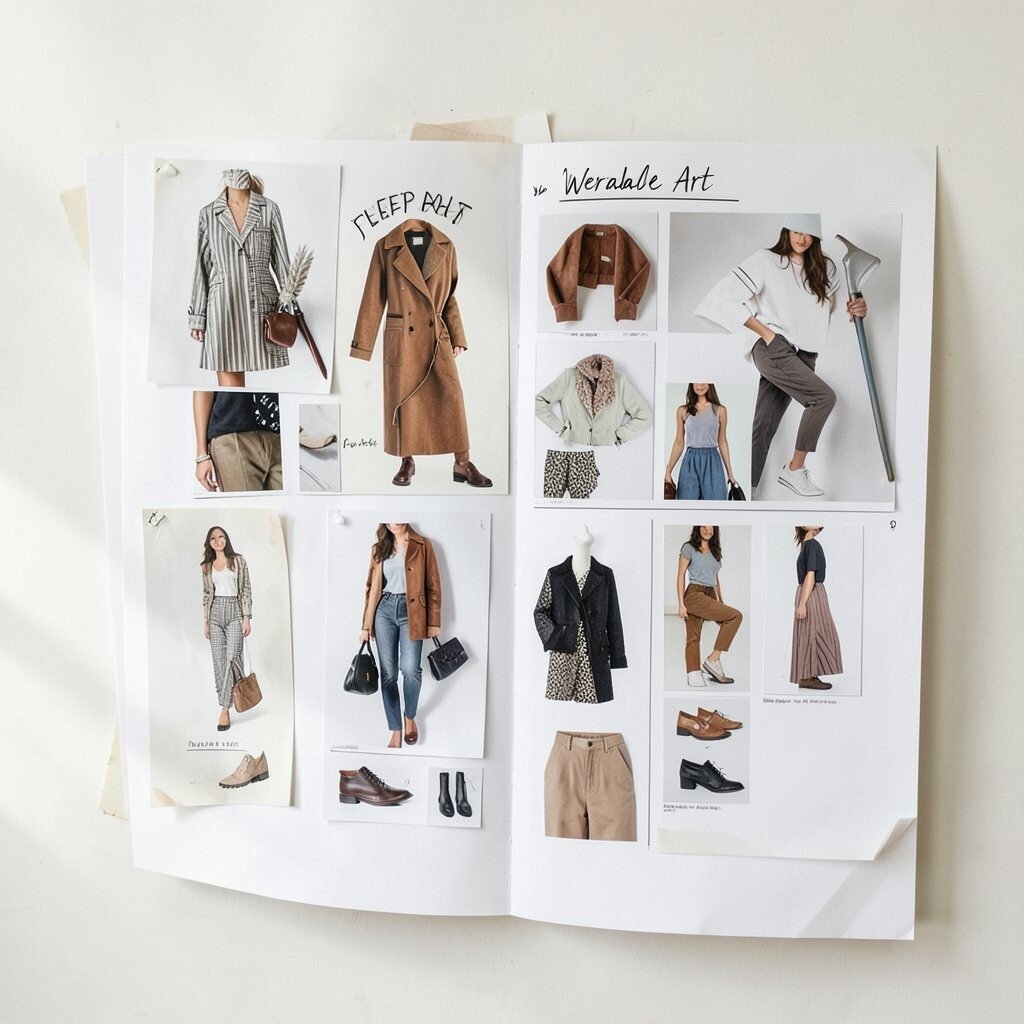
Fashion Style Board: “Wearable Art” Pin or print outfits that mix shapes, colors, and materials. Include close-ups of seams, buttons, belts, and shoe textures, because those are small design clues.
Add a “palette strip” that matches your favorite outfit colors, then match those colors to your own art. This helps you create consistent illustrations across a character set or a whole series.
Uniqueness comes from mixing one fancy element with one cozy element, like a satin ribbon with a knit texture. A current trend is quiet luxury styles paired with playful accessories, so add at least one minimal outfit and one bold accessory.
-
14. Music & Sound Board: “Rhythm Into Color”
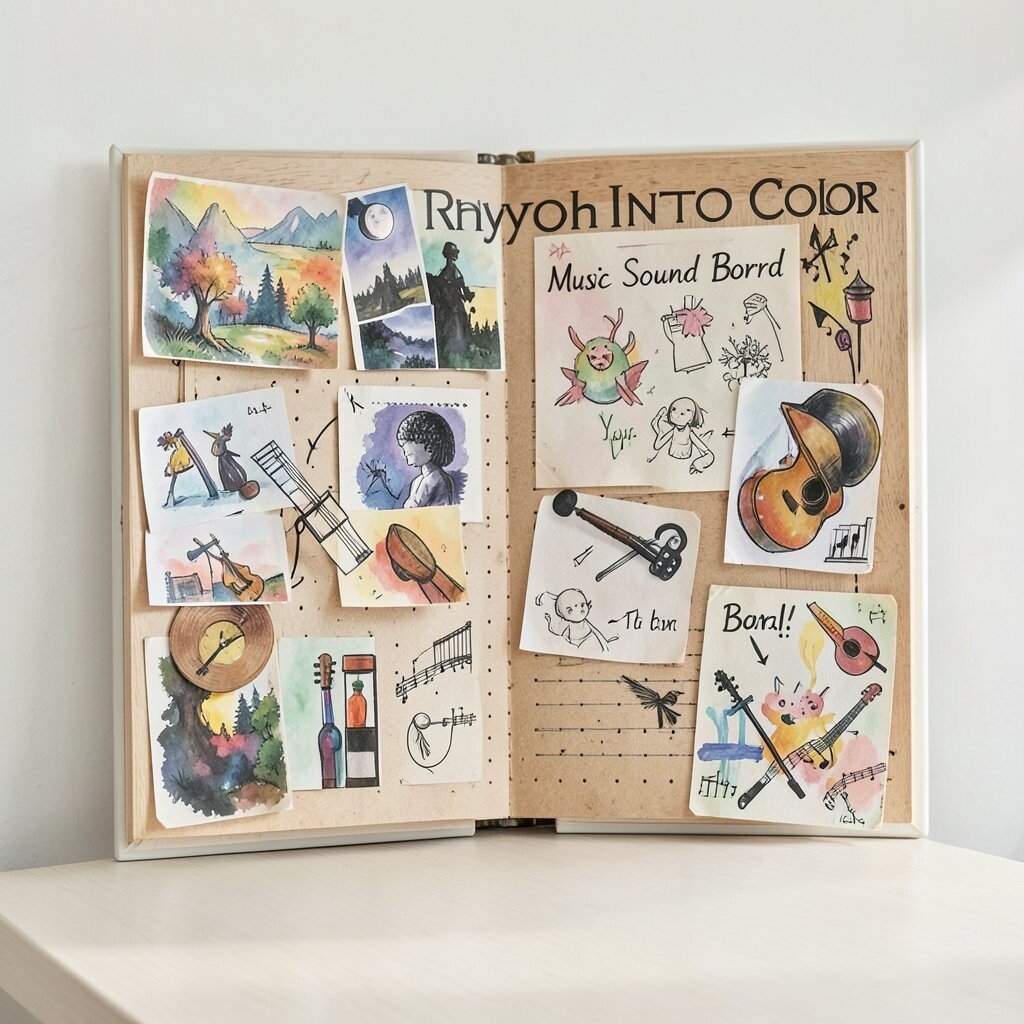
Music & Sound Board: “Rhythm Into Color” Create a board that reacts to music. Pick album covers, stage lighting photos, and abstract visuals that feel like beats and echoes.
Add color bars that match the song’s mood, like “fast and bright” or “slow and deep.” Then write a few rhythm words, such as “staccato,” “smooth,” or “echo.” This benefits your art because you start linking sound to motion in your drawings.
To personalize, play one song while you sketch without stopping for a timer of your choice, and then choose one page fragment to place on the board. Cost considerations are simple: screenshots, printed lyrics, and your own mini notations cost almost nothing.
-
15. Comics & Panel Board: “Story Layout Practice”

Comics & Panel Board: “Story Layout Practice” Collect comic panels with clear composition: close-ups, wide reveals, and action diagonals. Study where the eye goes first and how the next panel leads it onward.
Make a small grid on your board and place different panel examples into sections, like “start,” “twist,” and “ending.” This helps your storytelling because you plan pacing visually.
For personalization, rewrite the same scene in three panel styles, like “super short,” “slow and quiet,” and “comedy timing.” A current trend is using bold text bubbles with mixed-media backgrounds, so try adding textured paper behind simple panel drawings.
Cost stays low because you can use printouts from library books or free online strips, and you only need a few markers for quick layout sketches.
-
16. Myth, Folklore & Legend Board: “Old Stories, New Shapes”
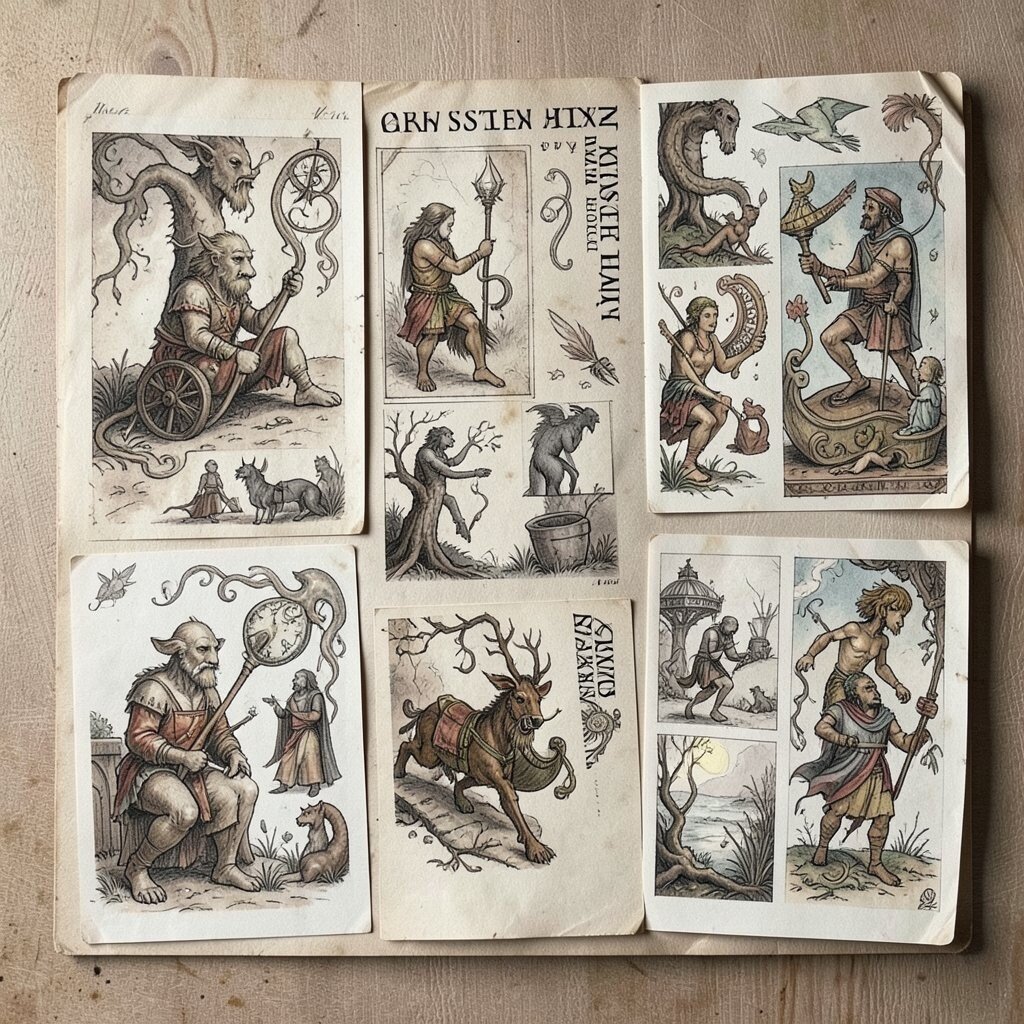
Myth, Folklore & Legend Board: “Old Stories, New Shapes” Choose myths or folklore that feel meaningful to you, then collect images that match the themes. Add symbols like moons, masks, river spirits, or protective charms.
Include three categories on the board: creatures, places, and objects. This gives you a practical benefit because every illustration idea can pull from one of those categories.
Uniqueness tip: keep one element traditional, but remake two elements in a modern style. For example, a myth creature could keep its classic color, while its home becomes a futuristic city alley.
Personalization can be as simple as writing “what I fear” and “what I hope” beside symbols, turning the board into a creative mirror. Cost considerations are friendly: print free public-domain images, and keep your own sketches as the “main ingredient.”
-
17. Minimalist Line Art Board: “Less, But Better”

Minimalist Line Art Board: “Less, But Better” Collect examples of line drawings that feel calm and clean. Look for sketches where every line has a reason to exist.
Add one “line style” choice for your board, like contour lines, single-line continuous style, or sketchy crosshatching. This benefits you by teaching control and helping you practice focus.
To personalize, pick three everyday objects and draw them from different angles using only the line style you chose. A helpful tip is to set a rule like “no erasing,” because that pushes confidence.
-
18. Color Theory Experiment Board: “Rules You Can Break”
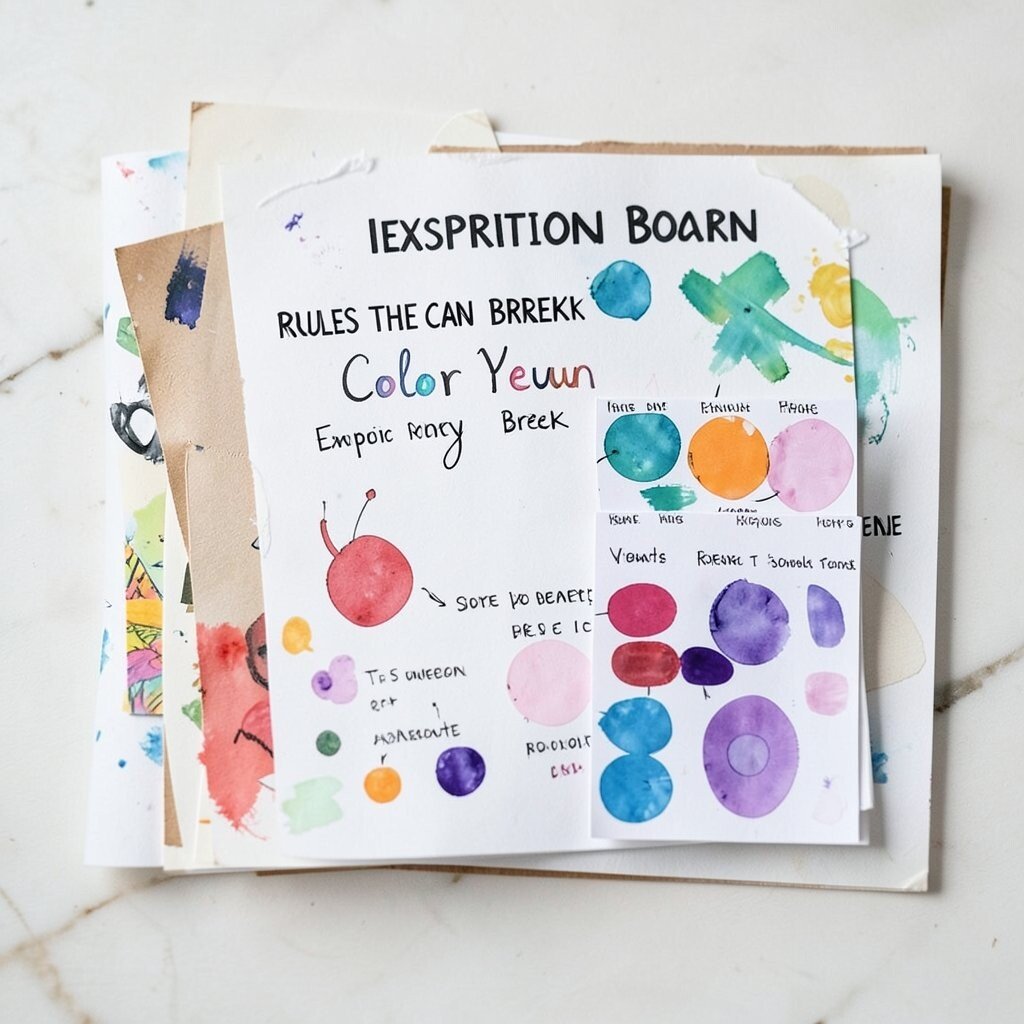
Color Theory Experiment Board: “Rules You Can Break” Make a board that shows color relationships, like complementary pairs, analogous sets, and warm-versus-cool contrasts. Add simple color wheels you find online, then annotate them with your favorite combinations.
Include small painted rectangles or printed gradients so you can compare directly. This is a major benefit because you train your eyes to see harmony and tension before you start a final piece.
Uniqueness comes from breaking rules on purpose. Choose one pairing you usually avoid and place it near your favorite style references, then try it in a mock-up drawing.
Cost considerations: you can use cheap watercolor cakes, marker swatches, or even color-pens from what you already own. Current trends often favor bold color pops on neutral backgrounds, so leave room on the board for a “main surprise” color.
-
19. Community & Street Art Board: “Public Energy”
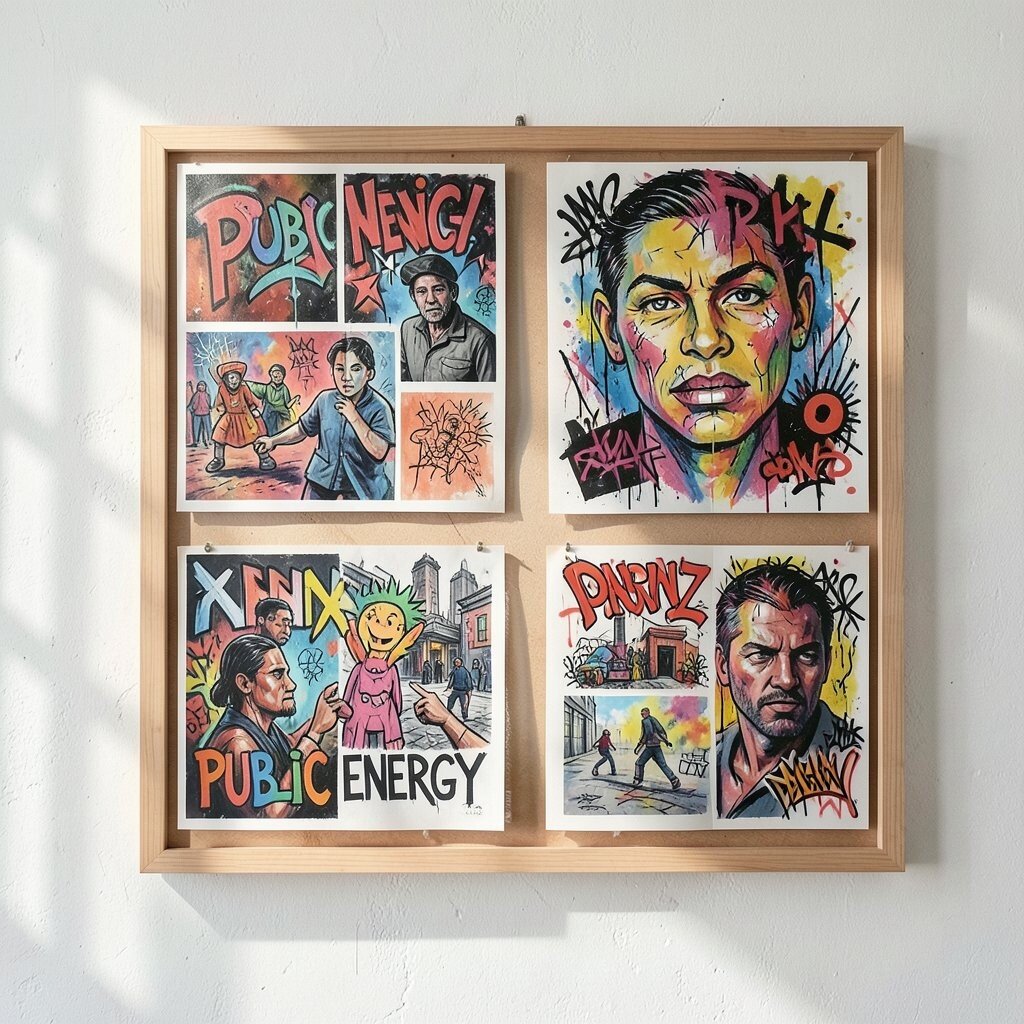
Community & Street Art Board: “Public Energy” Collect photos of murals, stickers, paste-ups, and graffiti-inspired textures. Focus on how the colors and lettering fit into the real world.
Add notes about what you feel when you look at each piece: excited, cozy, chaotic, or brave. This benefits your work because you’ll choose a mood intentionally instead of hoping for it later.
For personalization, create “local echoes” by finding small items in your neighborhood with similar shapes—like a sign font or a brick pattern. Cost stays low because you can snap your own photos and print them small.
-
20. Season & Weather Board: “Day-by-Day Mood”
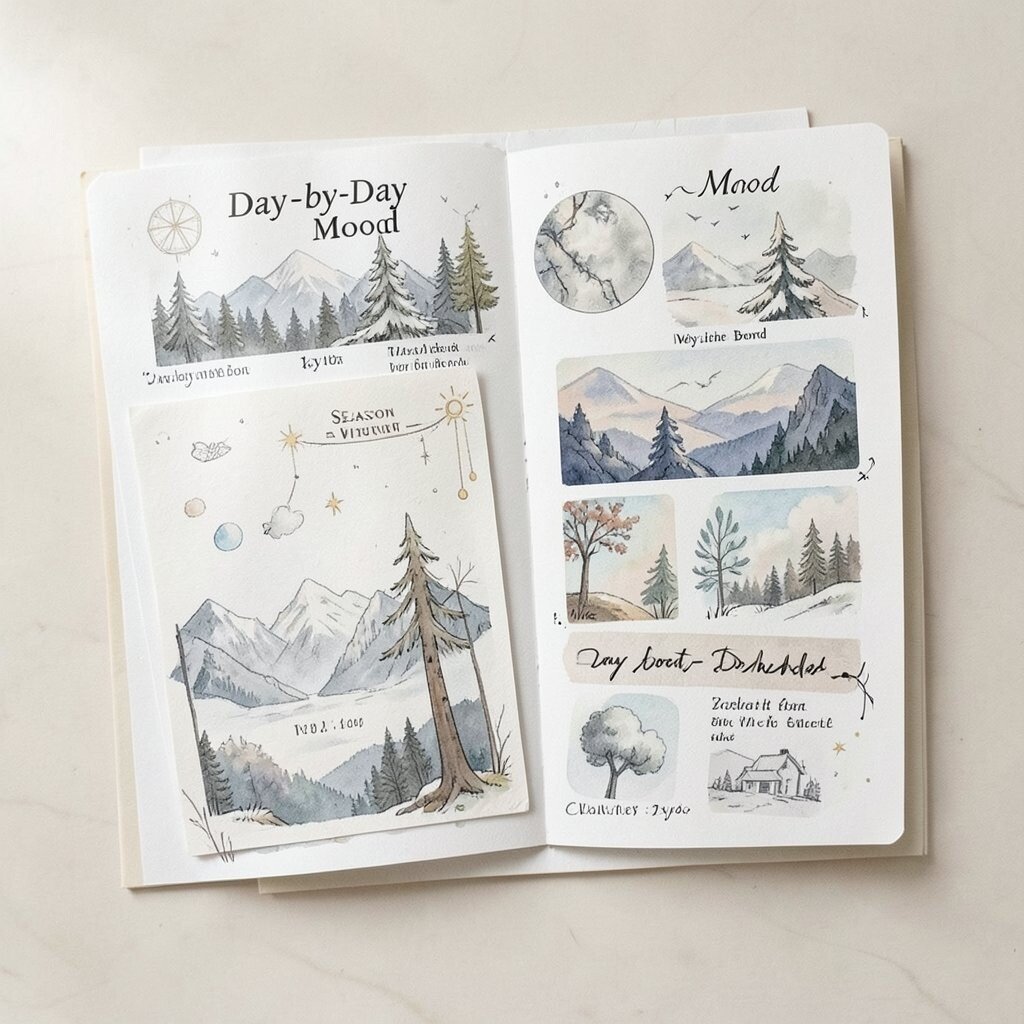
Season & Weather Board: “Day-by-Day Mood” Build a board that follows the weather in your life. Add images and notes for rain, snow, wind, fog, and clear skies with strong contrast.
Include a color note for each weather type, like “rainy grays,” “winter blues,” and “sunny gold.” This helps you plan a project calendar because you always know what theme to draw next.
To personalize, write one sentence about how a particular day felt and pair it with a sketch idea. A helpful tip is to add small “texture cues” like raindrop patterns or snow grain so the drawings show the atmosphere, not just the sky.
-
21. Your Own Scrapbook Board: “Raw Materials Only”
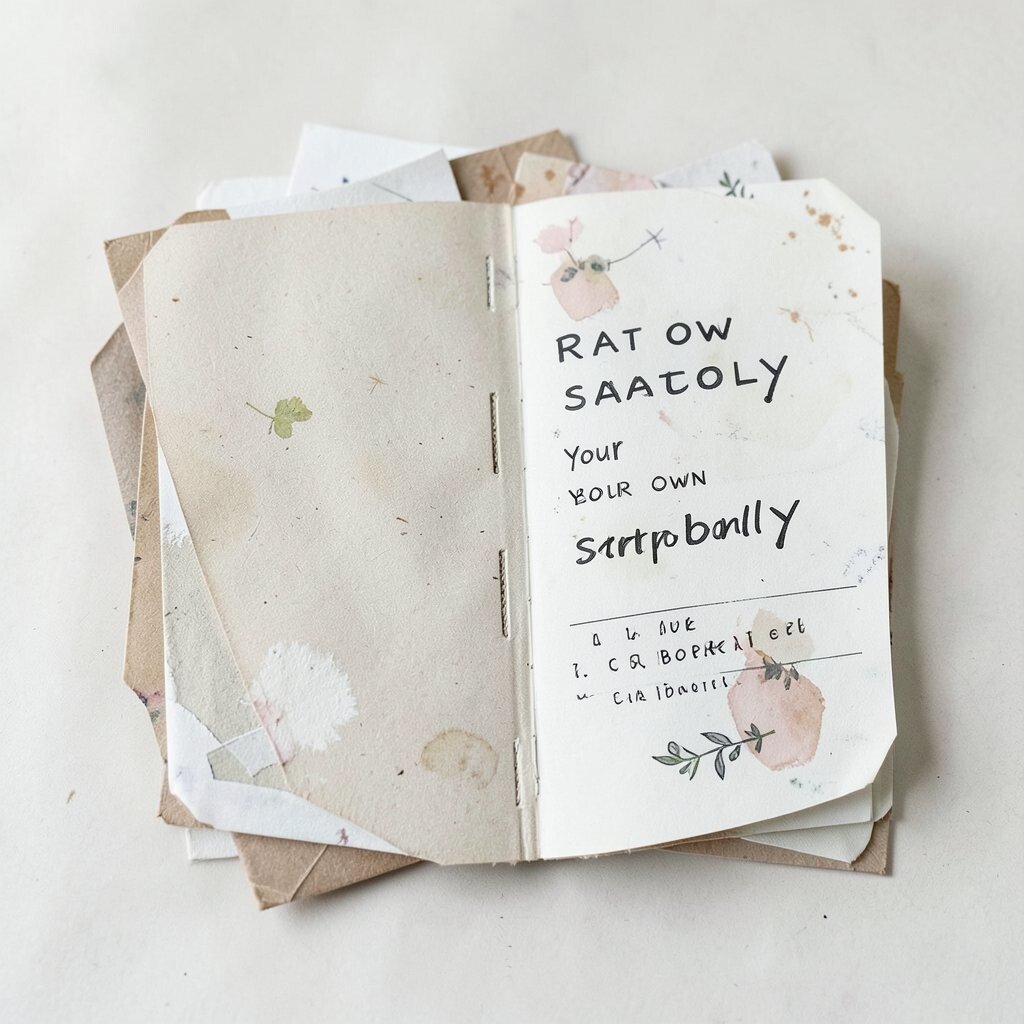
Your Own Scrapbook Board: “Raw Materials Only” Create a board that holds your unfiltered scraps: ticket stubs, wrappers, old letters, photos of hands, and doodles. This is a place for things that don’t feel finished yet.
Layer items so they overlap and cast gentle shadows, because physical mess can spark clean ideas. Include a few “future labels” like “characters,” “backgrounds,” or “patterns,” and sort later when your mind is ready.
To make it actionable, set a monthly prompt: pick one scrap and turn it into a finished piece. Cost considerations are great here since you use what you already have, and the board becomes a personal archive.