
Warm wood in a kitchen feels like a steady hug. These DIY ideas keep the look neat, stylish, and practical.
-
1. Seal-and-Glow Cutting-Board Countertop Border
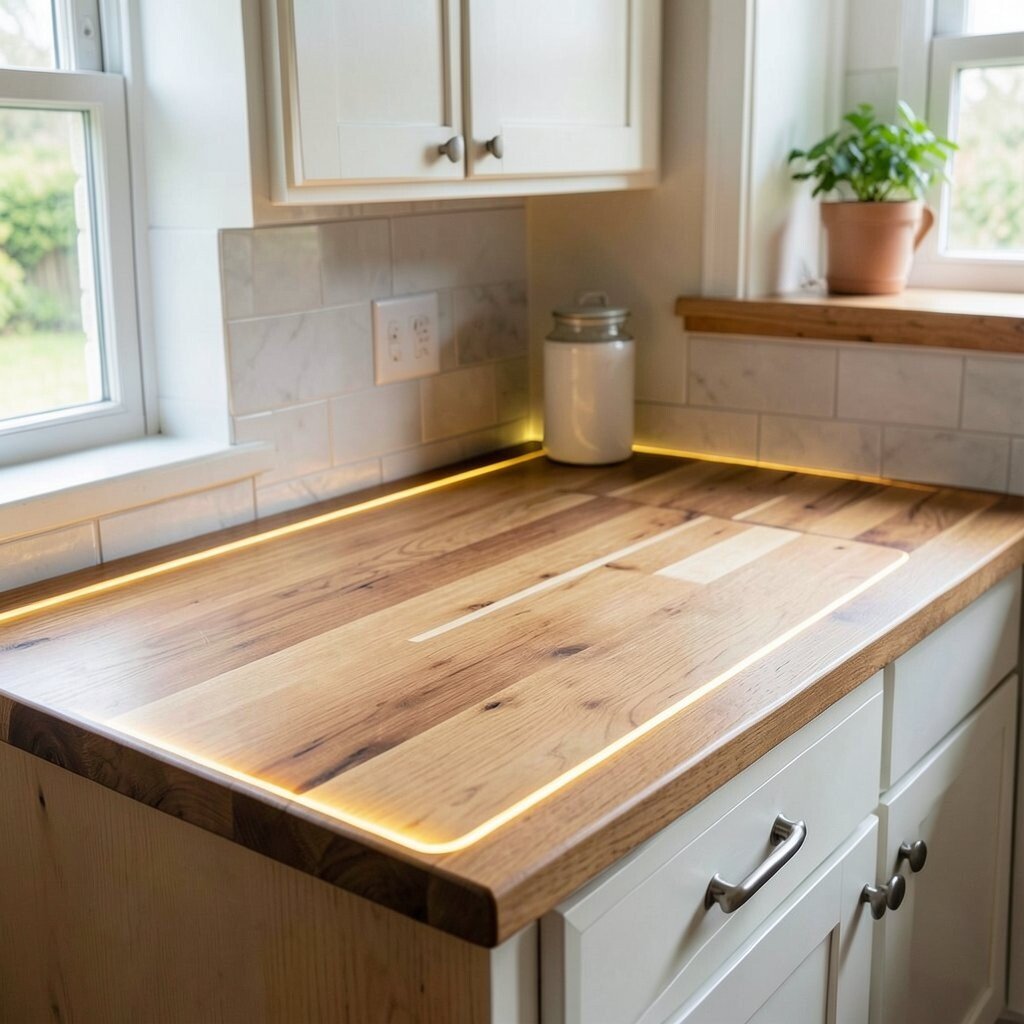
Seal-and-Glow Cutting-Board Countertop Border Frame your wooden countertop with a thin “cutting board” border using reclaimed hardwood strips. It makes the whole surface look finished, like it belongs in a magazine.
You get an extra line of protection at the edges, where wear usually starts. That border also helps hide tiny gaps from seasonal wood movement. For a personal touch, stain the border slightly darker than the main counter so it creates a warm contrast.
Use food-safe mineral oil at first, then switch to a durable wood finish for long-lasting shine. If you want it to match vintage cabinets, pick a wood tone that sits between honey and walnut. The cost is often reasonable because you can buy strips instead of full slabs.
-
2. Removable Wooden Counter Panels for Easy Swaps
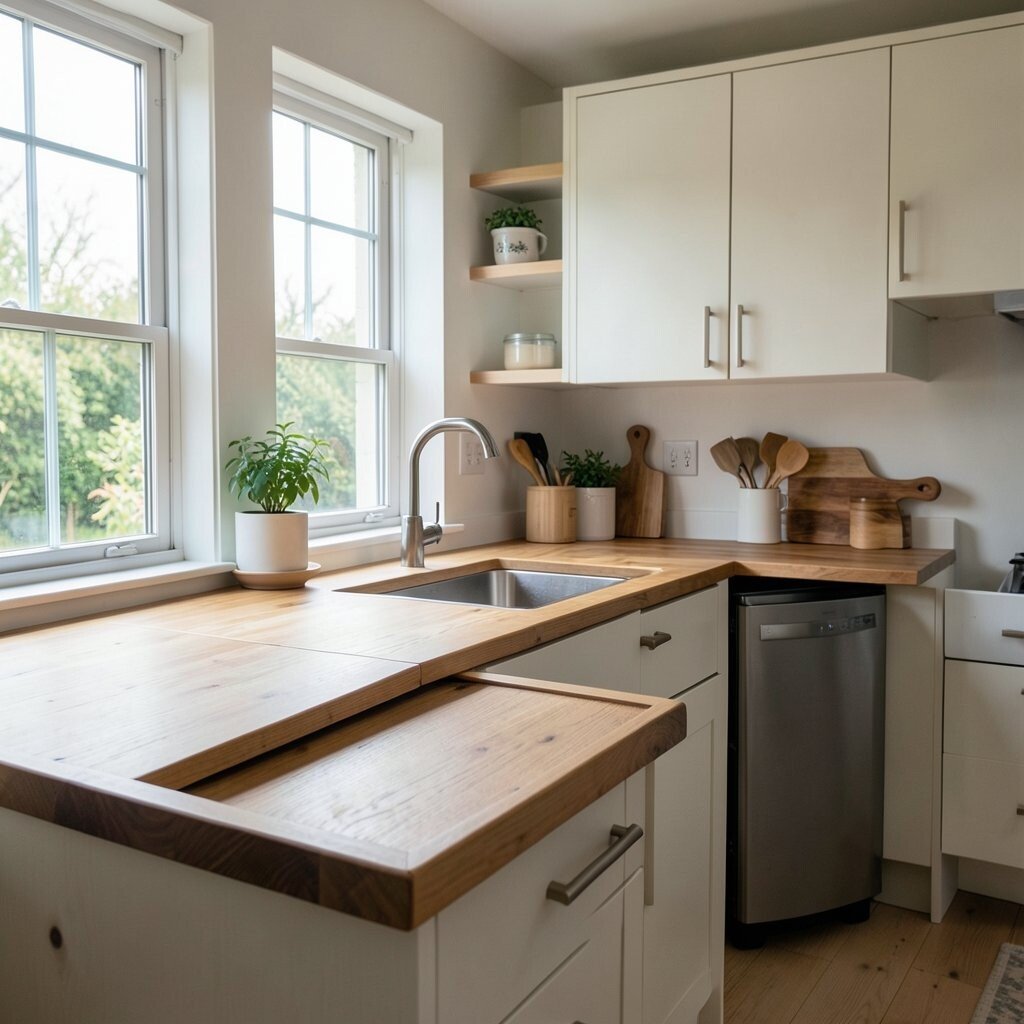
Removable Wooden Counter Panels for Easy Swaps Add a mid-century vibe by installing slim wooden panels over a sturdy base. You can swap panels later when your style changes, without replacing everything.
This setup helps with maintenance, since you can refinish one panel instead of the whole countertop. It also lets you adjust the color as trends shift, like moving from pale oak to warmer teak tones. A simple magnetic or screw system behind the base can keep it stable while still removable.
For personalization, use panel lengths that mimic classic diner layouts or add a subtle herringbone pattern on the panel face. Choose a finish that matches how much water and cooking your kitchen sees. Budget-wise, panels are usually cheaper than full replacement counters, especially if you use thin wood veneer with a solid backing.
-
3. Mid-century Channel Grooves for a Retro “Craft” Look
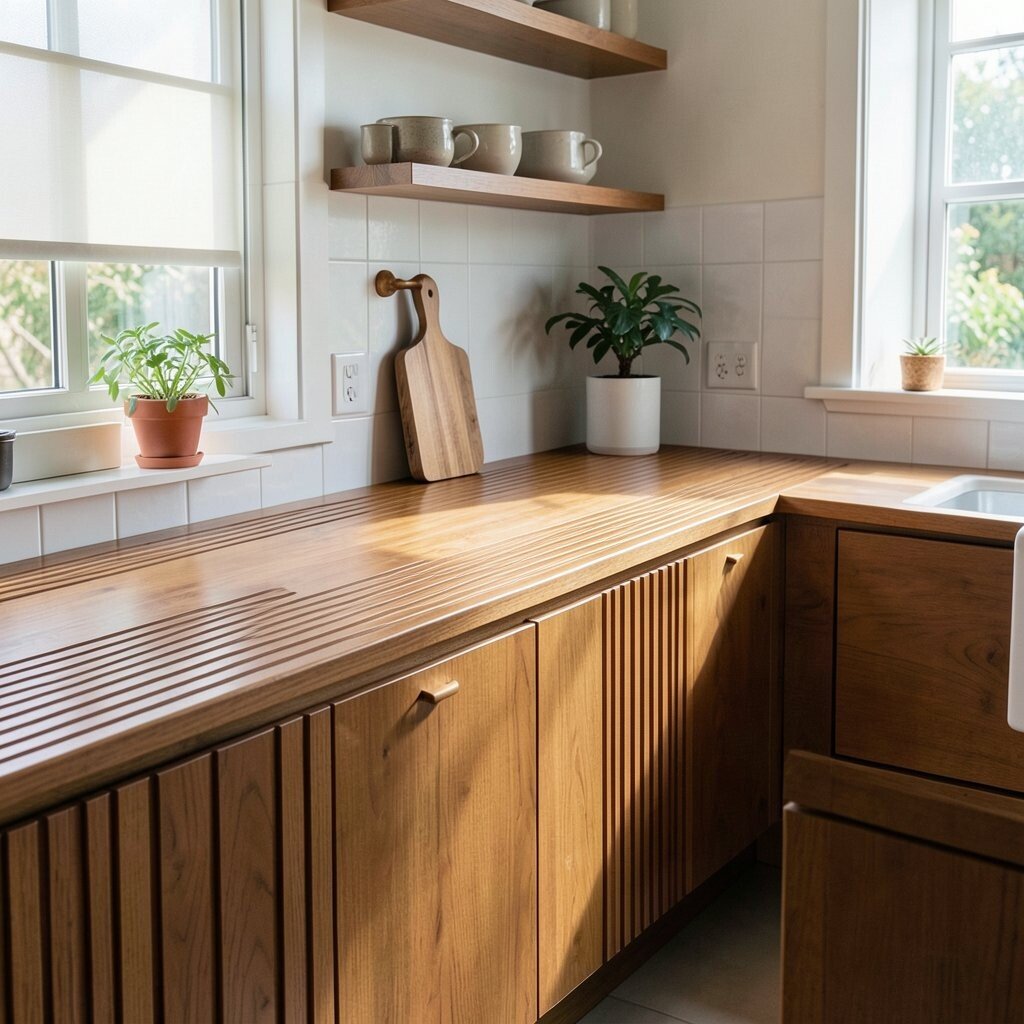
Mid-century Channel Grooves for a Retro “Craft” Look Shape soft channel grooves into the wooden surface using a router with a small guide bit. The lines catch light during the day and make your countertop look like real craftsmanship.
Grooves can hide small surface scuffs because they act like visual lanes. They also create a distinctive rhythm that feels very mid-century. Personalize by spacing the grooves farther apart for a bold look or closer together for a refined feel.
Keep grooves shallow so they clean easily, and always seal them well. A good seal makes them more water-resistant and helps the wood last longer. Costs vary based on your tools, but you can rent a router and still get a great finish without buying everything new.
Current style favors warm, tactile surfaces, and grooved wood delivers that trend. Pair the grooves with matte black hardware or a brass faucet for a classic contrast. If you have kids or frequent mess, consider placing a thin protective top coat that’s made for kitchen use.
-
4. DIY Wooden Countertop Stain Match to Your Existing Floors
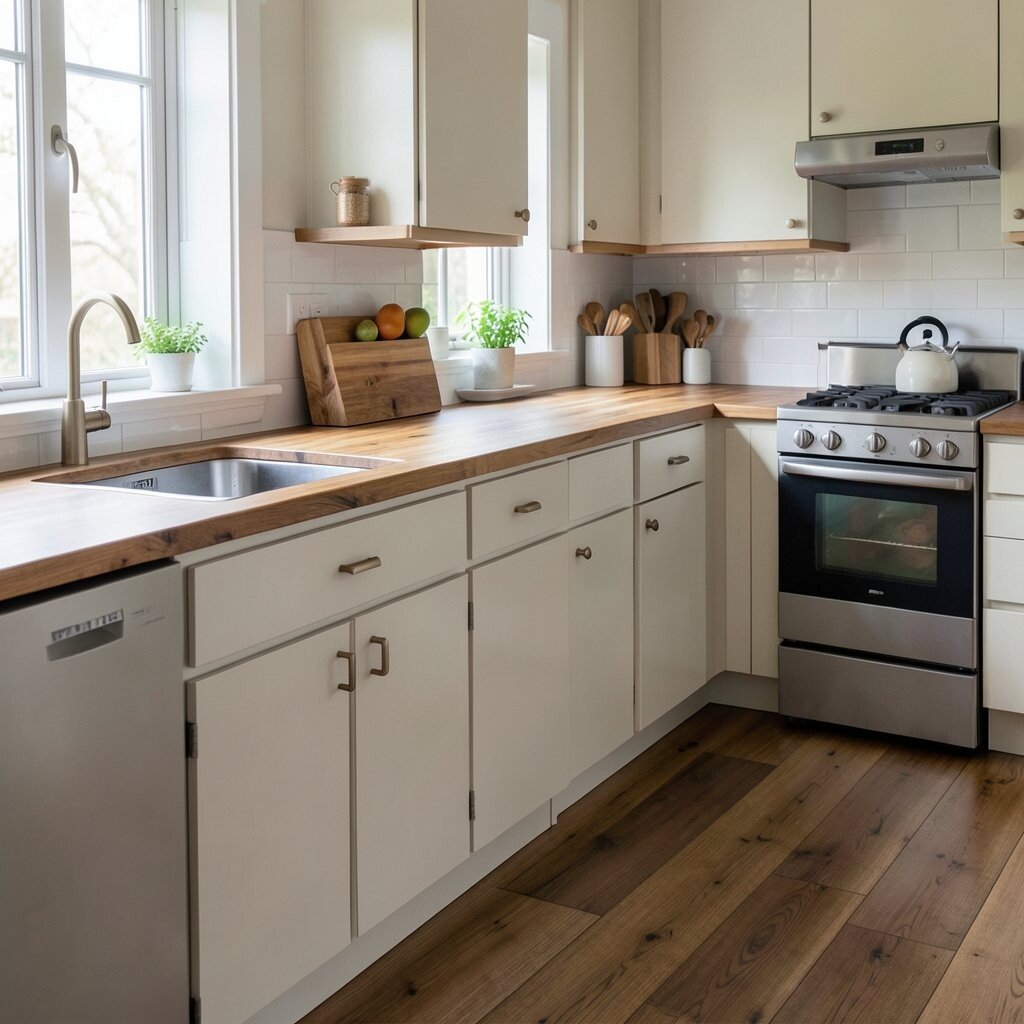
DIY Wooden Countertop Stain Match to Your Existing Floors Take a cue from your flooring and match your countertop wood tone to it. When the colors talk to each other, the kitchen looks calm and styled on purpose.
This DIY helps your kitchen feel “done” without huge changes, and it can hide imperfections during refinishing. Test stain on a spare wood piece first, because wood absorbs color differently. For personalization, mix a small amount of stain with clear gel to fine-tune the exact shade you want.
If your budget is tight, refinish what you already have instead of replacing counters. Current trends often lean toward natural wood grain, so avoid overly dark stains if you want a light, airy feel. You can also keep the edges lighter to make the counters look slimmer and more modern.
-
5. Classic Shelf-Support Wood Counter Trim Underlighting
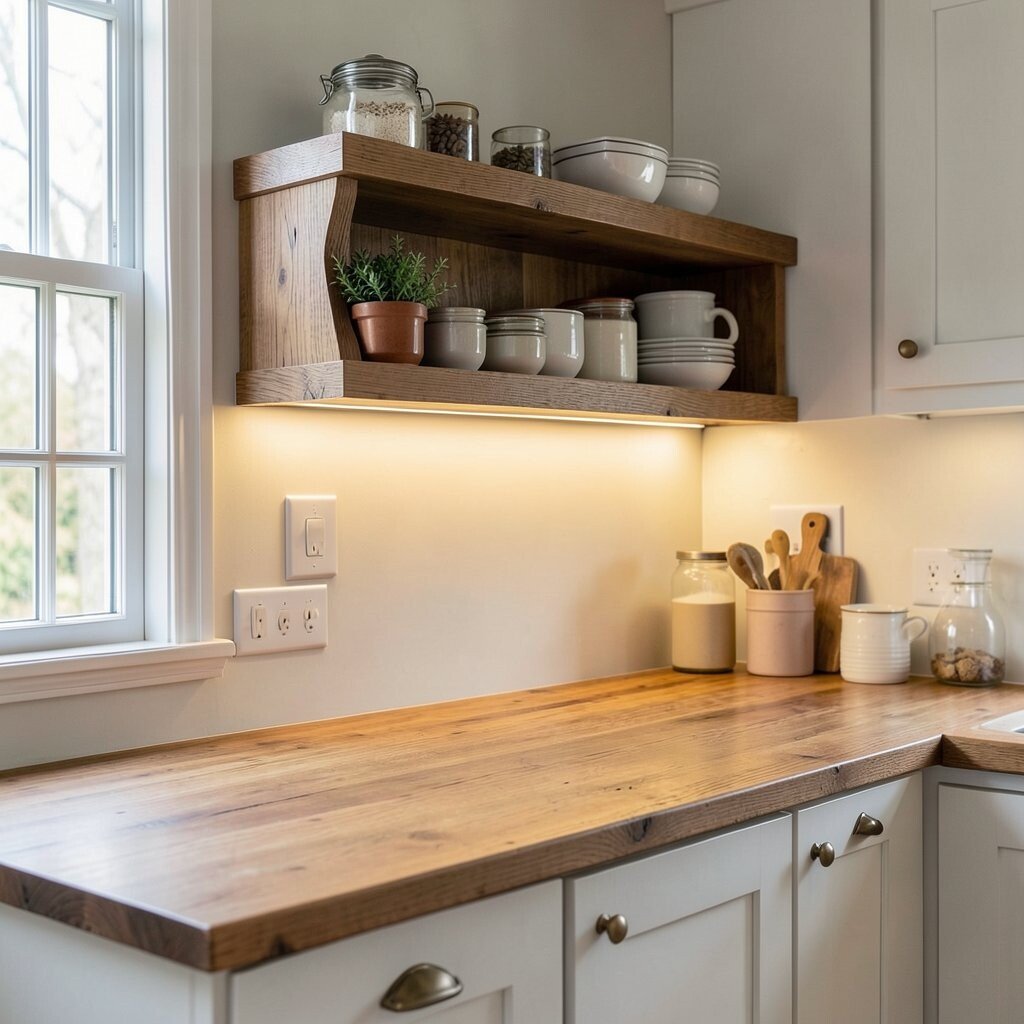
Classic Shelf-Support Wood Counter Trim Underlighting Install a wooden trim ledge under the countertop and hide LED strip lights behind it. The soft glow makes your kitchen feel warm at night.
This idea boosts daily comfort because you get better visibility while cooking. It also highlights the grain and gives the whole counter a “floating” look. Personalize with a trim shape that nods to mid-century furniture, like rounded edges or simple stepped profiles.
For cost, you can start with a small LED kit and expand later. Use dimmable LEDs if you like changing moods, such as bright task light for prep and low light for evenings. Pick a light color temperature around warm white to keep the wood looking rich.
-
6. Checker-Edge Wooden End-Caps for a Diner Vibe
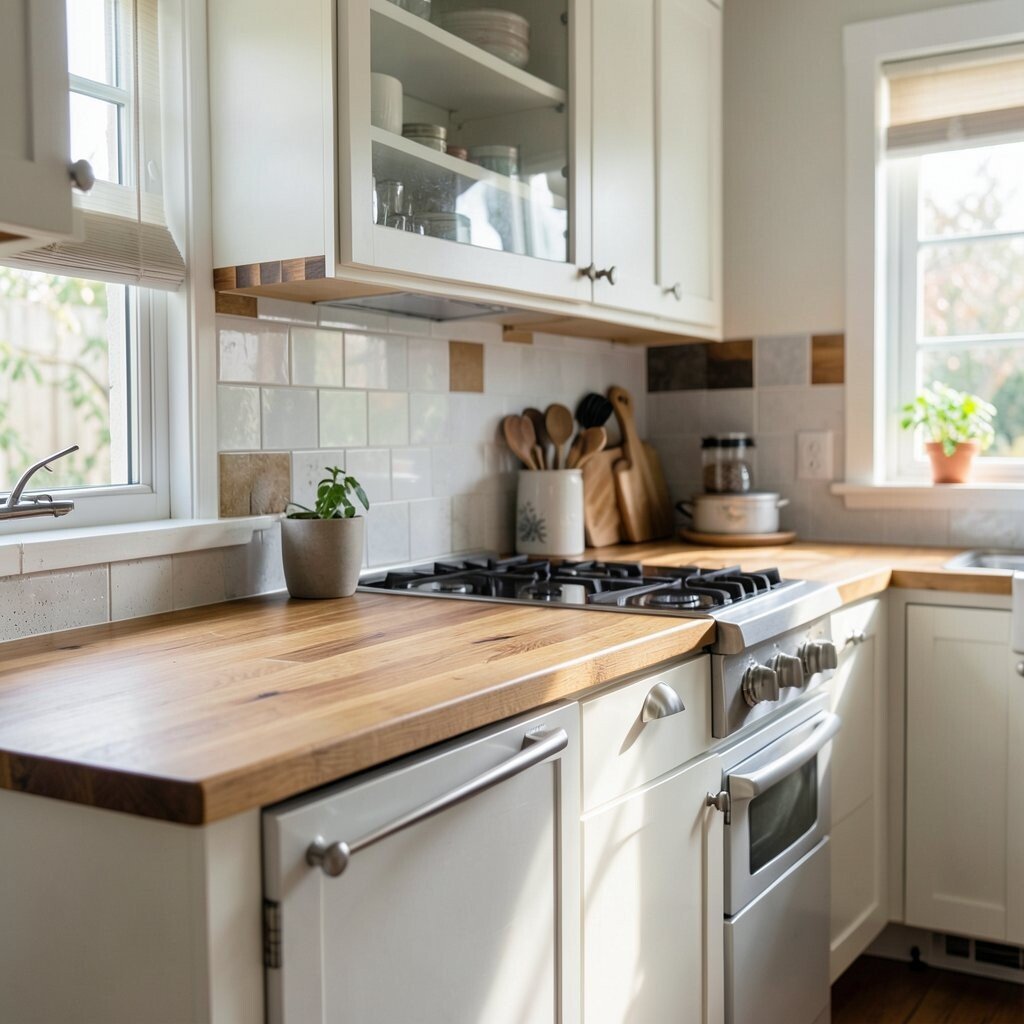
Checker-Edge Wooden End-Caps for a Diner Vibe Build decorative end-caps on the visible countertop corners using alternating wood blocks. Think of a diner sign feeling, but with real wood warmth.
These end-caps protect the corners and make chips easier to manage because you can replace one cap. The pattern adds uniqueness even if your countertop is simple. For personalization, choose two tones like walnut and ash or oak and maple, and keep the pattern small and neat.
If you want the DIY to be easy, use pre-cut blocks and glue them onto a backing piece. Seal thoroughly so the wood resists splashes and daily wiping. Costs stay friendly since you’re using small amounts of wood for a big visual payoff.
-
7. Floating Wooden Counter “Ledge” Over a Plain Base
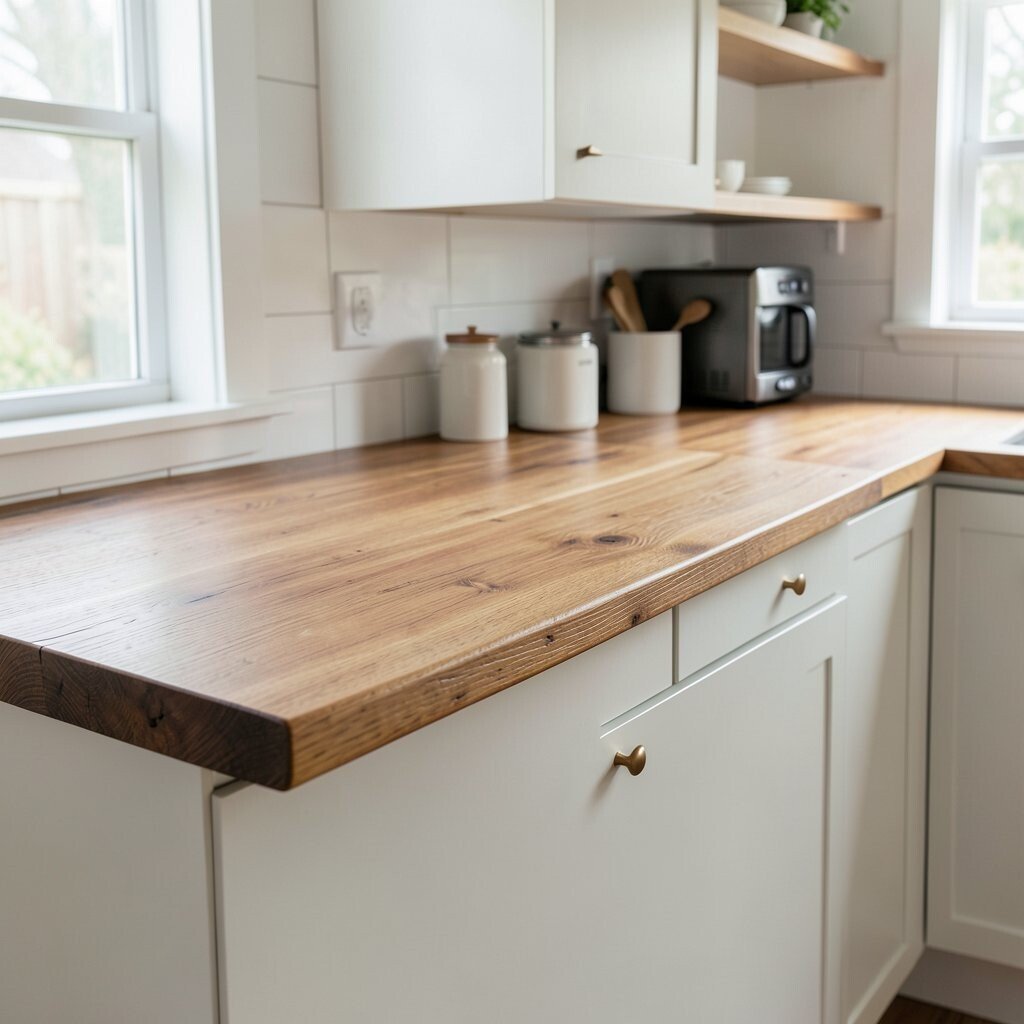
Floating Wooden Counter “Ledge” Over a Plain Base Create a floating ledge look by mounting a thick wooden countertop cap over a simpler base. The final result feels mid-century, even if your original counter was plain.
A ledge-style counter gives extra prep space and makes the kitchen feel more open. It also lets you upgrade the look without ripping out everything. Personalize by adding a shallow lip so items don’t slide off as easily.
For trends, many kitchens now pair wood with clean white or soft cream walls, which makes the wood stand out. Keep the finish smooth so the ledge wipes clean after cooking. Cost can be lower than full replacement, especially if your base is sturdy and you only add a wood top.
-
8. Sturdy Wood Countertop Feet Built From Walnut Dowels
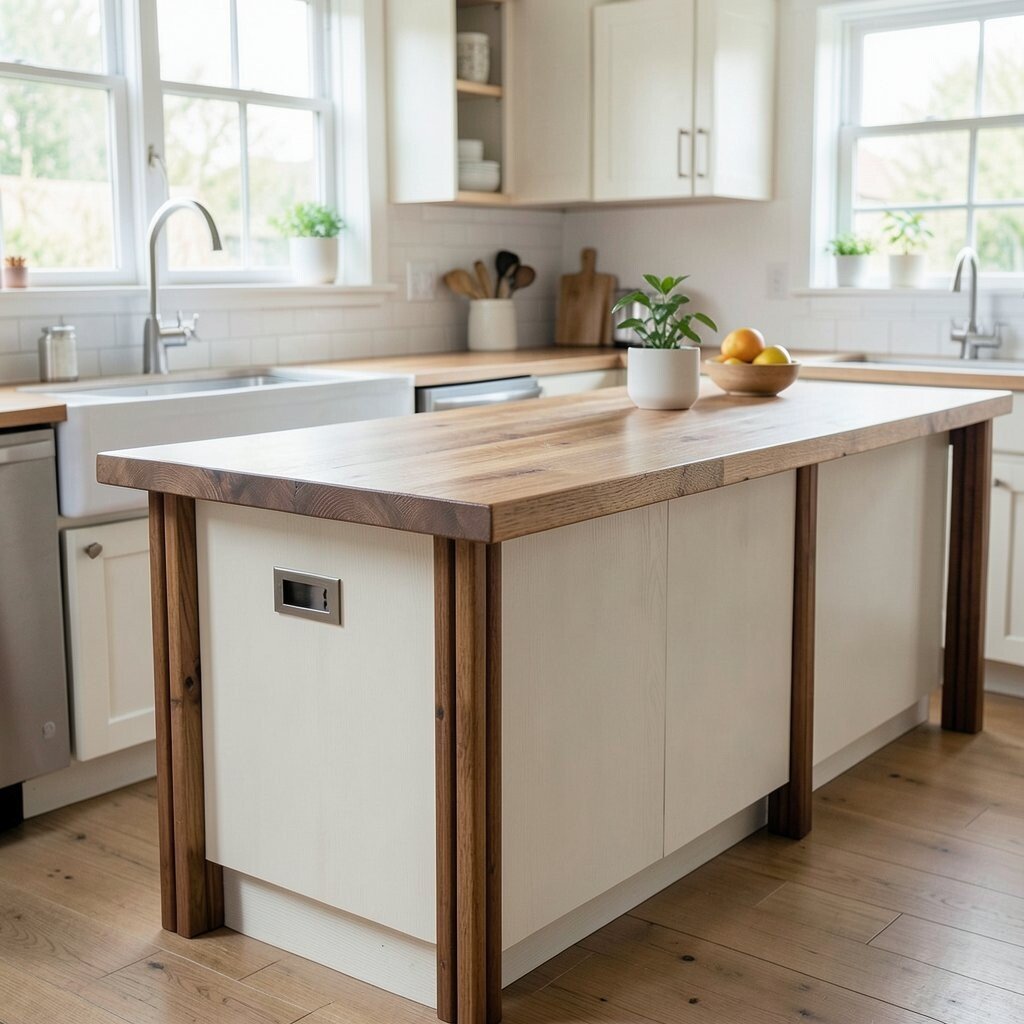
Sturdy Wood Countertop Feet Built From Walnut Dowels Add small walnut dowels under the countertop like tidy “feet” that nod to vintage furniture. This gives your counter a light, elevated feel, even when it’s still solid.
The benefits are both style and function, because raised edges help prevent water pooling and make cleaning under the lip easier. Dowels also add a unique texture that feels intentional. For personalization, use slightly different lengths of dowels to create a subtle asymmetry.
Use a strong wood adhesive and seal everything well so the parts handle splashes. If your kitchen sees lots of sink activity, choose a finish that resists moisture. Dowels can be budget-friendly, and you can often buy them in small packages.
-
9. Rattan-Style Drawer Pulls With Wooden Counter Color Tie-In
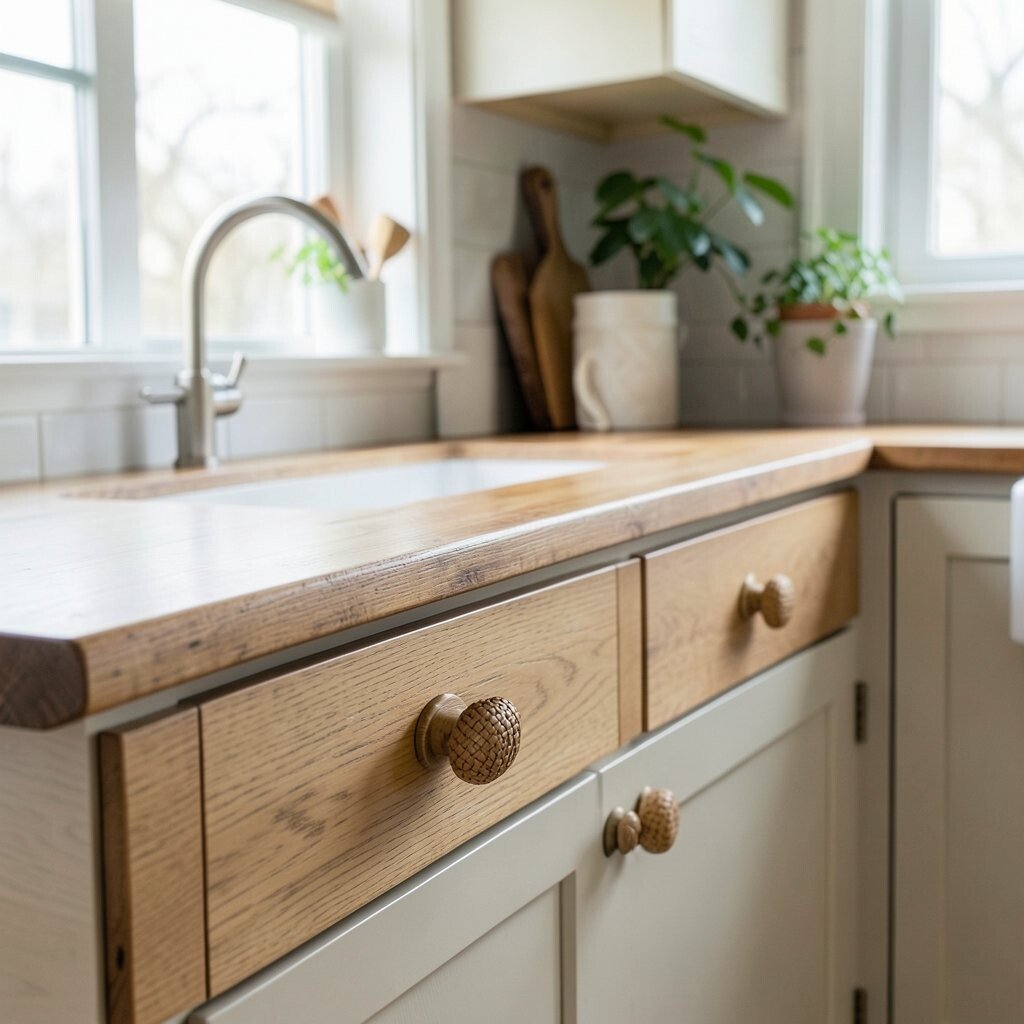
Rattan-Style Drawer Pulls With Wooden Counter Color Tie-In Replace drawer pulls with rattan-style pulls that echo mid-century decor while keeping wood tones consistent. When your pulls match the warm counter color, the kitchen feels like one big design.
This DIY is quick and practical, and it can make old cabinets look fresh without repainting. You also gain a unique touch because textured pulls stand out in photos and daily use. Personalize by choosing pulls with a similar undertone, such as honey rattan with honey wood.
While this item isn’t only about the countertop, tying it to the wood look helps the whole kitchen feel cohesive. Cost varies, but it can be affordable because you’re upgrading small parts. If you want the current trend look, choose warm metals or light natural textures instead of very cool silver.
-
10. Edge-Banding Technique to Hide Seams With Wood Grain
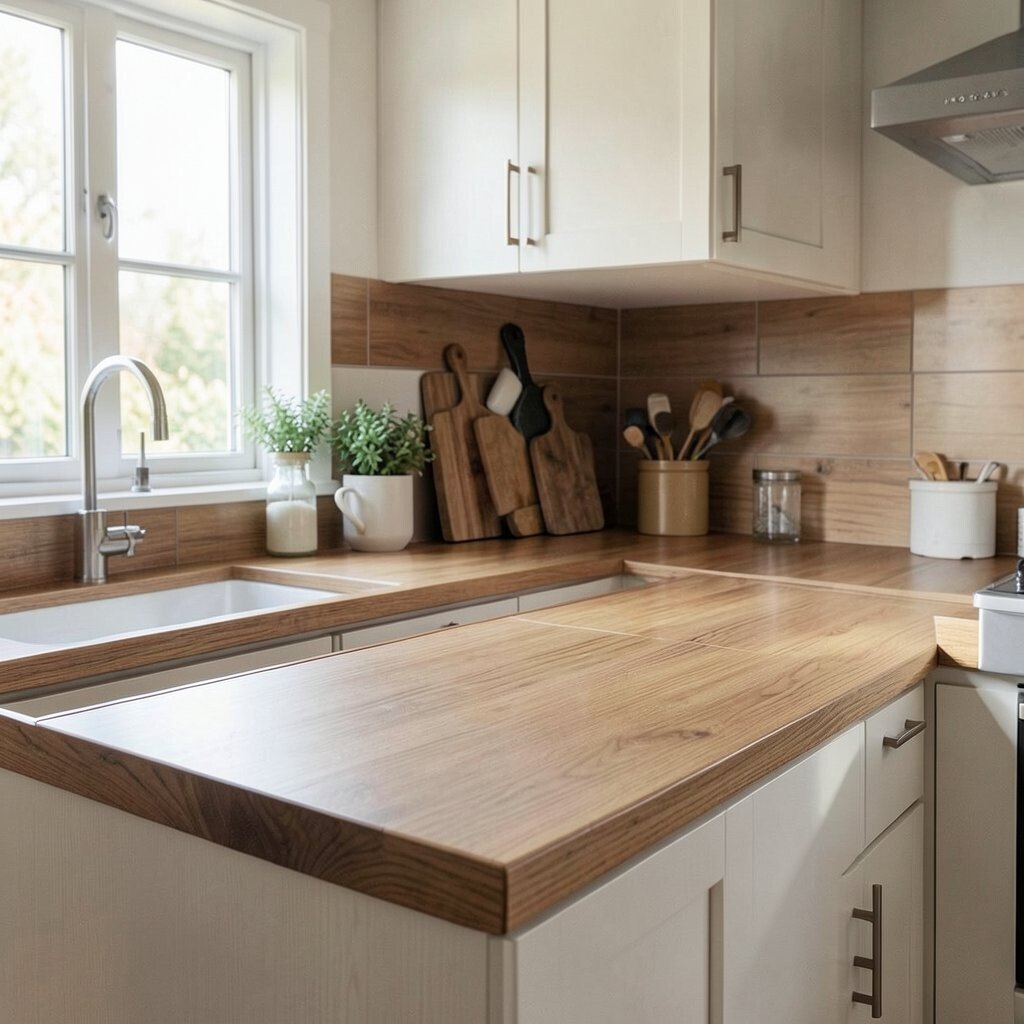
Edge-Banding Technique to Hide Seams With Wood Grain If your countertop has seams, edge-band those lines with matching hardwood strips. The result looks seamless and hides messy transitions.
You improve the durability along the seam because banding adds a protective layer. It also creates a clean, mid-century silhouette with a refined finish. For personalization, angle the grain direction slightly so it mirrors classic cabinet detailing.
This DIY can be cost-effective because you only need small wood pieces, not a whole new counter. Choose a band thickness that matches your existing counter edge so it doesn’t look bulky. Always clamp evenly and seal the edges so water can’t creep into the join.
-
11. Wood Counter “Wave” Pattern Using Veneer Bands
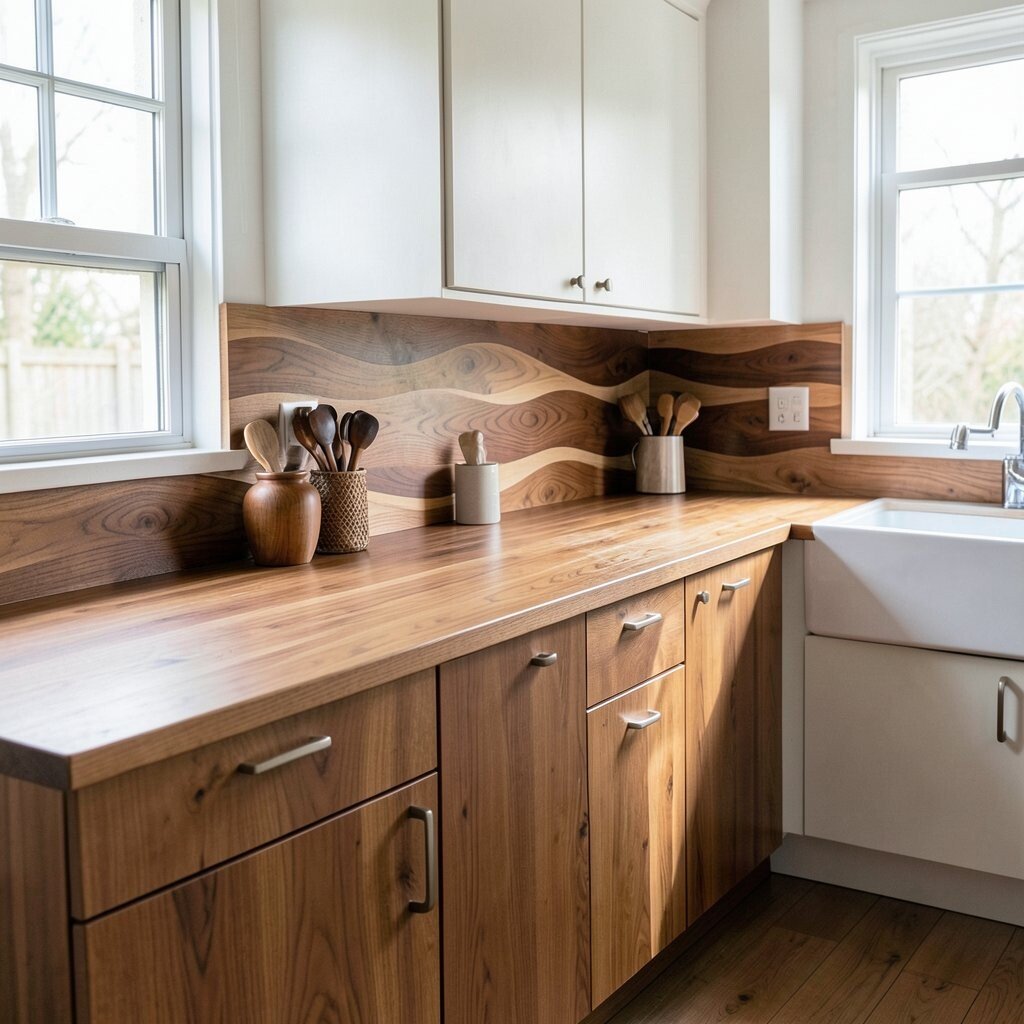
Wood Counter “Wave” Pattern Using Veneer Bands Add subtle waves to a flat countertop using thin veneer bands. The wave pattern feels retro and playful, but still tidy and classy.
Veneer waves help your counter look high-end without the cost of thicker inlays. They also bring uniqueness that you won’t see in every kitchen. Personalize the wave direction to echo your backsplash pattern, like sweeping left to right for movement.
Use careful sanding and a clear protective top coat so the veneer edges stay protected. This is a great option if you like trends like layered textures and graphic wood details. Budget-wise, veneer is usually cheaper than solid hardwood, and it’s easier to work with.
-
12. DIY Wooden Countertop Heat-Safe Strip for Daily Cooking
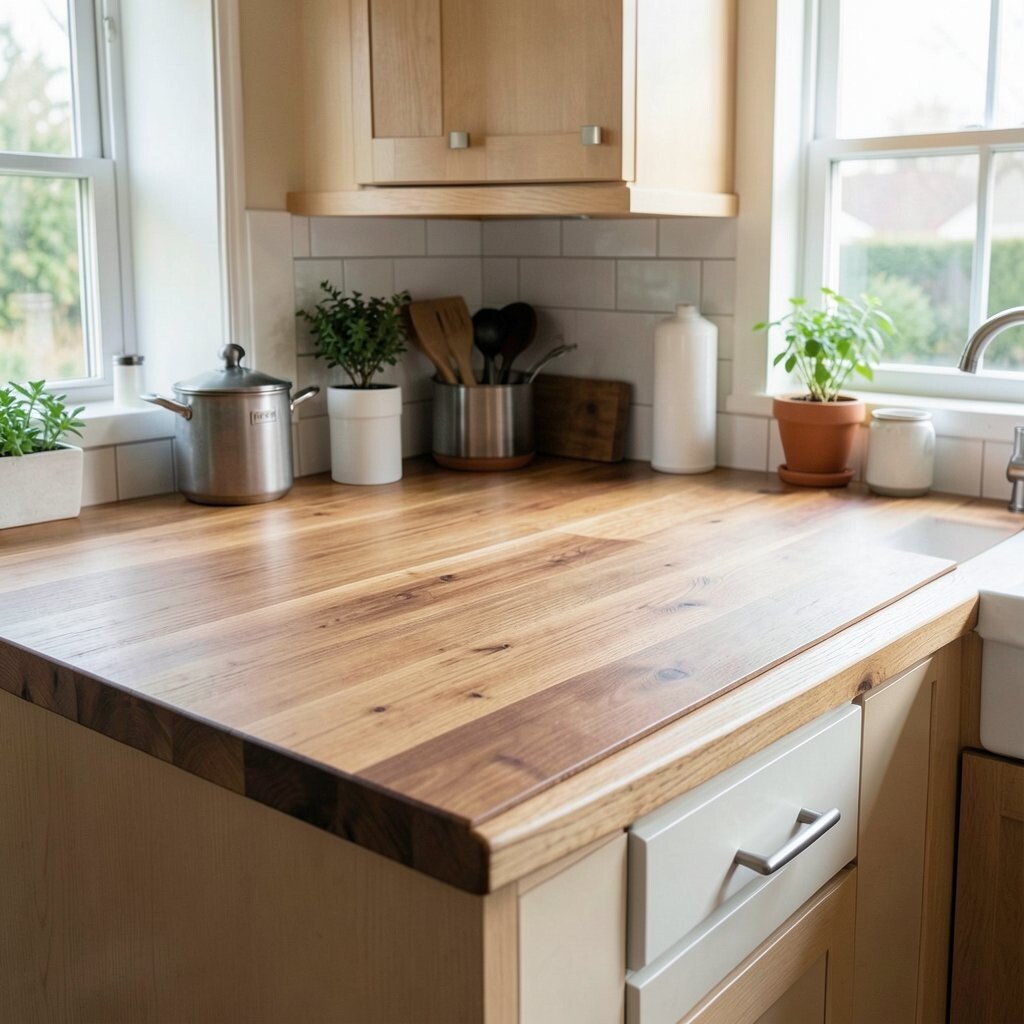
DIY Wooden Countertop Heat-Safe Strip for Daily Cooking Install a heat-safe wooden strip near your cook area for setting down hot pans safely. It looks vintage and helps you work without worry.
The benefit is simple: you protect your finish and reduce heat damage in the busiest zone. The strip also gives you a clear, organized prep area. Personalize by using a darker strip so it feels like a “marker” for cooking.
For current trends, many people love intentional “zones,” like prep lanes and charging corners, and this fits right in. Choose a finish that can handle warm items and wipe spills quickly. Costs stay moderate, especially if you use small scrap wood sized to fit.
-
13. Refresh Old Wood With a Gentle Clean-and-Brighten Routine
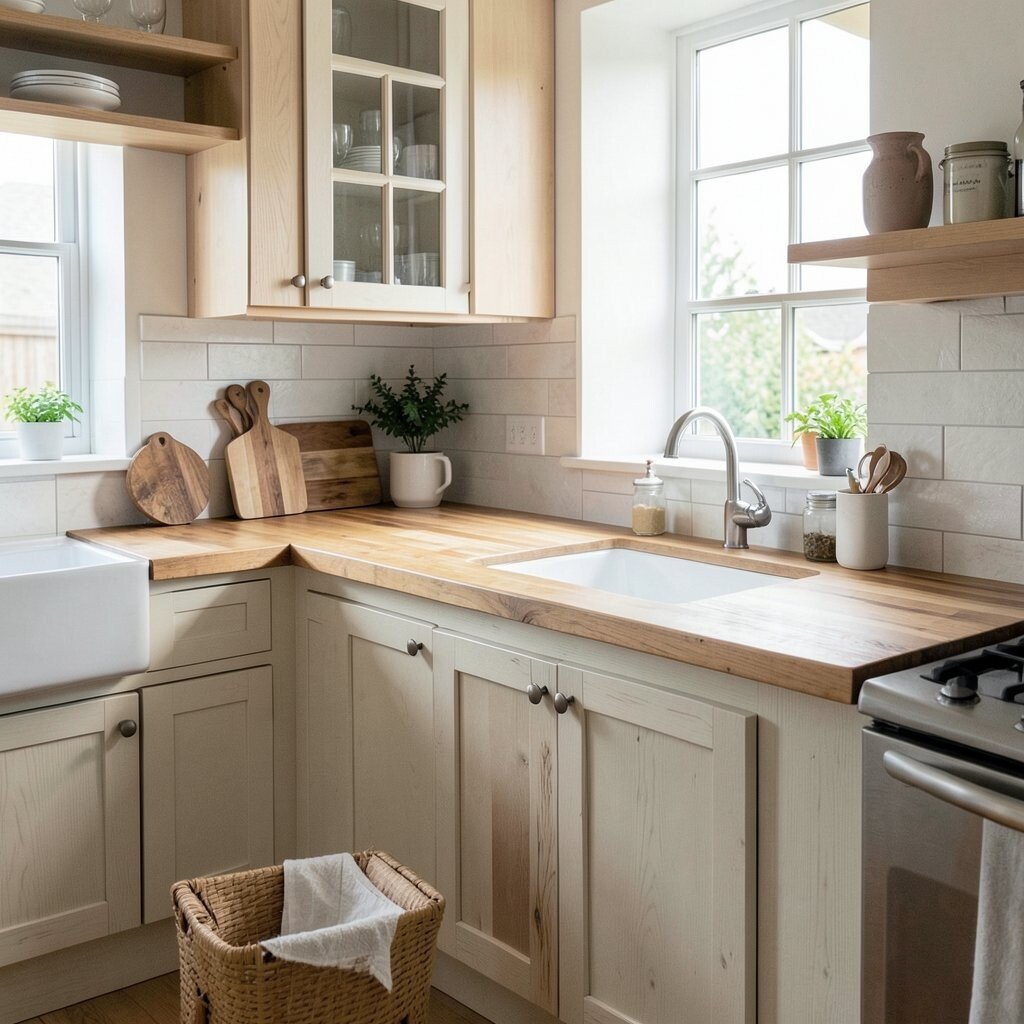
Refresh Old Wood With a Gentle Clean-and-Brighten Routine Before adding anything new, do a clean-and-brighten refresh on your existing wooden countertop. It’s surprising how much warm glow comes back with the right routine.
This DIY saves money, because you’re improving what you already own. It also helps you spot scratches and low spots so you can fix them before finishing. Personalize by choosing a finish sheen you love, like satin for a softer mid-century feel.
Use a gentle cleaner, dry fully, then reapply oil or top coat according to the product. If you cook often, finish in thin layers and let each layer cure well. Current trends favor natural grain, so avoid heavy film coatings if you want a more authentic look.
Safety tip: use good ventilation and wear gloves during sanding and finishing. Cost can be low since most supplies are basic, like cleaner, sandpaper, and finish.
-
14. Walnut Countertop Inset With a Brass Trim Line
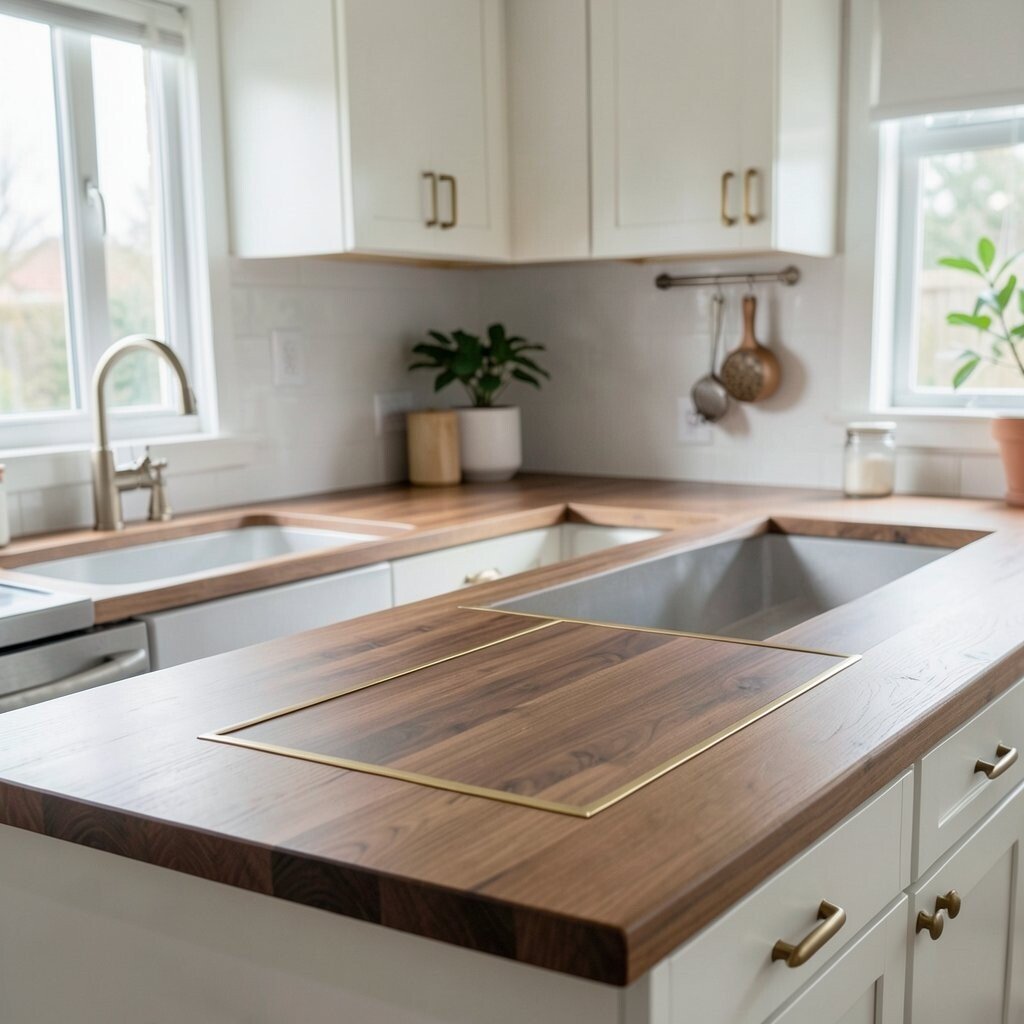
Walnut Countertop Inset With a Brass Trim Line Create an inset section in your wooden countertop and frame it with a thin brass trim line. This gives a polished mid-century contrast that looks fancy without being too loud.
The inset can hold a cutting board, a spoon rest, or a small tray for utensils. That makes daily cooking more convenient and keeps clutter off the main surface. For personalization, pick the inset shape: a simple rectangle looks sleek, while a rounded corner inset feels friendlier.
Brass trim can be a splurge, but you can use a small amount and still get the effect. If your budget is tighter, use a brass-look tape or thin metal strip as a trial. Seal everything carefully so moisture can’t slip under the trim.
-
15. DIY Countertop Caddy Built Into the Splash Side
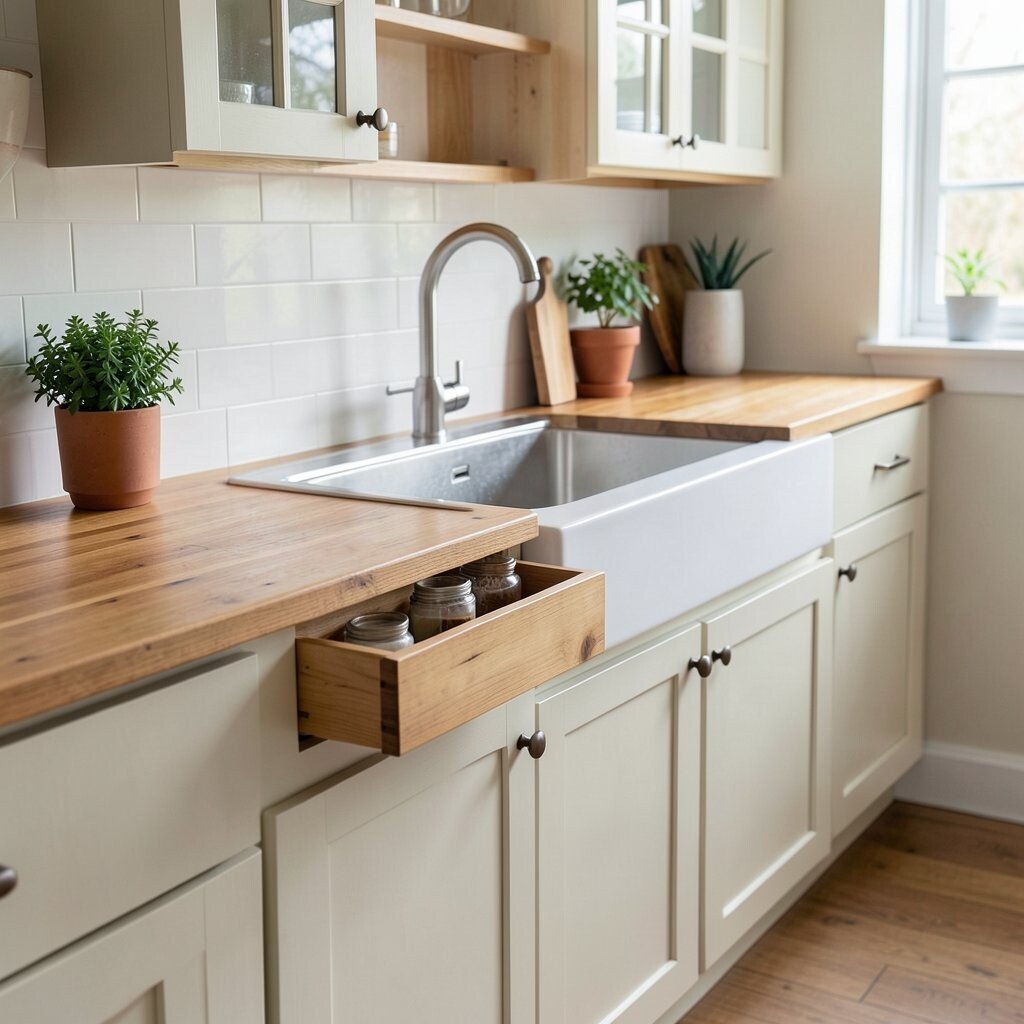
DIY Countertop Caddy Built Into the Splash Side Build a slim wooden caddy into the side area near your backsplash so tools have a home. It’s one of those ideas that makes the kitchen feel instantly organized.
You gain a benefit you’ll feel every day: fewer messes and faster cooking. The wood caddy also ties in with your wooden countertop for a unified mid-century look. Personalize by adding small dividers for spatulas, scrub brushes, or kitchen towels.
Use a sealed finish so splashes wipe clean, and keep the caddy depth practical for the items you actually use. Cost stays reasonable because it’s mainly wood, screws, and a top coat. This also fits current trends that focus on smart storage and “hidden” organization.
-
16. Matte-Finish Top Coat for a Vintage Wood Feel
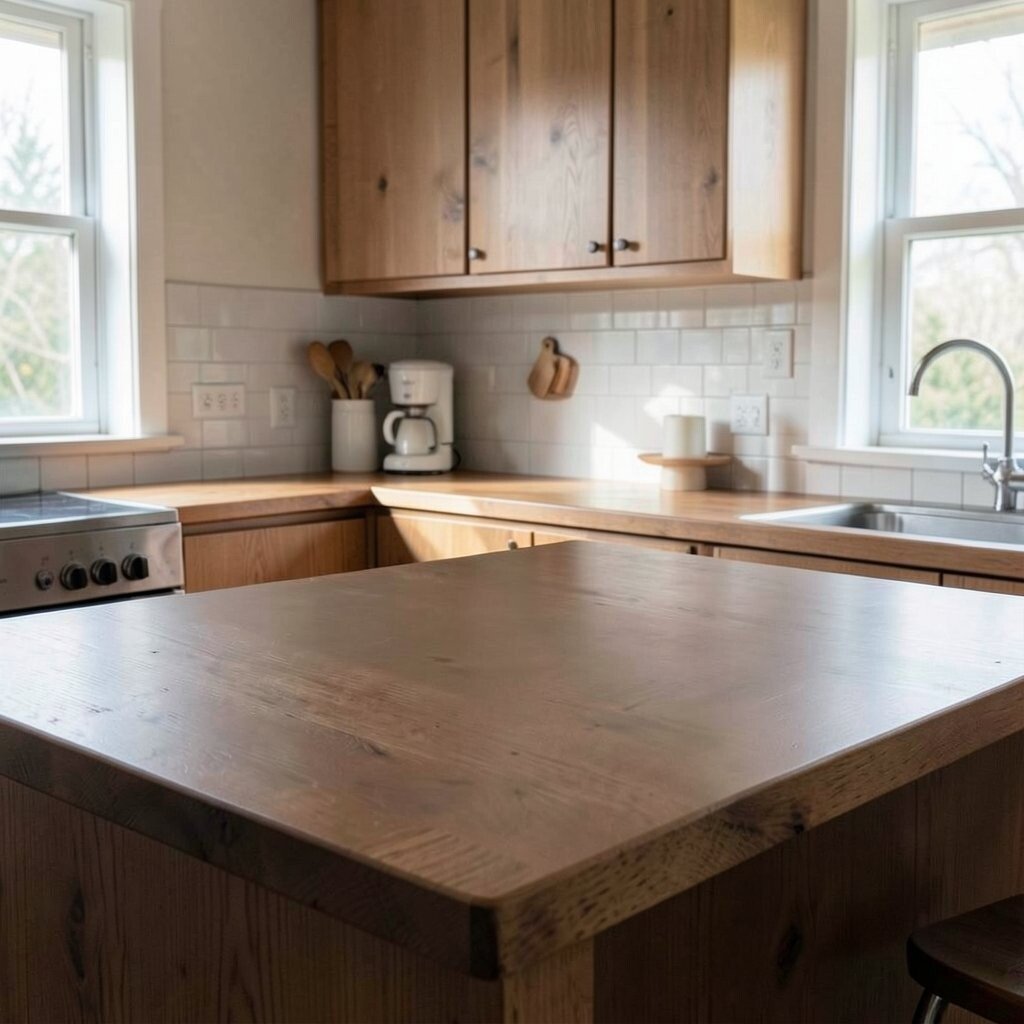
Matte-Finish Top Coat for a Vintage Wood Feel Choose a matte top coat instead of a high gloss so your wood looks more like vintage furniture. The countertop looks smoother to the eye and feels calmer in bright light.
Matte finishes can hide tiny fingerprints and small cooking marks, which is a real daily benefit. They also help the grain look more natural and less plastic. Personalize by combining matte with a small satin border for a subtle contrast.
-
17. DIY Wood Countertop With a Raised “Profile” Front Edge
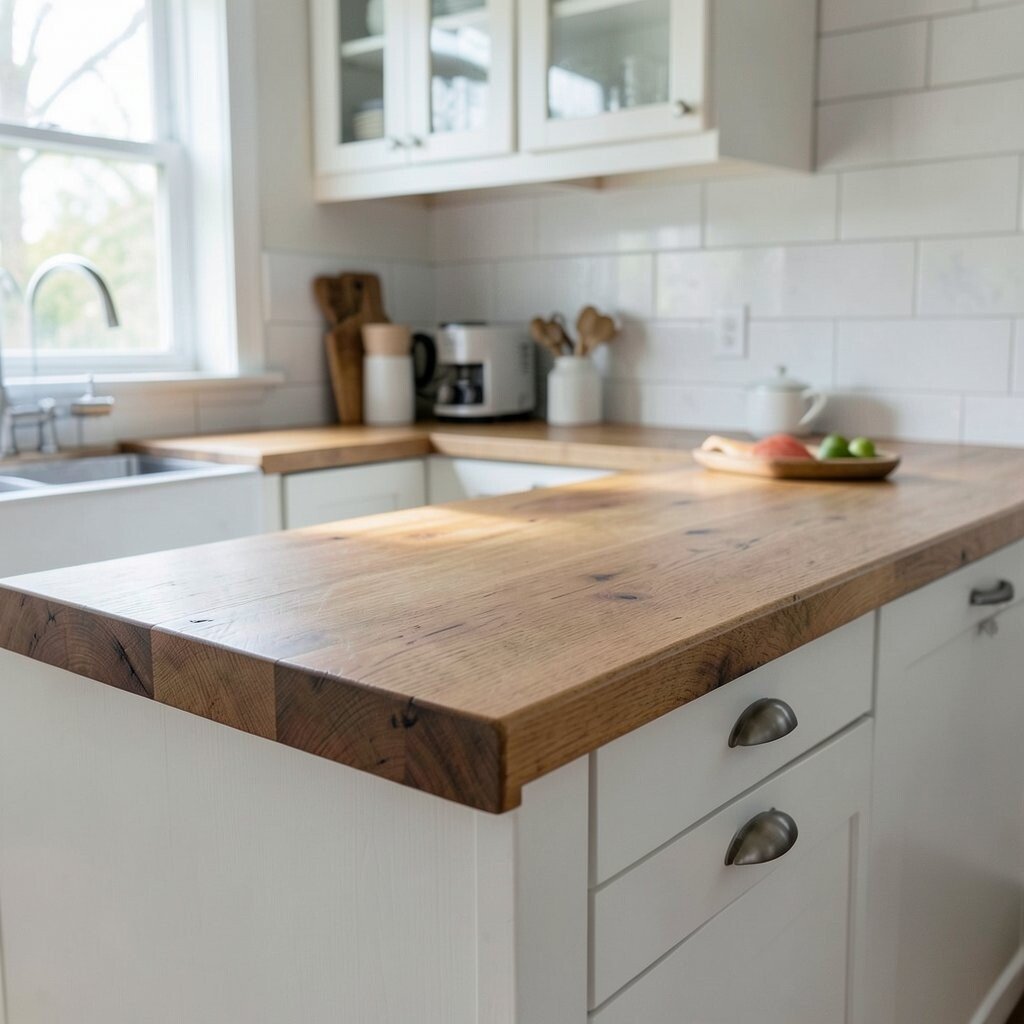
DIY Wood Countertop With a Raised “Profile” Front Edge Add a raised front edge profile using shaped wood trim or a built-up wood strip. This creates that classic mid-century “furniture” silhouette.
A shaped edge improves comfort because you get a softer, more forgiving rim to wipe around. It also makes the counter look thicker and more substantial. Personalize the profile: rounded edges feel cozy, while a flatter profile feels more modern.
Use sturdy adhesive and clamps, then sand smoothly so the profile blends into the countertop. Seal well so the edge resists moisture from the sink area. Costs depend on wood type, but adding trim is often cheaper than replacing a full counter.
Current trends often highlight edges and details, not just large surfaces, so this is a great place to show style. Pair it with mid-century cabinet legs or simple bar pulls for a complete look.
-
18. Patterned Kitchen “Mocha” Tray Station on the Counter
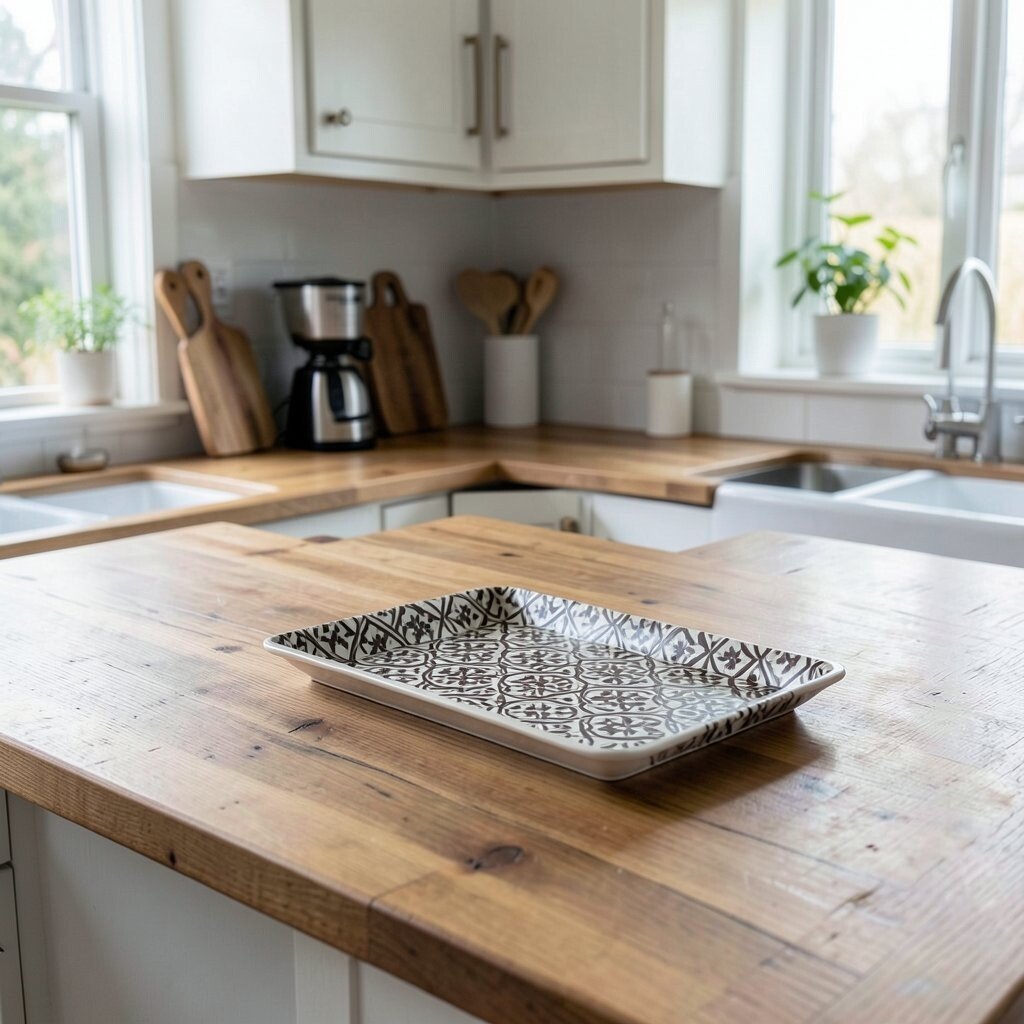
Patterned Kitchen “Mocha” Tray Station on the Counter Make a dedicated tray station using a wooden base tray and a patterned insert that sits on your countertop. It keeps everyday items neat and adds a playful layer to the mid-century style.
The benefit is easy: you protect parts of the wood from daily stains and keep the counter looking fresh. It also makes your space feel styled, because the tray acts like décor without being fragile. For personalization, use a tile-style sticker, paper under a clear cover, or a fabric-backed insert for a unique look.
Keep the tray removable so you can clean underneath. Cost can stay low if you repurpose old trays and refresh them with a new wood stain or finish. This idea matches current trends in layering textures, like mixing wood with ceramics and graphic patterns.
-
19. Wooden Countertop Calendar Board for Weekly Prep
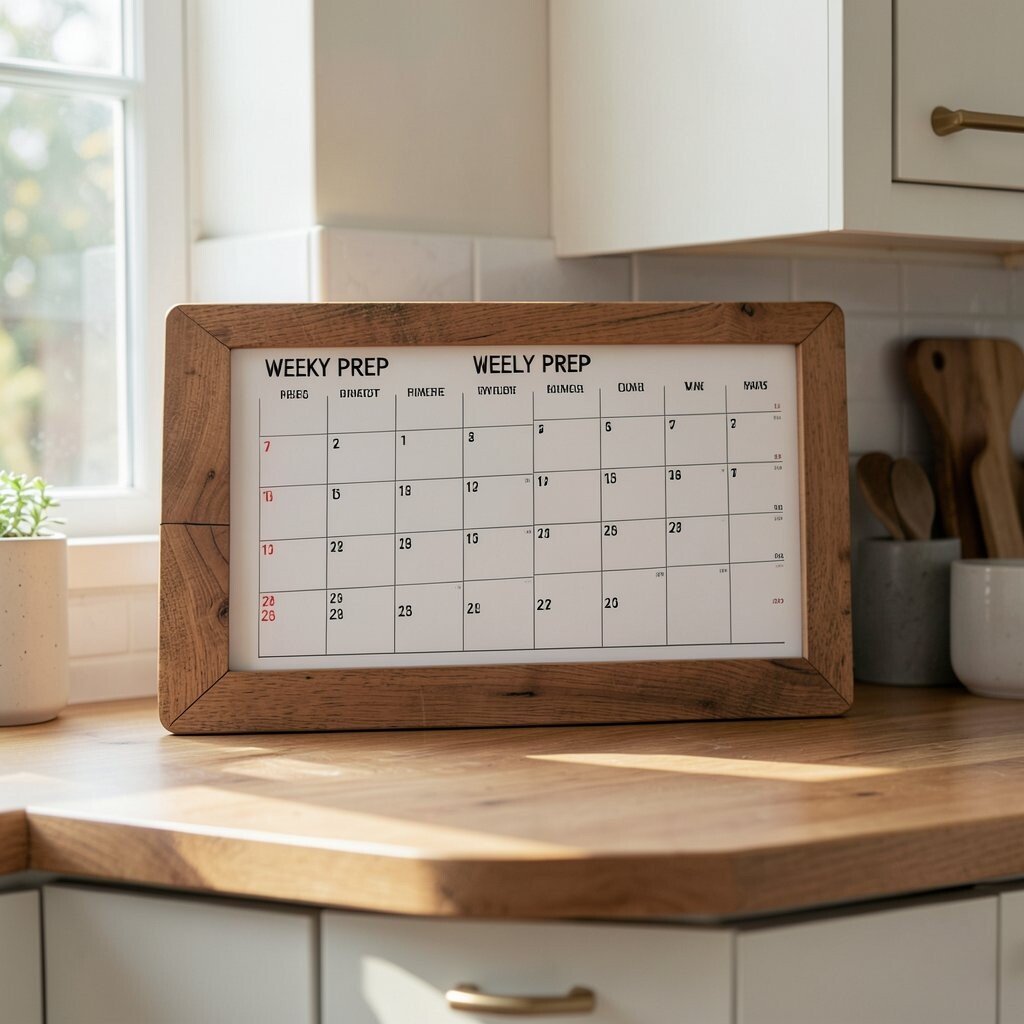
Wooden Countertop Calendar Board for Weekly Prep Turn part of your wooden countertop into a functional calendar board using a sealed cork sheet or erasable surface panel. It gives you a practical mid-century “message” area.
You get a daily benefit: reminders for grocery lists, meal plans, or prep dates stay in sight. This also adds uniqueness because your countertop does more than hold appliances. Personalize it with a warm stain frame that matches your existing wood tone.
For cost, you can keep it affordable by using a pre-made cork sheet and a custom wood frame from scrap pieces. Seal around the edges so moisture doesn’t reach the board. Current trends love organization that looks like design, and this fits right in.